Hello, creative hivers!
Hope you are all doing great and enjoying the weather wherever you are today.
It's been a very busy week for me, the festive season is around the corner, which means the demand for new clothing will be on the rise too as everyone likes a have a new dress for the different celebrations that take place during this festive period, from wedding, birthday and the most expected Christmas celebration.
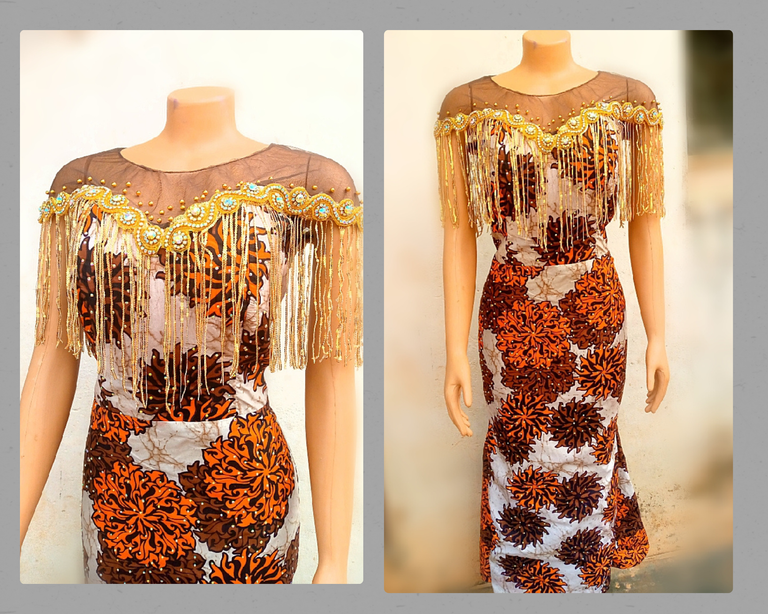
As a fashion designer, this is my busiest time of the year, making new dresses and putting smiles on the faces of the beautiful women and children I make beautiful dresses for.
This time, a very good friend and client of mine reached out to me last month concerning this dress she wants me to make for her, the fabric was gotten as a uniform, also known as Aso-ebi, this is a way family and friends show support to the celebrant, they pay more than the actual price for the fabric, not too much above though. On D-day, they all grace the occasion looking elegant wearing the same colour of fabric with different styles according to their preference.
So today, I'll be sharing with you how I beautifully designed this dress for my friend.
Materials used are
- African print
- lining fabric
- Tulle
- Applique
- zipper
- Thread
- pearls
- Rhinestones
Cutting and sewing Process
- Step 1

I started by cutting out the pattern, and the front pattern was made by combining the tulle and African print
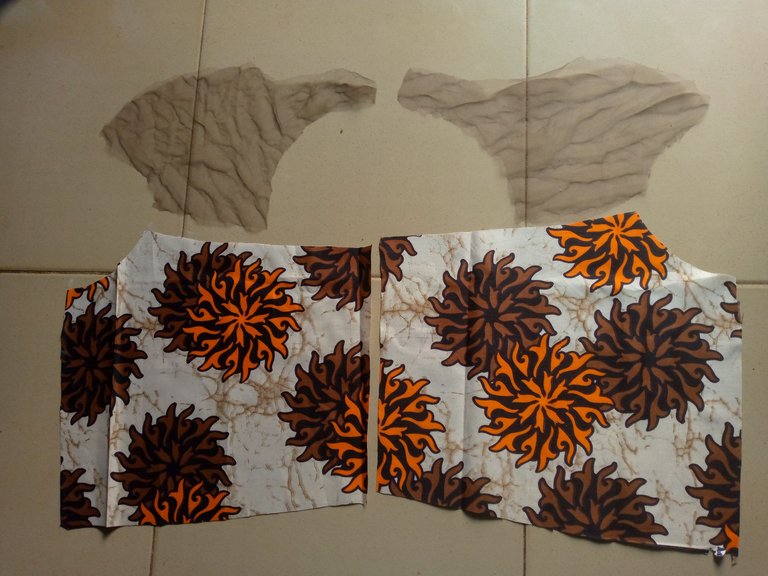
Here is the back pattern, also the combination of the African print and tulle
- Step 2

Here is how the front looks, after ironing interfacing and stiffener to the wrong part of the fabric and also to firm up the contoured bust area, then joining it all together,
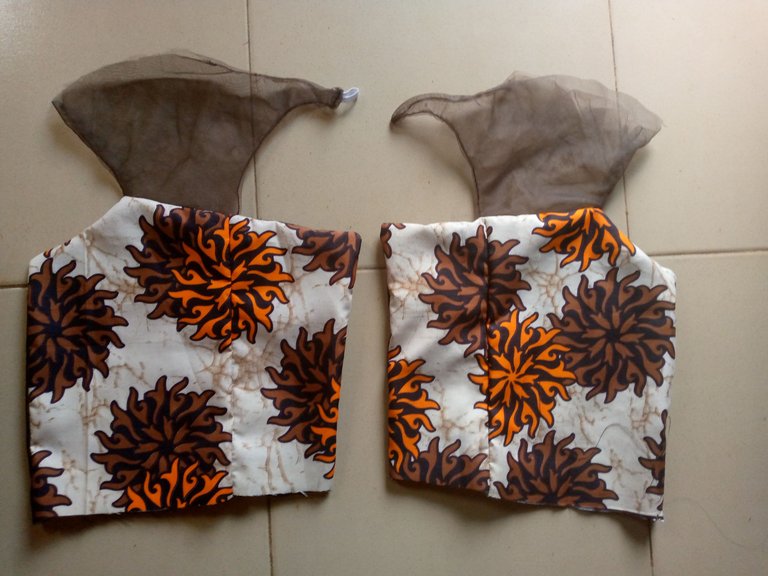
And here is the back view, adding interfacing alone.
- Step 3
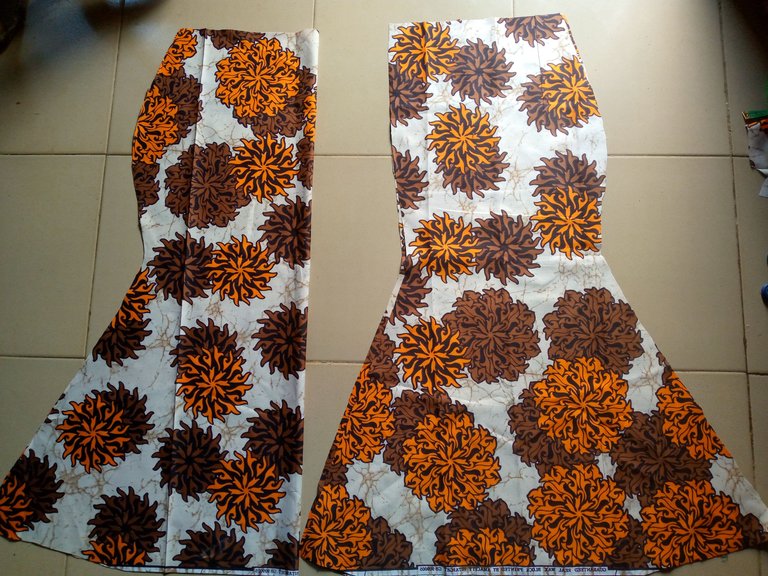
To make the lower part of the dress, I cut out an A-line skirt pattern, also known as a mermaid dress, for both the front and back.
- Step 4
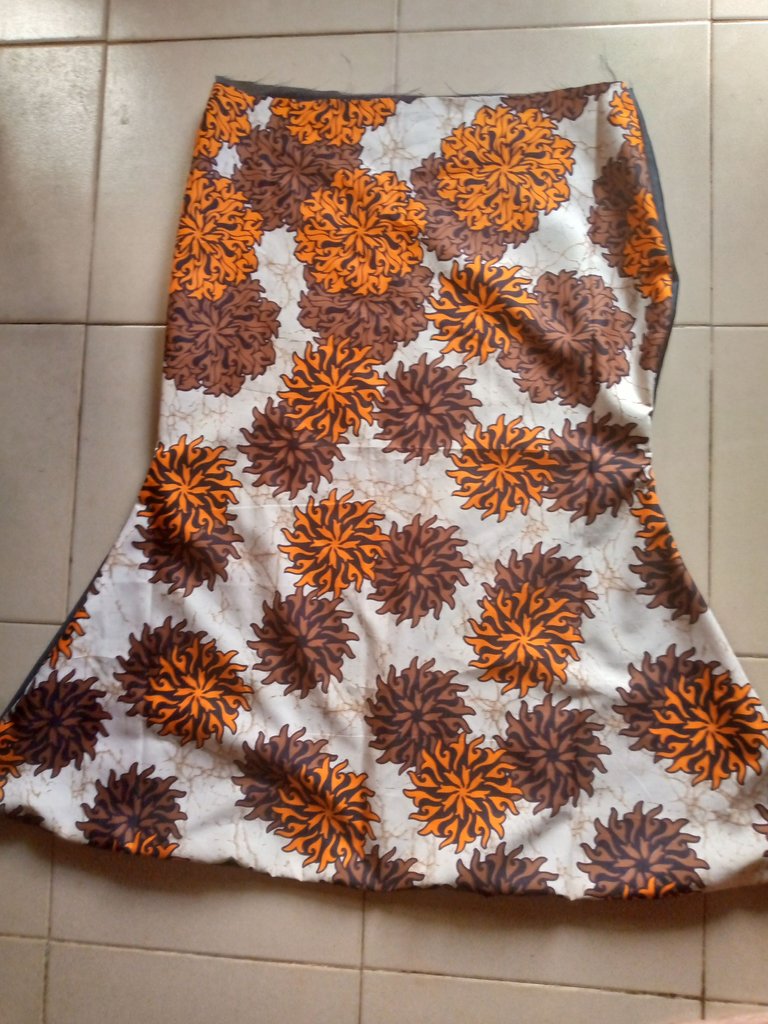

I turned all joined patterns with their lining part, also the skirt area
- Step 5

next, I joined the upper side of the dress to the lower part, also attacking a zipper at the back, at this point, I started adding the pearls and rhinestones to give more glitter to the fabric, and the sparkles give more life to the fabric.
- Step 6

Putting it on my mannequin now, Look at the chest area, don't you think it looks a bit dull, that was what I thought, so we decided to add more applique,
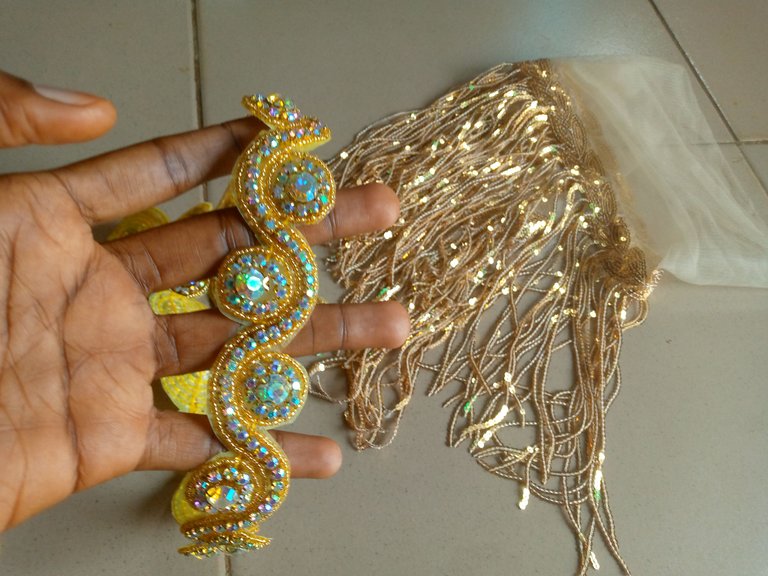
and I must say, an applique makes a huge difference, I attached the applique using a fabric gum, from one end of the sleeves, round the front chest, to the other end of the sleeves, which bring us to the final gorgeous look,
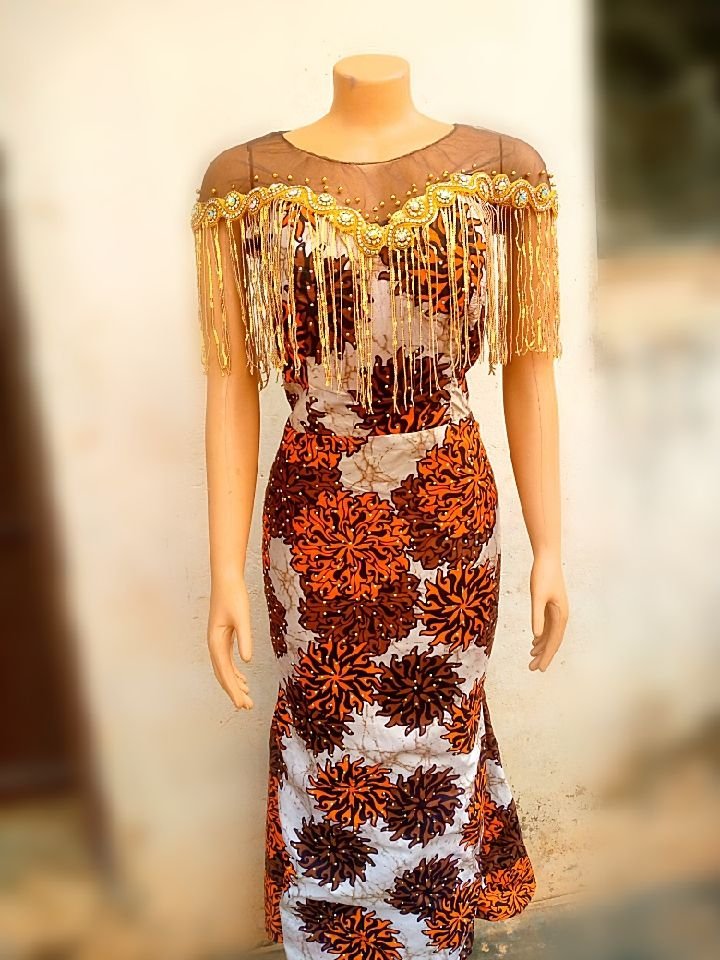
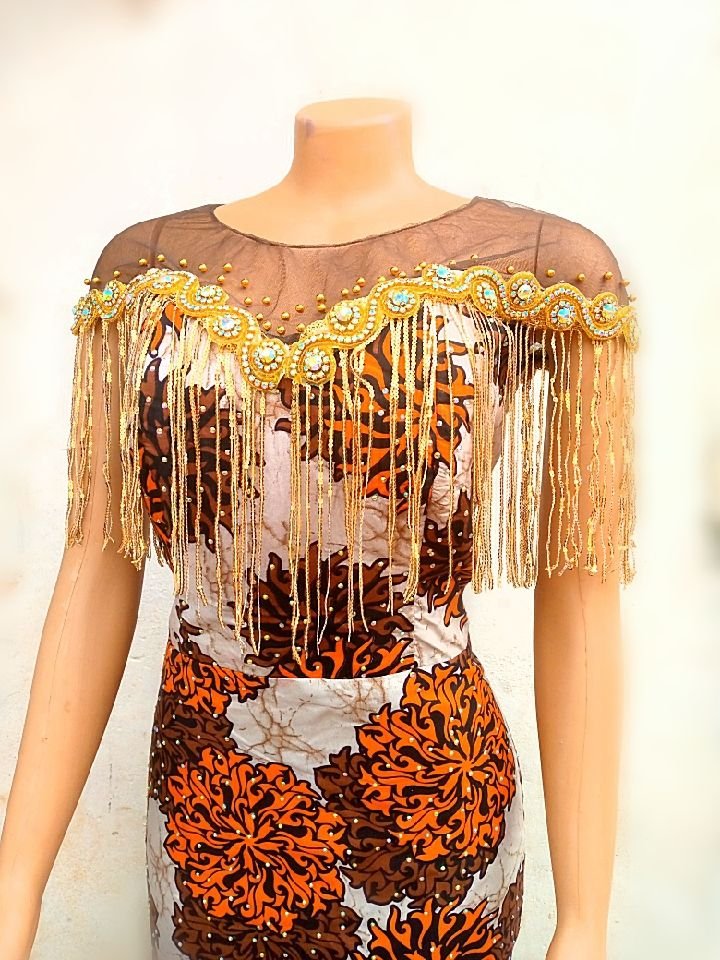

beautiful, isn't it?
I know she will absolutely love her dress when she sees the final result, can't wait for her to visit this weekend.
I hope you love my design, a feedback from you as well will be appreciated.
All images used in this post are mine.


