Hello everyone, welcome to my blog, I hope we are all doing well wherever we are. It gives me great pleasure to have you stop by my blog, it's going to be an interesting one today, as I will be sharing with us the process of how I made a beautifully designed dress for my friend's daughter. The best part is this design can also be worn by an adult, with a change in the basic measurements. Wondering where you can wear this outfit to? It can be worn as a dinner dress, to church, a traditional wedding party, or what we like to refer to as 'Owambe' in my country Nigeria, meaning where a celebration is happening.
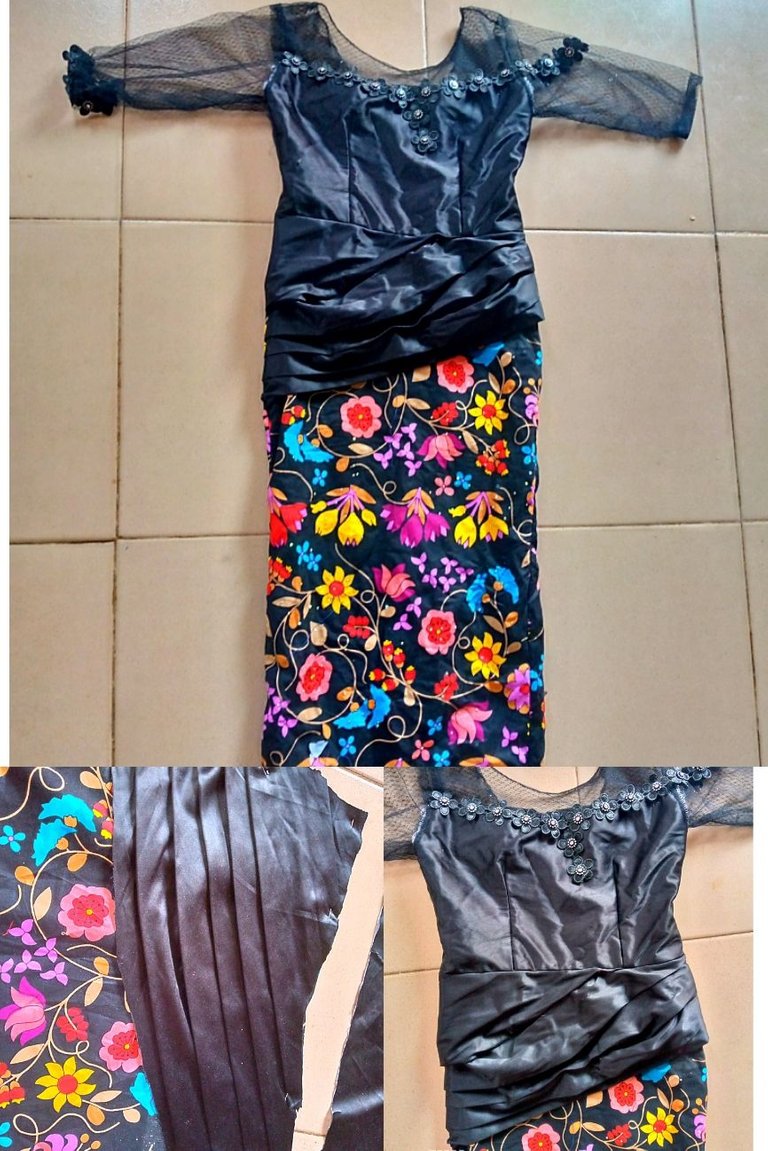
Without further ado, let's get right into the DIY process.
Duration It took me a day to get this dress to completion, although I had other activities going on in between.**
Materials/Tools needed
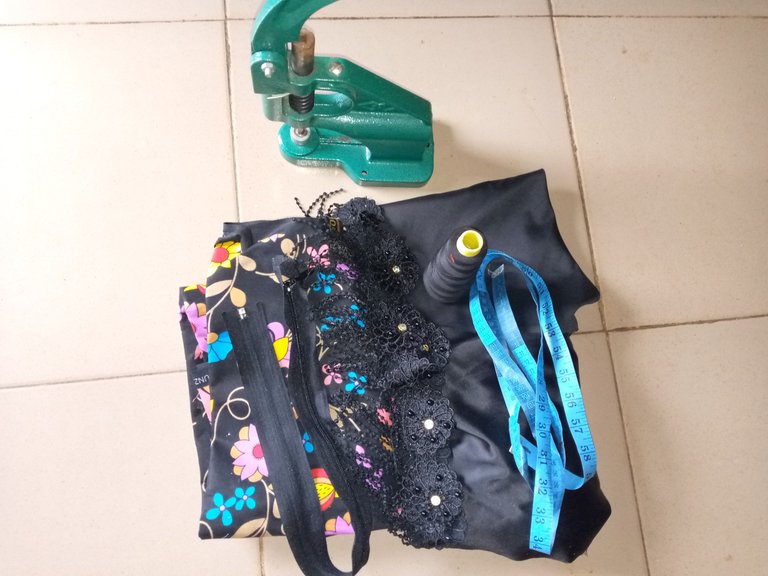
- Ankara fabric
- Dutchess fabric
- Net fabric
- Cotton lining
- Zipper
- flower applique
- Matching thread
And of course, a sewing machine, tape rule, and scissors.
PROCESS
Step 1
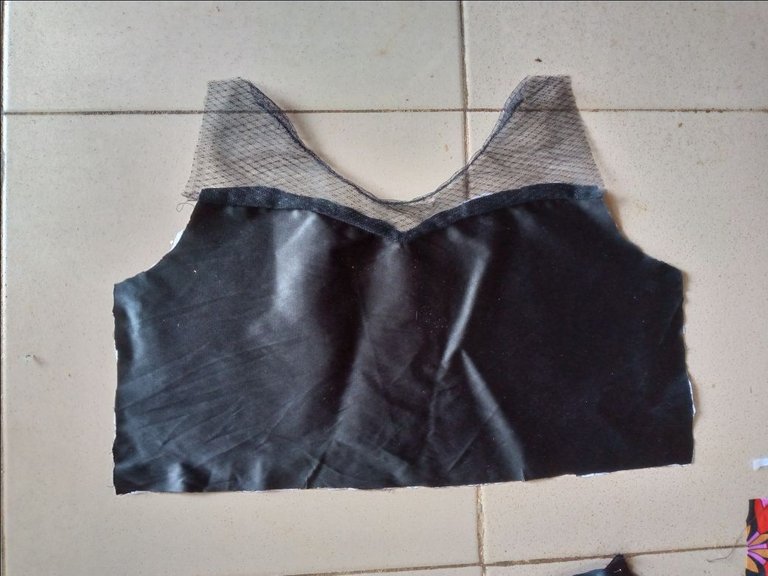
I started by drafting a basic upper bodice pattern using the Dutchess fabric which is satin-like, while the upper side of the bodice from the chest area is replaced with the net fabric, this part is also known as yoke.
Step 2
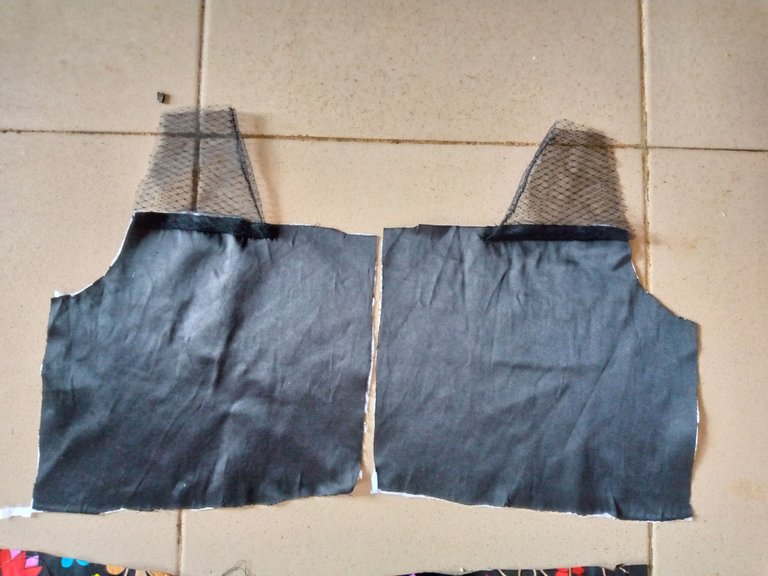
I drafted and cut out the upper back bodice, combining the dutchess and net fabric too.
Step 3
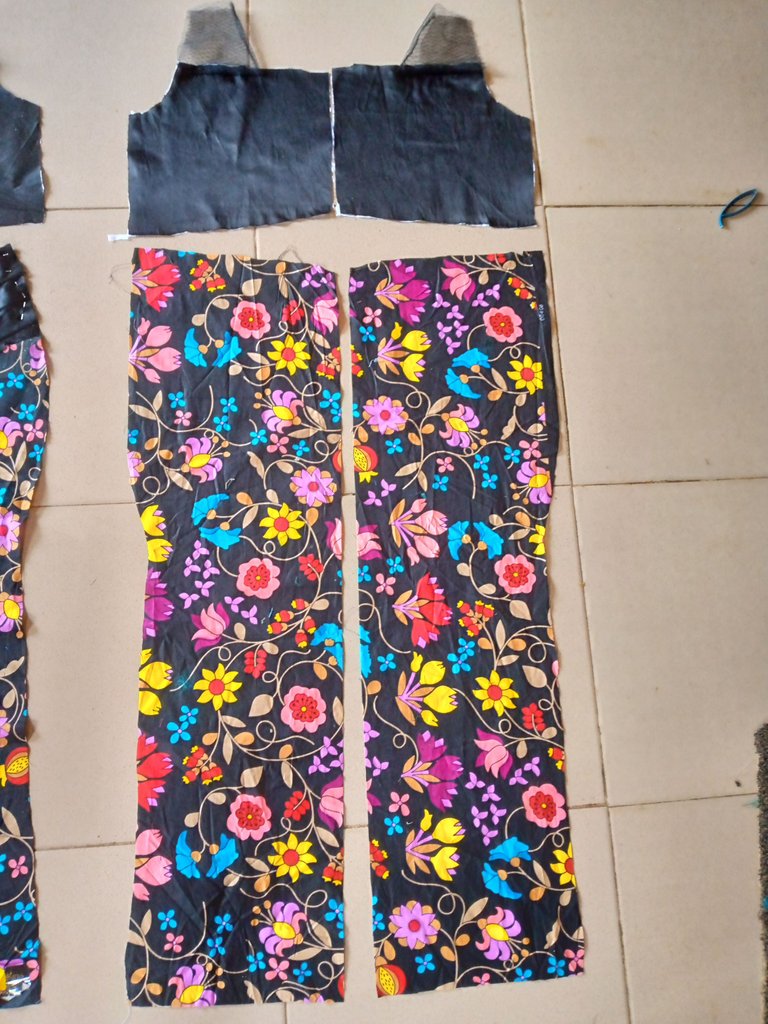
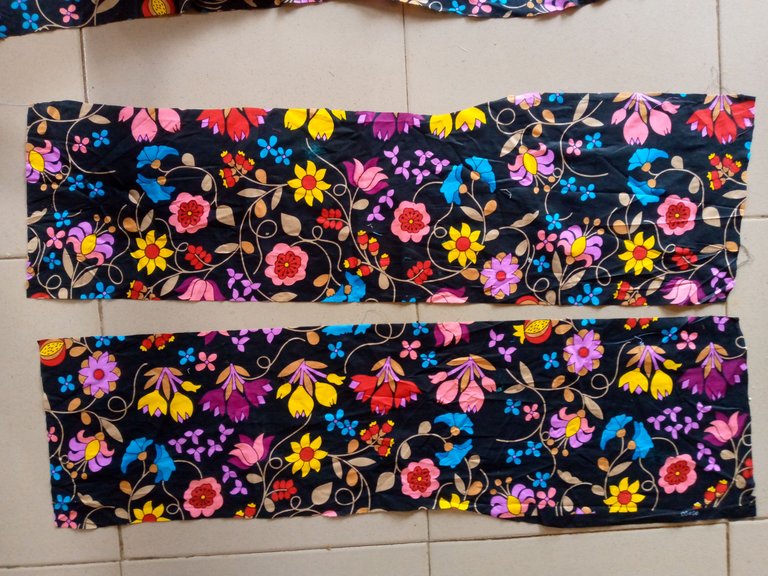
For the base of the dress, I used the ankara fabric, drafting the front and back using a straight skirt pattern.
Step 4
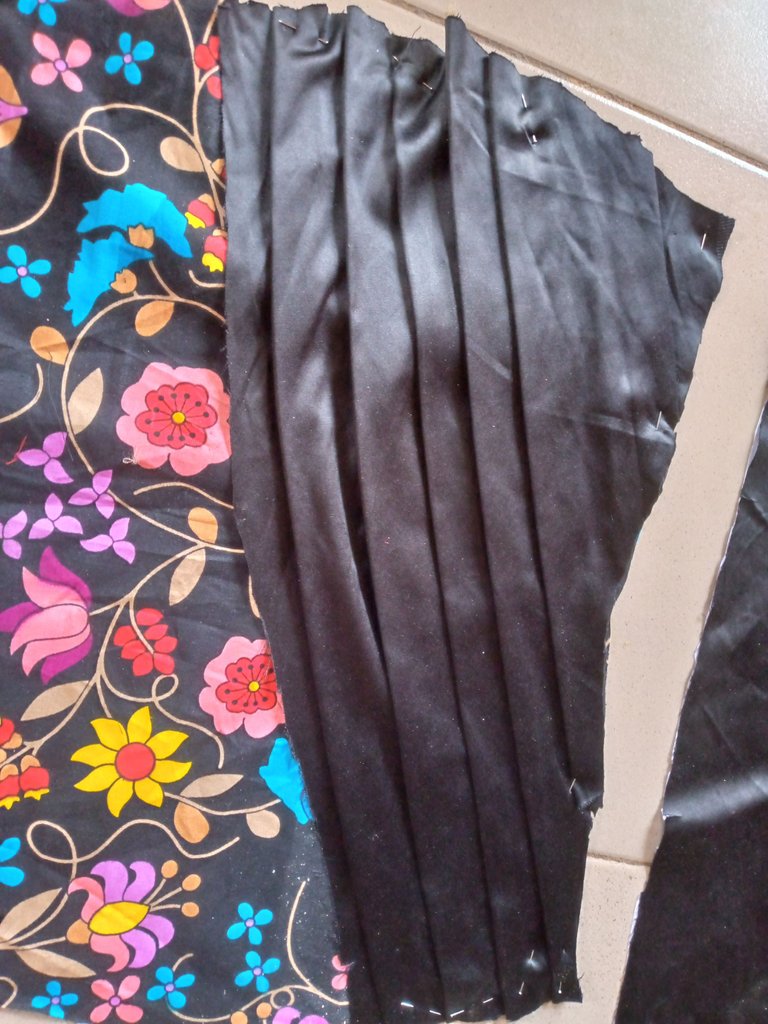
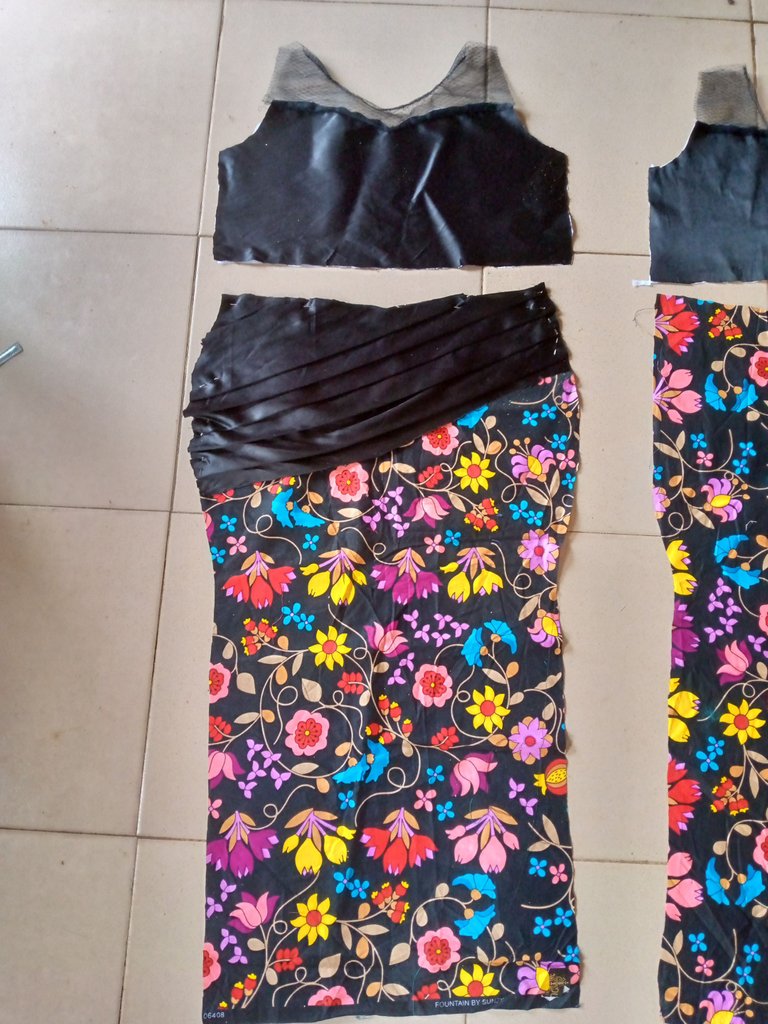
I made some pleats with the dutchess fabric on the front part of the dress base, the more the pleats determine the amount of fabric needed.
Step 5
I turned all patterns above with their replicated pattern piece for a neater finish.
Step 6
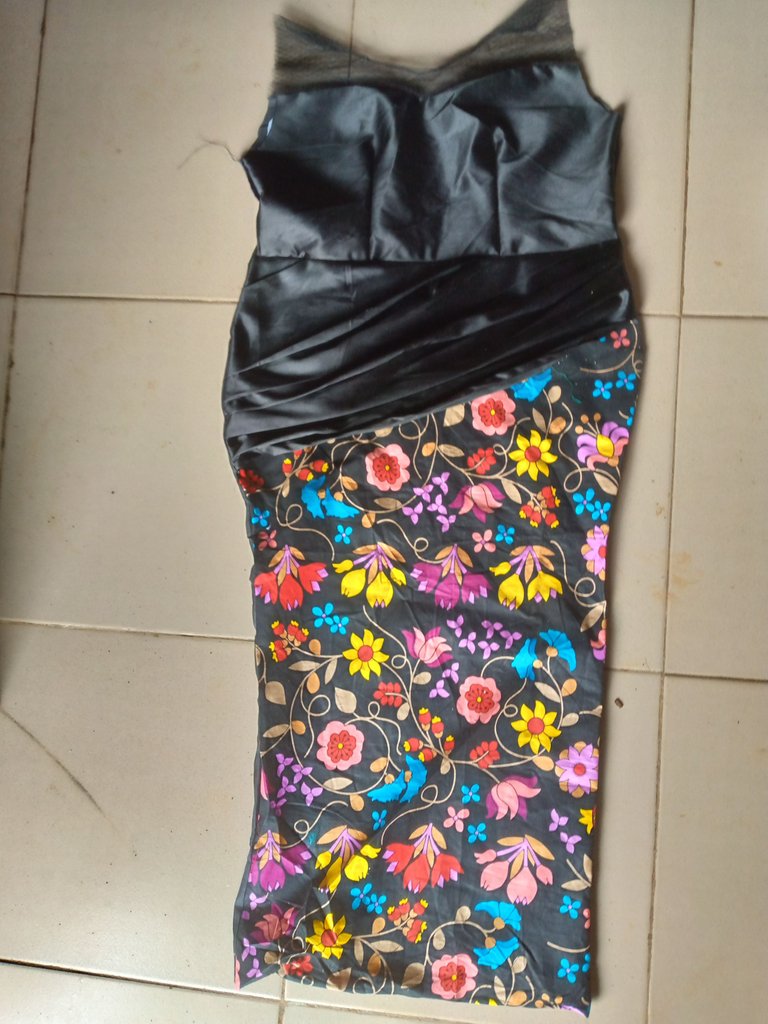
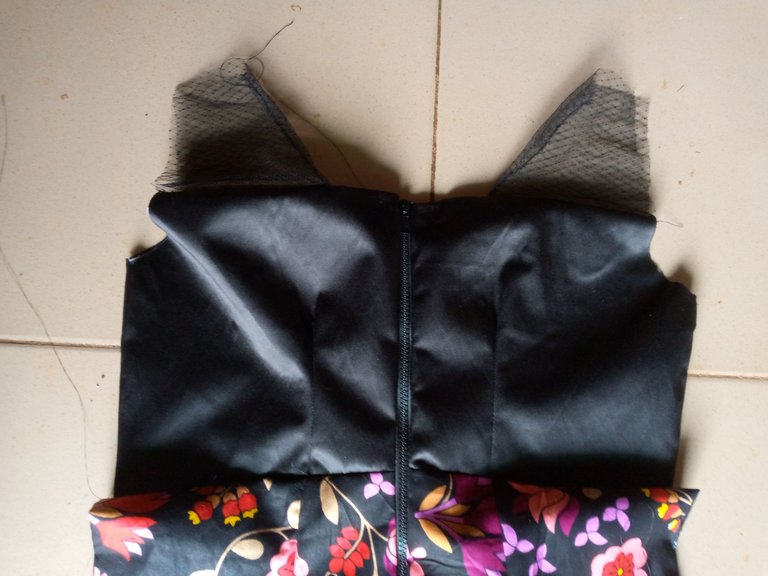
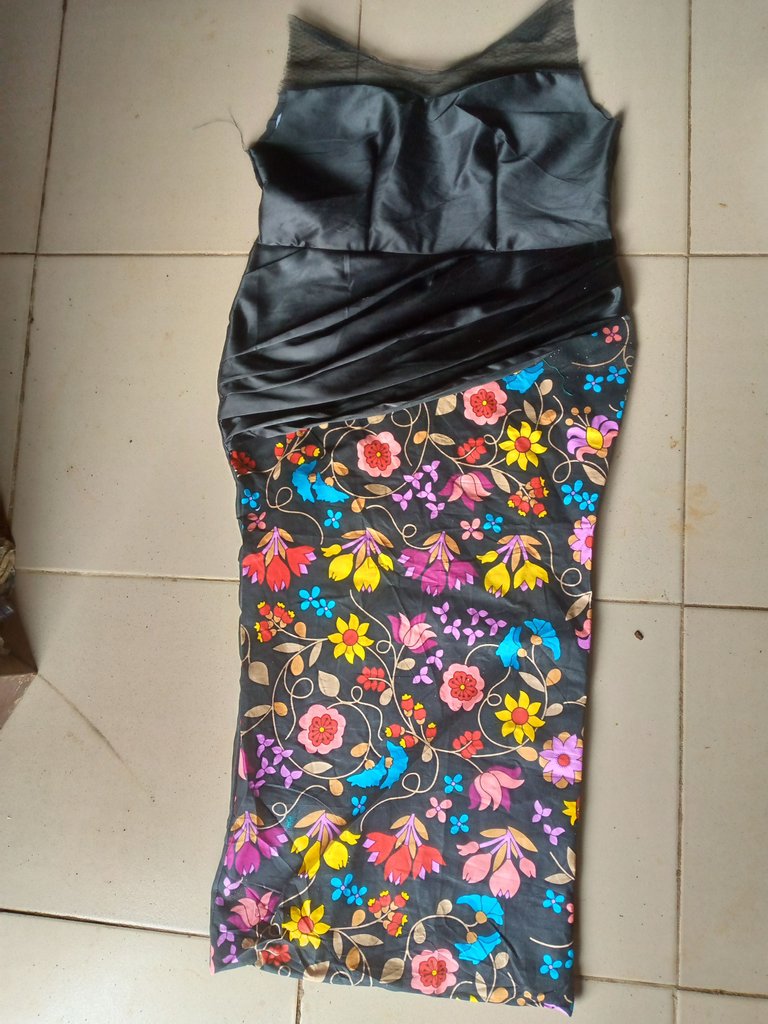
I joined the front upper bodice and the base at the waistline, and also did the same to the back, adding a zipper to the back part too.
Step 7
I joined the front and back together by the sides, according to the measurement required at the bust, hip, and waist.
Step 8
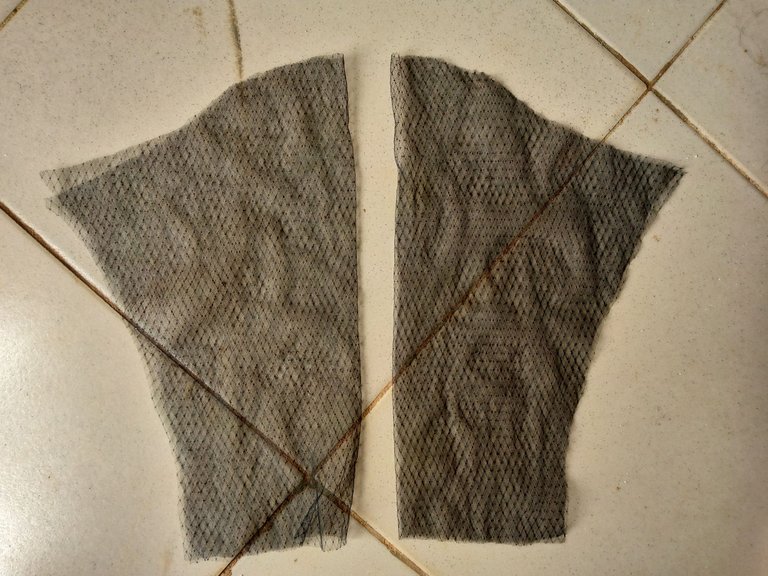
Almost done, I drafted and cut out a basic sleeve pattern, using the net fabric, which I attached to the armhole area of the dress.
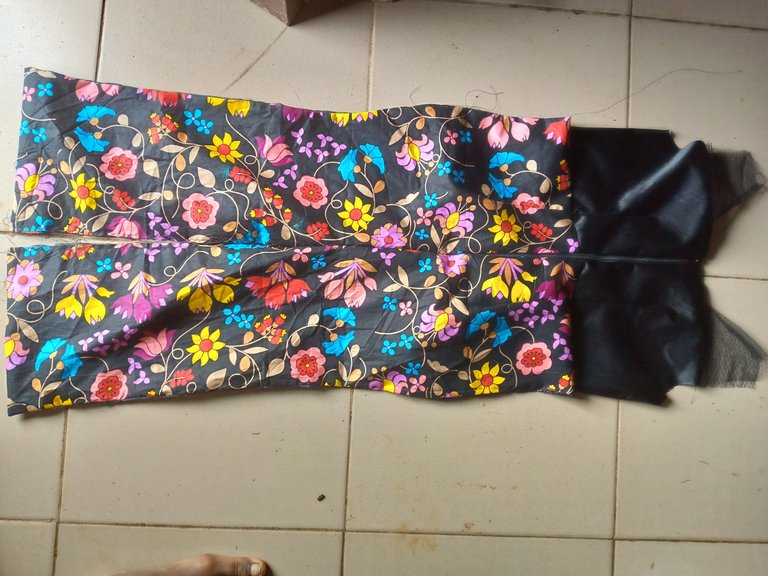
Step 9
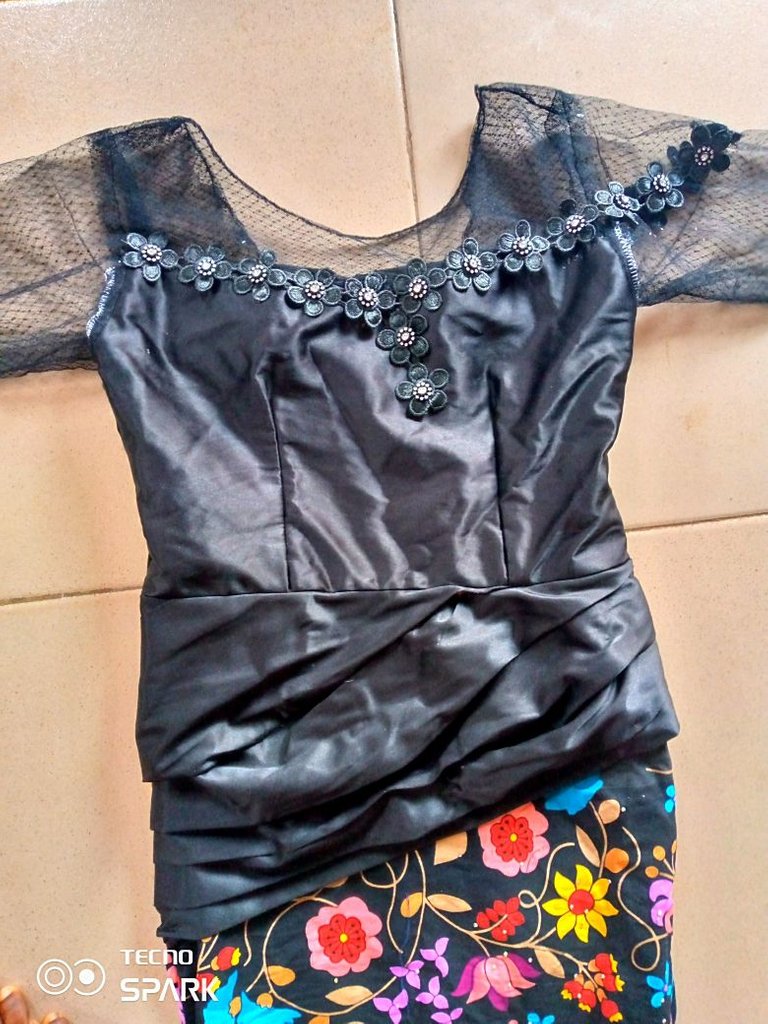
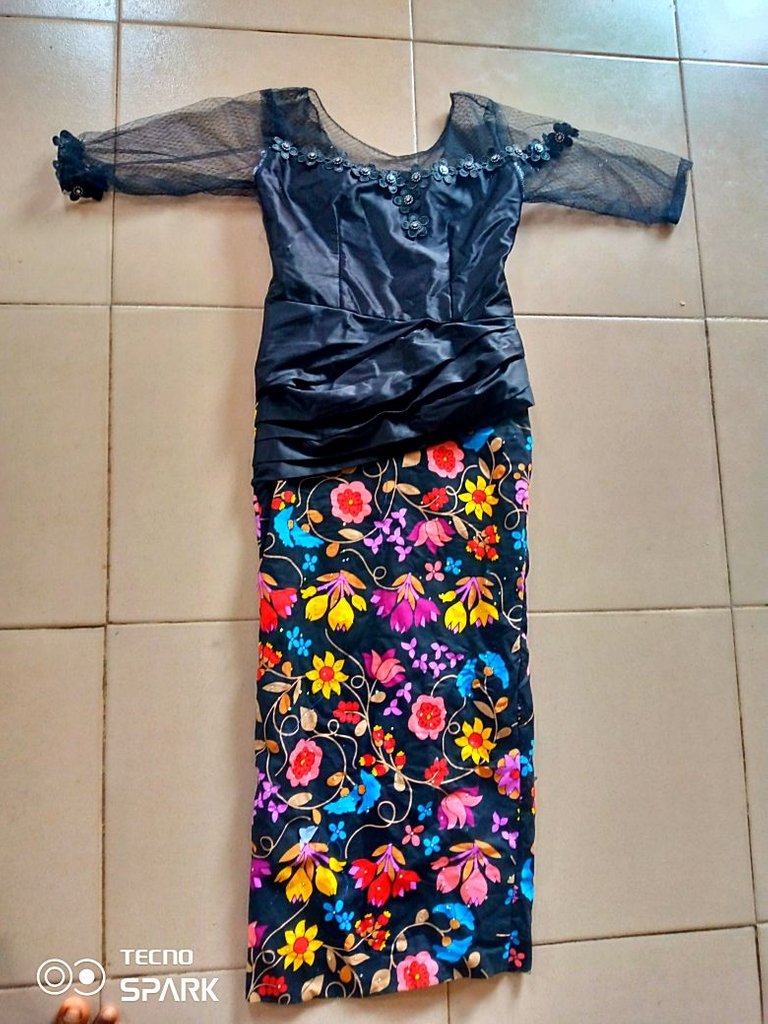
The dress is ready now, and I added the flower applique on the chest area through to one side of the sleeves for uniqueness and more enhancement of the dress.
Easy right? It will be much appreciated if you could leave feedback in the comment section, and tell me what you think of this dress, and how you find the DIY tutorial part also, if you found any part not clear enough, I will be more than delighted to explain more, If you have a little background in fashion designing already, I'm sure you will be able to recreate this dress following these simple steps above.
Please note, all images used in this post are mine.


