¡Hola hivers!💜
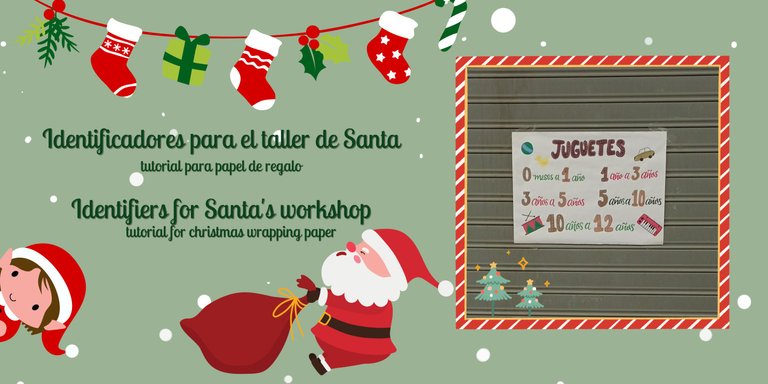
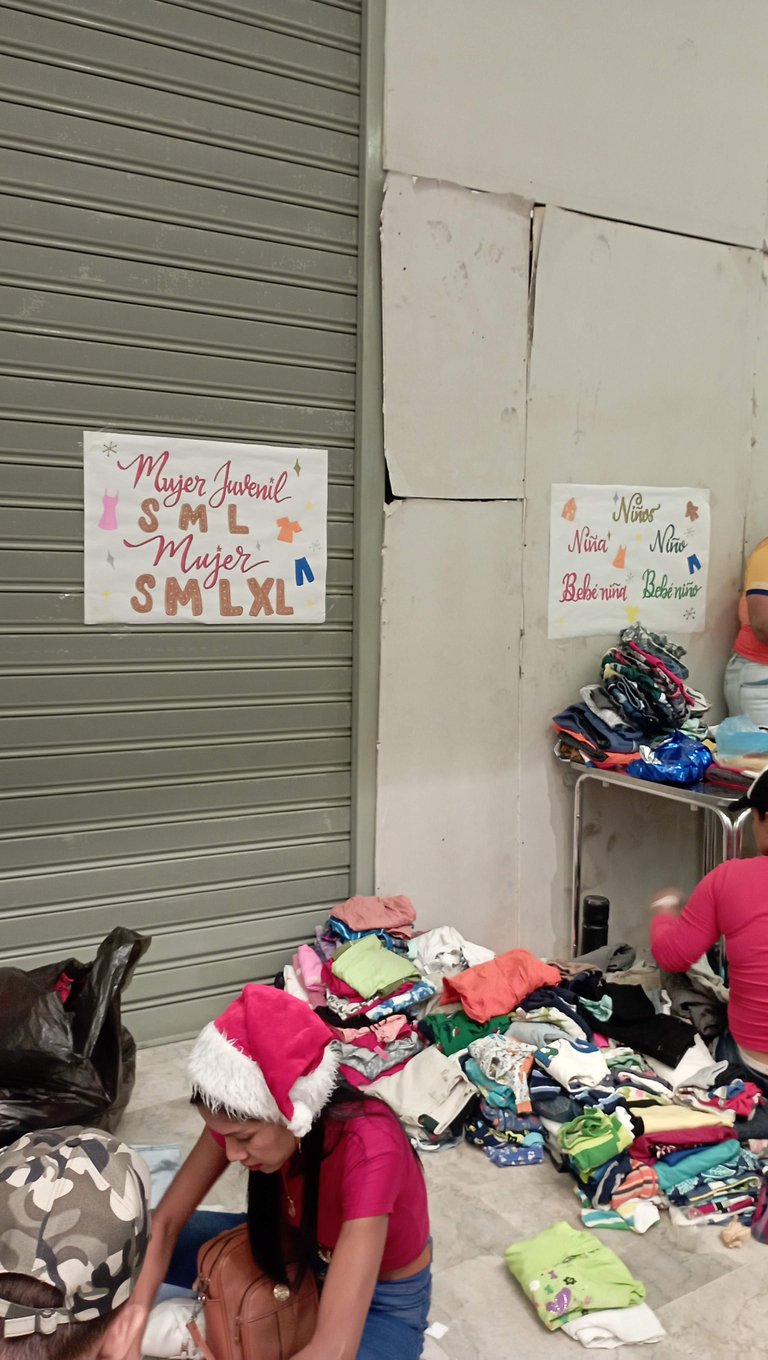
Un placer estar de regreso por esta hermosa y creativa comunidad. Esta vez quería mostrarles y contarles cómo hice estos identificadores de zona para la iniciativa Santa En las Calles de Cumaná. Para quienes no los conocen, Santa en las calles lleva 16 años llevando un regalo a personas en situación de calle y muy necesitadas. Reunimos donativos de ropa y juguetes en buen estado para el día del taller de Santa, reunirnos todos los duendes a separar, organizar, envolver y entregar los regalos en los trineos de santa. Aquí entran los identificadores de zona, porque es la forma de delimitar cada zona del taller según si es ropa de mujer, de hombre, niños, juguete y calzados.
Hello hivers!💜
A pleasure to be back for this beautiful and creative community. This time I wanted to show and tell you how I made these zone identifiers for the Santa On the Streets initiative in Cumaná. For those who don't know them, Santa On The Streets has been bringing a gift to homeless and very needy people for 16 years. We gather donations of clothes and toys in good condition for the day of Santa's workshop, where all the elves get together to separate, organize, wrap and deliver the gifts in Santa's sleighs. This is where the area identifiers come in, because this is the way to delimit each area of the workshop according to whether it is women's clothing, men's clothing, children's clothing, toys and shoes.

Este sería mi cuarto año participando, se ha convertido en una actividad familiar muy hermosa, donde terminamos agotados pero contentos. Se comunicaron conmigo para hacer los identificadores y ahora les cuento cómo: decidí usar técnicas de lettering con temática navideña que fácilmente pudieras usar en tus tarjetas navideñas o papel de regalo (te mostraré algunos ejemplos que he hecho). Te enseño como:
This would be my fourth year participating, it has become a very beautiful family activity, where we end up exhausted but happy. They contacted me to make the name tags and now I tell you how: I decided to use Christmas themed lettering techniques that you could easily use on your Christmas cards or wrapping paper (I'll show you some examples I've made). I show you how:
Para los identificadores use:
- Papel Bond (en caso de querer hacer papel de regalo puedes usar papel Kraft o hasta papel de reciclaje)
- Lápiz
- Goma de borrar
- Marcadores o lápices de colores (en mi caso, use marcadores de alcohol y marcadores de pintura acrílica)
For the identifiers use:
- Bond paper (in case you want to make gift wrapping paper you can use Kraft paper or even recycled paper).
- Pencil
- Eraser
- Markers or colored pencils (in my case, I used alcohol markers and acrylic paint markers)
PASO 1
Tener claro lo que deseas dibujar o escribir. Pudieras hacer doodles navideños (son garabatos, pueden ser árboles de navidad, bambalinas navideñas, juguetes, dulces) o escribir frases con algún estilo de lettering.
En mi caso, me indicaron que debía colocar en cada uno según la zona, pero aquí es donde viene mi toque, decidí:
- Usar una paleta de color muuuuy navideña (dos tonos de verde, dos tonos de rojo, dorado, plateado y negro).
- Titulos y subtitulos en brush lettering (estilo cursivo)
- Letras y números de galleta de navidad.
- Dibujar doodles navideños.
- Dibujar doodles en referencia a la zona, es decir, si era calzado, dibujar distintos tipos de calzados o si eran juguetes, dibujar algunos juguetes.
STEP 1
Be clear about what you want to draw or write. You could make Christmas doodles (they are doodles, they can be Christmas trees, Christmas decorations, toys, candies) or write phrases with a lettering style.
In my case, I was told what to put in each one according to the area, but here is where my touch comes in, I decided:
- To use a very Christmas color palette (two shades of green, two shades of red, gold, silver and black).
- Titles and subtitles in brush lettering (cursive style).
- Christmas cookie letters and numbers.
- Drawing Christmas doodles.
- Draw doodles in reference to the area, i.e. if it was shoes, draw different types of shoes or if it was toys, draw some toys.
PASO 2
Manos a la obra. Me gusta hacer primero un boceto (aunque no lo siga completamente) para así conocer la distribución del papel. Así que hice mi boceto y fui corrigiendo en la marcha.
STEP 2
Let's get to work. I like to make a sketch first (even if I don't follow it completely) so I know the layout of the paper. So I made my sketch and corrected as I went along.
PASO 3
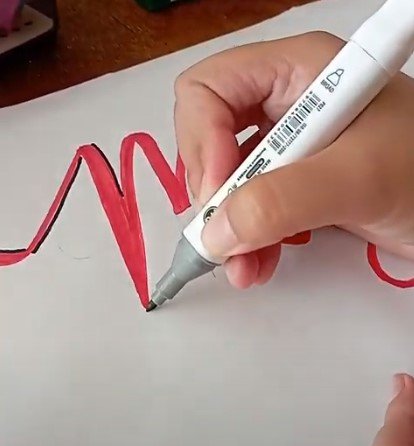
Luego hice las letras en brush lettering respetando que los trazos que suben son delgados y los que bajan son gruesos. También le agregué detalles como sombra y delineado para que resaltarán más.
STEP 3
Then I made the letters in brush lettering respecting that the strokes that go up are thin and the ones that go down are thick. I also added details like shadow and outline to make them stand out more.

PASO 4
Para las letras de galletas de navidad primero dibuje la letra con un estilo sana serif o palo seco (son letras rectas, sin serifas), en este caso las redondee un poco para asemejar la forma de los moldes de galletas. Tome de inspiración algunos doodles de muñecos de galletas para esto. Le puse de fondo distintos tonos de marrón (algunos canela, otros más oscuros como que se tosto demás y otro como si fuera chocolate) con marcadores de agua y alcohol.
Ahora, este estilo de galletas lleva como un delineado con glaseado. Para esto use un marcador de pintura blanco o beige (en caso de no tener uno, te puede servir un lapicero de gel blanco o un corrector líquido). Así hice el delineado y le agregué algunos puntos y estrellas.
STEP 4
For the Christmas cookie letters first draw the lettering in a sana serif style (straight, sans serif letters), in this case I rounded them a bit to resemble the shape of the cookie cutters. I took inspiration from some cookie cutter doodles for this. I put different shades of brown as background (some cinnamon, some darker as if it was roasted and other as if it were chocolate) with water and alcohol markers.
Now, this style of cookies has like an outline with icing. For this I used a white or beige paint marker (in case you don't have one, you can use a white gel pen or a liquid concealer). This is how I made the outline and added some dots and stars.

PASO 5
Con las letras listas, quedan pendientes los doodles. Para el de ropa de mujer puse pantalones, vestidos y camisas. Para el de ropa de hombres dibuje pantalones y camisas. Para el de ropa de niños y bebés puse camisas, vestidos y enterizos. Para el de calzado use distintos tipos de calzados como botas, tacones, zapatos de goma. Para el de juguetes dibuje distintos juguetes como un tambor, un piano, un carrito, un pato amarillo.
Para esto use marcadores de pintura, pero podrías usar cualquier otro tipo de marcador o lápices de colores.
STEP 5
With the letters ready, the doodles are pending. For the one for women's clothing I drew pants, dresses and shirts. For the men's clothing doodle I drew pants and shirts. For the children's and babies' clothing doodles I drew shirts, dresses, and onesies. For footwear I used different types of shoes such as boots, heels, rubber shoes. For the toys I drew different toys such as a drum, a piano, a cart, a yellow duck.
For this I used paint markers, but you could use any other type of marker or colored pencils.
PASO 6
Solo faltaba terminar de dar el toque navideño. Dibuje estrellas, destellos, algunos copos de nieve, árboles de navidad y regalos.
STEP 6
All that was left to do was to finish the Christmas touch. Draw stars, sparkles, some snowflakes, Christmas trees and presents.


PASO 7
Listos para el taller de santa✨
STEP 7
Ready for Santa's workshop✨
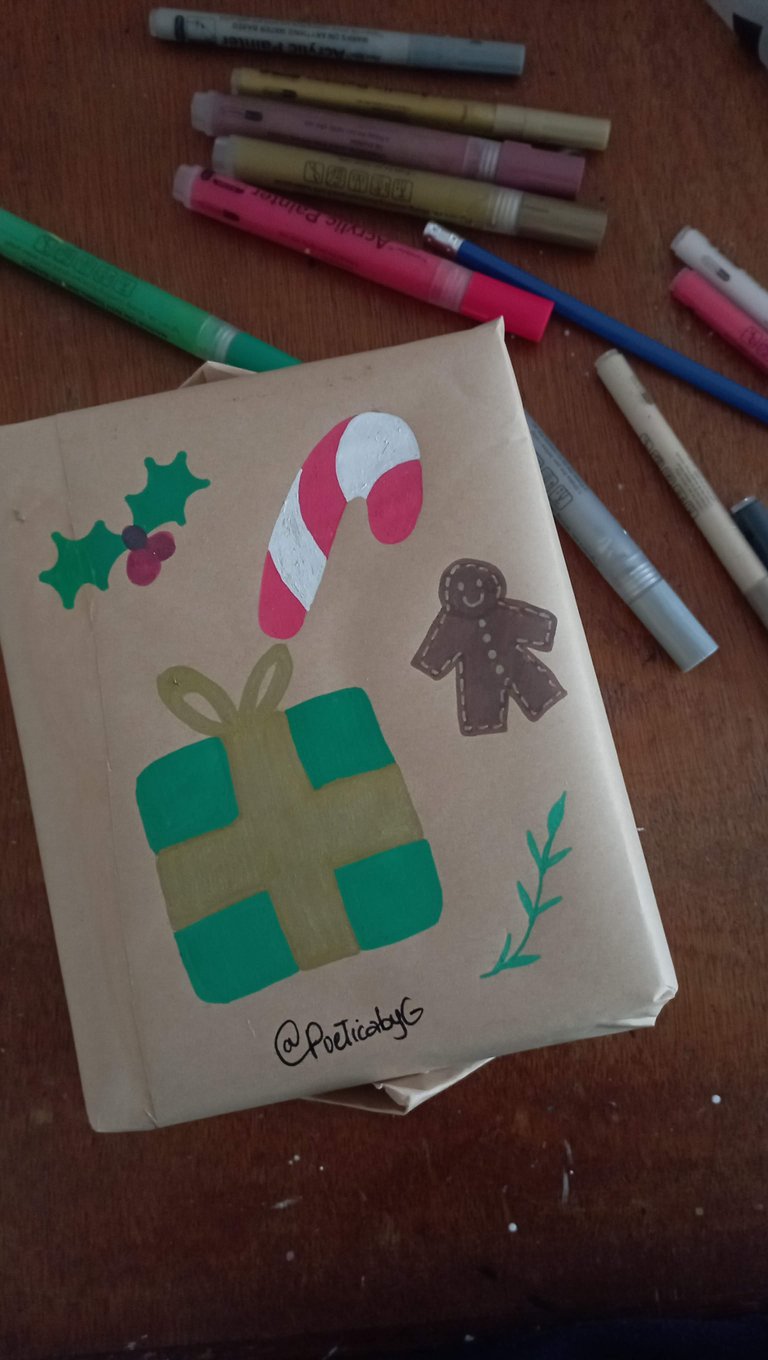
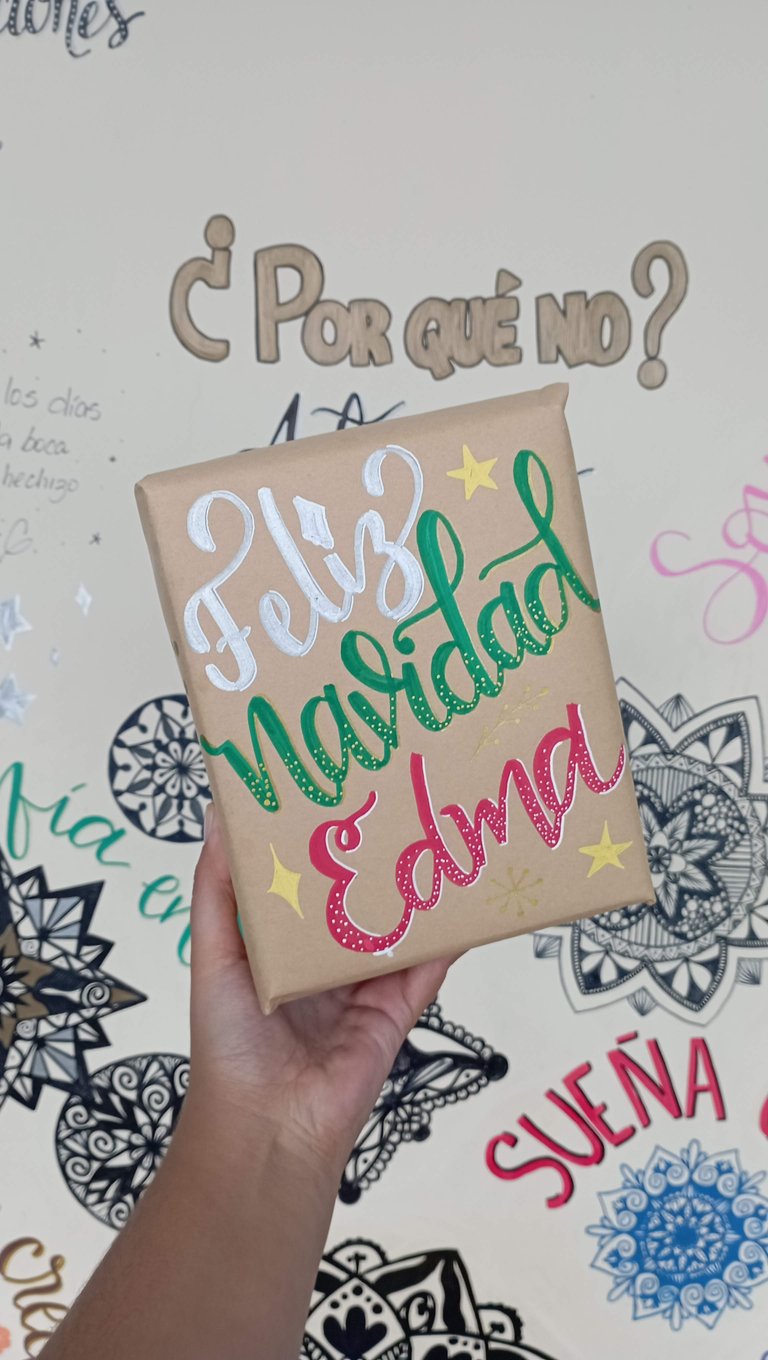
Estos son otros ejemplos de papel de regalo que he hecho.
Espero les haya gustado este tutorial y les sea útil para su papel de regalo y tarjetas. Pronto les estaré contando sobre el taller de santa y la entrega de donativos.
Here are some other examples of gift wrap I have made.
I hope you liked this tutorial and find it useful for your gift wrap and cards. Soon I will be telling you about the santa workshop and the donation drop off.
Gracias por leerme
Con cariño, G.
Thank you for reading me
With love, G..
FUENTE
Fotos: tomadas por mi desde mi redmi 10
Traducción: Deepl
SOURCE
Photos: taken by me from my redmi 10
Translation: Deepl
