Greetings, dear creators.
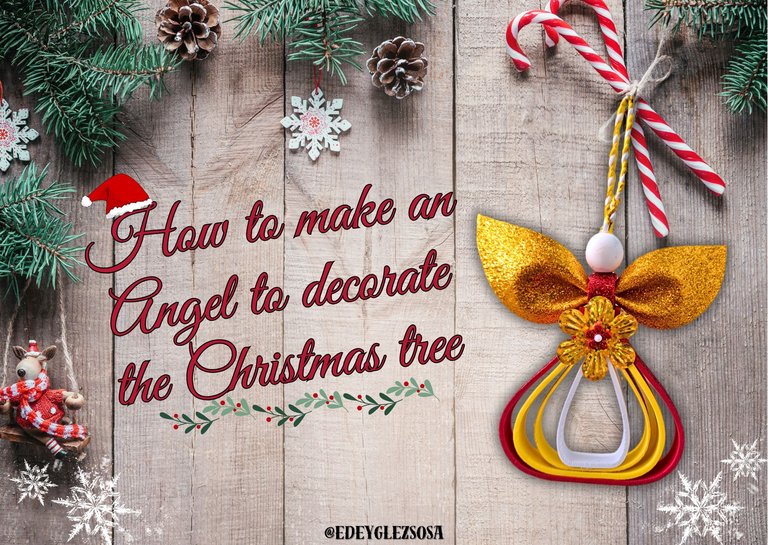
Since I was late for Halloween and couldn't bring you even half of the crafts I had in mind, I have decided to get a little ahead of time for Christmas. This time I have brought you a tutorial where I will show you how to make a Christmas tree ornament in the shape of an angel.
This is a very easy craft to make, so it can be done quickly and in large quantities, so with just a little variation of colors, you can have a complete set of decorations for your Christmas tree. In the tutorial, I mainly use the fomi in sheets and I explain how to pay attention to the measurements, since the final shape of the ornament depends on them.
Saludos, queridos creadores.
Debido a que para Halloween se me hizo tarde y no pude traerles ni la mitad de las manualidades que tenía en mente, he decidido adelantarme un poco para Navidad. En esta ocasión les he traído un tutorial donde les mostraré cómo confeccionar un adorno para el árbol de Navidad con la forma de un angelito.
Esta es una manualidad muy fácil de confeccionar, así que se podrá hacer bien rápido y en cantidades, por lo cual, con solo variar un poco los colores, podrán tener un set completo de decoraciones para su árbol navideño. En el tutorial, empleo principalmente el fomi en láminas y explico cómo atender bien a las medidas, ya que de ellas depende en gran medida la forma final del adorno.
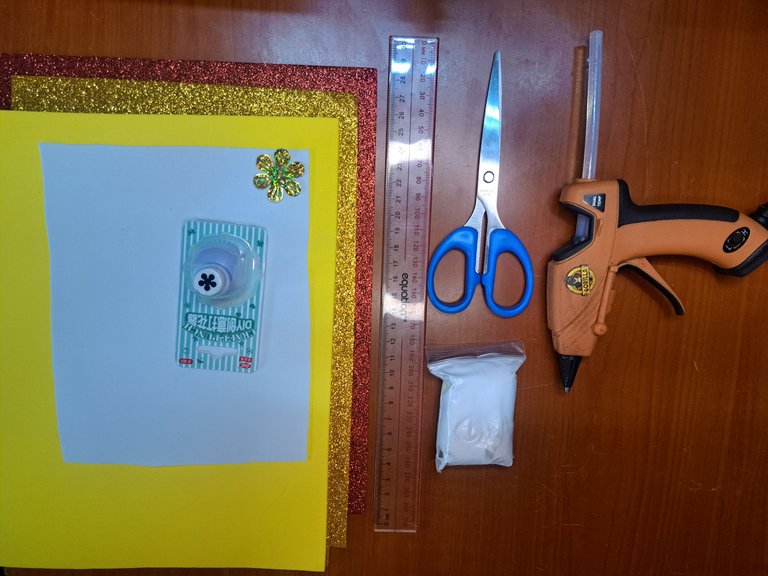
Materials // Materiales
| English | Español |
| ✔️ Red and gold frosted fomi | ✔️ Fomi escarchado rojo y dorado |
| ✔️ Yellow and white frosted fomi | ✔️ Fomi escarchado amarillo y blanco |
| ✔️ Moldable Fomi white | ✔️ Fomi moldeable blanco |
| ✔️ Flower-shaped hole punch | ✔️ Perforadora con forma de flor |
| ✔️ Golden plastic flower | ✔️ Flor plástica dorada |
| ✔️ Scissors | ✔️ Tijeras |
| ✔️ Ruler and marker | ✔️ Regla y marcador |
| ✔️ Hot Silicone | ✔️ Silicona Caliente |
Step by step // Paso a paso
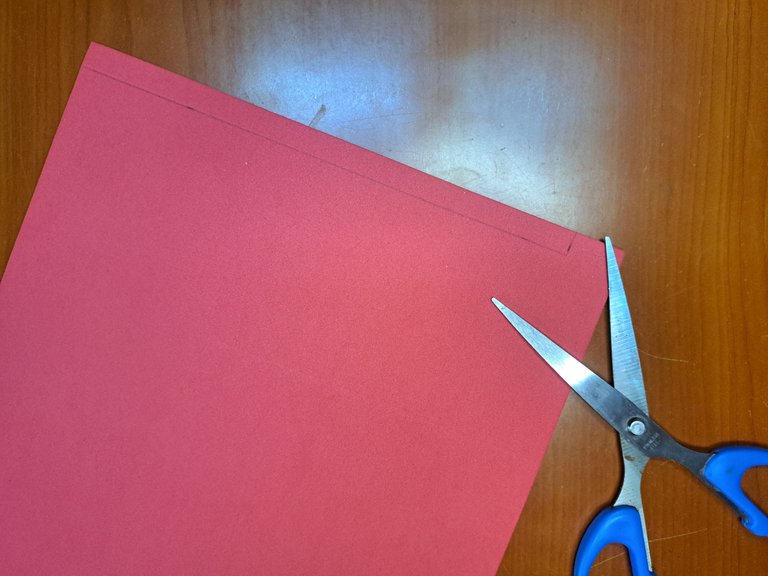
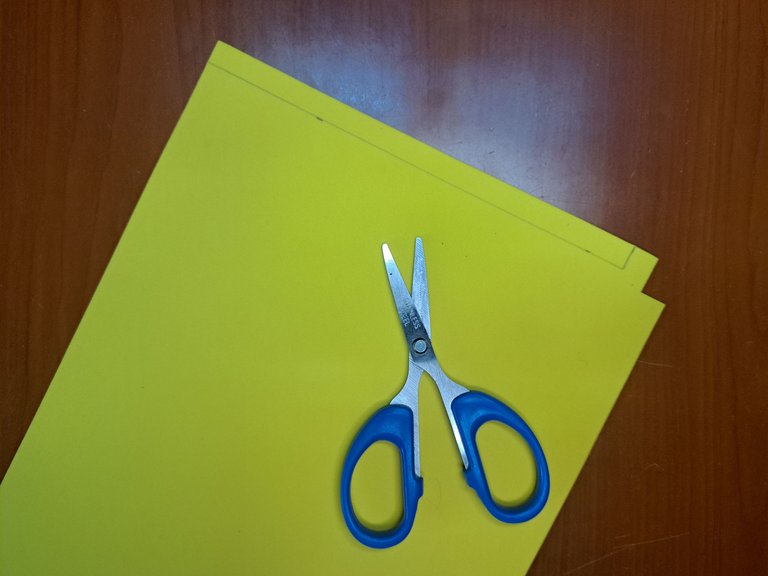
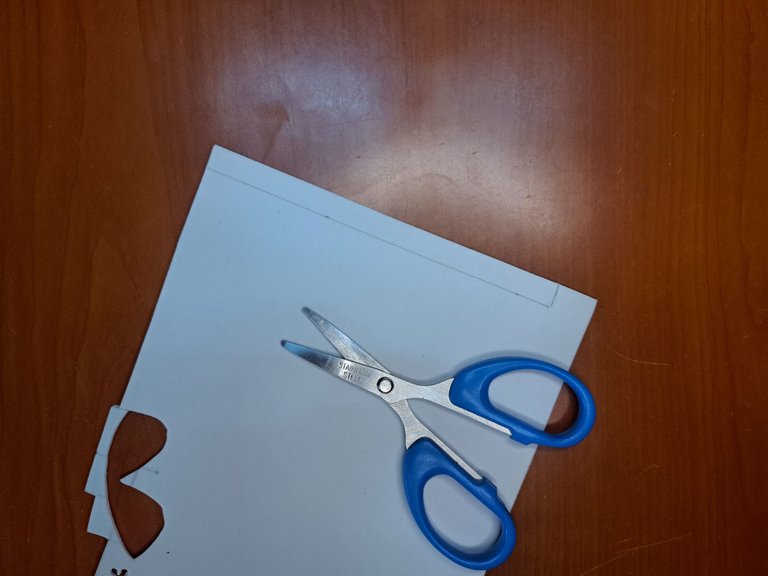
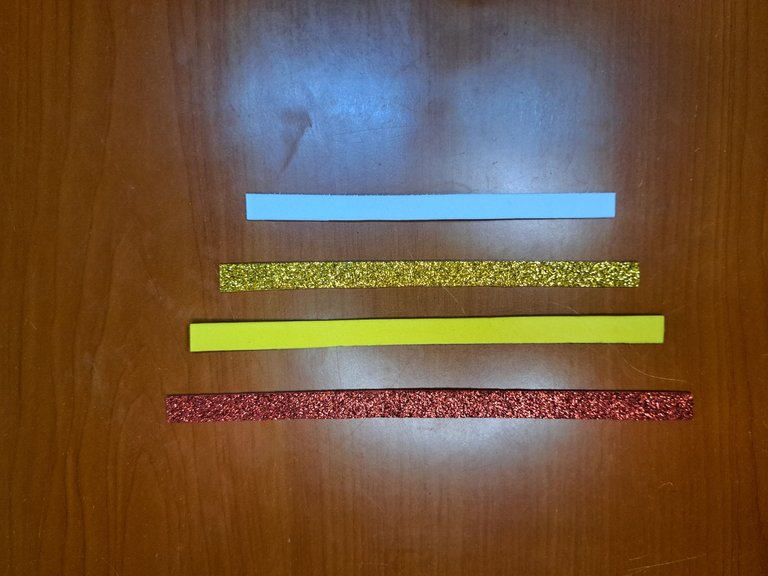
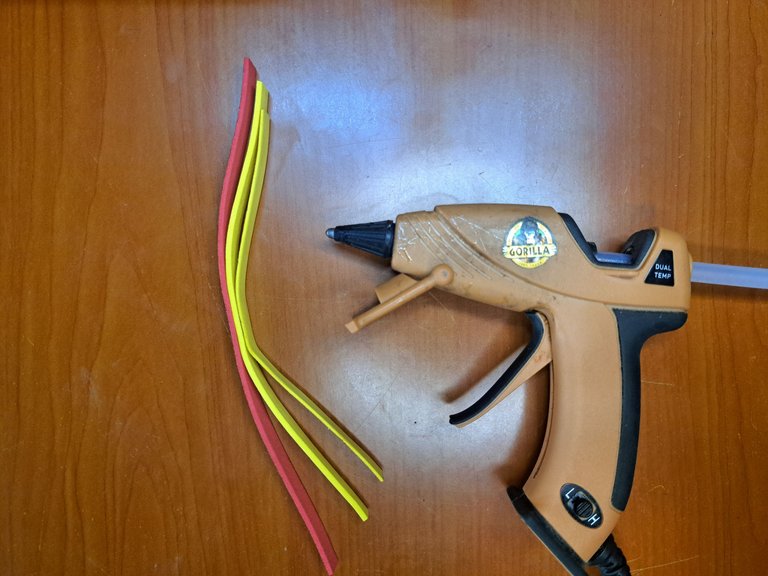
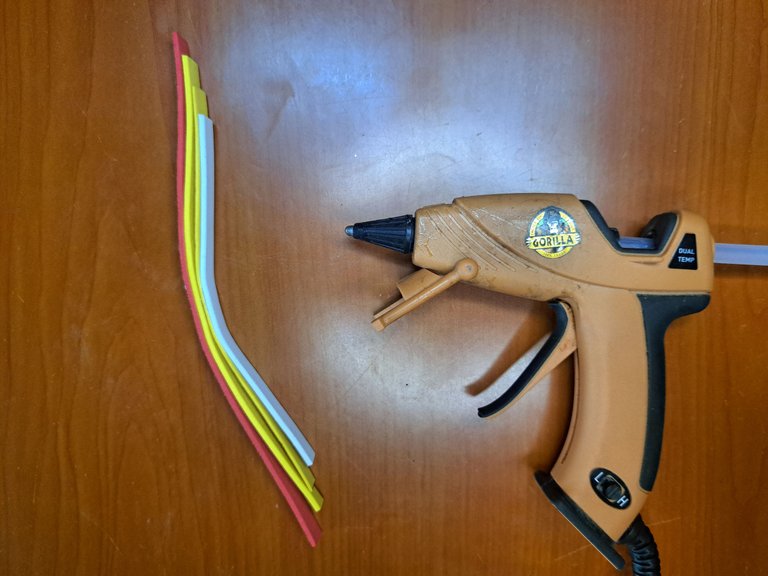
1️⃣ Mark and cut out 4 strips of fomi. The first will be 1 cm x 20 cm, the second 1 cm x 18 cm, the third 1 cm x 16 cm and the fourth 1 cm x 14 cm. The order of the colors is free, in this case we used red, yellow, gold and white.
Marca y recorta 4 tiras de fomi. La primera será de 1 cm x 20 cm, la segunda de 1 cm x 18 cm, la tercera de 1 cm x 16 cm y la cuarta de 1 cm x 14 cm. El orden de los colores es libre, en este caso se usó rojo, amarillo, dorado y blanco.
 |  |
 |  |
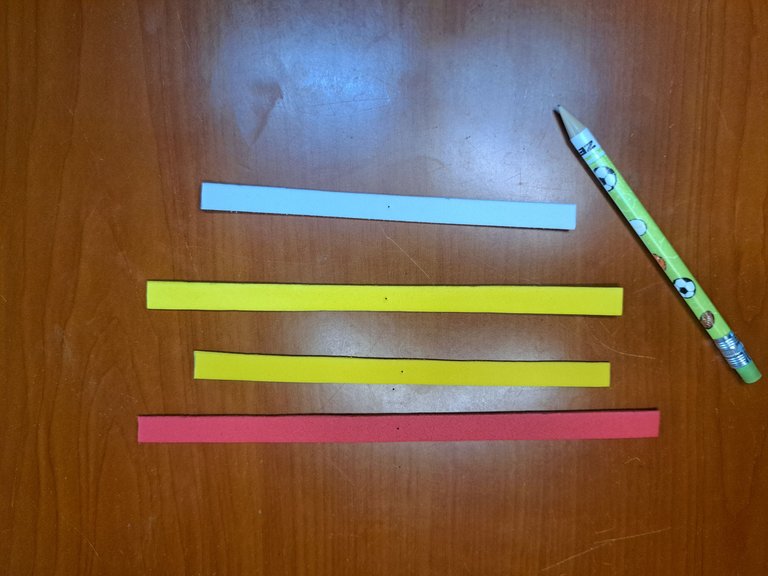
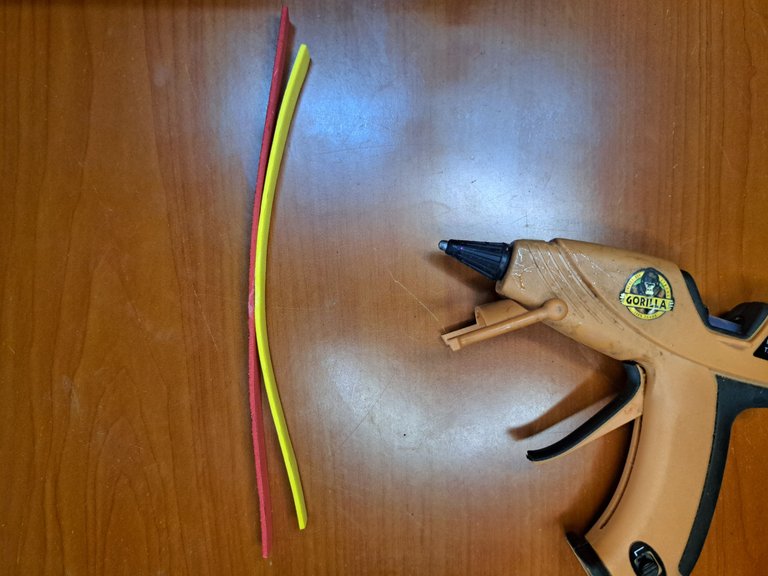
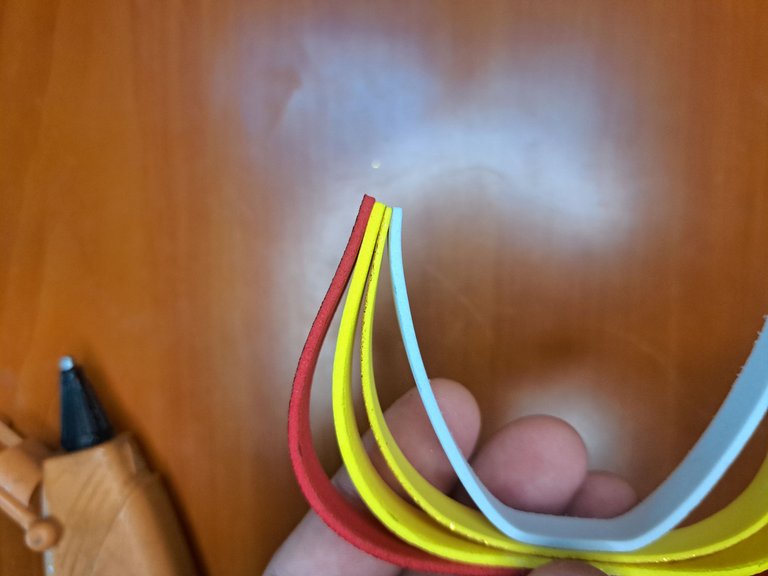
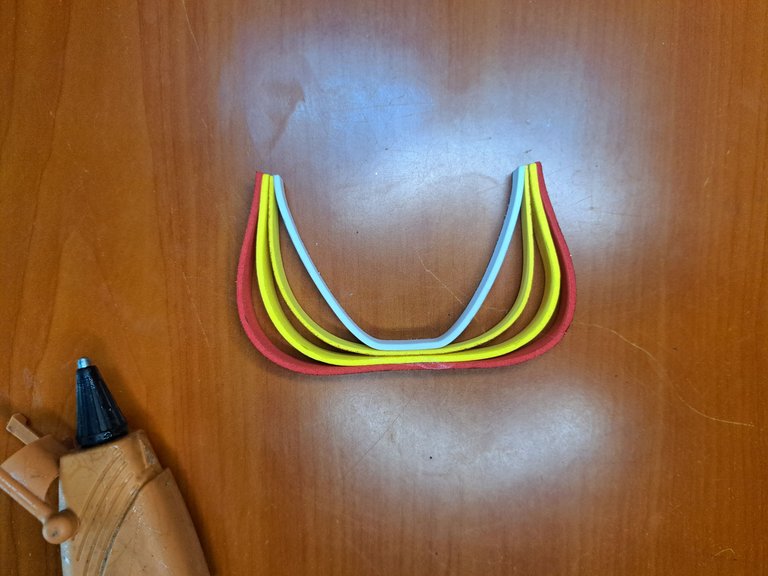
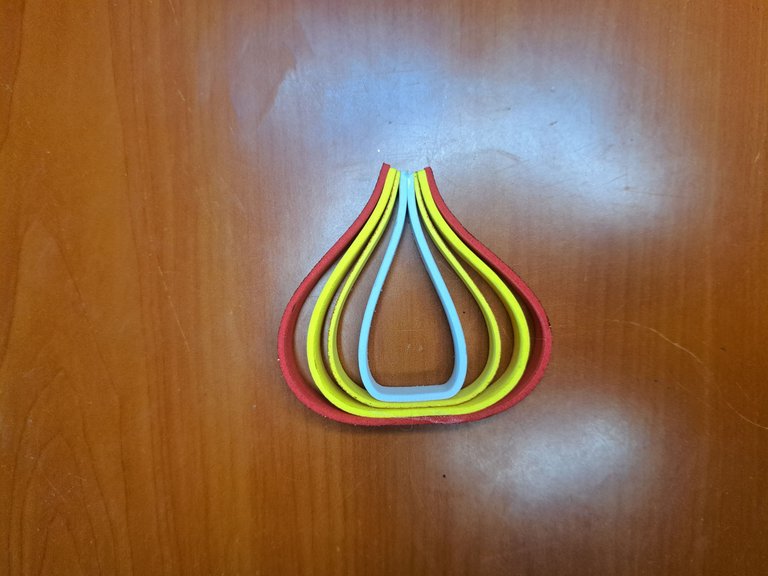
2️⃣ Mark each of the fomi strips down the middle and glue them together. Then glue the ends of the strips together to form the body.
Marca cada una de las tiras de fomi por el medio y pégalas entre sí. Luego pega las puntas de los extremos al mismo nivel para formar el cuerpo.
 |  |
 |  |  |
 |  |
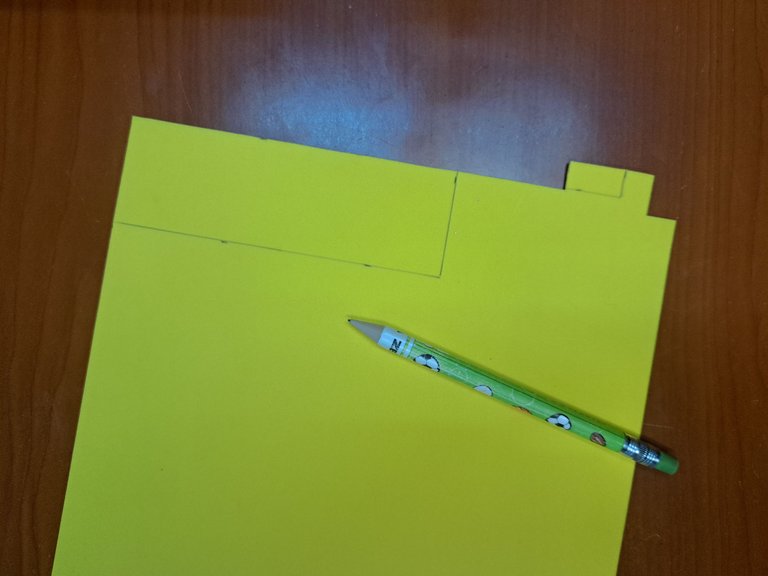
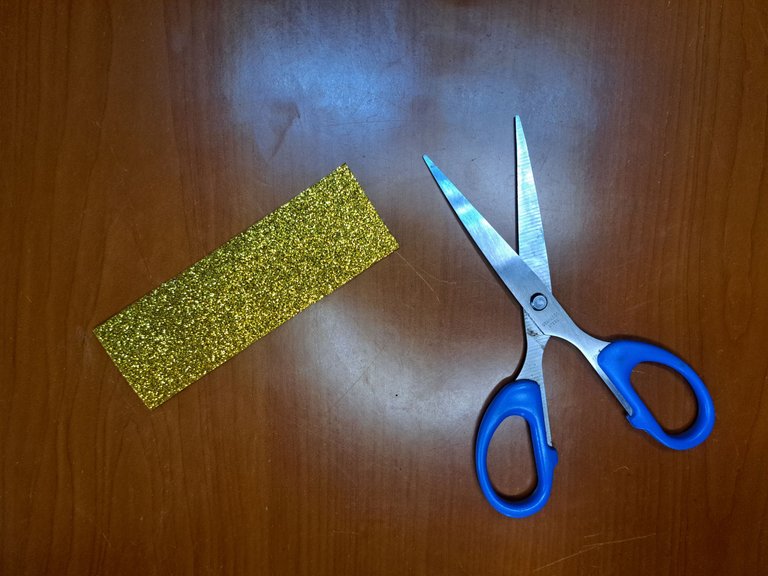
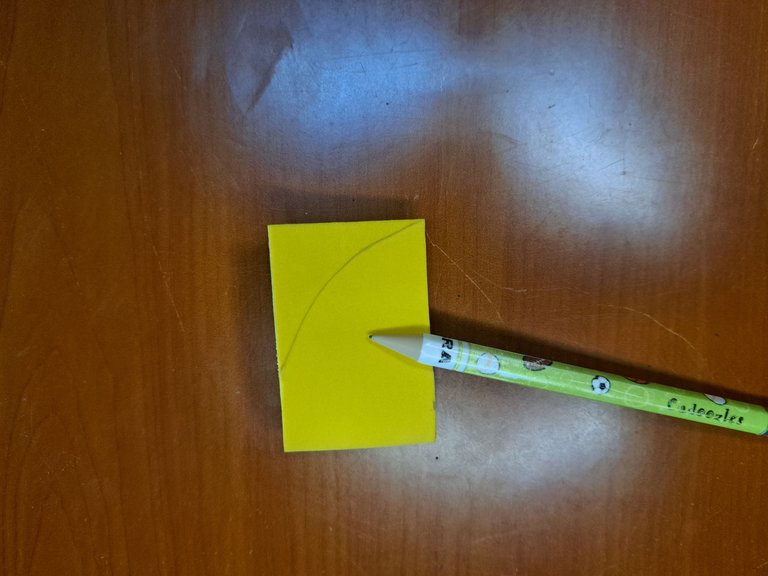
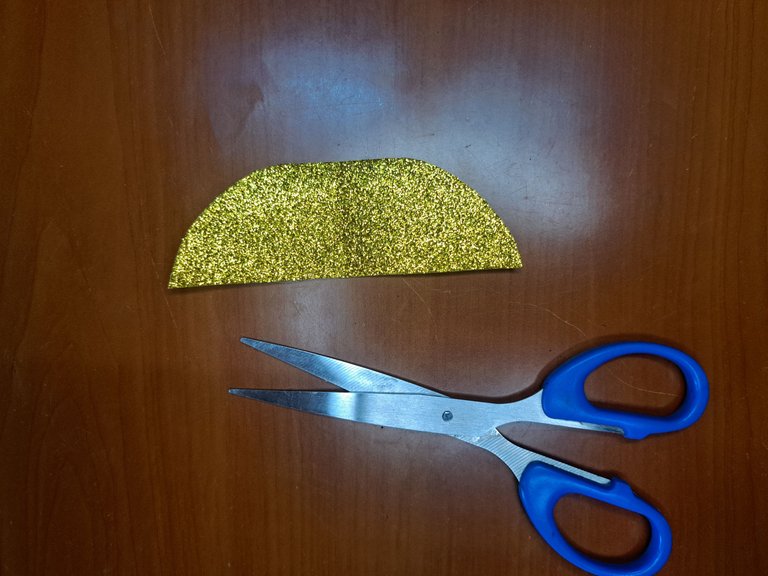
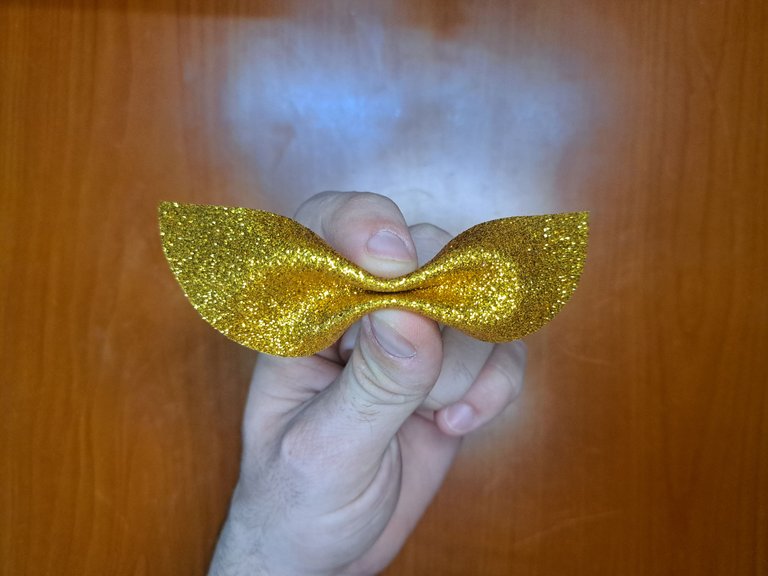
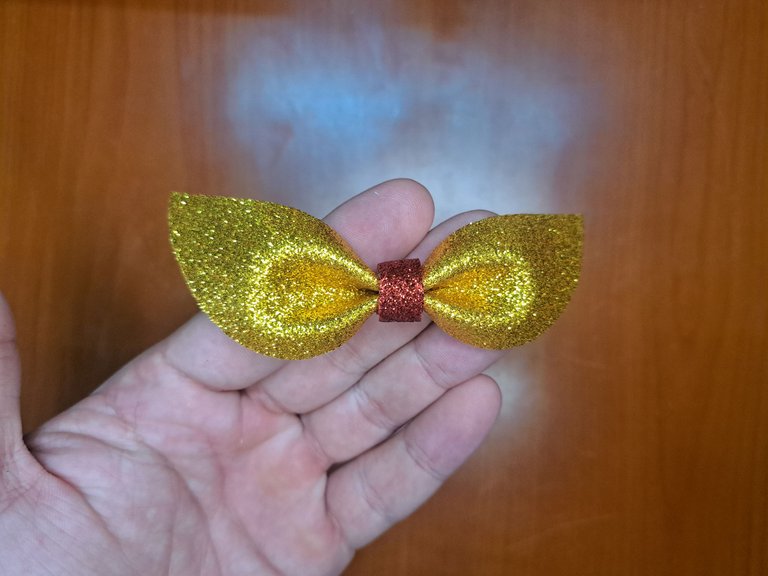
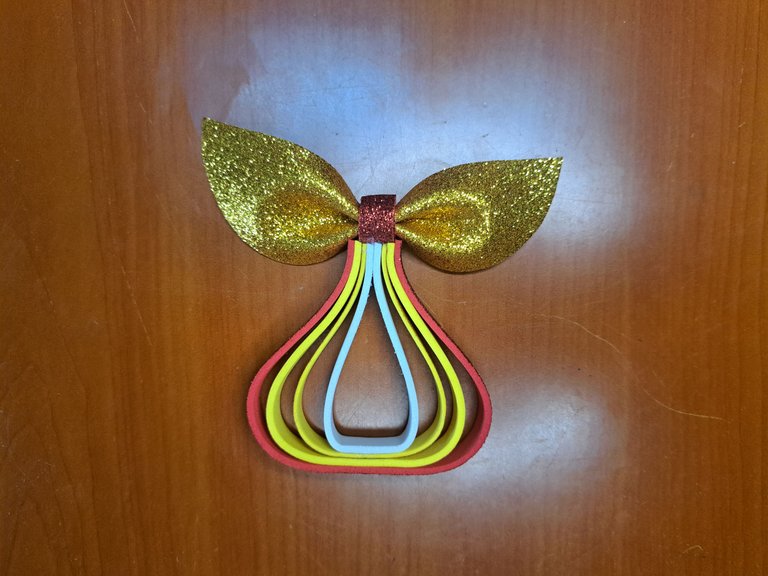
3️⃣ Mark and cut out a piece of frosted gold fomi measuring 4 cm x 12 cm. Fold it in half and cut one side diagonally. Squeeze the center with your fingers and glue a thin ribbon of frosted red fomi around it to keep its shape. Glue the wings on top of the body.
Marca y recorta una pieza de fomi dorada escarchada de 4 cm x 12 cm. Dóblala por la mitad y recorta en diagonal uno de sus lados. Aprieta el centro con los dedos y pégale alrededor una cinta fina de fomi rojo escarchado para que conserve la forma. Pega las alas encima del cuerpo.
 |  |
 |  |  |
 |  |
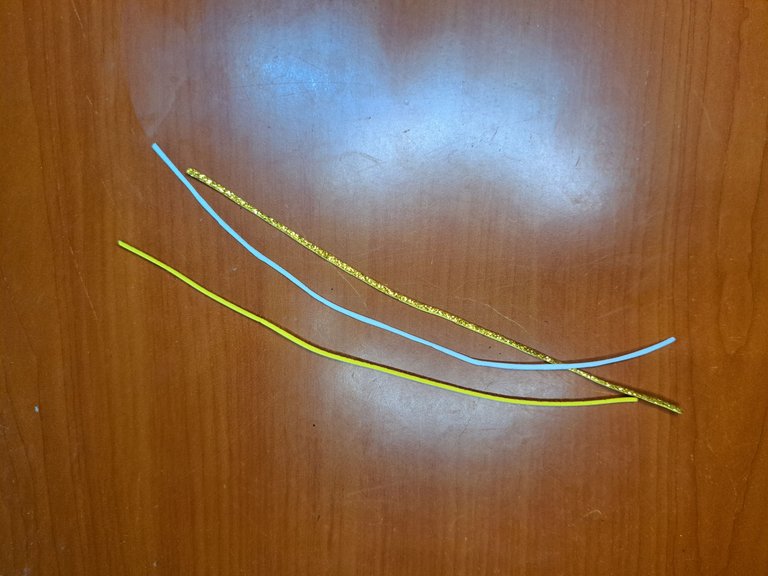
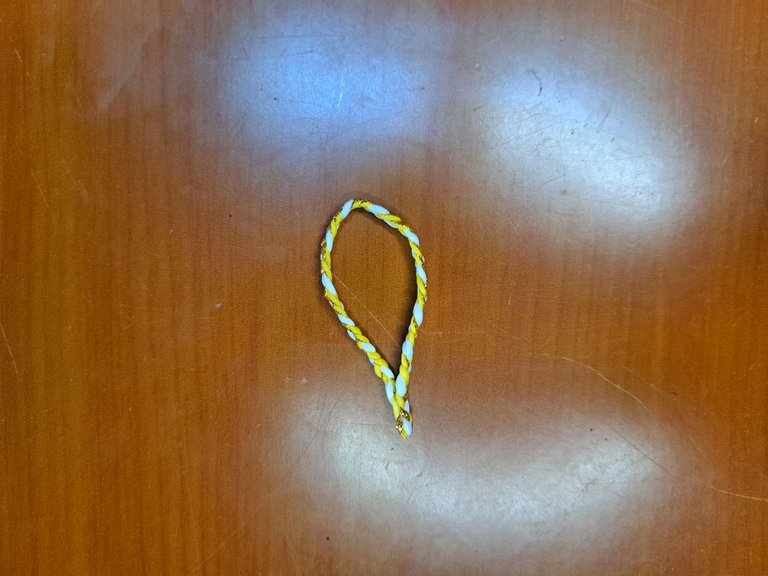
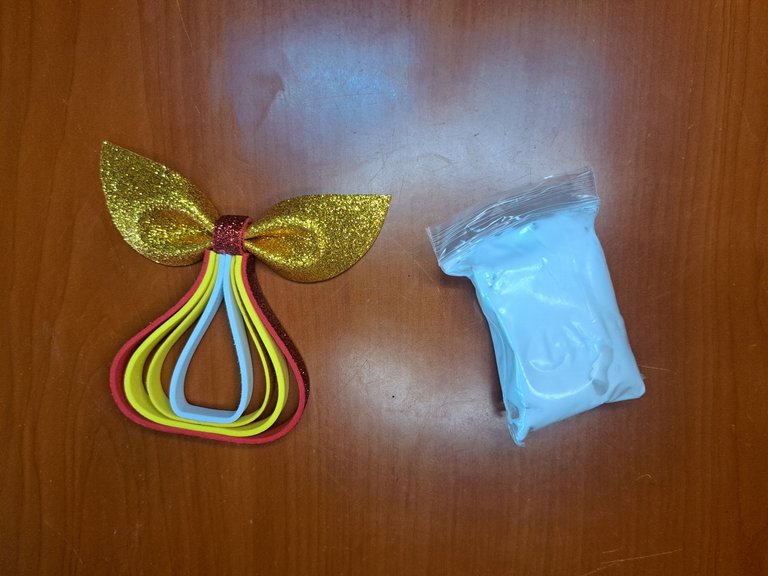
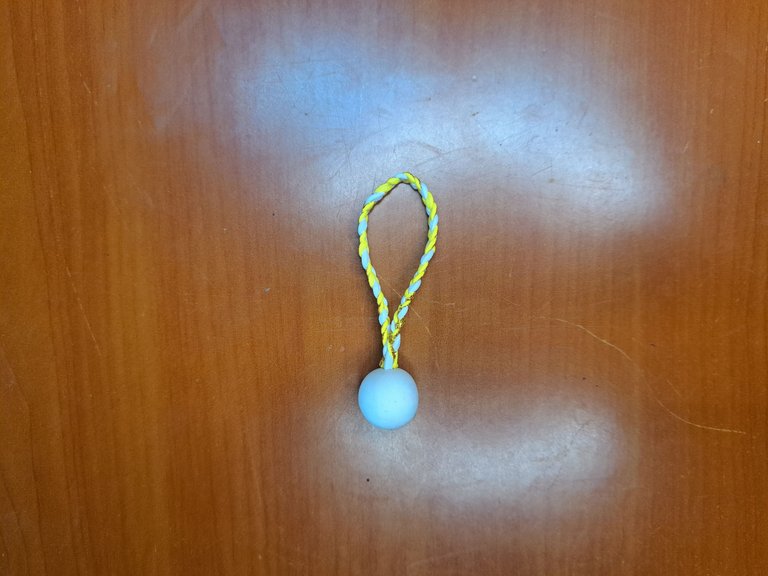
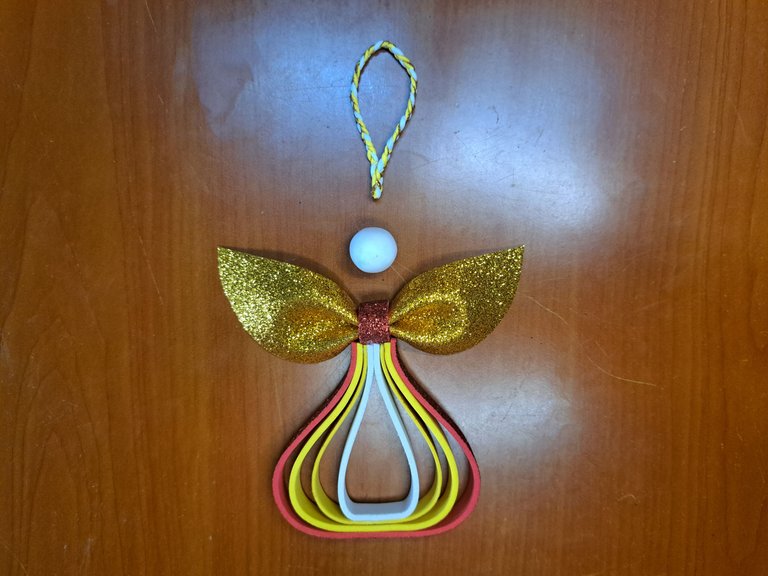
4️⃣ Cut out thin strips of gold, frosted and white fomi. Weave the strips together to form the loop. Using white moldable fomi, create a ball that will be the head. Glue the bow on top of the head and then glue the head to the body.
Recorta finas tiras de fomi dorado, escarchado y blanco. Teje las tiras para formar el lazo de sujeción. Utilizando fomi moldeable blanco, crea una pelota que será la cabeza. Pega el lazo encima de la cabeza y luego pega la cabeza al cuerpo.
 |  |  |
 |  |
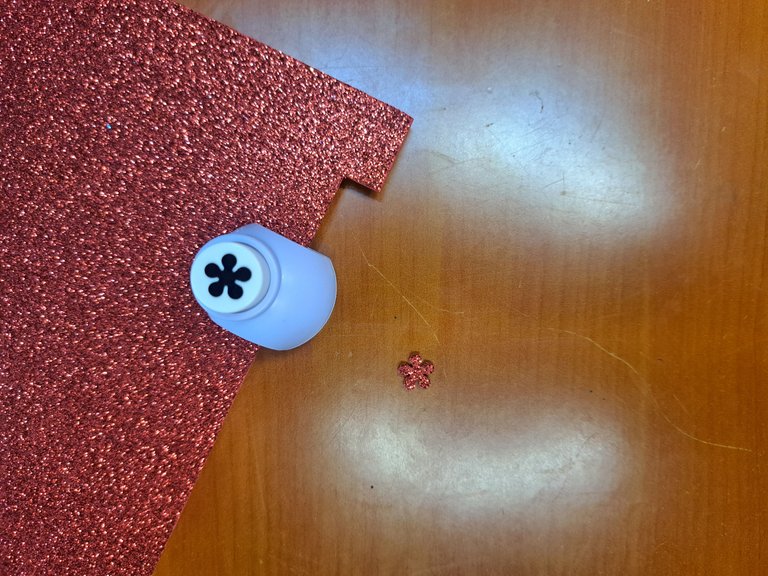
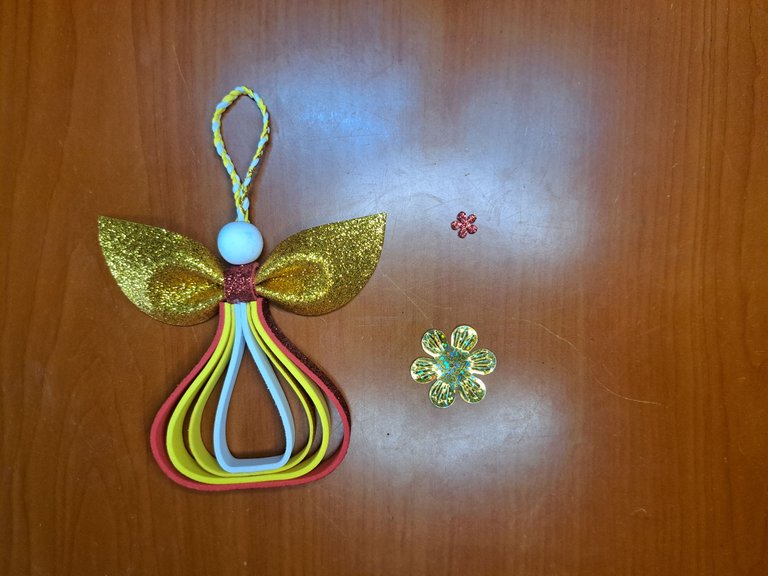
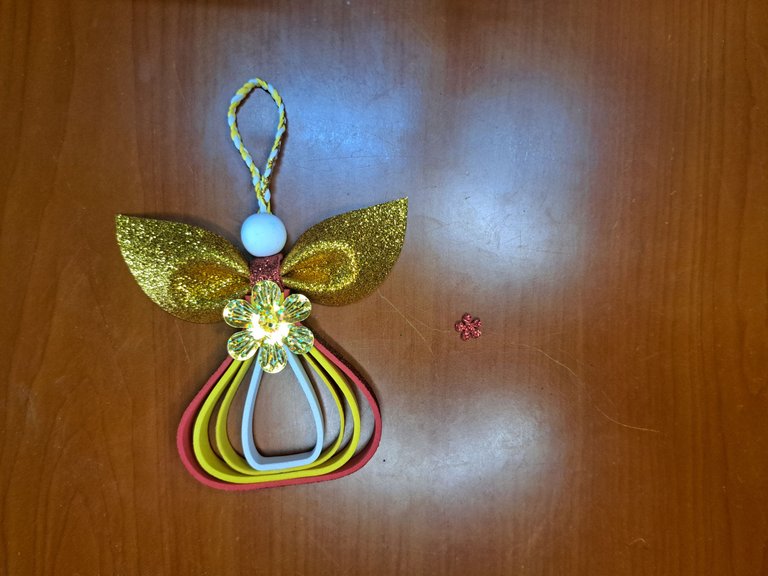
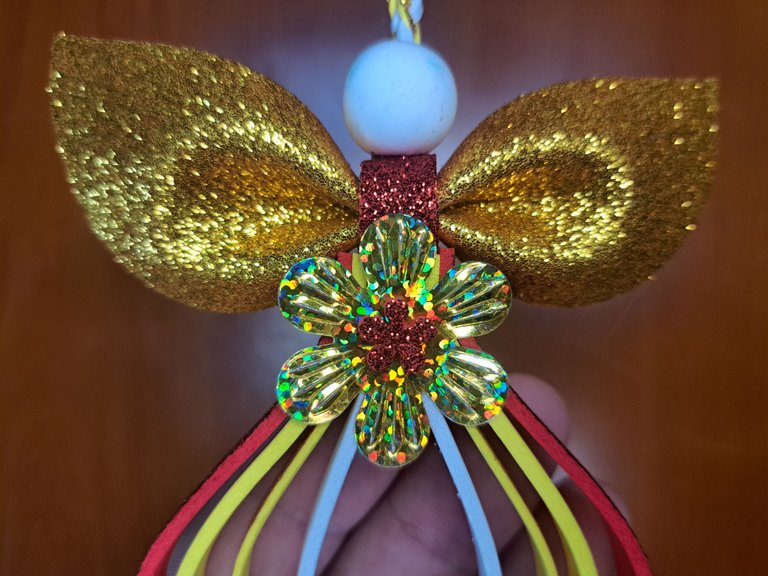
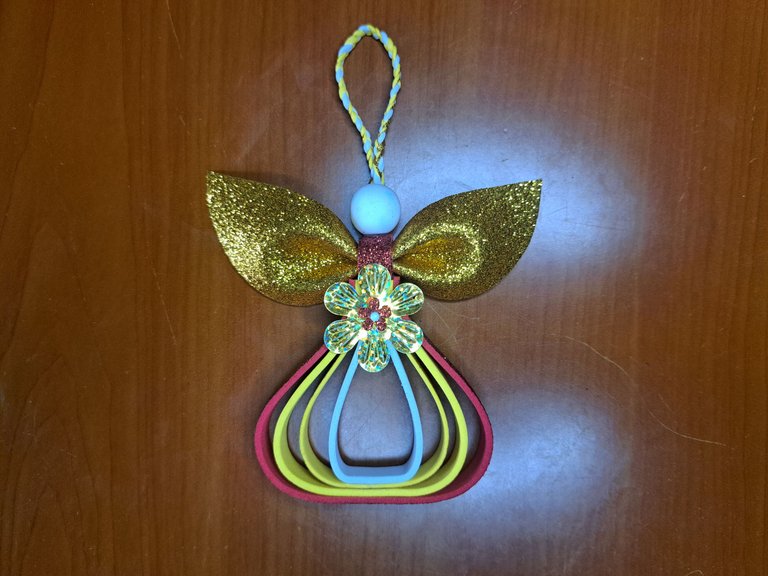
5️⃣ To finish, take a gold flower on the front of the angel to hide the joints. Use a pre-made plastic flower or cut one out of gold fomi. Additionally, cut out a small red fomi flower and glue it in the center of the gold one, then glue a white semi-pearl in the center of the red flower.
Para finalizar, toma una flor dorada en la parte frontal del ángel para ocultar las uniones. Utiliza una flor plástica prefabricada o recorta una en fomi dorado. Adicionalmente, recorta una pequeña flor de fomi rojo y pégala en el centro de la dorada, luego pega una semi-perla blanca en el centro de la flor roja.
 |  |  |
 |  |
Finished Work // Trabajo Terminado
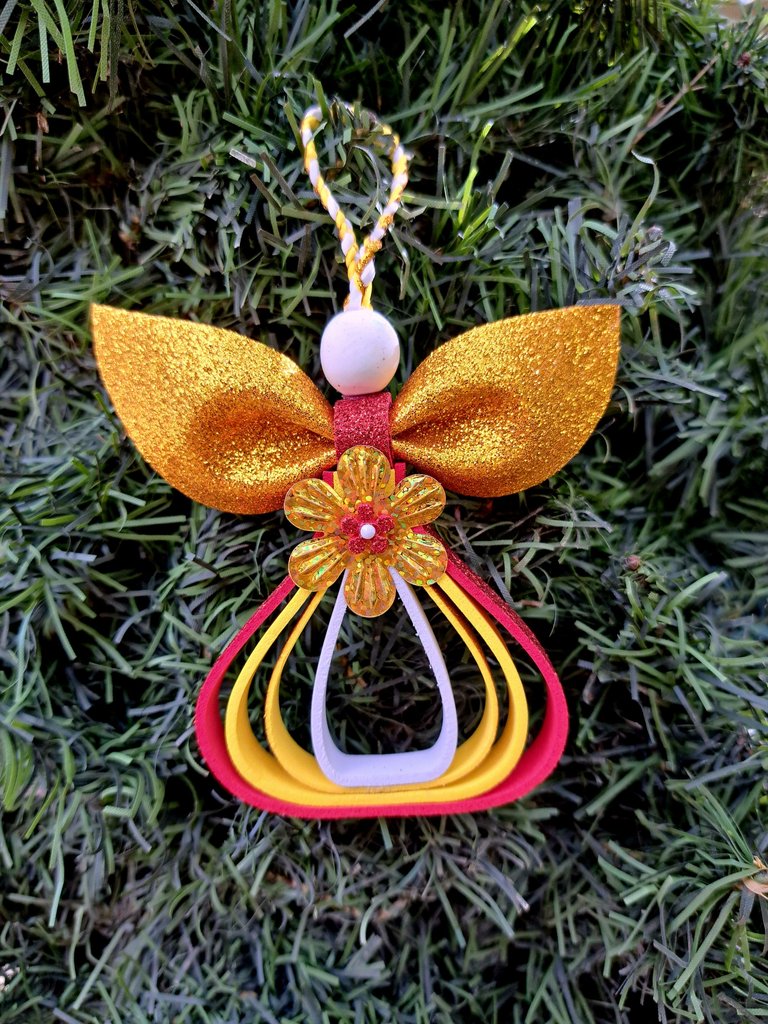
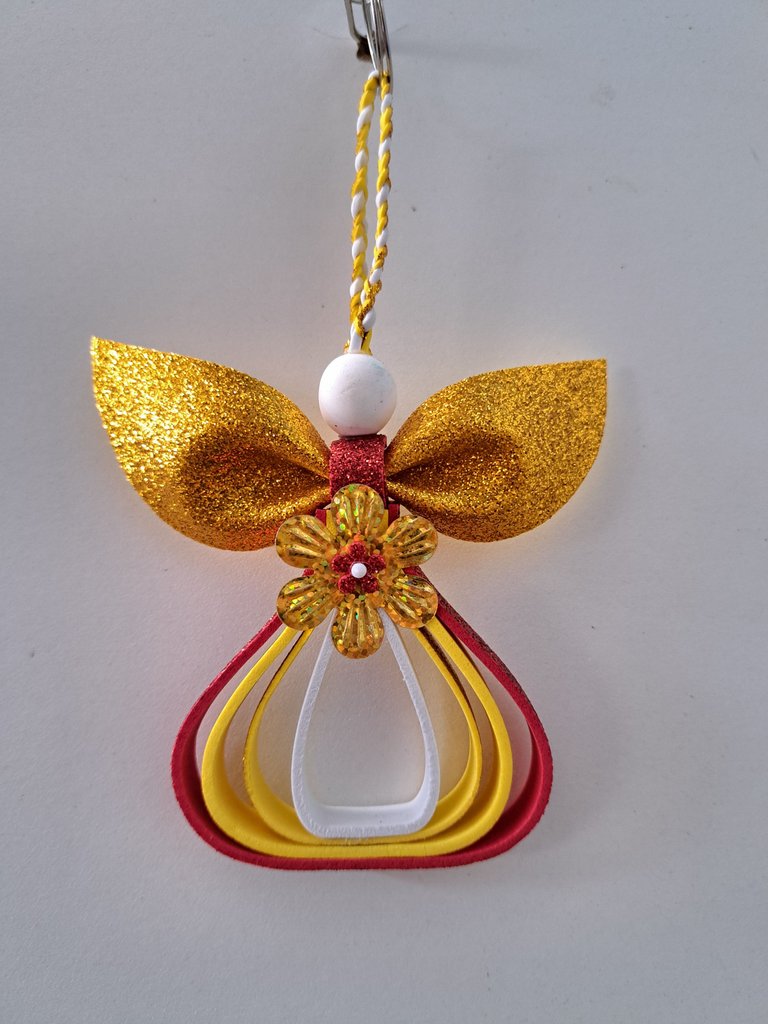
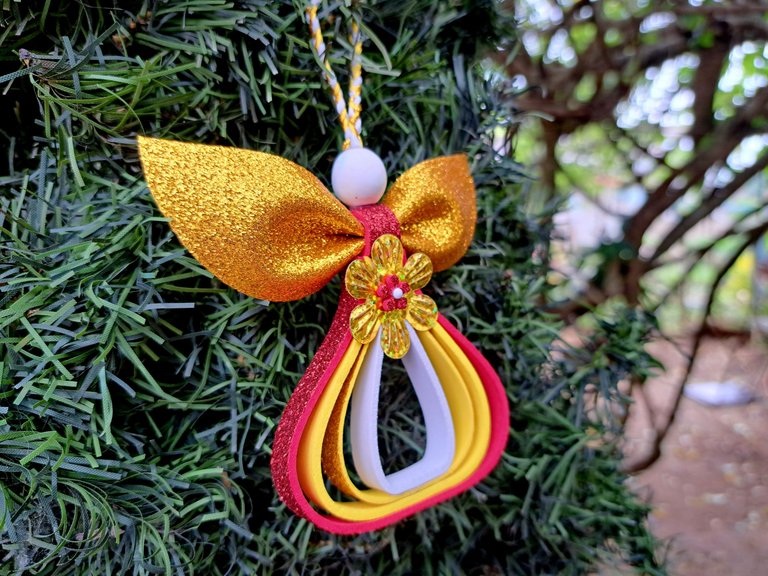
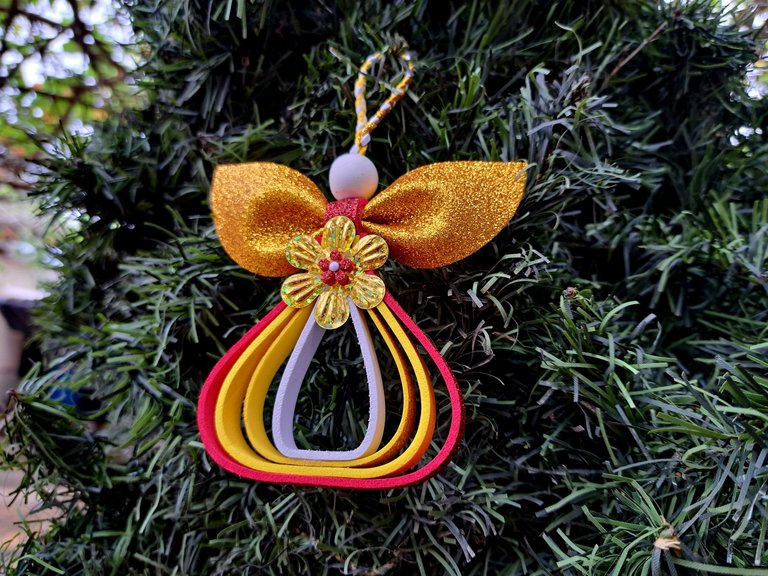
This way the angel Christmas decoration is ready. I hope you liked it and that you enjoyed the tutorial as much as I did when making this decoration. Without further ado, I'll say goodbye for now. See you soon.
De esta forma quedaría lista la decoración de Navidad con forma de ángel. Espero que haya sido de tu agrado y que disfrutaras del tutorial tanto como yo lo hice a la hora de elaborar esta decoración. Sin más que agregar, me despido por ahora. Nos vemos.
 |  |
 |  |

Thank you very much for reading my post. If you liked it, please leave a comment and consider following me so you don't miss my next posts. I'd love to know your opinion and your thoughts about the topic I discussed in this post, see you in the next one!

Credits and Resources // Créditos y Recursos
Cover page created in Canva
Translated by DeepL
Images captured with my Samsung Galaxy A53 5G


Posted Using InLeo Alpha
Cover page created in Canva
Translated by DeepL
Images captured with my Samsung Galaxy A53 5G


Posted Using InLeo Alpha
