
Backstory for writing this article: After we recently narrowed down our categories a few comments and discord messages reached us asking what a "tutorial" is in our eyes and what distinguishes them from "simple" documentations. To have an answer for that up our sleeve we decided to write down some tips so we can use this post as a response for all of these messages. Work smart not hard, right?

1 What is the difference between tutorials and documentations?
 created with dall-e. Prompt: an oil painting of cell division
It sounds easy but there are very blurry boundaries between writing documentation and writing an actual tutorial. Assuming the documentation is about a process to achieve a defined result: The more detailed this documentation gets the more it fits into the realm of tutorials we think.
Because a tutorial describes also the completion of a task but its focus lays on repeatability. Tutorials are mostly structured in steps where each step contains details and little side notes of the subtask (see "2.1 Structure" for more). Documenting a process often keeps the little but important details out of focus. Most of the time a documentation does not have the repeatability as a goal and is only showing the progress to a desired result. It is also not easy for us as curators to distinguish between the two and most of the time this decision is very subjective.

2 What makes a good tutorial?
2.1 Structure
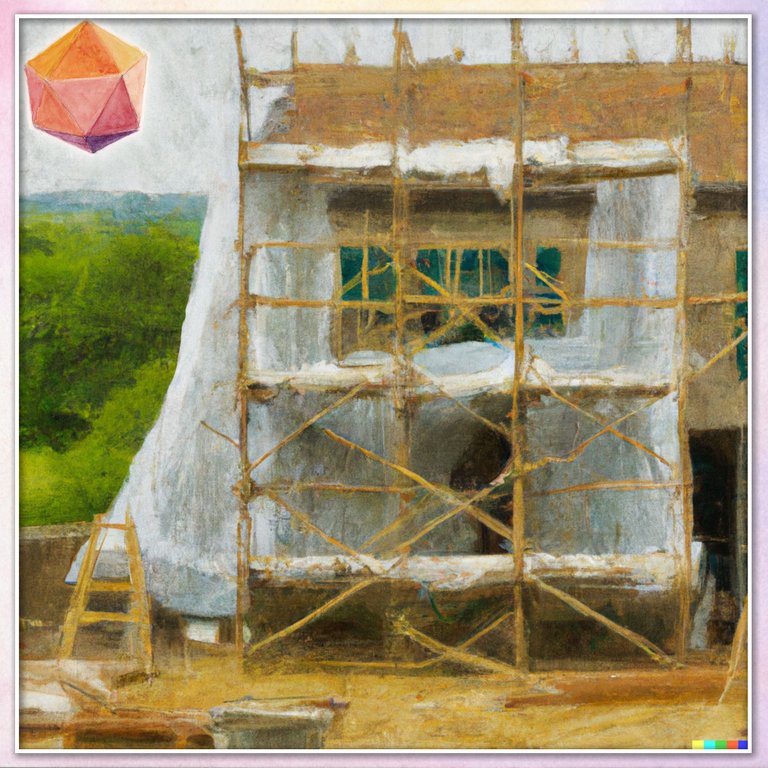 created with dall-e. Prompt: oil painting of a small house surrounded with scaffolding on a construction site
The structure is as important as the focus on repeatability for a good tutorial. The whole process should be separated in steps and perhaps even substeps which can get separated on multiple ways but most of the time we use headlines for that (more on that under "2.4 Formatting matters").
Take your time before actually starting to write an article to think about the structure. It helps if you outline the tutorial and build a set of step with headlines and subheadlines you can later focus to work out as paragraphs. This way you support yourself with the needed central thread to never lose track of the bigger picture and what you want to transport with the article.
A common structure would be:
- Intro (What will be the result)
- Preriquisites (What is needed before start)
- Steps (practical doing)
- Step 1
- substep 1.1
- substep 1.2
- Step ...
- Step 1
- Outro (Recap and Call-To-Action)
2.2 Intro & Outro
2.2.1 Intro
 created with dall-e. Prompt: an oil painting of a starting line on a race track
A good start into a tutorial is a basic description about what the tutorial is supposed to cover. Describe the problem/task in simple words and tell the viewers what they can expect when they follow the steps in the tutorial. You can also work in a little story to better visualize why it's important to know what you are going to write about. In the intro you can also add all the prerequisites for accomplishing the desired result so the reader knows beforehand if anything additional is needed. Nothing is worse than the surprise that you have to buy a specific tool to accomplish the last step of a whole tutorial. That can result in a bad "user experience" and should get avoided as much as possible. Just add a list of items/skills/tutorials needed to follow through the whole process and you are good to go.
Of course a fitting thumbnail exists most of the time within the intro and this should show the final result so people know exactly what they are going to read about. Hook them with a professional photo or fancy graphic of the result and you will not loose them in the process because they are filled with anticipation for the final finish.
2.2.1 Outro
The outro is the second most important thing of a tutorial because it recapitulates the whole process in short words and concludes if the first described result got achieved. Here is also a good place to ask the viewer for their thoughts and suggestions. Only them can actually tell if the tutorial was good, if they have been able to follow each step and where something could be optimized / has to get changed.
With this feedback you can (and should) work in changes into the existing tutorial and keep the points in mind for future articles. You can also add call-to-actions in this part to ask for further engagement like votes, shares and follows. People who appreciate the final result and the effort you put in to let them achieve that are more willing to support you. Of course the call-to-action should be reasonable and not sound too scammy or desperate but I assume that's clear ;)
2.3 Graphics and different Angles
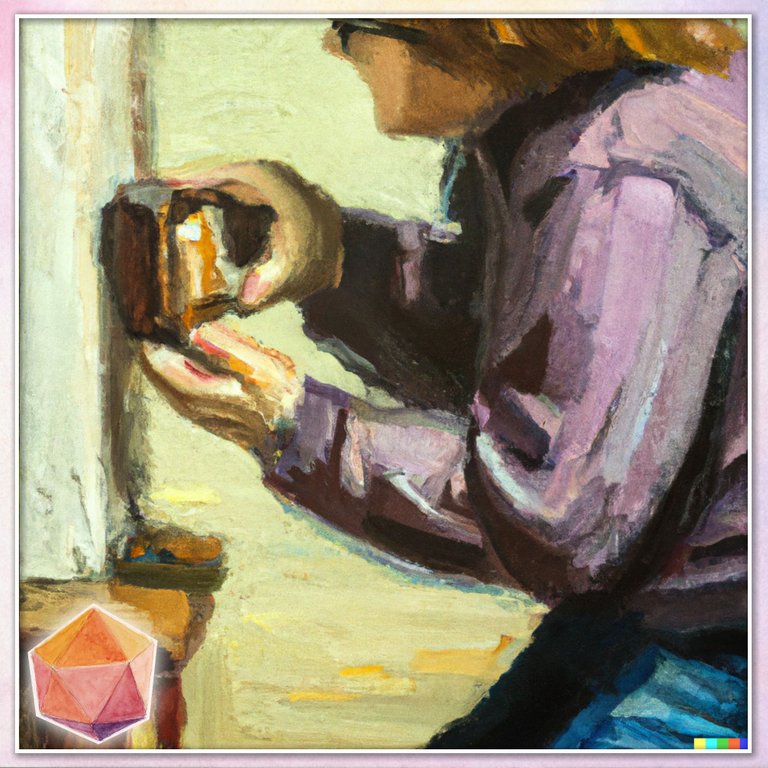 created with dall-e. Prompt: oil painting of a photographer making photos of small objects
Graphics help the viewer understand where we are in the process and what the current step of the tutorial is about. Do not hesitate to add multiple images for each step if there are important things to tell. If it happens that you wrote a small but important detail but you do not have an image that covers it then try to add a basic drawing or schmematic for better understanding.
It is possible that you write too much but itt is almost impossible that you add too many images / videos to an article. The better you describe the process visually the better the overall instructions become. There's a reason why big furtniture companies already do not care to include any text to their instructions anymore. Pictures can tel more than thousand words.
To make it even more understandable and exciting to read the article feel free to work in different angles, different kind of visualizations and shot types (close-ups, medium, wide etc) in. But always keep a leading style in mind so you do not confuse the viewer too much.
2.4 Formatting matters
A clear structure of a tutorial is important as we described under "2.1 Structure" and to maintain it you will need clear formatting of the article as well. We are going to cover a few basic things in the following sub points:
2.4.1 Headlines
Make sure to use headlines (# headline) & subheadlines (## sub headline level 2, ### sub headline level 3, etc.) to let the reader know that the following is different from the previous paragraph.
2.4.2 Lists
Use lists to sum up all the different tools and ressources needed to follow the tutorial. If anyone without any tools or skills should be able to follow your tutorial then of course you don't have to add lists simply for the sake of adding lists ;) We also do not have one in this tutorial except the one under "2.1 Structure".
2.4.3 Align images
You can align images and text to make sure that the images fit to the written words and to not hurt the reading experience. Huge images show much detail but they also break the reading flow so try to align them to make them smaller. The reader can always click on the images to view them in a larger scale.
2.4.4 Highlight words
You can also highlight words by making them bolt (**bolt text**) or italic (**italic text**)to underline their importance.
2.4.5 Add space
Spacers like we use in this article can help to separate big parts from each other. You can use html spacers (<hr>) or images like we do between our main paragraphs.
2.4.6 Formatting Masterclass
This all will help you to maintain a clear structure and good reading experience. You can find a very good summary of all the supported markdown / html options on hive in this post by @themarkymark.
2.5 Think about the viewer
 created with dall-e. Prompts: oil paiting, a woman looking into a mirror & oil paiting , a man standing in front of a house smiling
A good reading experience can only work if you take the point of view of the reader in consideration. Ask yourself: "What information is important for a person who does not have the experience like me?". With this knowledge you can point out prerequisites as described in "2.2 Intro & Outro" and add information you would normally take for granted. Your target reader group will extend by adding those informations and you will not lose someone on the road.
Try to find answers on questions the reader could have while reading the tutorial. You can add these when they appear within the specific paragraph or as a base info in the beginning of the article.
The more you think like the reader the better and more understandable your article will be. Make sure to ask the reader about their opinions and suggestions to make the article even better as described in "2.2 Intro & Outro" and you will gain more experience on how to write your next tutorial even better.
2.6 References
We all know them but we still want to add them here: Hyperlinks to external resources, other posts covering the same or a similar topic. They are helpful if the viewer want to gather deeper knowledge about the topic. Also you could reference other ressources as prerequisites so you don't have to repeat what others (or you) already covered in great detail. It is also a good idea to add shopping-links to ressources/tools you are using for people who just got into the hobby/topic. A good article is filled with external ressources and links so your post is just the starting point for a deep dive into the topic.
 created with dall-e. Prompt: oil painting showing a network with colored nodes and branches

3 Outro
With this article you now should have some guidelines on hand to write a better tutorial next time or just getting started with your first one. Do not hesitate to start with it because with practise comes experience (most of the time) and it is not different with writing tutorials.
Of course there are many more strategies and tips we could work in here! If you have any additional tips and tricks please write them in the comments. We will do our best to expand this article over time so we have a one stop link to share if anybody needs some ressources about the topic. Also let us know if you have any questions about the topic or about our initiative itself. We are here to answer anything!

We discover posts daily in various categories:
- CREATIVE: coding, self made cosmetic and beauty products, fabric work, yarn work, pottery paper work and art tutorials
- CRAFTING: 3d printing, electronics, jewelry making, metal and woodwork, upcycling
- HOME&GARDENING: building, decoration, gardening, homesteading, repairing
Share your Do-It-Yourself projects in the DIYHub community on HIVE with members with the same passion, interests and who will appreciate your work. Let's connect in the community and build strong and long lasting relationships on the HIVE blockchain!

This service is 100% non-profit!
all of our curation rewards are going directly back to the delegators via daily payouts in liquid HIVE! Please support us and the creators we are supporting with your delegation and earn passive income: 100 HP | 200 HP | 500 HP | 1000 HP | 2500 HP | 5000 HP
Next to the usual curation we are also running a witness server on hive.
If you want to support our journey then feel free to vote for our witness!
You can contact at any time via our discord server: https://discord.io/diyhub
Oh! you don't have an HIVE account yet? Sign up and start sharing!