I recently posted a sneak peek of my Mini Lettuce Farm that posted here:
https://peakd.com/hive-188409/@deythedevil/sneak-peek-to-our-mini-lettuce-farm
The pots I used on my lettuce are the same pots that I will share to all of you now and I will show you how I did it from a softdrinks PET bottles.
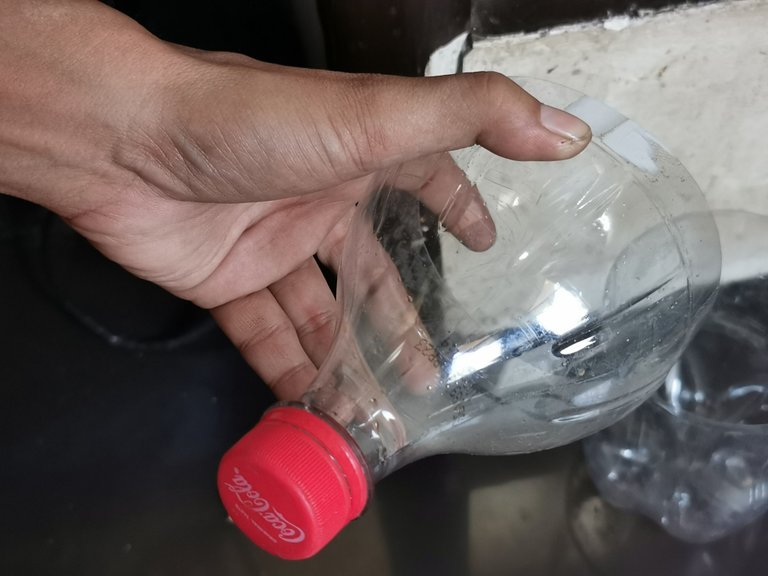
FINDING THE RIGHT PET BOTTLE
Not all PET bottles can be used for this project. We can only use the bottle of COKE. The design of coke bottle is perfect for this self-watering pot because it has convex shape that can interlock the upper and lower portion of the bottle.
Here's the explanation.
( softdrinks photos from: https://puregold.com.ph/pgcatalog/category/subcategory/category/BEVERAGES/subcat/SOFTDRINKS )
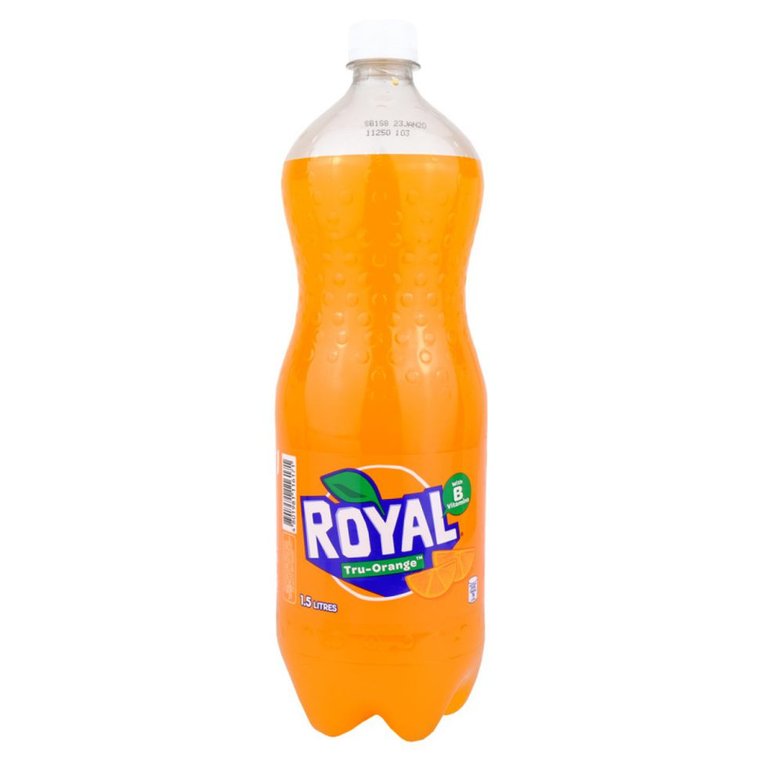
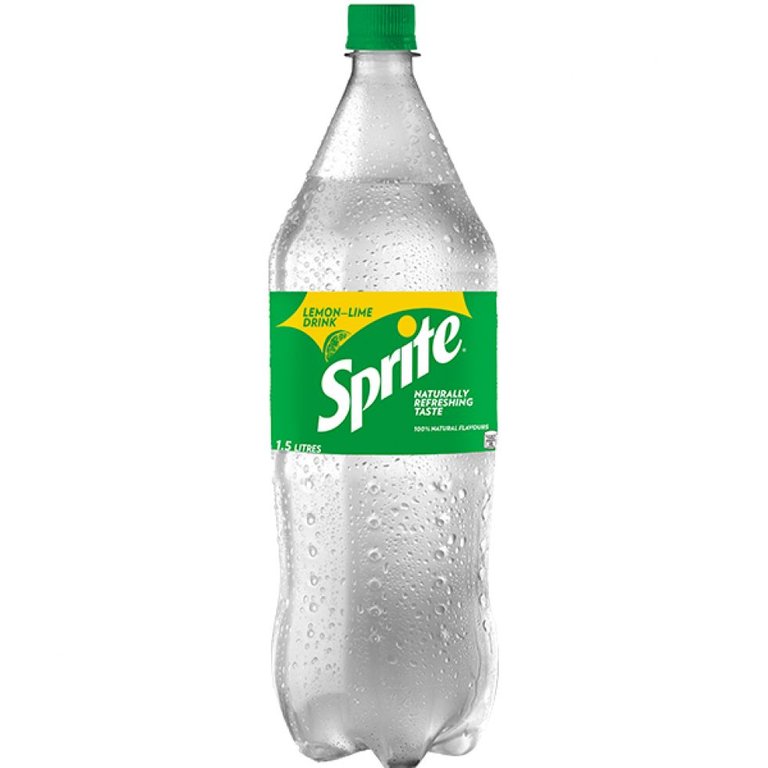
Tha shape of Royal and Sprite bottle is not well proportioned unlike the coke.

Look at the sides of the bottles.
Only coke has the convex shape that can be use as lock.

The 2 blue lines are the guide of where we cut the bottle.
LET'S DO IT
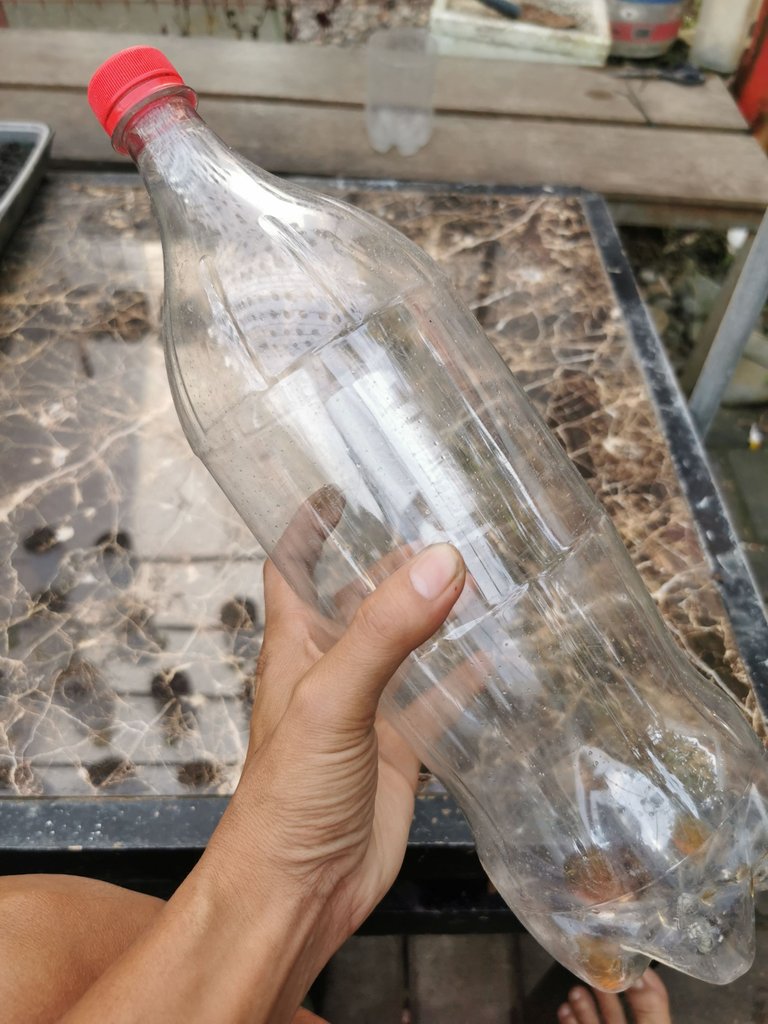
I used the 2L coke bottle.
1.5L coke bottle can also be used.
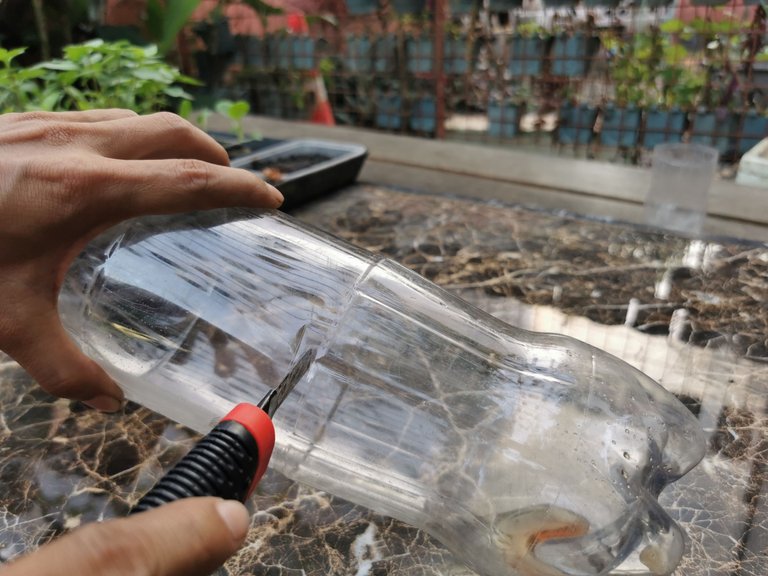
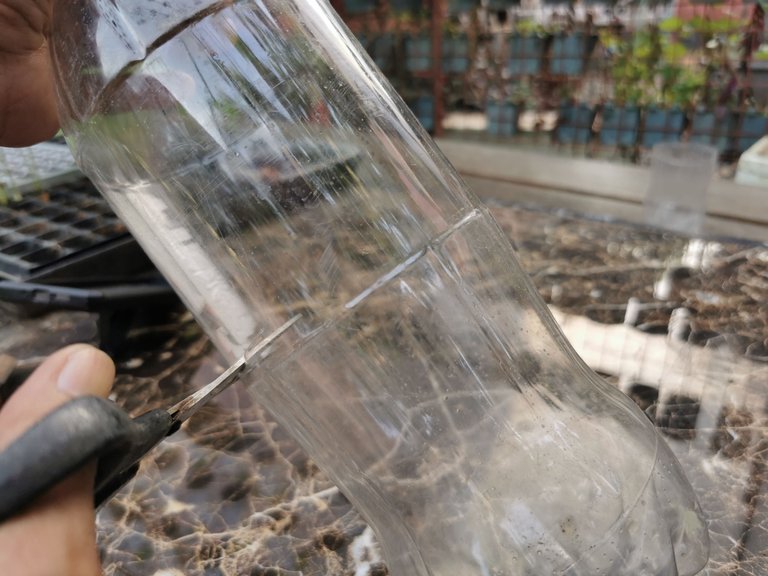
I made a small cut using blade cutter so that it's easier to cut it using scissors.
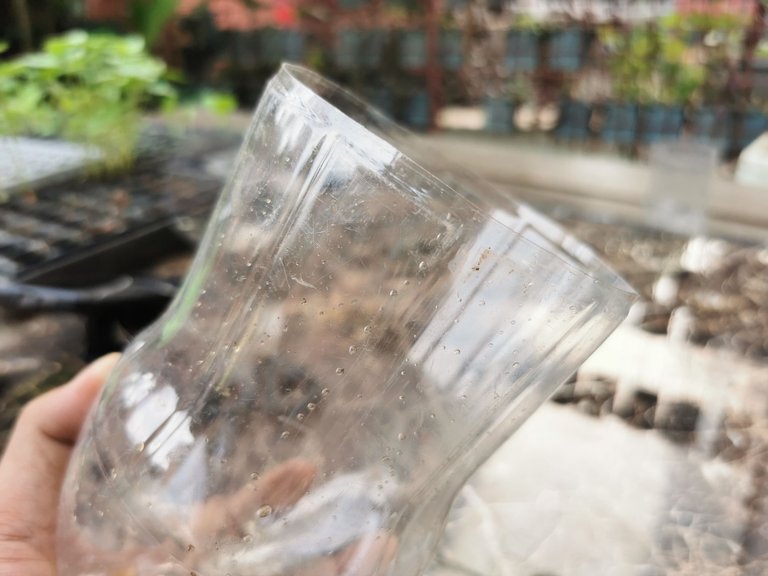
Here is our water reservoir. The lower part of our self-watering pot.
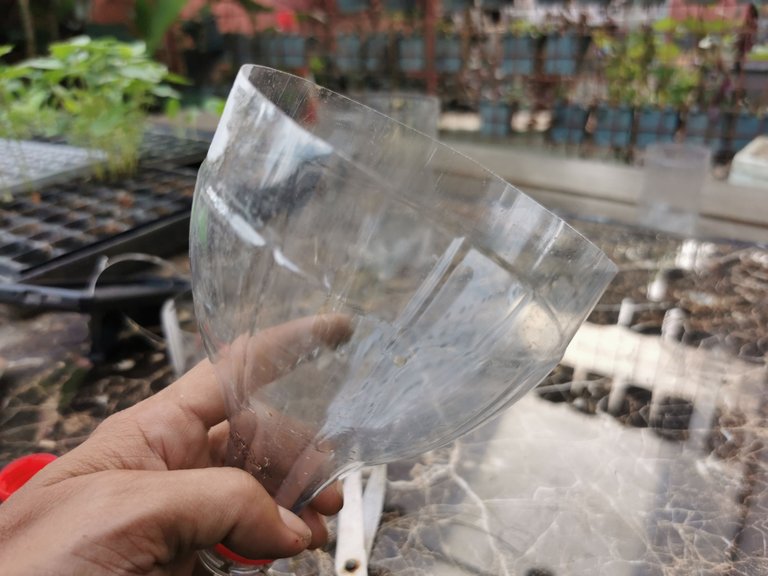
The we cut the upper part.

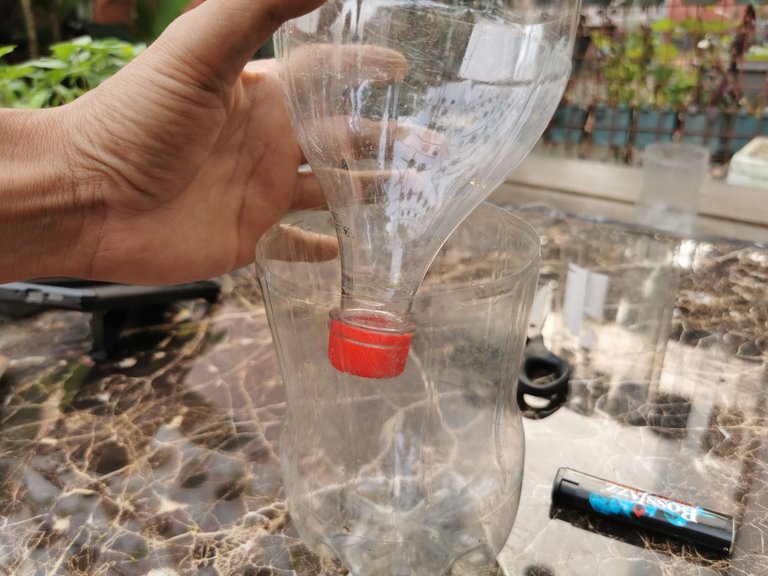
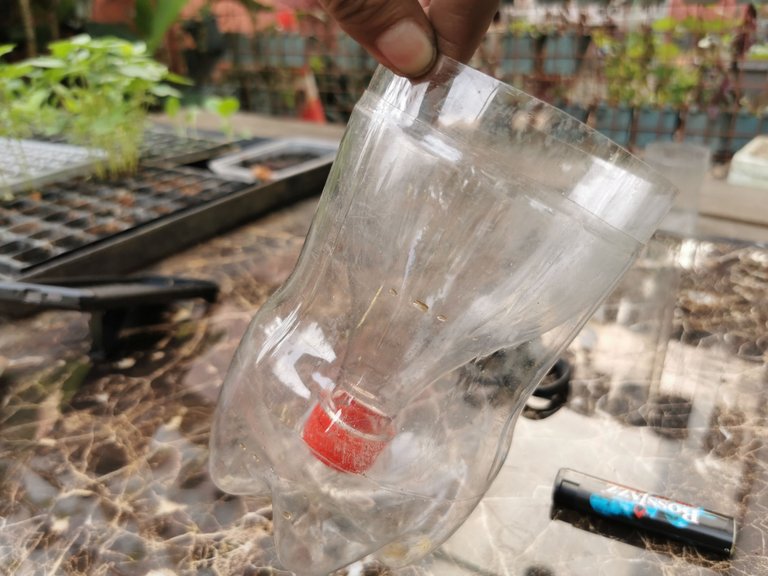
Now we test it if they interlock with each other. In my experience in doing hundreds of these, some bottles did not interlocked with each other.
Some are loose and easy to detached. Maybe the reason is where they came from and what other substances touched the bottle.
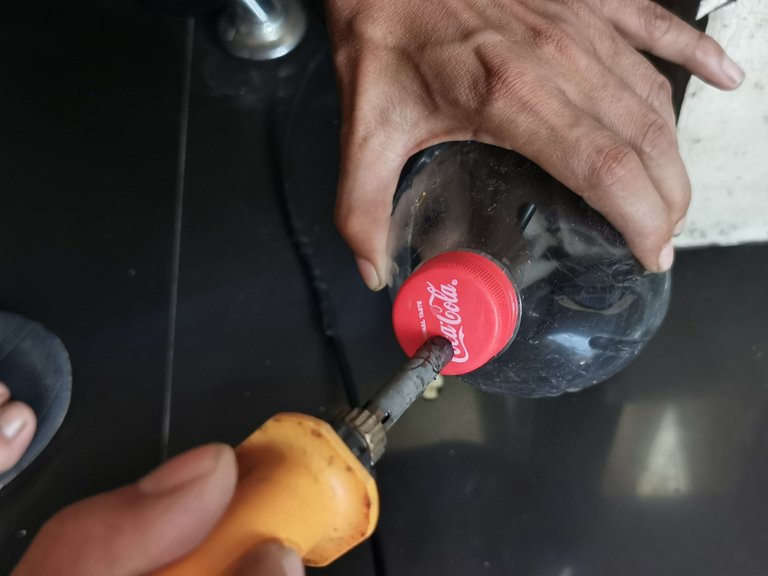
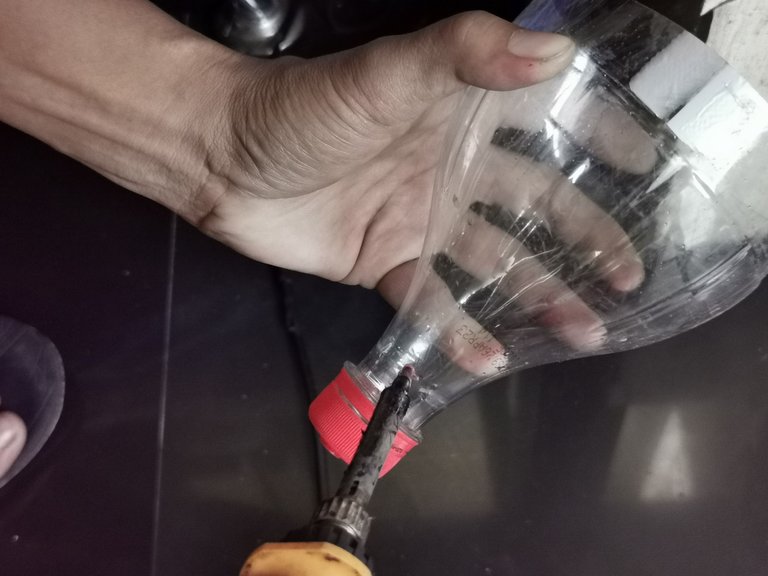
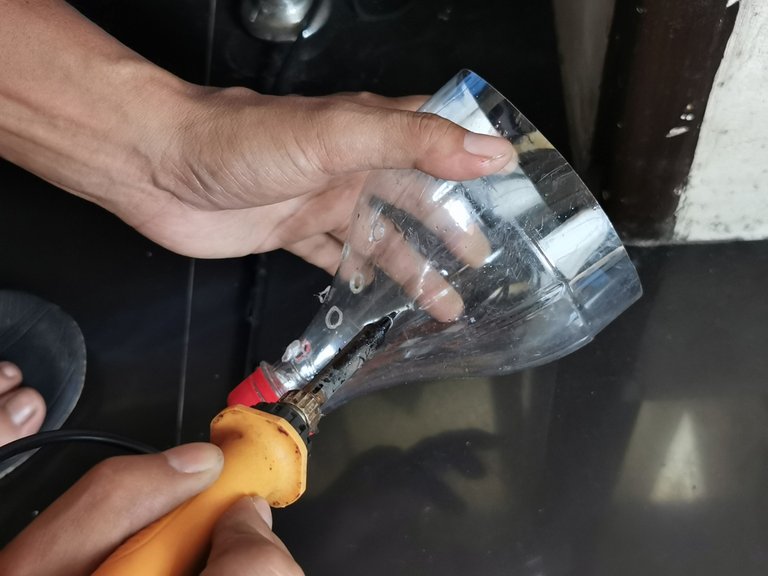
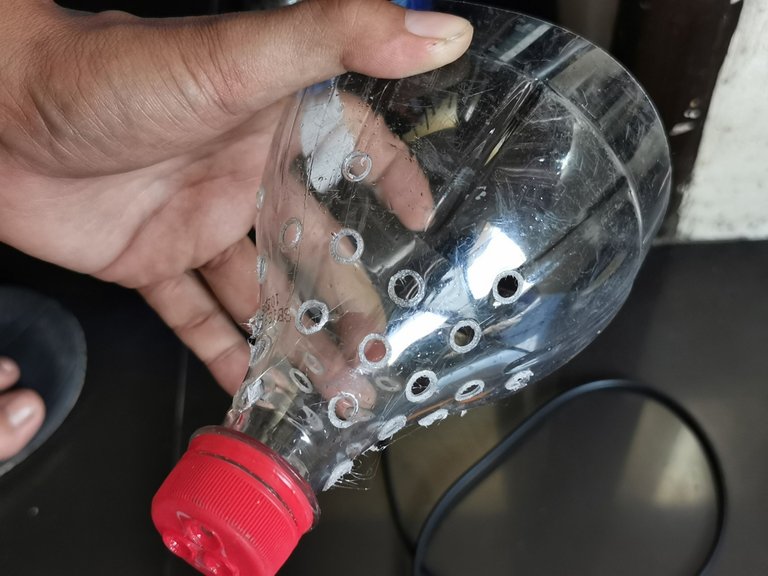
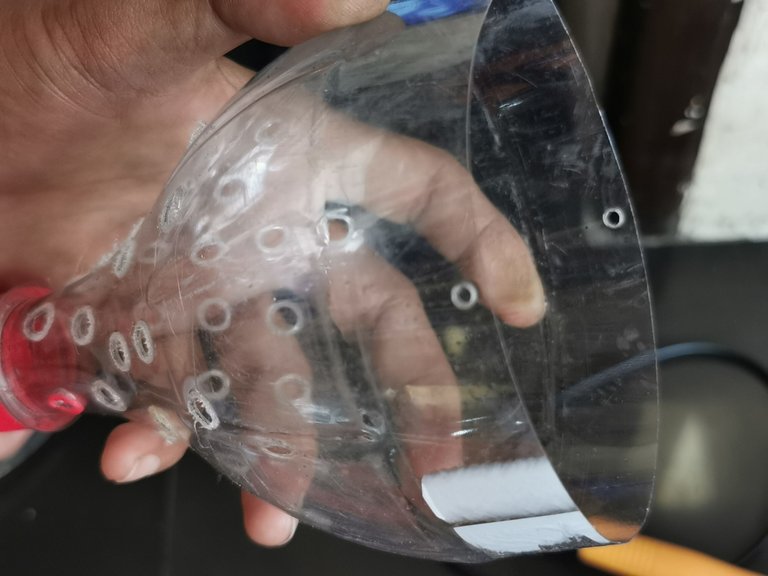
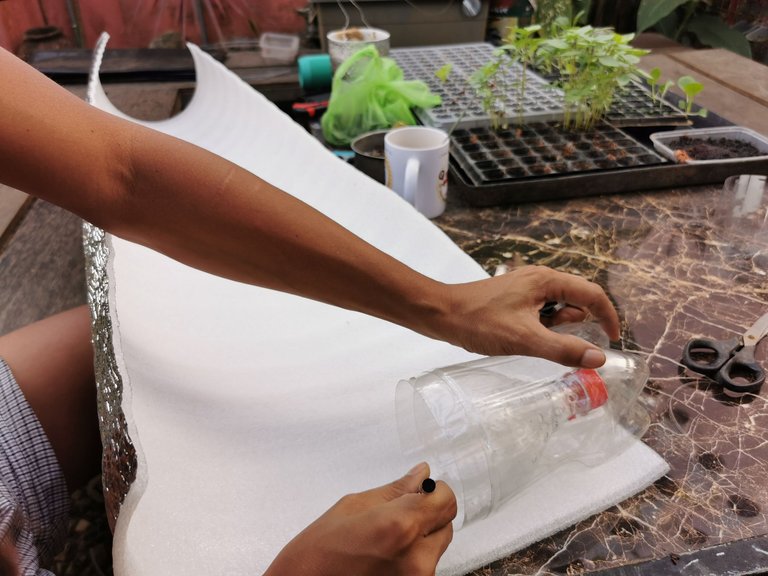
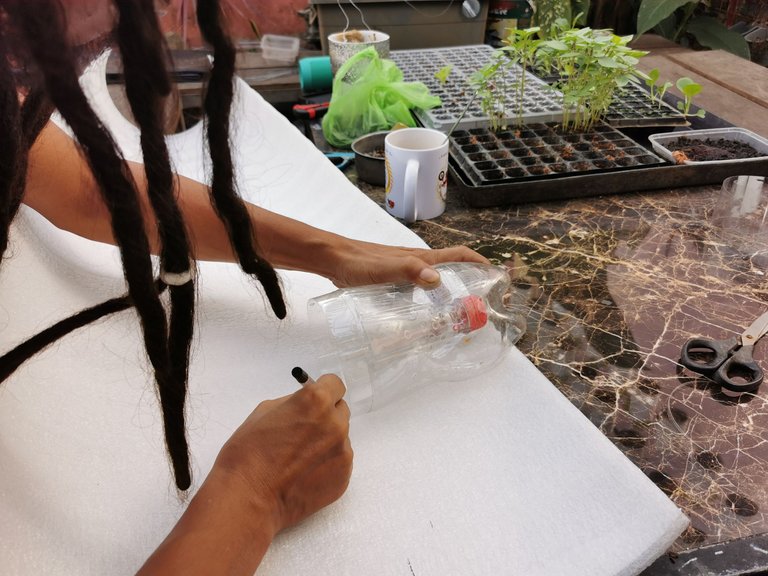
The upper parts need holes, not just few but many holes so that the roots can easily reach the water on the reservoir. I often used soldering iron for making holes on plastics.
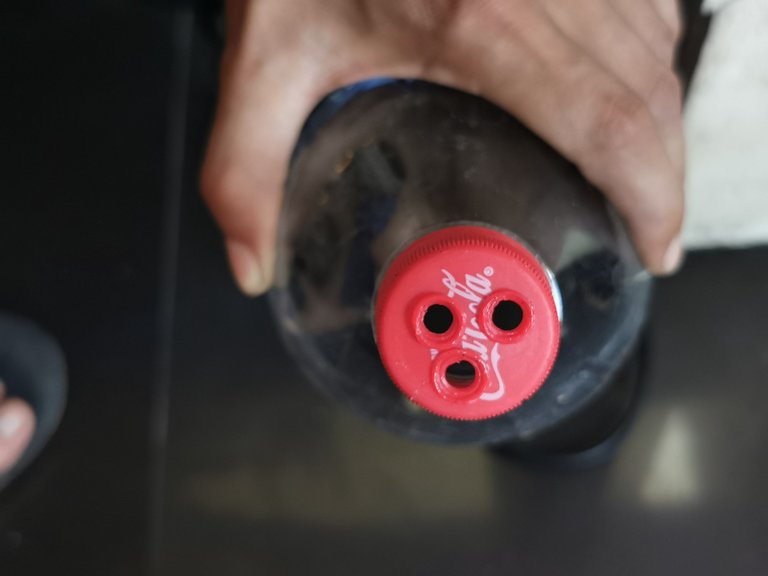
And then we add 2 small holes for strings.

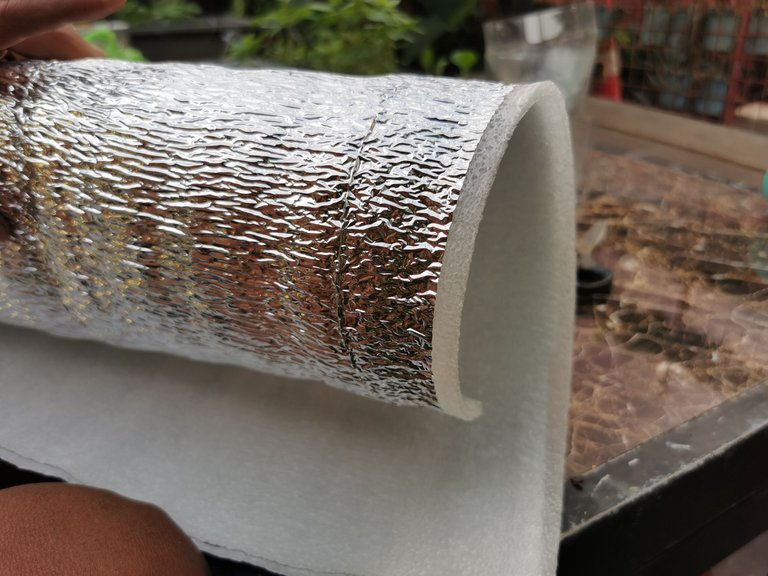
And now we are done on the plastic bottle. The next part is putting insulation foam on it.
The 3 purposes of insulation foam are these:
It can block the sunlight from touching the water. When light touches the water, moss will form and eventually affects the growth of our plants cause they eat the nutrients that out plants needs.
The temperature of the water also affects the growth of our plants. The insulation foam lessen the chance to make the water warmer.
The looks. Maybe this is not essential for the growth of our plants but the looks that the insulation foam made, it makes a difference, LoL!
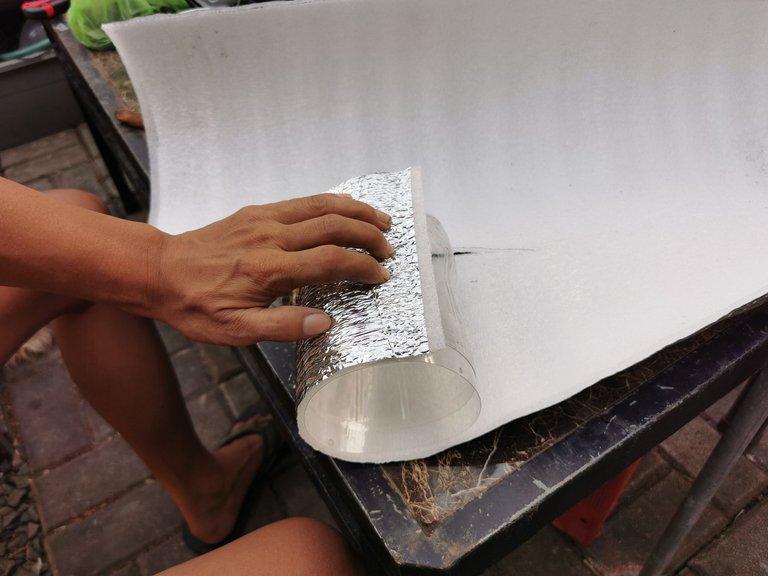
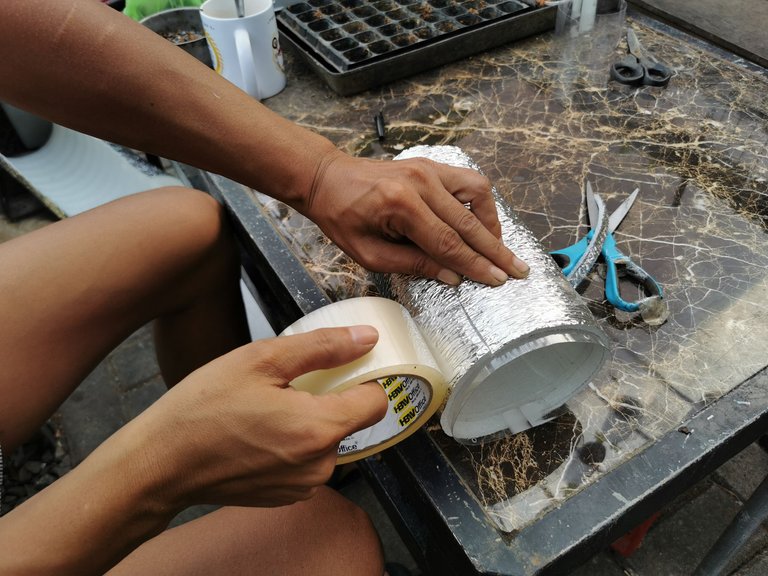
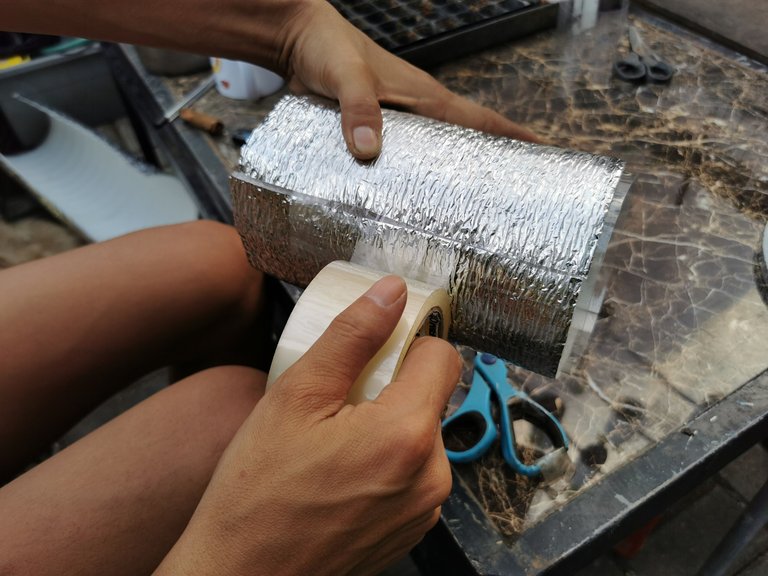
Now let's cover it up with insulation foam.
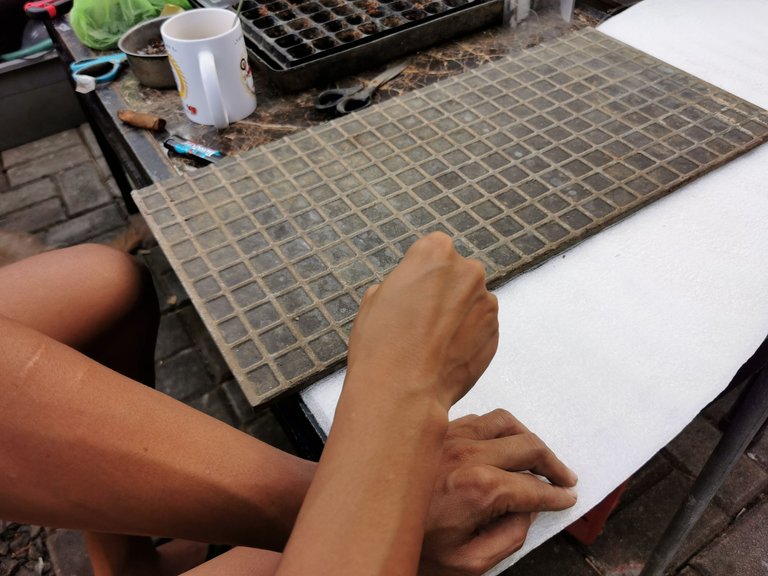
I made measurements based on our self-watering pot.
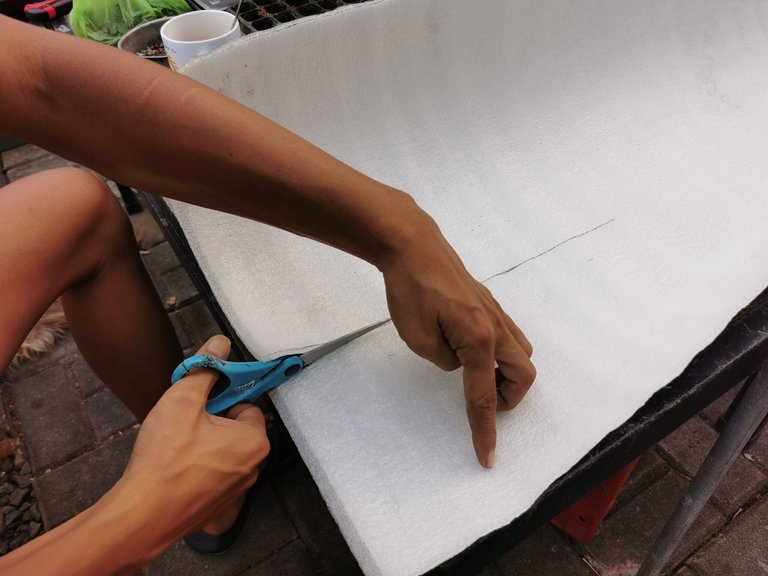
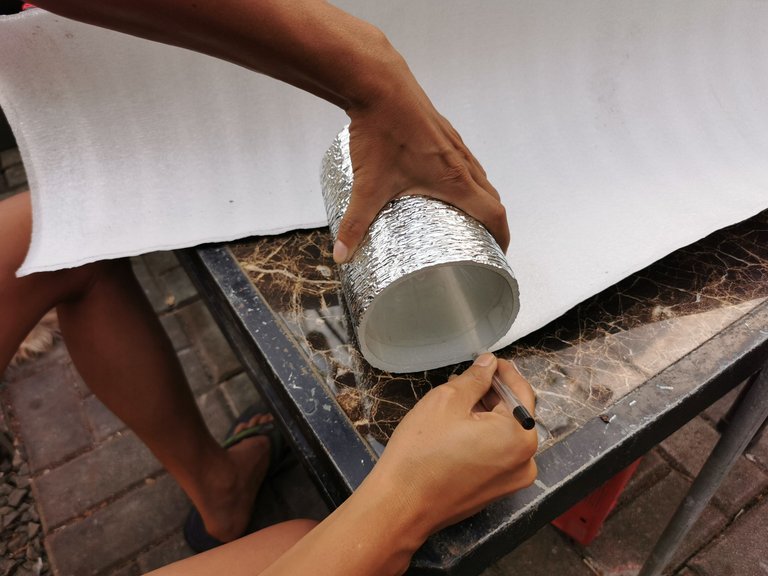
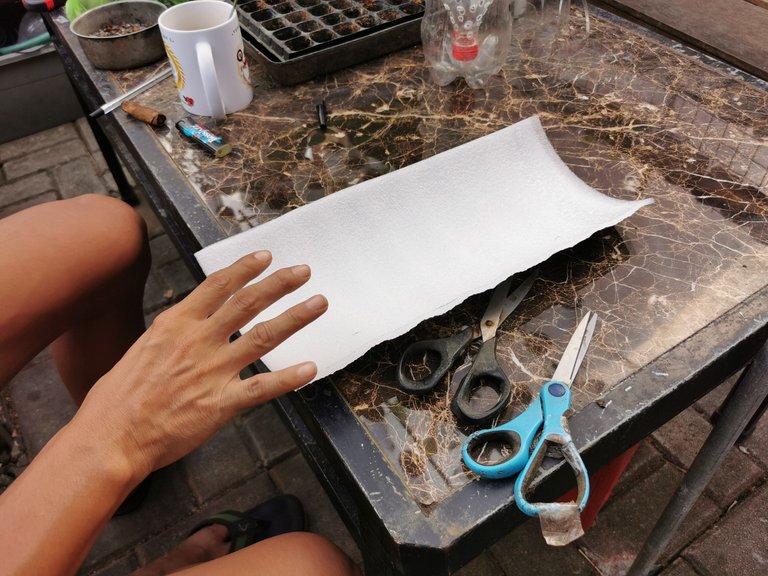
Then cut it with scissors.
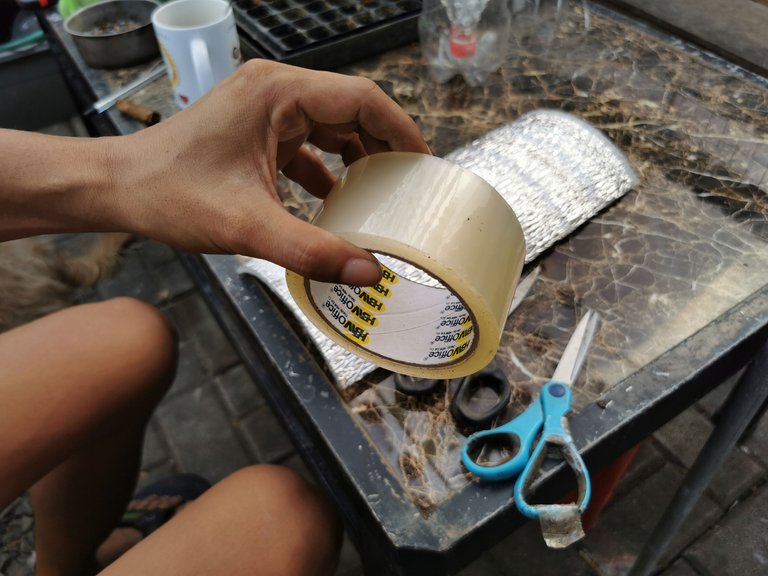
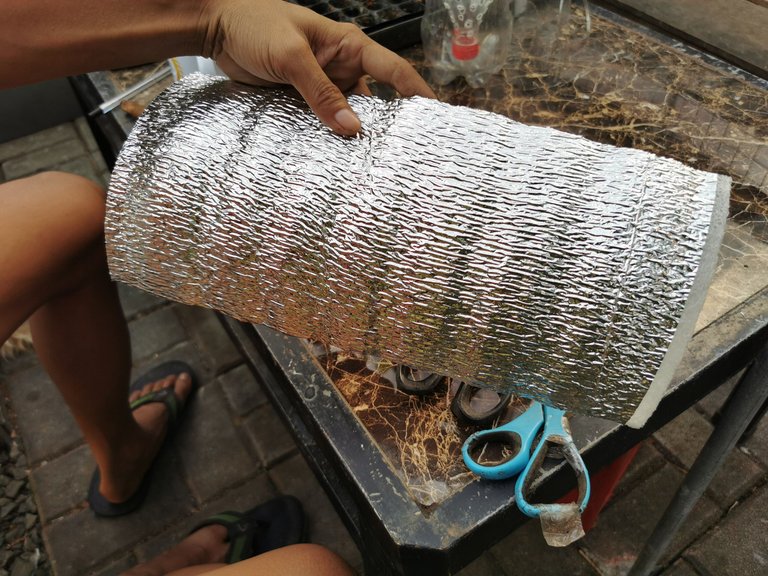
Now I'm using transparent packaging tape. I previously used the brown one but I don't like the looks. This is it, LoL!
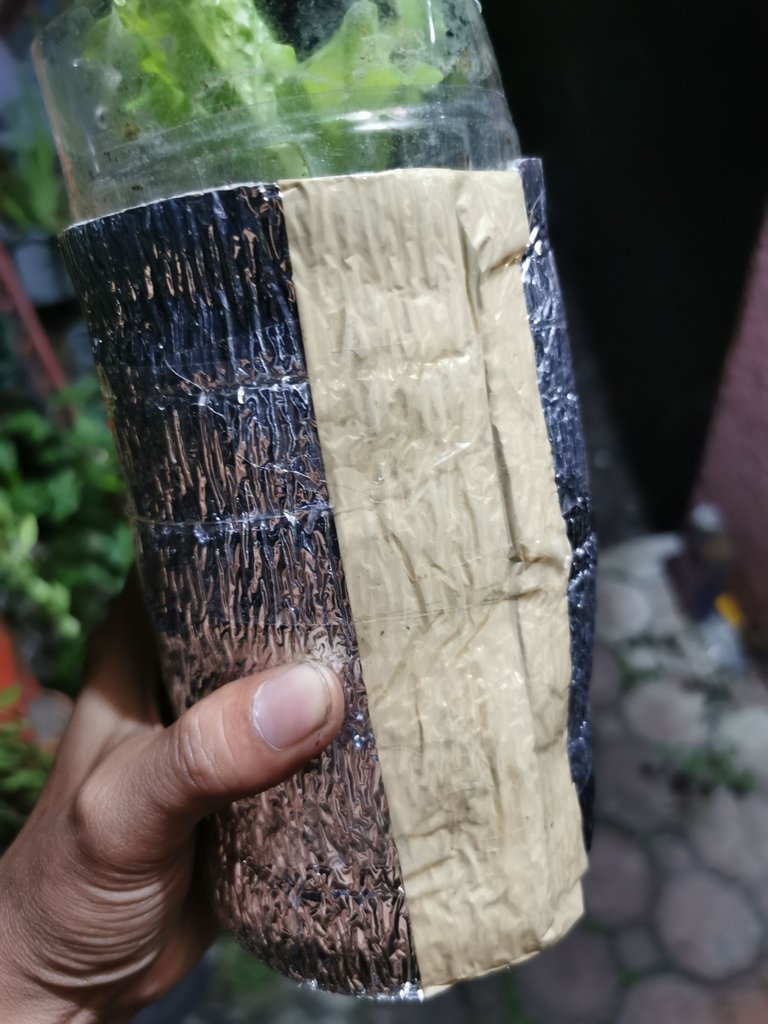
The transparent packaging tape conceals the the connections of the insulation foam.
Let's proceed.
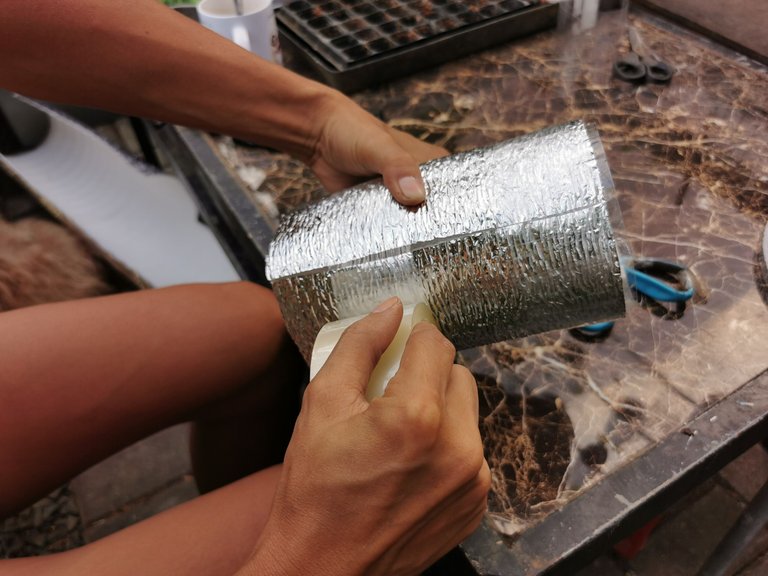
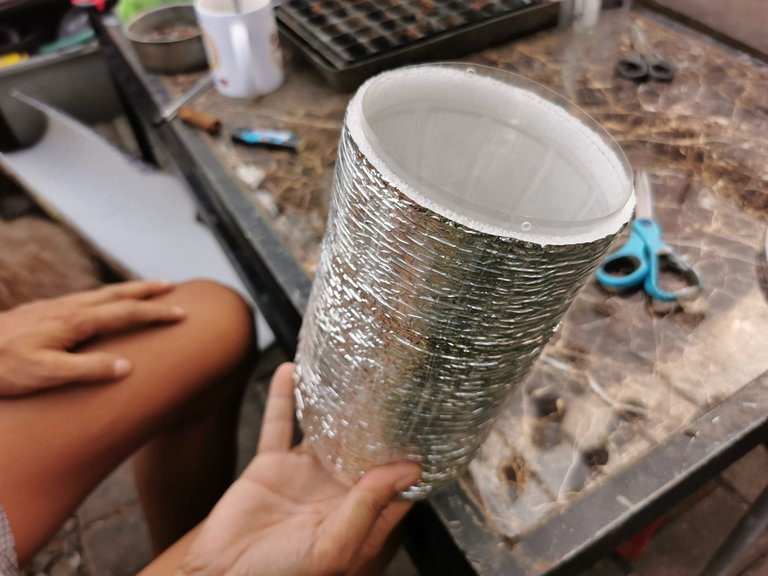
Yeah! This looks clean and elegant.
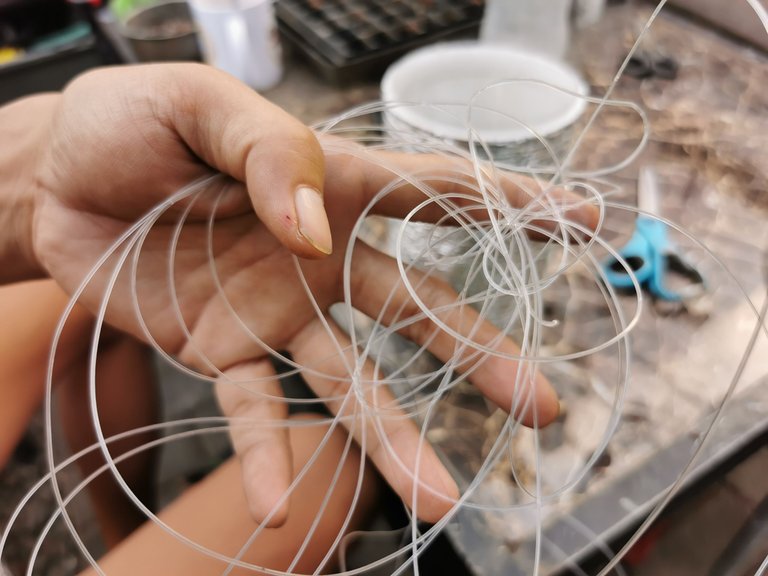
The next is the string.
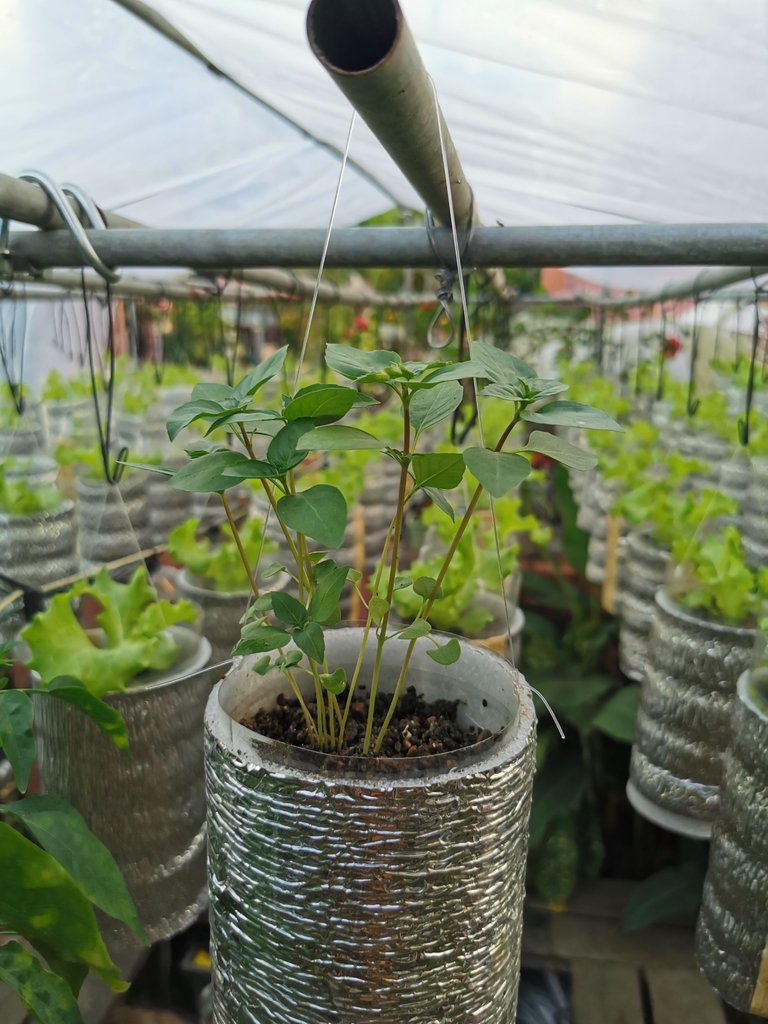
I used nylon string for this project. When it all hangs, it looks floating.
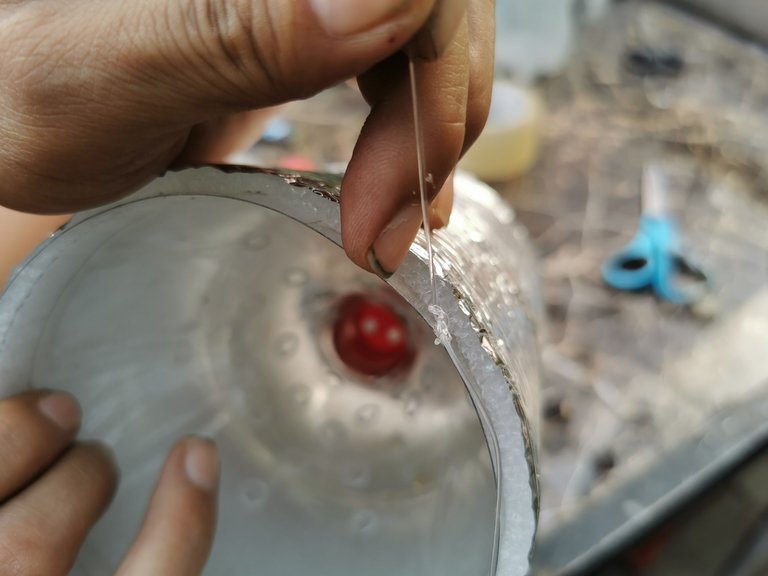
Yeah! The self watering pot is done.
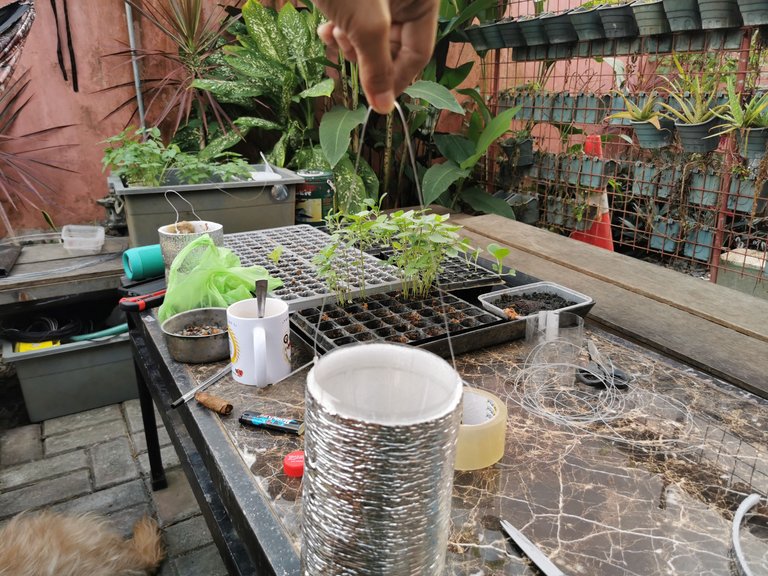
Now let's proceed on planting.

Today we are not planting lettuce. I already transplanted all of it last week.
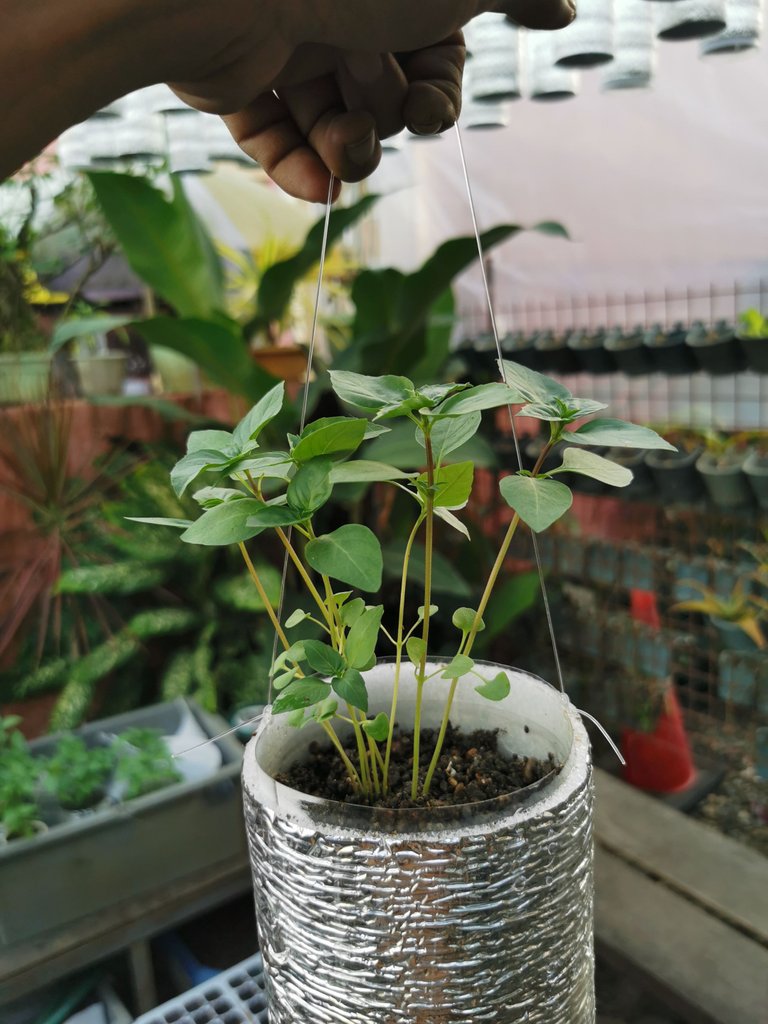
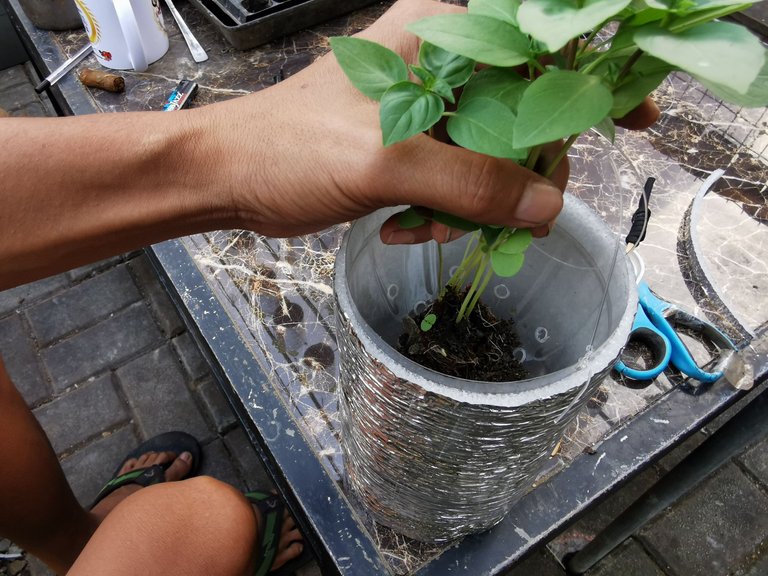
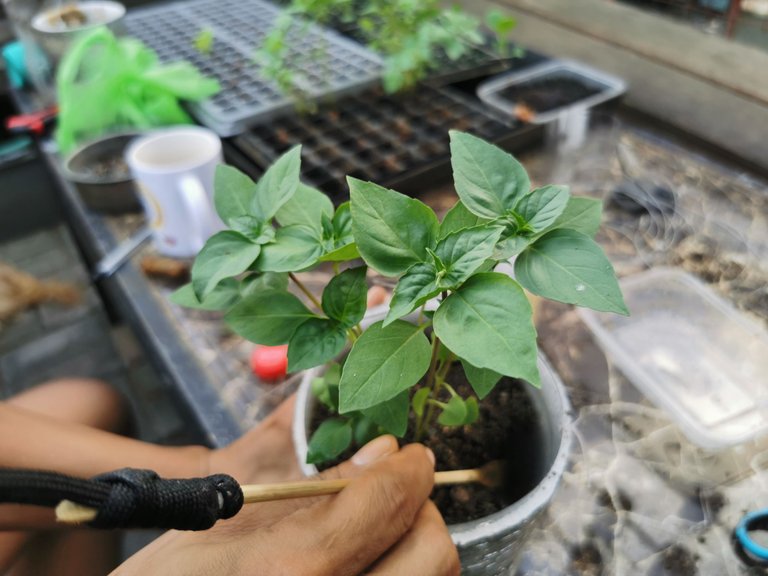
Now we are planting Sweet Basil.
I really missed eating Pesto.
I had planted sweet basil seeds since mid week of january and now they are ready for transplanting.
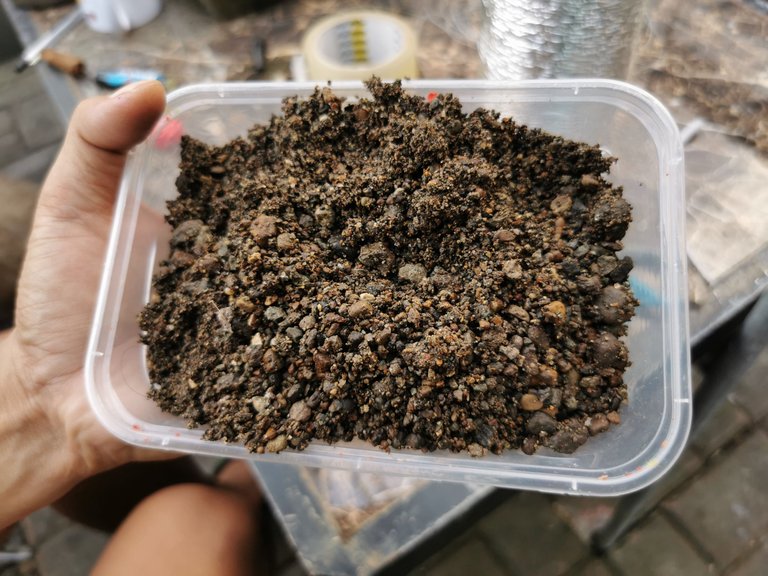
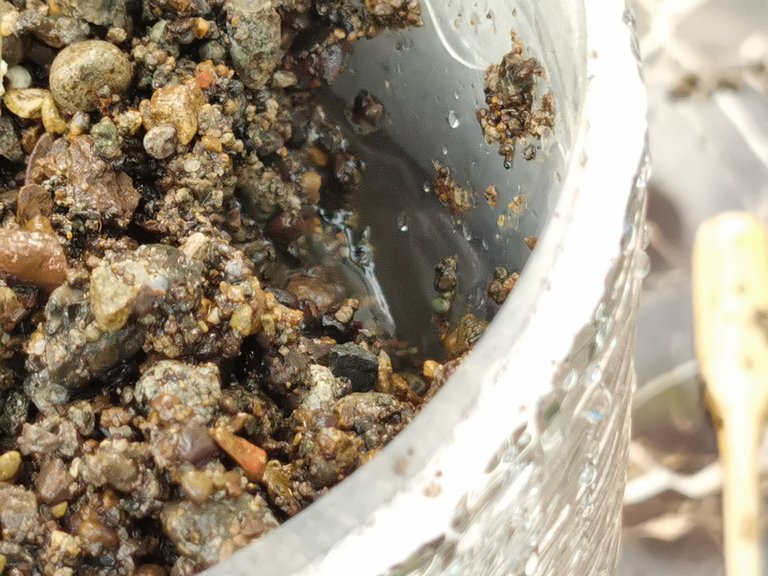
Instead of using coco peat for medium, I'm using river sand this time. I've already washed this so the soil has been washed out.
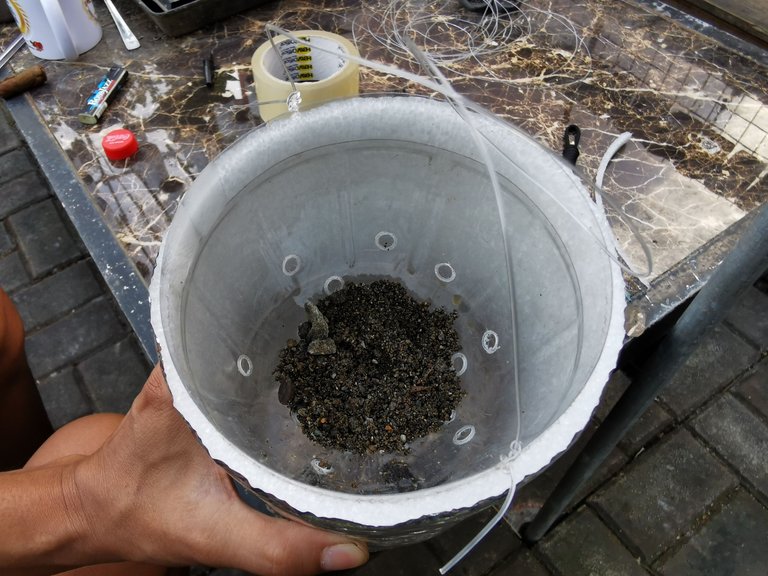
I put river sand just enough for the basil's roots sit. And then fills it with the rest of the sands to cover the roots.
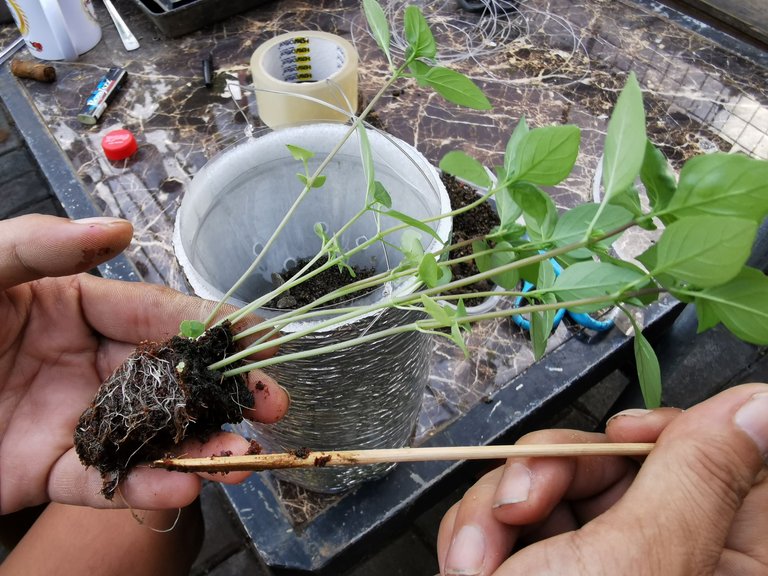
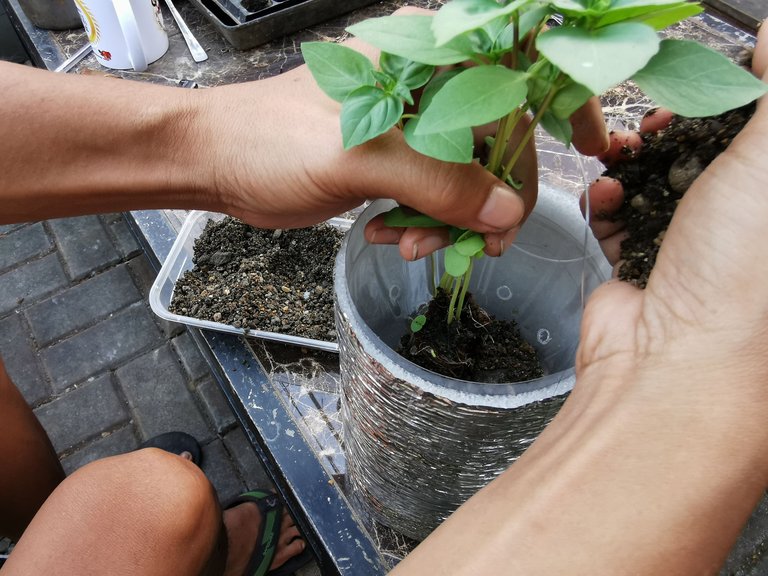
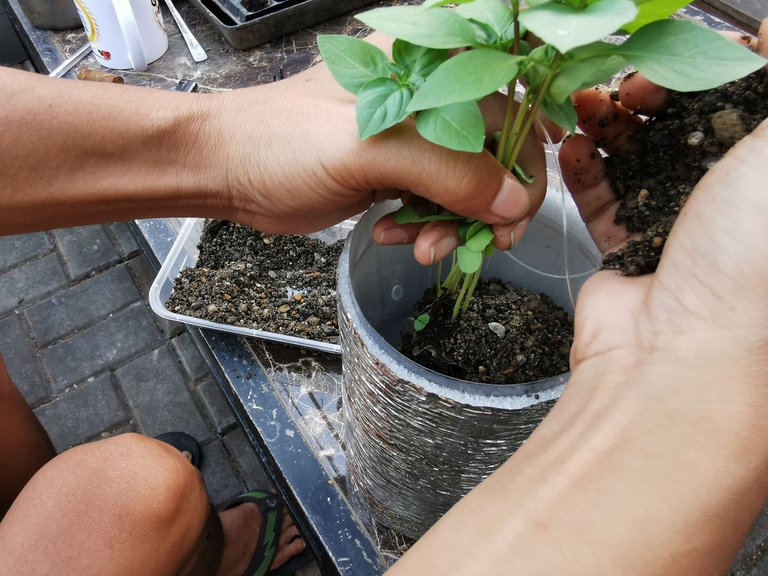
Now it's planted. The next is filling it with water with hydroponics nutrient solution.
I will post separate tutorial next time.

I dig on the side to see if the water is enough to reach the root system. Then fills it again until I see the water is enough.
FACTS: Plants on HYDROPONICS system don't need soil for it to survive and grow. The water already has complete nutrients that the plant needs to grow and survive. With this system, we can grow more and effectively. We don't need addional fertilizers while they are growing. They don't neeed watering everyday cause they are already self-watering. We save a lots of water cause the evaporation is decrease.
Water on soil evaporates faster while water on hydroponics system directly goes to the plant. Maybe water also evaporates on it, but slower and it is weather based.
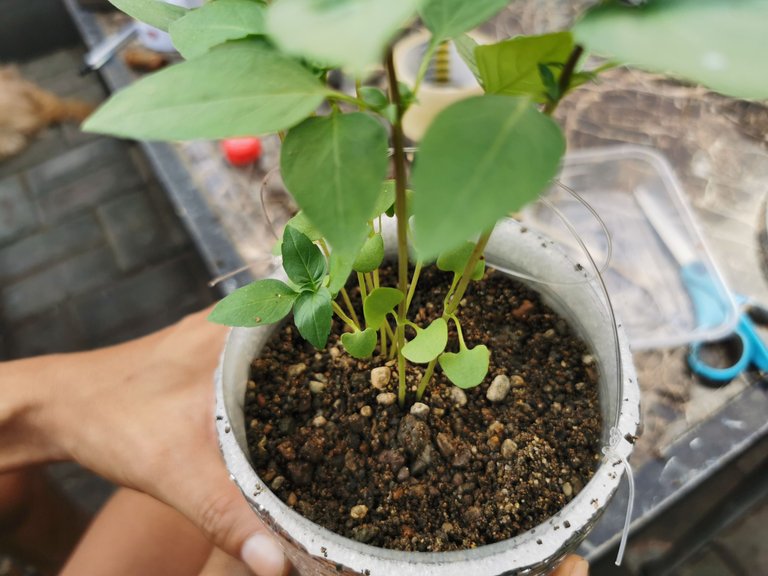
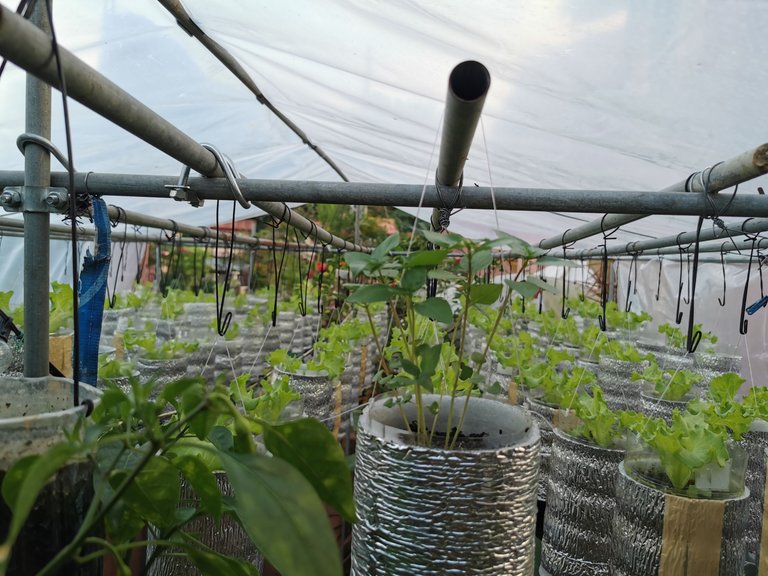
And now it's complete!
I hangs it together with my other hanging lettuce plants that is also on hydroponics system.
You can also try this system on your other plants. We just need to try to see if it is working or not. If it fails, then try again. Research. Innovate. Make it done.
Thank you again for reading my blog.
I hope you learned something on my post. And please do comment if you have some questions. I am happy to answer you if I know the answer.
Thank you again and see you on my next post! Let's do it ourselves!