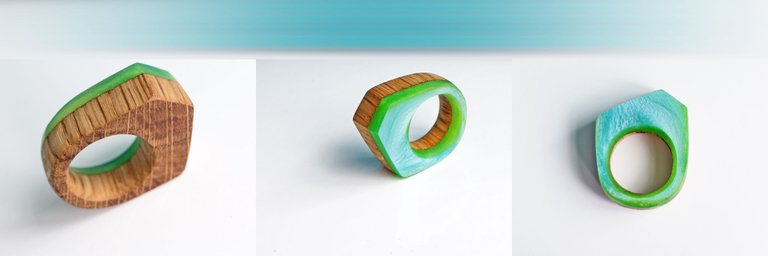
I worked on this post for over a week, because of the long hardening process and mostly because I am... I have no words... English!
-Epoxy Resin is becoming more and more popular.
You can use epoxy resin for jewelry, floors, tables, art projects... There are many types of epoxy resin available for different projects. I will show you how to use epoxy resin for jewelry.
Epoxy resin is a material that is created by mixing two components -liquid resin and hardener. A reaction ( I am using Pebeo Crystal Resin) lasts more than 24 hours. The resin is hard before that, but the surface can still be damaged. In my opinion, it needs at least 36 hours to continue working on objects made of resin without any problems.
Note: I am writing about only this type of resin that I work with. All types have their unique characteristics(manufacturer’s instructions) and they are listed on the packaging. However, you will learn the best through your own experience.
Working with resin you need to be well-equipped to keep yourself safe:
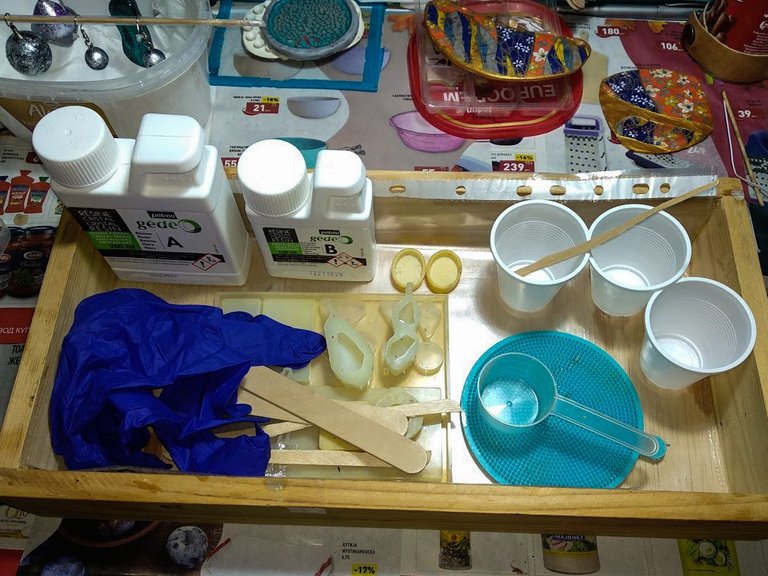
We need:
-Resin and hardener
-latex gloves to protect your hands (if you have resin on your hands just wash it off immediately.)
-disposable cups to mix resin-(once use only).
-sticks for mixing the components.
-protected surface with paper, nylon... tape to prevent resin from running ...
-torch or lighter
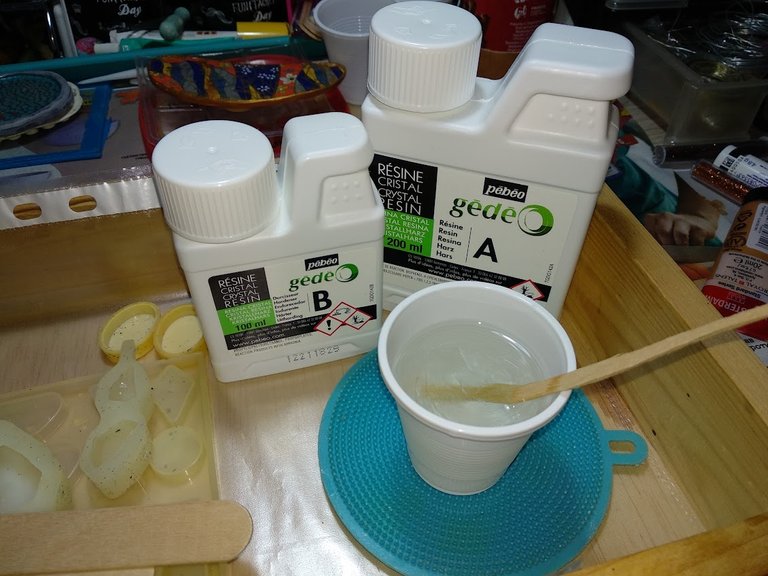
The surface has to be clean-No dust!
Put on latex gloves. You can use face musk too
Pour the resin and the hardener into two separate cups- 2 parts resin(A) and 1 part hardener(B) (2:1). Then mix it in the third cup. For PEBEO Crystal Epoxy resin!
Mix them for around three minutes using a stick. Very slowly!!! (to avoid little bubbles-If they are created, can be removed with heat, a lighter, torch, hair dryer or heat gun.)Leave the mixture for a few minutes, if bubbles have formed, some will burst.
During this time, prepare the jewelry to be glazed and the molds if you plan to use them.
The working surface must be horizontal, or the resin will run out. And that mess annoys me.
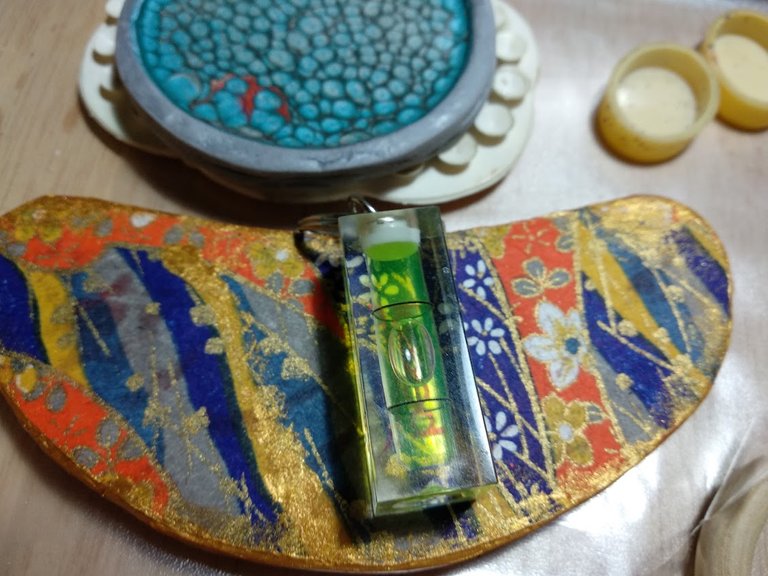
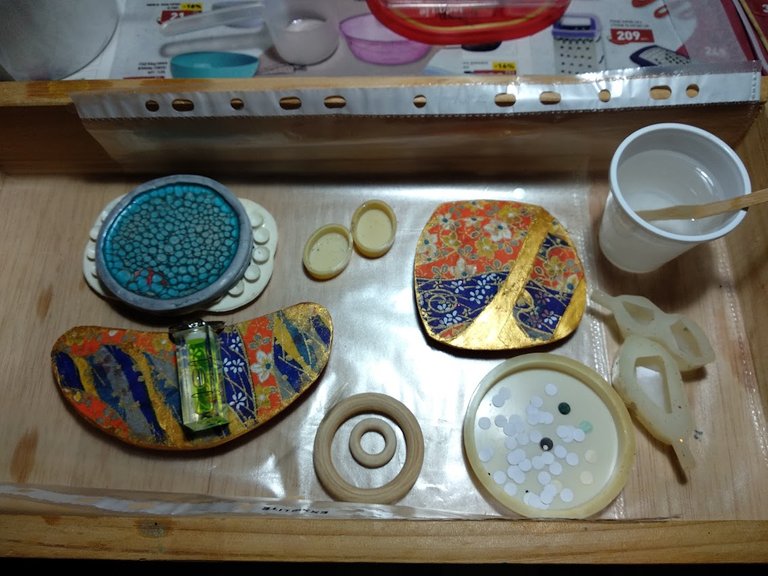
I used some of these things, some I discarded while I was working, and some others I added afterwards.
^
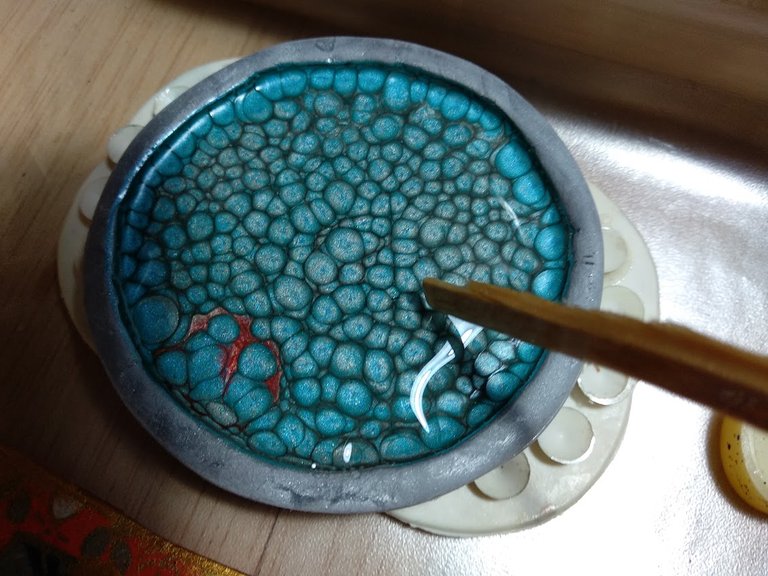
Pour some epoxy resin in the middle and spread it with a toothpick or stick towards the edges, making sure it doesn't run out.
This pendant has a higher edge so there is no danger.
----------------------------------------------------------------------
^
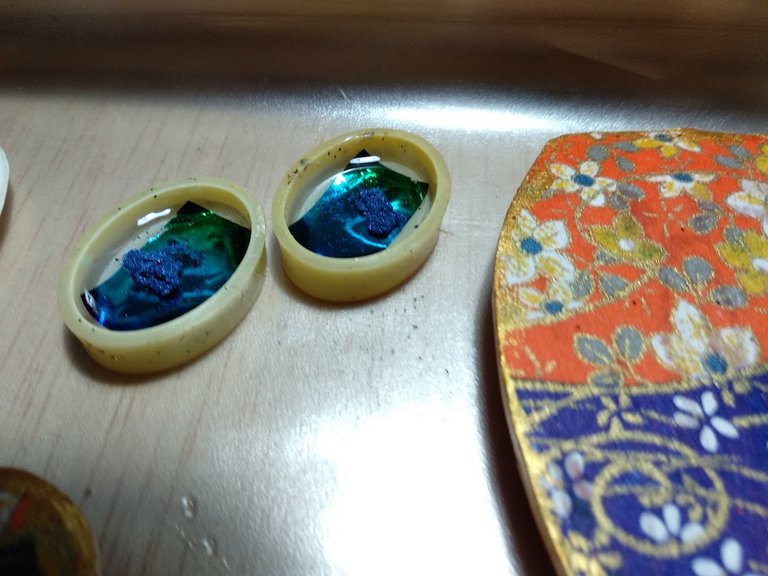
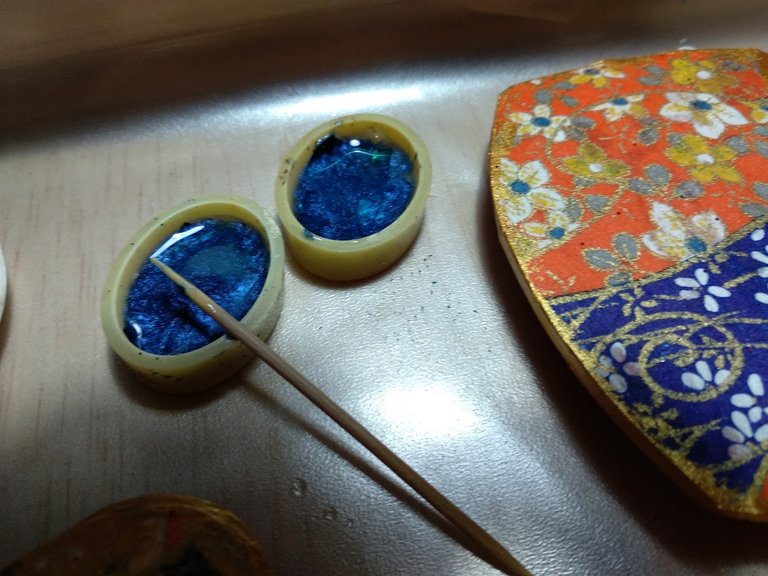
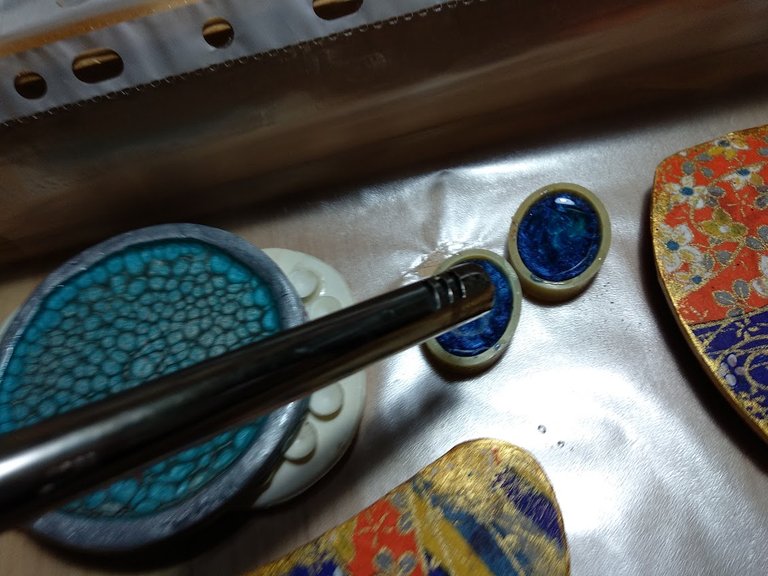
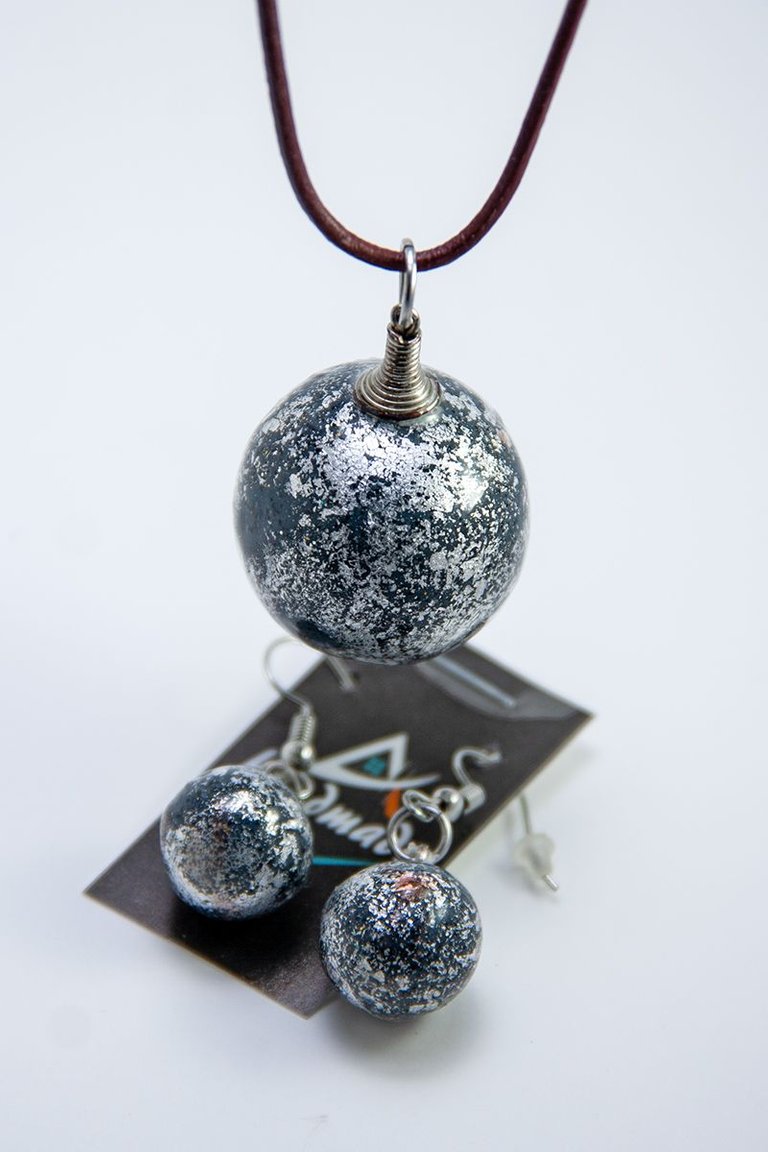
I used these small molds for earrings. Put some resin, then some coloured foil, mixed the Mica powder with the resin and finally poured more resin to the top. I used a lighter because I noticed some bubbles...
----------------------------------------------------------------------
^
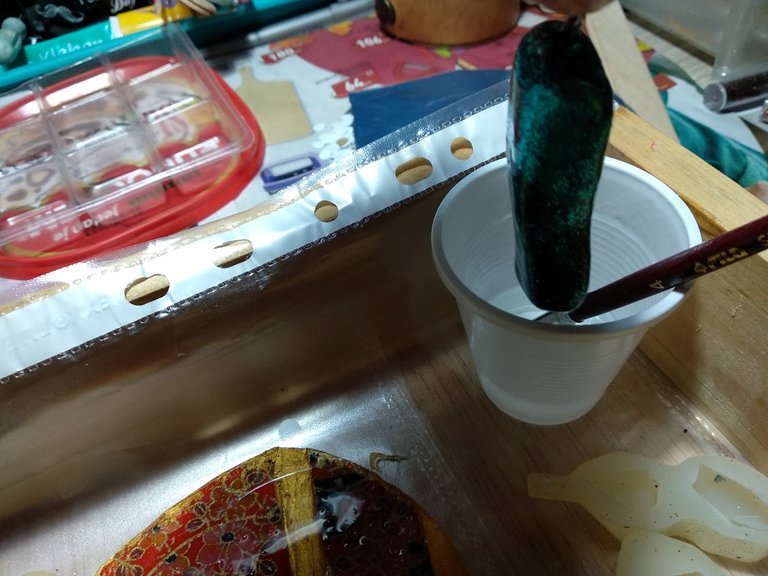
I dipped this pendant in resin and removed the excess with a paintbrush.
----------------------------------------------------------------------
^
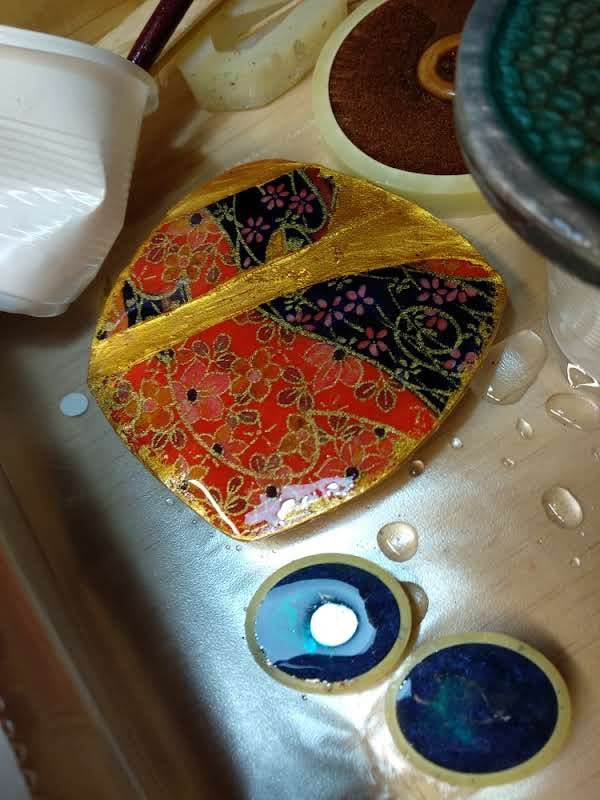
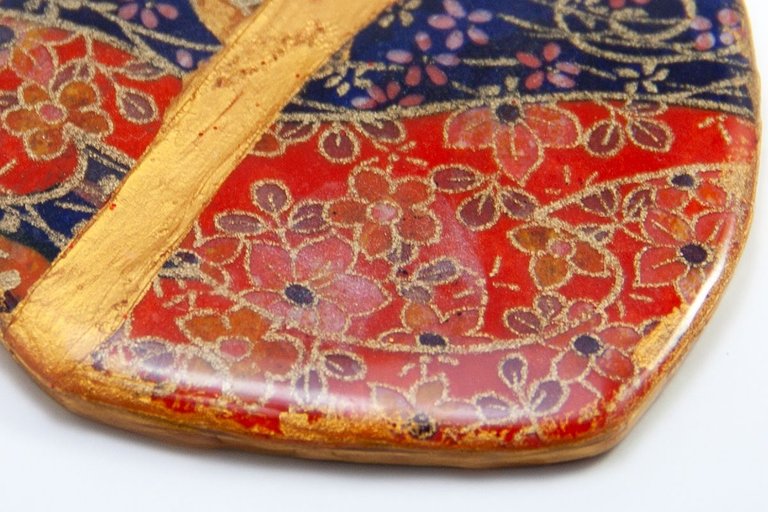
I carefully glazed those red "Klimt" pendants with resin.
----------------------------------------------------------------------
^
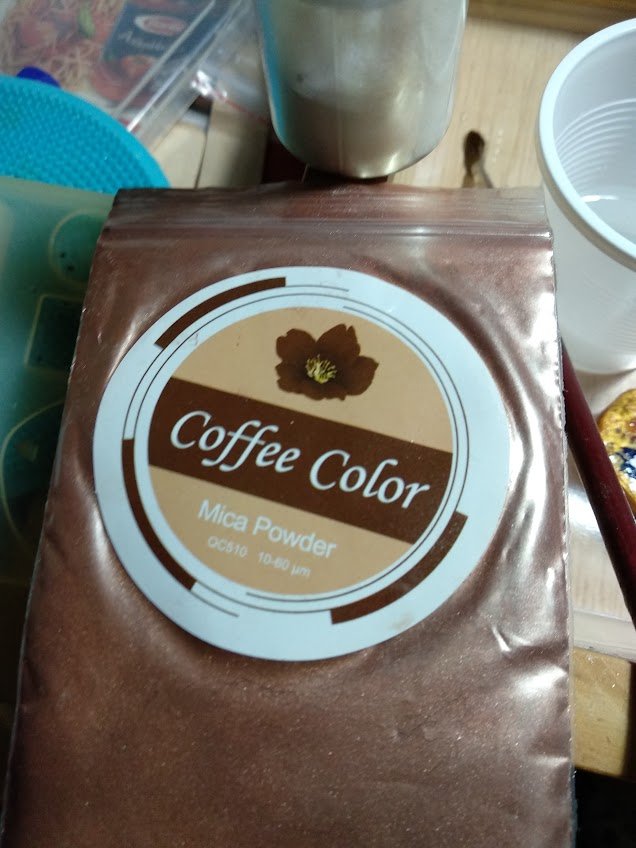
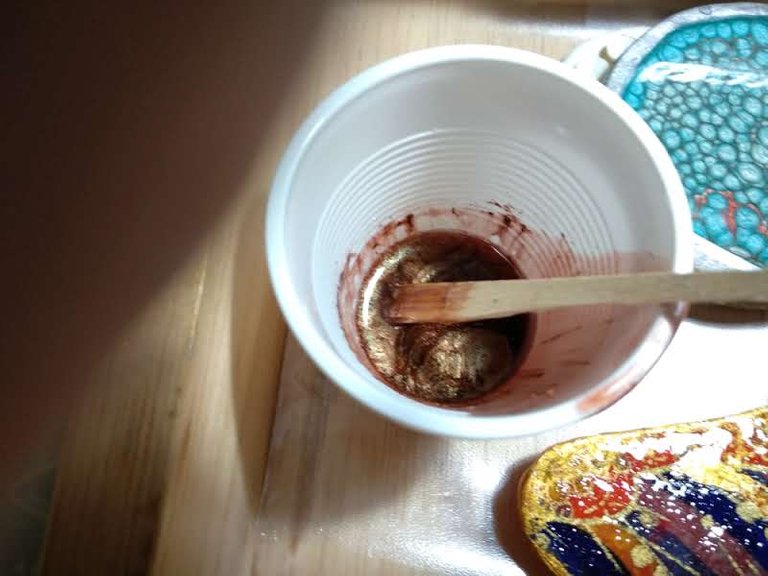
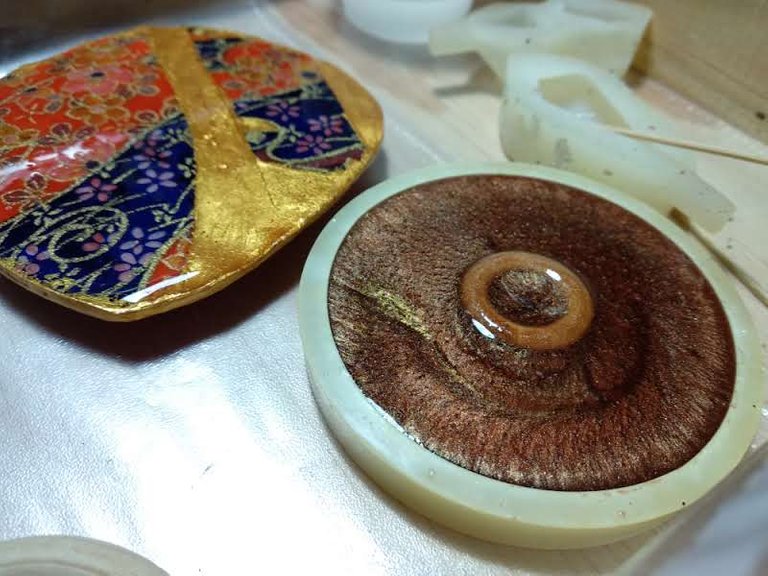
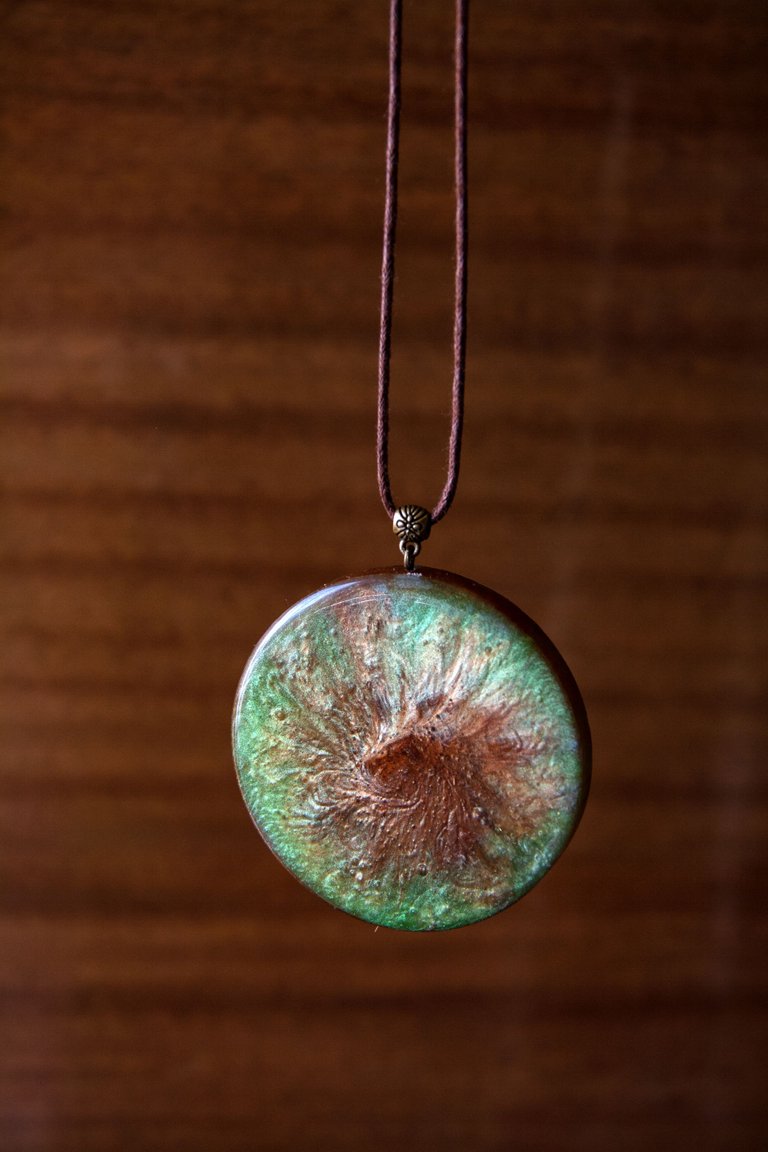
I added Mica powder to a resin, poured the mixture into a round mold and put a wooden circle (that I had) in the middle.
- I always put the pendants that I "glaze" on small silicone molds so that if the resin runs out on one side, it wouldn't make a mess on the object.
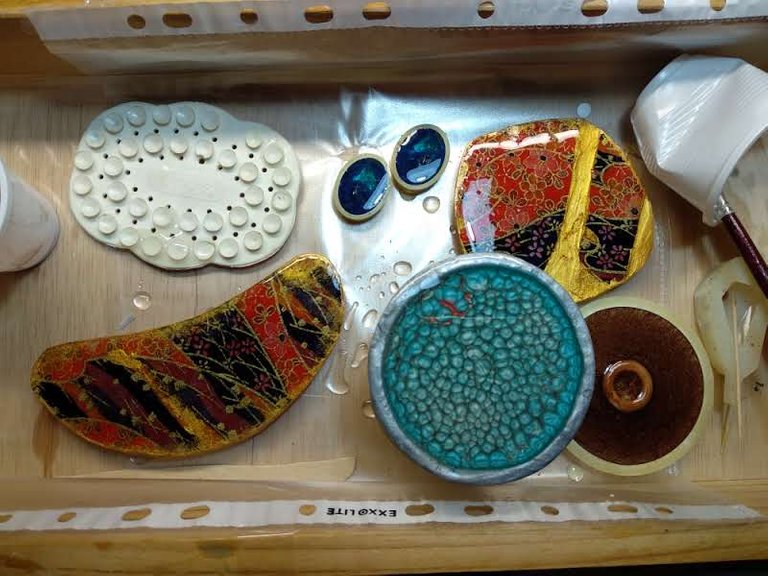
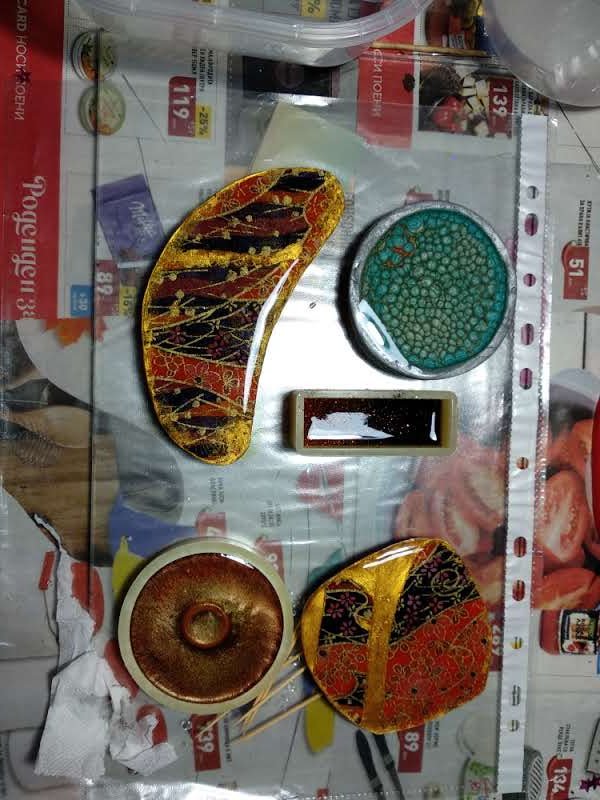
- Finish what you are doing in less than an hour because the resin is already starting to harden.
- Do not move them for at least a few hours and do not touch them for at least 24 hours.
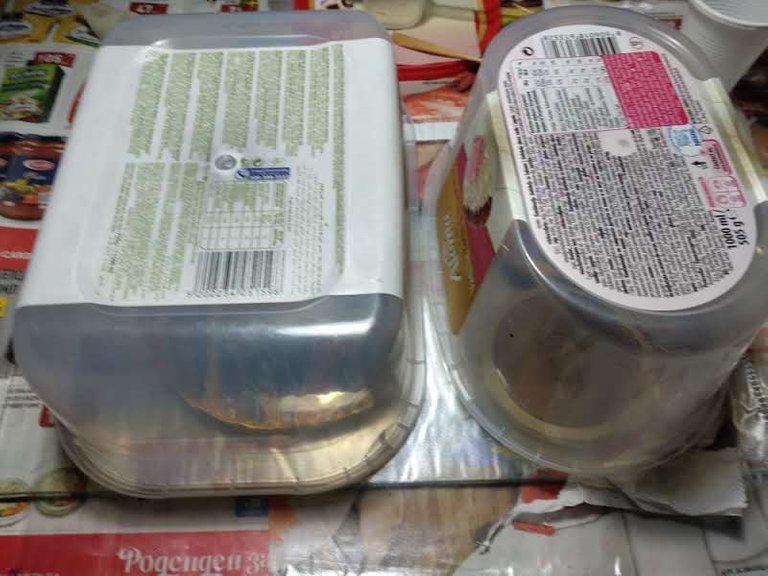
- Cover them with something carefully so that dust does not fall on them.
- Throw away, cups, gloves, chopsticks... don't use them anymore.
After 24 hours, once again I coated the red pendants with resin, and even after that, I was not satisfied with one of them. After 2 days, I coated it again and left it to dry for another 2 days.
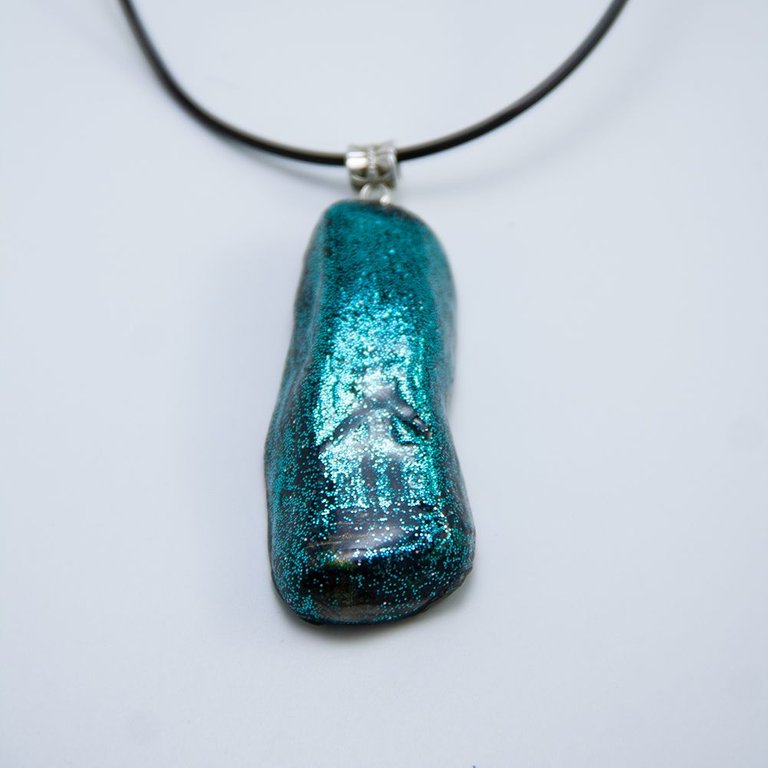
Today they look like this:
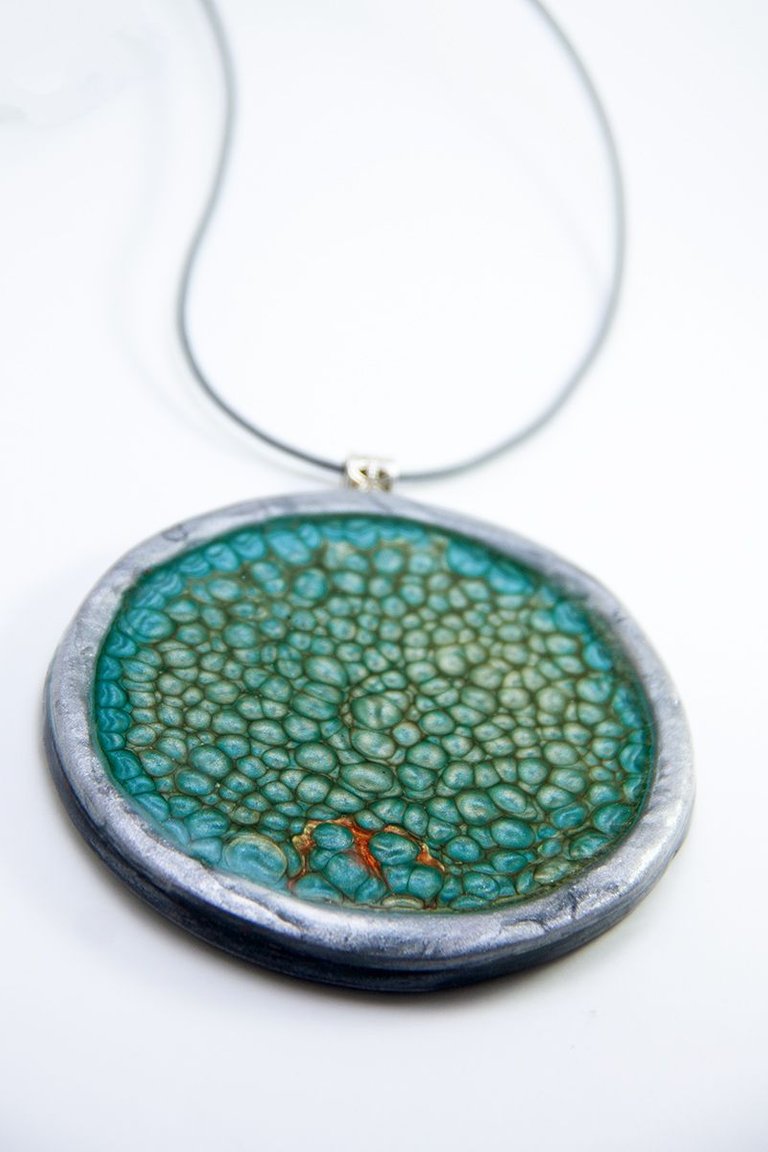 | 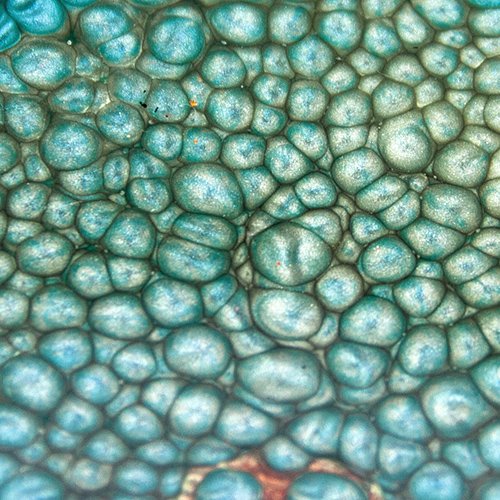 |
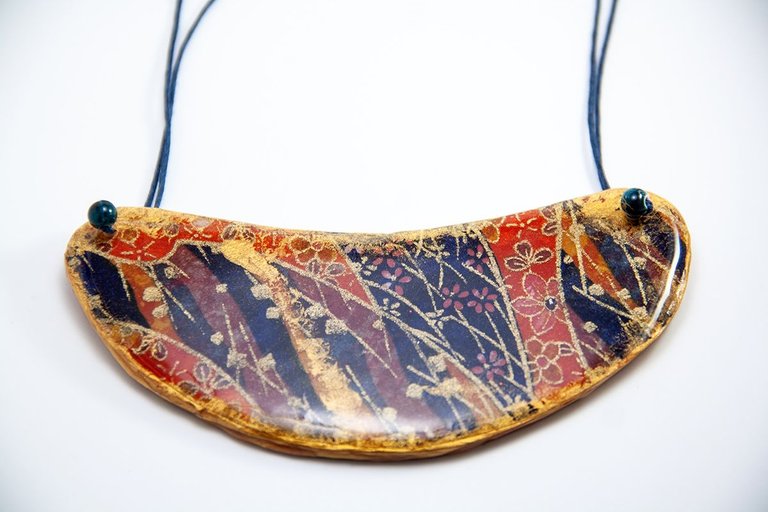 | 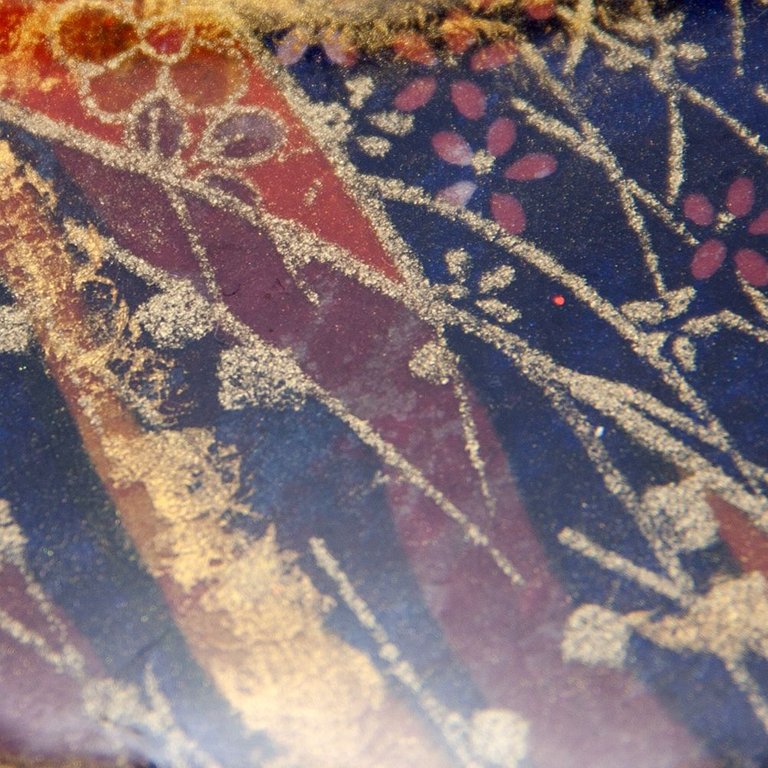 |
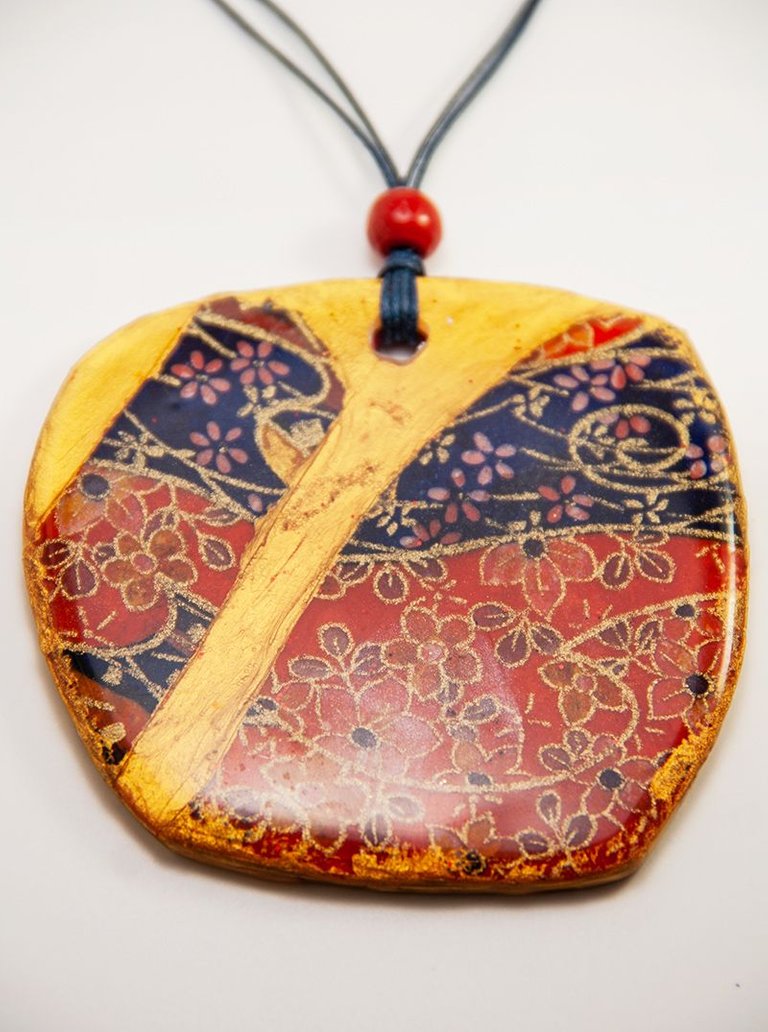 |  |
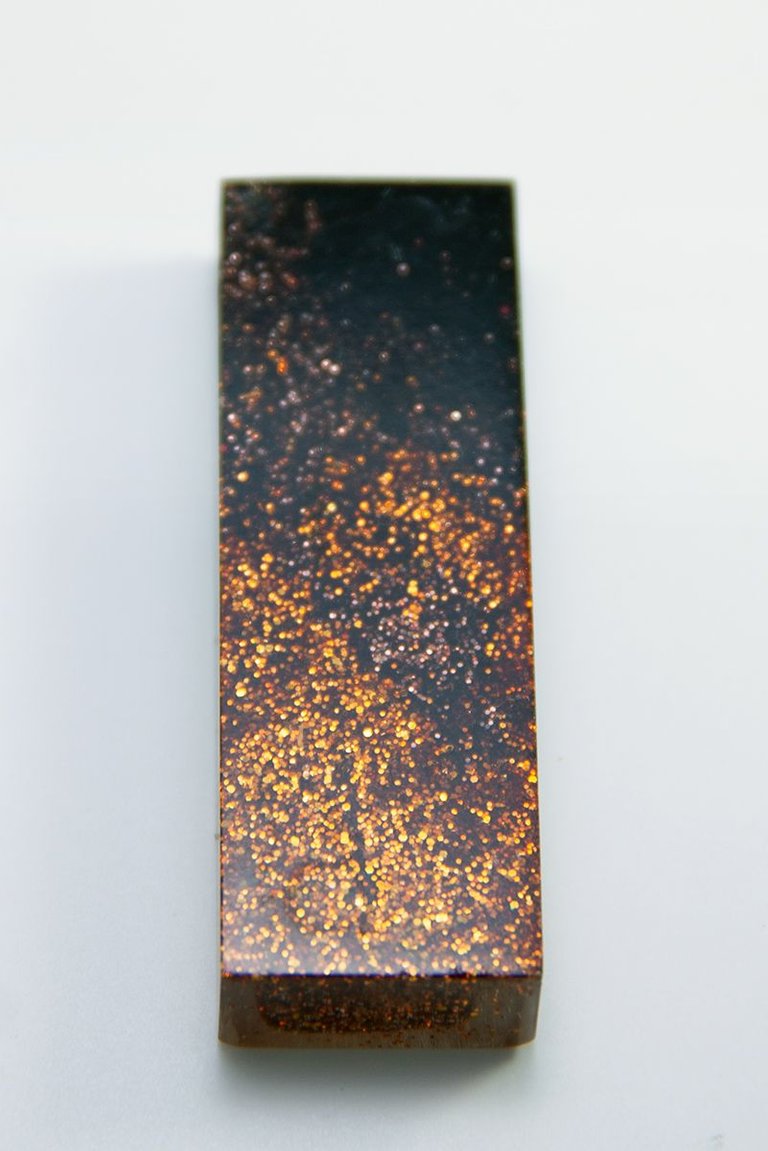
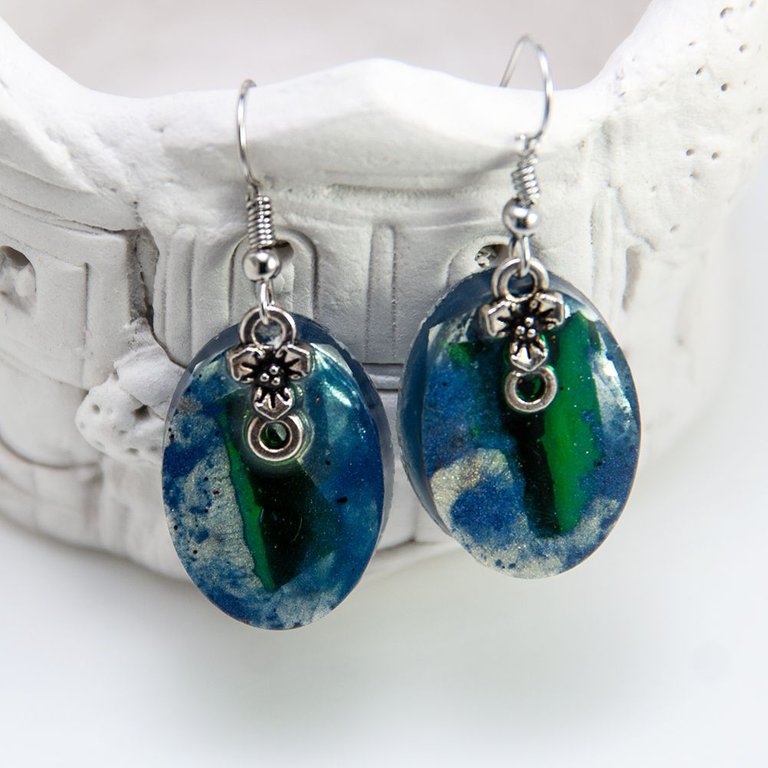
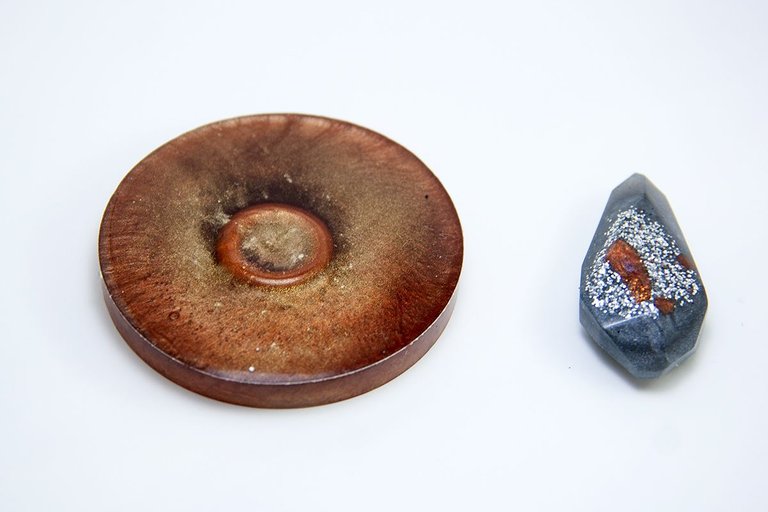
These don't have a thread yet.
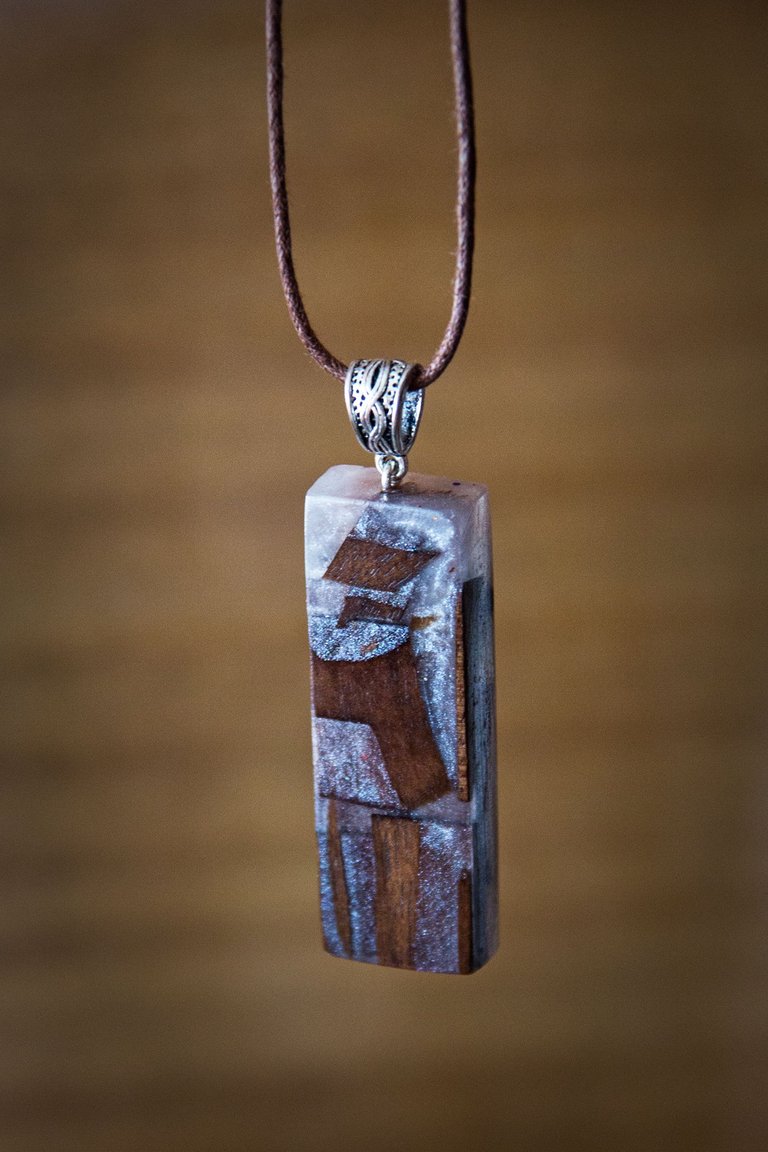
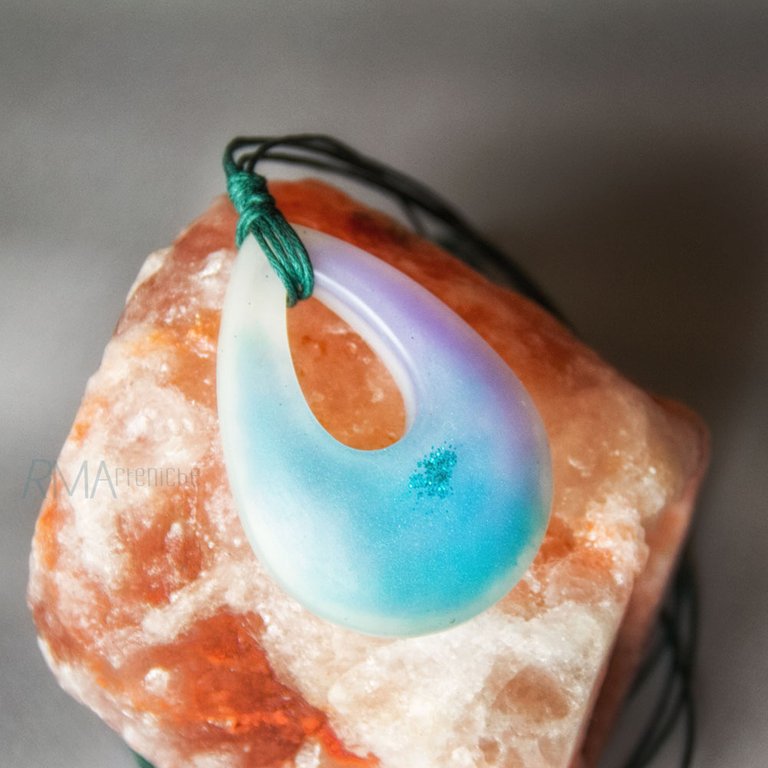
I put the remaining resin in a mold and put some silver glitter. That's how that last pendant came to be.
As you can see if the surface is flat, clean and you work carefully the resin will be perfectly smooth and even.
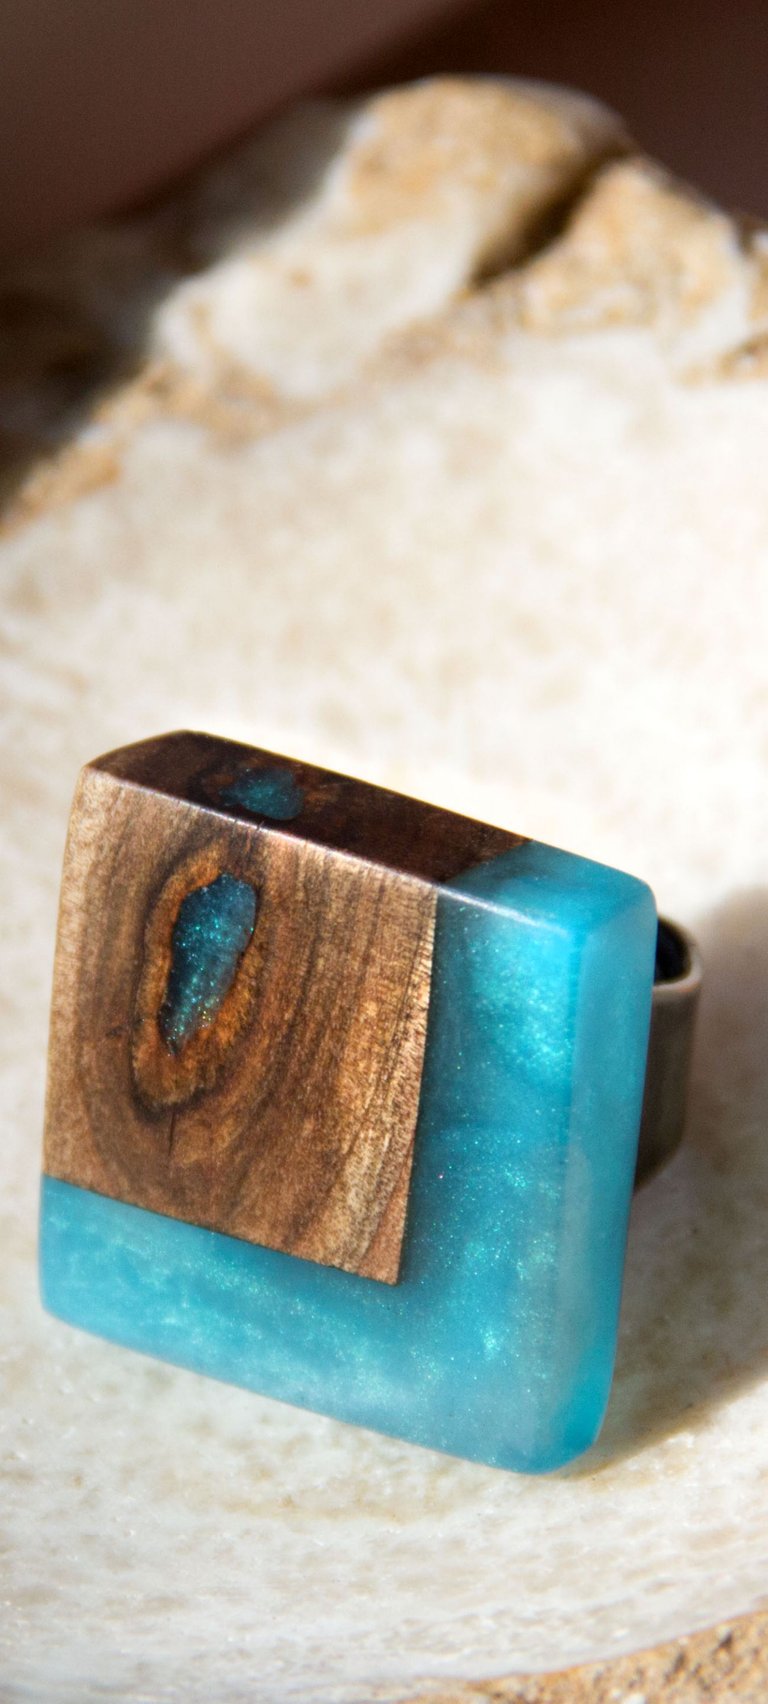
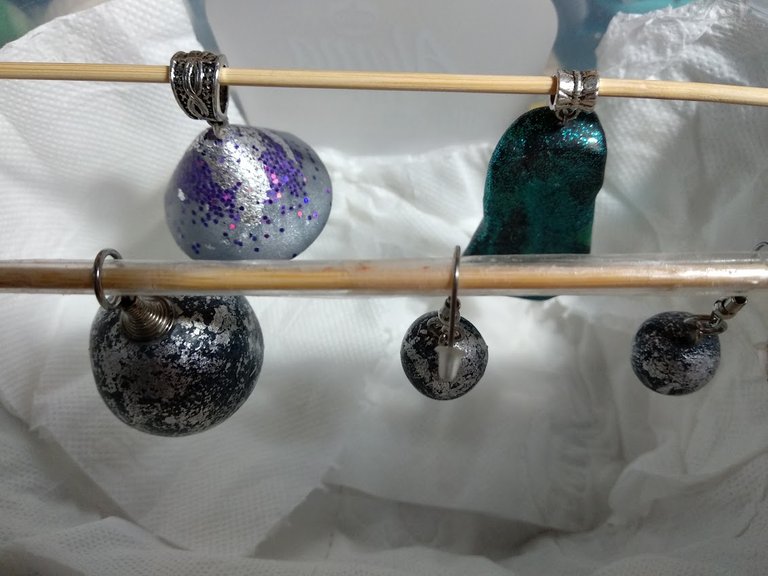
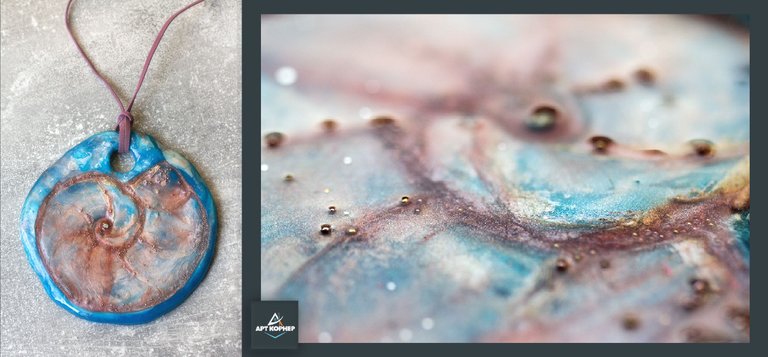
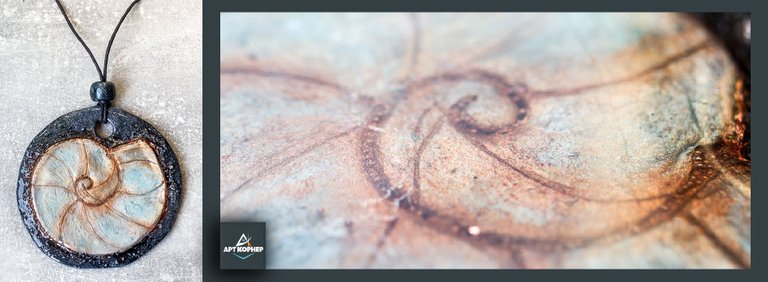
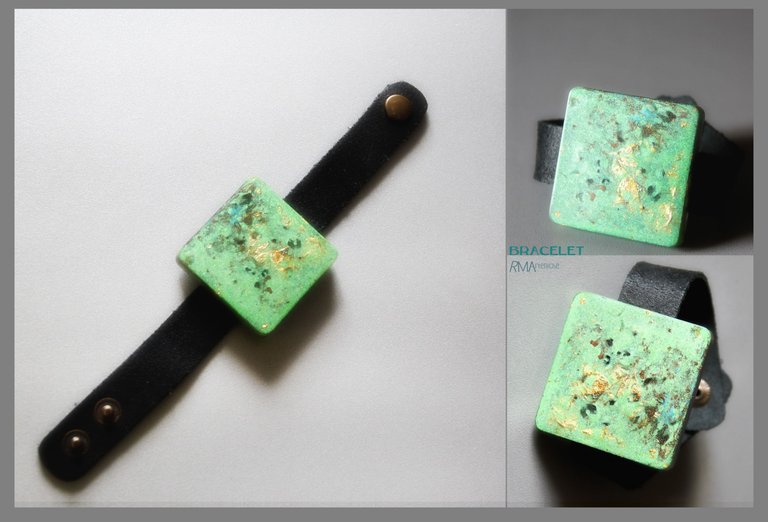
More photos from before:
All Photos are taken by me!
