A long time ago I showed you the magnets I make. https://peakd.com/hive-189641/@desro/handmade-magnets
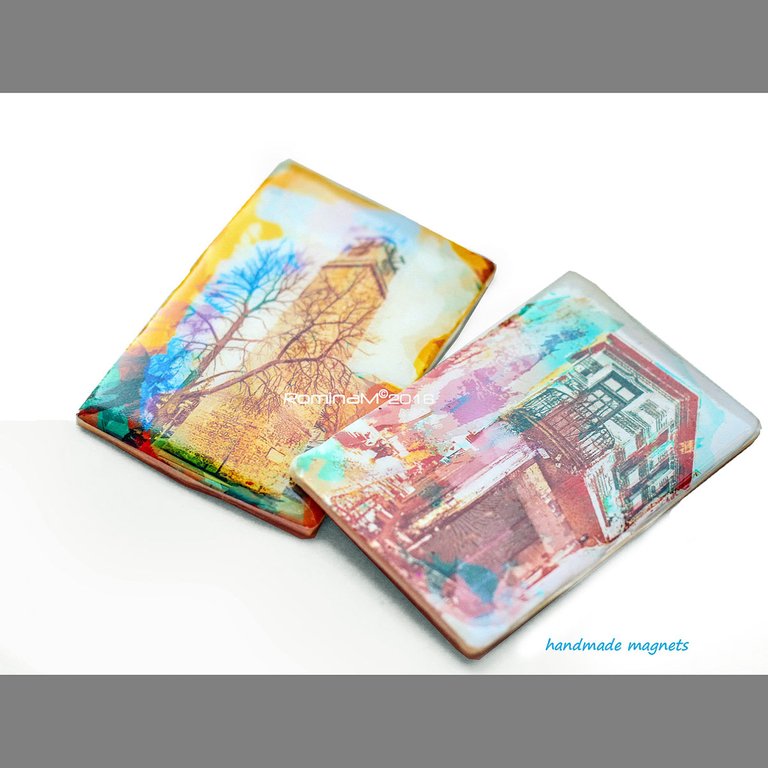
Now I will try to show you the whole process of making it.
Making different objects is something that is my hobby and also a way to earn something.
Photography is my biggest obsession. These magnets are a combination of my hobbies.
-Polymer Clay
-Printed photos
-Epoxy resin
tools, glue, magnets...
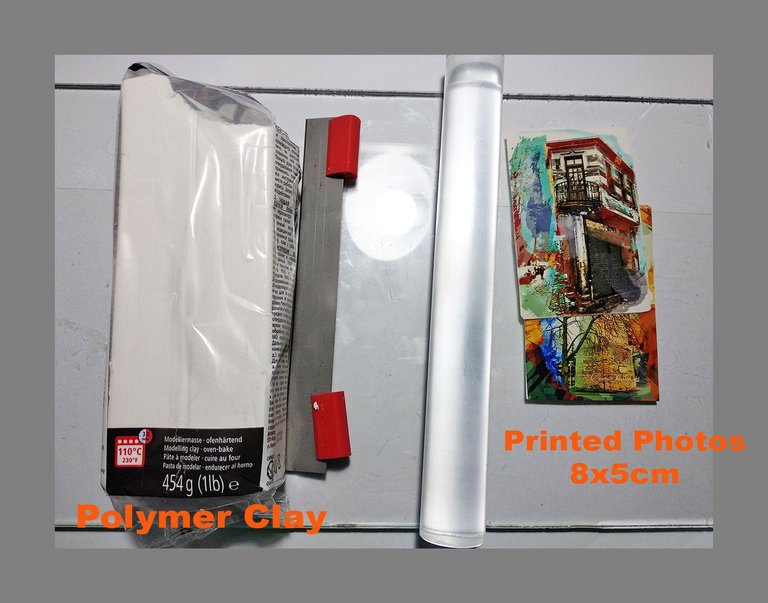
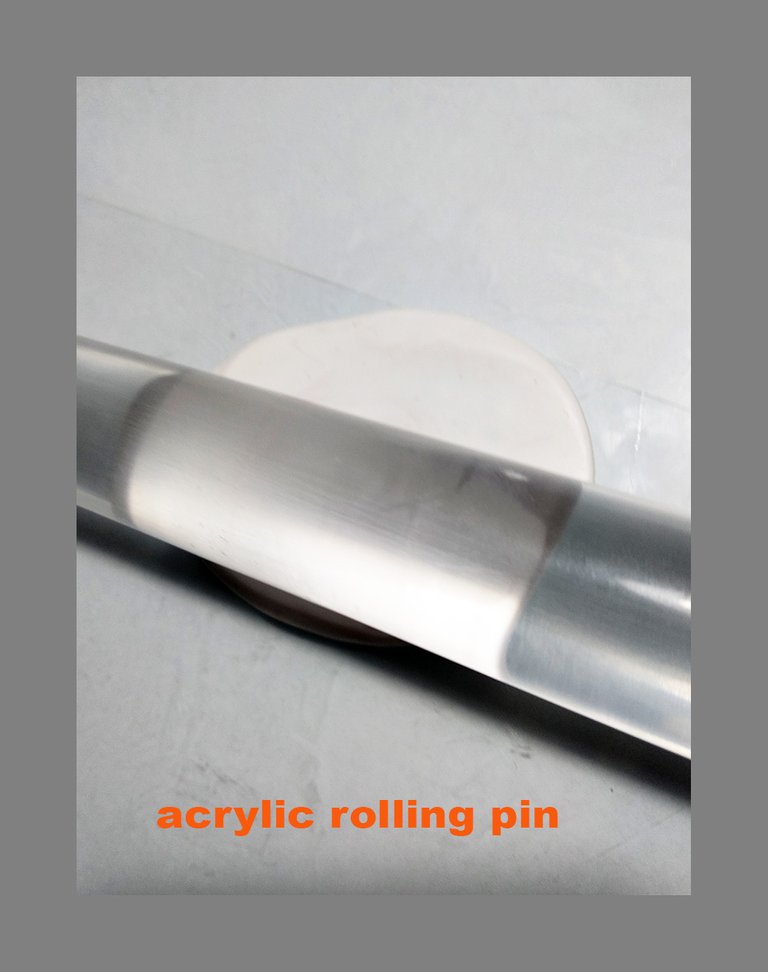
When you have rolled out the clay to the desired thickness, place the photos and cut to the required dimensions.
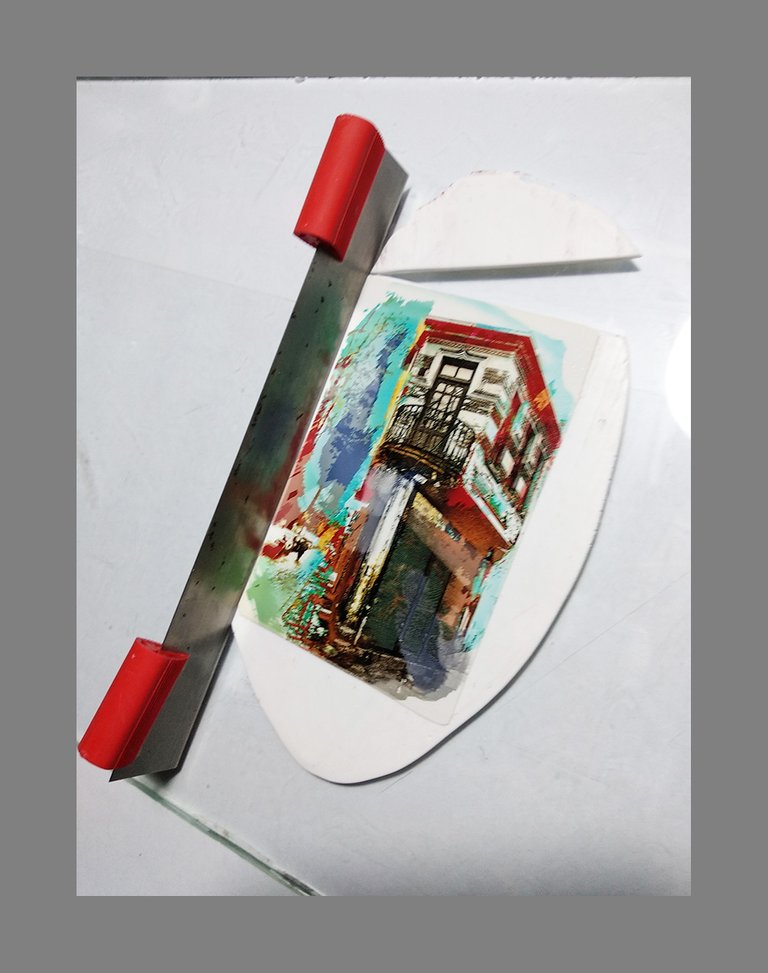
Use cutters or a craft knife to cut out your magnet's shapes and dimensions.
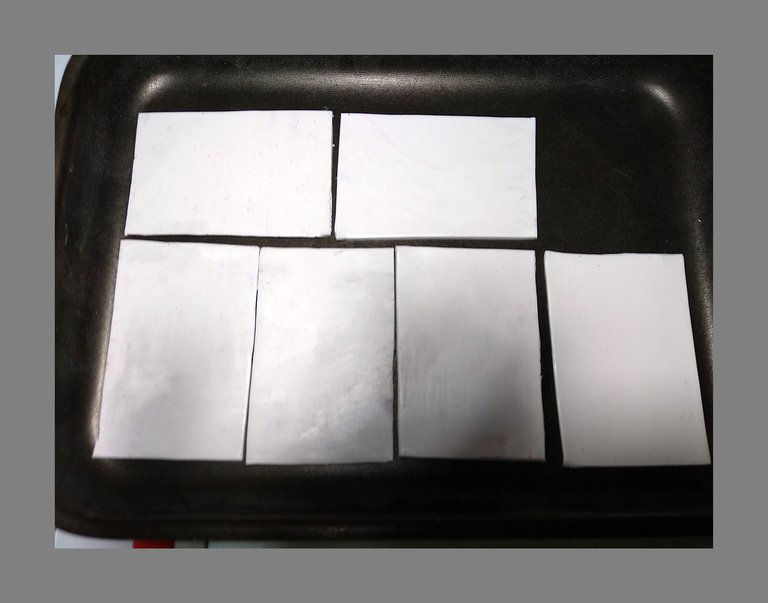
-Bake according to the polymer clay instructions.
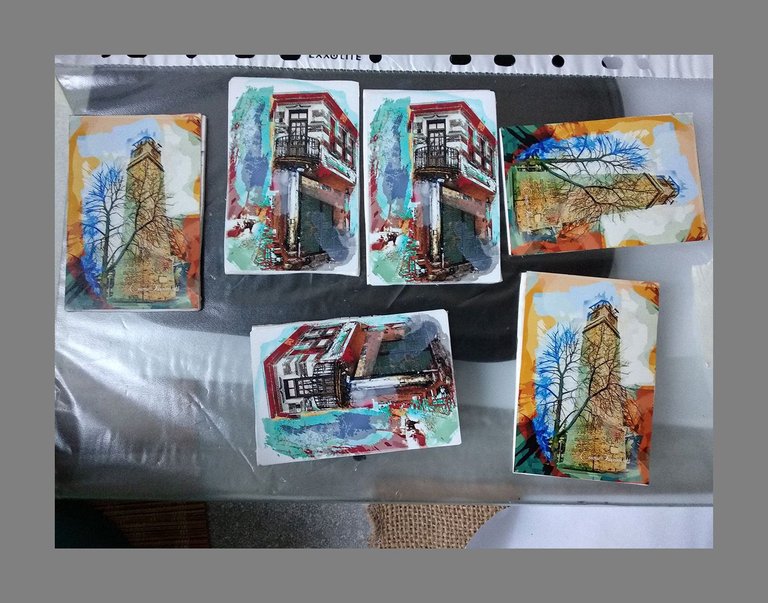
Glue the photos on the baked clay.
Wait for the glue to dry, you can use super glue and then cover them with resin.
Carefully spread the resin to the edges with a toothpick.
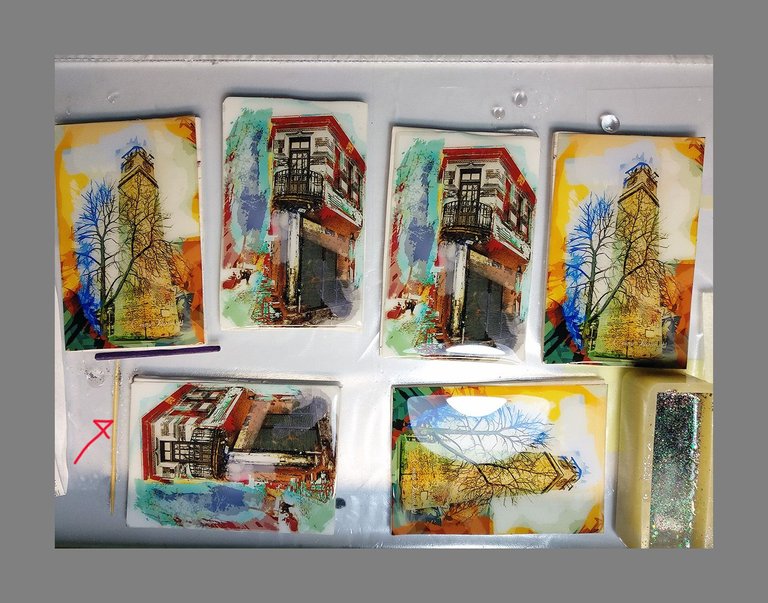
https://peakd.com/hive-189641/@desro/tutorial-how-to-use-epoxy-resin-for-jewelry
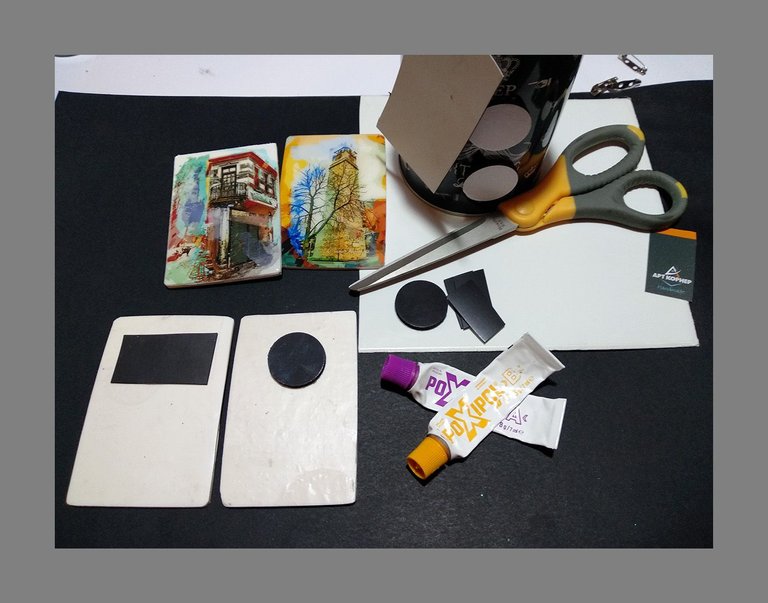
When the resin hardens completely, sand the edges and then glue the magnets to the backside. Most often, I use magnet sheets, so I cut them to the required dimensions. There are also self-adhesive ones with a circular shape.
I glue the magnets with two-component epoxy glue, which dries very quickly and is very strong.
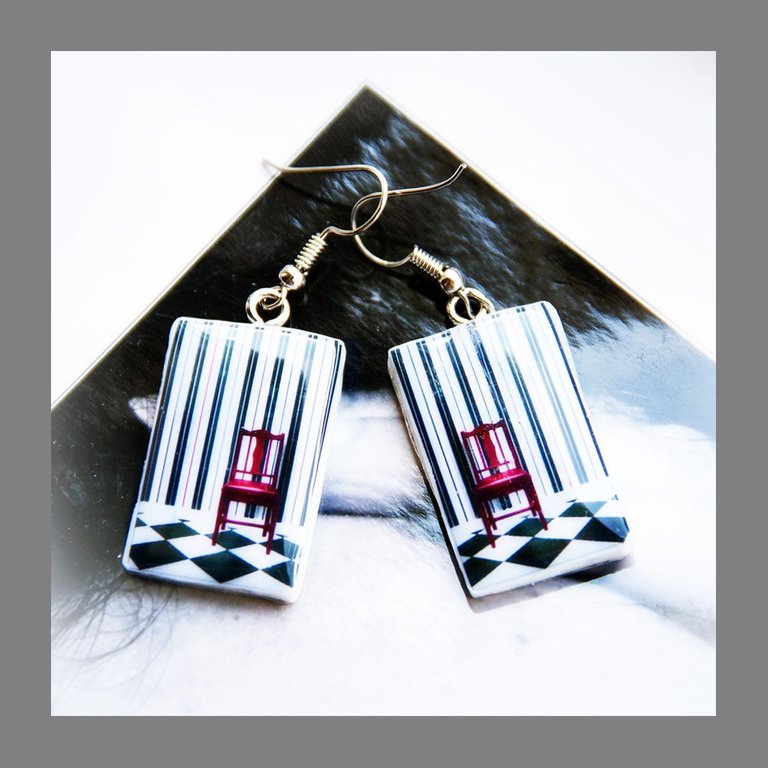
These earrings, in addition to my two hobbies, also united my work as an interior designer. This is a photo from a cafe we designed.
All photos are taken by me!
