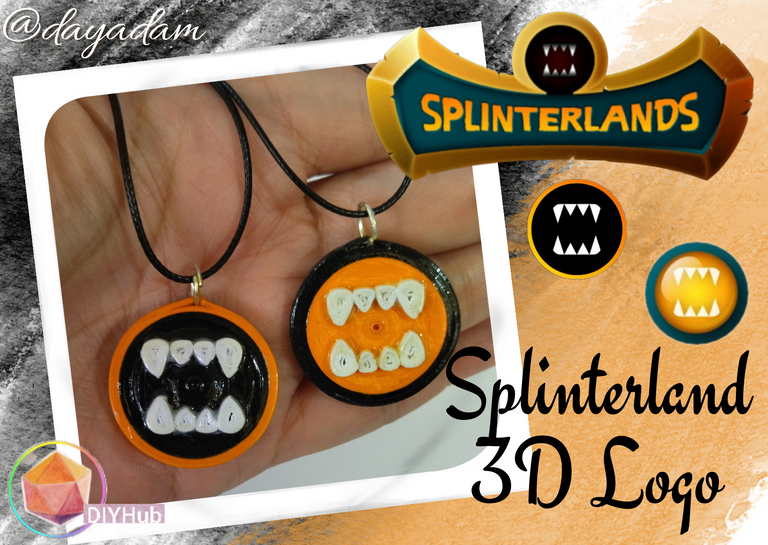
Hello everyone... ✨
Hello to my dear Hivers and the beloved community of artists #DIYHub, as always very pleased and excited to be here again, showing you my work made with love and especially for you.
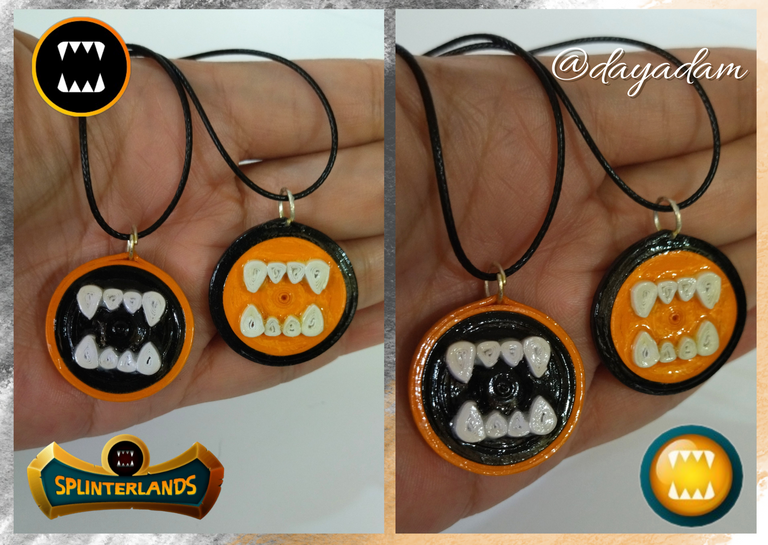
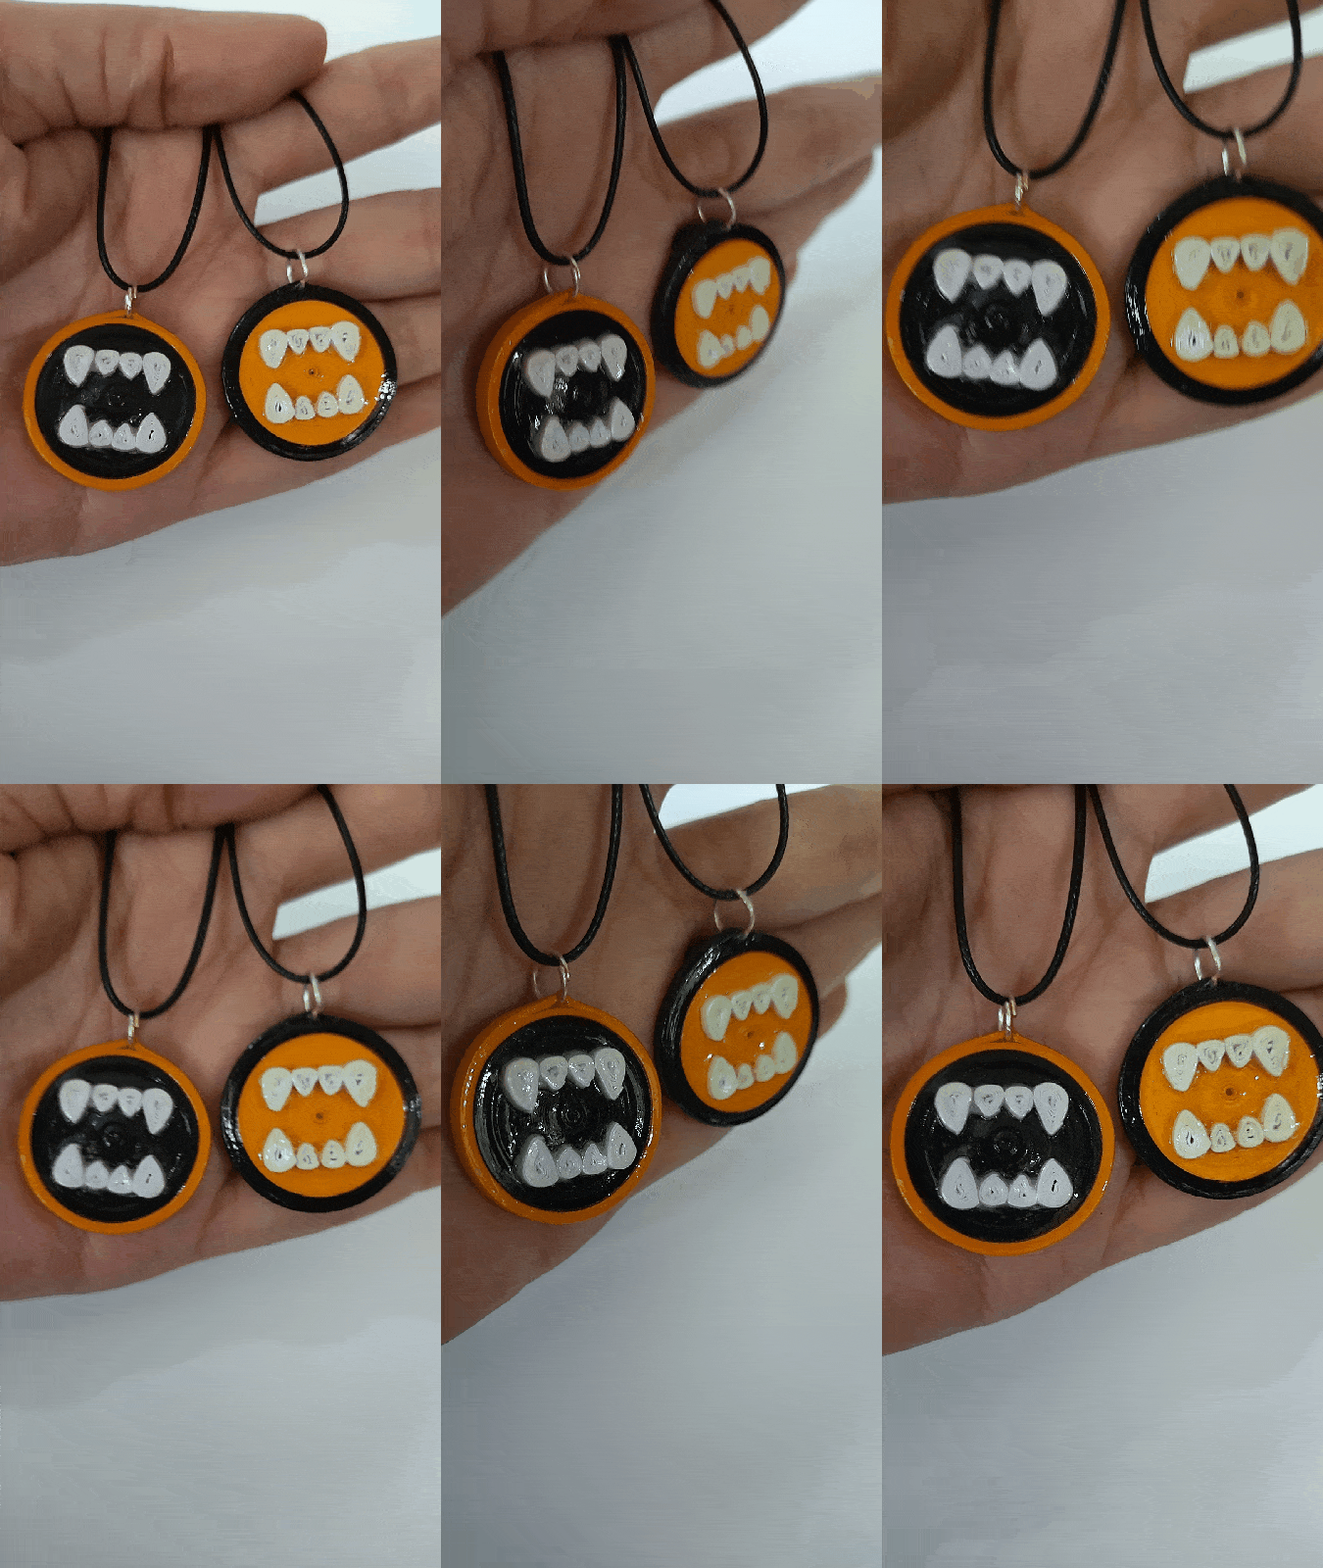
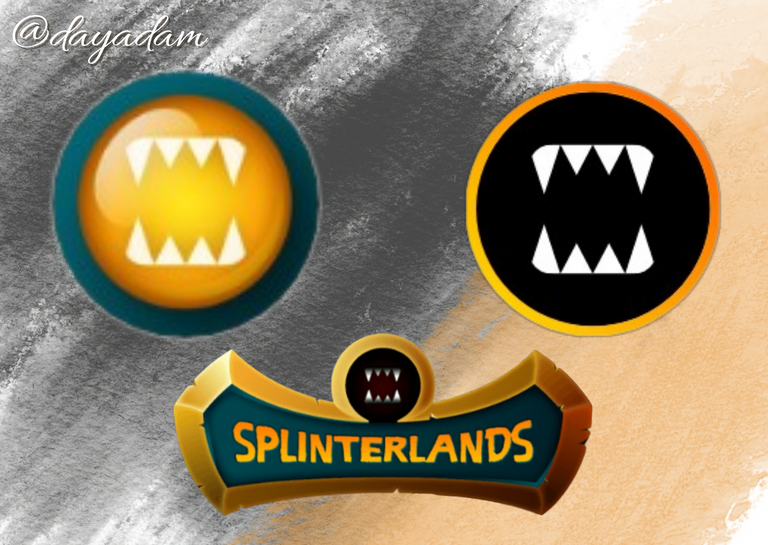
For today, and for all those fans of the so named game of our platform Hive Splinterland, I bring you the medallion logo of the game in the quilling technique, presented in two different colors inspired by both the logo found on the main page of the game, and the one that appears on the profile of the Splinterland Hive account.
I take this opportunity to give a special greeting to all the members of the #Splinterland community and all its participants, I am very pleased to participate for the first time in the Splinterlands Art Contest Week 251. For weeks to come, I will bring you more of my quilling handwork with themes in relation to your letters, I wanted to start in this first entry with this logo turned into a 3D necklace charm.
Hoping you like it, I leave you my creative process:
Let's get started:😃

Hola a todos... ✨
Hola a mis queridos Hivers y a la querida comunidad de artistas #DIYHub, como siempre muy complacida y emocionada de encontrarme por acá nuevamente, mostrándole mi trabajo hecho con mucho amor y especialmente para ustedes.
Para el día de hoy, y para todos esos fanáticos del tan nombrado juego de nuestra plataforma Hive Splinterland, les traigo el logo tipo medallón del mismo en la técnica de quilling, presentados en dos colores diferentes inspirándome tanto en el logo que se encuentra en la página principal del juego, como el que parece en el perfil de la cuenta de Hive de Splinterland.
Aprovecho de dar un saludo especial a todos los miembros de la comunidad de #Splinterland y a todos sus participantes, me encuentro muy complacida de participar por primera vez en el Splinterlands Art Contest Week 251. Para semanas venideras, les traeré más de mi trabajo manual en la técnica de quilling con temas en relación a sus cartas, quise comenzar en esta primera entrada con este logo convertido en un dije para collar en 3D.
Esperando que sea de su agrado, les dejo mi proceso creativo:
Comencemos:😃

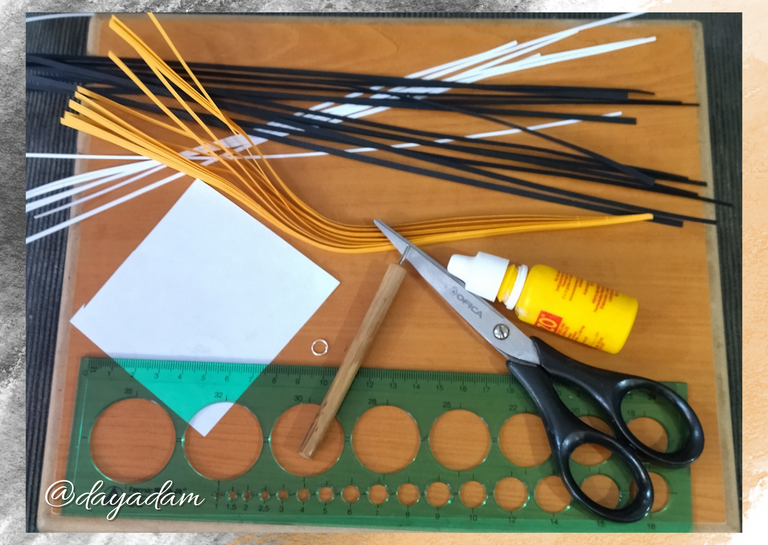
• Cartulina negra y blanca.
• Aguja para quilling.
• Regla con diversas medidas de circunferencia.
• Trozo de hoja blanca.
• Lápiz..
• Pega blanca extra fuerte (de carpintería).
•Tijera.
• Argolla mediana de bisutería..
• Pincel.
• Alicate punta fina.
• Pinza punta fina.
- Black and white cardboard.
- Quilling needle.
- Ruler with different circumference measurements.
- Piece of white paper.
- Pencil.
- Extra strong white glue (carpentry glue).
- Scissors.
- Medium size costume jewelry ring...
- Brush.
- Fine-nosed pliers.
- Fine tip tweezers.

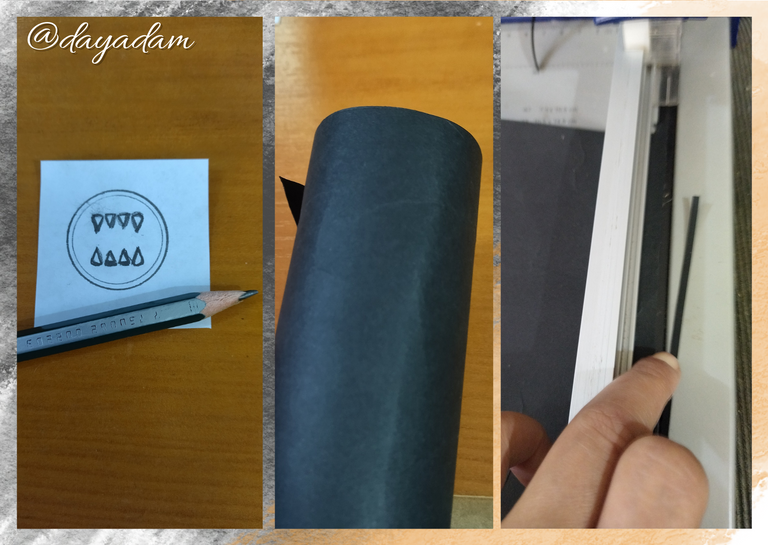
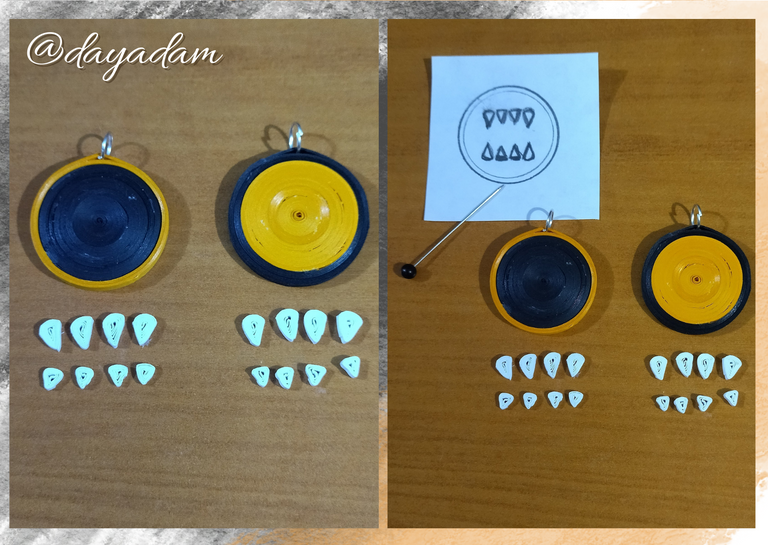
- To begin the work I took a piece of white paper and with a pencil, I made a sketch of the logo I want to make, to guide me a little in the size of the pieces that I will carry out.
- For the base of the pendant we are going to start by taking black cardboard, with the help of a paper guillotine I cut out 3mm wide strips, we will need 250cms of tape, (if you don't have a guillotine you can do it with a pair of scissors).
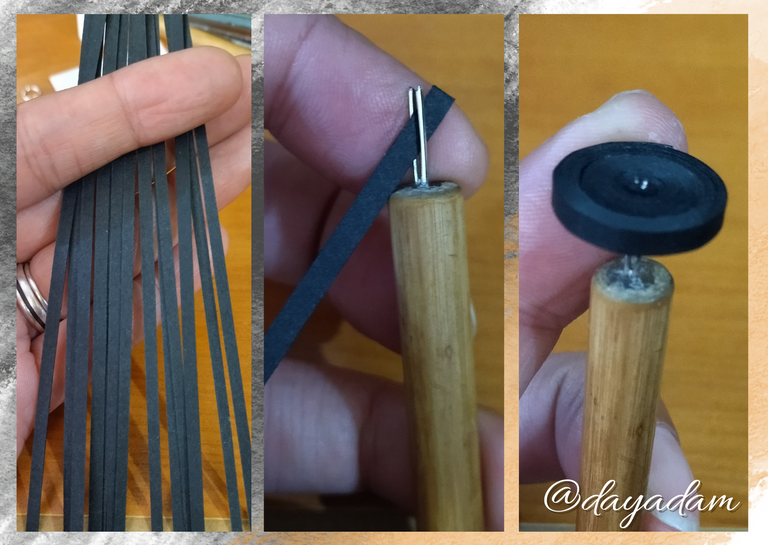
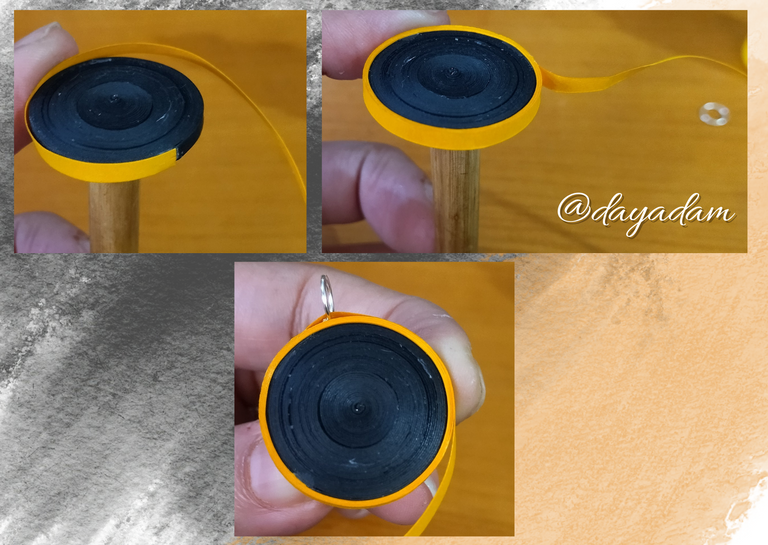
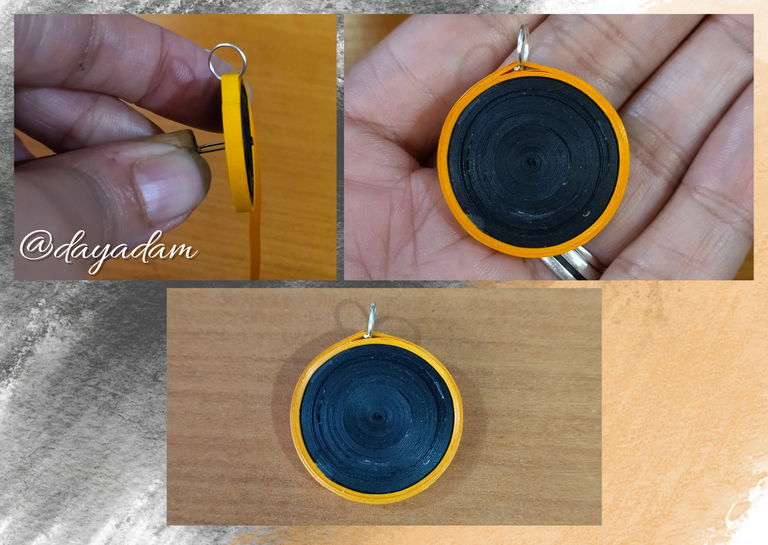
- We take the quilling needle and we are going to roll the black strip, seal with white glue, then we take an orange ribbon 3mm wide x 100cms long and we will roll around the black circle, before we finish rolling the orange ribbon we proceed to incorporate a medium ring of costume jewelry, we finish rolling and seal with extra strong white glue, we take out of the quilling needle.

• Para comenzar el trabajo tomé un trozo de hoja de papel blanca y con un lápiz, hice un boceto del logo que deseo hacer, para guiarme un poco en el tamaño de las piezas que voy a llevar a cabo.
• Para la base del dije vamos a comenzar tomando cartulina color negra, con ella saque con ayuda de una guillotina de papel, tiras de 3mm de ancho, necesitaremos 250cms de cinta, (si no cuentas con una guillotina puedes hacerlo con una tijera).
• Tomamos la aguja para quilling y vamos a enrollar la tira negra, sellamos con pega blanca, luego tomamos una cinta color naranja de 3mm de ancho x 100cms de largo y enrollaremos alrededor del circulo negro, antes de terminar de enrollar la cinta naranja procedemos a incorporar una argolla mediana de bisutería, terminamos de enrollar y sellamos con pega blanca extra fuerte, sacamos de la aguja para quilling.
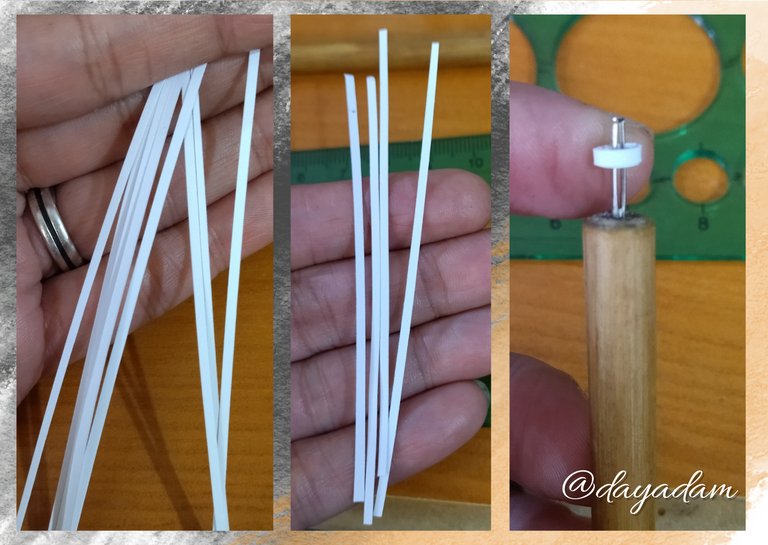
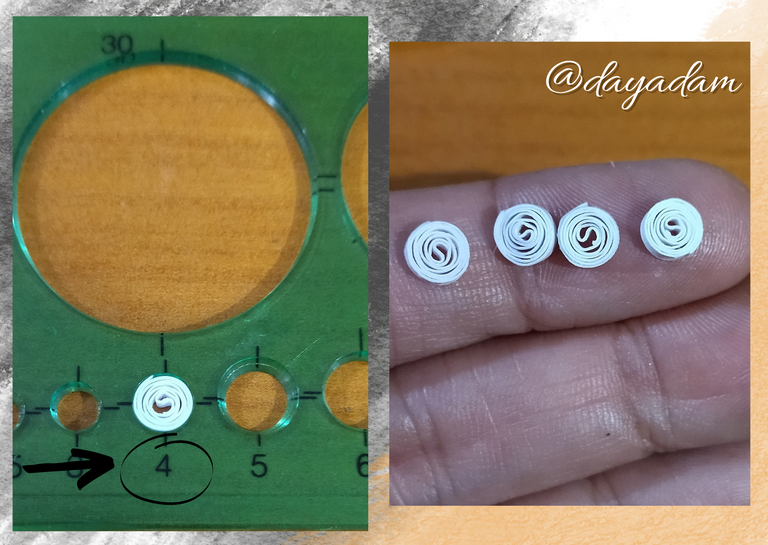
- Now we will take white strips of 1mm wide x 8cms long, with them we will make 4 circles rolling the ribbon with the quilling needle and we will measure in the ruler of different measures of circumferences in the circle number 4, we take out of the ruler and seal with glue. For each charm we will need 4 circles like this one.
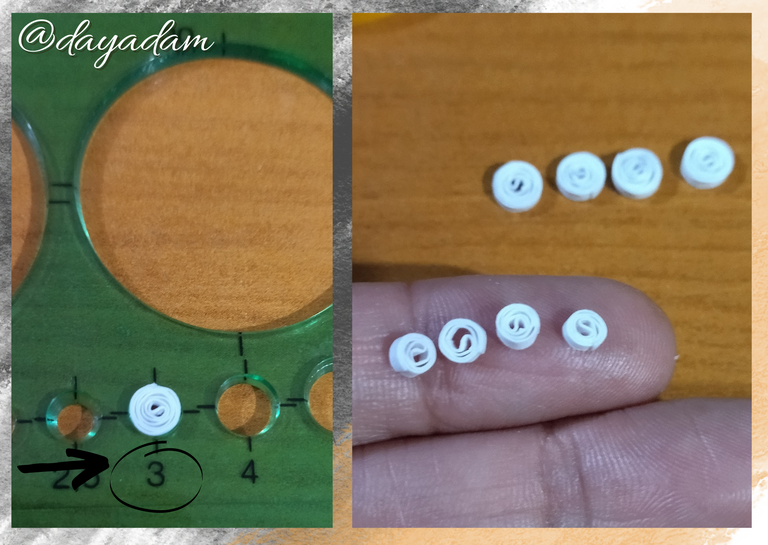
- We will take another 4 pieces of white ribbon 1mm wide x 5cms long, we will roll it with the quilling needle and this time we will measure on the ruler in the circle number 3, we will remove it from the ruler and we will seal it with glue.
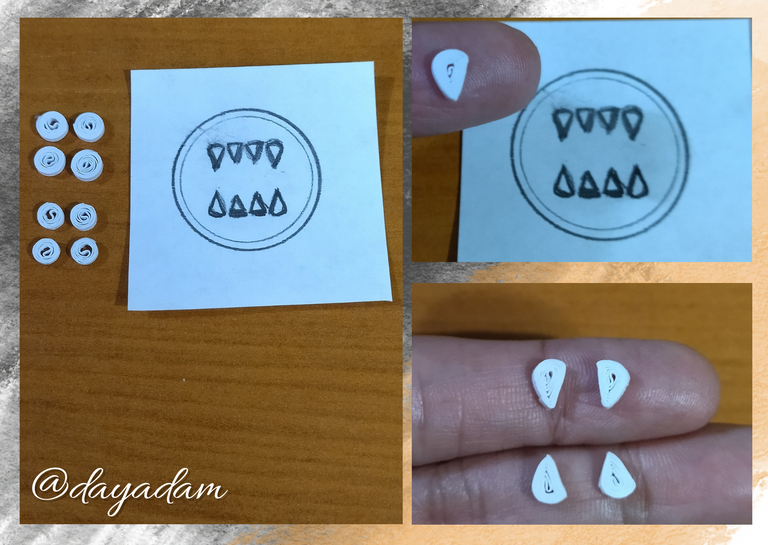
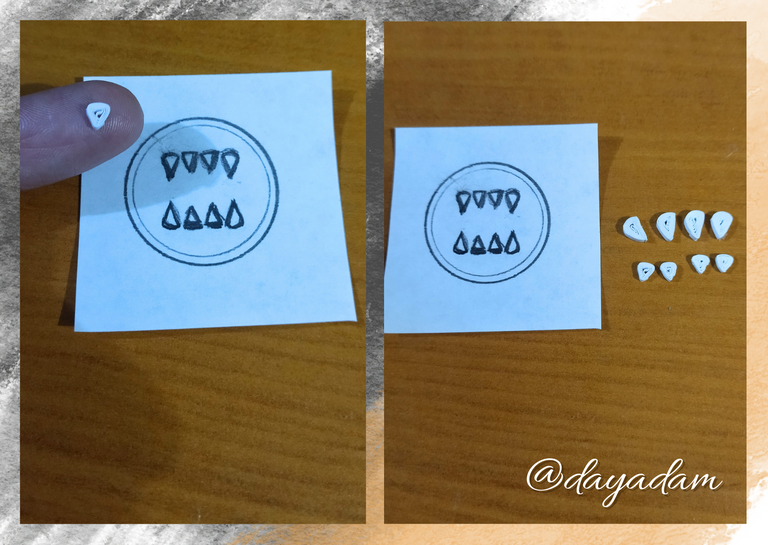
- Now we are going to mold the circles, the biggest ones will be the fangs, I was guided a little to make the shape, with the sketch I made previously.
- With the smaller circles we will make some small triangles which will be the central teeth, also I was guided with the help of the sketch.

• Ahora sacaremos tiras blancas de 1mm de ancho x 8cms de largo, con ellas haremos 4 círculos enrollando la cinta con la aguja para quilling y mediremos en la regla de diversas medidas de circunferencias en el círculo número 4, sacamos de la regla y sellamos con pega. Para cada dije necesitaremos 4 círculos como este.
• Tomaremos otros 4 trozos de cinta blanca de 1mm de ancho x 5cms de largo, enrollamos con la aguja para quilling y esta vez mediremos en la regla en el círculo número 3, sacamos de la regla y sellamos con pega.
• Ahora vamos a moldear los círculos, los más grandes serán los colmillos, me guie un poco para hacer la forma, con el boceto que hice previamente.
• Con los círculos más pequeños haremos unos pequeños triángulos los cuales serán los dientes centrales, también me guie con la ayuda del boceto.
- Now we have our pieces ready, the central pendant, the fangs and the central teeth, we are going to assemble the little medal with the Splinterland logo, applying some extra strong white glue we will place the teeth little by little in a harmonious way, I helped myself with a pin since the little feet are very small. It was a little difficult to align them so that they would be as even as possible, but it was achieved, which is the important thing.
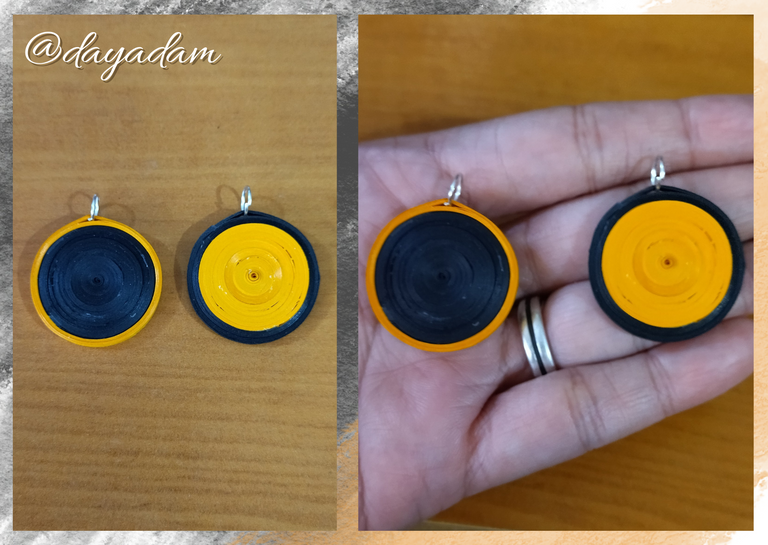
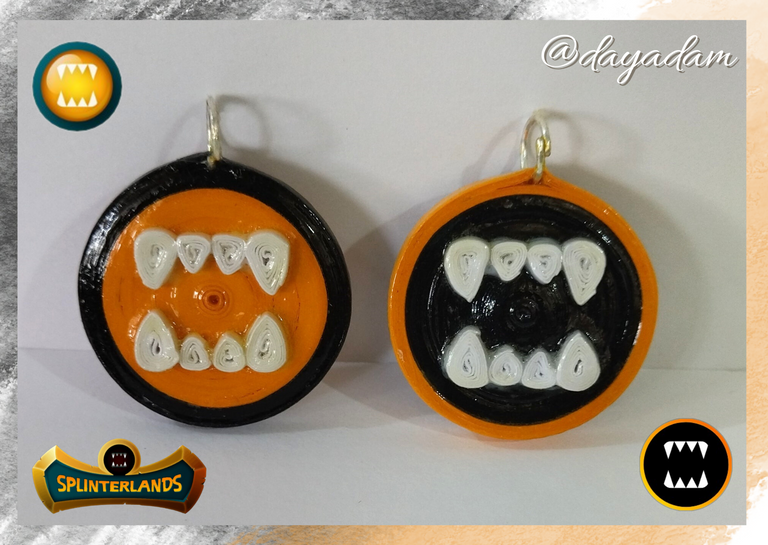
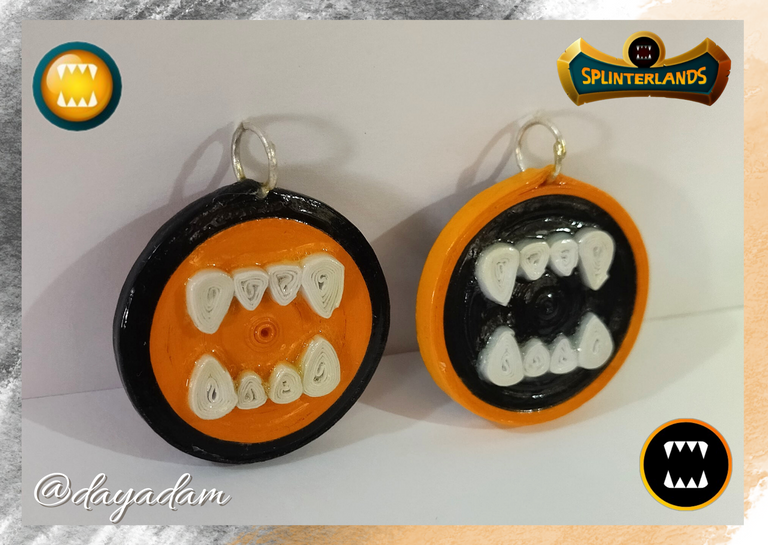
- As you can see I made two medallions, simply inverting the colors, but using the same amount of ribbons.
- To finish we are going to give the pieces their liquid protection (plasticized), apply with a brush several layers of extra strong carpentry glue, letting it dry between one layer and the other.
This way, for Splinterland lovers, these medallion charms with the game logo are ready to be placed on the necklace of your choice.✨

• Ya tenemos nuestras piezas listas, el dije central, los colmillos y los dientes centrales, vamos a armar la pequeña medalla con el logo de Splinterland, aplicando un poco de pega blanca extra fuerte de carpintería colocaremos los dientes poco a poco de manera armoniosa, me ayude con un alfiler ya que las piecitas son muy pequeñitas. Me fue algo difícil alinearlos para que quedaran los más parejo posible, pero se logró que es lo importante.
• Como podrán observar elabore dos medallones, simplemente invirtiendo los colores, pero utilizando la misma cantidad de cintas.
• Para finalizar vamos a darle su protección liquida a las piezas realizadas (plastificado), apliquemos con un pincel varias capas de pega extra fuerte de carpintería, dejando secar entre una capa y otra.
De esta manera para los amantes de Splinterland, están listos estos dijes medallones con el logo del juego, para colocarlos en el collar de su preferencia.✨



What did you think, did you like it?
I hope you did, I hope you liked my explanation, procedure and photos, I made them with love for you.
"Let out that muse that inspires you, and let your imagination fly".
Thank you all, see you next time. ✨

¿Que les pareció, les gustó?
Espero que sí, que les haya gustado mi explicación, procedimiento y fotos, los hice con mucho cariño por y para ustedes.
"Deja salir esa musa que te inspira, y deja volar tu imaginación".
Gracias a todos, nos vemos en la próxima. ✨

Todas las fotos usadas en este post son de mi autoría y han sido sacadas en mi celular personal un Redmi 9T y editadas Canva Sourse / Fuente Logo 1 2 // Sourse / Fuente Logo 3 Banner y separador hecho por mí en Canva Traducido con la ayuda de DeepL


