Buenas noches familia de Hive y de esta comunidad, DIYHub, en esta oportunidad les comparto un experimento que hice con mi hermana, cómo no teníamos macetas para sembrar semillas hicimos unos con botellas de refresco que teníamos en casa y con lo que encontramos hicimos este semillero. Ya estamos en la época de lluvias por lo que se nos ocurrió plantar nuestros propios ajíes y tomates, estoy rogando a Dios para que los tomates se den porque mi hermana hace una pasta deliciosa con ellos.
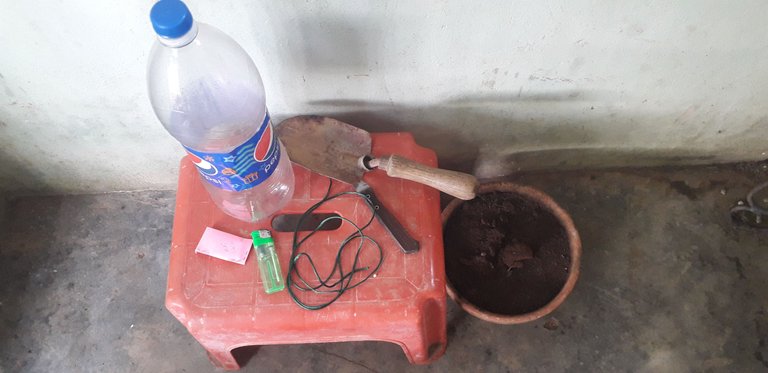
♻️2 botellas de refresco de 1,5lt.
♻️1,5 mt de cinta cola de ratón color verde
♻️ Cuchillo
♻️ marcador
♻️semillas de tomate y ají
♻️yesquero
♻️tierra
♻️Pala de jardinería
♻️Palos de altura
♻️Papel
♻️Pega
♻️ Alfiler
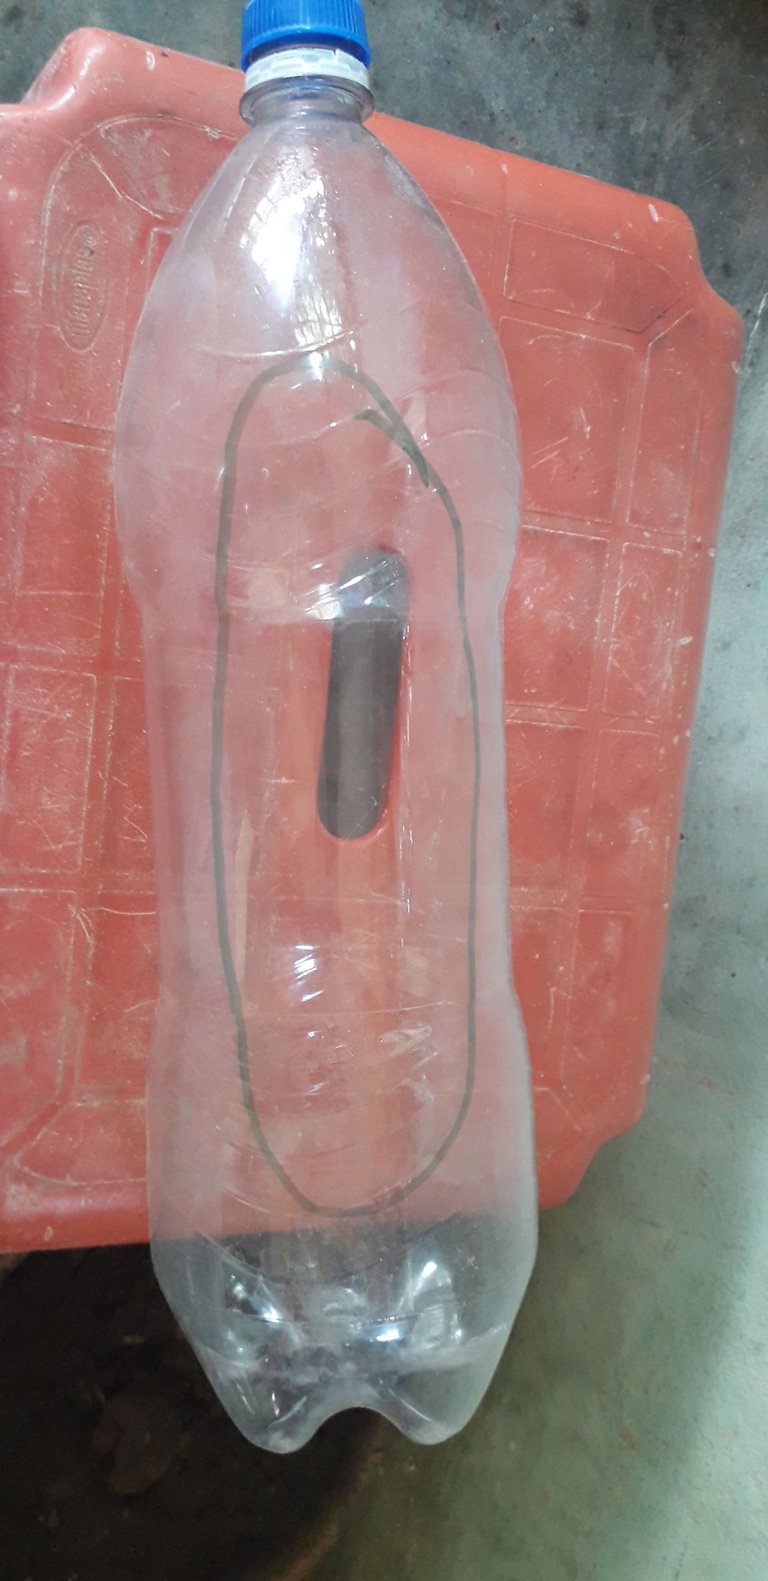
Para empezar vamos a marcar con el marcador un óvalo en un lateral de la botella de refresco.
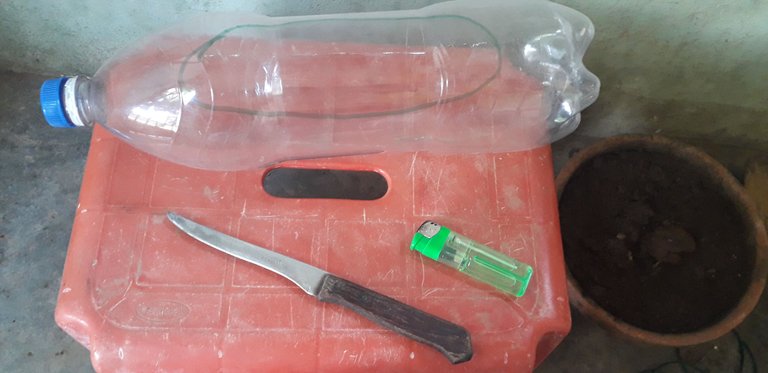
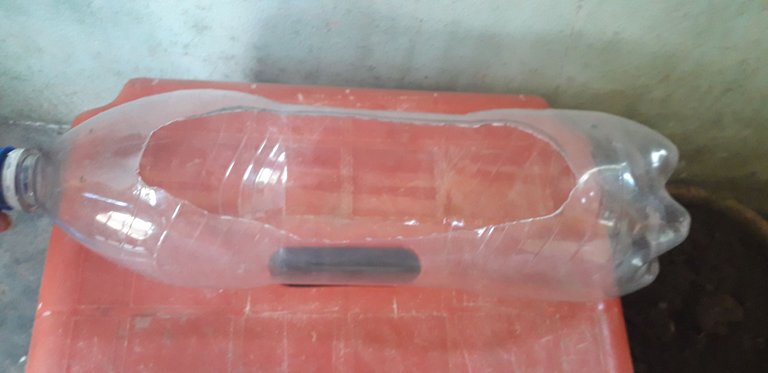
Ahora vamos a calentar el cuchillo y vamos a cortar la parte que marcamos en el paso anterior y marcamos 4 puntos en los laterales de la botella por dónde va a pasar la cinta para amarrar la botella.
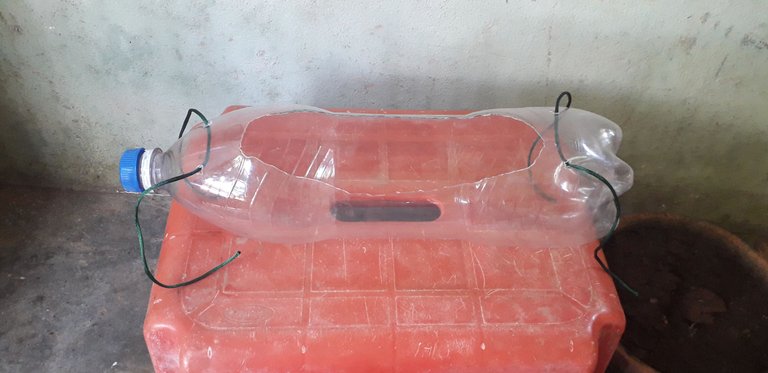
Con el cuchillo caliente una vez más abrimos estos puntos que acabamos de hacer, asegurándonos que pase la cinta por los orificios, para esto cortamos 2 trozos de cinta de 25cm cada una.
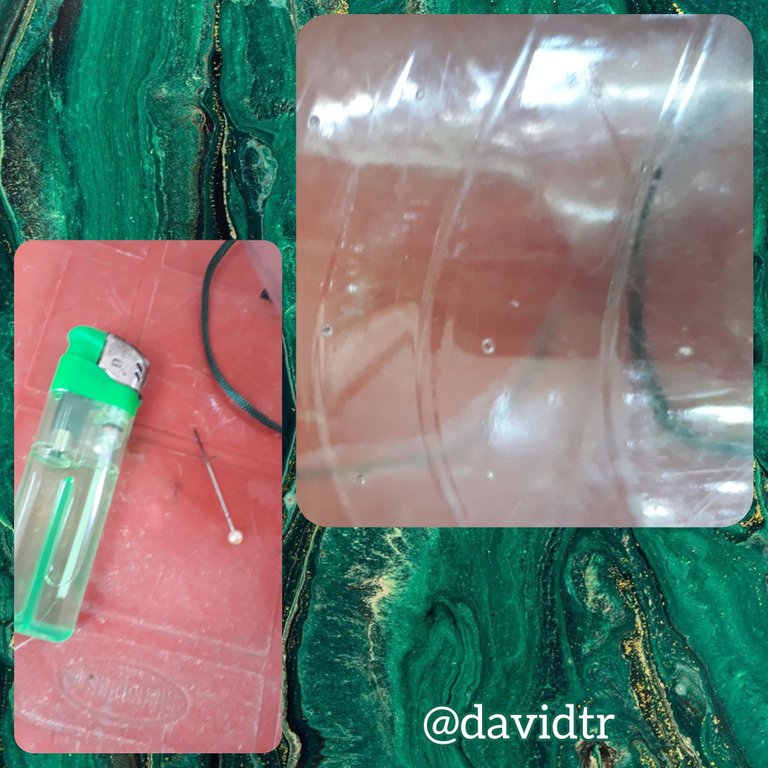
Después calentamos el alfiler y en el extremo opuesto al orificio que acabamos de hacer vamos a hacer más huecos pero pequeños por donde salga el agua.
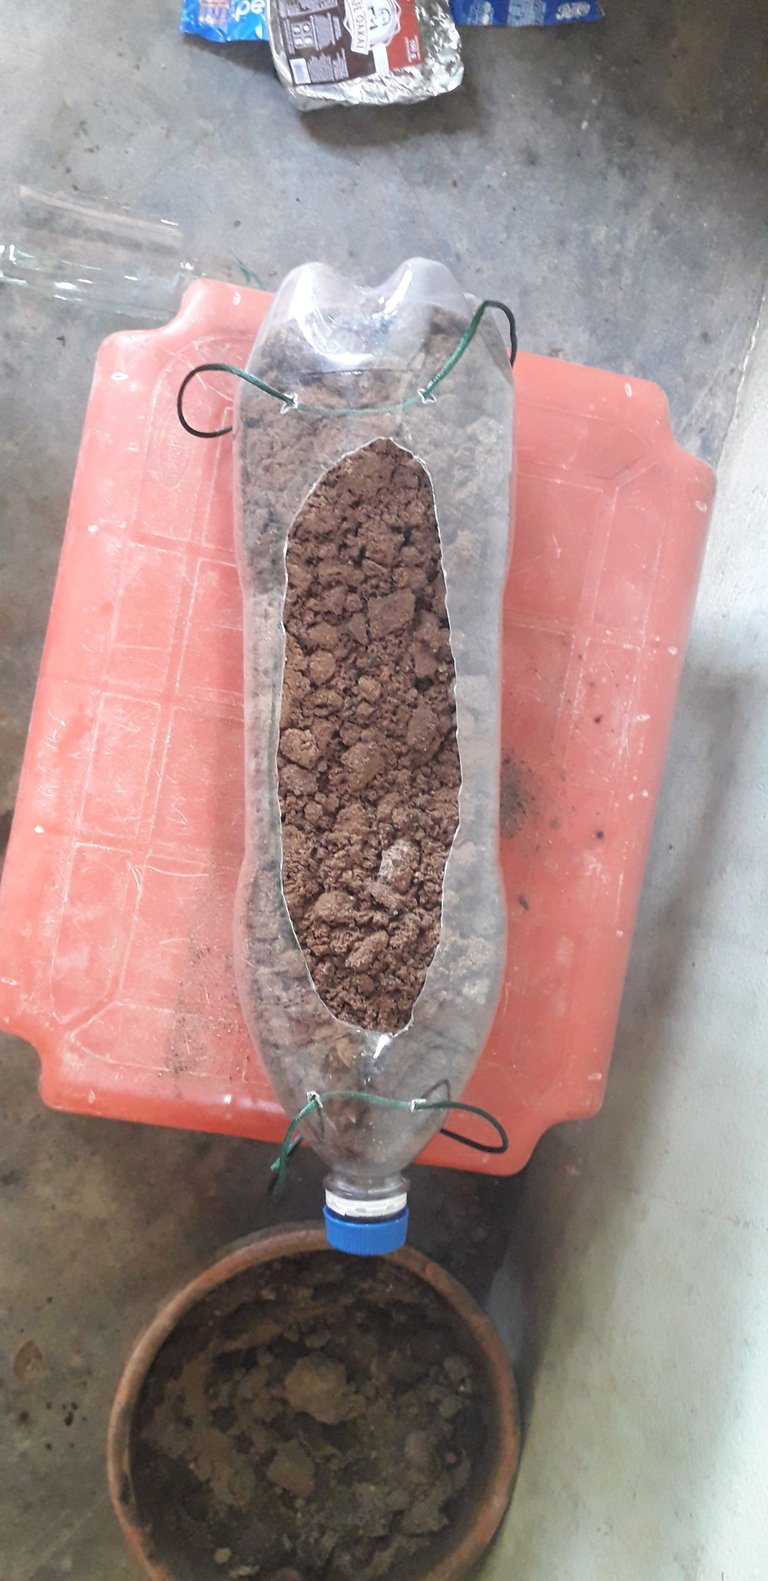
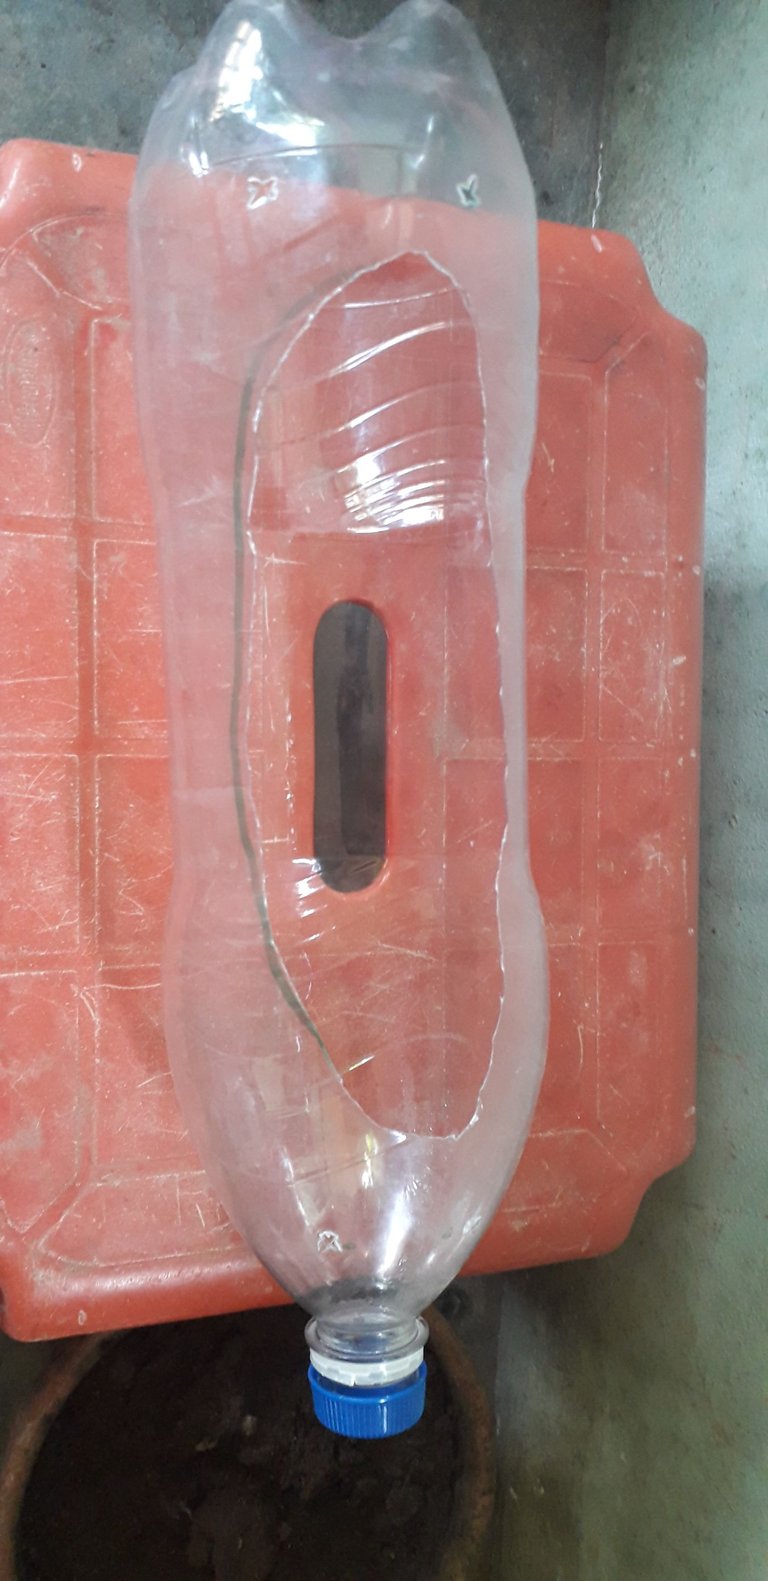
Luego añadimos la tierra a la botella hasta que quede ¾ de ella llena.
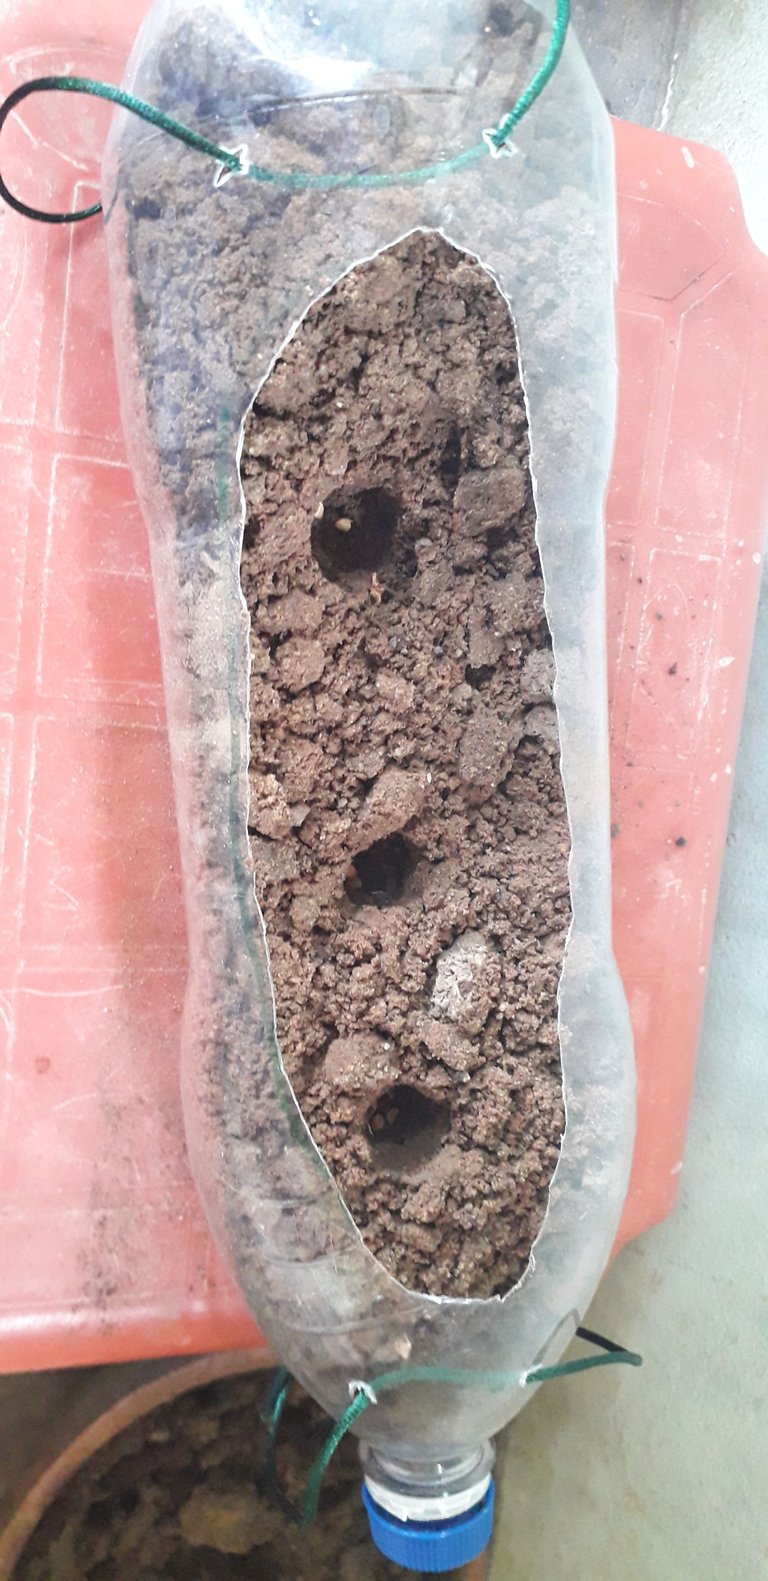
Abrí 3 huecos poco profundos donde colocamos las semillas de ají y la cerramos.
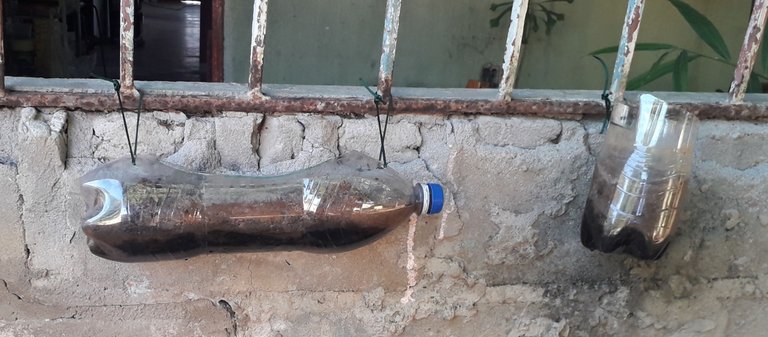
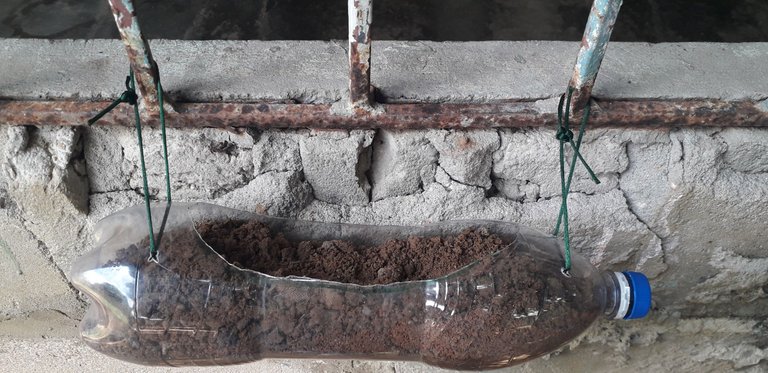
Después la otra botella la abrí por la mitad, le hice 2 huecos horizontales en un lateral por donde pasé 25cm de cinta más, le abrí hueco por abajo y lo llené de tierra. Ahí sembré semillas de tomate.
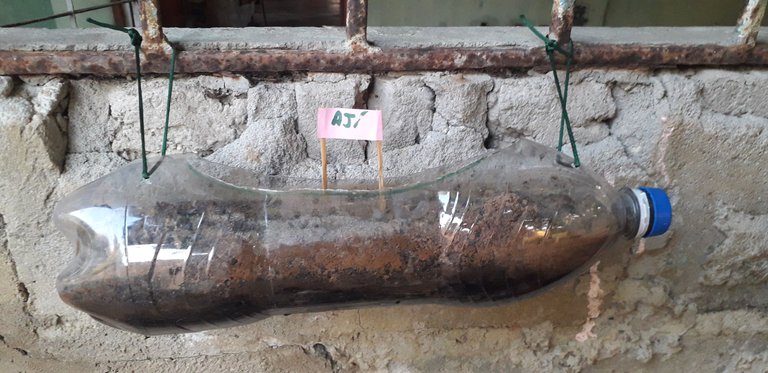
Luego mi hermana hizo los indicadores, cortó los palillos de altura en 2 y les pegó un papel con el nombre.

Gracias por ver este post.
Camarógrafa: mi hermana Andrea Tovar
Edición de fotos con la app Editor de fotos Polish
Traductor utilizado: App traductor DeepL
Good evening family of Hive and this community, DIYHub, in this opportunity I share with you an experiment I did with my sister, how we didn’t have pots to plant seeds we made some with soda bottles we had at home and with what we found we made this seedbed. We are already in the rainy season so we decided to plant our own peppers and tomatoes, I am praying to God for tomatoes because my sister makes a delicious paste with them.
♻️2 1,5lt soda bottles.
♻️1,5 mt of green colored mouse tail tape
♻️ Knife
♻️ marker
♻️semillas of tomato and chili
♻️yesquero
♻️Earth
♻️Pala gardening
♻️Palos height
♻️Papel
♻️Pega
♻️ Pin
To start we are going to mark with the marker an oval on one side of the soda bottle.
Now we are going to heat the knife and we are going to cut the part that we marked in the previous step and we mark 4 points on the sides of the bottle where the ribbon is going to pass to tie the bottle.
With the hot knife once again we open these points that we just made, making sure to pass the ribbon through the holes, for this we cut 2 pieces of ribbon of 25cm each.
Then we heat the pin and at the opposite end to the hole we just made we are going to make more holes but small ones where the water comes out.
Then we add the soil to the bottle until it is ¾ of it full.
I opened 3 shallow holes where we put the chili bell pepper seeds and closed it.
Then I opened the other bottle in half, made 2 horizontal holes on one side through which I put another 25cm of tape, opened a hole at the bottom and filled it with soil. There I sowed tomato seeds.
Then my sister made the markers, cut the height sticks in 2 and glued a paper with the name on them.
Thanks for watching this post.
Cameraman: my sister Andrea Tovar
Photo editing with the app Polish Photo Editor
Translator used: App translator DeepL


