ESPAÑOL
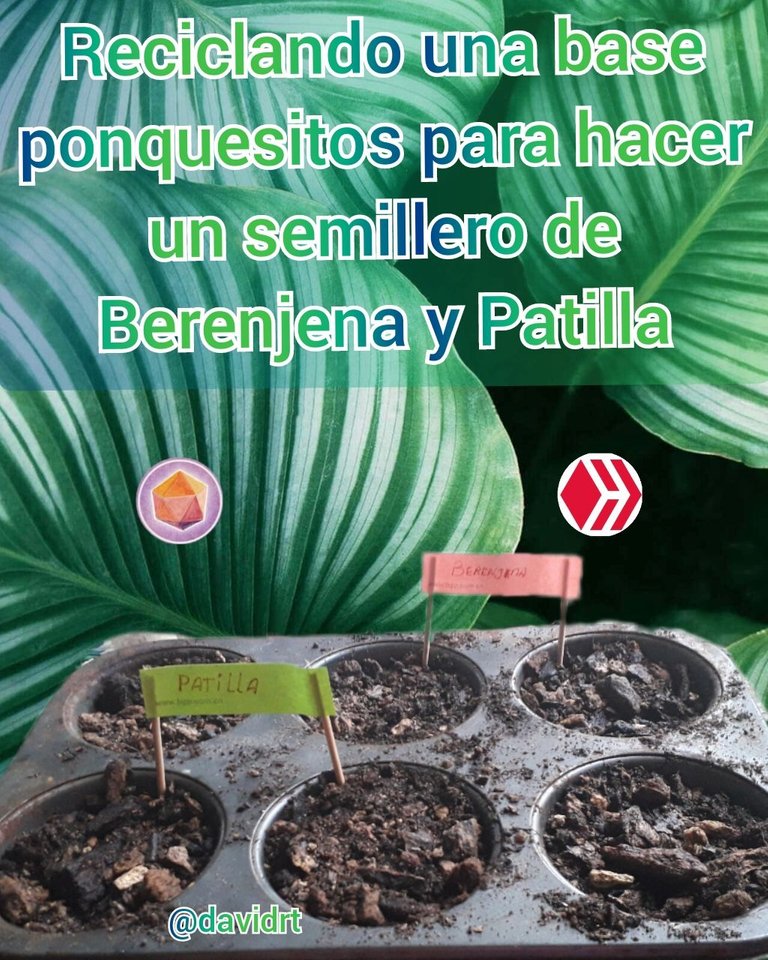
Hola compañeros de Hive y de esta comunidad DIYHUB, esperando que se encuentren bien y que estén teniendo un buen fin de semana. Les cuento que en estos días mi hermana decidió botar una base de ponquesitos que estaba medio oxidada por debajo y yo la tomé para reciclarla, me pareció que tenía un muy buen tamaño para que las semillas empiecen a crecer y poder trasplantarlas cuando estén de un tamaño adecuado. Por ahora solo sembré semillas de patilla y berenjena.
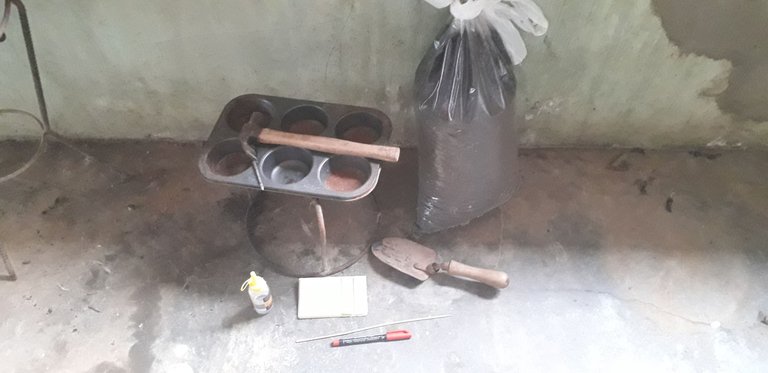
Materiales:
Martillo
Clavo de pared grueso
Tierra Abonada
Semillas
Pala de jardinería pequeña
1 palito de altura
2 tiras de papel
Marcador
Silicón
Procedimiento:
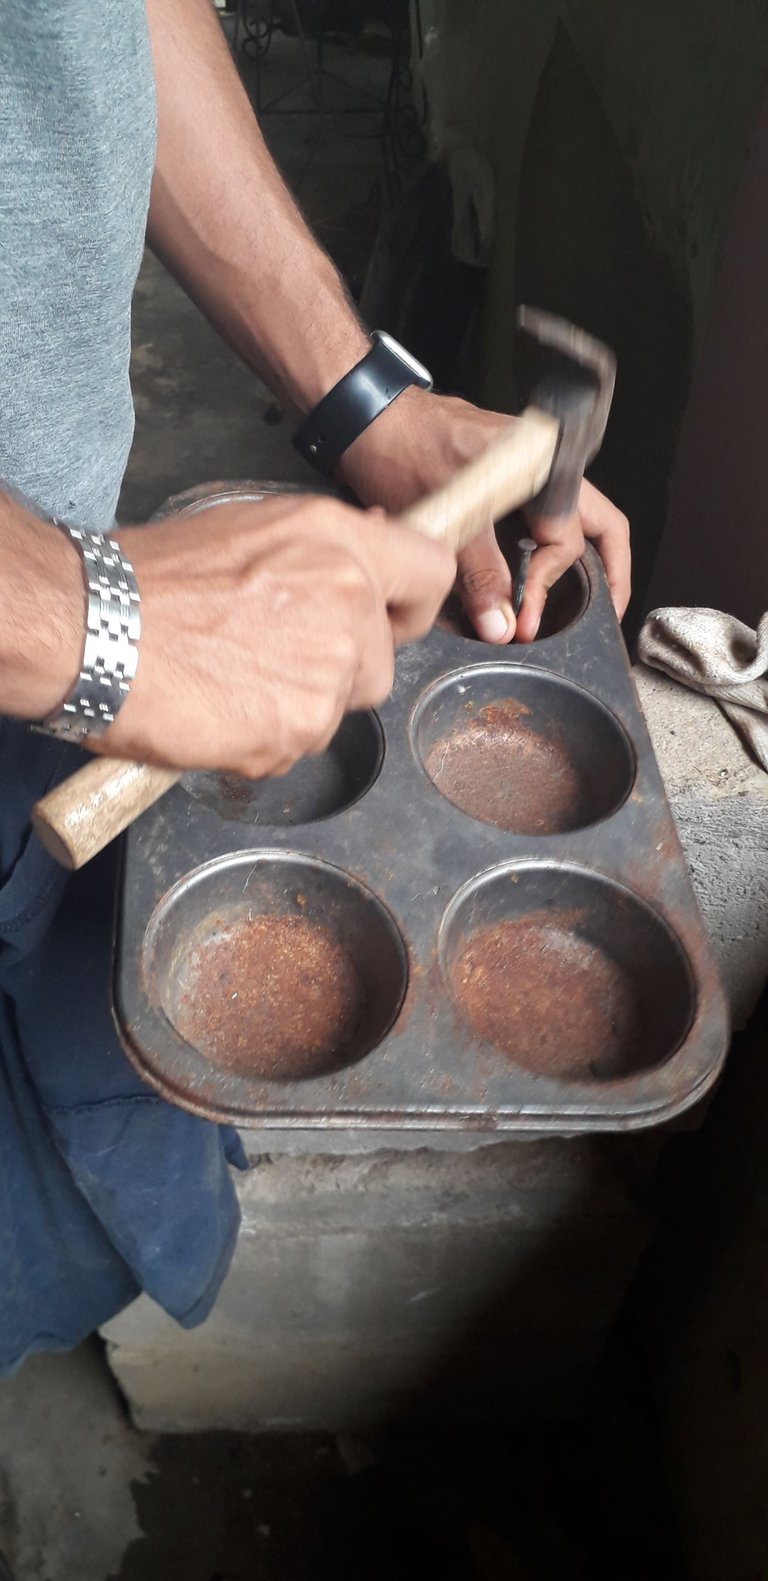
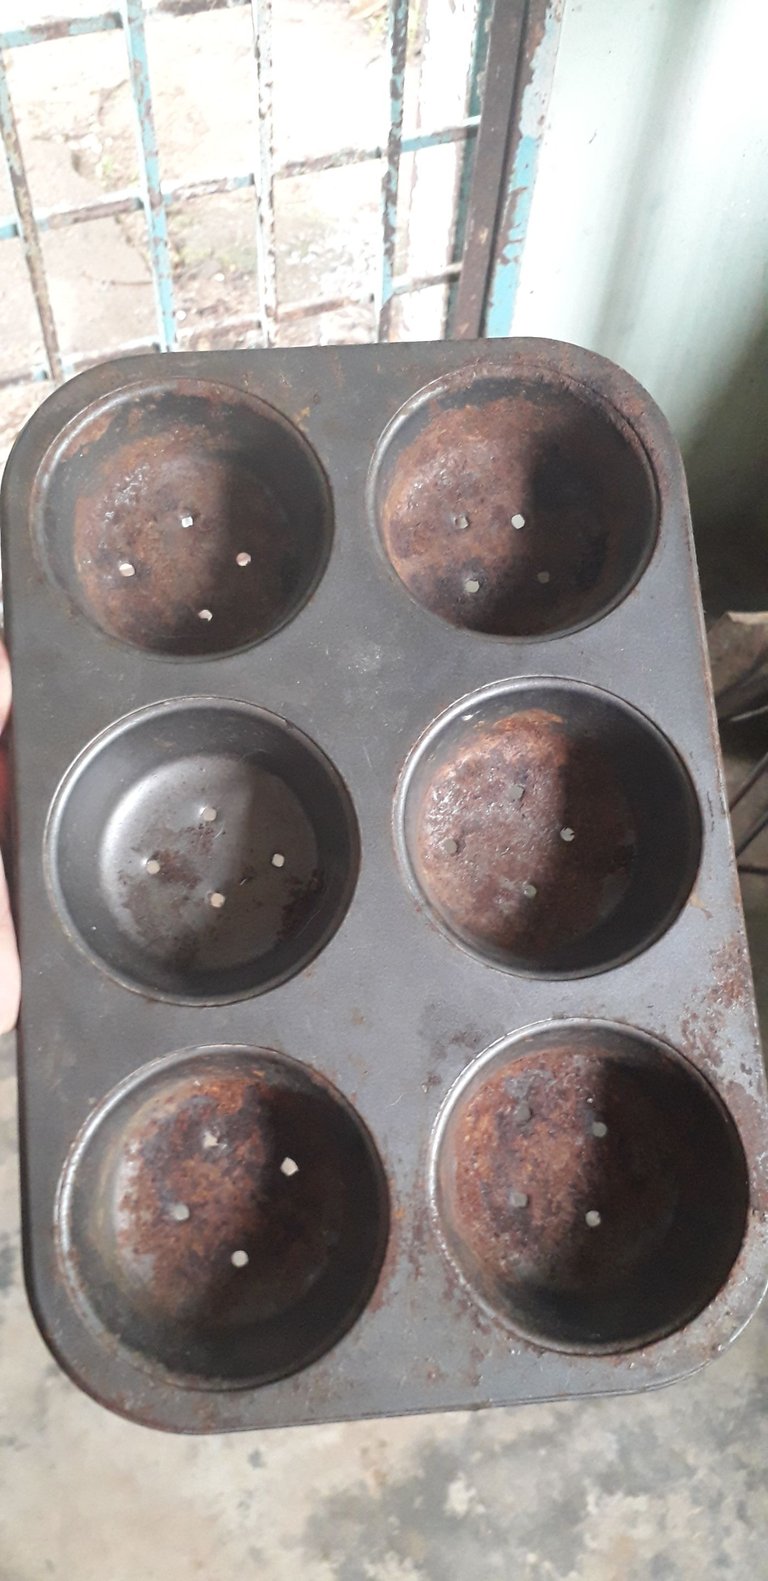
Primero hacemos los orificios en la base de ponquesitos, yo hice cuatro agujeros en cada uno de los orificios de los ponques, para hacer esto vamos a usar el martillo y el clavo, no es necesario usar mucha fuerza para esto.
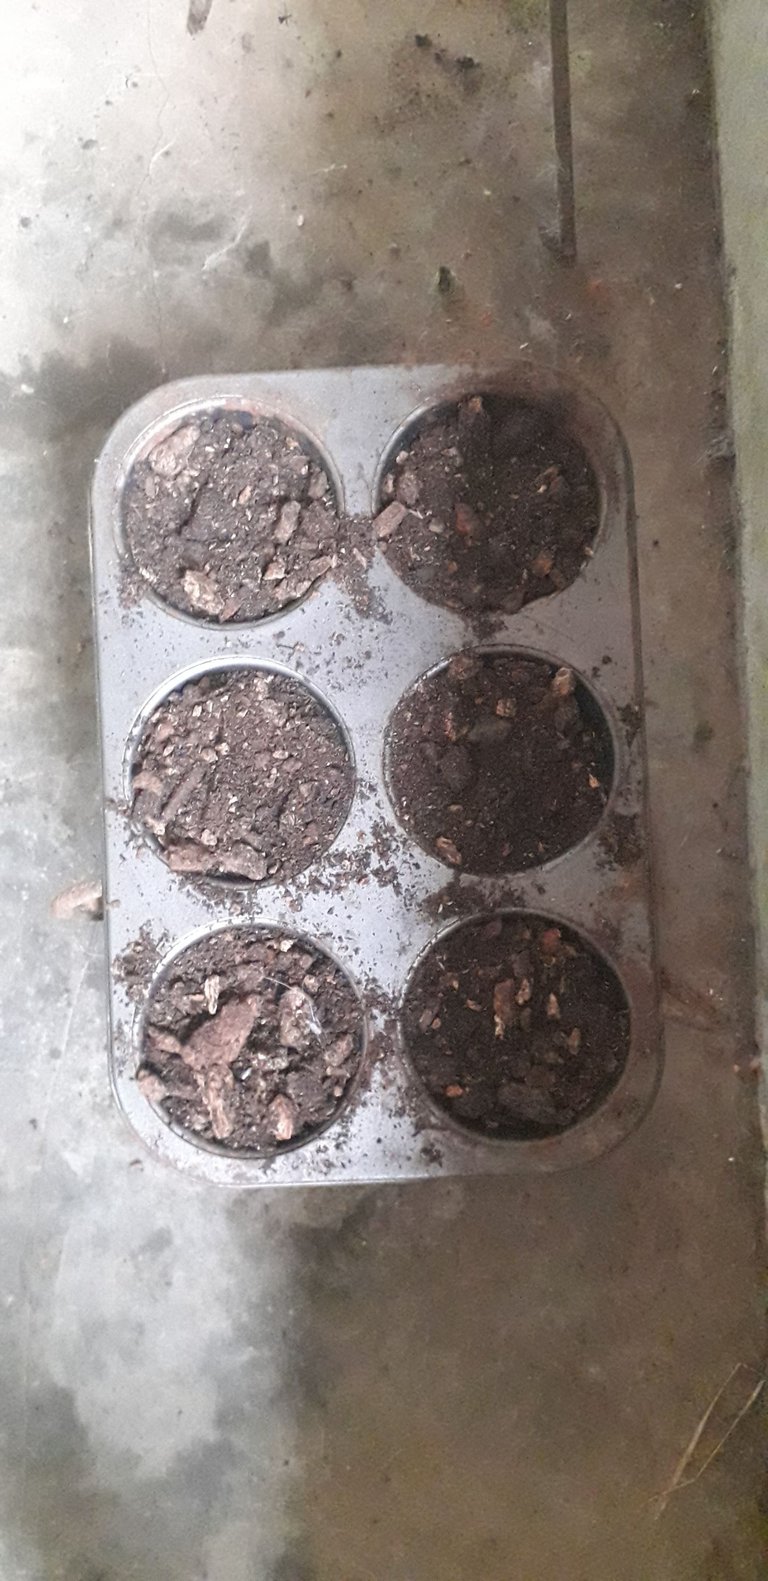
Ahora vamos a colocar la tierra abonada en la bandeja.
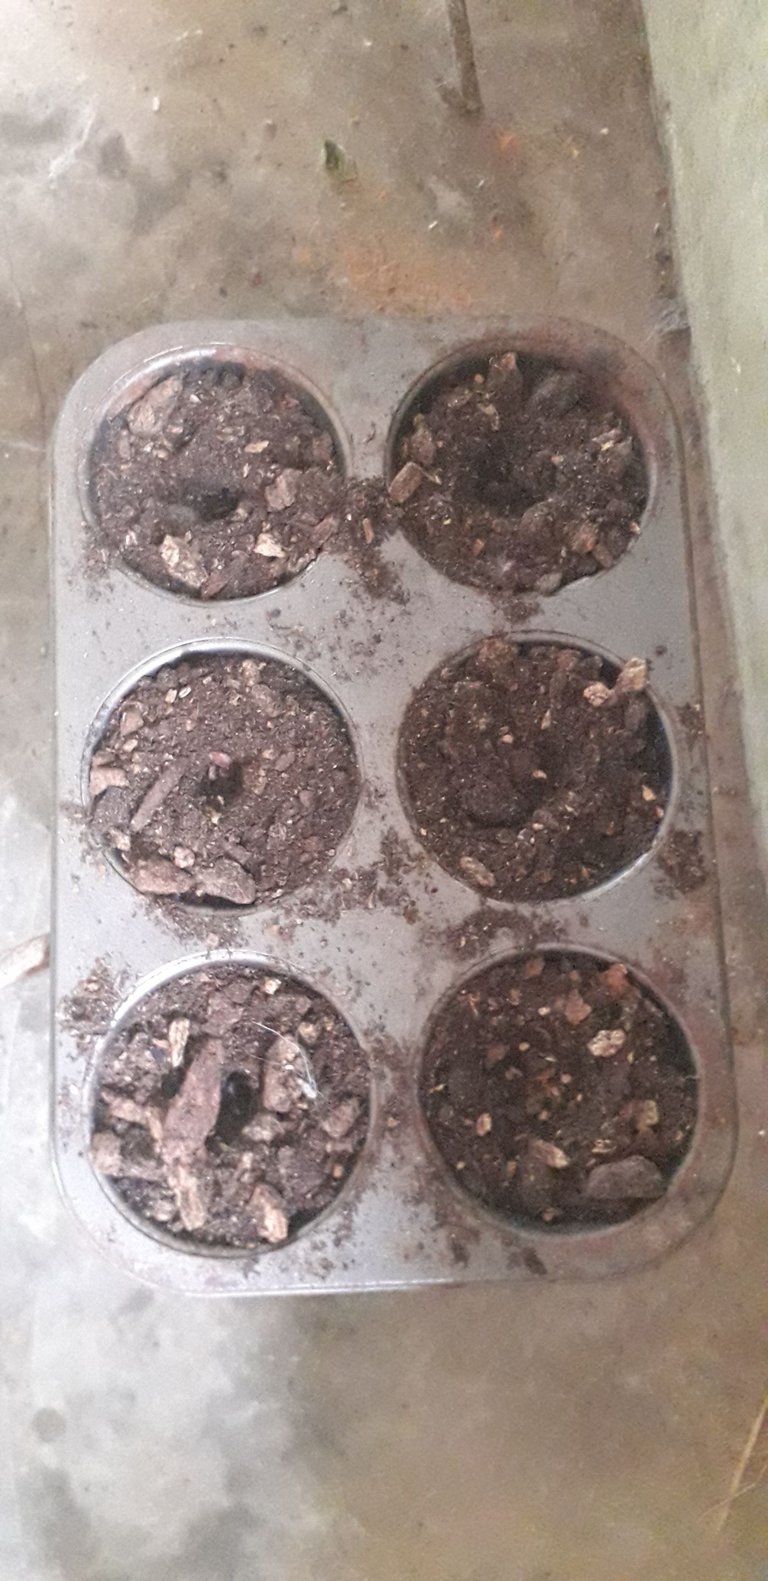
Hacemos un orificio en la tierra con el dedo de 1cm de altura para colocar una o dos semillas en cada uno de los agujeros.
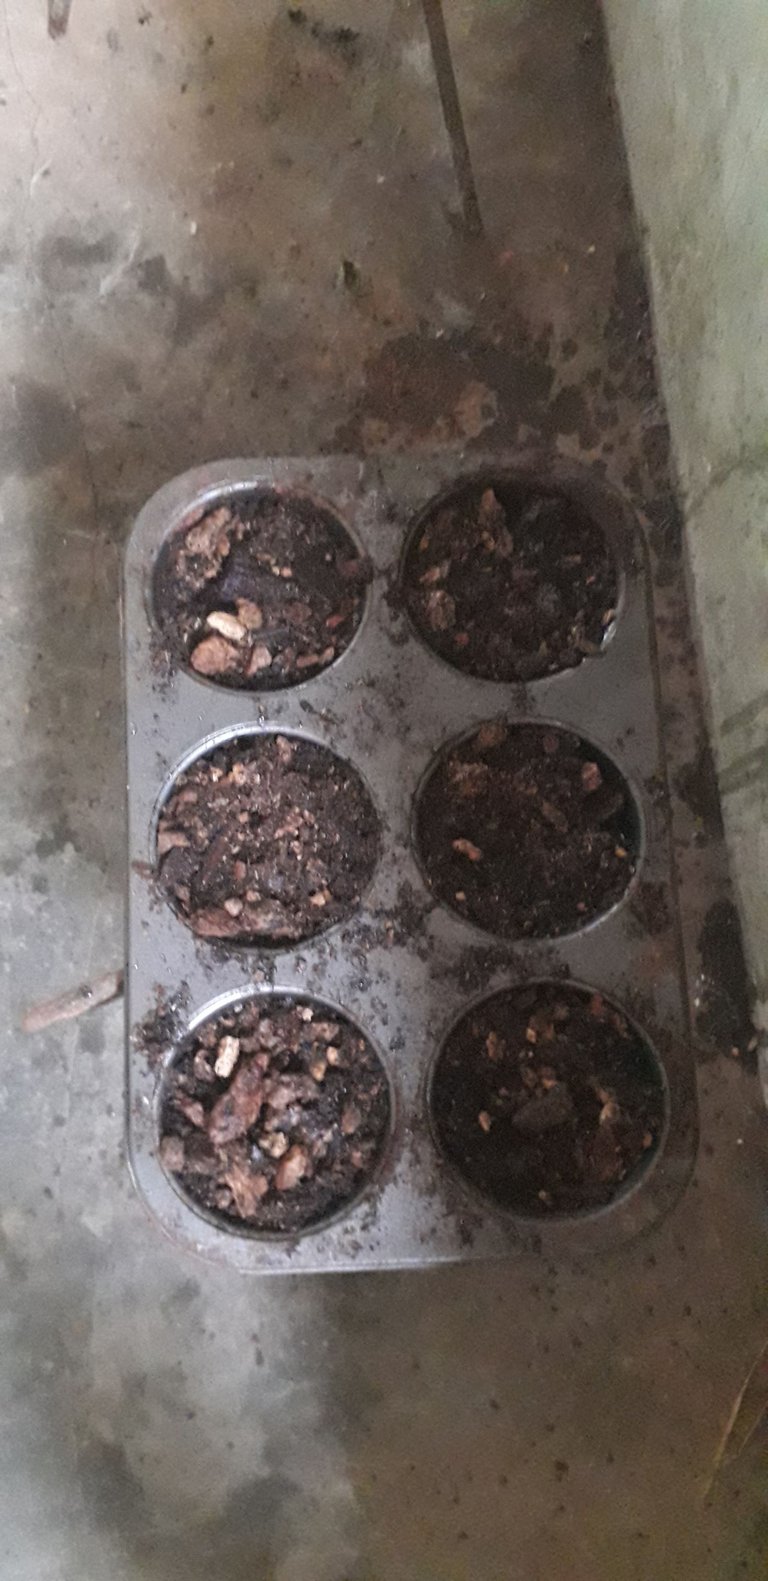
Cerramos los agujeros con tierra y regamos un poco, que la tierra quede húmeda.
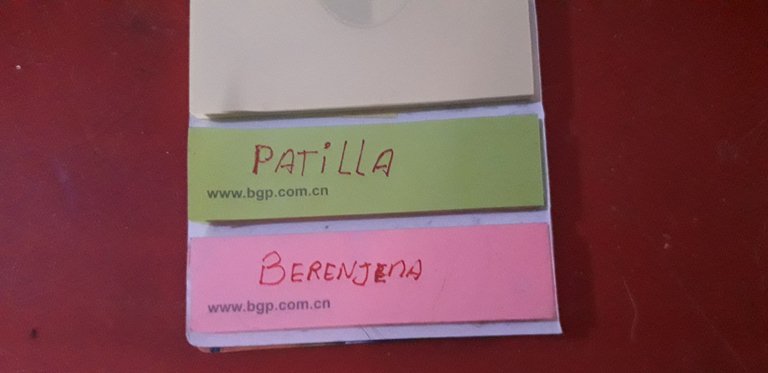
En cada tira de papel escribimos con el marcador el nombre de la planta.
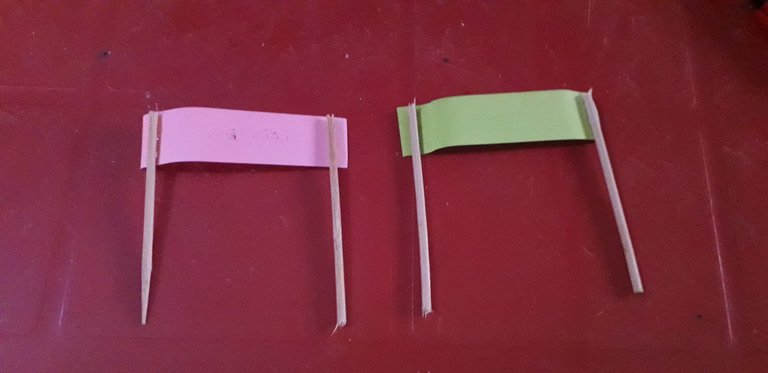
Posteriormente hacemos los letreros para saber que sembramos y en dónde. Para esto vamos a picar el palito de altura en cuatro partes. Luego pegamos los palitos de altura en los extremos de las tiras de papel. Una en cada extremo, con ayuda del silicón.
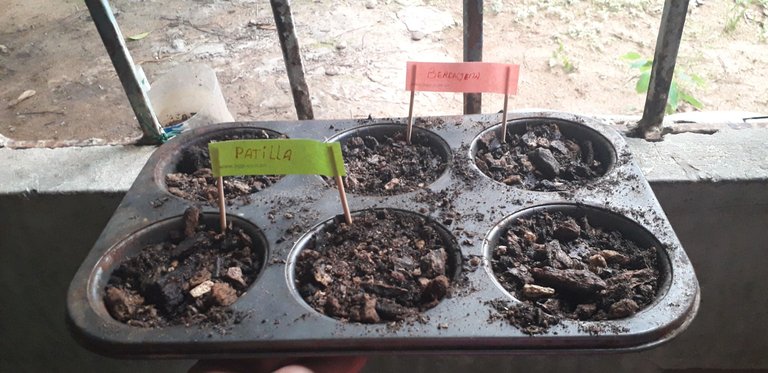
Colocamos los letreros en la tierra y listo.
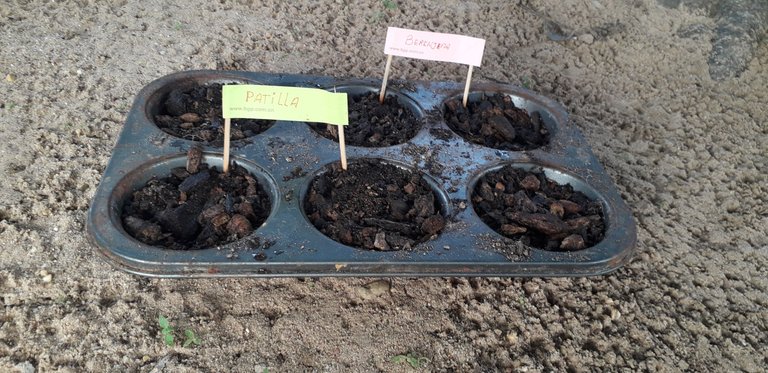
Los espero en la próxima 👍
Créditos
Cámara de celular Samsung Galaxy J6
Editor de fotos Polish
ENGLISH
Hello fellow members of Hive and this DIYHUB community, I hope you are well and having a good weekend. I tell you that these days my sister decided to throw away a ponquesitos base that was half rusted underneath and I took it to recycle it, I thought it had a very good size for the seeds to start growing and be able to transplant them when they are of a suitable size. For now I only planted patilla and eggplant seeds.
Materials:
Hammer
Thick wall nail
Fertilized soil
Seeds
Small gardening shovel
1 height stick
2 strips of paper
Marker
Silicone
Procedure:


First we make the holes in the ponche base, I made four holes in each of the ponche holes, to do this we are going to use the hammer and nail, you don't need to use a lot of force for this.

Now let's place the composted soil in the tray.

We make a hole in the soil with our finger 1cm high to place one or two seeds in each of the holes.

Close the holes with soil and water a little, so that the soil remains moist.

On each strip of paper we write with the marker the name of the plant.

Subsequently we make the signs to know what we sow and where. For this we are going to chop the height stick into four parts. Then we glue the height sticks on the ends of the paper strips. One at each end, with the help of the silicone.

We place the signs in the ground and that's it.

I look forward to seeing you next time 👍
Credits
Samsung Galaxy J6 cell phone camera
Photo editor Polish


