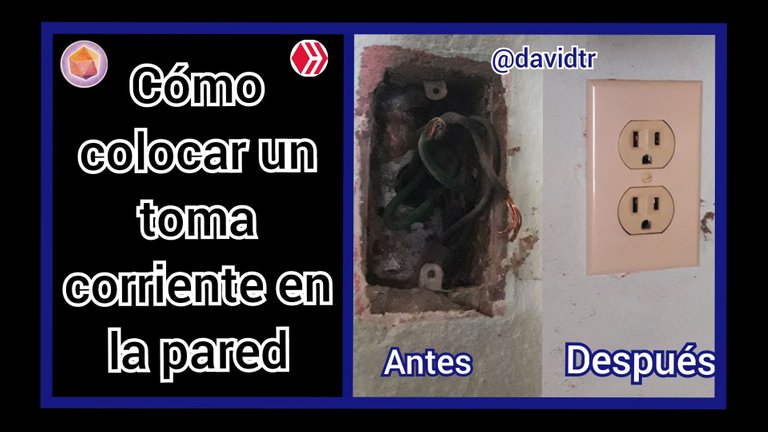
Buenas tardes amigos de Hive, me presento para esta comunidad de DIYHub, mi nombre es David Tovar, es un placer unirme a tan importante comunidad. En esta primera de muchas publicaciones les quiero compartir mi manera de colocar un tomacorriente.

Hace pocos meses mi familia y yo nos mudamos y hemos estado haciendo algunos arreglos ya que la casa anteriormente ha estado deshabitada por muchos años y esto causa algunos daños, algunos tomacorrientes no funcionaban y había que reemplazarlos así que aquí les muestro como hacerlo.
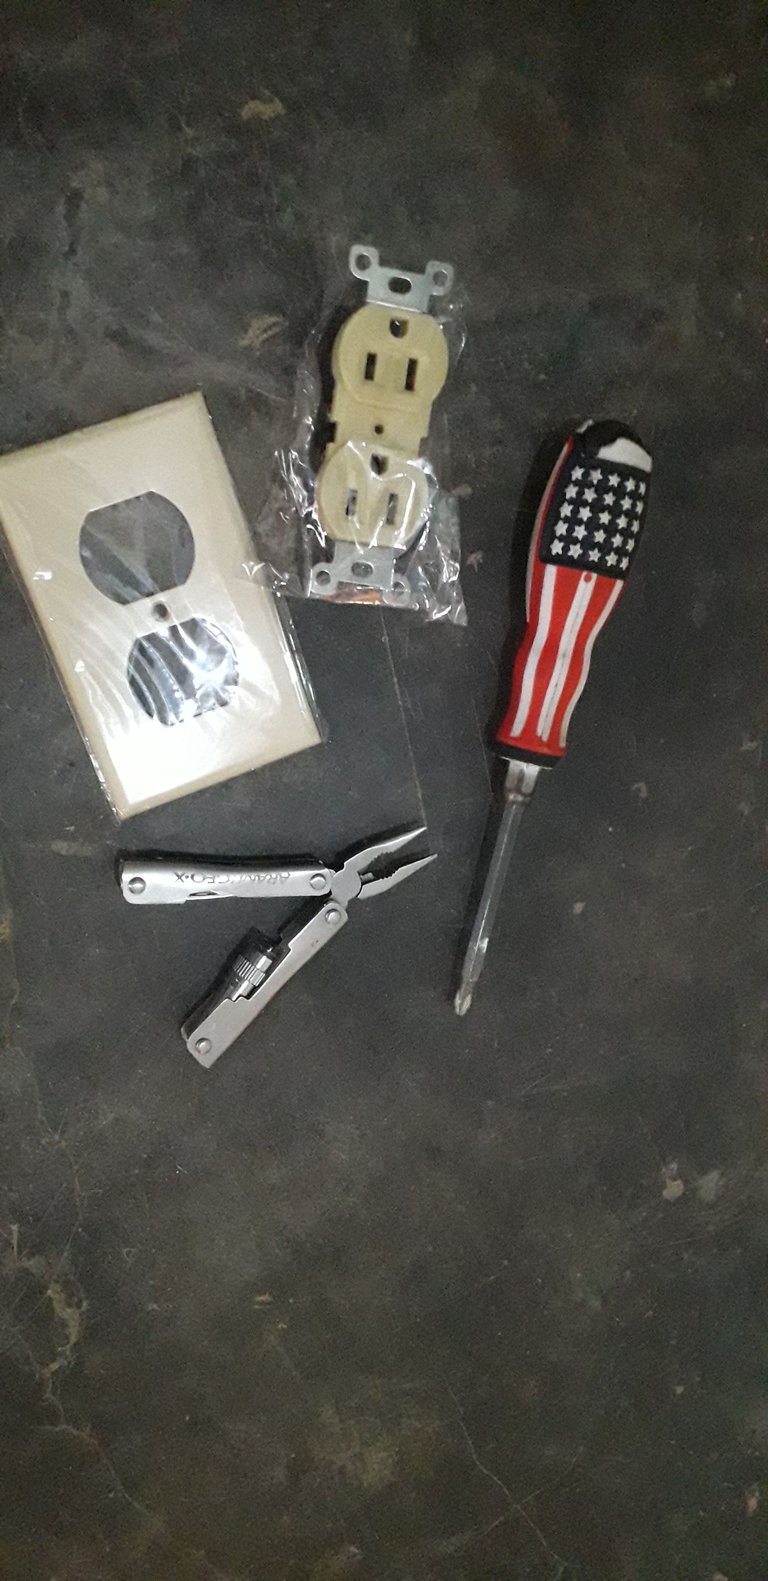
🔌1 tomacorriente nuevo (esto viene en un paquete con todo lo que necesitamos)
🔌1 tapa de tomacorriente
🔌Pinza
🔌Destornillador
🏡 Paso 1
Para empezar vamos a aflojar 2 de los tornillos que se encuentran a los lados del tomacorriente, estos tomacorrientes traen 4 tornillos, 2 de cada lado. Vamos a aflojar uno de cada lado, si en el primer lado es el del lado derecho, en el otro lado debe aflojarse el izquierdo.
🏡 Paso 2
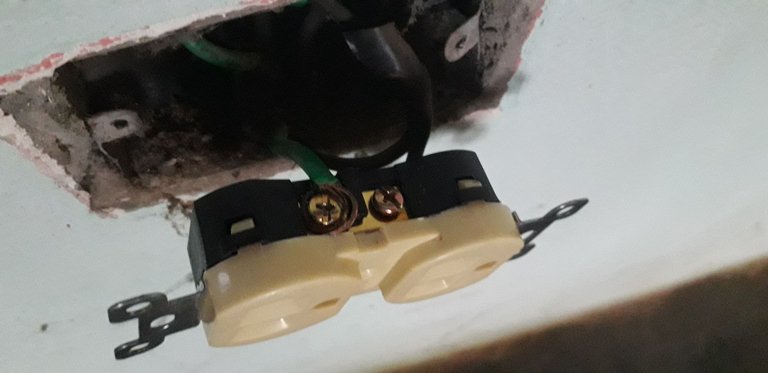
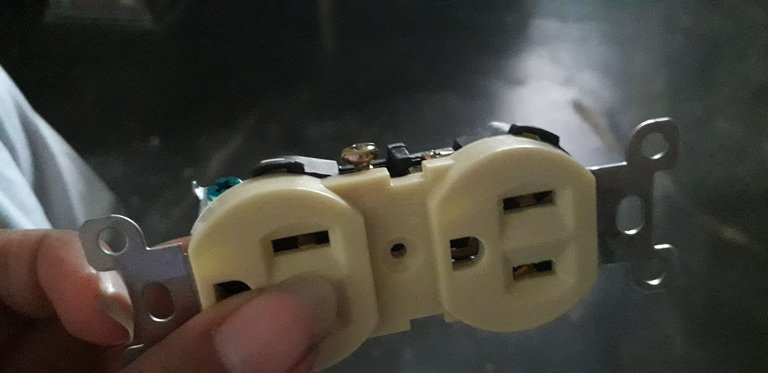
Luego vamos a usar los cables. Cada tomacorriente debe tener 2 o 3 cables, en este caso solo trae 2 así que con ayuda de la pinza vamos a doblar la punta de uno de los cables de forma que rodee uno de los tornillos que acabamos de aflojar y apretamos un poco para que no se salga.
🏡 Paso 3

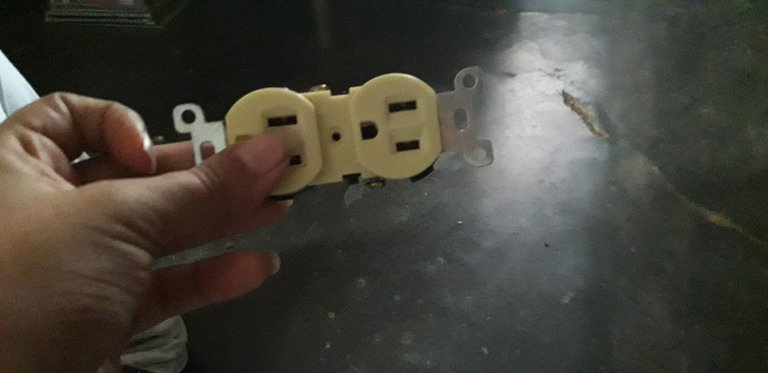
Repetimos el paso anterior con el otro cable y lo colocamos en el tornillo del otro extremo.
🏡 Paso 4
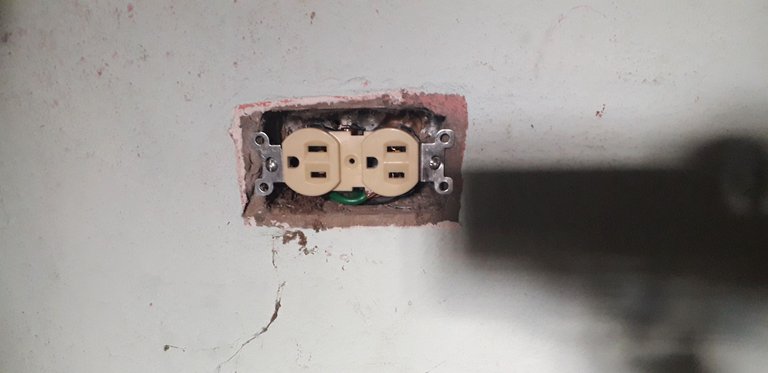
Ahora vamos a colocar los tornillos de los extremos del tomacorriente para fijarlo al cajetín incrustado en la pared.
🏡 Paso 5
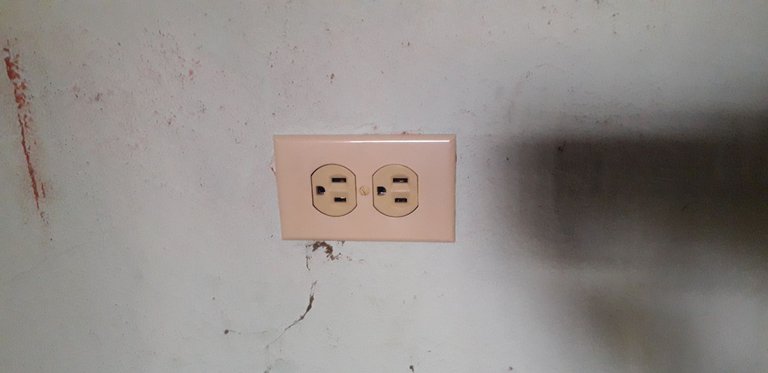
Atornillamos la tapa del tomacorriente con el tornillo que trae el paquete en el centro y estamos listos para usarlo.
⚠️Advertencia: No hagan esto con los pies mojados.
Gracias por ver esta publicación
Fotos tomadas con un celular Samsung Galaxy J6
Fotógrafa: Mi hermana Andrea Tovar
Traductor: app DeepL
Editor de fotos usado: editor de fotos Polish
Good afternoon friends of Hive, I introduce myself to this DIYHub community, my name is David Tovar, it is a pleasure to join such an important community. In this first of many posts I want to share with you my way of placing an electrical outlet.
A few months ago my family and I moved and we have been doing some repairs since the house has been uninhabited for many years and this causes some damage, some outlets were not working and had to be replaced so here I show you how to do it.
🔌1 new outlet (this comes in a package with everything we need).
🔌1 outlet cover.
🔌Clamp
🔌Screwdriver
🏡 Step 1
To start we are going to loosen 2 of the screws on the sides of the socket, these sockets have 4 screws, 2 on each side. We will loosen one on each side, if on the first side it is the one on the right side, on the other side the left one must be loosened.
🏡 Step 2
Next we are going to use the wires. Each socket should have 2 or 3 wires, in this case it only brings 2 so with the help of the pliers we are going to bend the tip of one of the wires so that it surrounds one of the screws that we just loosened and tighten a little so that it does not come out.
🏡 Step 3
We repeat the previous step with the other wire and place it on the screw at the other end.
🏡 Step 4
Now we are going to place the screws at the ends of the outlet to attach it to the box embedded in the wall.
🏡 Step 5
We screw the cover of the outlet with the screw that comes in the package in the center and we are ready to use it.
⚠️Advertencia: Don't do this with wet feet.
Thank you for watching this publication
Photos taken with a Samsung Galaxy J6 cell phone.
Photographer: My sister Andrea Tovar
Translator: app DeepL
Photo editor used: Polish photo editor