The existing shower we had in our ensuite bath was tiny, damaged and cheap. After a busy summer there isn't much to do here until the snow, so I decided to renovate.
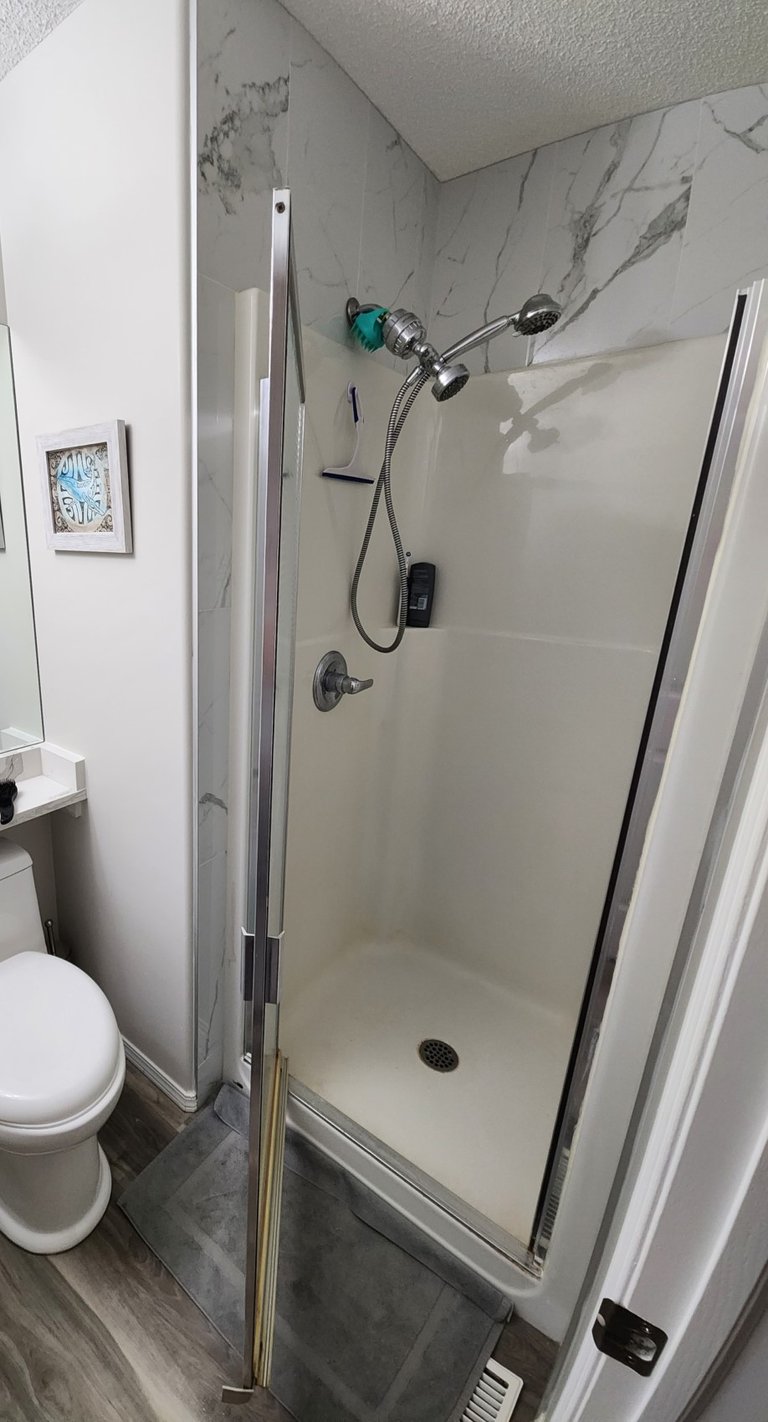
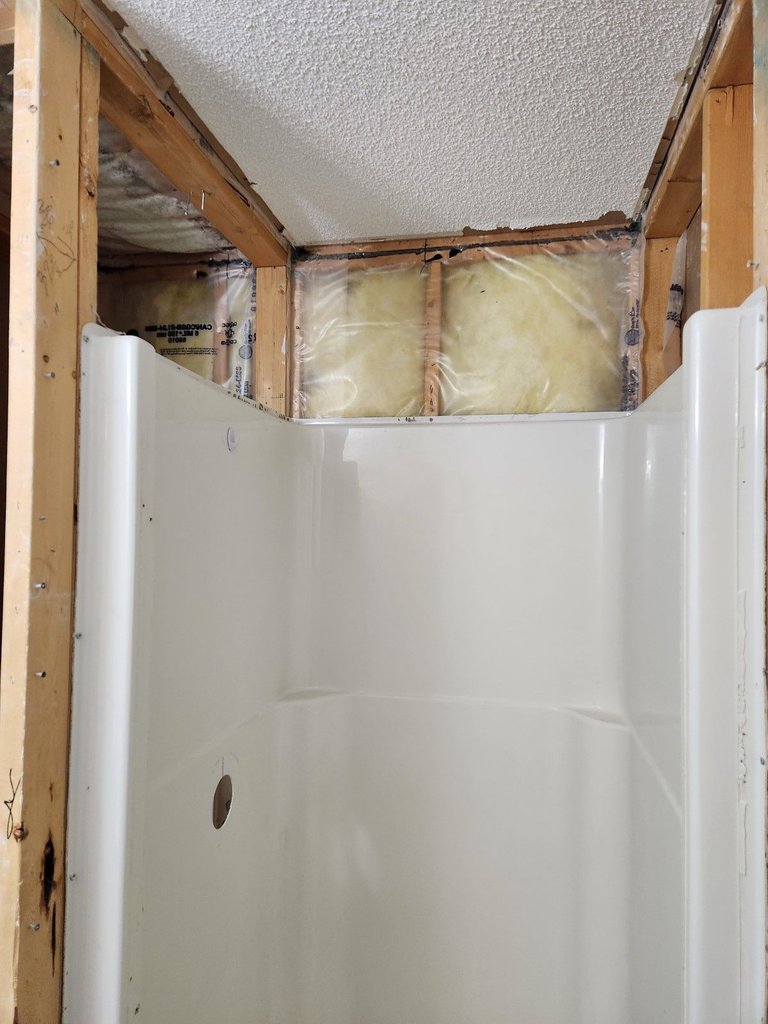
Our shower worked fine and was relatively clean but it was a small being about 33 inches square or 83 x 83 cm. The door would also spill water onto the floor which was annoying to wipe up. I suspected the area behind the shower was a void so I cut a hole behind the painting and had a look see.
Just as I suspected, the original builders were cheap and instead of putting in a larger shower or a closet, they just walled off the area behind the shower. So my plan was to extend the shower 14 inches (36cm) into the void and widen it slightly.
When you move a wall, you often need a permit. Luckily we weren't planning on changing the plumbing system so we didn't have to get two permits. I had to draft up a floor plan of all three floors in the house, including ventilation fans and then provide very specific details regarding moving the wall. It cost a a couple hundred dollars for the permit and involves booking an in-person inspection once the framing is done.

When we bought our house the inspector we used pointed out issues with the shower. Minor acrylic damages and leaks. I made it a condition of sale to get a plumber in to make sure it wasn't a damaged drain system- it wasn't. The issue was the previous owners would let water drip from the shower door and it would go into the vent and drip into the kitchen ceiling. F@#$ that!
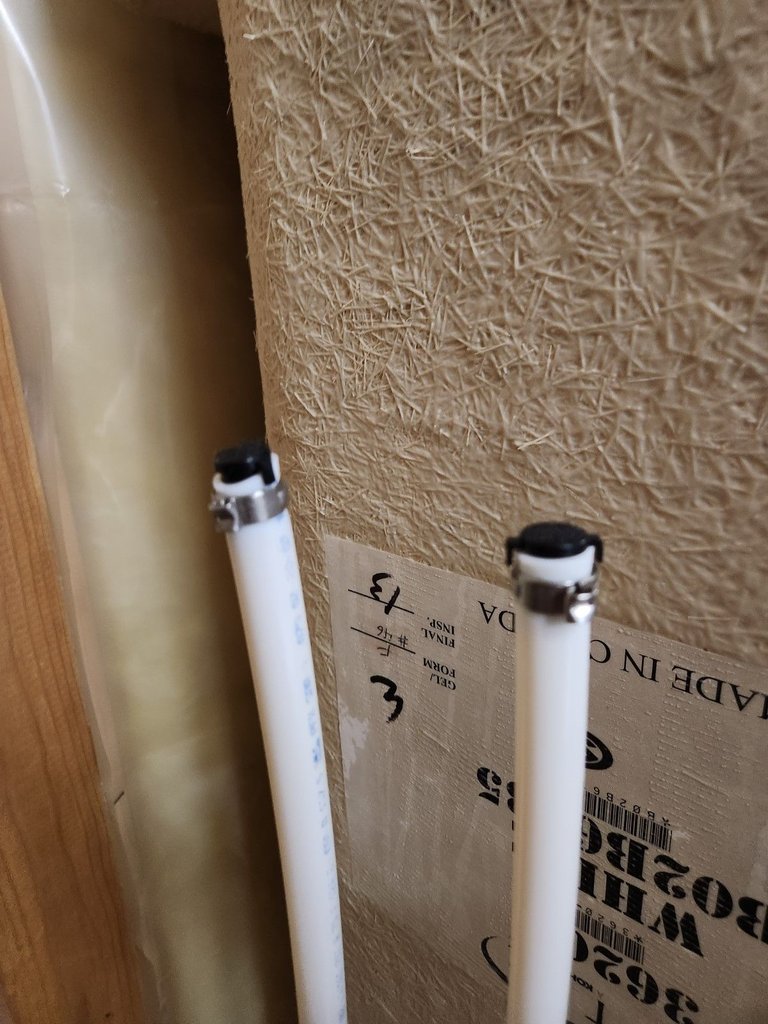
We have the good Pex pipes in our home, they're very easy to work with and last for decades. As soon as a hole was big enough to get behind the shower, we turned off the water supply and cut the pipes to cap them.
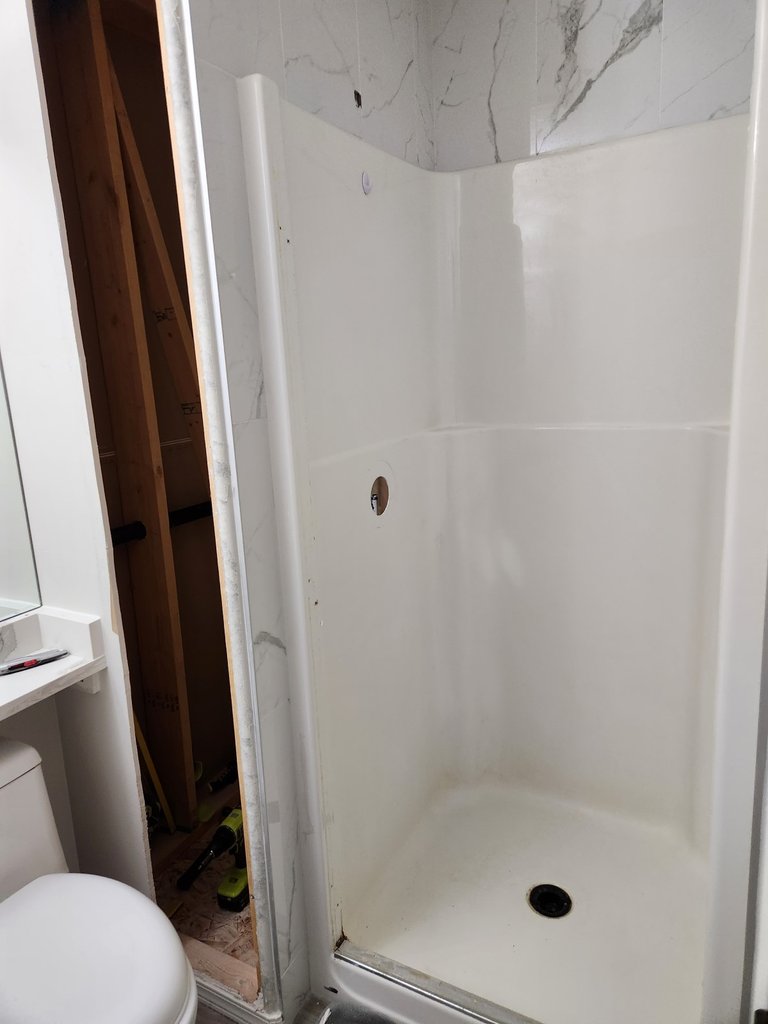
After removing the fixtures and the horrific door. I carefully took out the tiles and the drywall behind it, trying my best not to put holes through the walls.
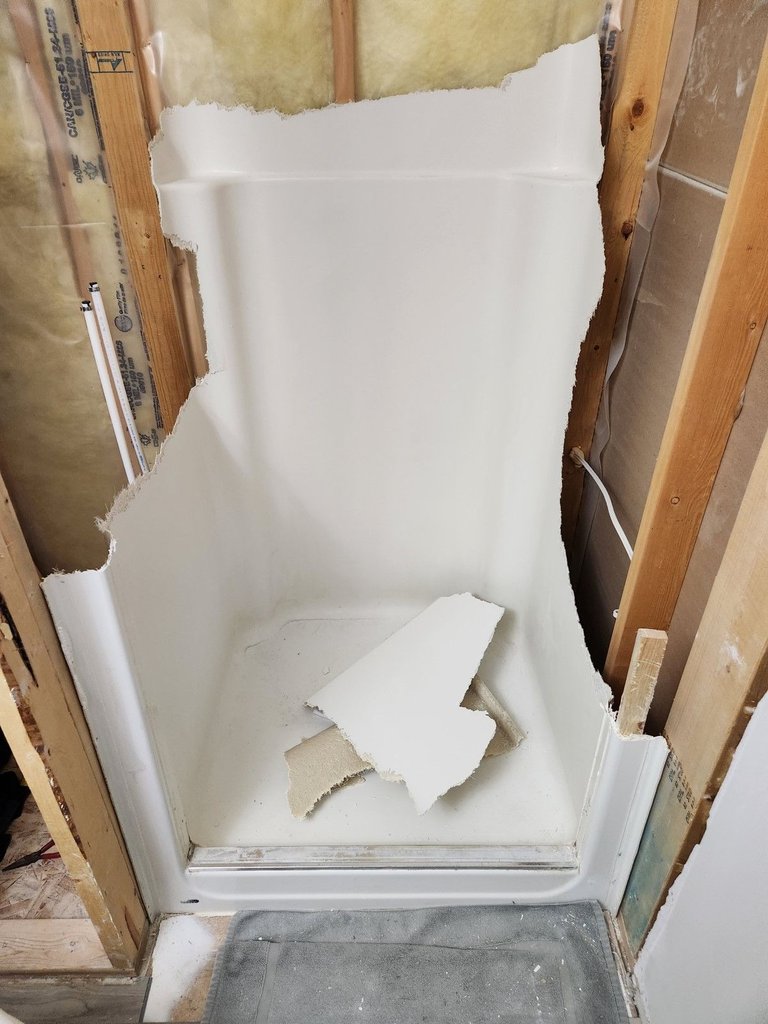
You want to be careful when dismantling a shower, or you can cut pipes, damage perfectly good walls or worse, cut a live wire and get electrocuted. The fiberglass shards are sharp so I wore gloves.
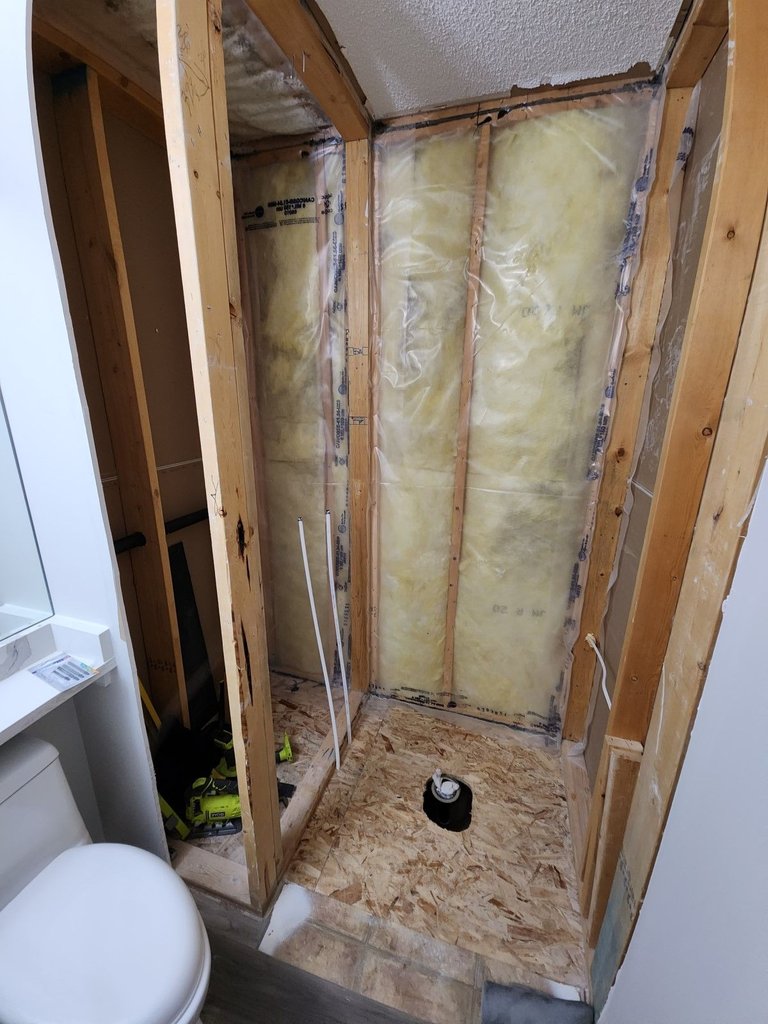
Now the destruction was finished and it was time to move the framing. But first, plug up the drain hole! An old cloth is fine, you just don't want things to fall in there. We also had to put something over the hole so the cats wouldn't get into the rafters.
Moving the framing was simple, this isn't a load bearing wall. I didn't want to buy more studs so I was careful not to saw them in half, an oscillating tool was perfect for the job.
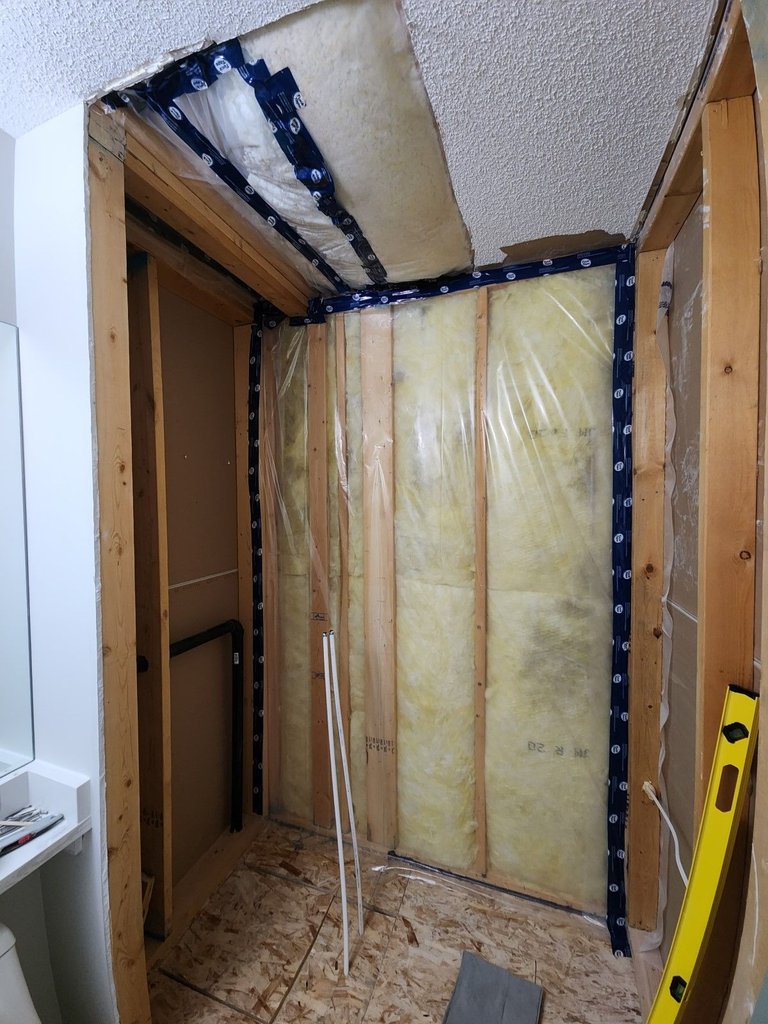
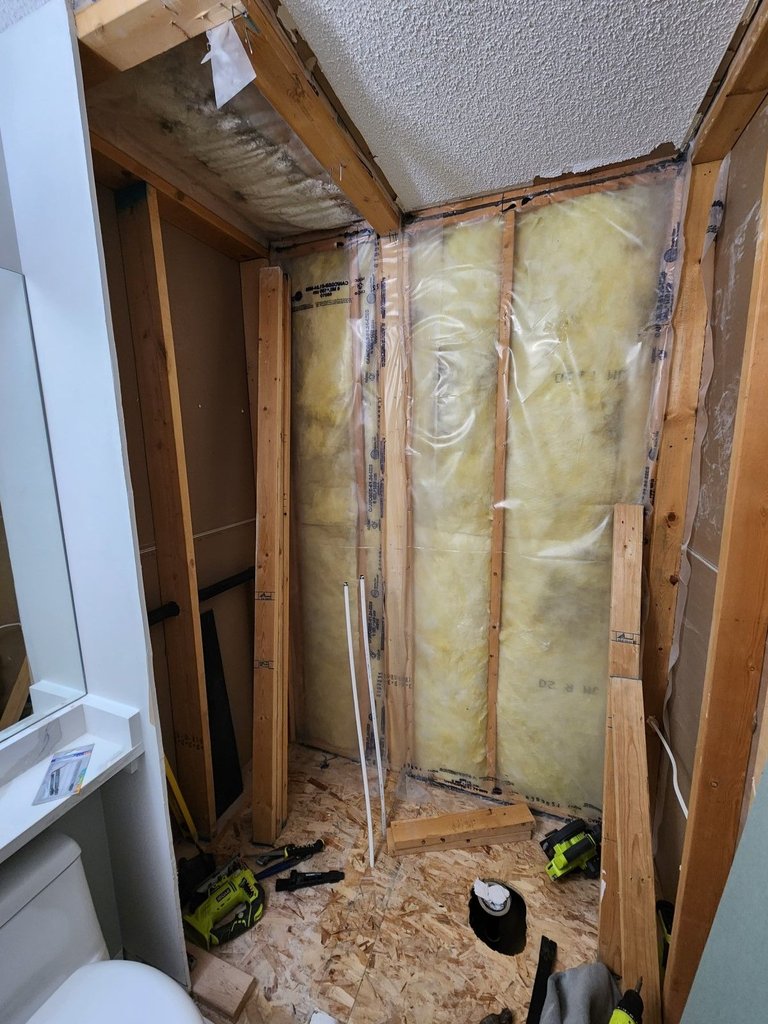
The ceiling presented the biggest challenge. To ensure insulation wouldn't rain down, I had to get creative with the vapour barrier and go slow. We also had to cut to the nearest support as the existing one had to be removed with the framing.
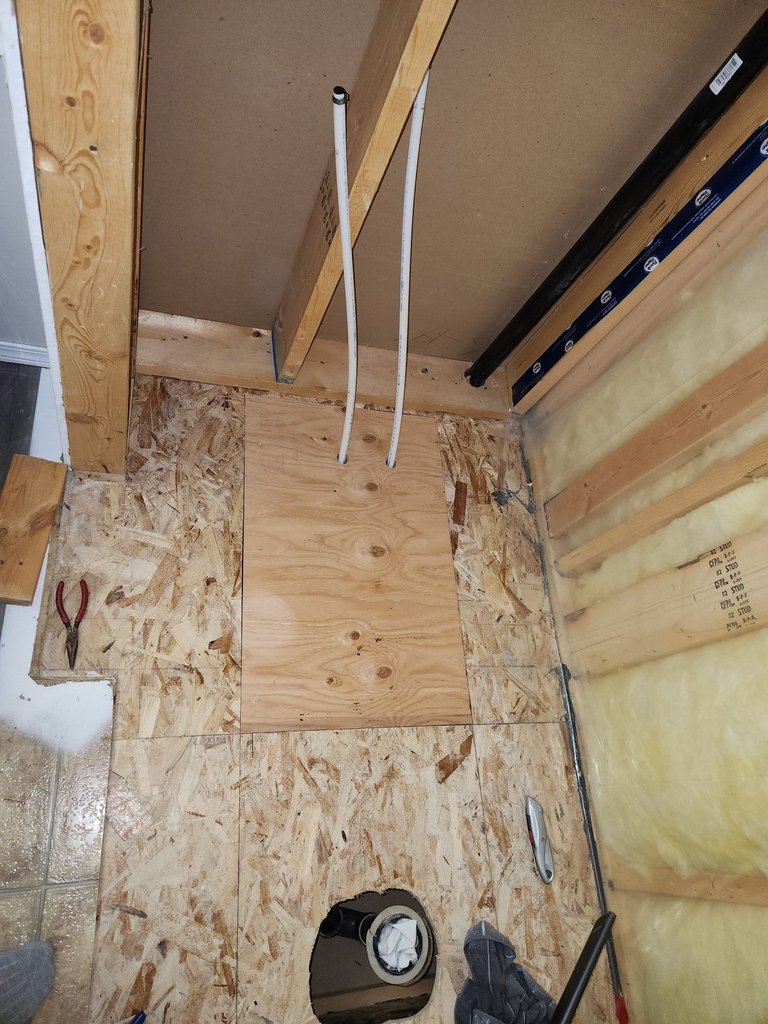
Moving the pex pipe was relatively straight forward. We had to go through a joist (read up on how big the holes can be and where) and ensure the pipes won't rub against the wood. Cut a few little pieces of insulation foam and put it around the pipe if it's not going perfectly straight through the wood. Pex is flexible and bends quite easily so over time, it could wear out if it is rubbing against wood. Having a leak behind your shower and tiled wall is bad.
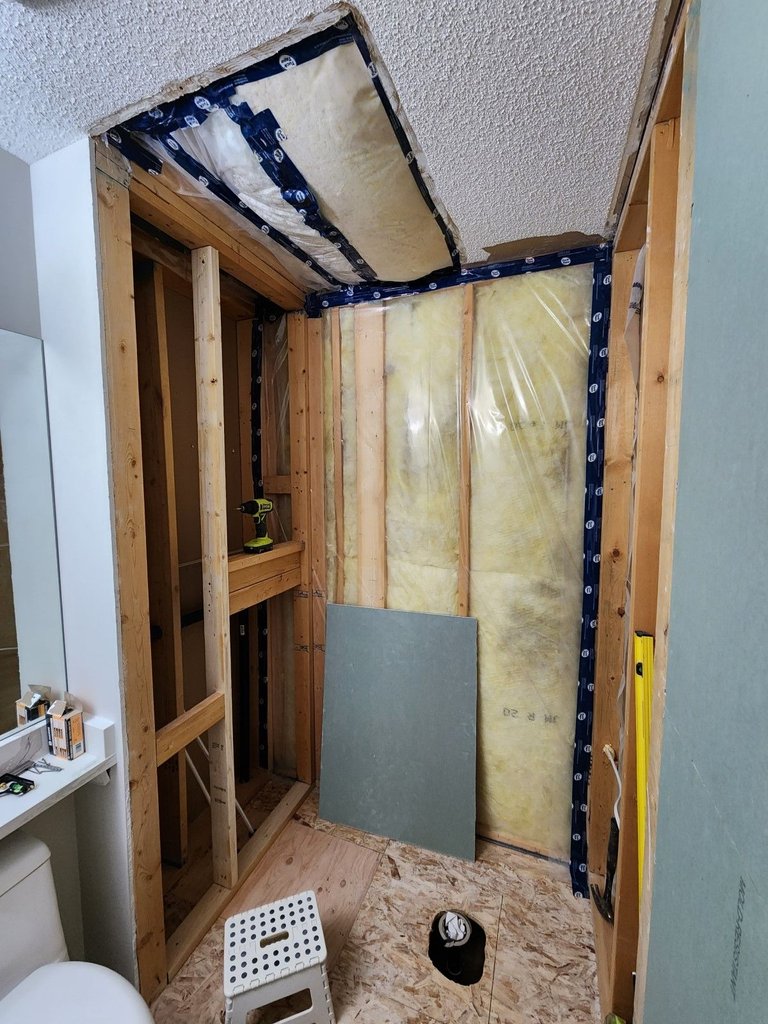
Once the pipes were moved we could finish the framing. To pass an inspection make sure your framing it is solid and doesn't move. Ensure you have a solid vapour barrier on any external wall and ceiling below the attic and have studs ready to be able screw drywall onto. Leave it open so the inspector can see what's going on.
Notes:
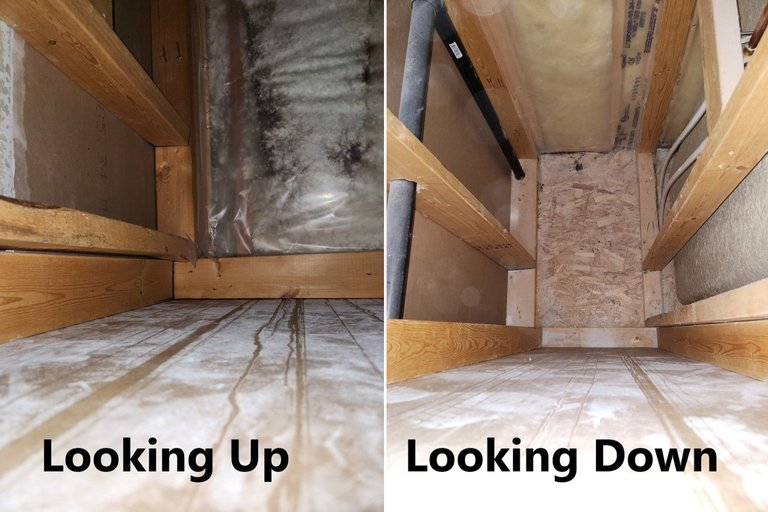
- That's not mold in the fiberglass insulation, it's just shadows.
- The framing is not perfect on the exterior wall but I wasn't going to remove and re-arrange studs.
- The previous subfloor became weak because of the size of the holes so I had to purchase a 3/4 inch sheet of plywood.
- The space below the shower between the floors was bone dry, the inspection photos are over a year old and I saw no signs of water damage.
- The mold resistant drywall is just going on the ceiling and part of the wall which will not be in the shower. We are using waterproof backer-board in the the shower area and not rubber paint over cement or drywall.
Thanks for reading.

