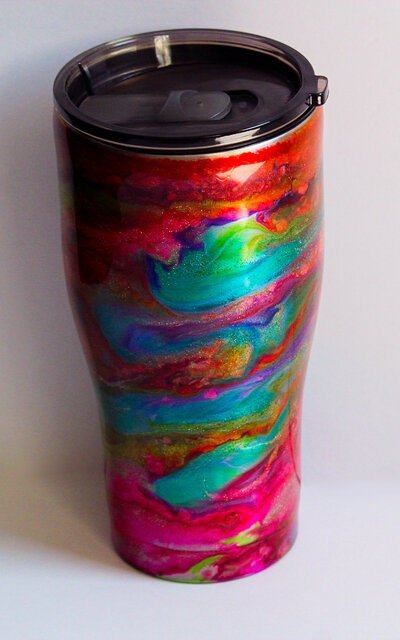
Last year at a birthday party my friend walks in with this beautiful, and I mean beautiful, tumbler. The colors were so bright and vibrant and the shine was hard to ignore.
There were these pretty mixtures of greens and blues, a bright white and a touch of pink and purple.
I wanted one 😳🤤!
She told me she had recently started making them and selling them online. I grabbed her website and had intentions on ordering one.
I’m a sucker for a cute cup but even more so for a tumbler. I think they are becoming my new obsession collectors item 😄 (don’t tell my husband 👀🤭).
Of course time went on and I totally forgot about getting on her site. We decided to plan a play date for our kiddos and to catch up and hang out. She told me that when I came over I could design my own tumbler on the house.
Look, I don’t turn down free gifts so you already know what my response was..
😆💃🏽🥹
So here I am today showing you what I designed.
I do want to make it known that the process photos were taken with my cell phone in not the greatest lighting. I didn’t have intentions on taking photos at first but after getting ready to start I couldn’t miss this opportunity to show you. This is why I really wanted to make up for the quality of those photos and do a mini photoshoot of the tumbler once I got it home.
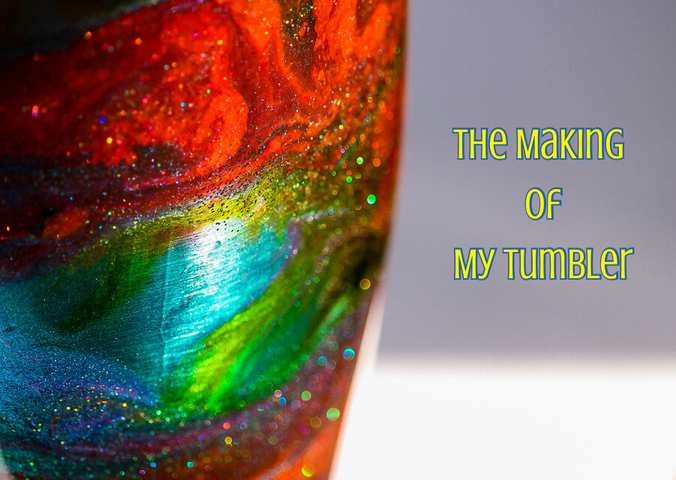
The beginning and ending photos of this post were taken a little after sunrise yesterday. I wanted to wait for the best lighting so you could really see the colors and sparkles from the glitter I chose.
Let’s begin!
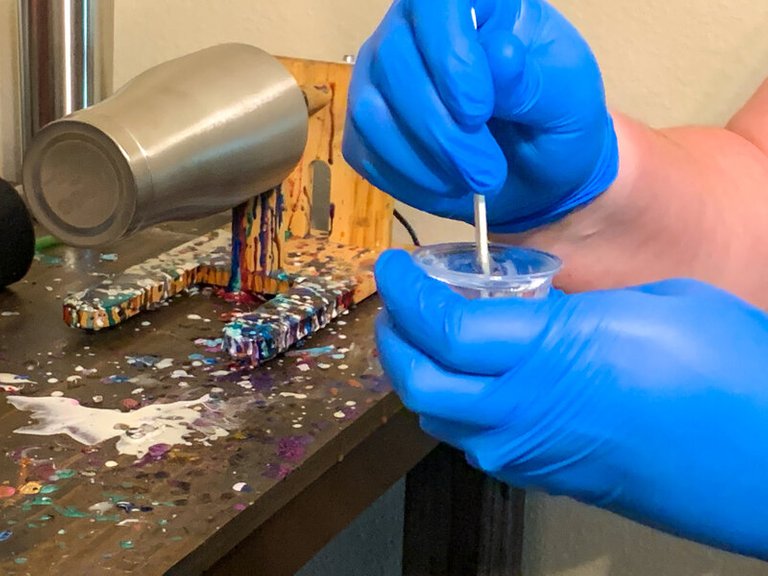
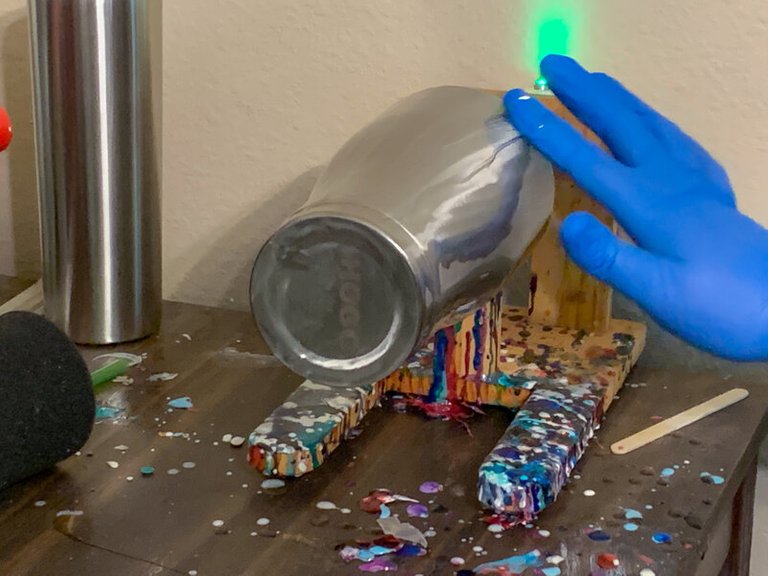
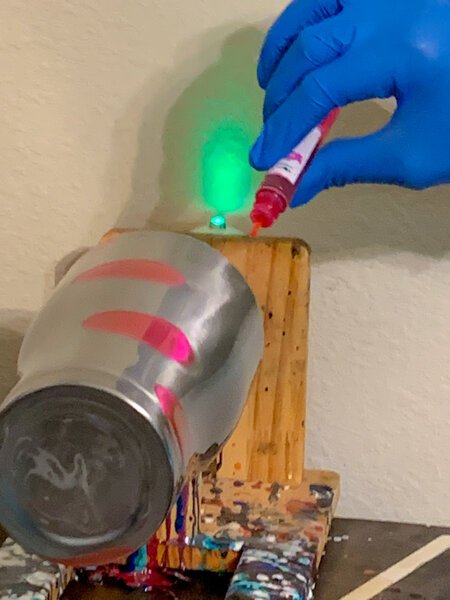
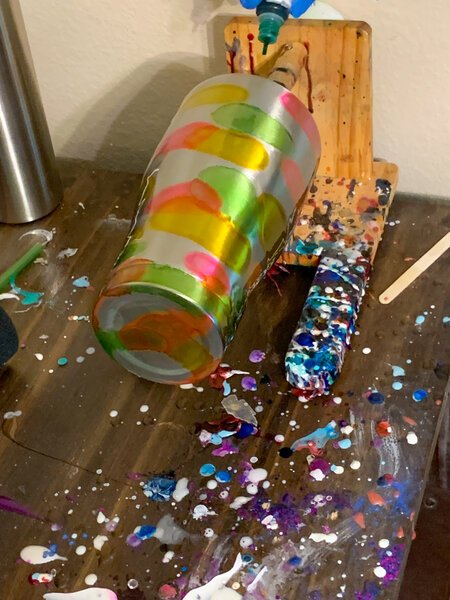
The entire time we were making the tumbler it was spinning on this wooden machine that you see. My friend started off by applying the first coats as I snapped the shots. When it was time to drop the color we switched roles.
 |  |
|---|
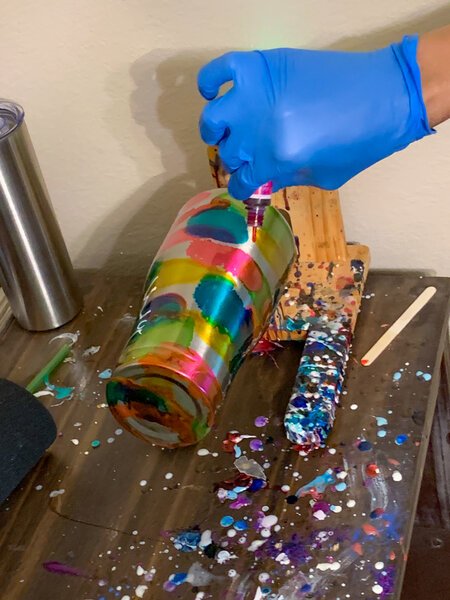
I was so nervous about adding the colors. I wanted her to do it for me but she kept saying “there’s no way you could mess this up”. She explained to me that every cup comes out differently and that’s the beauty of it. I just wanted to make sure mine came out as beautiful as hers.
It ended up being a lot of fun seeing the colors mix around as I added them. She kept reminding me to drop color on the very bottom too because that spot tends to be neglected in tumbler making.
 |  |  |
|---|
This was really fun to splash on. I used this to help make the swirl pattern look. My friend mixed this together at the beginning and I liked that it had a pretty shine to it. Once I finished with the pink color I added a lime green color to it as well.
After those were added she used a blow dryer to help fuse everything together.
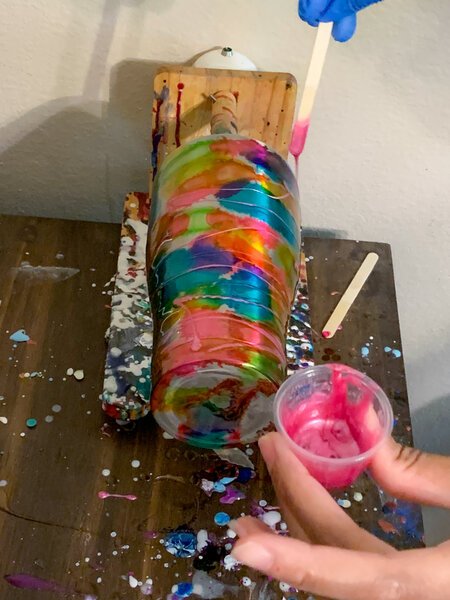
Here’s what the tumbler looked like once I was done with adding the colors and swirls. As you can see I added a gold glitter color to give it a bit more sparkle.
It had to continue spinning for 72 hours to completely cure so I couldn’t take it home right away. I couldn’t wait to see the final results 😍😄.
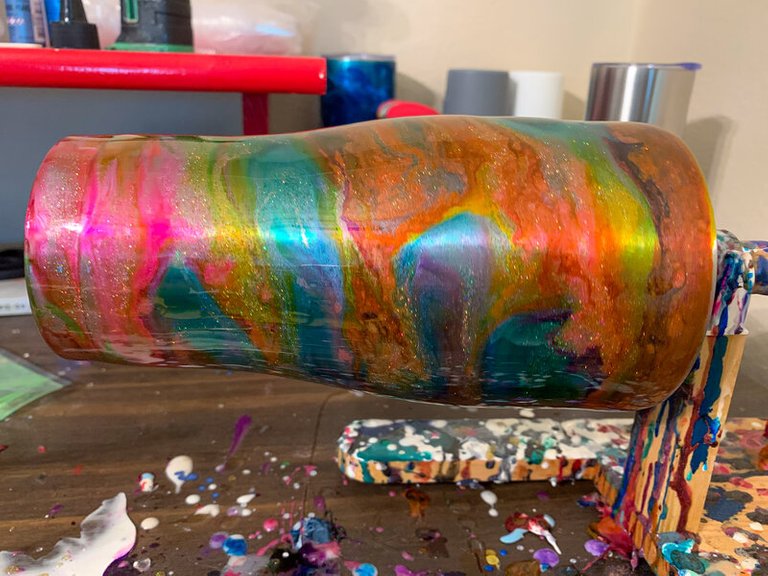
After it finished spinning she added on a final coat. I am so in love with the glossy shine of my new tumbler. The best part of it all is that I designed it myself 😌.
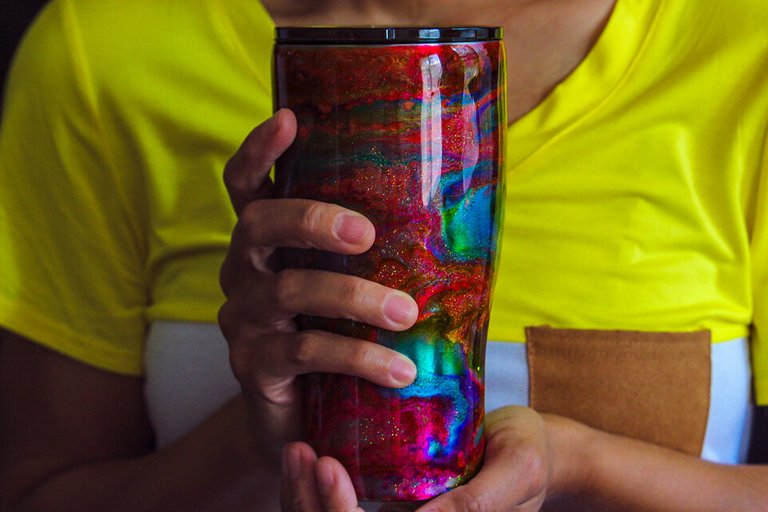
So what do you think? Pretty amazing right? 😃
Having this has really helped me intake more water. It’s a 32 oz. but my goal is to work up to drinking a gallon a day. I take it with me everywhere I go which has really helped. I don’t mind carrying a cute tumbler around. 😁
My daughter and middle son now want one of their own. I’m thinking about going back over there and paying for a smaller one for them to decorate (it’s the size in the background of the process photos). Fun, fun, fun!
Have you ever designed a tumbler like this or know anyone who does this as a business?
Thanks so much for reading!
