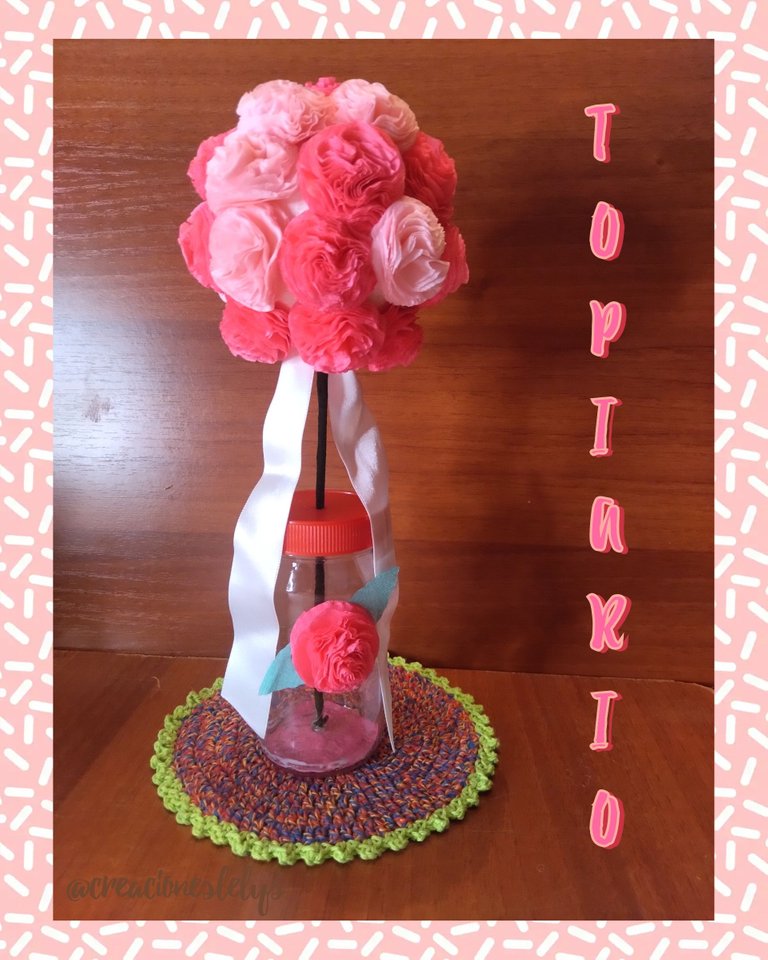
Hola amigos creativos 🙋 muchas gracias por visitar mi blog 🙏 me da gusto saludarlos. El día de hoy vengo a compartir mi más reciente creación 👏 elaborada con papel. No suelo hacer con frecuencia este tipo de detalles, pero necesitaba estar bastante tiempo entretenida este día. A veces los pensamientos me atormentan y busco la manera de deshacerme de ellos 🙀 la mejor manera es realizando alguna manualidad que me haga sentir bien.

TOPIARIO DE FLORES.
Es la primera vez que realizo este tipo de arreglos. Me encantó la experiencia. Ya tengo en lista elaborar otros tipos de topiarios, los había visto como centros de mesa en las bodas y fiestas de quinceañeras, pero nunca me había detenido a observarlos e investigar sobre este bello arte. Por aquí cerca de mi casa tenemos una vecina que siempre manda a convertir su planta ornamental ubicada en frente de su casa en un TOPIARIO, lograr esta forma redonda no debe ser tan fácil, pero los jardineros lo hacen muy bien.
Hace unos años tuve la oportunidad de tener en mi casa una venta de quincallería, especialmente útiles escolares y papelería. Lamentablemente se metieron los delincuentes a robar y se llevaron parte del dinero y de la mercancía. Me afligí, temí que volvieran a llegar y decidí eliminar la quincalla. Todavía tengo en la reserva un poco de papel crepé y de papel lustrillo. Hoy voy a utilizar parte de ese papel crepé para hacer este arreglo. Es ideal para centros de mesas o mesitas de sala. También para ambientar y/o decorar en las fiestas o reuniones de baby shower, matrimonios, quince años y más.
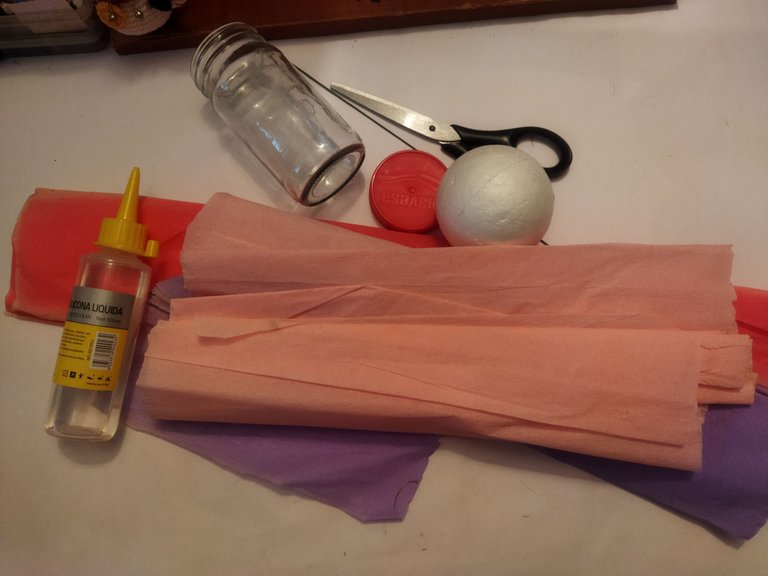
MATERIALES:
- Papel crepé.
- Palito de altura.
- Alambre de floristería.
- Pegamento.
- Cinta adhesiva de floristería.
- Bola de anime.
- Frasco de vidrio con tapa, reciclado.
- Cinta de raso.
- Tijeras.
PROCEDIMIENTO:
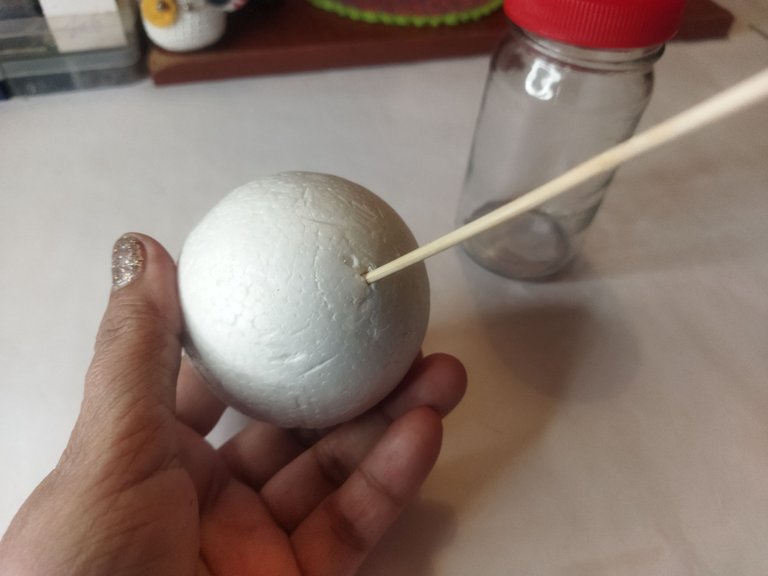
- Empecé preparando la bola de anime en el palito de altura. Para ello busqué el centro o mitad, en la parte de abajo perforé y metí el palito. Para asegurarlo coloqué un poco de pegamento antes.
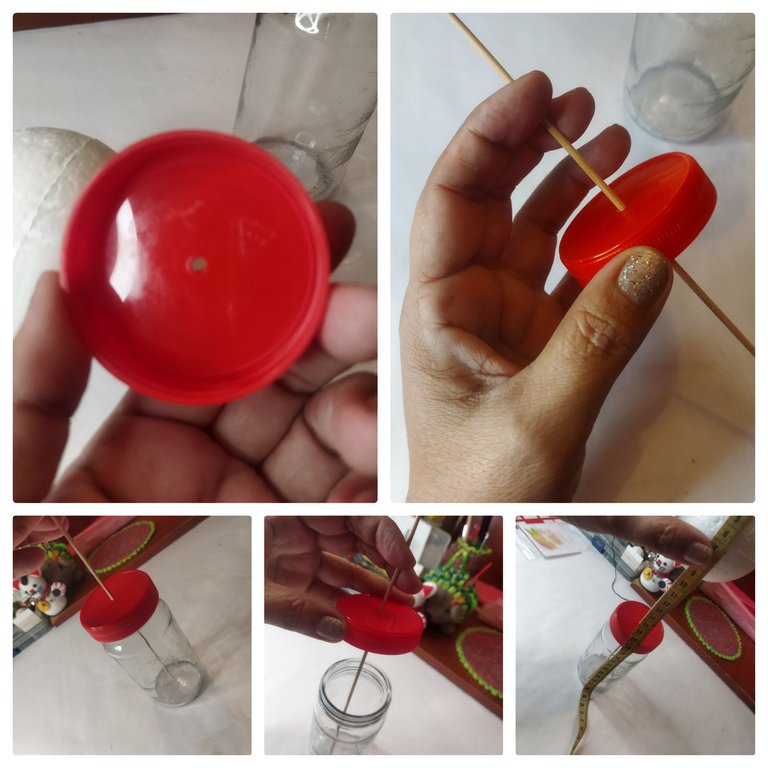
- Para mi diseño hice un hueco en la tapa del frasco y pasé por allí el palito. La idea es que la tapa deslice fácilmente por el palito aún después de estar forrado.
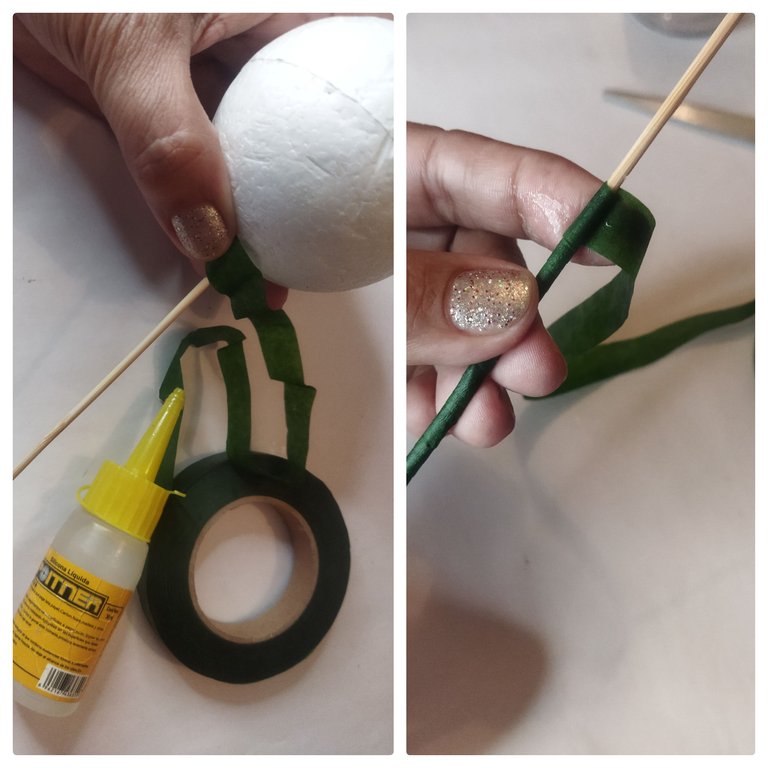
- Al estar seco el pegamento forré con cinta verde de floristería todo el palito de altura.
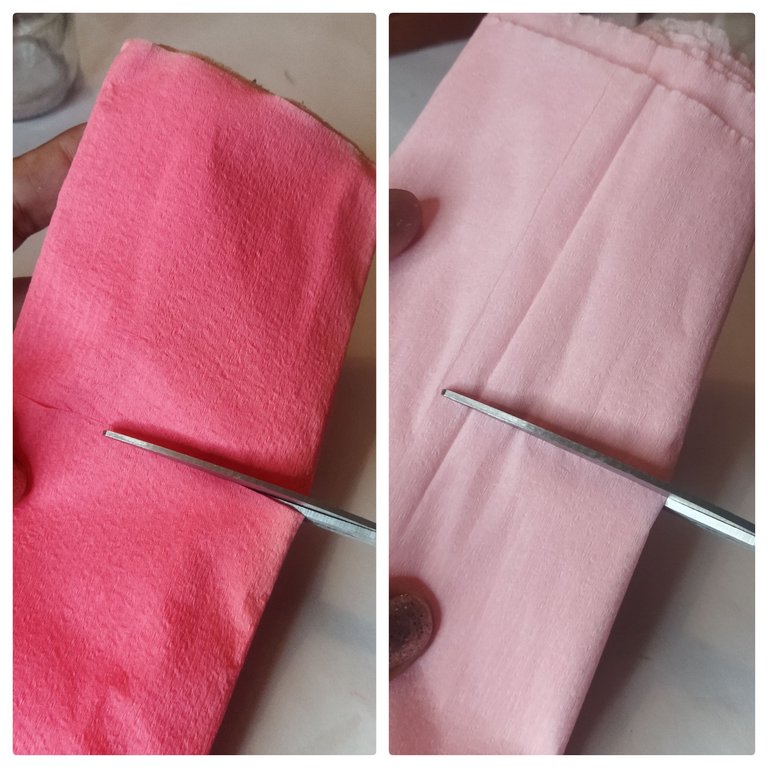
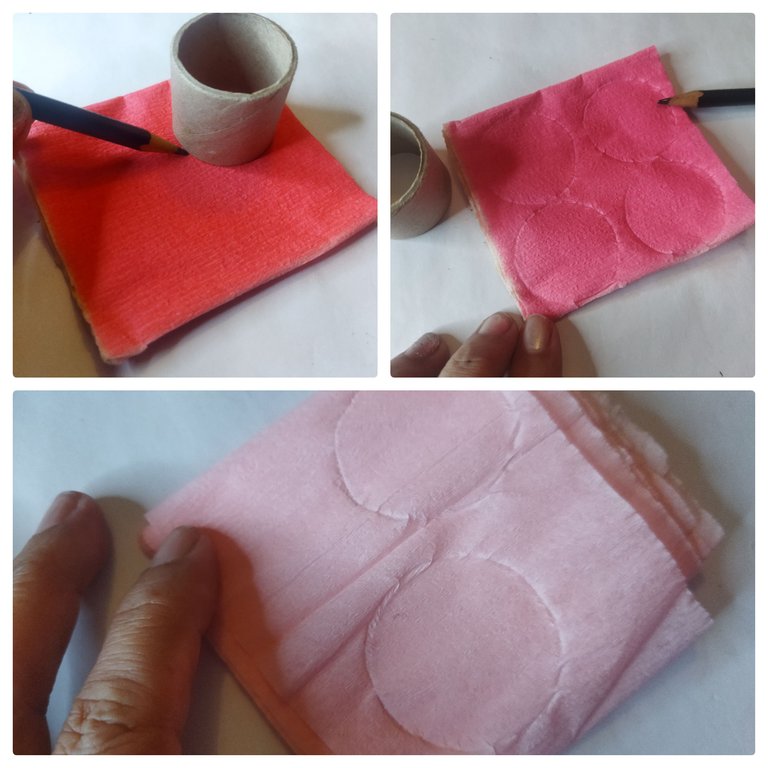
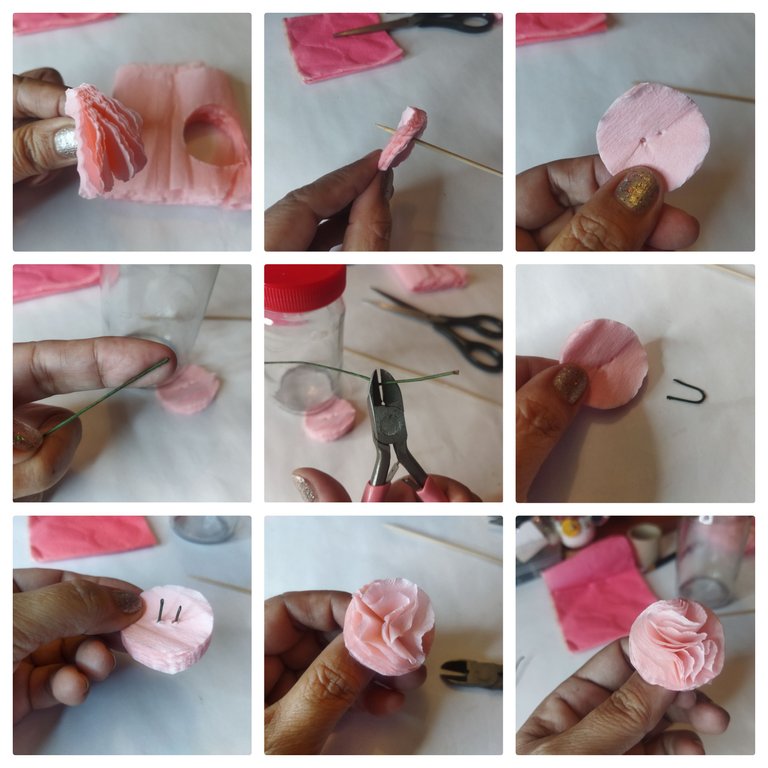
- Después me dediqué por un buen rato a realizar las flores. El proceso es sencillo, pero amerita de paciencia para lograr dar forma a los pétalos. Tomando el pliego completo del papel crepé medí y corté un cuadrado, a ojo. Luego usando un trozo de rollo de cartón marqué varios círculos sobre ese cuadro de papel crepé.
- Recorté los círculos con mucho cuidado para no separarlos. En cada uno de estos círculos abrí dos orificios en el centro con la punta del palito de altura. Corté el alambre de bisutería en trocitos de 2 cm. Le di firma de U y lo usé para sostener los pétalos. Una vez sujetados los pétalos empecé a separarlos arruchándolos todos uno por uno.
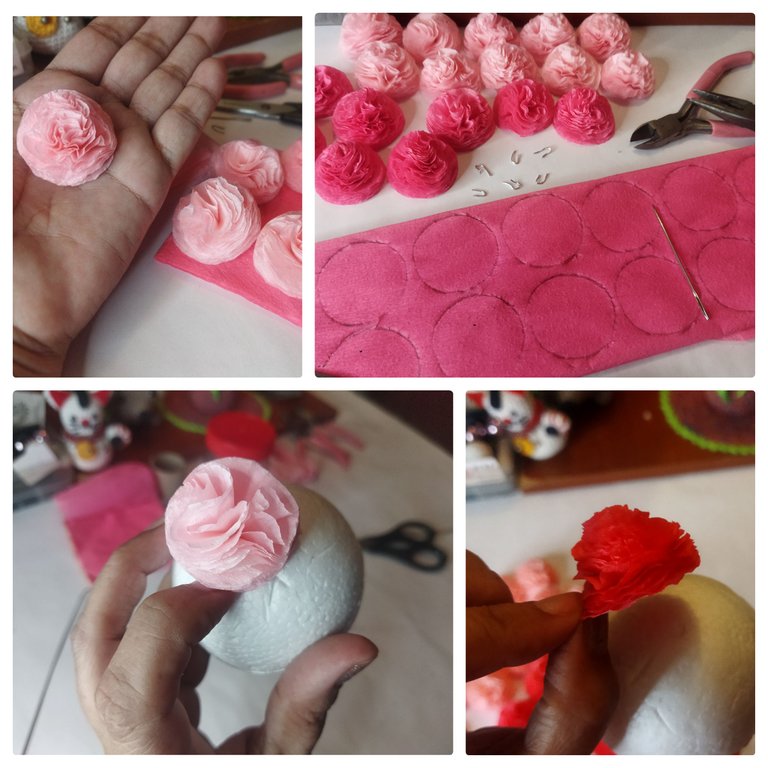
- Antes de comenzar a pegar las flores sobre la esfera de anime visualicé los lugares donde las pondría para combinarlas y tener la cantidad necesaria de flores.
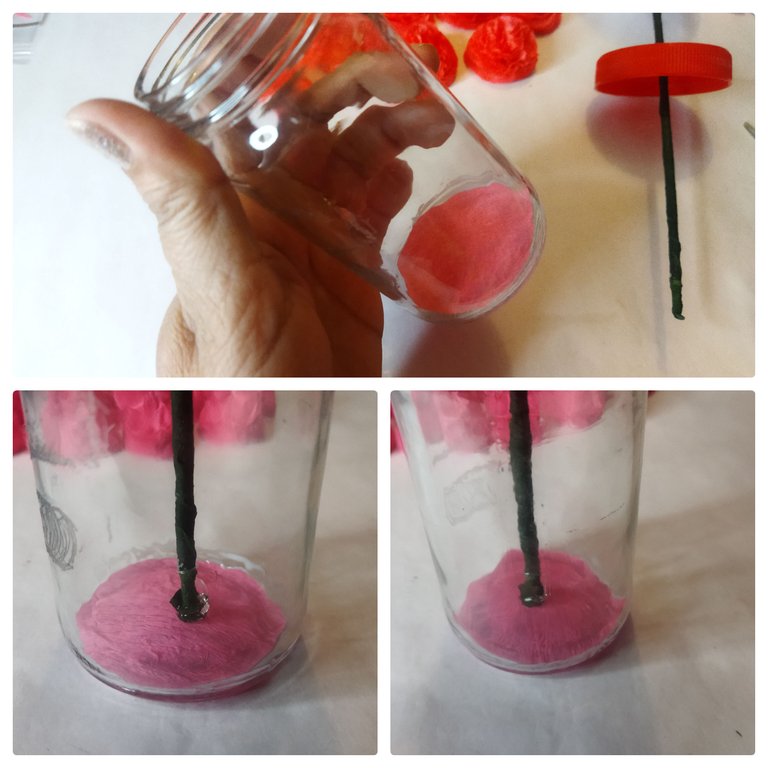
- SI DESEAS PINTAR O FORRAR LA TAPA DEBES HACERLO ANTES DE ESTE PASO. Recorté un círculo en papel crepé color rosado y lo pegué dentro del frasco, en el fondo. Usé pegamento blanco para pegarlo. Después coloqué pegamento de secado rápido en la punta inferior del palito de altura forrado con cinta adhesiva, en el que metí la esfera de anime. Ya debe estar dentro del orificio de la tapa para hacer este paso. Finalmente lo dejé pegado adentro del frasco.
- Este arreglo cumplirá además la función de souvenir, así que para sacar el obsequio solo se desenrosca la tapa y se sube por el palito. Después queda el arreglo como un hermoso objeto decorativo.
- Ya es momento de comenzar a pegar las flores. Te aconsejo usar silicón líquido o pegamento blanco para que se te haga más fácil corregir o mover de posición las flores al acomodarlas. Fue maravilloso ver como poco a poco se iba formando el TOPIARIO 💕 me encantó.
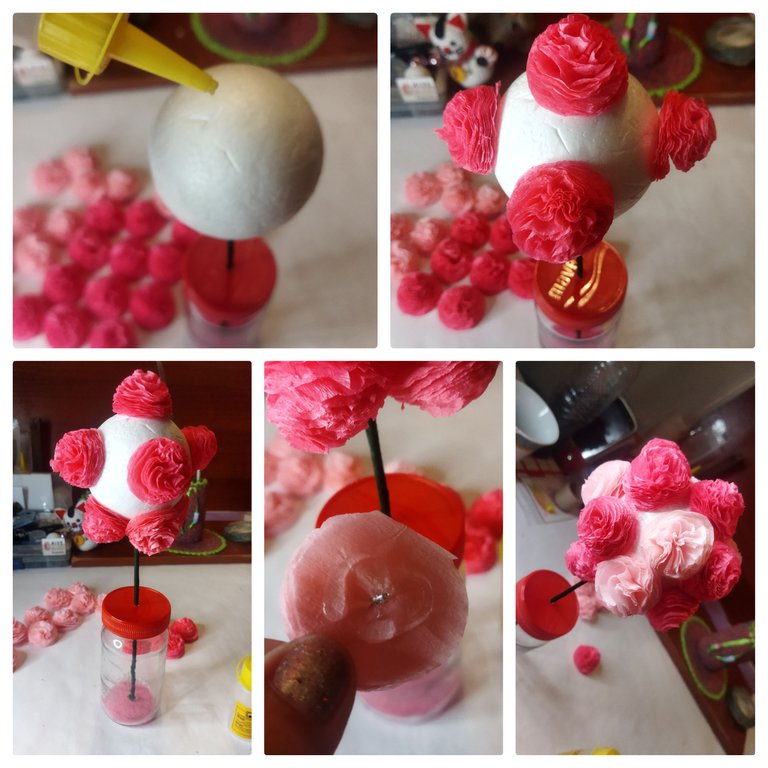
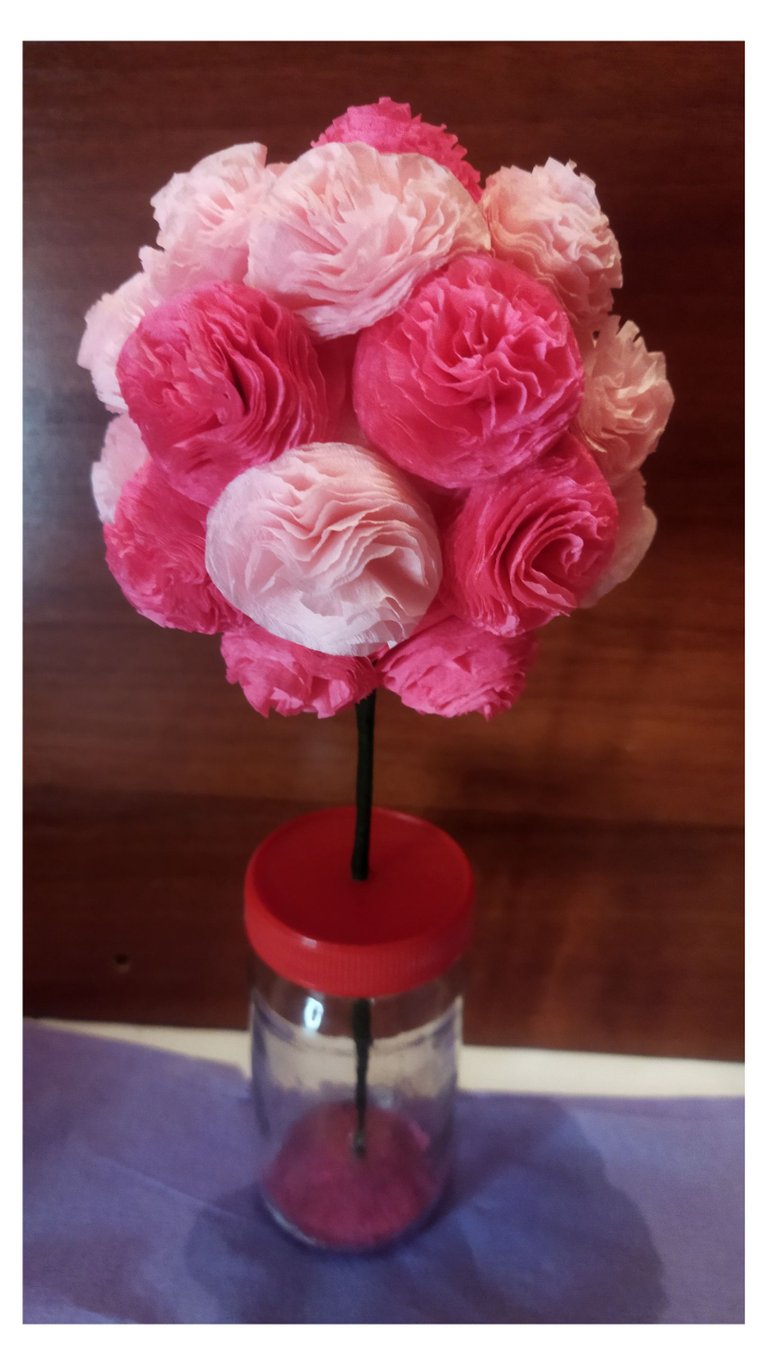
- Así debe verse hasta ahora. Si lo deseas puedes agregar más detalles según la ocasión.
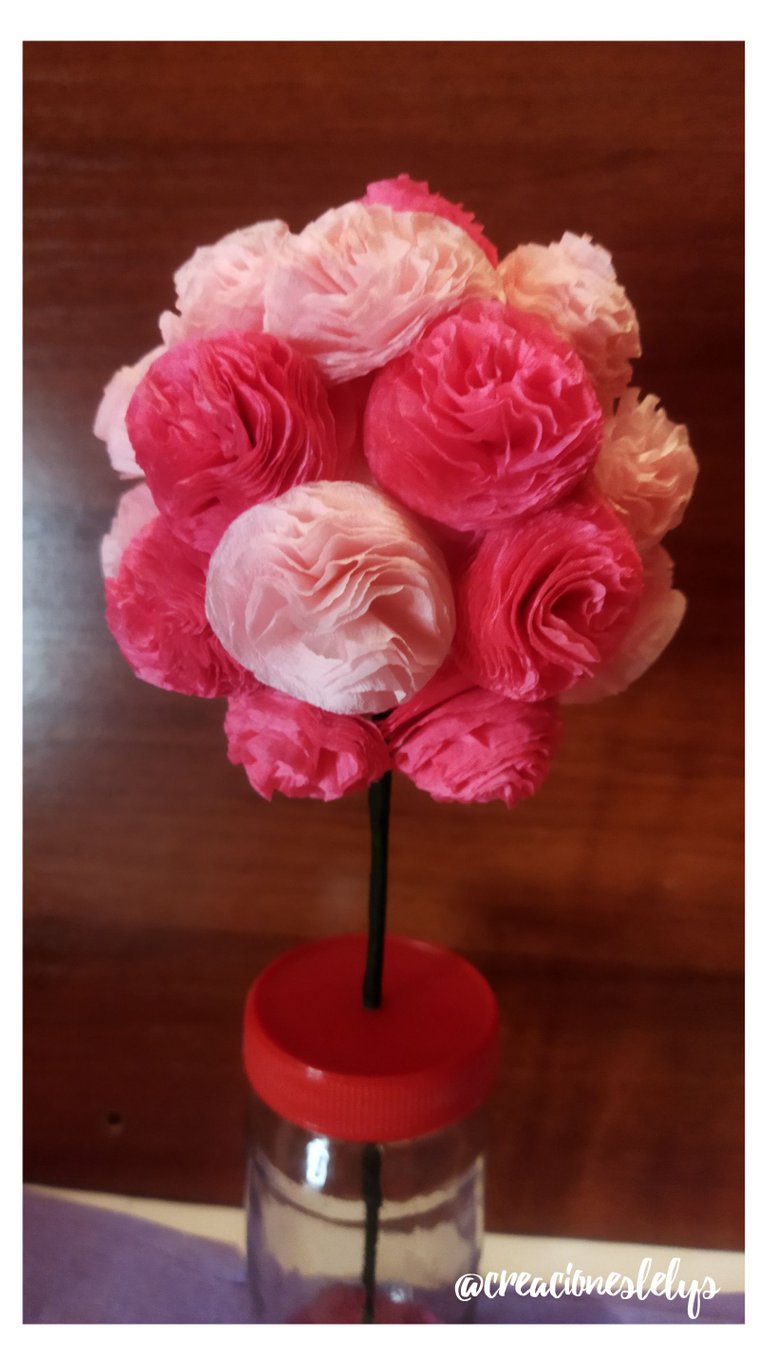
- Me gusta tal cual como se ve en la foto anterior, sin embargo quise agregar algunos detalles y así quedó. Espero que les guste esta idea. La verdad es que hacer uno llevó bastante tiempo, no sé si me atreva a hacer varios 🙈
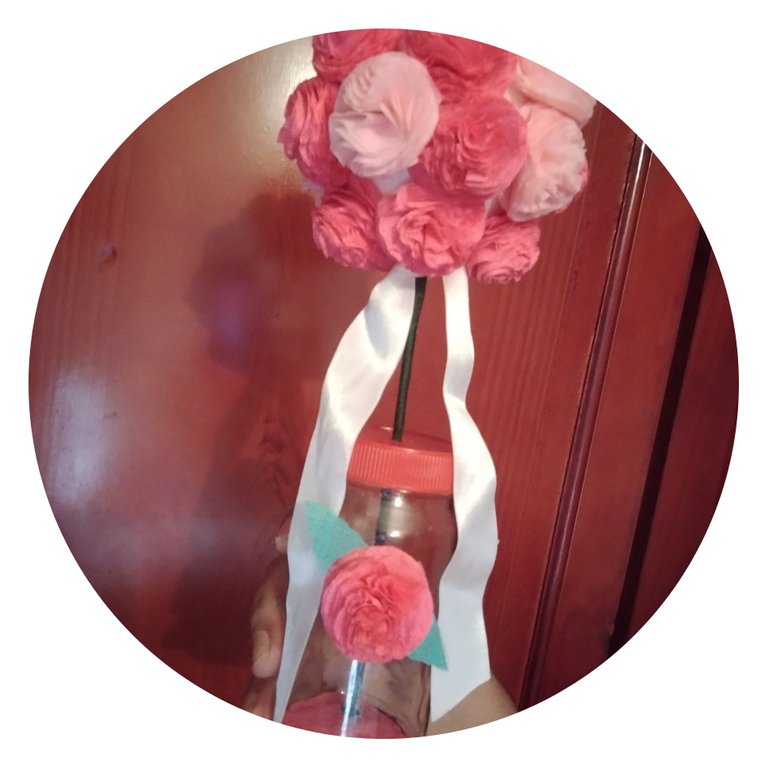
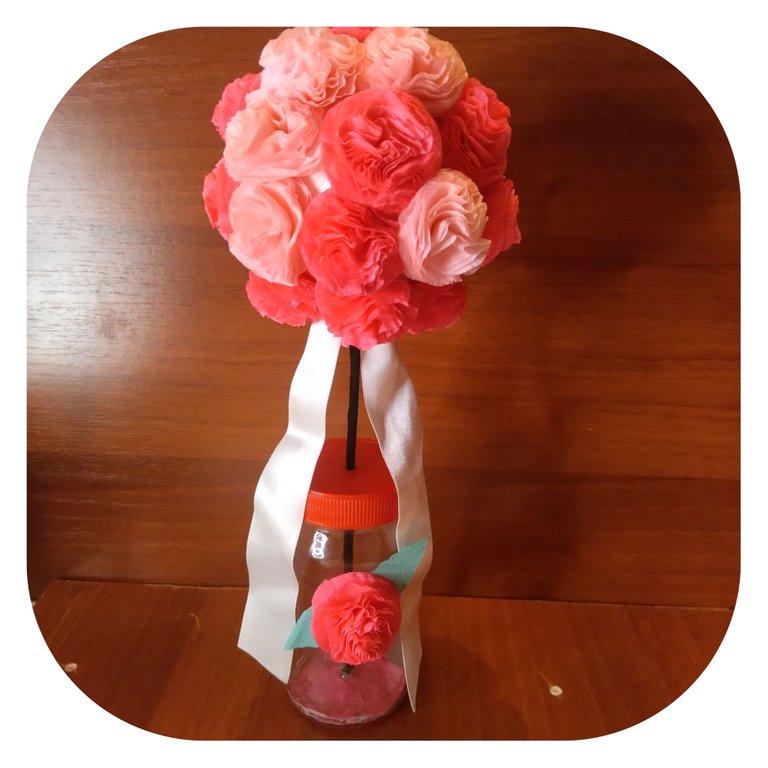
Muchísimas gracias por tu visita 😊 todas las fotos son de mi propiedad. Edité con Polish e Inshot. Usé el traductor de Deepl. Hasta pronto.
English.

Hello creative friends 🙋 thank you very much for visiting my blog 🙏 I'm glad to greet you. Today I come to share my most recent creation 👏 made with paper. I don't often do this kind of details, but I needed to be quite entertaining this day. Sometimes thoughts torment me and I look for a way to get rid of them 🙀 the best way is to make some craft that makes me feel good.

FLOWER TOPIARY.
This is the first time I made this kind of arrangement. I loved the experience. I already have in list to make other types of topiaries, I had seen them as centerpieces at weddings and quinceañera parties, but I had never stopped to observe them and investigate about this beautiful art. Around here near my house we have a neighbor who always has her ornamental plant in front of her house turned into a TOPIARIO, achieving this round shape must not be so easy, but the gardeners do it very well.

A few years ago I had the opportunity to have a hardware sale in my house, especially school supplies and stationery. Unfortunately criminals broke in and stole some of the money and merchandise. I was distraught, feared that they would come again and decided to dispose of the hardware. I still have some crepe paper and lustrillo paper in the stock. Today I am going to use some of that crepe paper to make this arrangement. It is ideal for centerpieces or coffee tables. Also to set the mood and/or decorate for baby showers, weddings, quinceaneras and more.
MATERIALS:
- Crepe paper.
- Height stick.
- Florist's wire.
- Glue.
- Florist's tape.
- Anime ball.
- Glass jar with lid, recycled.
- Satin ribbon.
- Scissors.

PROCEDURE:
- I started by preparing the anime ball on the tall stick. To do this I looked for the center or middle, at the bottom I drilled and inserted the stick. To secure it I put some glue before.

- For my design I made a hole in the lid of the jar and put the stick through it. The idea is that the lid slides easily through the stick even after it is lined.

- When the glue was dry I lined the entire height of the stick with green florist's tape.

- Then I spent a long time making the flowers. The process is simple, but it requires patience to shape the petals. Taking the whole sheet of crepe paper I measured and cut a square, by eye. Then using a piece of cardboard roll I marked several circles on that square of crepe paper.


- I cut out the circles very carefully so as not to separate them. In each of these circles I opened two holes in the center with the tip of the height stick. I cut the bijouterie wire into 2 cm pieces. I gave it a U shape and used it to hold the petals. Once the petals were attached, I started to separate them by crumpling them all up one by one.

- Before starting to glue the flowers on the anime sphere I visualized the places where I would put them to combine them and have the necessary amount of flowers.

- IF YOU WANT TO PAINT OR LINE THE LID YOU MUST DO IT BEFORE THIS STEP. I cut out a circle in pink crepe paper and glued it inside the jar, on the bottom. I used white glue to glue it. Then I placed quick-dry glue on the bottom tip of the tape-lined tall stick, into which I stuck the anime sphere. It should already be inside the hole in the lid to do this step. Finally I left it stuck inside the jar.
- This arrangement will also serve as a souvenir, so to remove the gift just unscrew the lid and pull it up the stick. Then the arrangement remains as a beautiful decorative object.

- Now it's time to start gluing the flowers. I advise you to use liquid silicone or white glue to make it easier to correct or move the position of the flowers when arranging them. It was wonderful to see how little by little the TOPIARIO was forming 💕 I loved it.

- This is how it should look like so far. If you want you can add more details depending on the occasion.

- I like it as it looks in the previous picture, however I wanted to add some details and this is how it looks. I hope you like this idea. The truth is that making one took quite some time, I don't know if I dare to make several 🙈.


Thank you very much for your visit 😊 all photos are my property. I edited with Polish and Inshot. I used Deepl translator. See you soon.