
Valentine's Day is getting closer ❤️ love is in a hurry to meet again, lovers are thinking about that special detail to surprise their loved one.
The truth is that I have made several Valentine's Day gifts ❤️ and yet I always want to create one more, it is so romantic to sigh when someone gives you a gift and more if it is created exclusively for you, that is precisely what makes the difference, when we create it with our own hands, because during the whole process we think of that special person.
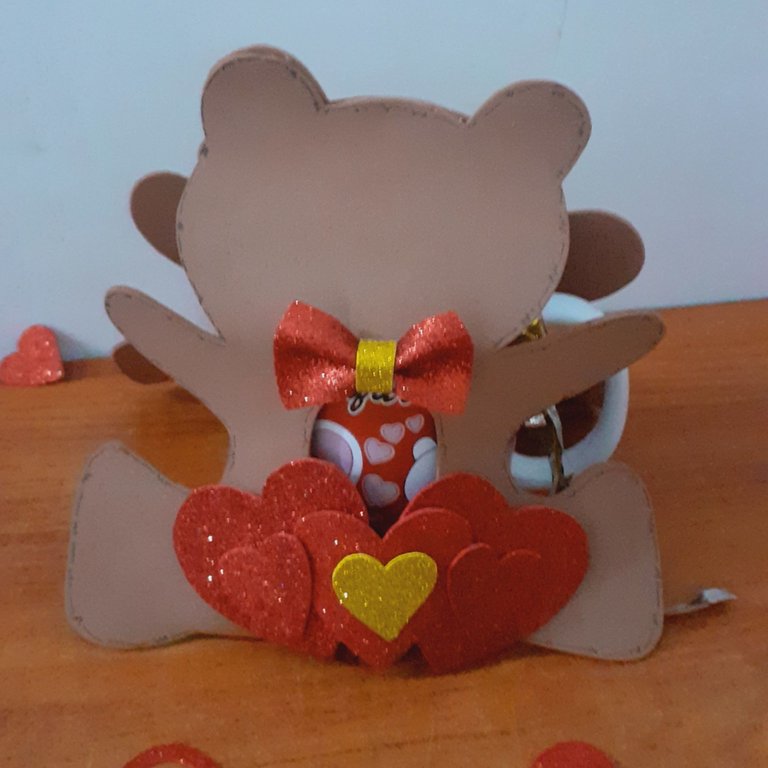
This time I bring you a lovely idea, I was fascinated with so much love ❤️ it is a Teddy cup holder, ideal to combine love, romance, coffee and bears, yes! I think almost all of us love the cute teddy bears 🧸 and I think that if this wraps a coffee cup as a detail, it makes it more special, it is a versatile, easy and beautiful idea.
If you like the idea, read on and I'll show you the step by step, nothing difficult, but what a beautiful gift to give this next day of love and friendship 💕🧸☕.
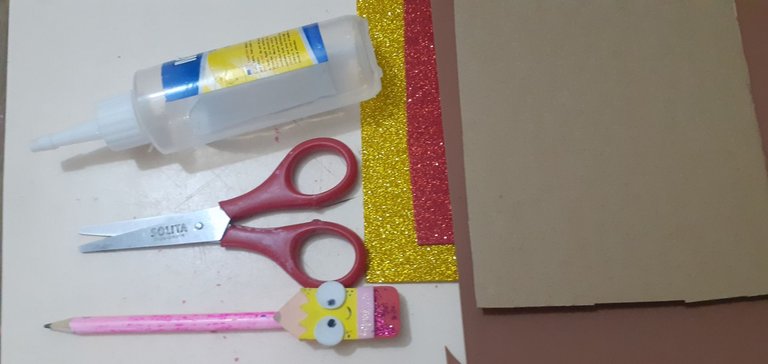
Materials:
1 brown foami
1 bright red foami
1 gold foami
1 cardboard
2 sheets of paper
Black gel pen with 0 point, and
Silicone
Scissors
Pencil
Scissors
Square
Mug
Step by step:
🧸 On the sheet of paper trace the silhouette of the bear, cut out.
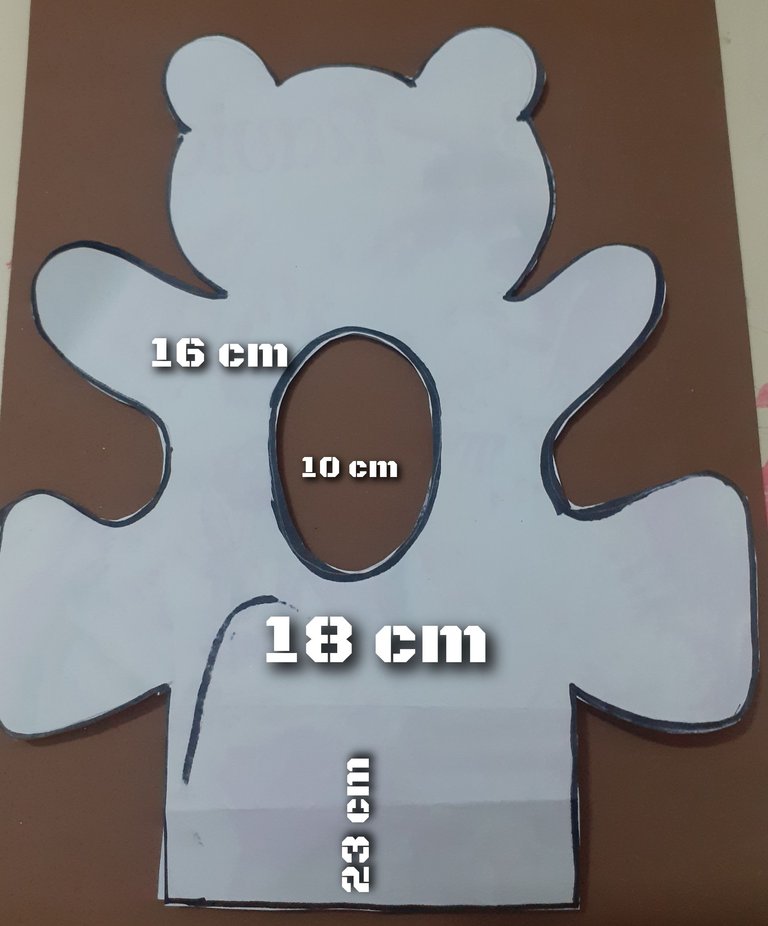
🧸 Transfer the mould to the piece of foami, it measures 23 cm long, 16 cm at the arms, 10 cm in the middle and 18 cm at the legs, cut out.
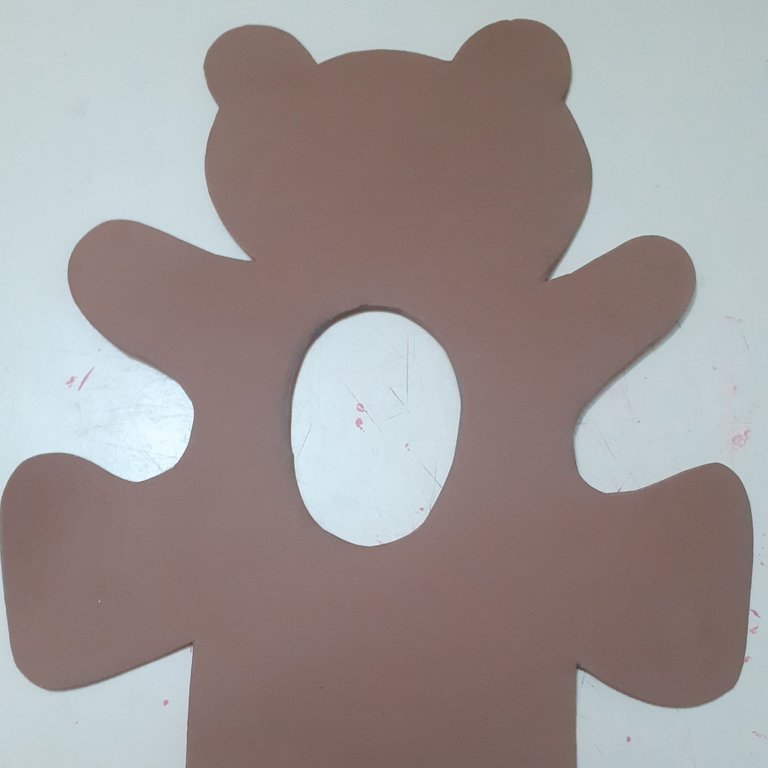
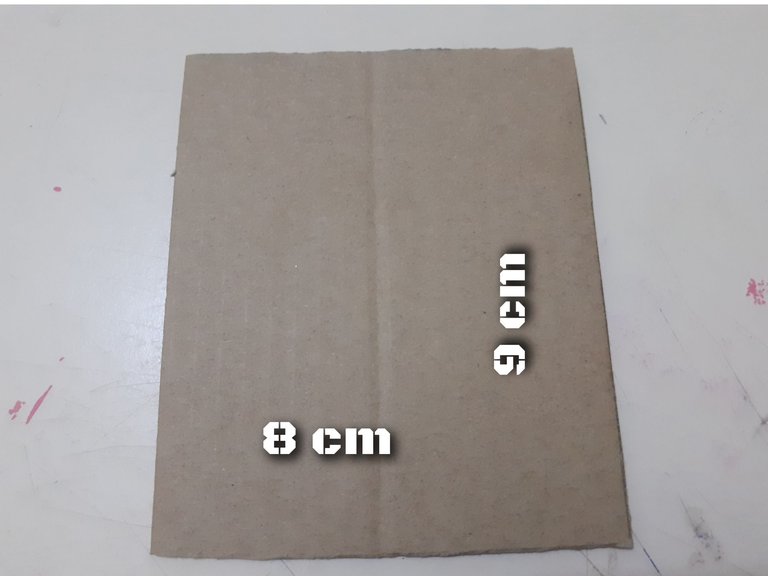
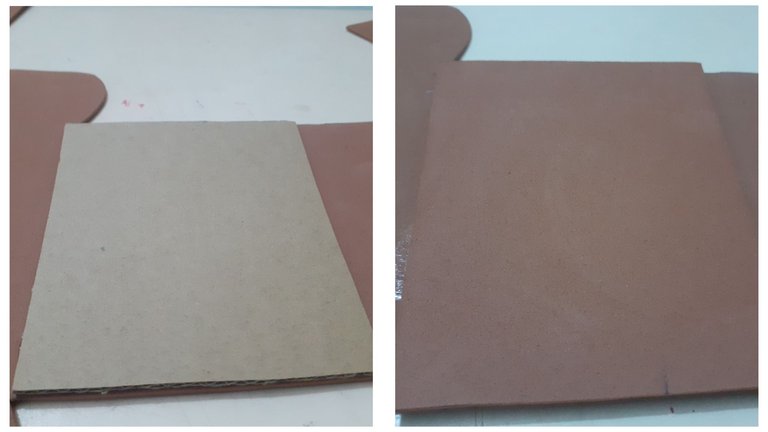
🧸 Cut out a piece of cardboard measuring 9 cm long by 8 cm wide and glue it in the middle of the two bear figures, cut out a piece of brown foami with the above measurements and glue it onto the piece of cardboard.
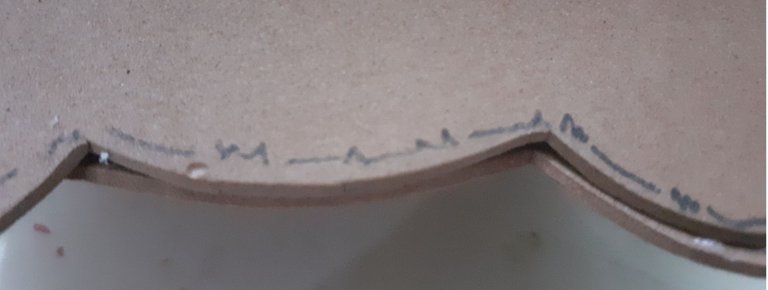
🧸 Draw small stitch-like lines around the entire piece with the 0.5mm gel pen.
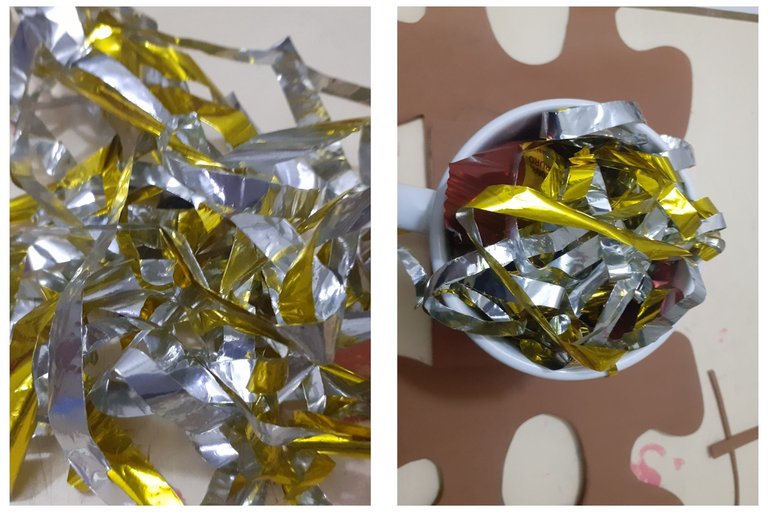
🧸 Place the cup in the centre of the piece and fill with the detail of your choice, apply silicone on top of the ears and head to secure, use thin strips of recycled metallic balloon to place inside the cup.
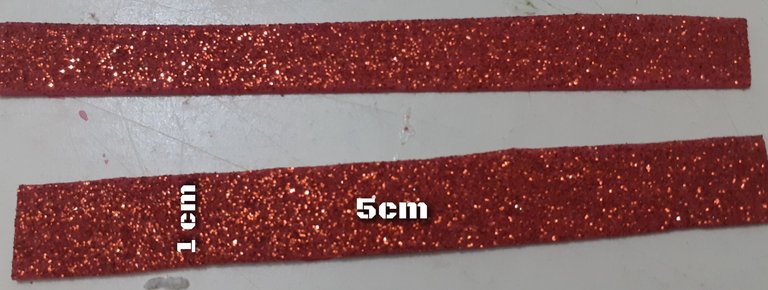
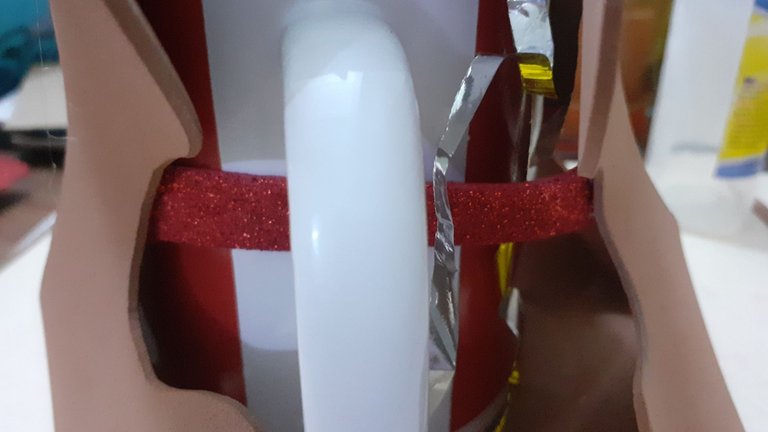
🧸 Cut out two pieces 6cm long by 1cm wide and glue to each side of the bear, to secure the cup.
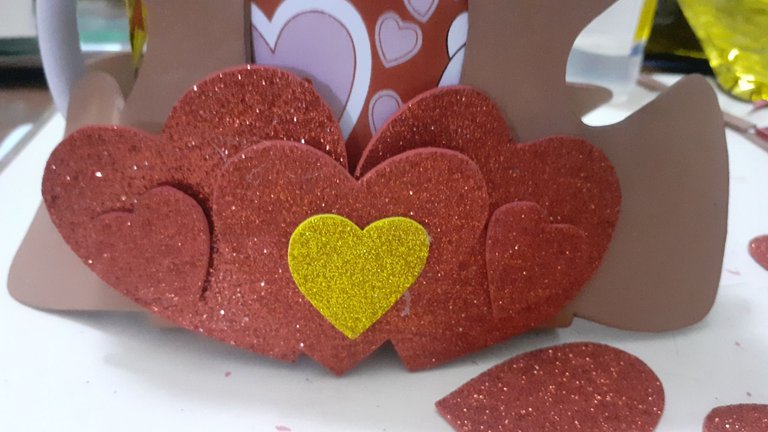
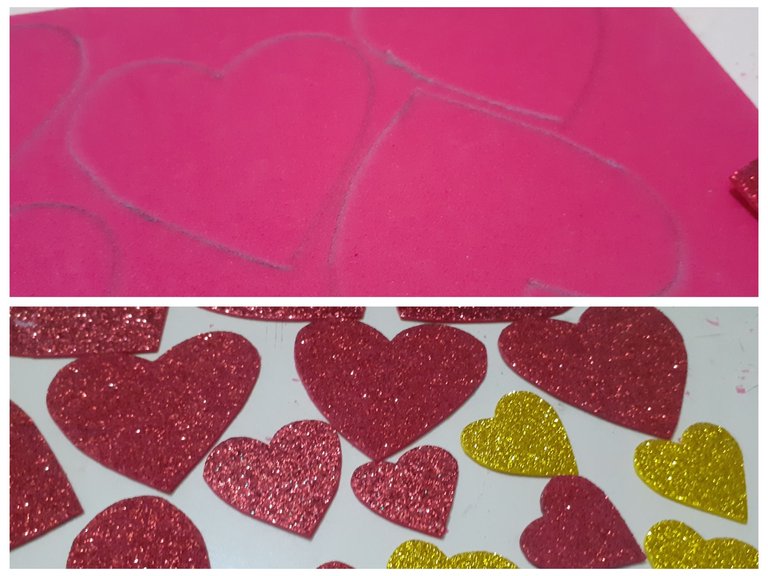
🧸 Cut out red and gold coloured foami hearts in different sizes and glue as shown on the front and on the bottom, alternate sizes, place the decoration on both sides.
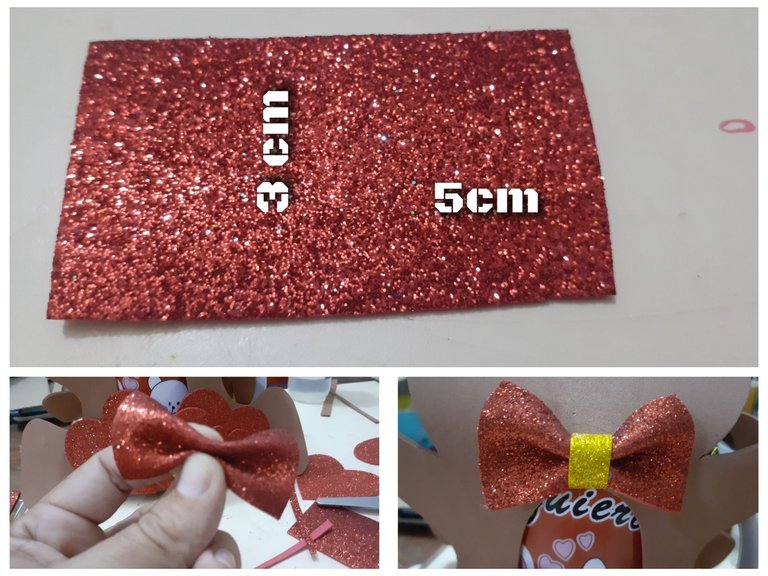
🧸 Mark and cut out a 5 cm long by 3 cm wide piece of red foami, fold in the centre, apply silicone glue, cut a 2 cm long by 1 cm wide piece of gold foami and glue to the centre of the bow to form a small tie.
Our Teddy mug holder is ready and just by looking at it I already want that special and romantic day like Valentine's Day to come. ❤️ I really do! I am in love, not only because of its practicality, but also because it is so easy to create.
This time it has been an easy step by step because many of us do not have time ⏱️ for more details in our gift, so thinking of everyone, do not add a face or any other detail that limits us to create this beautiful piece 🧸, to give that loved one or friend a useful coffee mug ☕.
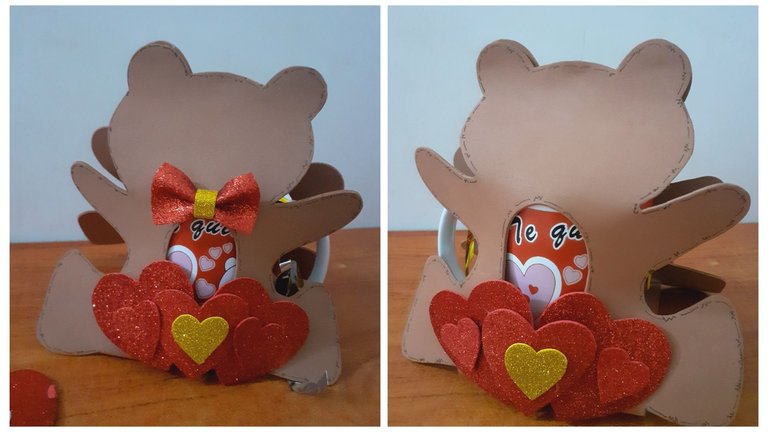
Teddy mug holder ❤️🧸 I love it, its colours evoke Valentine's Day, I love to make these details two in one, where I not only share beauty, but utility, I hope you like my idea 💡 and you know you are free to create, according to your preferences.
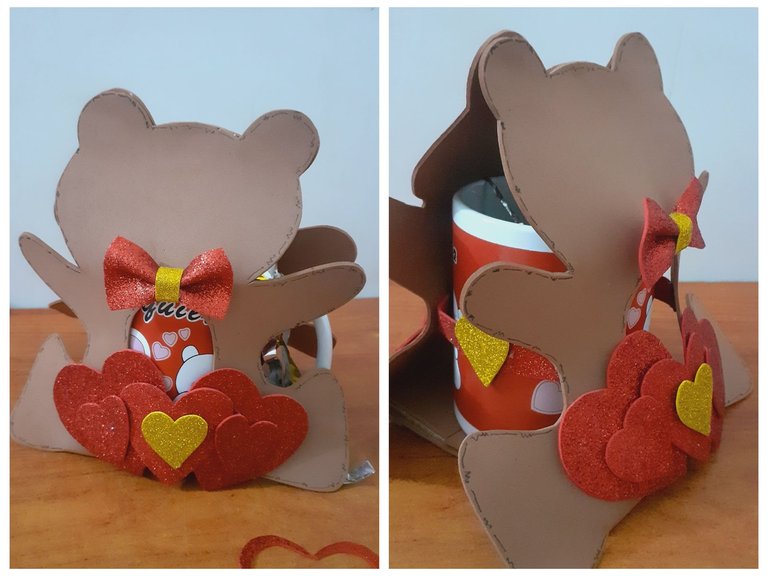
Believe and create make us create wonderful things. ❤️🧸☕ Long live love 😘.
! [Spanish]
Porta taza Teddy DIY
Ya está más cerca el día de San Valentín ❤️ el amor anda apresurado por reencontrarse, los enamorados andan pensando en ese detalle especial, para sorprender a ese ser amado o apreciado.
La verdad yo he realizado varios detalles para San Valentín ❤️ y aún así deseo siempre crear uno más, es tan romántico suspirar cuando alguien te da un detalle y más si viene creado exclusivamente para ti, eso es lo que precisamente hace la diferencia, cuando lo creamos con nuestras propias manos, porque durante todo el proceso pensamos en esa persona especial.
En esta oportunidad les traigo una idea encantadora, yo quedé fascinada con tanto amor ❤️ se trata de un porta taza Teddy, ideal para combinar amor, romance, café y osos, siii! Creo que a casi todos nos encantan los tiernos osos de peluche 🧸 y creó que si este envuelve una taza para café como detalle, lo hace más especial, es una idea versátil, fácil y hermosa.
Si te gusta la idea sigue leyendo y te muestro el paso a paso nada difícil, pero si que hermoso regalar este próximo dia del amor y la amistad 💕🧸☕.
Materiales:
1 foami marrón
1 foami rojo brillante
1 foami dorado
1 cartón
2 hoja de papel
Bolígrafo en gel color negro punta 0, y
Silicona
Tijera
Lápiz
Tijera
Escuadra
TazaPaso a Paso:
🧸 En la hoja de papel traza la silueta del oso, recorta.
🧸 Transfiere el molde a la pieza de foami, este mide 23 cm de largo 16 cm a la altura de los brazos, 10 al centro y 18 en las piernas, recorta.
🧸 Recorta una pieza de cartón de 9 cm de largo por 8 cm de ancho y pega en el medio de las dos figuras del oso, recorta una pieza de foami marrón con las medidas anteriores y pega sobre el trozo de cartón.
🧸 Traza pequeña líneas como de costura alrededor de toda la pieza con el bolígrafo en gel con punta de 0.5 mm.
🧸 Coloca la taza en el centro de la pieza y llena con el detalle de tu preferencia, aplica silicón arriba en las orejas y cabeza para asegurar, utilice tiras finas de un globo metalizado reciclado para colocar dentro de la taza.
🧸 Recorta dos piezas de 6cm de largo por 1 cm de ancho y pega a cada lado del oso, para asegurar la taza.
🧸 Recorta corazones de foami color rojo y dorado de diferentes tamaños y pega tal como muestra la figura al frente en la parte de abajo, alterna tamaños, coloca la decoración por ambos lados.
🧸 Marca y recorta una pieza de 5 cm de largo por 3 cm de ancho de foami color rojo, pliega al centro, aplica silicón para pegar, corta un trozo de foami dorado de 2 cm de largo, por 1 cm de ancho y pega al centro del lazo, para formar una pequeña corbata.
Nuestra porta taza Teddy está lista y de solo verla ya quiero que llegue ese día tan especial y romántico como es el día de San Valentín ❤️ yo la verdad! Estoy enamorada, no solo de lo práctico, sino de fácil de su creación.
En esta oportunidad a sido un paso a paso fácil ya que muchos de nosotros no tenemos tiempo ⏱️ para más detalles en nuestro obsequio, así que pensando en todos, no agregue rostro ni algún otro detalle que nos límite a crear está hermosa pieza 🧸, para regalar a ese ser amado o amigo una útil taza de café ☕.
Porta taza Teddy ❤️🧸 me encanta, sus colores evocan a San Valentín, a mi me encanta hacer estos detalles dos en uno, dónde no solo comparta hermosura, sino utilidad, espero les guste mi idea 💡 y ya saben son libres de crear, según sus preferencias.
Creer y crear nos hacen crear cosas maravillosas. ❤️🧸☕ Que viva el amor 😘
Fotografías de mí autoría editadas con la app Griart y Canva no autorizó su uso.
Photographs of my authorship edited with the app Griart and Canva did not authorize its use.
