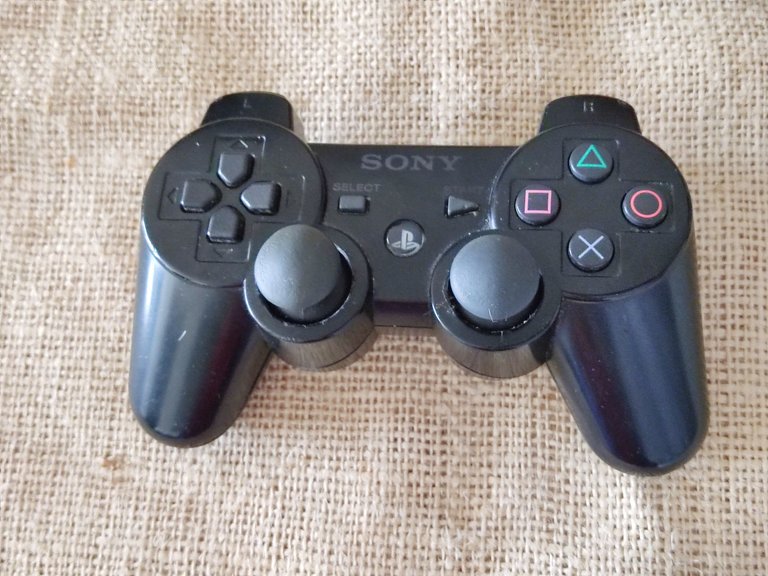
My son is a video game fanatic like every millennial. He gets so excited that sometimes he doesn't measure the force he applies to the controllers and one of them started to fail. Before thinking about buying another one we took the task of checking it and we were able to find the damage and repair it.

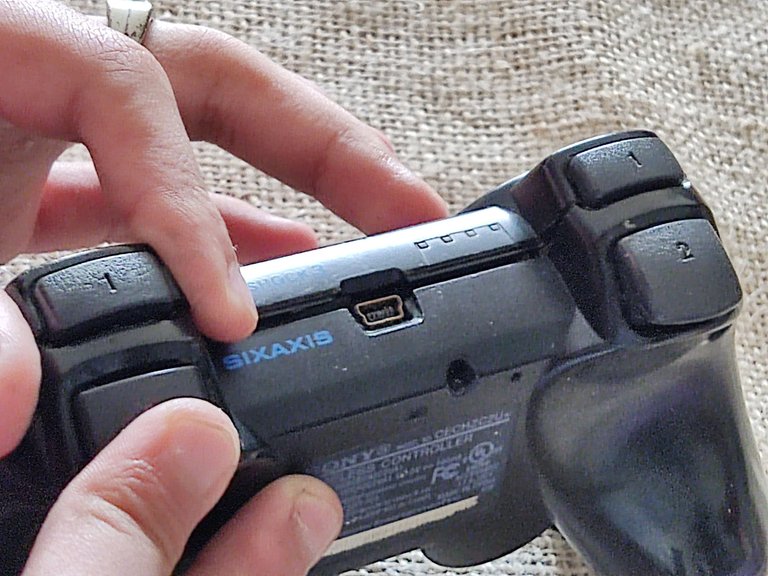
Several years ago, we gave my son the PS3. He loves this game console, but like every child, he is careless with the controllers. Sometimes he drops them. Sometimes he hits them because he loses them. Deterioration is imminent.
As time has gone by my son has learned to take a little more care of his things, but he began to notice that one of the game console controllers was not performing the actions he was told to do. Instead of turning to the right, the controller would stay still or turn to the left. The same happens in games where you have to jump, and the character was running. It is crazy!
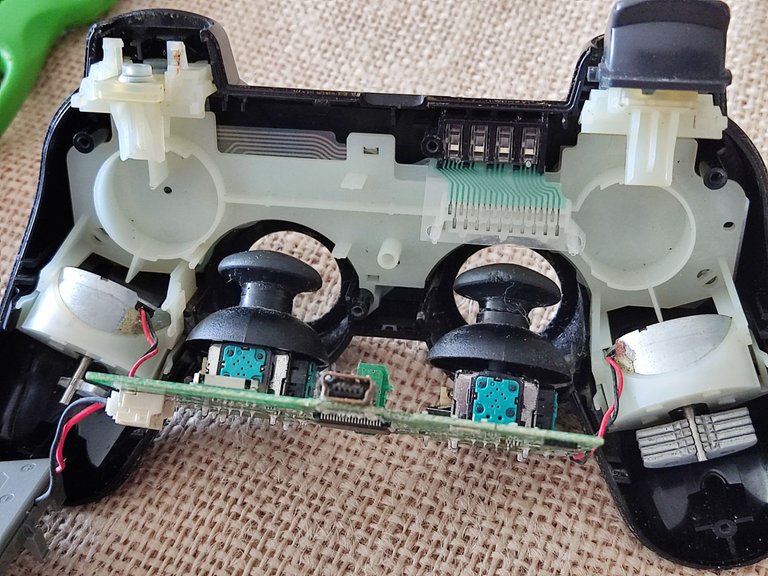
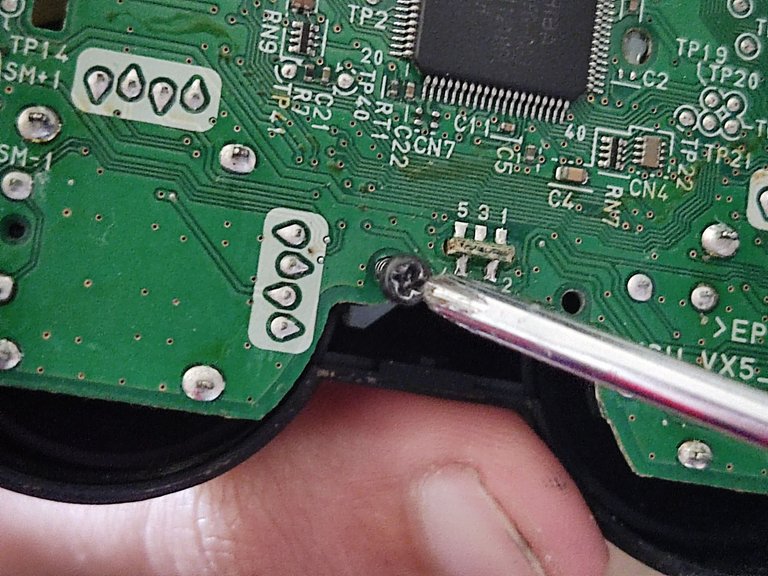
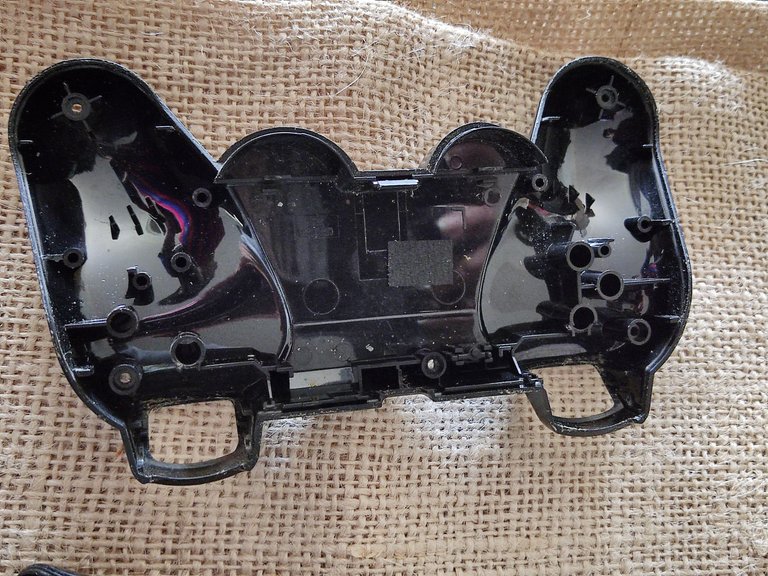
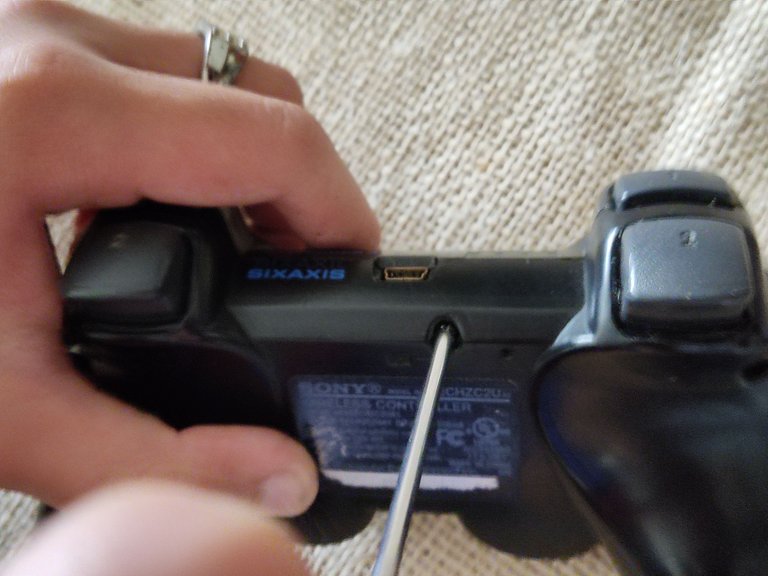
Using a phillips-head screwdriver, remove all the screws and open the controller.
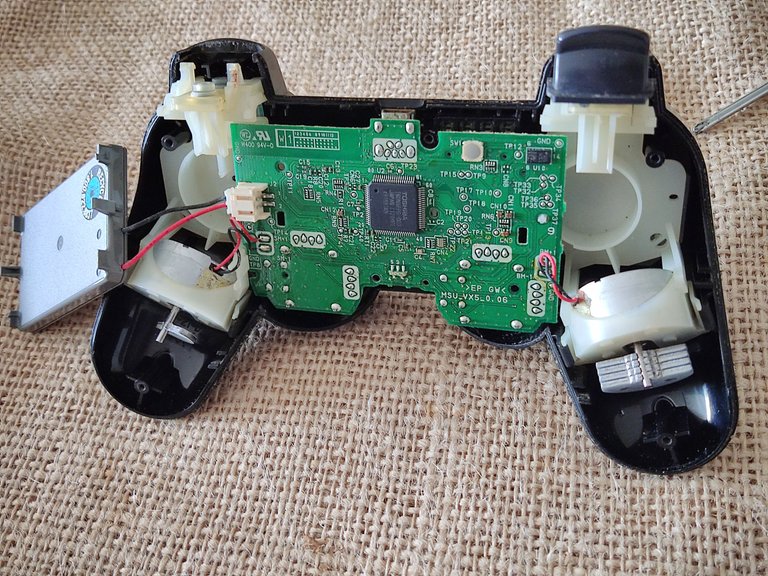
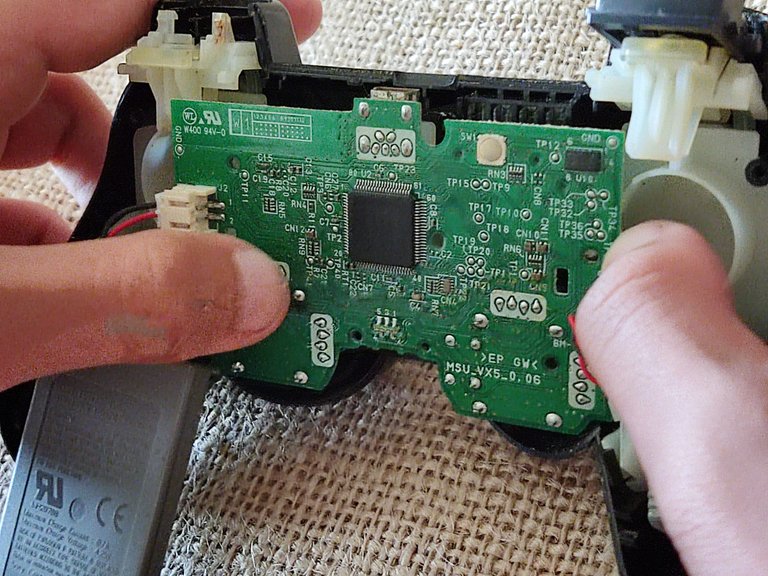
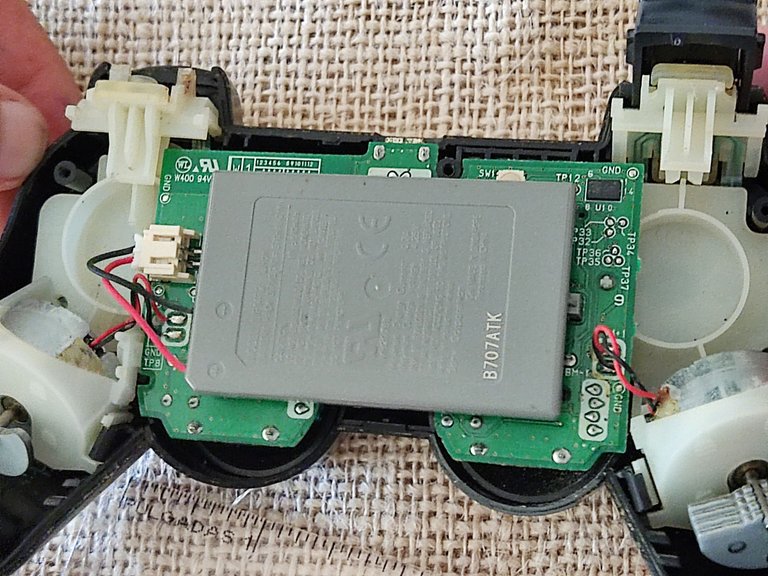
The first thing you encounter is the controller battery. It allows the controller to operate wirelessly. Then there is the video card. This part of the controller is what allows the game images to be displayed. When checking the card, all the connections were in place. No wires were loose.
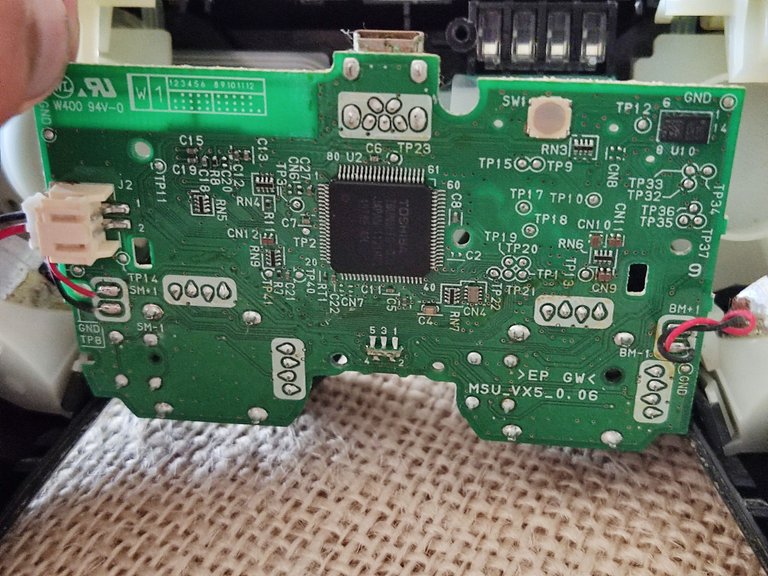
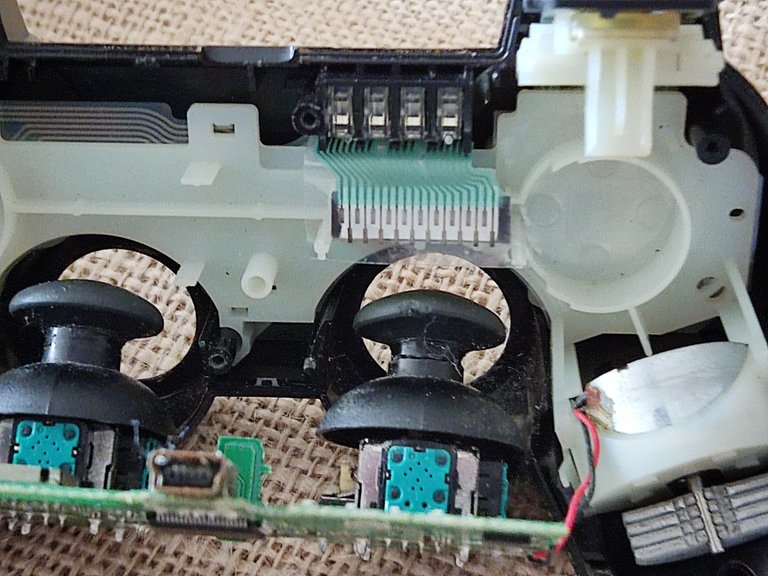
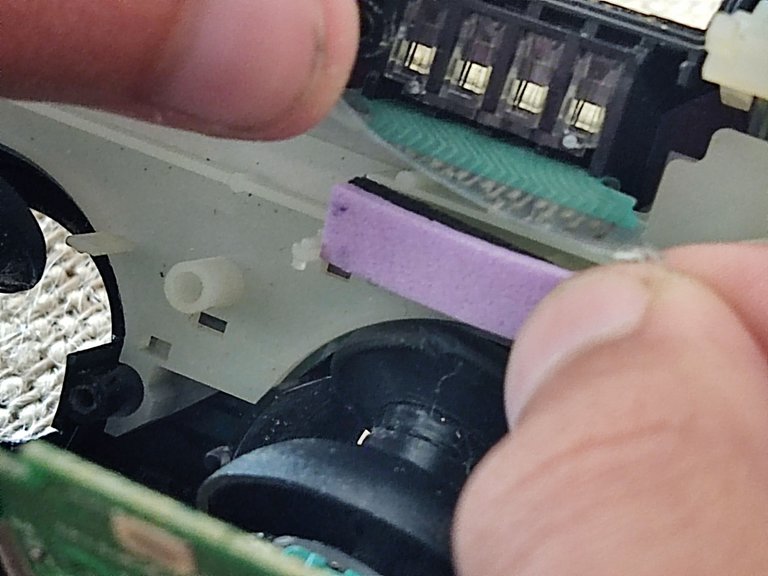
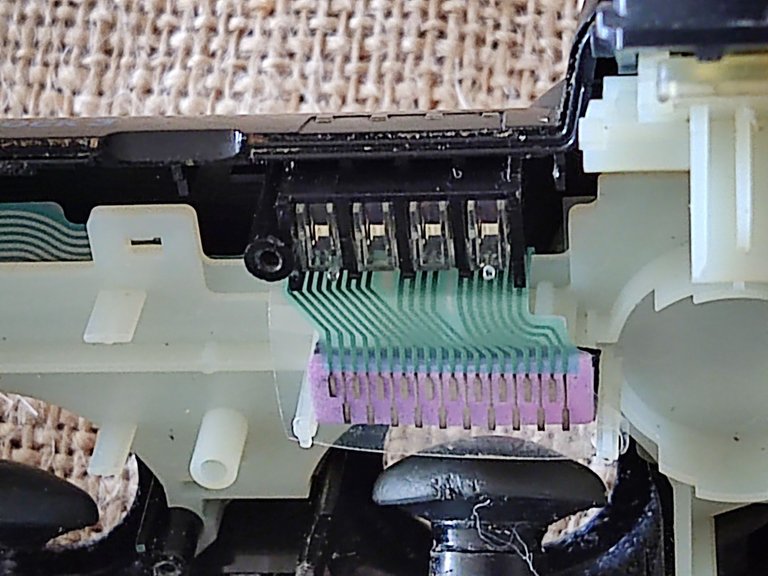
We carefully removed the card. I could see that there was a small foil that was connected to the command buttons. When we pressed the buttons we noticed that the foil was separated, and there was no contact with the commands. Why did this happen? I don't know, but this seemed to be the problem.

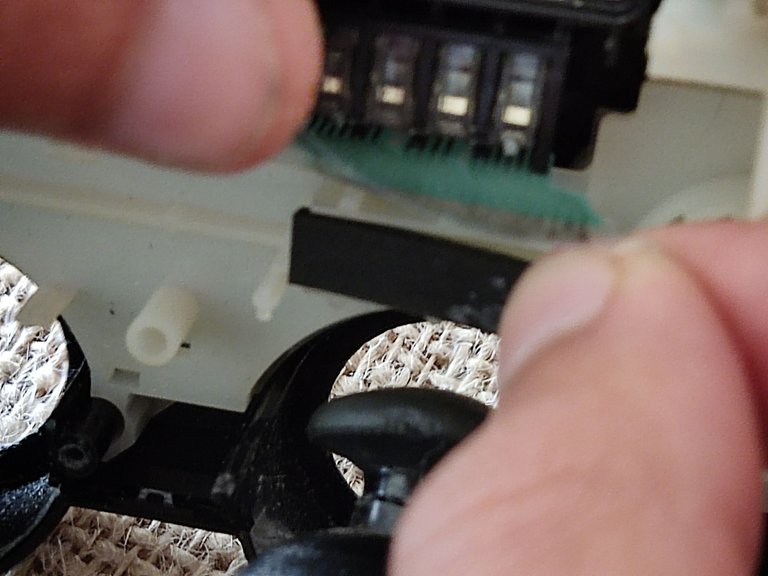
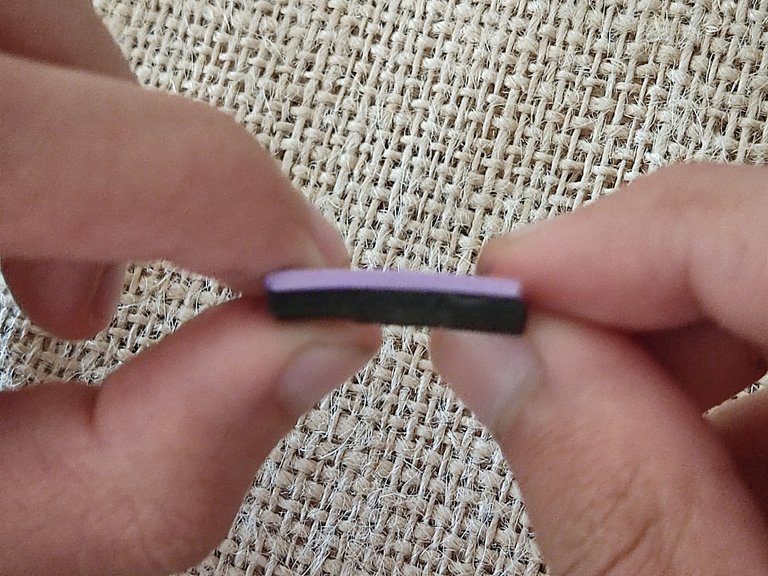
When I lifted the laminate, I found a small pad of a light porous plastic material. Perhaps if this pad were thicker, when pressing the command buttons, they would make contact, and the controller would function properly.
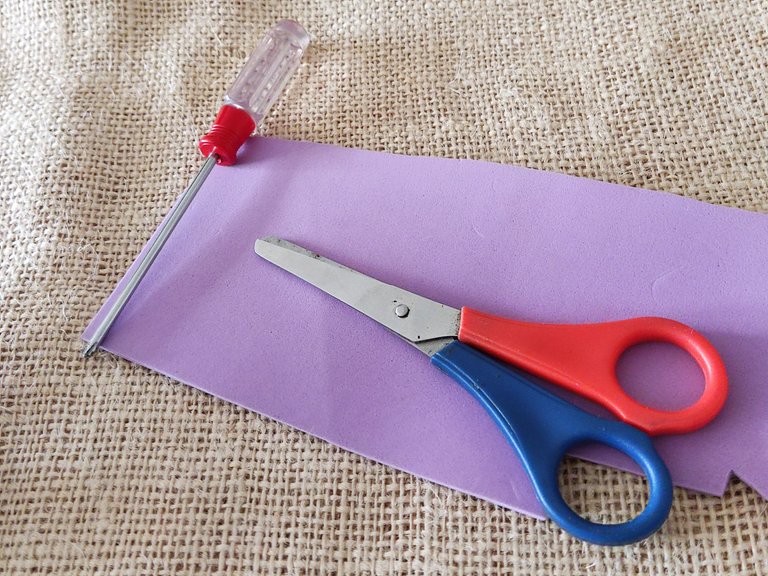
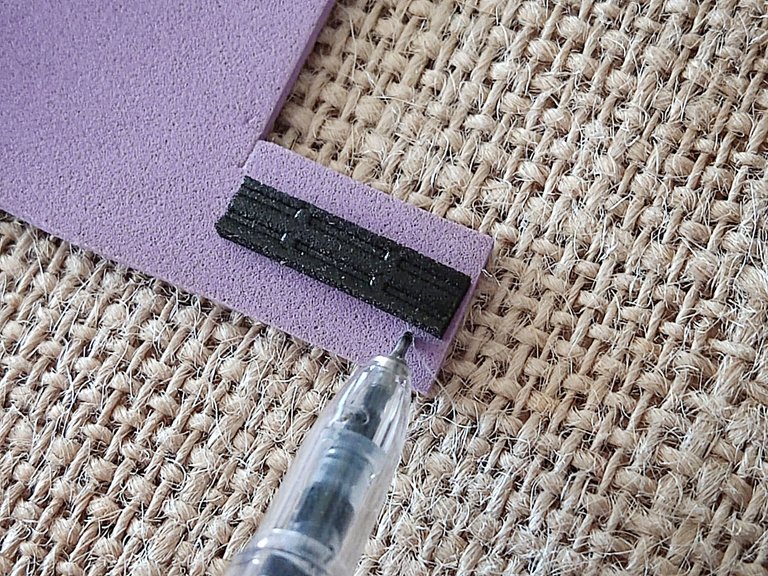
If my son's and my theory were true, finding a material similar to the pad could solve the problem. To repair the controller, we needed an Eva foam sheet, scissors, a glue stick, and a Phillips-head screwdriver.
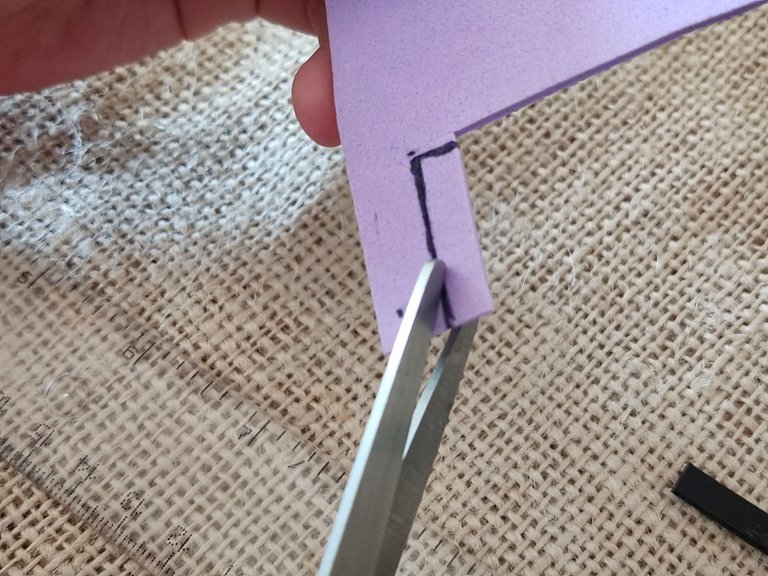
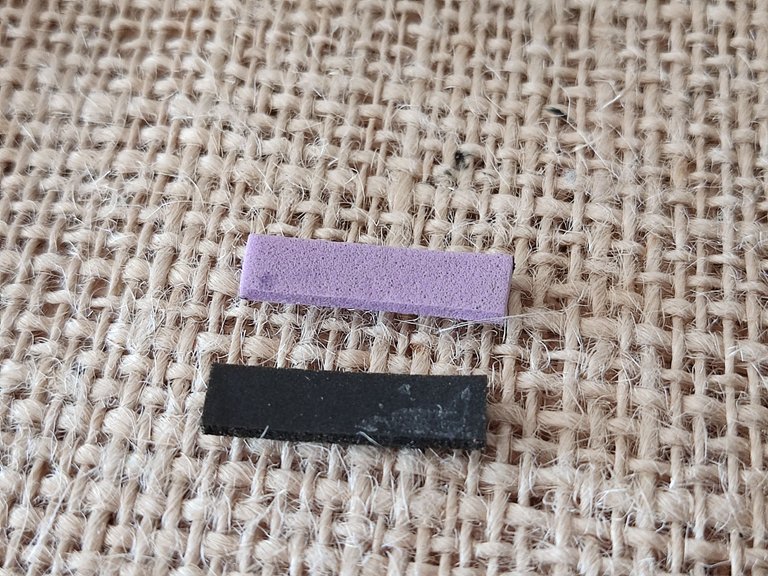
Cut carefully and make sure that the two rectangles are identical.
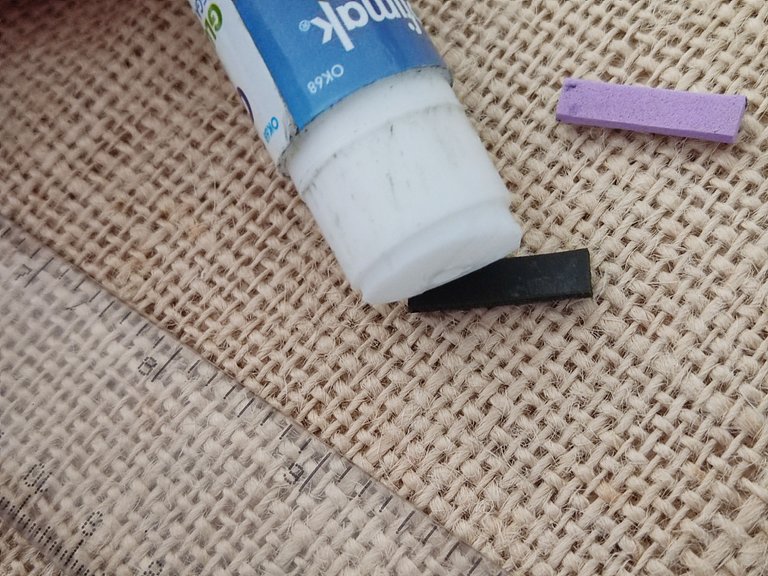
Connect both pads with glue sticks. This way, we will obtain a thicker pad.
Now it's time to check our theory!
Carefully lift the laminate and place the new pad.
We observed that the cushion was well positioned, and the laminate descended correctly. The laminate was level.
Now all that was left to do was to put the video card back in place and screw it in.
Then the control battery (it is the gray rectangle).
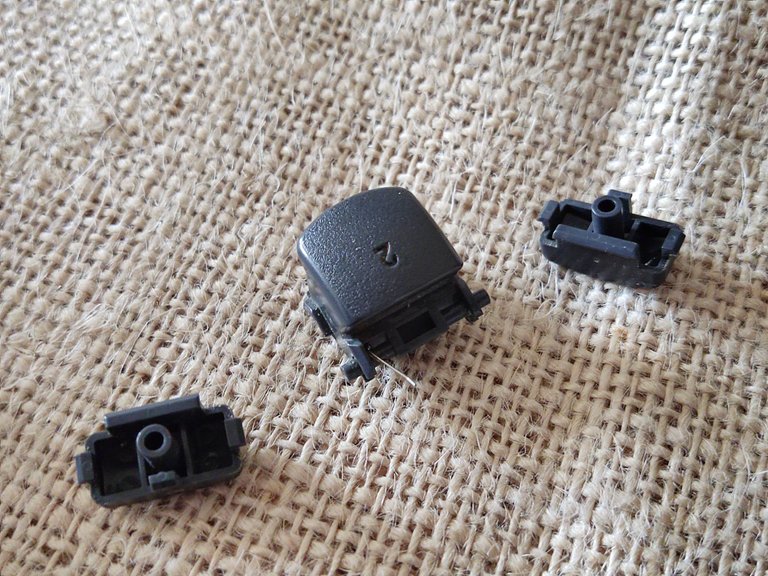
Carefully place the command buttons and put the back cover of the controller.
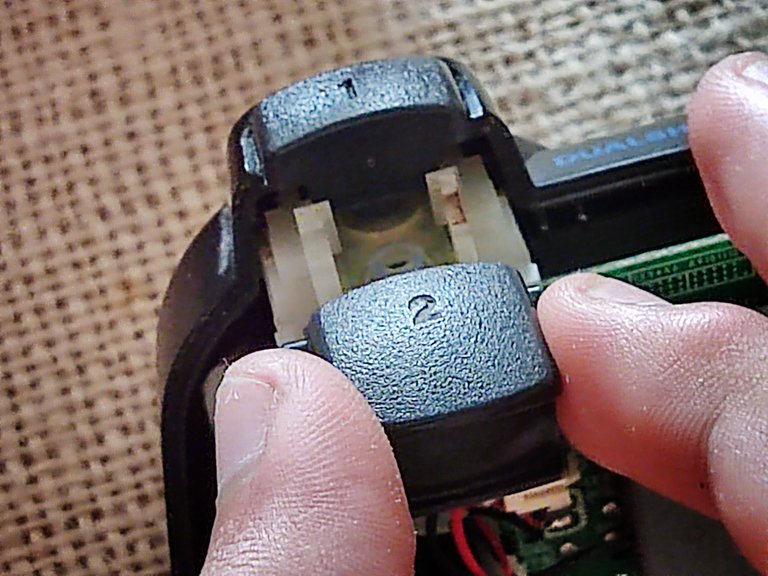
Verify that all parts are in place. Check that the command buttons are retractable and do not stick. When you have verified all this proceed to place all the screws and tighten them with the phillips-head screwdriver.
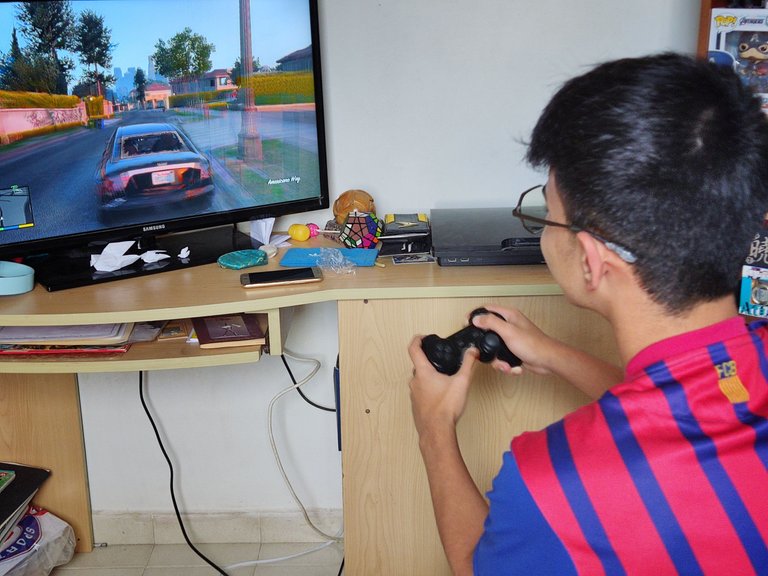
I connected the controller to the game console it worked very well! The car braked when it was supposed to. If it turned to the right, the controller executed it perfectly. So there is more time to use this device.
Hopefully, this year my son can switch to a PS5, but in the meantime, he can continue to have fun with his console and repaired controller. It was a simple thing, but it warranted some curiosity and patience.
All images are property of the author
(Camera cell phone: POCO X3 Pro, Xiaomi)