English
Hi friends,
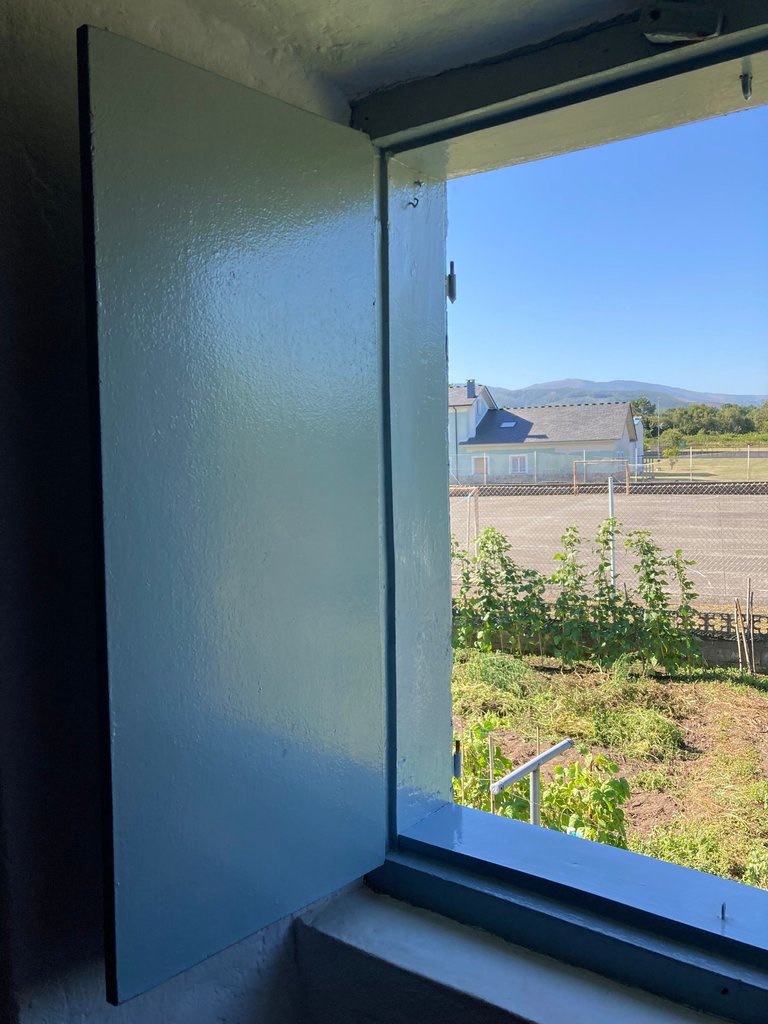
This weekend I finished painting the wooden windows of my mother's house, as some of them were in a bad state due to the bad weather.
A review of the material
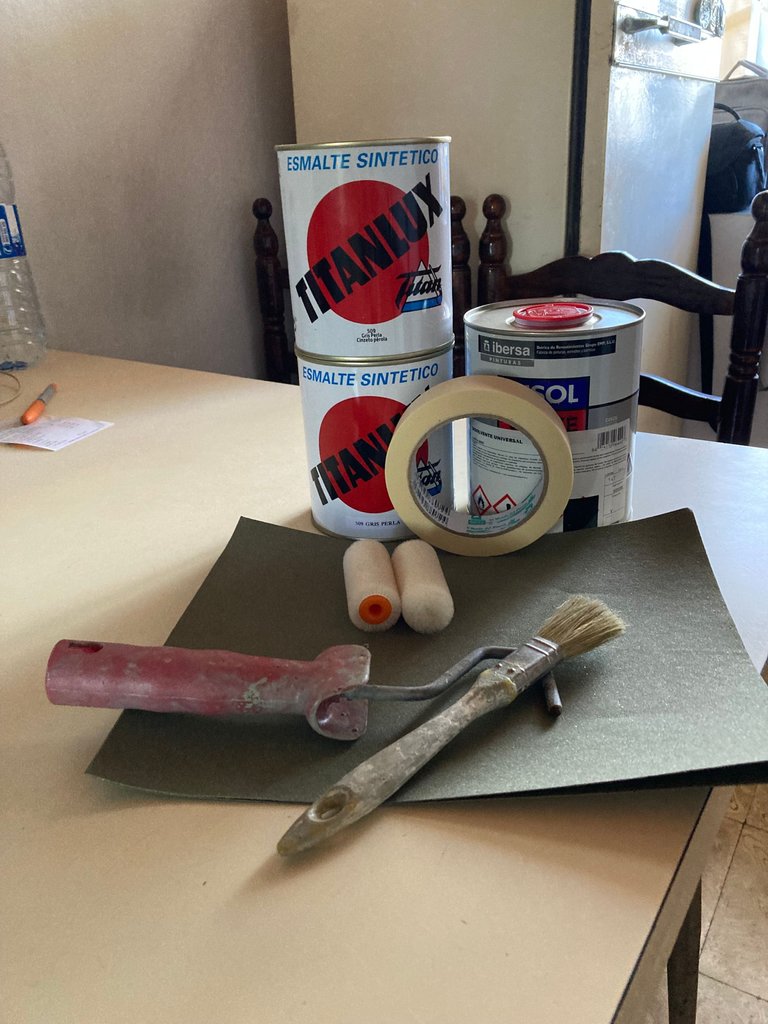
To avoid cost overruns, before I went to the paint shop, I checked what materials I had already bought from other occasions. After checking my stock, I found that I already had the following materials:
Two brushes
One roller
A spatula
What I didn't have was the following, so I didn't hesitate to go to the nearest shop and buy them:
Fine sandpaper
Spare parts for the paint roller
Extra grey paint
Paint thinner
Paper tape
When I got home and thought I had everything I needed to start my DIY project, I realised that I had forgotten one important part and that was that I didn't have a paint tray for the roller, so rather than go back to the shop I made one.
Making a paint tray
A paint roller tray is a piece of plastic or other material that has a concave area to hold the paint, impregnate the roller or brush, and an area to drain off the excess paint.
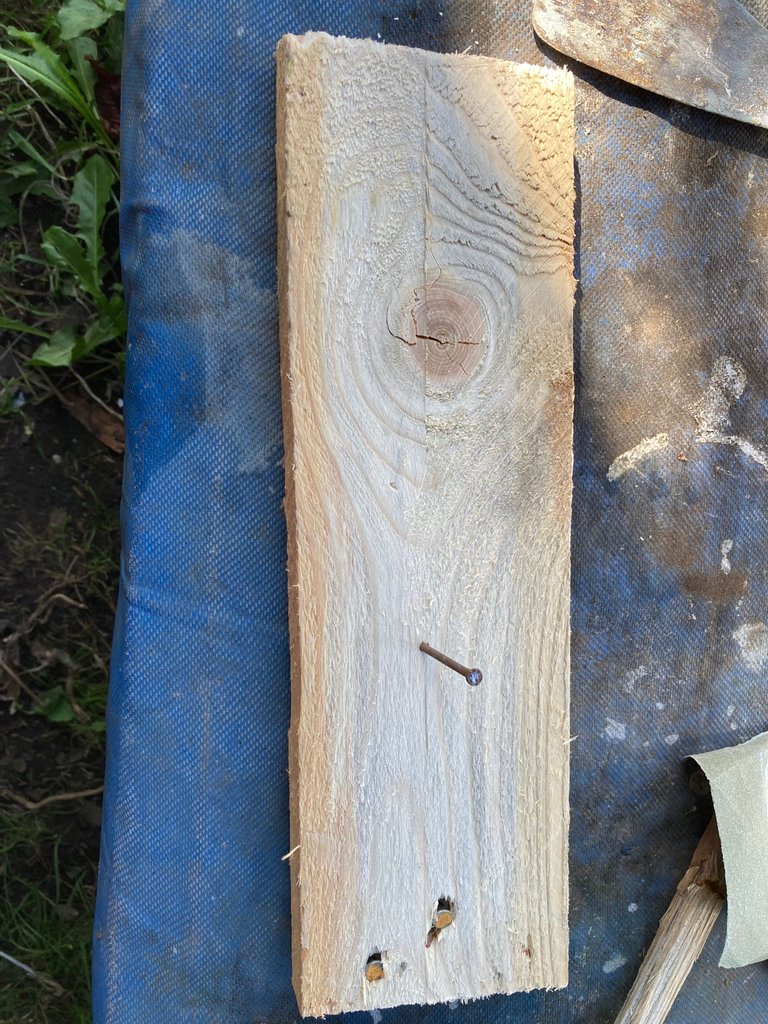
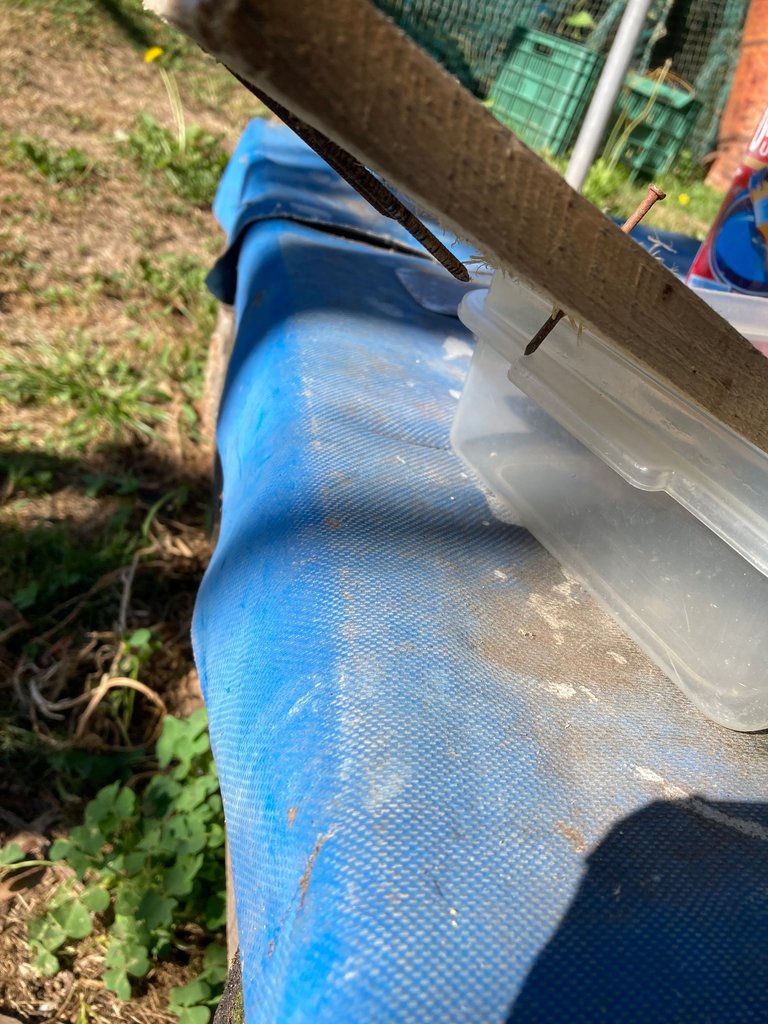
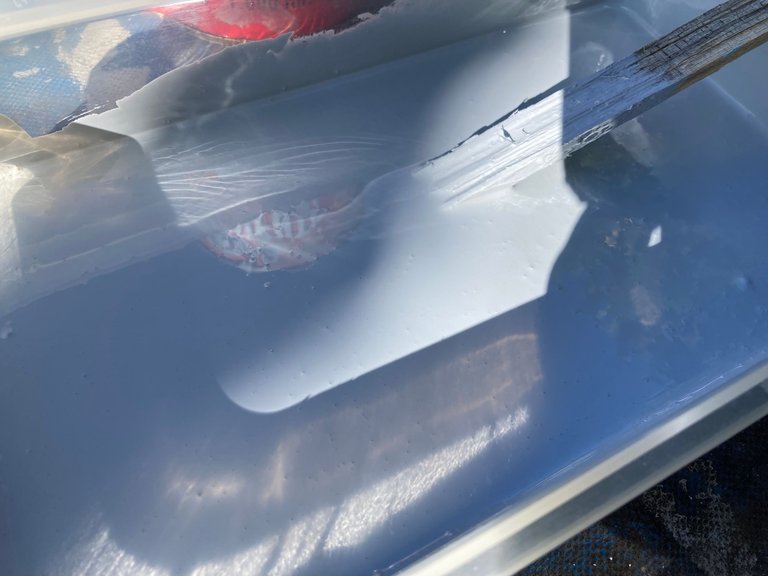
So an economical way to make a tray with the same functionality is to use a plastic lunch box of the width we need, a board and a fastener.
Step 1: I hammered a nail into a board I had in storage from previous jobs around the house.
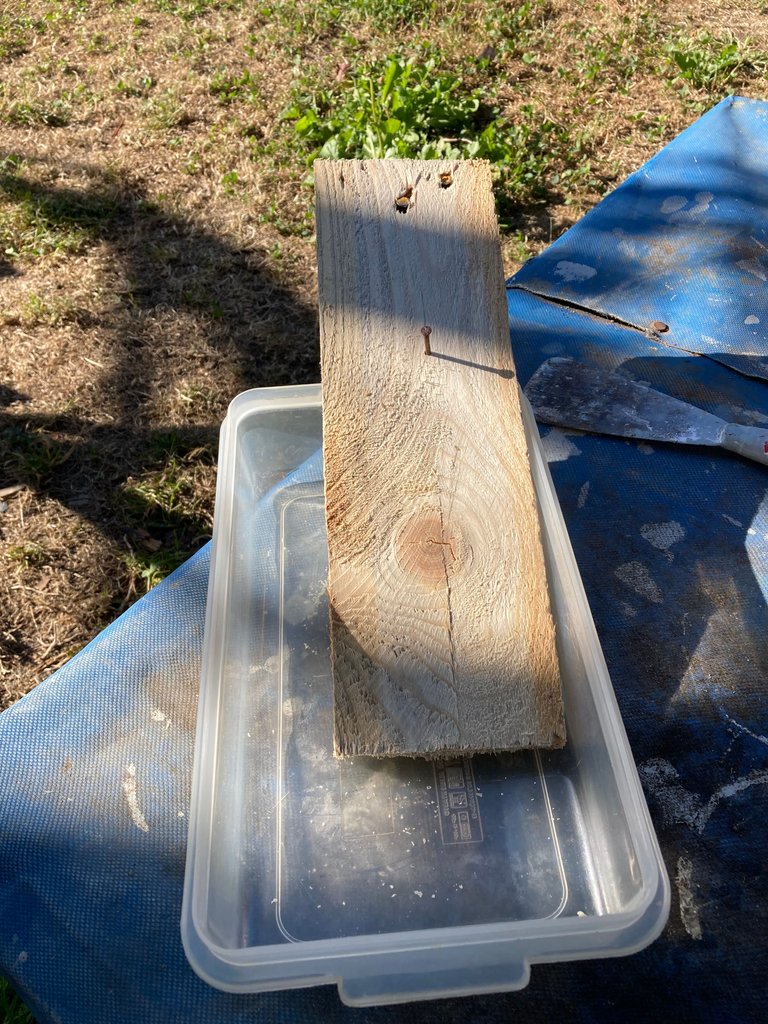
Step 2: Find a plastic lunch box of the right width.
Step 3: The nail is now stuck into one end of the plastic lunch box and I have a concave area to fill with paint and a support to drain off the excess paint.
Let's repair and paint the windows
Step 1: Cleaning and partial paint removal.
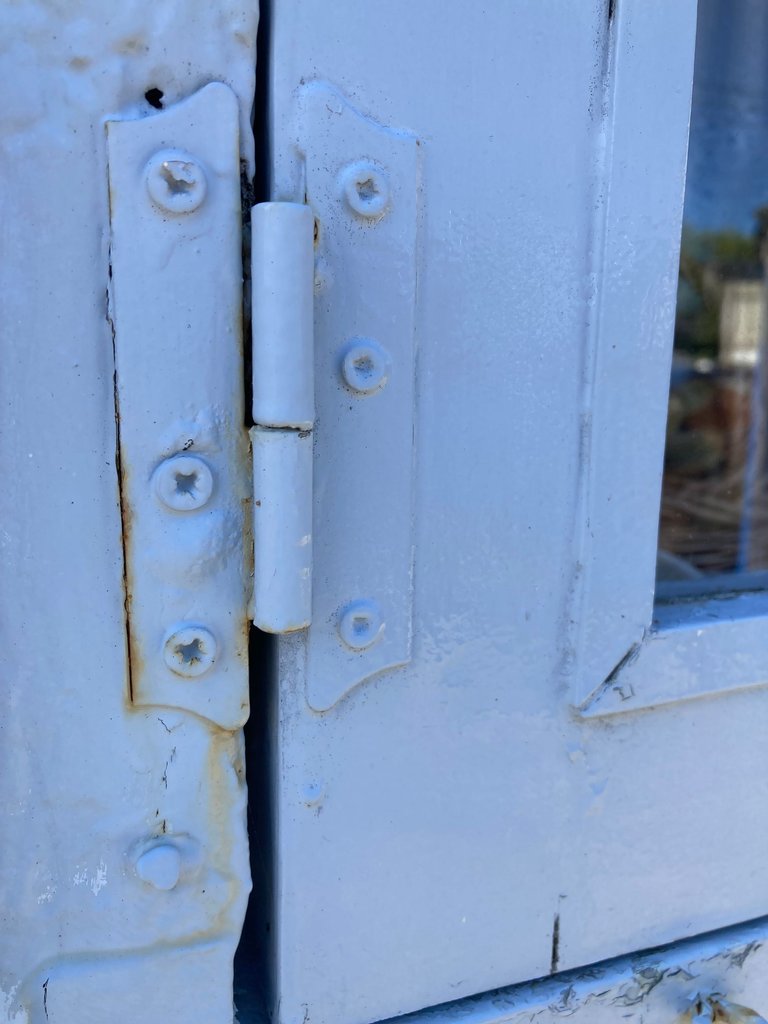
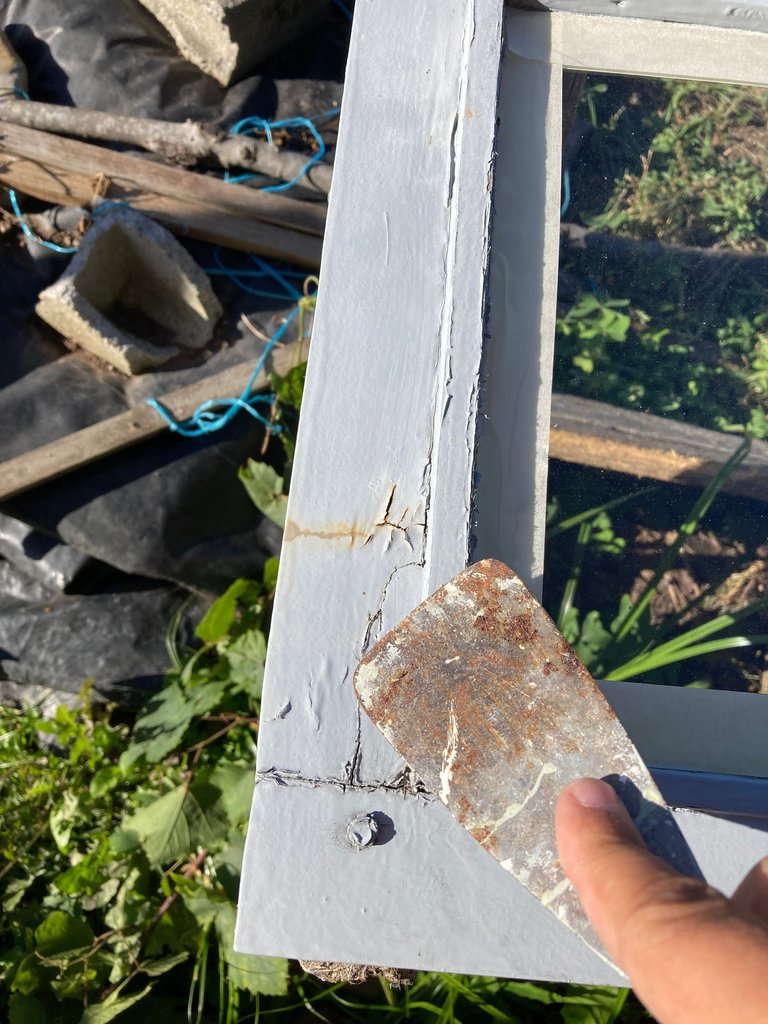
As I mentioned earlier, some of the wooden windows had rust damage, especially around the hinges and eyebolts.
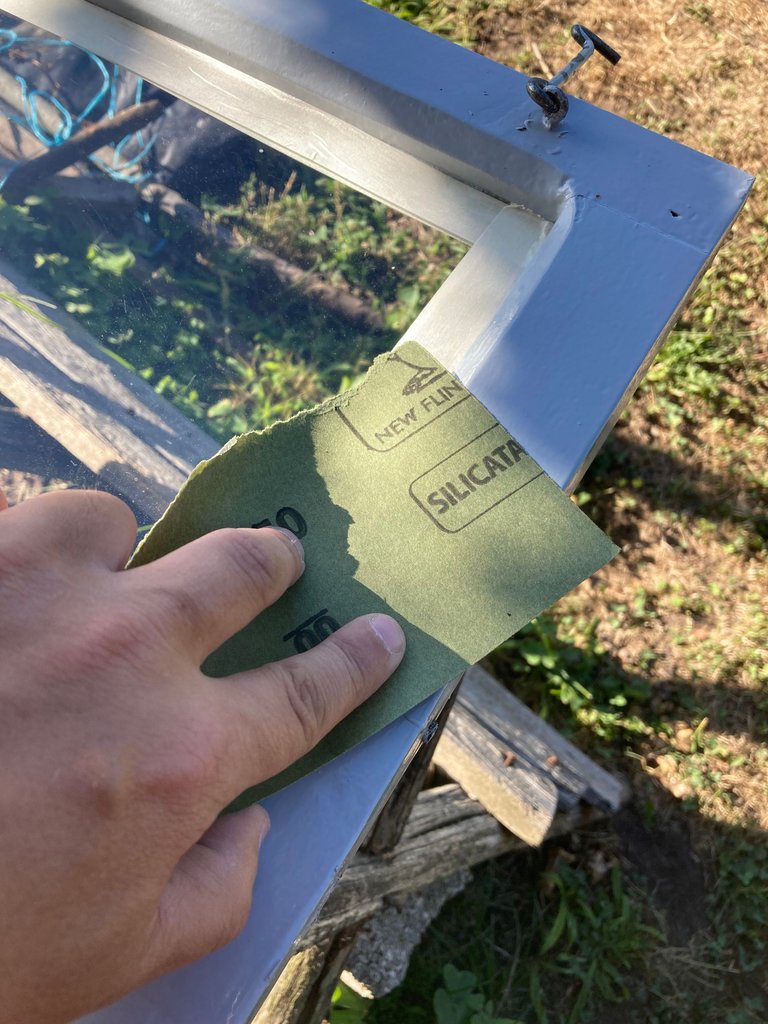
Therefore, one of the necessary tasks is to remove the areas where the existing paint is damaged using spatulas and sandpaper.
Even in areas where there is simply no damage, it is highly recommended that the old paint is sanded down as the paint will adhere better to the window.
Step 2: Protect the glass
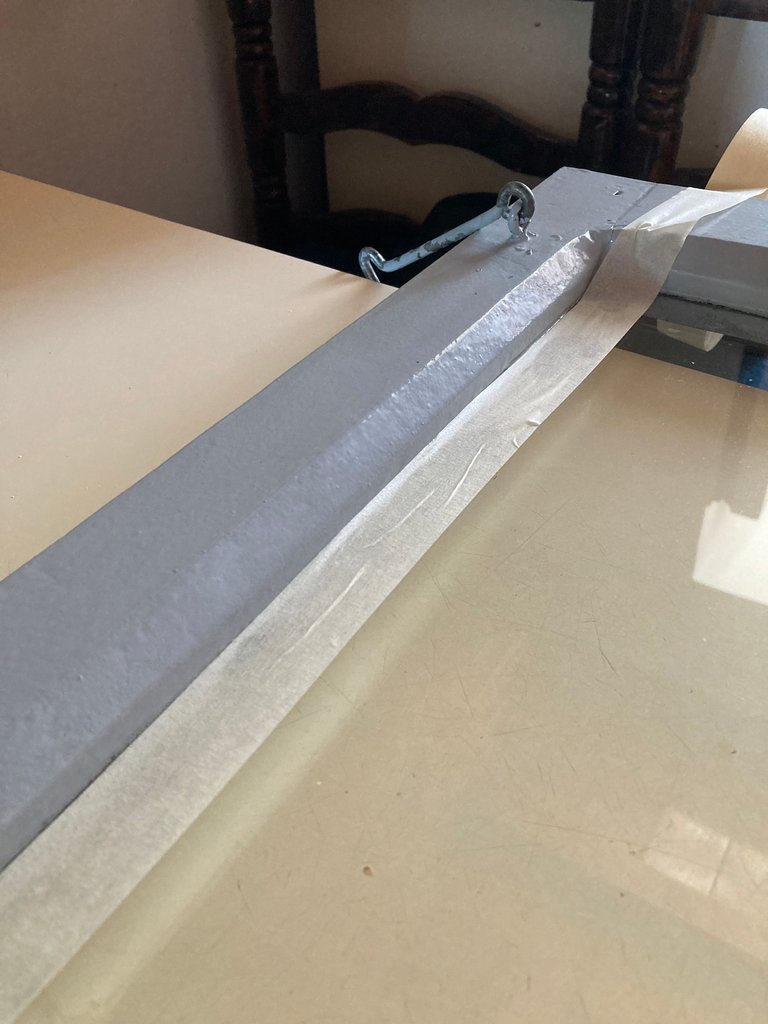
As I am not the most skilled person with a paintbrush, I protected the glass with masking tape in order to be able to paint the inner bars of the window.
There are several different widths of masking tape available, so if you are not very handy I would recommend buying the wider one.
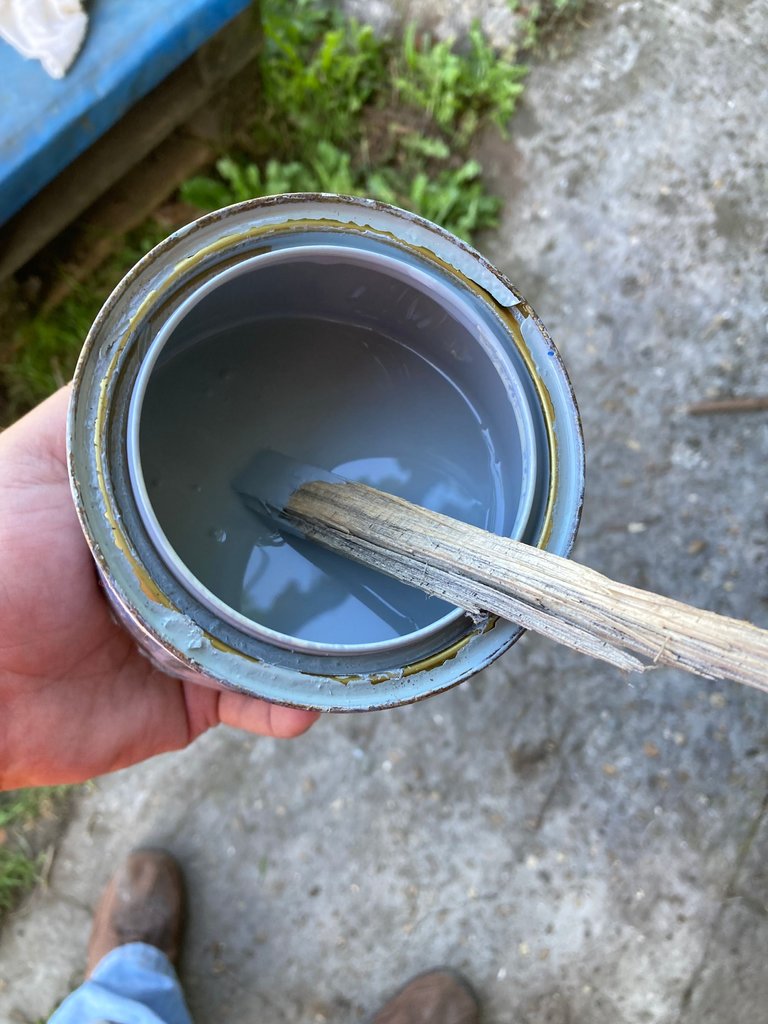
Step 3: Mix the paint well
An important point that some beginners do not give much importance, but it is essential that we mix the paint well before pouring it into the tray.
In my case I'm painting with a synthetic enamel, if we don't mix it, we usually see oily areas in the paint if it's not well mixed.
Step 4: Solvent
In my case, because I wanted to extend the life of the paint and reduce the economic impact, I diluted the paint a little with universal solvent. Therefore, once the thinner has been added to the paint, it is necessary to mix it again very well.
In addition, adding the thinner makes the paint a little looser to apply and at the same time I get a little faster drying of the paint on the window.
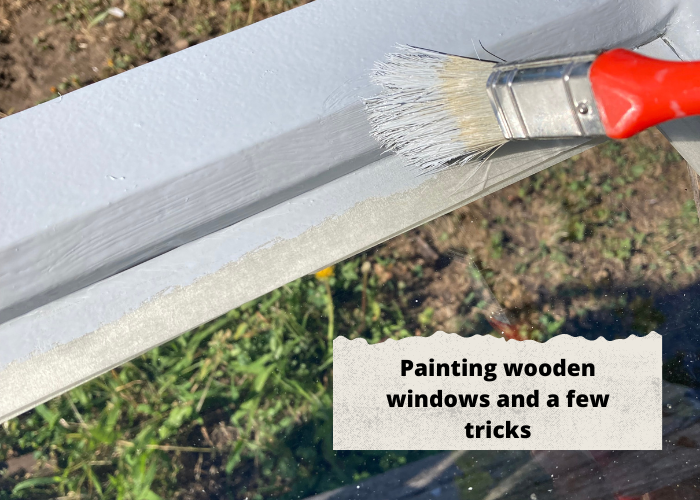
Step 5: Painting with a brush
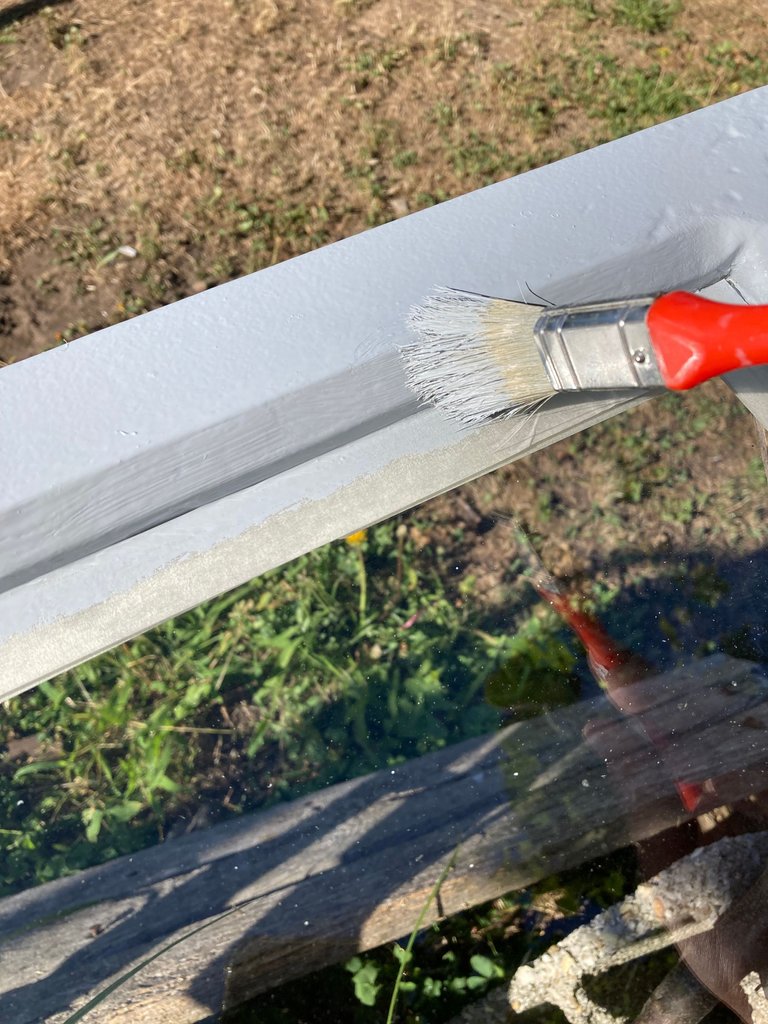
Once the paint mixture was ready, the next step was to paint the inner bars of the window with a small brush.
I didn't use a roller for this step because I would have risked painting the glass with it, so I should have bought a wider paper tape.
Step 6: Painting with a roller
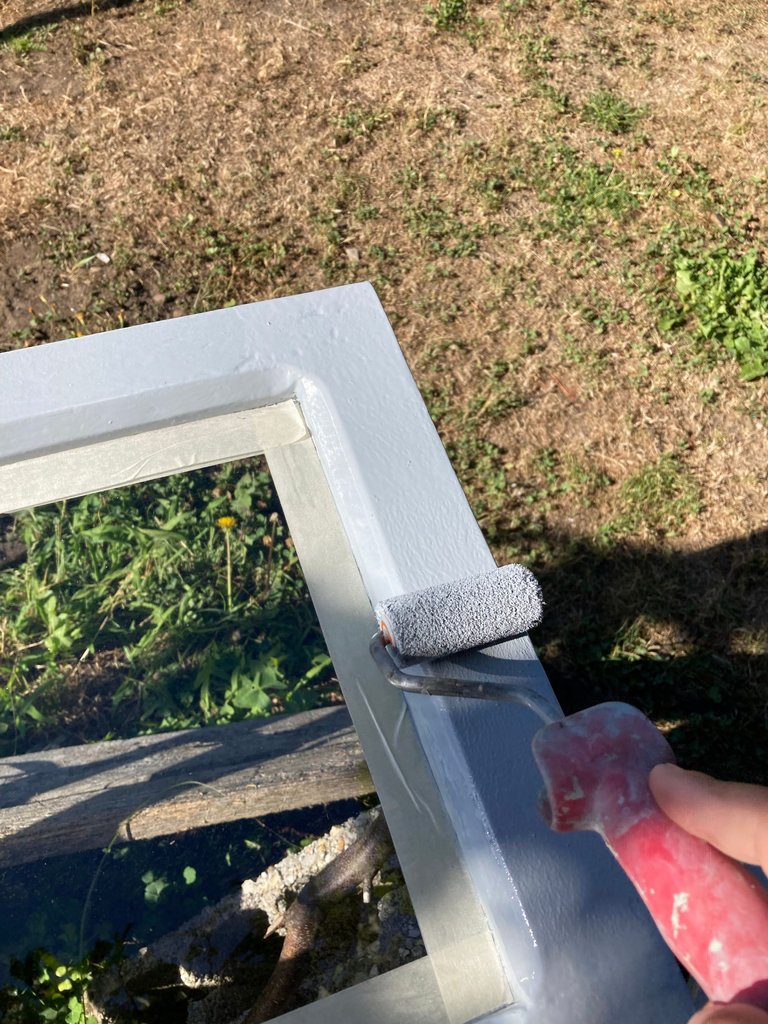
I painted the wider areas of the window and away from the glass directly with the roller, which is much more comfortable and quicker.
Step 8: Drying
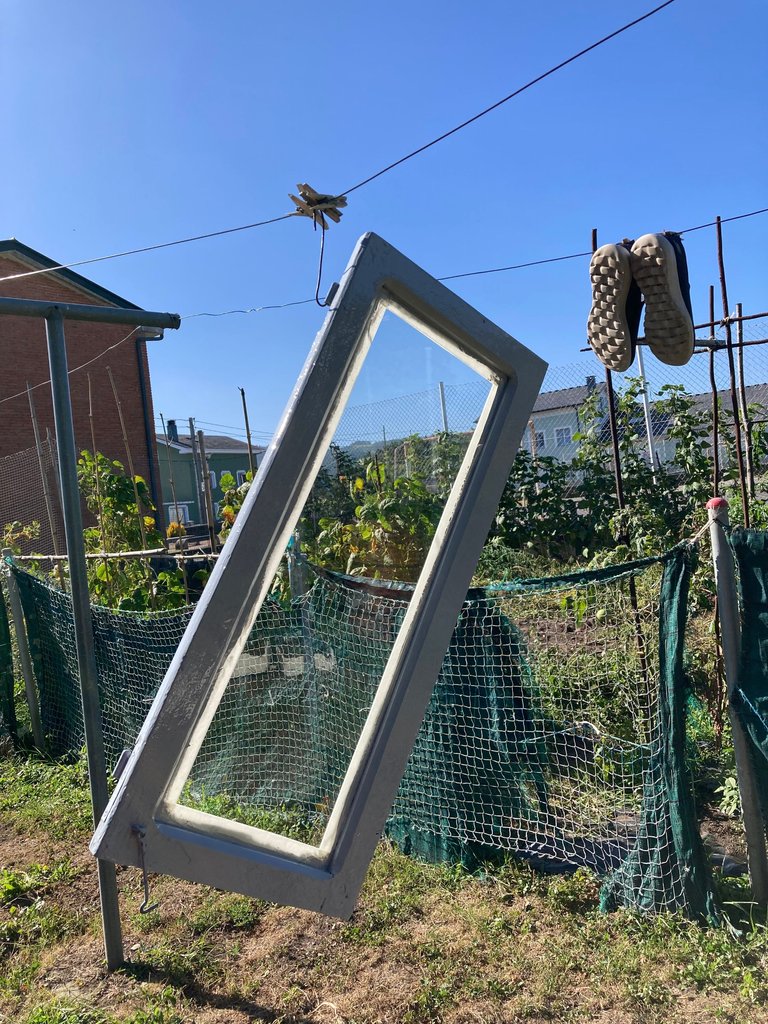
To dry the windows, I made some wires that I put through the hinges of the windows and hung them directly on the clothesline outside my house.
In this way, with the action of the sun and a light breeze, I managed to dry the windows in less than 5 hours.
While the windows were drying, I proceeded to paint the window frames, following the same steps as above, but without the need for glass protection.
Now that the windows are painted, all we have to do is wait for next summer to give them another coat of paint and restore them.
Kind regards.
Español
Hola amigos,
Este fin de semana he terminado de pintar las ventanas de madera de la casa de mi madre, ya que se encontraban algunas de ellas en mal estado debido a las inclemencias del tiempo.
Una revisión al material
Para evitar sobrecostes, antes de ir a la tienda de pintura, revisé que material tenia ya comprado de otras ocasiones. De forma que tras revisar mi almacen encontre que ya tenía los siguientes materiales:
Dos brochas
Un rodillo
Espátulas
Por tanto, eche en falta los siguientes materiales que no dude en ir a comprarlos a la tienda más cercana:
Lija de grano fino
Repuestos para el rodillo de pintura
Pintura gris adicional
Disolvente
Cinta adhesiva de papel
Tras llegar a casa y pensando que ya tenía todo lo necesario para comenzar mis trabajos de bricolaje, me di cuenta de que una parte importante se me había olvidado y era que no tenía una bandeja de pintura para el rodillo, por lo que por no volver a la tienda me idee uno.
Construyendo una bandeja de pintura
Una bandeja de pintura para rodillo es al fin y al cabo un trozo de plástico u otro material donde hay una zona cóncava para colocar la pintura, impregnar el rodillo o la brocha, y que a su vez tiene una zona para escurrir la pintura excedente.
Por tanto, una forma económica para construir una bandeja de una misma funcionalidad es emplear una fiambrera de plástico de la anchura que necesitemos, una tabla y una sujeción.
Paso 1: Coloqué un clavo sobre una tabla que tenía en el almacén de otros trabajos realizados anteriormente en la casa.
Paso 2: Localice una fiambrera de plástico de una mayor anchura.
Paso 3: El clavo colocado hace tope en uno de los extremos de la fiambrera y con ello tengo una zona cóncava para rellenar la pintura y un soporte que sirve para escurrir el excedente de pintura.
Vamos a reparar y pintar las ventanas
Paso 1: Limpieza y eliminación parcial de pintura.
Como os había comentado, algunas de las ventanas de madera tenían algún desperfecto de óxido, principalmente cerca de las bisagras y cáncamos.
Es por ello que una de las tareas necesarias ayudada de espátulas y lijas eliminemos aquellas zonas donde la pintura existente presenta desperfectos.
Incluso en zonas donde a simplemente no veamos desperfectos es muy recomendable lijar la pintura antigua porque conseguiremos que la pintura se agarre más fielmente a la ventana.
Paso 2: Proteger el cristal
Debido a que no soy la persona más habilidosa con la brocha, de cara a proteger el cristal y poder pintar los barrotes interiores de la ventana, he protegido el cristal con cinta adhesiva de papel.
Para nuestra comodidad, existen varios anchos para este tipo de cinta adhesiva, por lo que si no estamos para nada confiados en nuestro pulso os recomiendo comprar aquella que tenga una mayor anchura.
Paso 3: Mezclar bien la pintura
Un punto importante que algunos novatos no le damos mucha importancia pero que si la tiene es que antes de verter la pintura en la bandeja para pintar procedamos a un buen mezclado de la pintura.
En mi caso, que estoy pintando con un esmalte sintético, si no la mezclamos se suele ver zonas oleosas en la pintura en el caso de no estar bien mezclada.
Paso 4: Un poco de disolvente
En mi caso, debido a que quería extender un poco el uso de la pintura y reducir el impacto económico, he diluido un poco la pintura con disolvente universal. Por tanto, una vez añadido el disolvente sobre la pintura, es necesario volver a mezclarlo muy bien.
Adicionalmente, esta adición del disolvente me proporciona que la pintura esté un poco más suelta para poder aplicarla y a su vez consigo un secado un poco más rápido de la pintura sobre la ventana.
Paso 5: Pintar a brocha
Tras tener la mezcla de pintura preparada, el siguiente paso que hice fue pintar con una brocha pequeña los barrotes interiores de la ventana.
En este paso no emplee rodillo debido a que con el mismo tenía riesgo de pintar el cristal, ya que debería haber comprado una cinta adhesiva de papel más ancha.
Paso 6: Pintar a rodillo
Las zonas más anchas de la ventana y alejadas del cristal directamente las pinté ayudado del rodillo, que es mucho más cómodo y el trabajo se realiza de forma más rápida.
Paso 7: Secado
Para el secado de las ventanas, me he ideado unos alambres que coloco por las bisagras de la ventana y las cuelgo directamente en el tendal en el exterior de mi casa.
De esta forma, con la acción del sol y de una ligera brisa, he conseguido un secado en menos de 5 horas.
En paralelo al secado de las ventanas, procedí a pintar los marcos de la ventana siguiendo los mismos pasos descritos anteriormente, pero sí la necesidad de emplear la protección del cristal.
Ahora, con las ventanas pintadas, solo queda esperar al verano que viene para poder darles otra mano de pintura y de restauración.
Un saludo.


