Buen día para todos, ya hace mucho tiempo que no publicaba por acá, pues estuve algo enferma así como también estaban reparando mi computador, pues gracias a dios he vuelto...
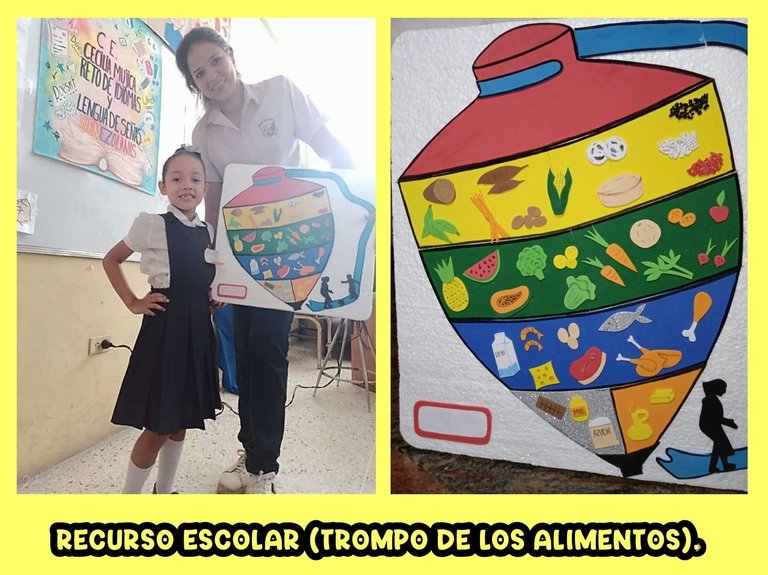
En esta Ocasión les quiero compartir un Recurso Escolar sobre el Trompo de los Alimentos que elabore hace ya algún tiempo para mi hermosa ahijada, pues les cuento que ella tubo una defensa en su colegio respecto a este.
pues aquí les muestro como yo lo elabore...
Good morning everyone, it's been a long time since I posted here, because I was a little sick and they were also repairing my computer, thank God I'm back...On this occasion I want to share a School Resource on the Food Top that I prepared some time ago for my beautiful goddaughter, because I tell you that she had a defense in her school regarding this.
So here I show you how I made it...

- ✏️1 Lamina de Anime.
- ✏️Foamis de color Rojo, Verde, Amarillo, Naranja, Azul, Gris, Plateado, Marrón, Blanco.
- ✏️Silicon en barra.
- ✏️Silicon Liquido.
- ✏️Tijera.
- ✏️Pistola para Silicon.
- ✏️1 Pliego de Cartón para la parte trasera.
- .✏️1 Lamina de Papel bong (para Patrón).
- ✏️ 1 Anime Sheet.
- ✏️ Red, Green, Yellow, Orange, Blue, Grey, Silver, Brown, White foamis.
- ✏️ Silicon in bar.
- ✏️ Liquid Silicon.
- ✏️ Scissors.
- ✏️ Gun for Silicon.
- ✏️ 1 Cardboard Sheet for the back.
- ✏️1 Bong Paper Sheet (for Pattern).

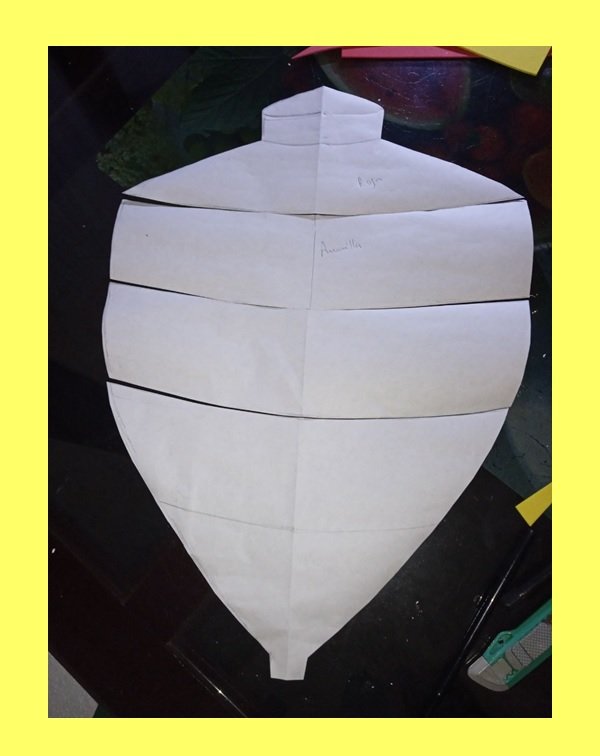
✏️STEP 1: With my sheet of white bong paper, I drew and cut the pattern of the Top of the food that I would use to remove the pieces.
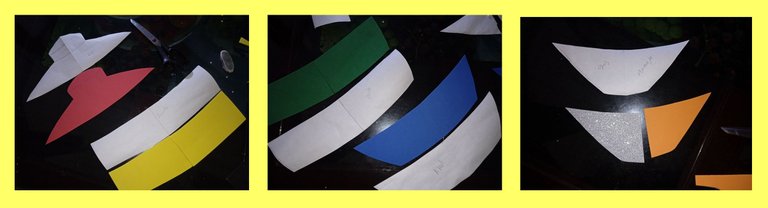
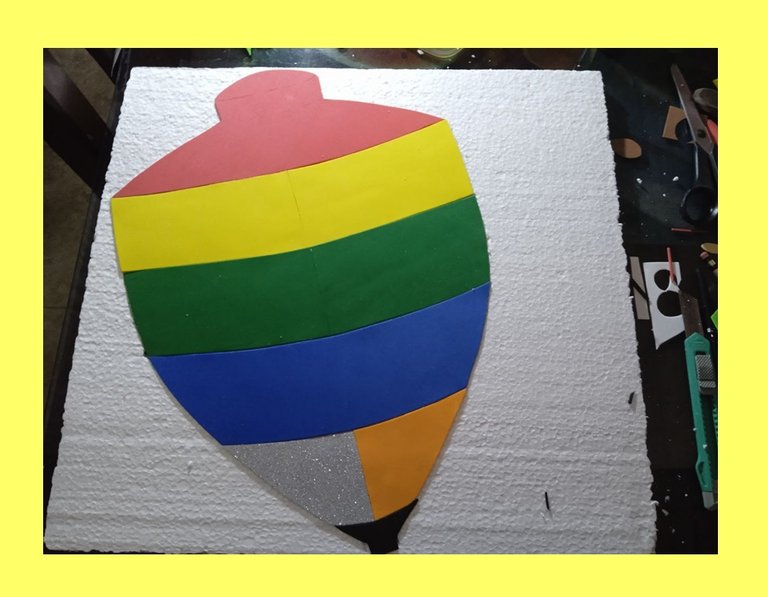
✏️PASO 2: Con los Foamis de Color Rojo, Amarillo, Verde, Azul, Naranja y Plateado y con la ayuda de mis parones dibuje y corte cada una de las franjas con su color correspondiente.
✏️STEP 2: With the Red, Yellow, Green, Blue, Orange and Silver Color Foamis and with the help of my parons, I drew and cut each of the stripes with its corresponding color.
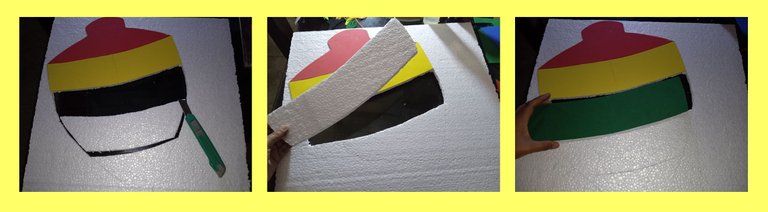
✏️PASO 3: Una vez cortadas todas las franjas de mi trompo procedí a pegar con silicón liquido mis primeras 2 piezas la Roja y la Amarilla sobre la lamina de anime, una vez secas y dibujada la silueta del trompo en el anime corte con ayuda del exacto la silueta de las franjas verde y azul, las mismas las corte con la intensión de que al momento de mi ahijada exponer su recurso y las partes que lo componen, este pueda ser didáctico y encajar estas piezas en la estructura del mismo.
✏️STEP 3: Once all the stripes of my top were cut, I proceeded to paste my first 2 pieces, the Red and the Yellow, with liquid silicone on the anime sheet, once dry and the silhouette of the top was drawn in the anime, cut with the help of the Exactly the silhouette of the green and blue stripes, I cut them with the intention that when my goddaughter exposes her resource and the parts that compose it, this can be didactic and fit these pieces into its structure.
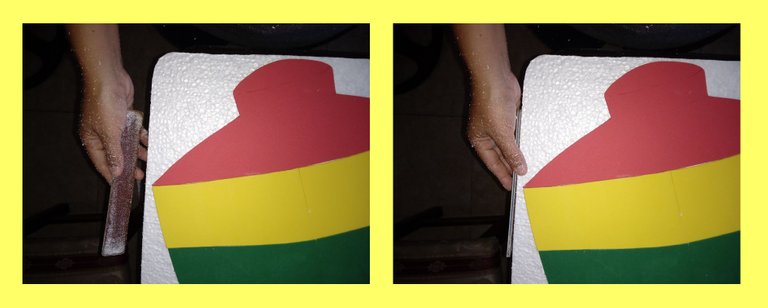
✏️ PASO 4: Con la ayuda de una Lima para uñas que tenia guardada y un poco desgastada, la use para lijar y pulir los lados de las piezas anteriormente cortadas, así como también todos los lados de la base de anime del trompo para darles así un acabado mas limpio y bonito.
✏️ STEP 4: With the help of a nail file that I had saved and a bit worn, I used it to sand and polish the sides of the previously cut pieces, as well as all the sides of the anime base of the top to give them like this a cleaner and more beautiful finish.
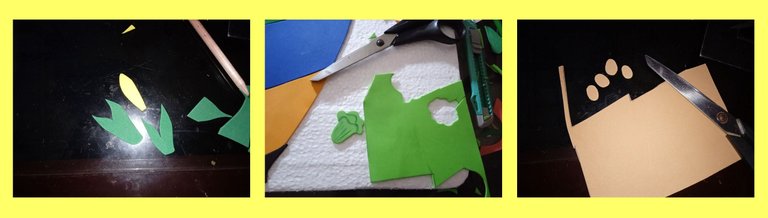
✏️ PASO 5: Ya con mi estructura del trompo de los alimentos armada, comencé a crear los alimentos que lo componen, la verdad estos los elabore sin ayuda de patrones, simplemente fui cortando y ensamblando cada pieza, cada fruta, vegetal y otros. les cuento que me entretuve tanto que olvide tomar fotos...🙃
✏️ STEP 5: With my structure of the food top armed, I began to create the foods that make it up, the truth is that I made them without the help of patterns, I simply cut and assembled each piece, each fruit, vegetable and others. I tell you that I was so entertained that I forgot to take pictures...🙃
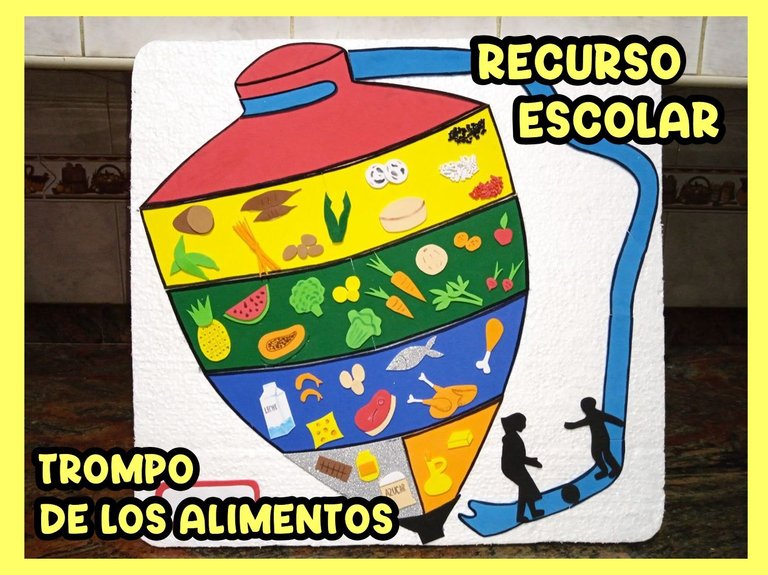
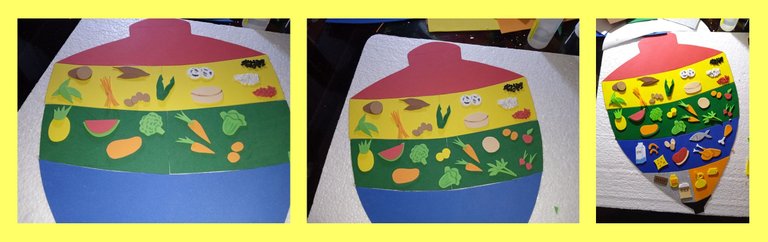
✏️PASO 6: Una vez que tuve todos los alimentos listos los pegue en su franja correspondiente, así como también agregue detalles a algunos de estos, realice también la parte del agua que por cierto no tenia foami azul claro así que me toco reciclar pedacitos de varios que tenia guardados y los fui pegando si lo detallan bien se darán cuenta 😁.
✏️STEP 6: Once I had all the foods ready, I glued them to their corresponding strip, as well as adding details to some of these, I also made the part of the water that by the way did not have light blue foam so I had to recycle bits of several that I had saved and I was hitting them if they detail it well they will realize 😁.
De Esta manera fue como yo elabore este Recurso para Mi Ahijada.
Espero les Guste...
Las Fotos son de mi Autoria.
Gracias por Leerme...
Un Gran Abrazo.🙋
This is how I prepared this Resource for My Goddaughter. I hope you like it...The Photos are my Authorship.
Thanks for reading me...
A Big Hug.🙋