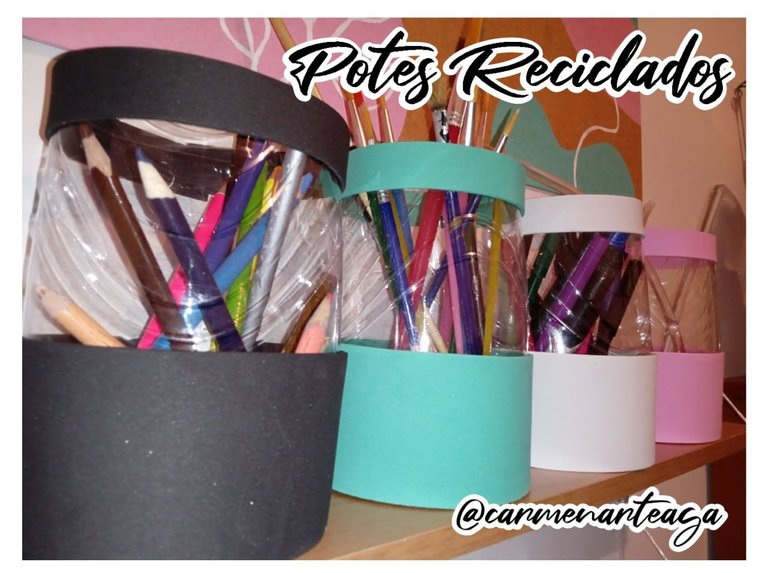
Buen día comunidad, espero tengan un bonito día, hoy les quiero mostrar como Recicle estos potes de refresco dándoles una segunda vida jejeje, para usarlos y organizar mis lápices, colores, pinceles y mas...
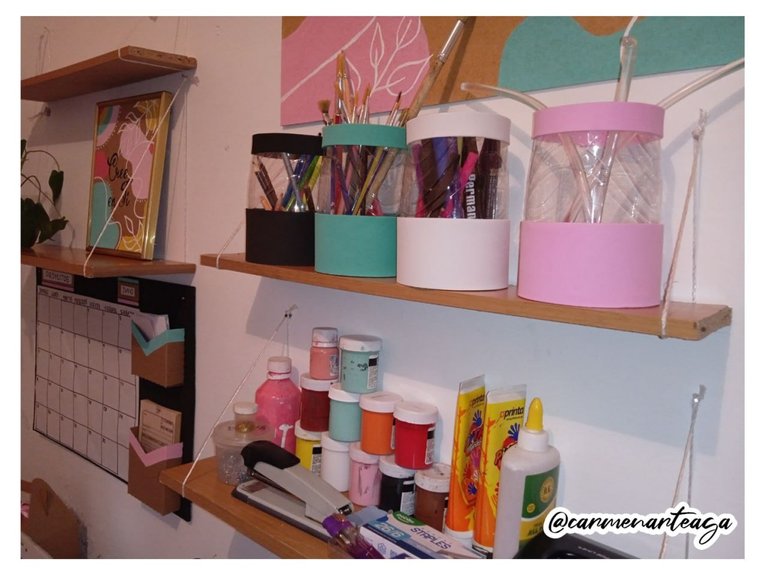
La verdad que lo necesitaba ya que he estado organizando muchas cosas en mi hogar así como también en mi pequeño taller donde puedo crear y elaborar mis trabajos de manualidades, realmente para mi quedaron muy lindo, sencillos y acordes y en juego a mi espacio.
espero les guste, les muestro como lo hice...
Good morning community, I hope you have a nice day, today I want to show you how I recycle these soda cans giving them a second life hehehe, to use and organize my pencils, colors, brushes and more ....The truth is that I needed it because I have been organizing many things in my home as well as in my small workshop where I can create and develop my crafts, really for me they were very nice, simple and according to my space.
I hope you like it, I show you how I did it....

- Potes de Refresco (Reciclados).
- Foami de color Blanco.
- Foami de color Aguamarina.
- Foami de color Negro.
- Foami de color Rosado.
- Silicon de Barra.
- Pistola de Silicon.
- Tijera.
- Regla.
- Soda Jars (Recycled).
- White foami.
- Aquamarine colored foam.
- Black foam.
- Pink foam.
- Bar Silicon.
- Silicon gun.
- Scissors.
- Rule.

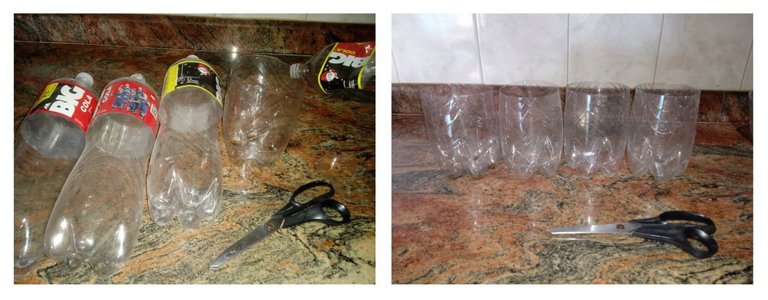
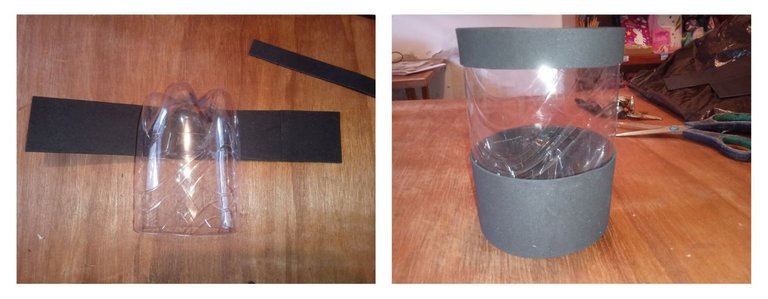
✂️ PASO 1: Use cuatro Potes de refresco vacíos (reciclados), con mi tijera los corte del tamaño que los Hiba a necesitar así como también los lave.
✂️ STEP 1: Use four empty (recycled) soda cans, with my scissors cut them to the size I was going to need them as well as wash them.
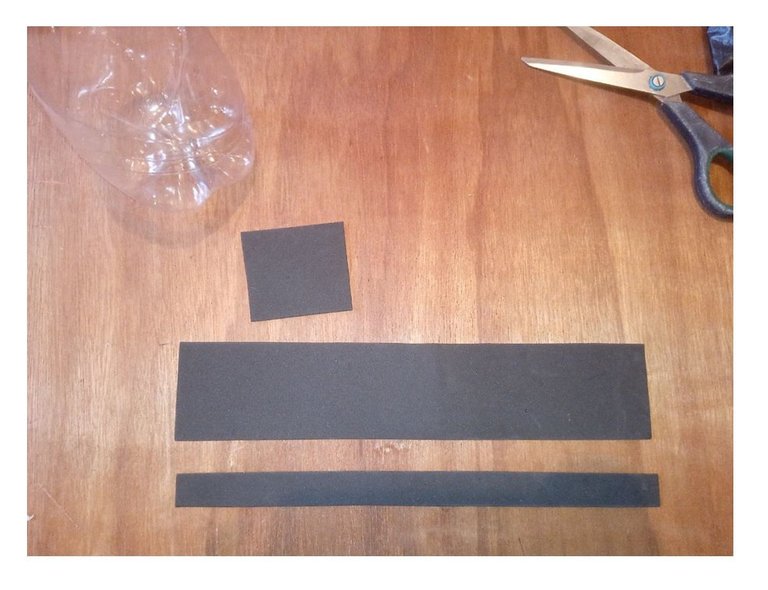
✂️ PASO 2: Tome los foamis y corte 2 tiras de cada color una con la medida de 6cm de ancho y la otra de 2,5cm de ancho, lo mismo hice con todos los foamis de los colores que quería usar.
✂️ STEP 2: Take the foamis and cut 2 strips of each color, one measuring 6cm wide and the other 2.5cm wide. I did the same with all the foamis of the colors I wanted to use.
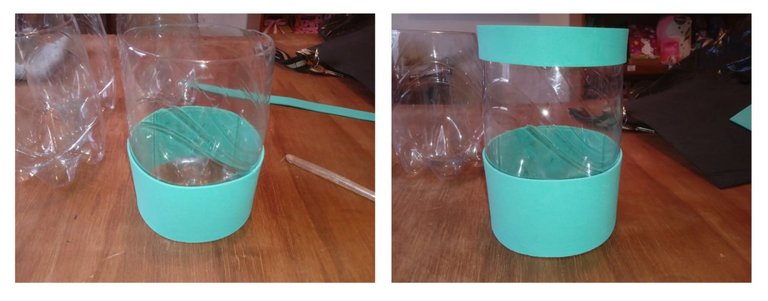
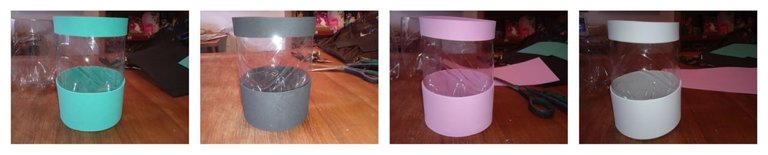
✂️ PASO 3: Tome mis potes ya cortados y lavados y comencé a pegar las tiras, primero pegue las de abajo, calculando que está quedará bien pegadas y a la medida. Lo mismo hice con la otra tira más fina, esto lo hice con todos mis potes.
✂️ STEP 3: I took my pots already cut and washed and started to glue the strips, first I glued the bottom ones, calculating that it will be well glued and to the size. I did the same with the other thinner strip, I did this with all my pots.
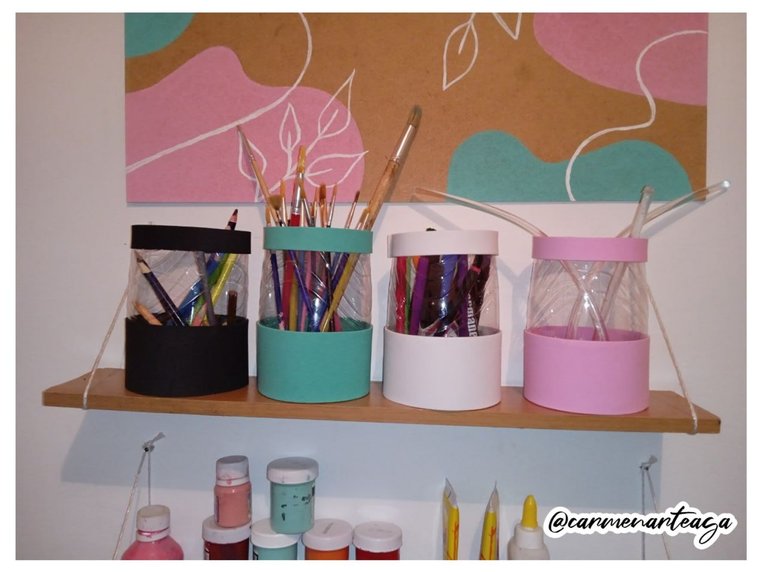
Una manera sencilla de reciclar estos Potes para organizar mi taller
Quedando los cuatro potes de esta manera...
A simple way to recycle these pots to organize my workshop. The four pots look like this....
Gracias por leerme.
Espero les guste.
Las fotos son de mi Autoría.
Un Gran Abrazo...😊
Thank you for reading. I hope you like it. The pictures are from my Author. A Big Hug...😊


