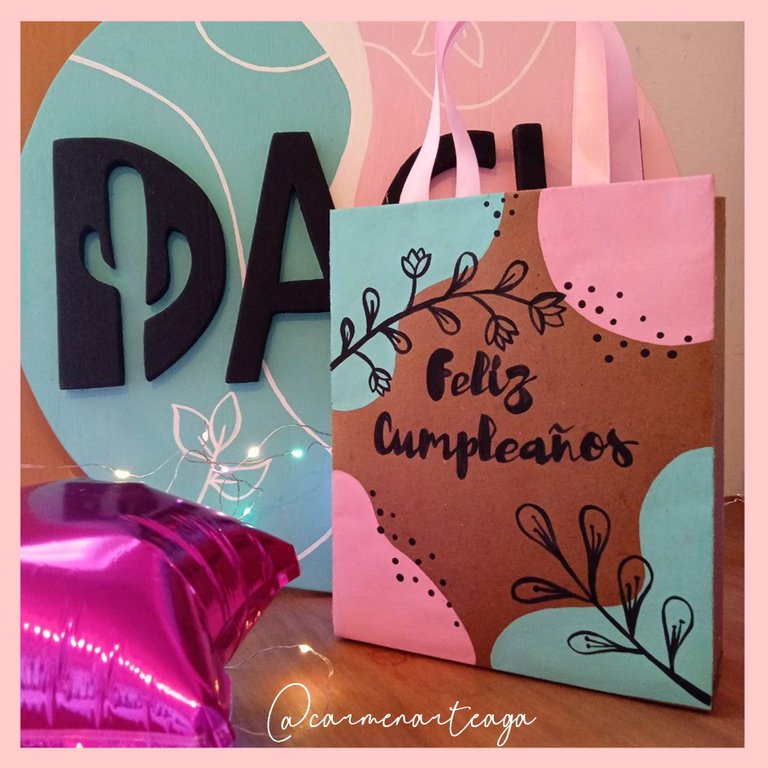
Hola, feliz Sábado, espero se encuentren bien, hoy les quiero compartir como elabore una Sencilla y linda bolsa para regalar.
Les Muestro como lo hice...
Hello, happy Saturday, I hope you are well, today I want to share how I made a simple and beautiful gift bag.I show you how I did it...

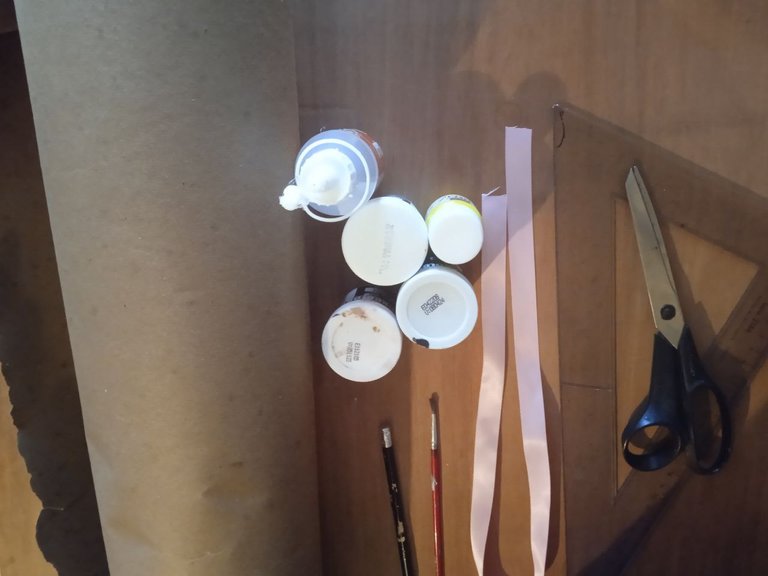
- Papel Kraft (Reciclado).
- Silicon Liquido.
- Pintura al Frio de (color Rosado).
- Pintura al Frio de (color Aguamarina).
- Pintura al Frio de (color Negro).
- 2 Pinceles.
- 60 cm de Cinta color Rosado.
- Regla.
- Lápiz Grafito.
- Tijera.
- Kraft Paper (Recycled).
- Liquid Silicon.
- Cold Paint (Pink).
- Cold Paint (Aquamarine color).
- Cold Paint (Black color).
- 2 Brushes.
- 60 cm of Pink Ribbon.
- Rule.
- Graphite pencil.
- Scissors.

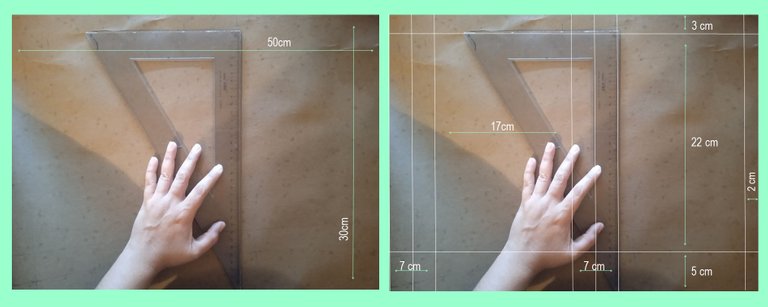
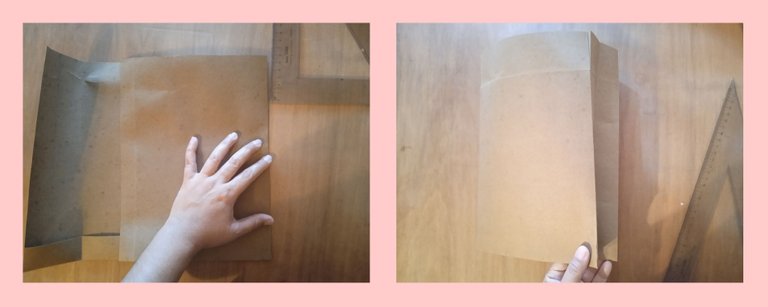
PASO 1: Para mi primer paso utilice el papel Kraft (reciclado) y con ayuda de una regla y lápiz dibuje un rectángulo con las medidas de 50 cm de ancho por 30 cm de alto. En ese mismo rectángulo trace las líneas para las divisiones de la bolsa.
STEP 1: For my first step I used Kraft paper (recycled) and with the help of a ruler and a pencil I drew a rectangle 50 cm wide by 30 cm high. In that same rectangle, draw the lines for the divisions of the bag.
PASO 2: Después de marcar todas las líneas, tome mi tijera y comencé a cortar el rectángulo.
STEP 2: After marking all the lines, I took my scissors and began to cut out the rectangle.
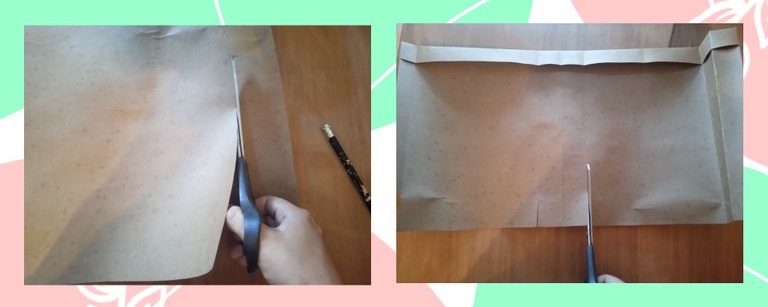
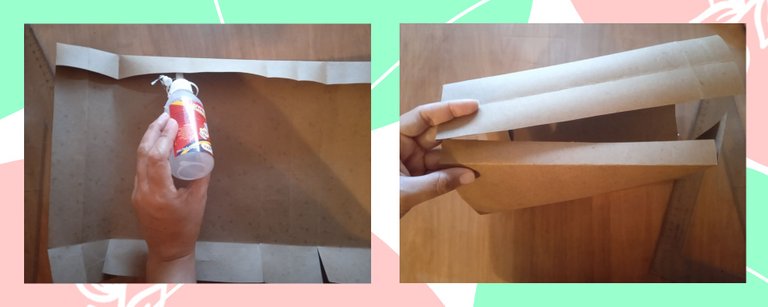
PASO 3: Doble todas las líneas que ya había trazado anteriormente con ayuda de mi regla, esto con el fin de darle forma a mi bolsa.
STEP 3: Fold all the lines that I had previously drawn with the help of my ruler, this in order to shape my bag
PASO 4: Continuando con el siguiente paso, pegue con silicón liquido la pestaña de 3 cm que anteriormente ya había doblado, así como también pegue ambas puntas de la bolsa.
STEP 4: Continuing with the next step, glue the 3 cm tab that you previously folded with liquid silicone, as well as glue both ends of the bag.

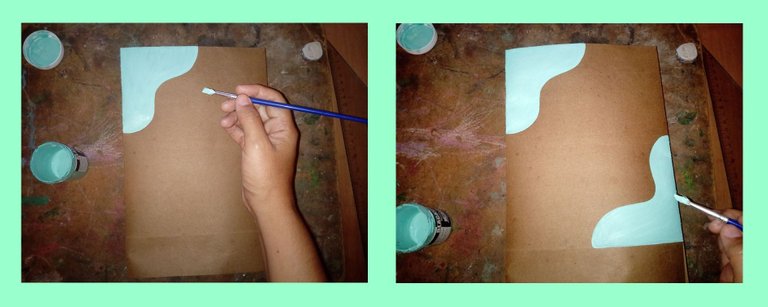
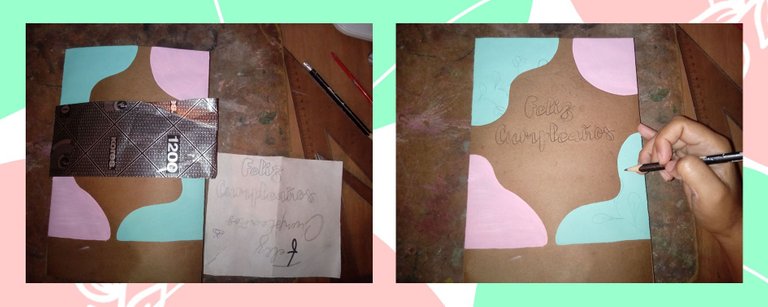
PASO 5: Una vez pegada las puntas de mi bolsa procedo a pintarla, realice un diseño sencillo aplicando los colores rosado y aguamarina.
STEP 5: Once the ends of my bag are glued, I proceed to paint it, make a simple design applying the pink and aquamarine colors.
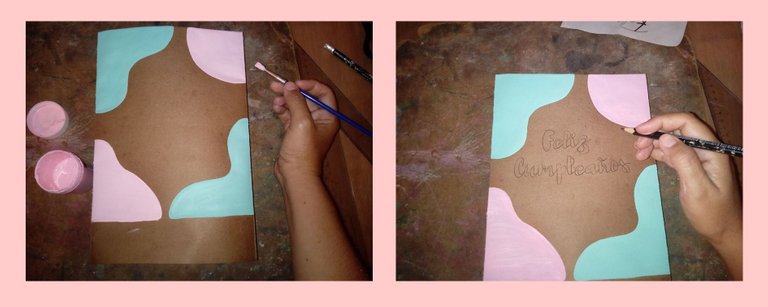
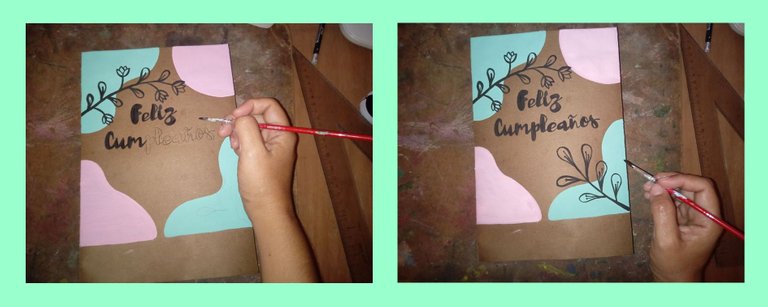
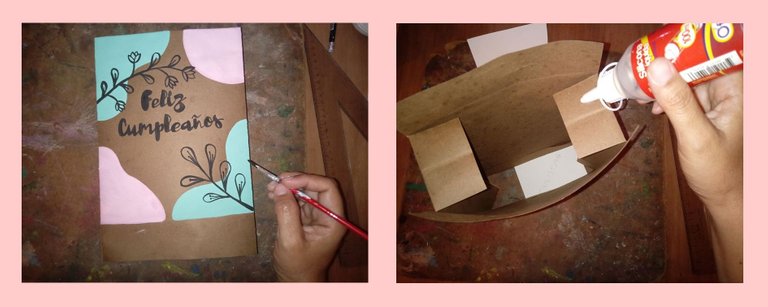
PASO 6: Después de pintarla, con ayuda de un trozo de papel carbón le escribí "Feliz Cumpleaños", así como también dibuje algunos detalles con el pincel y pintura al frio color negro.
STEP 6: After painting it, with the help of a piece of carbon paper I wrote "Happy Birthday" to it, as well as drawing some details with the brush and cold black paint.
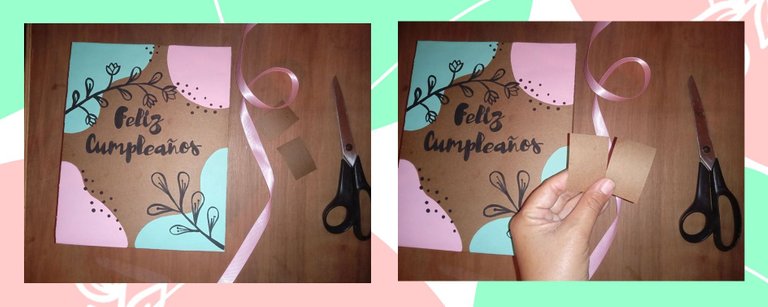
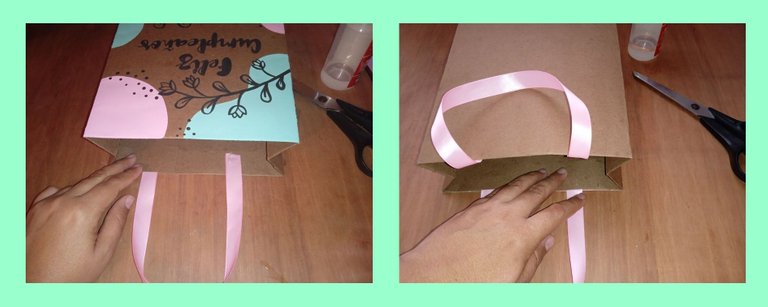
PASO 7: Ya pintada y seca la bolsa, y para culminar, pegue la parte baja de la misma, así como también procedí a cortar y pegar dos cintas de 30 cm cada una, pegando estas a la bolsa con cuatro recuadros de papel Kraft de 3 cm de alto por 5 cm de ancho previamente ya cortados, para darle mejor soporte a las asas para la bolsa.
STEP 7: The bag has been painted and dried, and to finish, I glued the lower part of it, as well as proceeded to cut and paste two 30 cm ribbons each, gluing these to the bag with four squares of Kraft paper of 3 cm high by 5 cm wide previously already cut, to give better support to the handles for the bag.
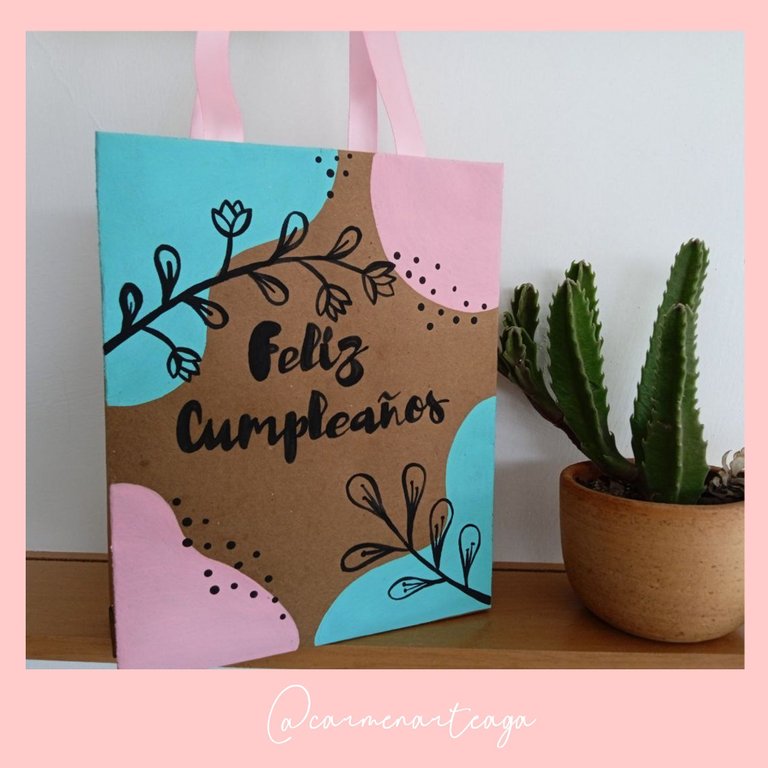
De esta manera es como he elaborado esta bolsa para regalo, sencilla y bonita para una ocasión especial.
y pues espero les guste mi creación. así quedo::::::
This is how I have made this gift bag, simple and beautiful for a special occasion. and I hope you like my creation. so I remain::::::
Gracias por Leerme!
Las fotos son de mi autoría
Tomadas con mi teléfono Redmi 9
Un gran Abrazo...
Thanks for reading me! The photos are my own Taken with my Redmi 9 phoneA big hug...