Hello everyone
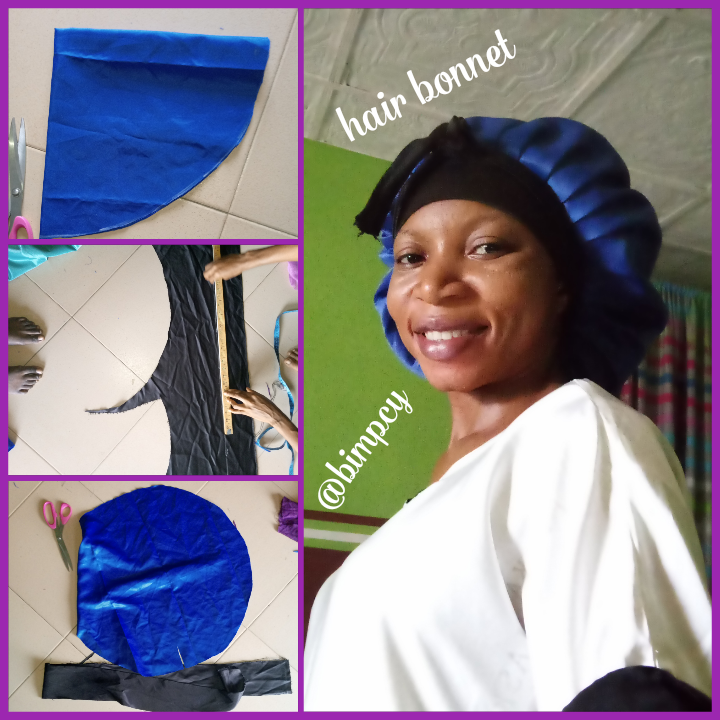
Greetings to you all on this beautiful day, I hope you are having a great time at your respective places, it's a lovely day and this is a quick one, I will be sharing with you today the making of this hair bonnet I made for myself from scrap material, it is very simple and easy to make, this can be made from left over fabric which I just did, it is very useful to everyone, it can be used to cover your hair at home, when cooking, sleeping, in the bathroom or even when taking a walk around the neighborhood with your casual outfit. Join me as I take you through the cutting and sewing process.

There are different types of hair bonnet around, but they all serves the same purpose, some are made with tiny elastic band which will be inserted in a loop hole around the hem of the bonnet, some are made with of big elastic band whereby the bonnet will be pleated on the elastic band while others are made with long strip of fabric and the bonnet will be pleated on the center of the long strip who h will enable the wearer to tie the stip as desired on their head just as this one I made for myself.

Sometimes ago, I made my first bonnet with and elastic band but after using it for awhile, a friend of my collected it from me, even when I promised to make hers for her, she insisted on taking the very one I was wearing, I had no choice than to give it to her. Well, I'm the type that doesn't like to expose my hair, I usually have it covered, so I had to make another one for myself after my friend collected the one I was using but this time, I decided to try the one with a long strip that can he easily tied to what I desired.
Cutting and sewing process
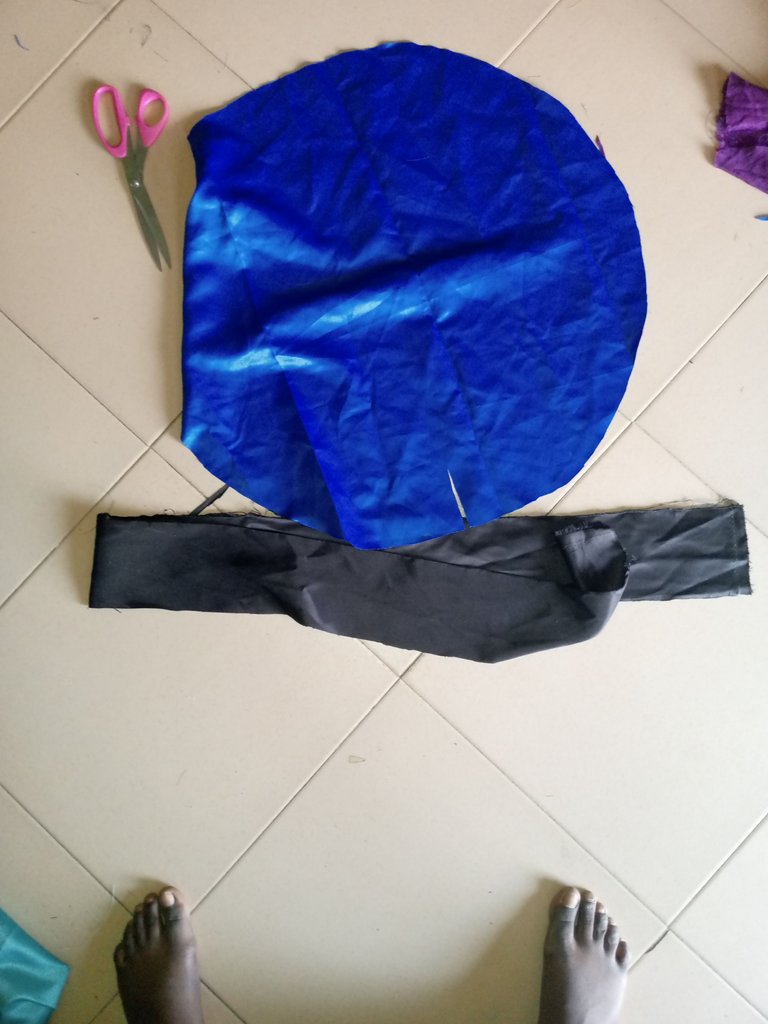
I had a left over blue satin material so I decided to use it, I folded it into for and measured out 12" in a circle form just like when cutting out a flare but for a bonnet, I didn't cut out any openings
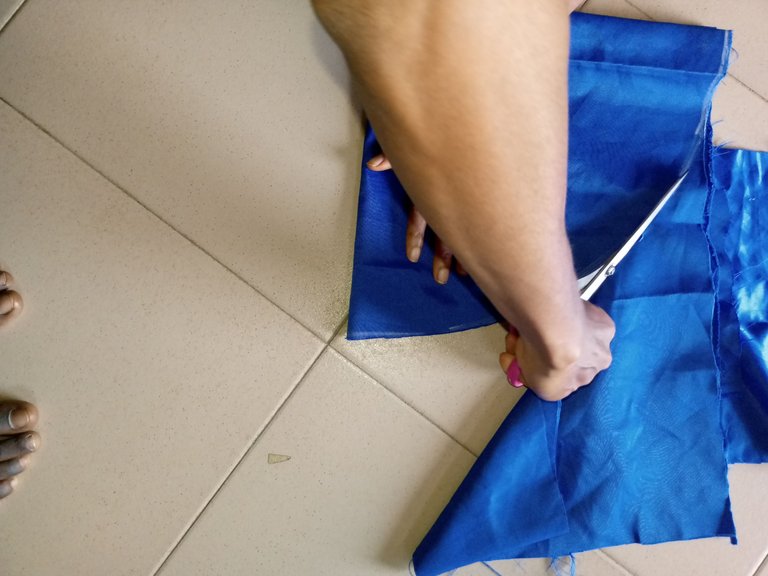
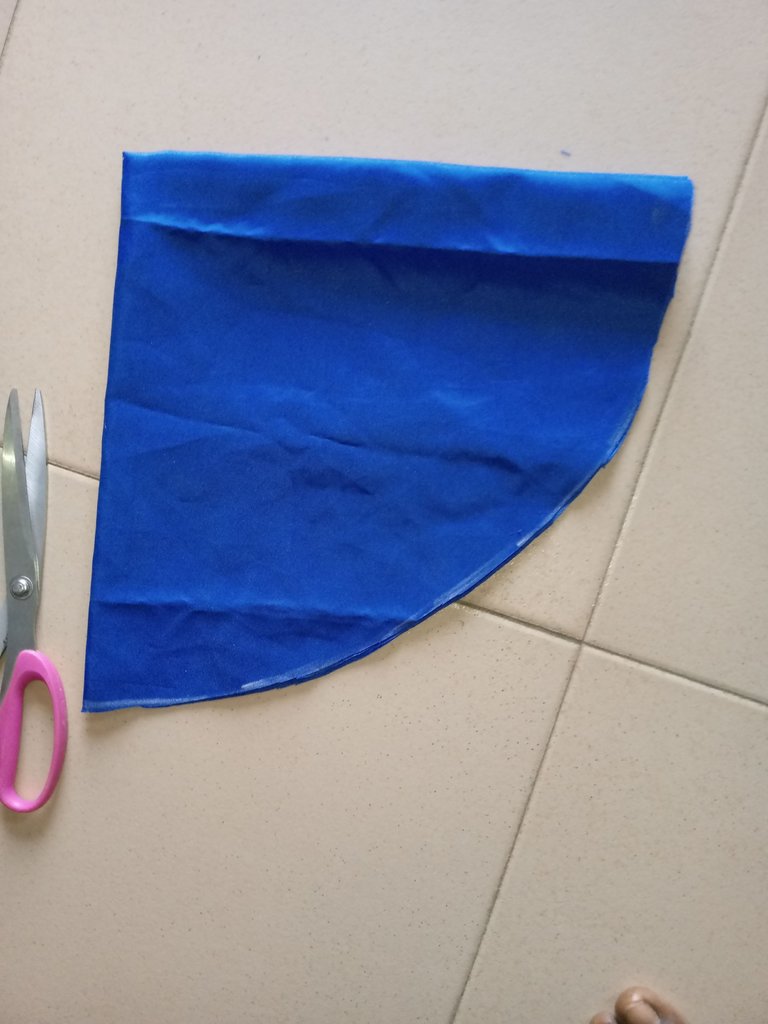
It was opened and folded into 2, I measured 3" inward from the center front.
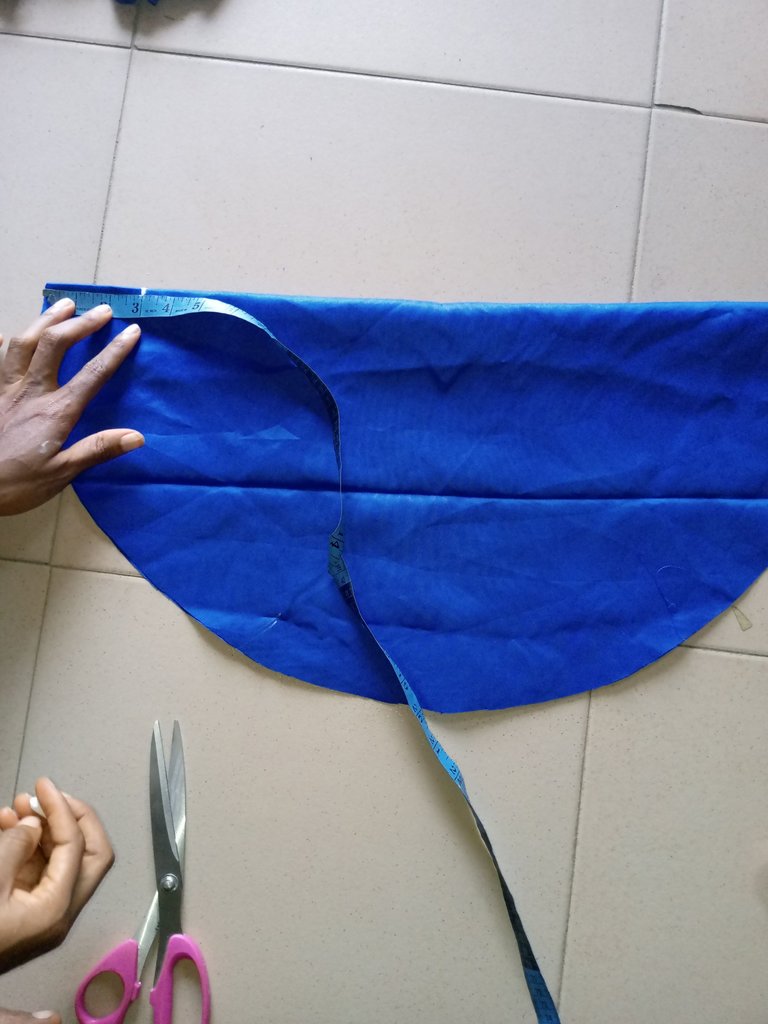
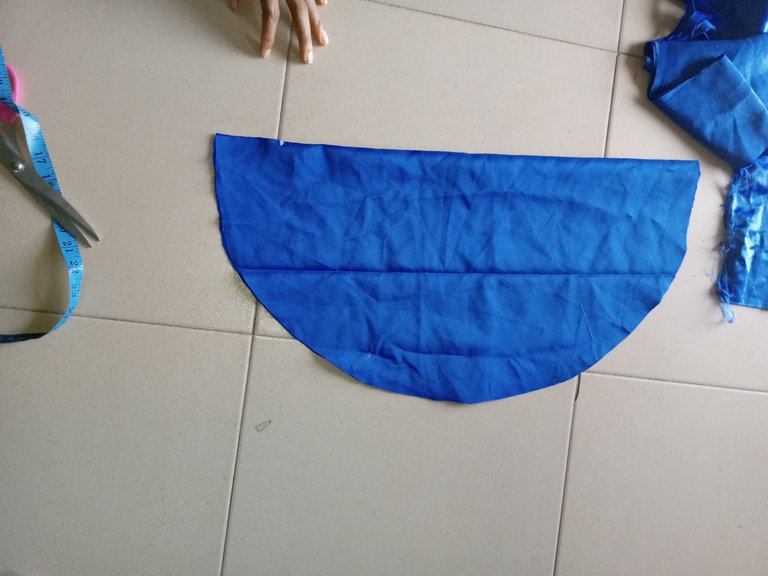
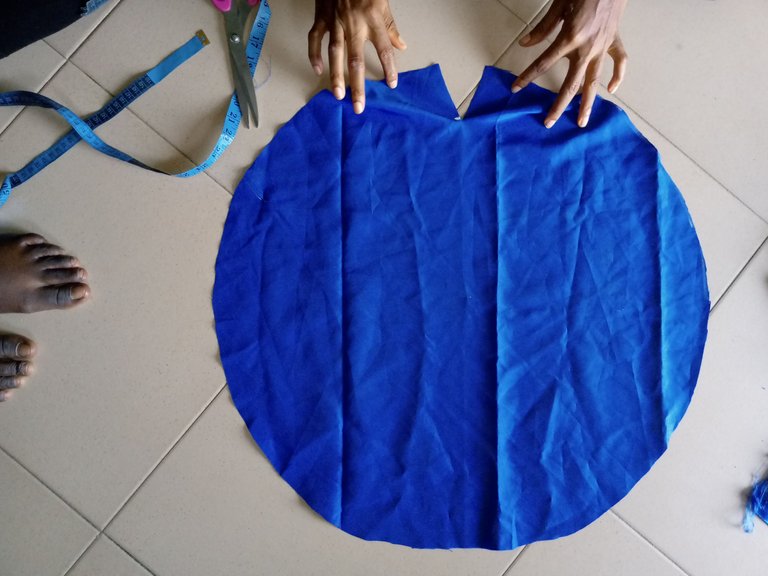
It was set aside as I cut out a long strip of 4 by 60" from another left over black satin material. I notched the center and pleated the blue satin that was cut out for the bonnet on it from the opening to the other. But first, the opening was piped with a bais tape to cover the rough edges.
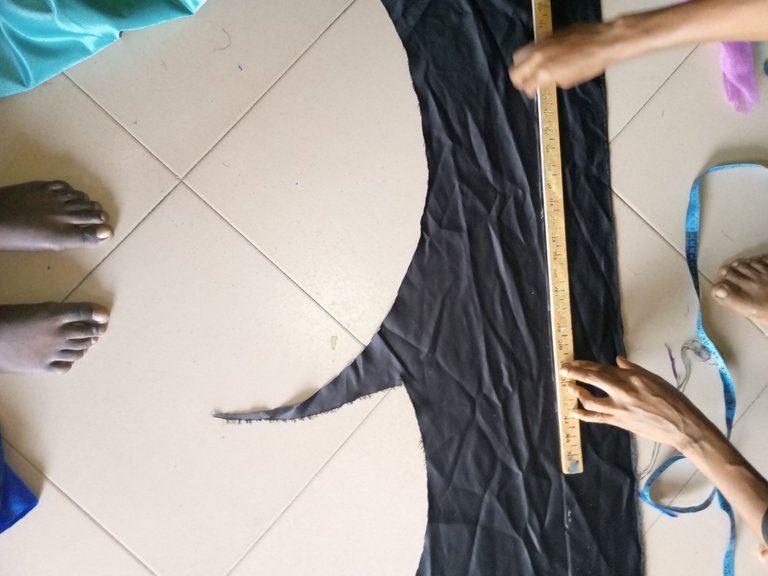
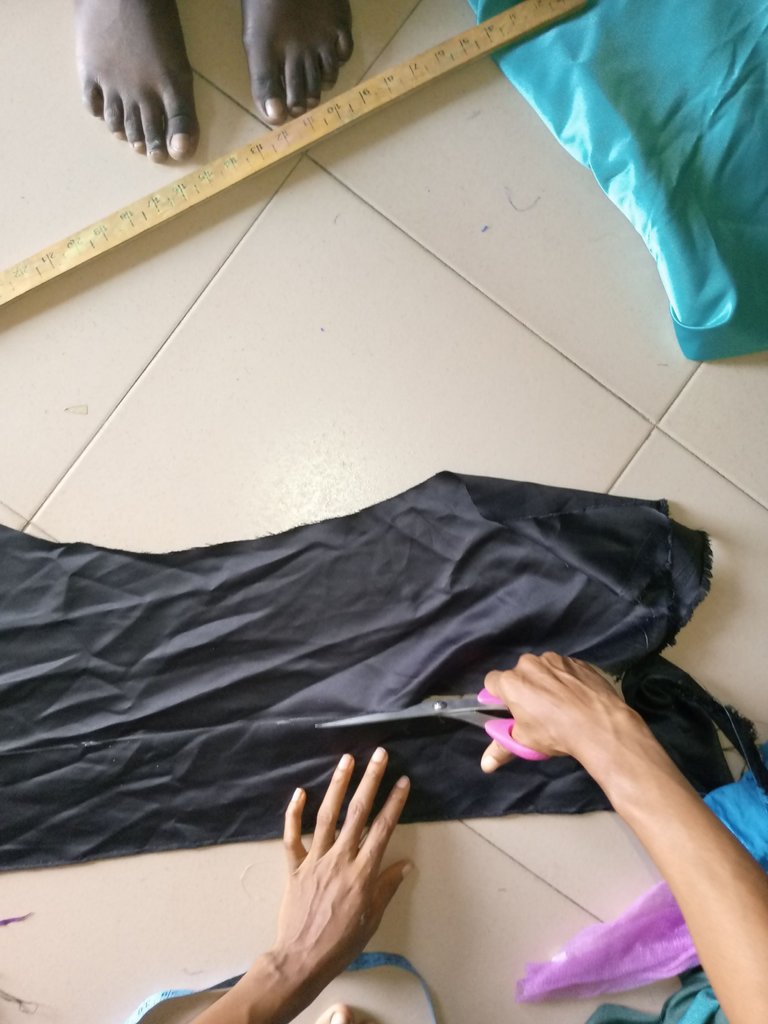
After pleating the edges, the rope was neatly sewn and I have my bonnet ready.

