If you haven't checked on the precious entry, take some time to look at it right here.
In the aftermath of this project, we had already stated the impossibility of making an instrument in one week. You could if you had a factory. But for luthiers this is rarely the case. I've come to show how much progress can be achieved in almost two weeks of working on only one instrument.
Out of the mould
After giving this more than 12 hours to glue properly, we can finally get the instrument out of the solera mould. At this point, we can check if there are gaps to fill in with glue and pressure or pieces of wood.
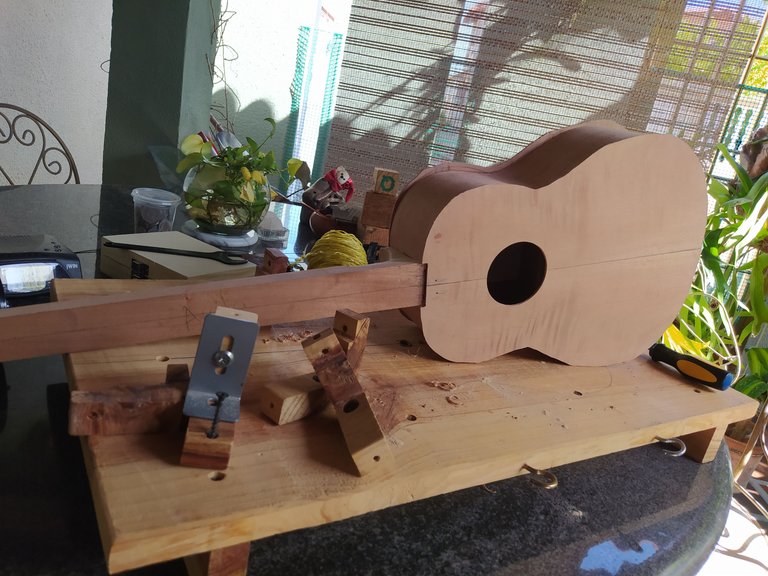
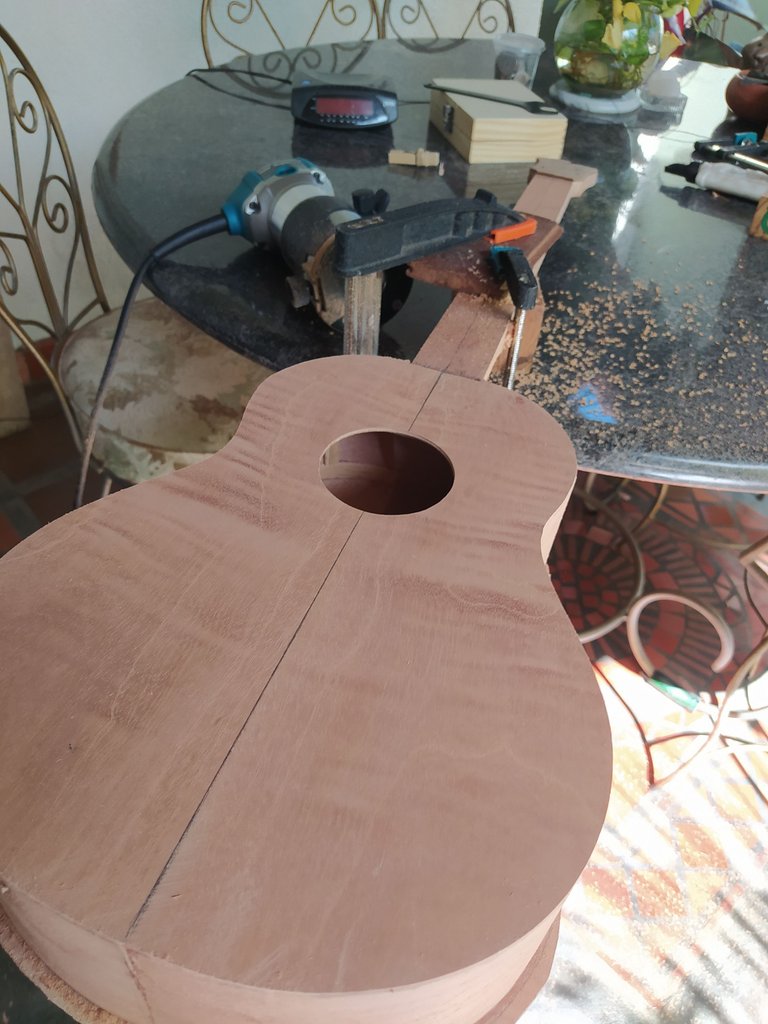
Once everything has been checked, we move ahead to trim the excess material from top and back. This is quick work with the help of our new router.
Fretboard
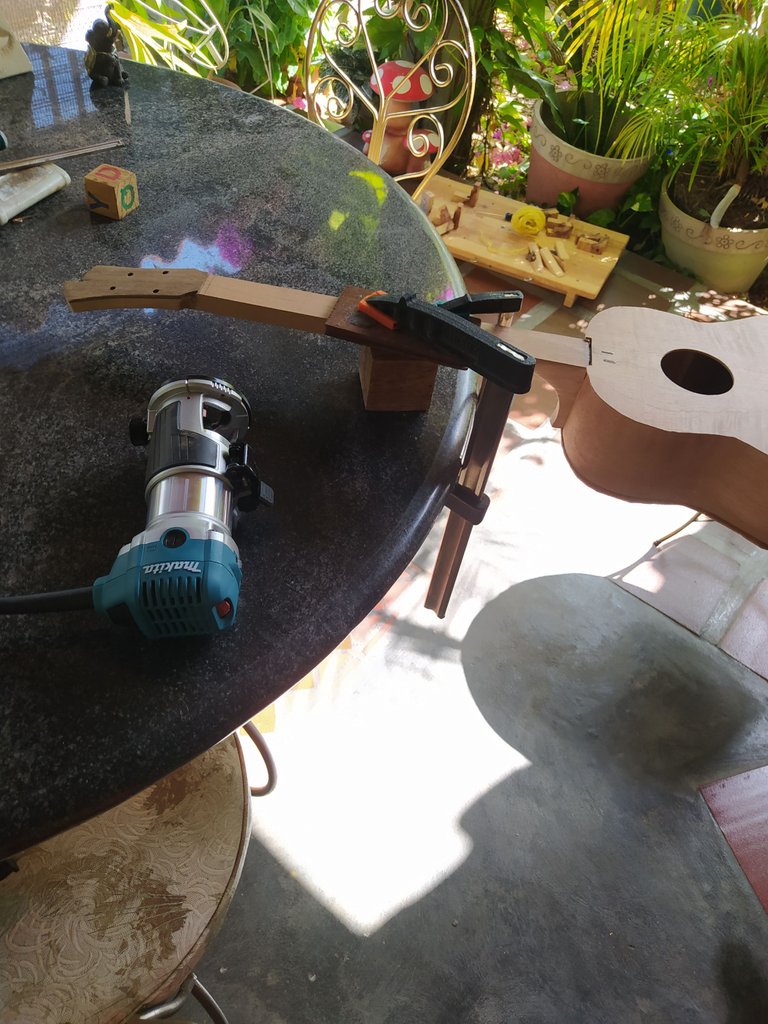
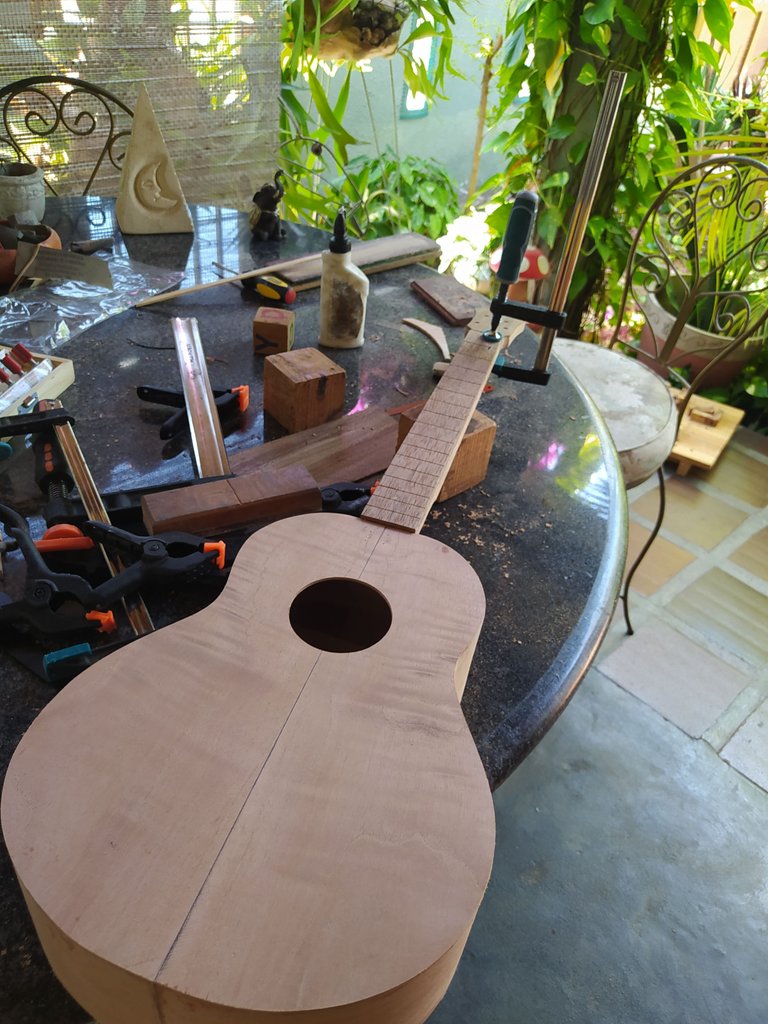
Since this piece was ready, we can glue right away. With the help for the lines drawn on the instrument, we make sure to center it. Then, we scrape its back and the neck to prevent it from sliding with the glue. Once this is done, we get as many clamps as we can get on it. This will ensure it glues properly on every segment.
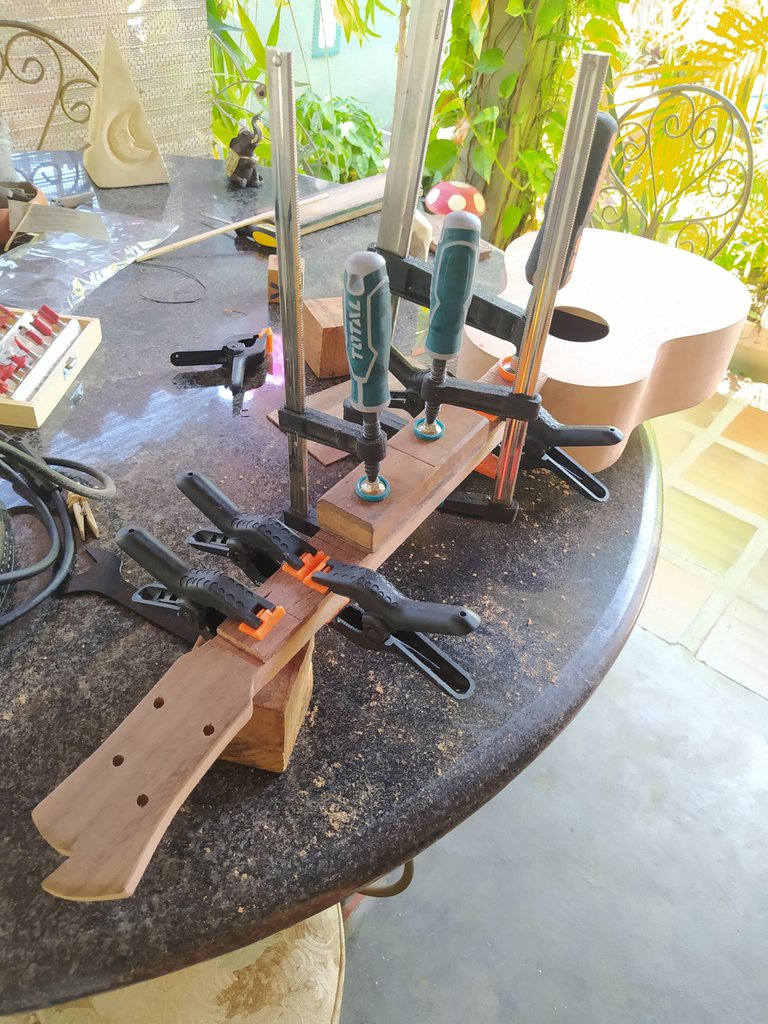
Once we have let it dry for around 2 hours, we can move to sanding it and removing any uneven places.
Strumming guard
While the fretboard glues, we can work on this piece. By making the hole on this bigger than the sound hole of the top, we can fit it with easy and or gives another kind of aesthetic to the instrument.
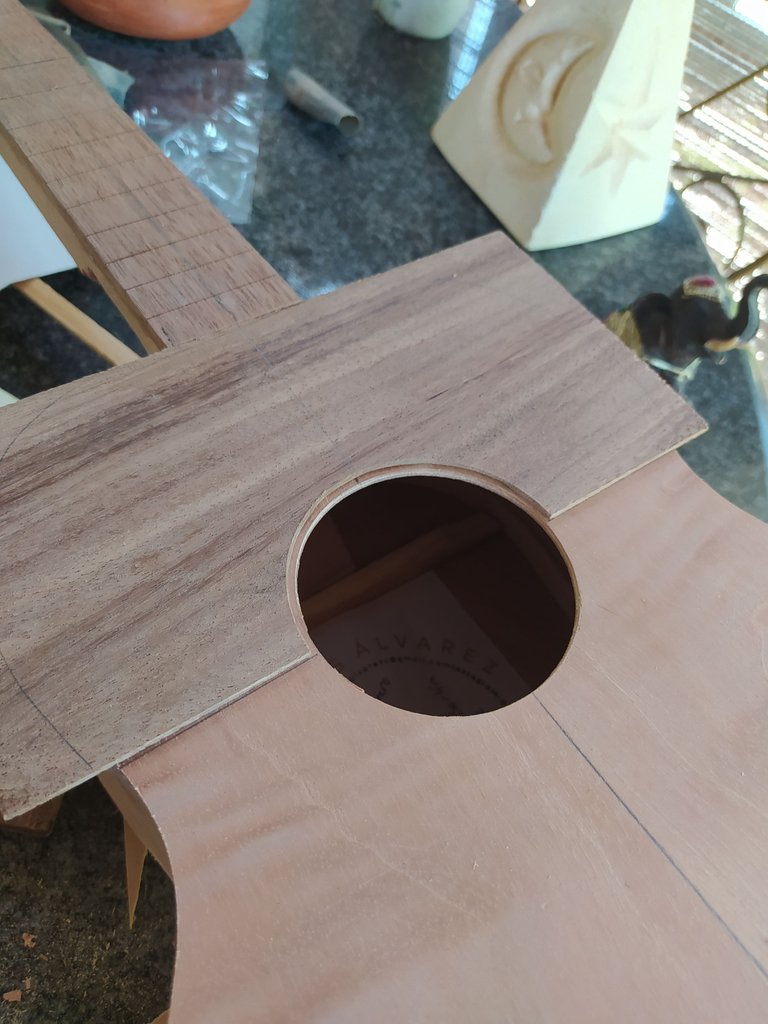
Before gluing it, we need to scrape and sand it to remove any cut marks and unevenness. Once we are clear of this, glue goes on and it goes on the sound board.
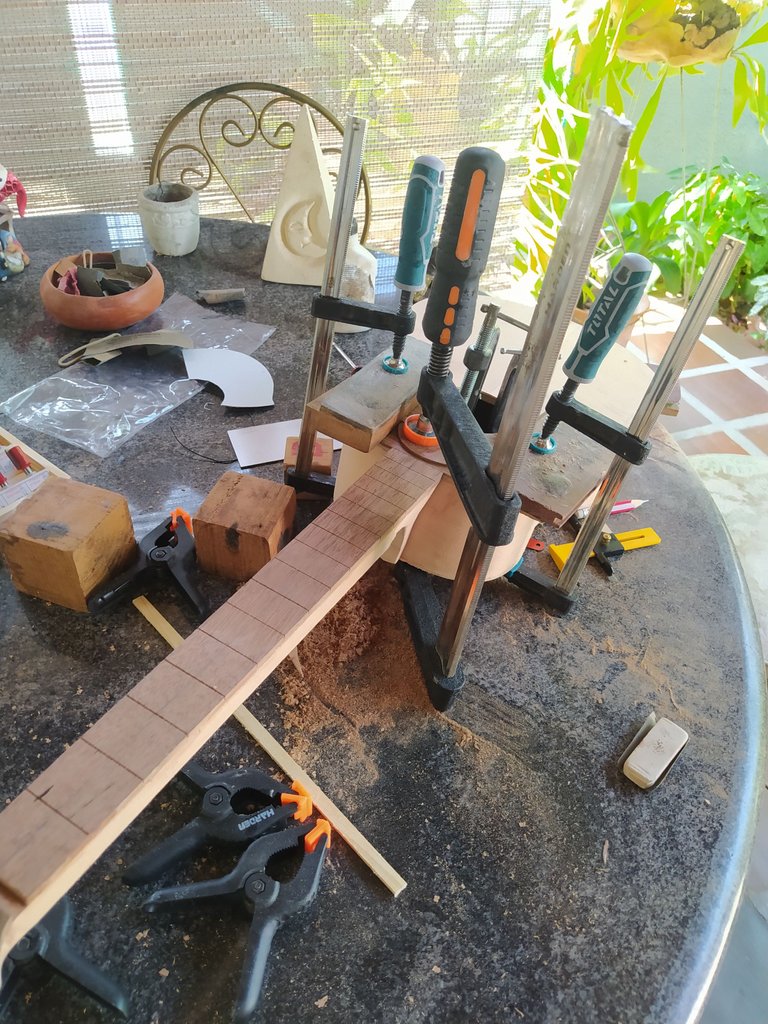
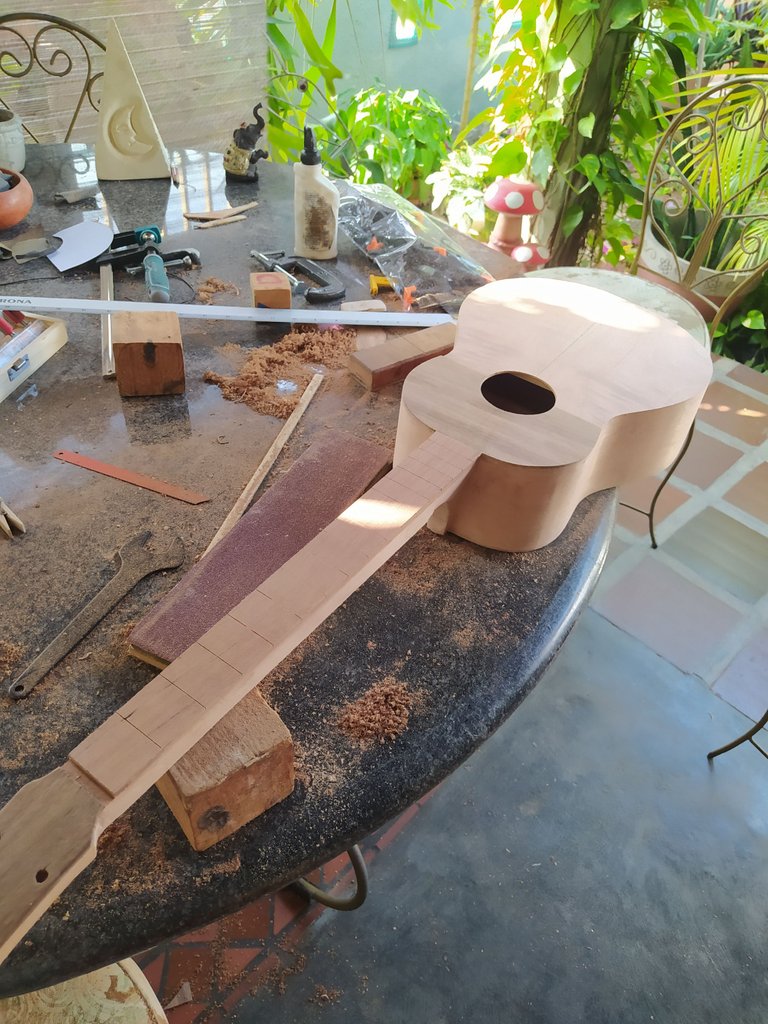
And after it glues, we can trim it again with the help of the router.
Frets on
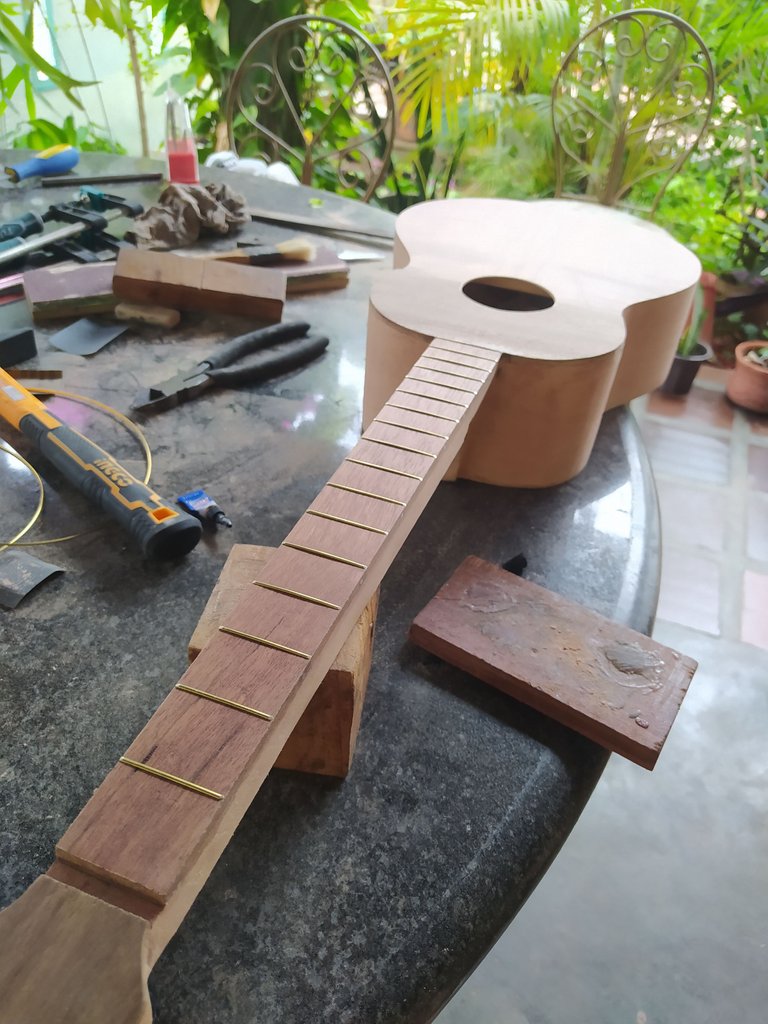
Before placing the frets, we need to seal the fretboard. I do this with teak oil. After that surface has been properly sanded, you can apply a player of oil and let it dry for 1 hour. This lets the wood absorb it. Then, you need to sand again and apply the next coat. However, it isn't advisable to apply too many coats as it can sip through the fretbord and remove the glue.
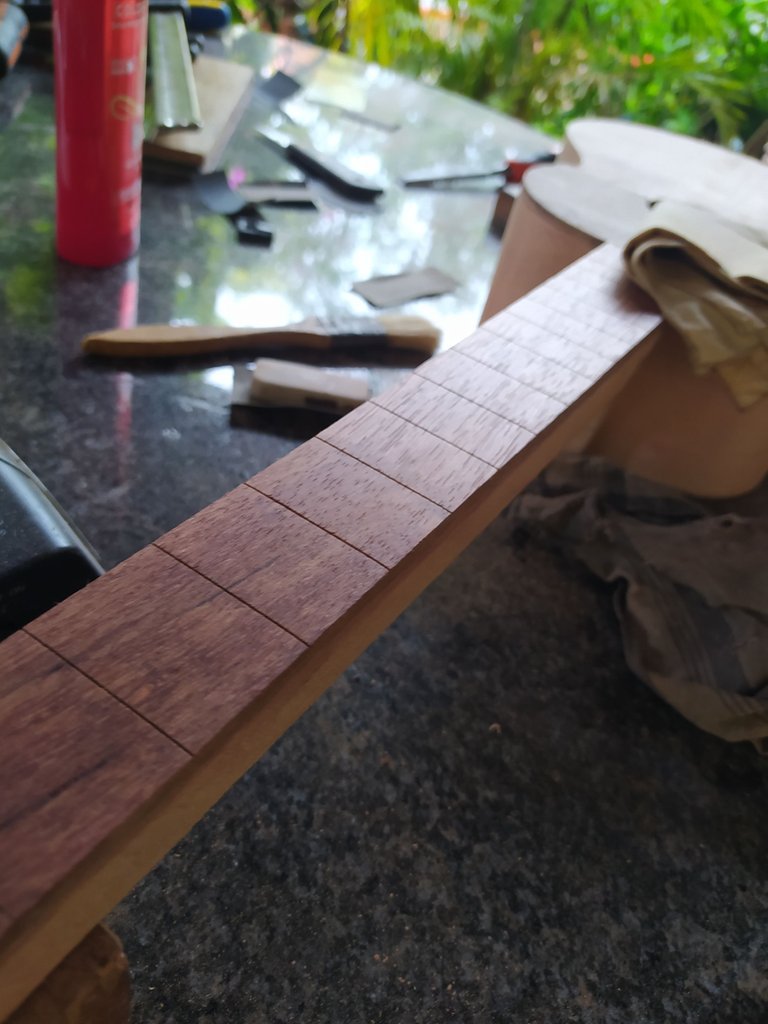
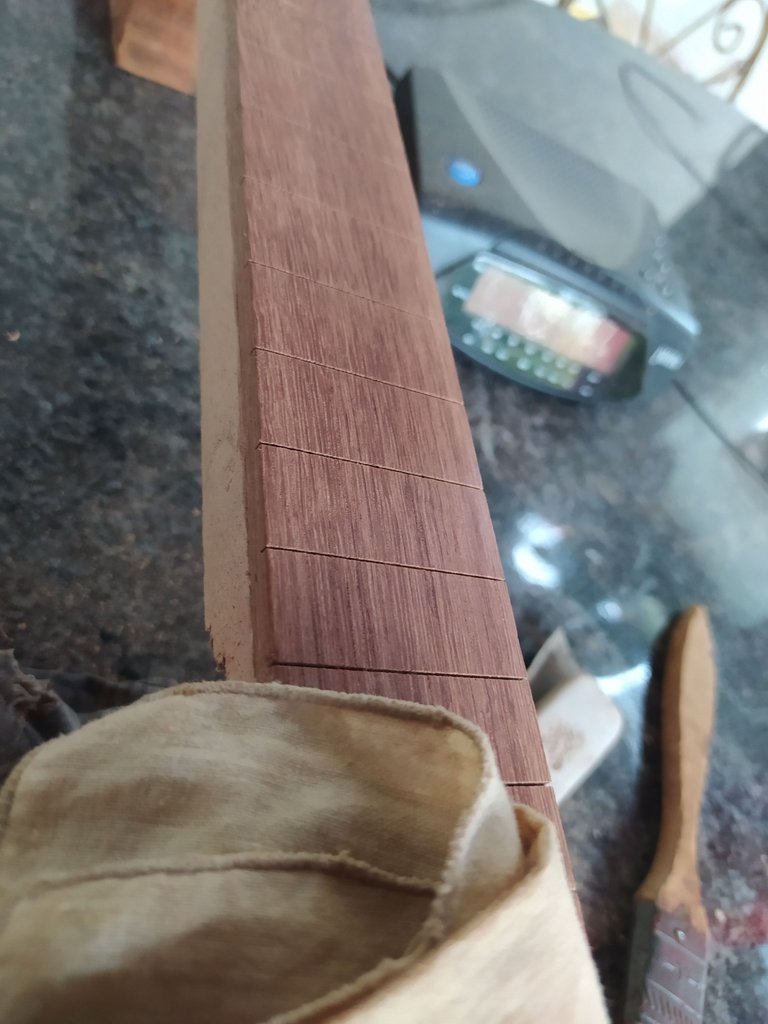
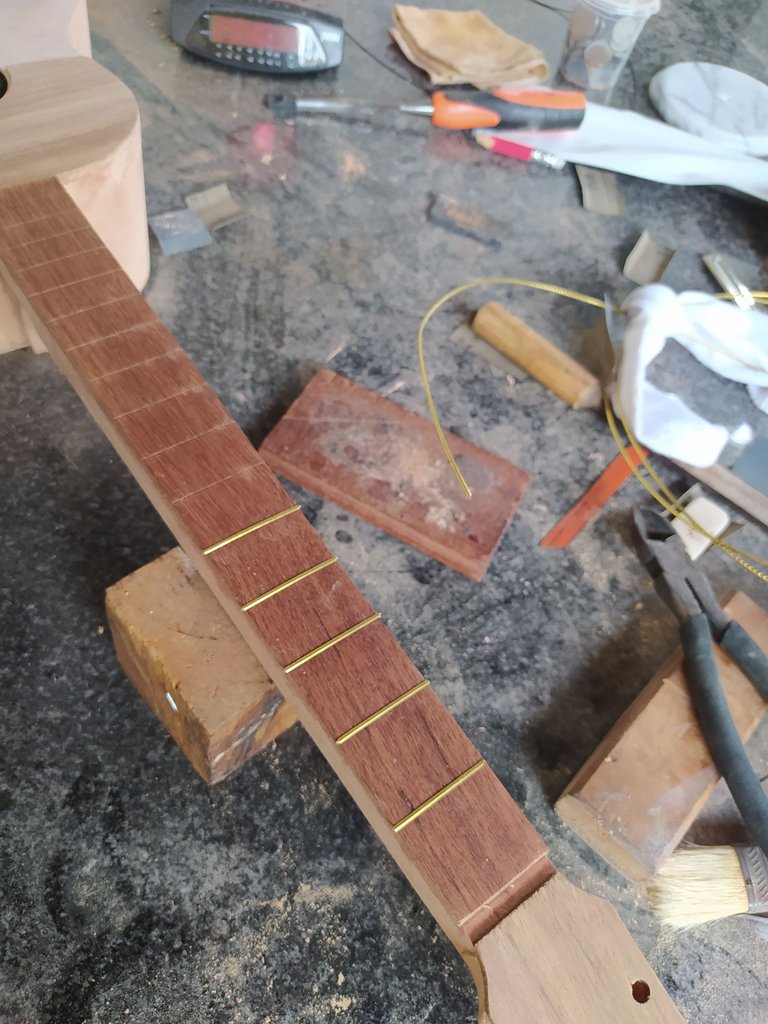
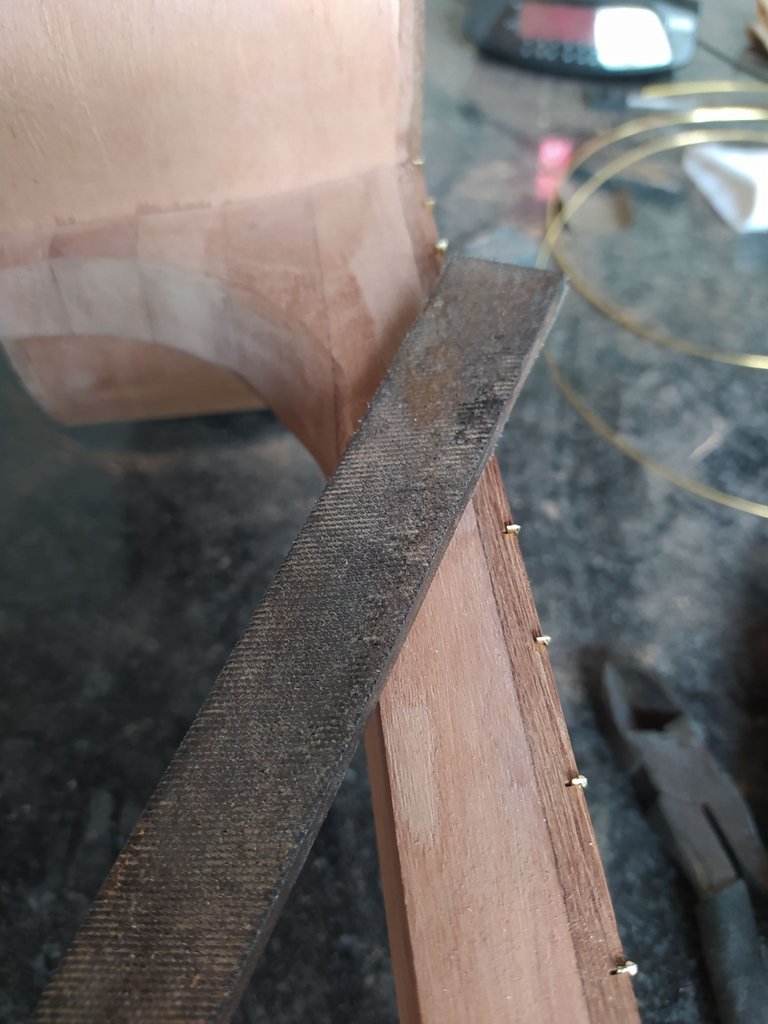
Once the fretboard is sealed, we can place the frets in place. This isn't too difficult. We just need to tap gently on each fret and cut the wire to the necessary length. Once all frets are places, we can file them to remove any sharp edges. Then, add a bevel ok each end.
Position markers
These are found in different shape, colours, sizes and materials. Mine are made of aluminum. It's placement is quite simple. First, we drill hole ok the sides of frets 3, 5, 7, 10, 12 and 15. Then, we apply a drop of cyanoacrylate in each hole. Now, we place the piecr of metal inside and tap gently. Cut with pliers. Let dry.
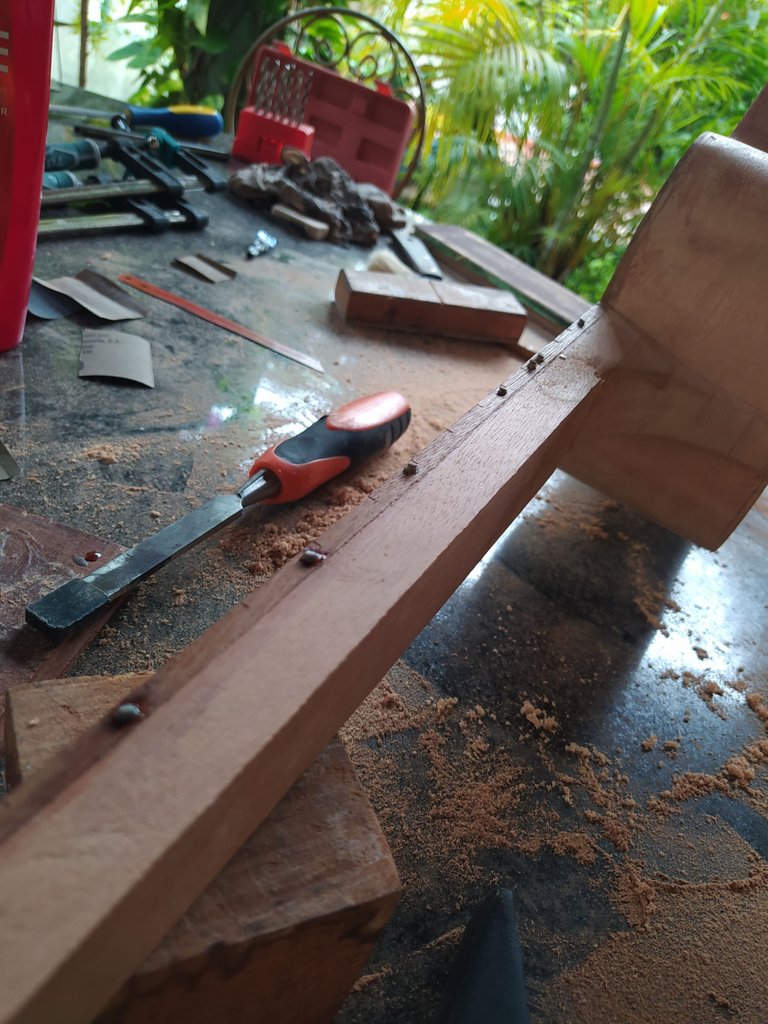
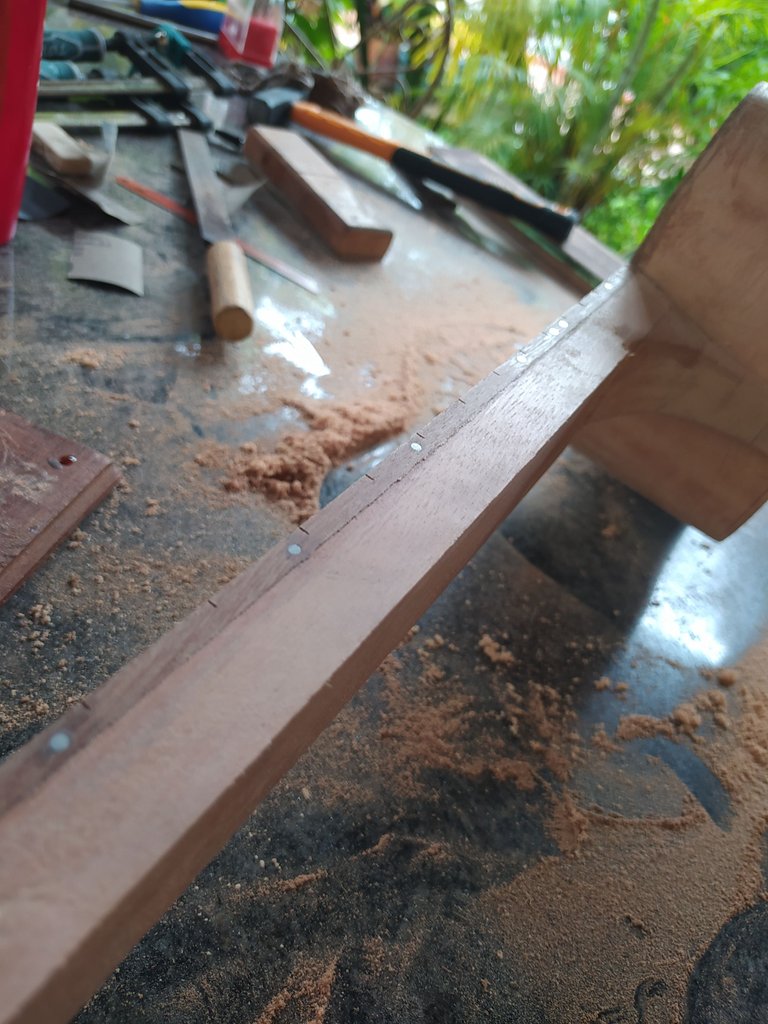
Once it has dried, we can file the excess an make it even with the rest of the surface.
Rounding the neck
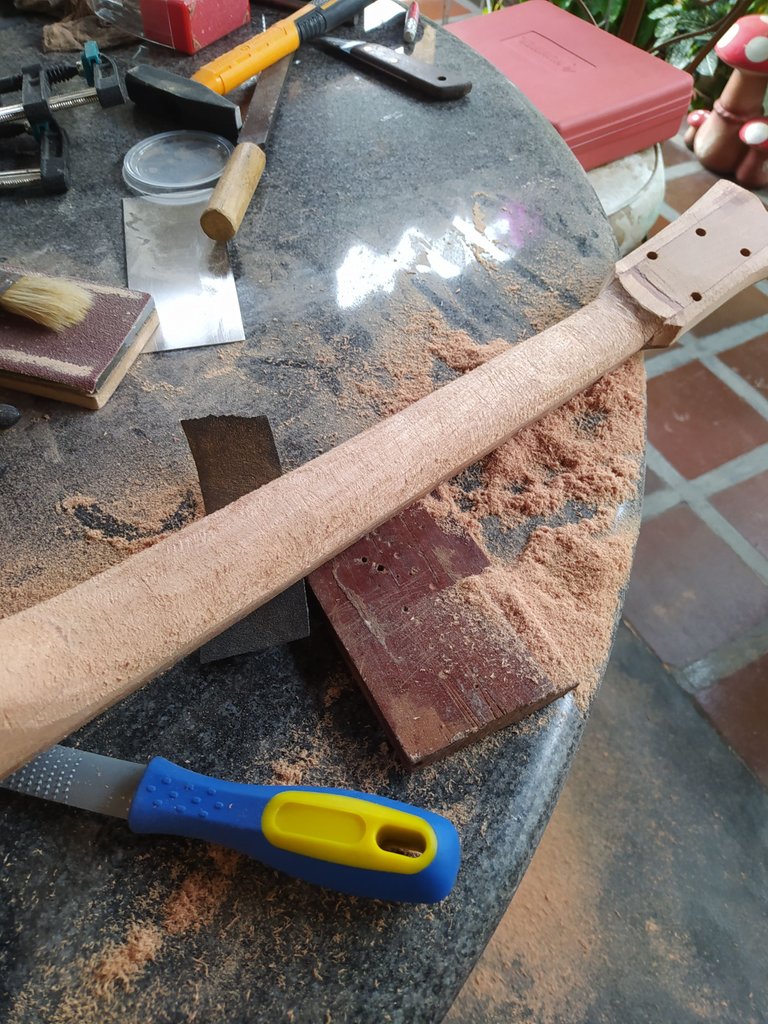
Now that everything is on the fretbaord, we can round the neck. We start with some cuts to mark the wides part of the neck and the thinnest. Then, we following along the center line and use a rasp to remove all the material.
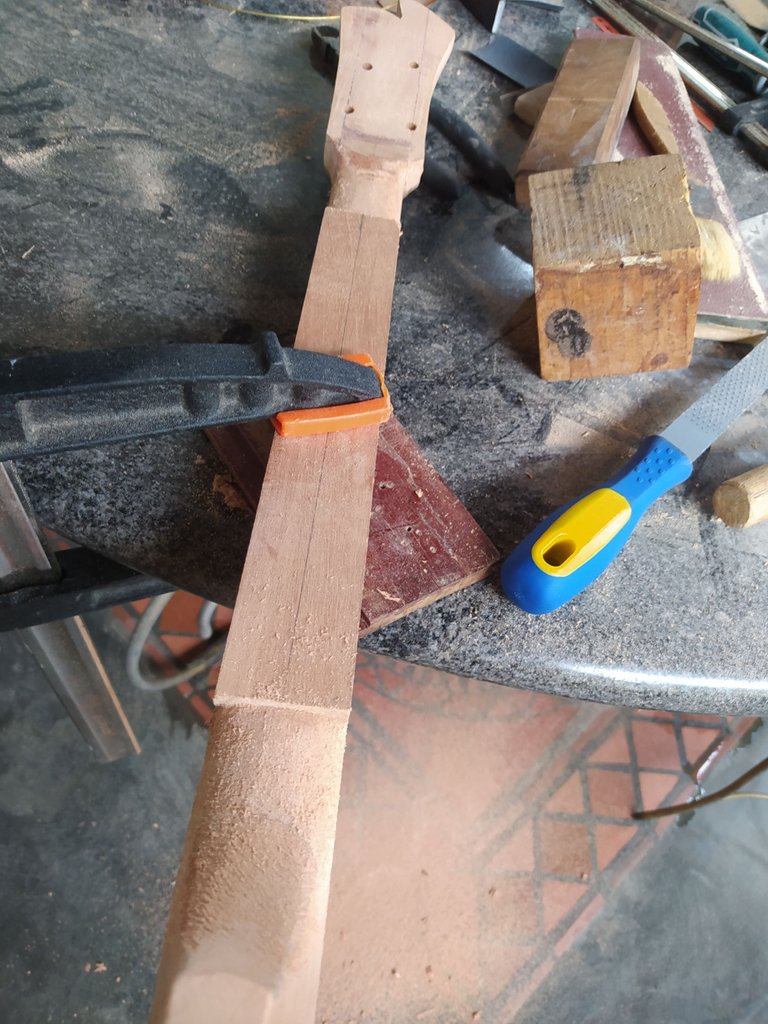
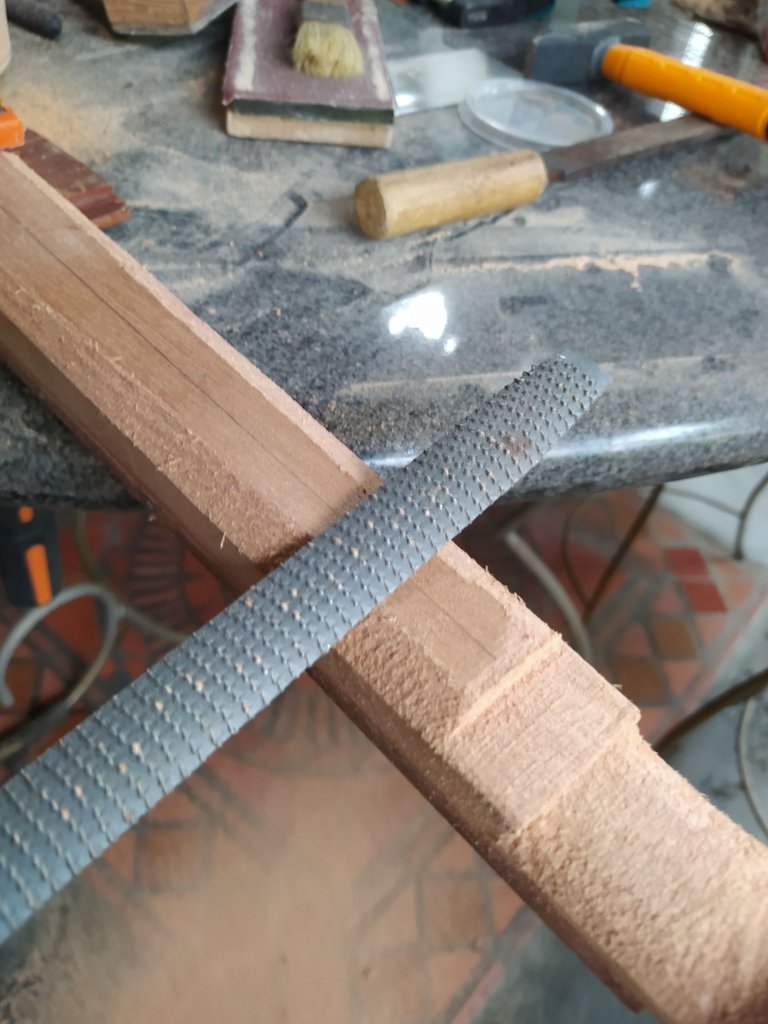
Then, we sand everything to make it smooth and rounder.
Heel button
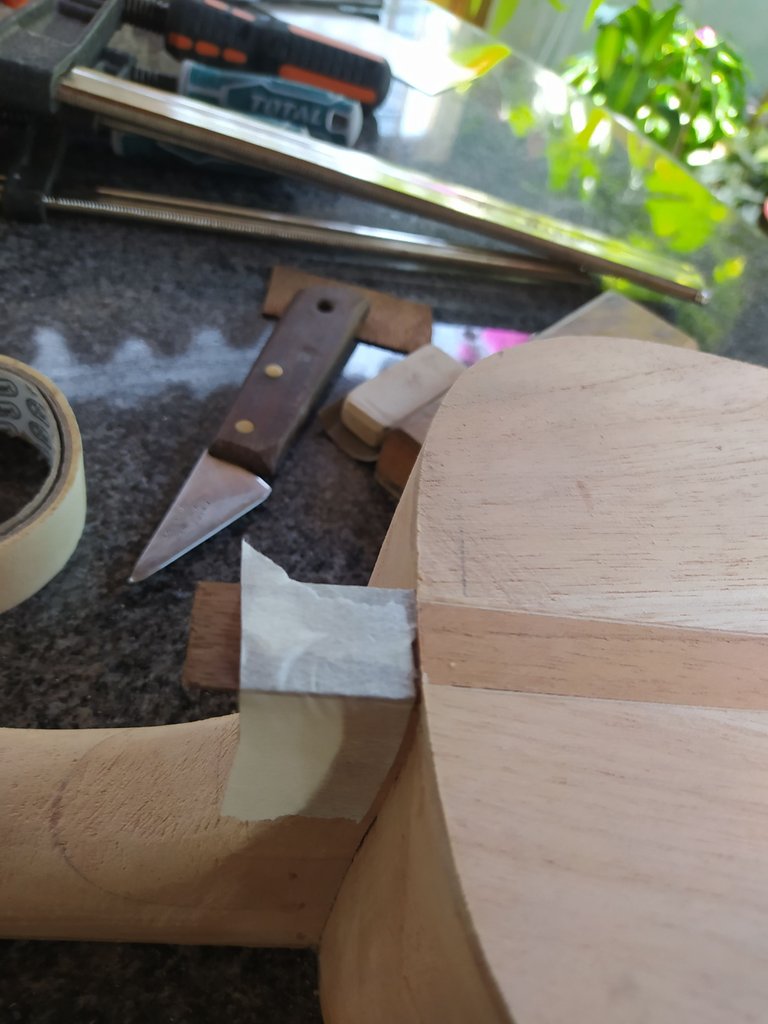
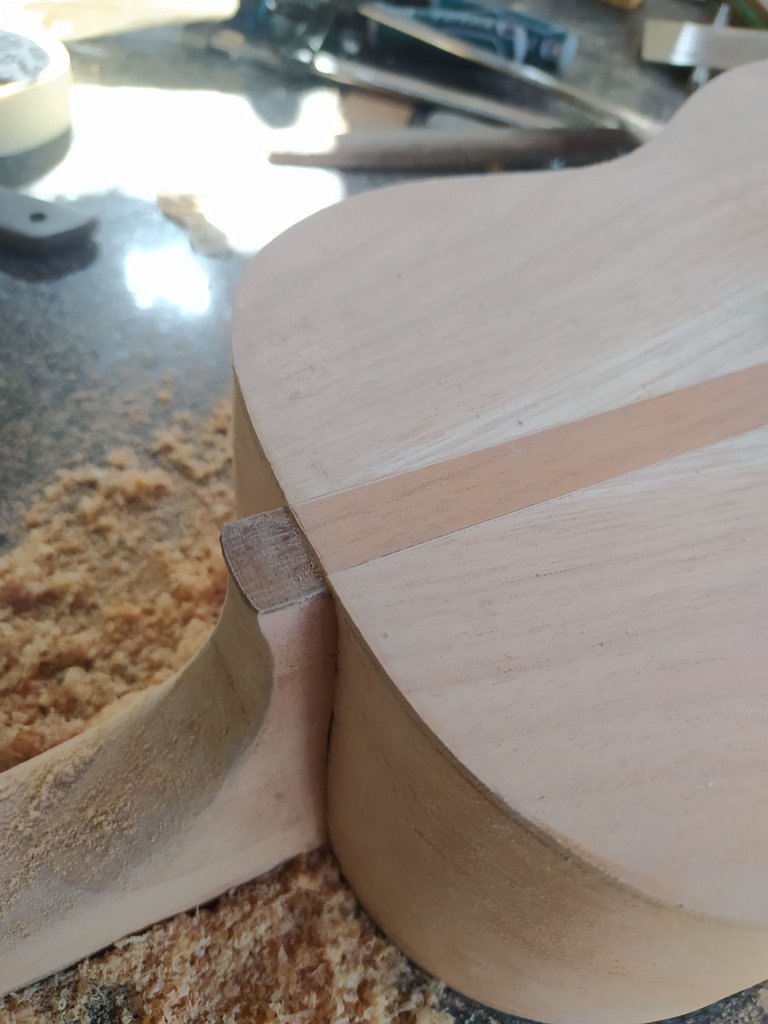
This is a little ornament that goes on the heel. It is usually made of a single price of wood. However, it could be as complex as you want.
A whole lot of sanding.
With almost all done, we procedd to prepare the instrument for sealing the grain of the wood. First, we use an 80 grit sandpaper to even any uneven places. Then, we go forth with different grits. The job is repetitive but it pays off. Basically, we sand and then we use a damp cloth to make the splinters of wood rise. We keep doing this with each grit of sandpaper until we cannot feel any splinter. Then, we move to a different grit. This ensure a smooth surface and prevents any pesky splinter from ruining the finish.
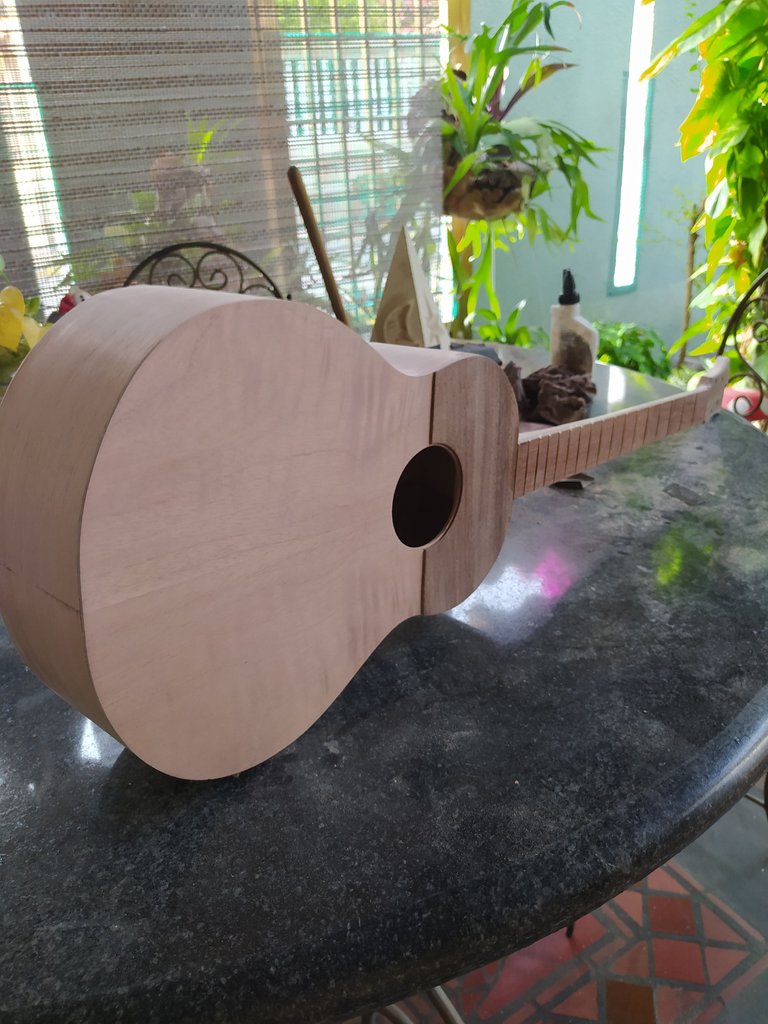
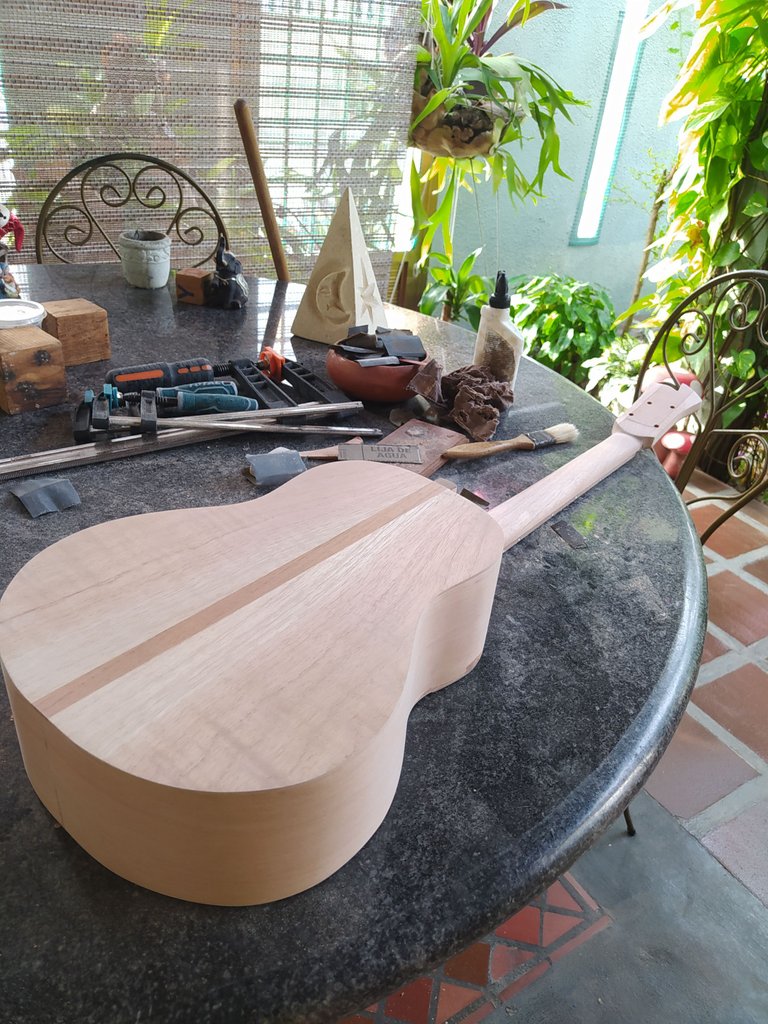
There are no in-between photos of this process since it means a lot of sawdust and dirty hands.
Sealing the grain
This is another messy process. We need to seal the grain to protect the instrument from humidity and have a layer where the finish can sit.
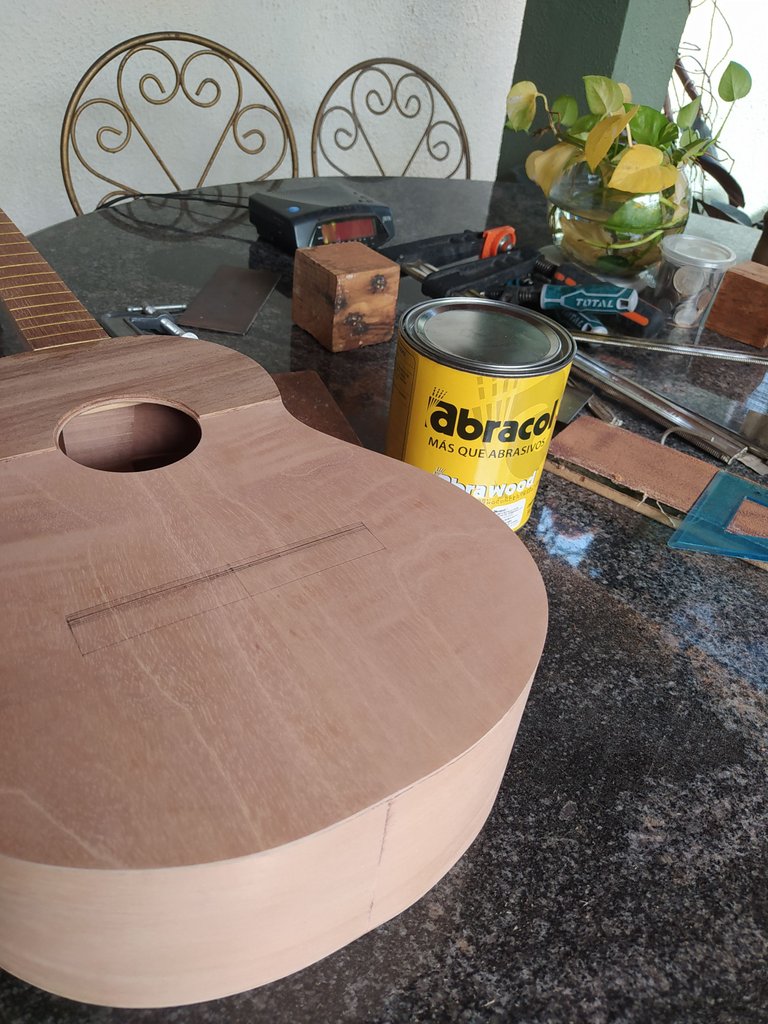
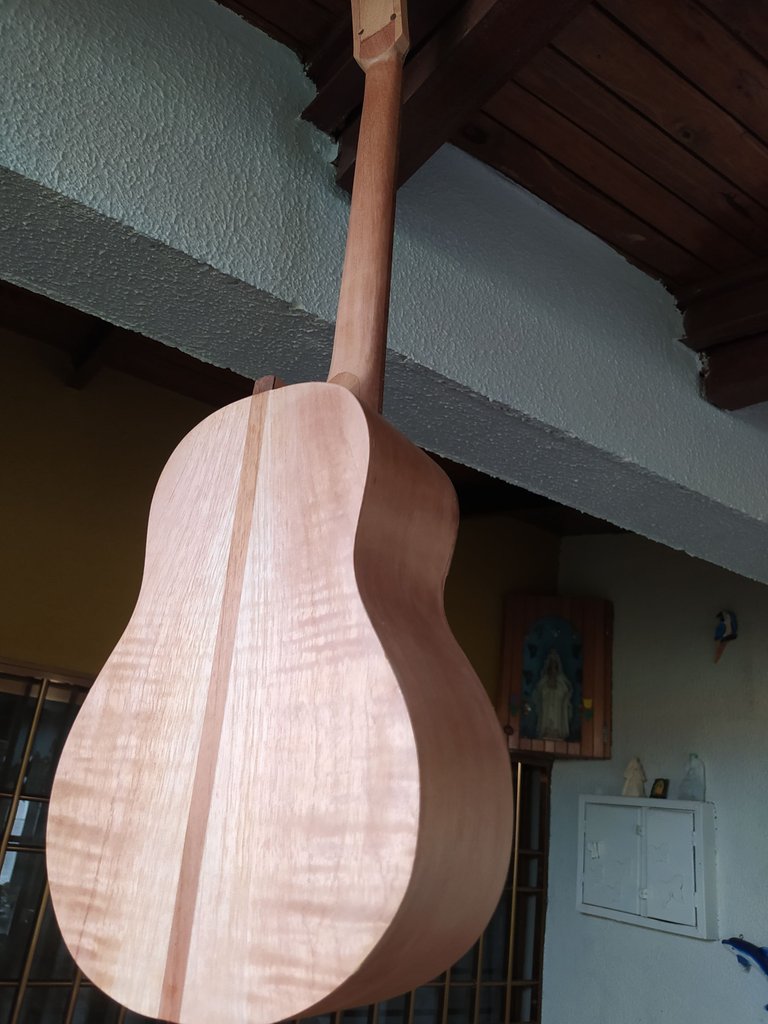
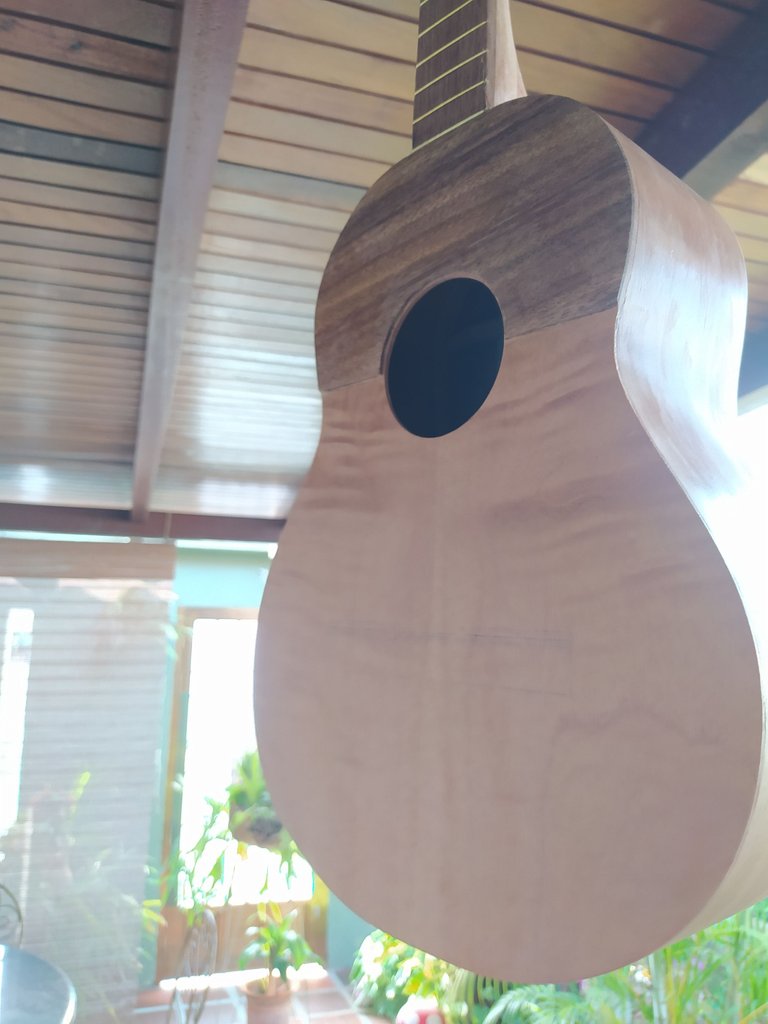
After we have decided the right viscosity for the sealant. We start applying it. Each coat takes from 45 - 60 minutes to dry. After each coat, we sand the whole instrument to make each layer of sealant even. We repeat the process until we can't see nor feel the grain of the wood.
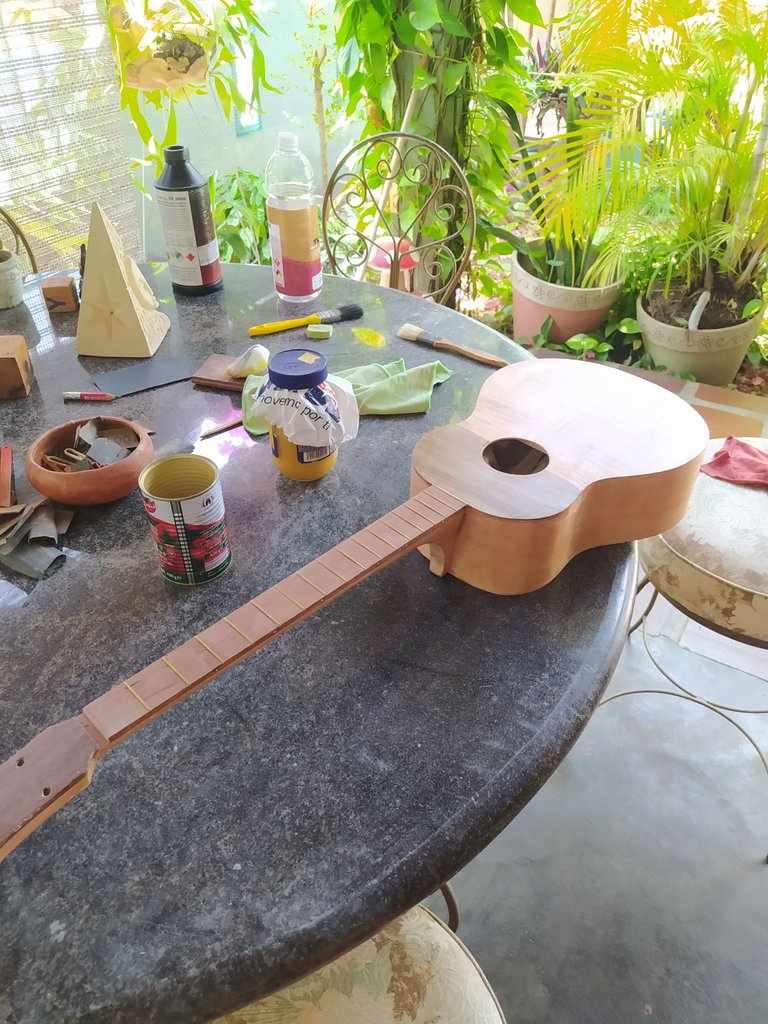
Bridge, nut and saddle
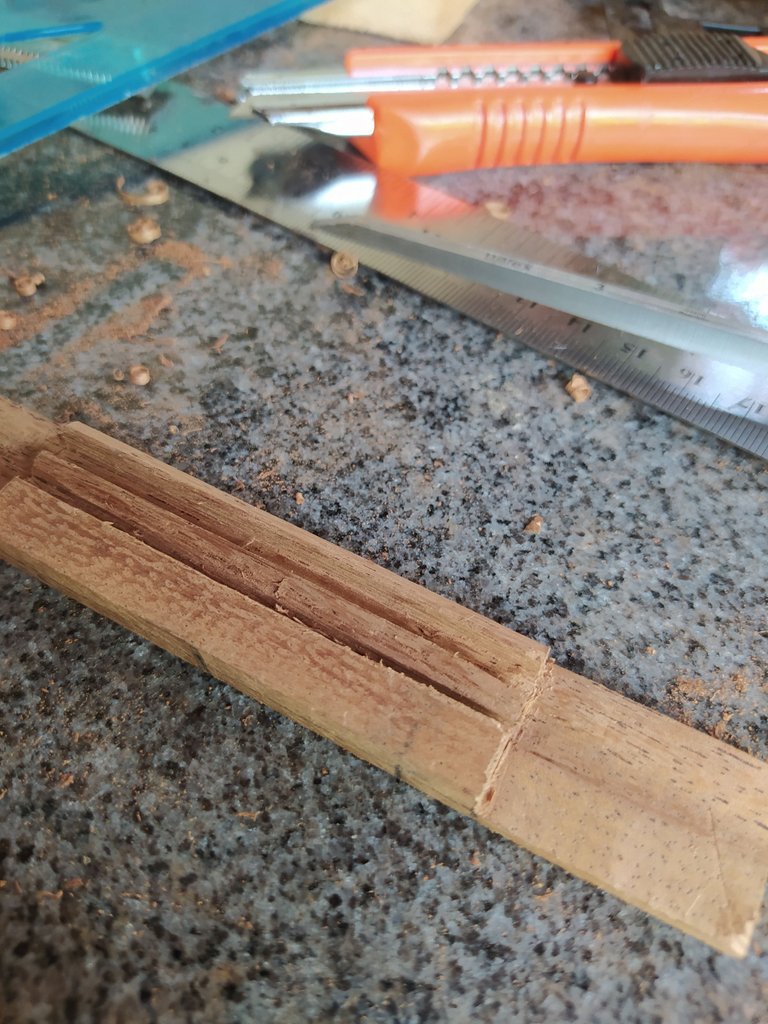
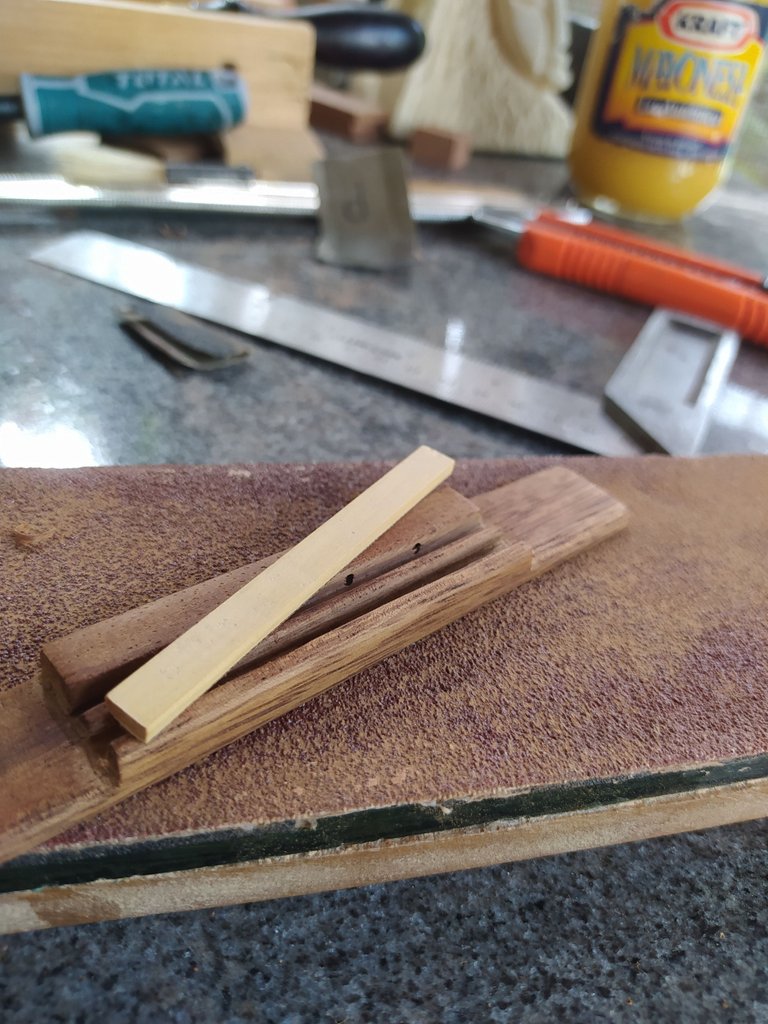
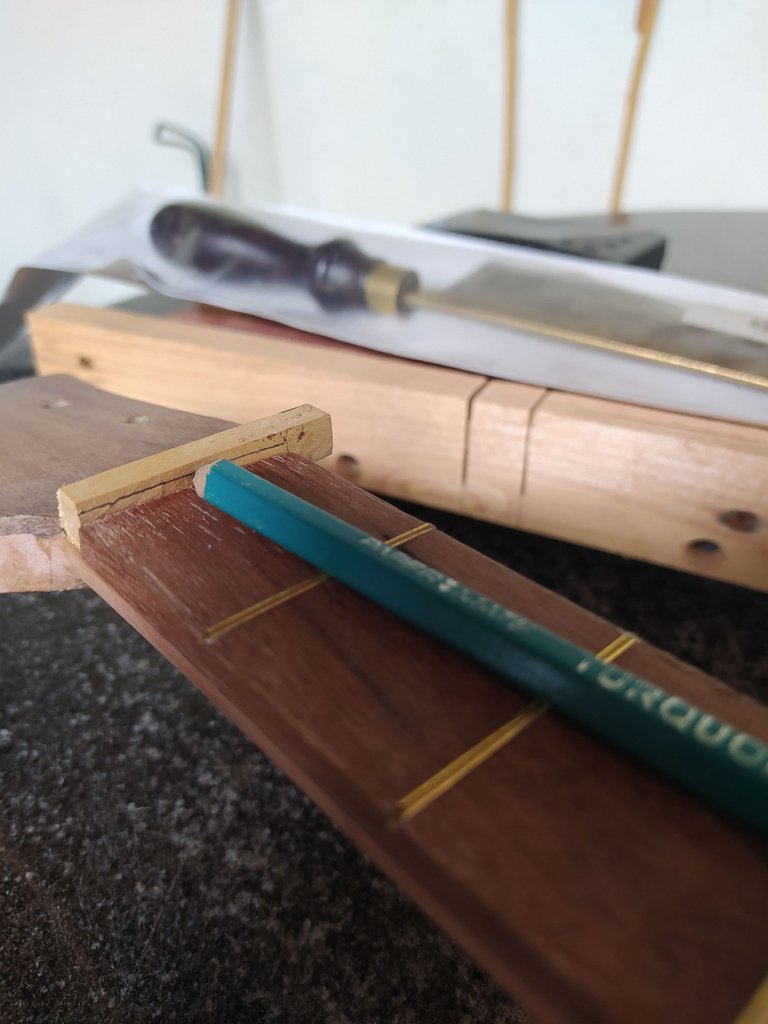
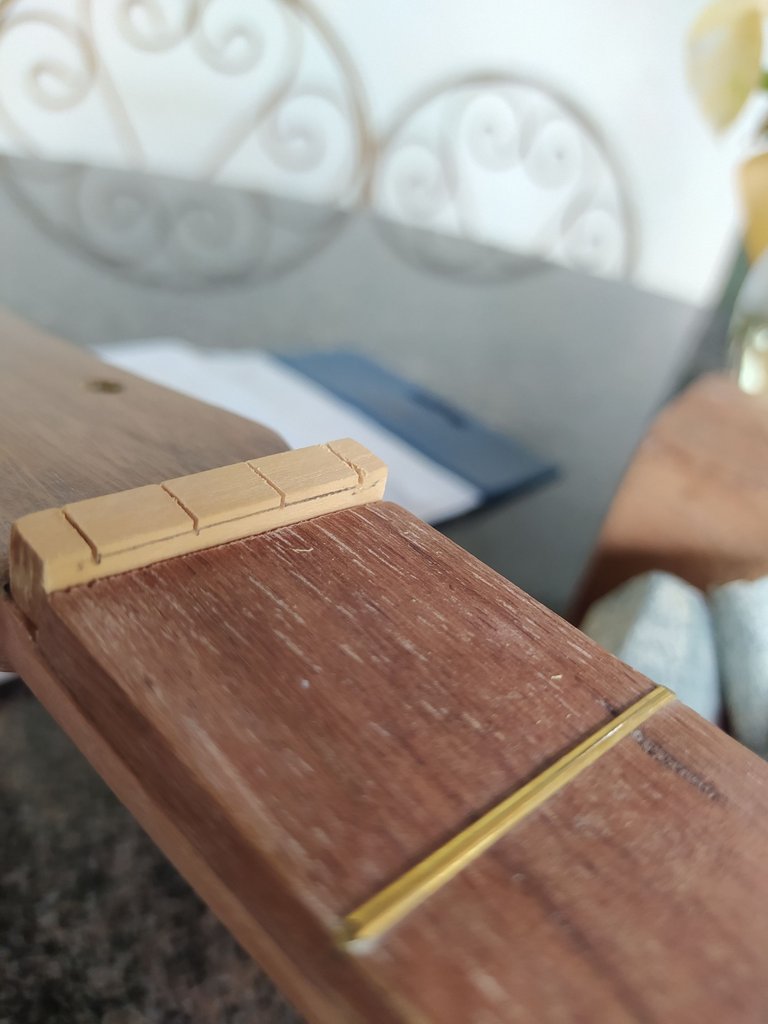
These are the last pieces to go on the instrument as they are related to the strings. The bridge transports vibration to the sound board via the saddle and the nut divides the fretboard and head stock. These two last pieces have a crucial roll on the action of the stirngs. I took the time make them. Sox everything is ready. We are just missing the finishing of the instrument to get them in place and make any necessary adjustments.
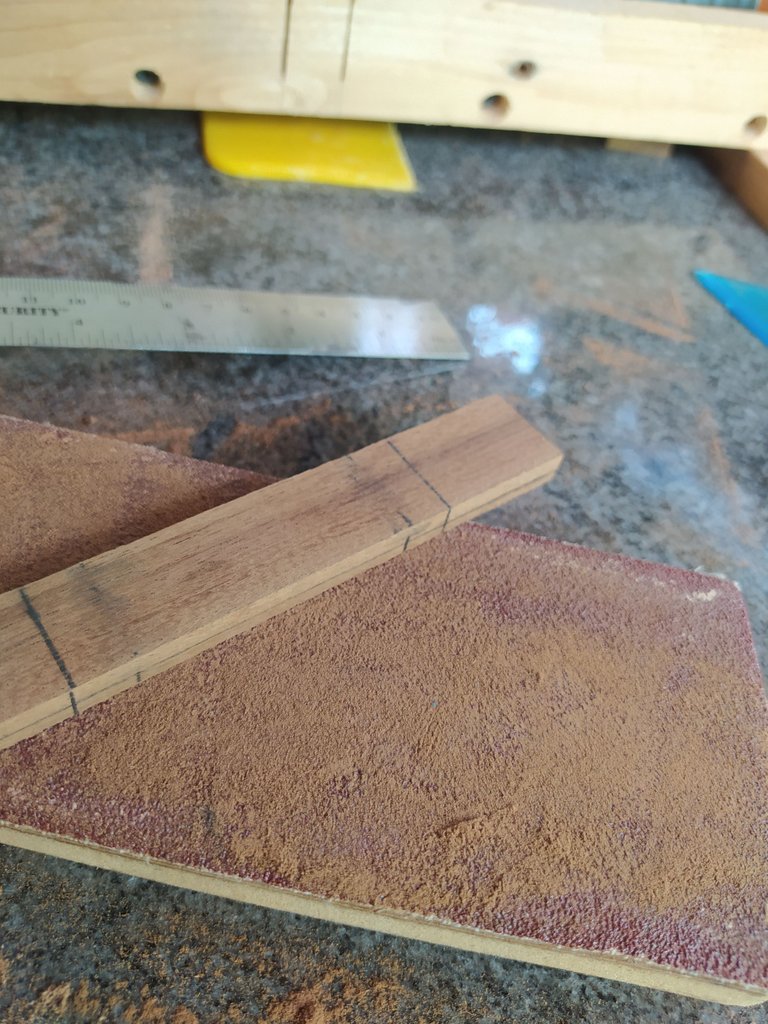
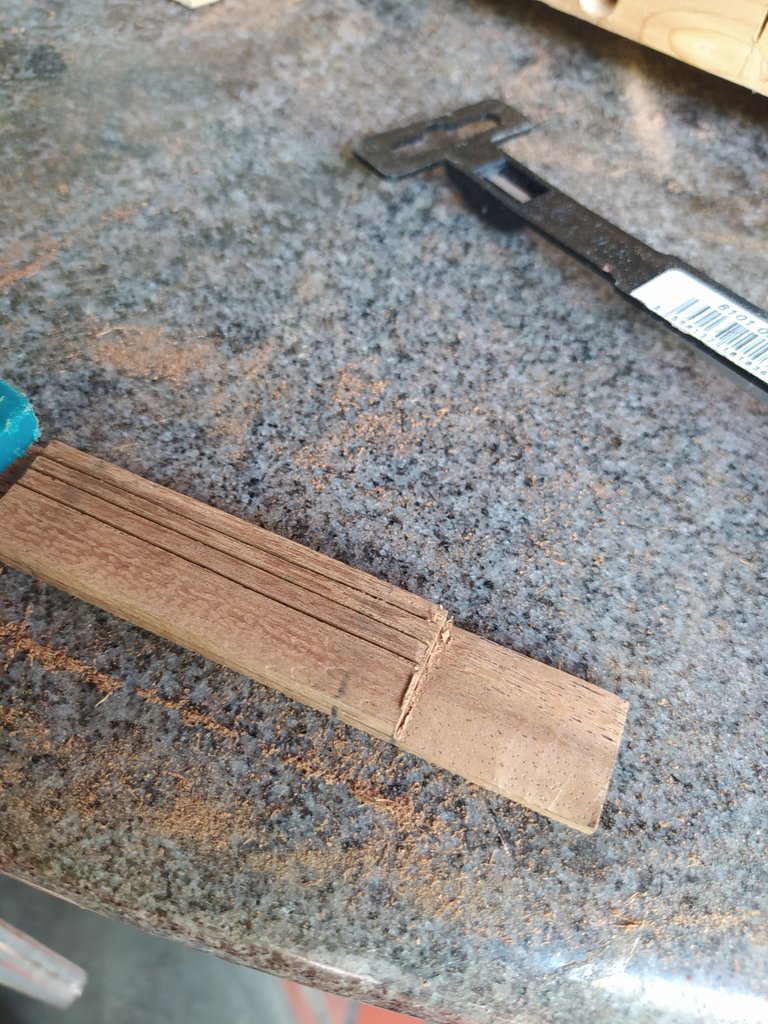
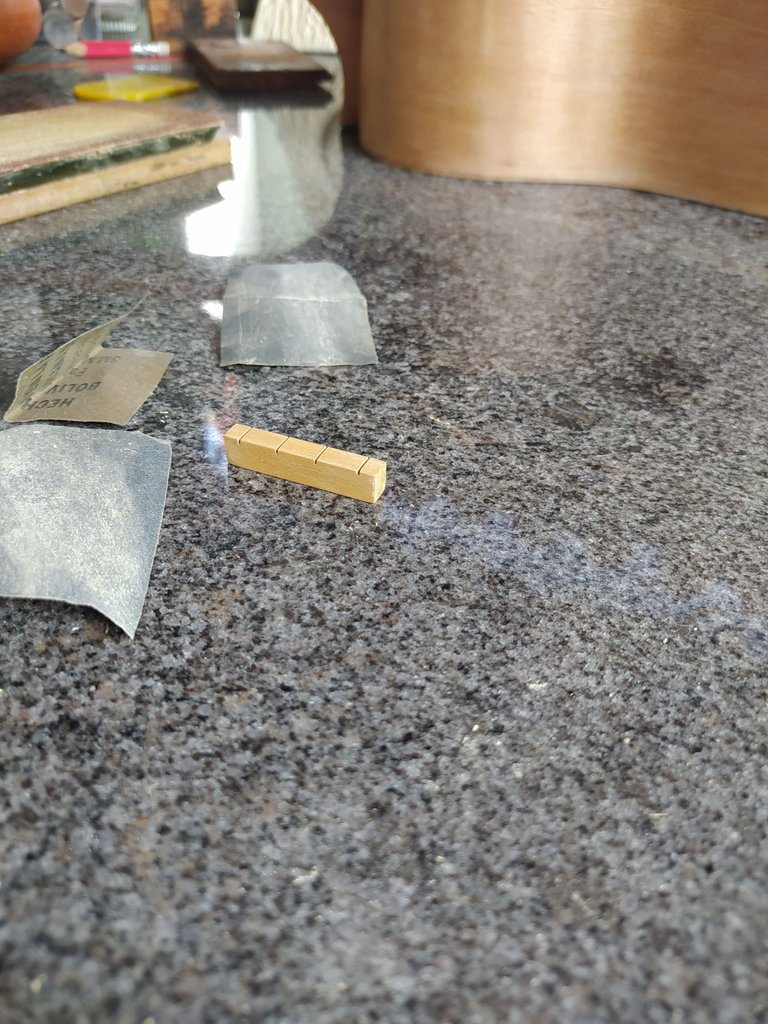
This is all the progrwss of this project as of today and closing and near to the second week of its start. Next time you see it, it will be on its way to Germany in the hands of her owner.
'till then, have a great week!
