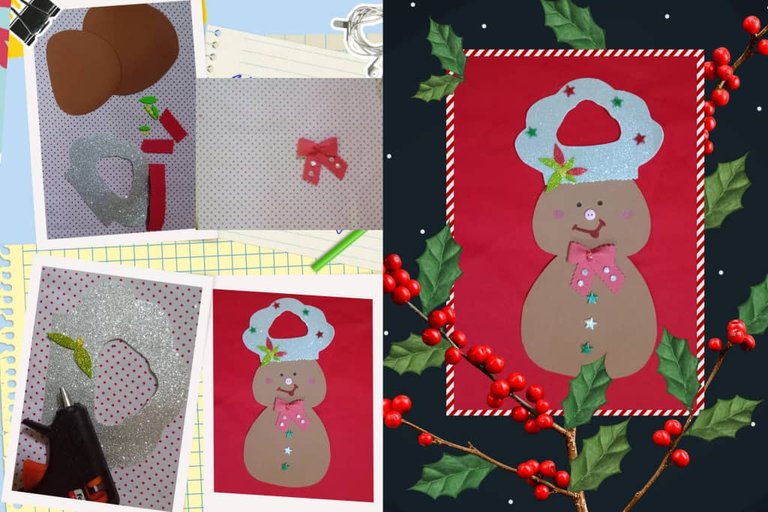
Greetings friends and Diyhub community, it is a pleasure to greet you and share a new creative project, Christmas is coming and I am making ornaments to decorate the house and the tree, for this Christmas I want to combine fabric and foami in the decorations, if you have followed my publications you may notice that most of the projects I do in fabric, foami is a simple and practical material to work with, it also helps us to get good results and a lot of brightness of this season when using the frosted foami, today's project is a beautiful gingerbread cookie that can be used to decorate the doors, windows or the favorite place in our house, I invite you to join me in the process of elaboration.
Saludos amigos y comunidad Diyhub, es es un placer saludarles y compartir un nuevo proyecto creativo, ya se acerca la navidad y estoy haciendo los adornos para para decorar la casa y el árbol, para esta navidad quiero combinar en las decoraciones tela y foami, si has seguido mi publicaciones puedes notar que la mayoría de los proyectos los hago en tela, el foami es un material sencillo y práctico para trabajar, además nos ayuda a obtener buenos resultados y mucho brillo propio de esta temporada al brillo al usar el foami escarchado, el proyecto de hoy se trata de una hermosa galleta de jengibre que se puede usar para decorar las puertas, ventanas o el lugar favorito de nuestra casa, les invito me acompañen en el proceso de elaboración.

Materials used
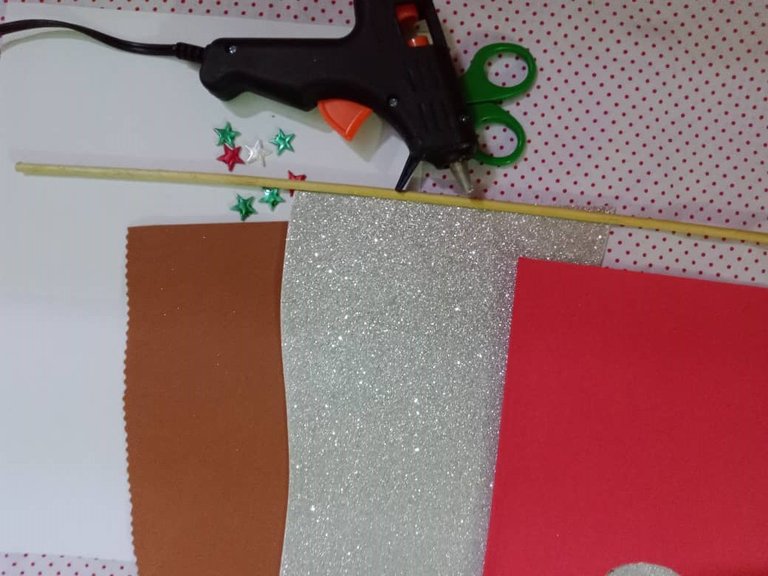
Frosted Foami (silver, green and red)
Brown foami
Silicone stick
Silicone gun
Molds
Height stick
Scissors
Stars to decorate
Button
Marker
Materiales usados
Foami escarchado (plateado, verde y rojo)
Foami marrón
Silicón en barra
Pistola de silicón
Moldes
Palillo de altura
Tijera
Estrellas para decorar
Botón
Marcador

Elaboration
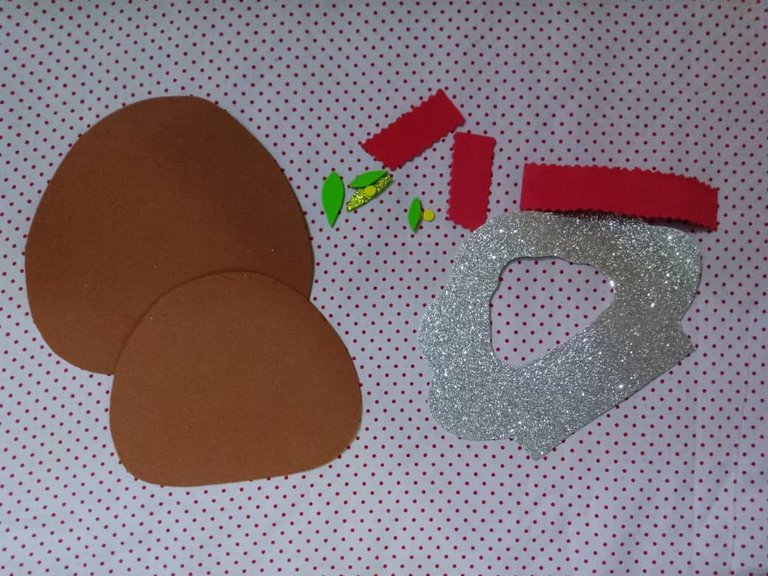
The process of elaboration is simple and requires little time, I started marking the pieces; body of the cookie and face in a brown foami, I marked them using a height stick, the advantage of using the height sticks when marking the molds is that it does not leave ink and at the same time helps us to make the cut more neatly because when tracing the leaves a small indentation through which easily passes the scissors, I also cut the cap.
Elaboración
El proceso de elaboración es sencillo y requiere poco tiempo, inicié marcando las piezas; cuerpo de la galleta y cara en un foami marrón, los marqué utilizando un palillo de altura, la ventaja de utilizar los palillos de altura al marcar los moldes es que no deja tinta y a la vez nos ayuda a que el corte sea más prolijo pues al trazar el deja una pequeña hendidura por la cual fácilmente pasa la tijera, también corté el gorro.

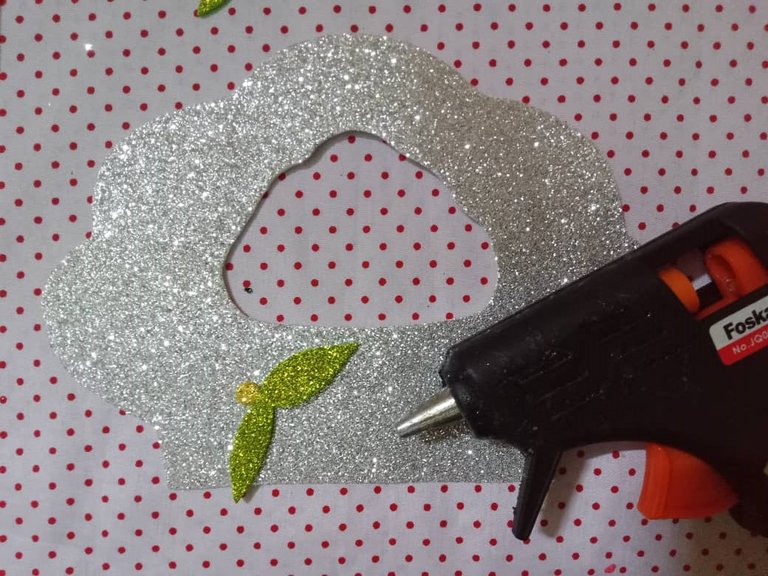
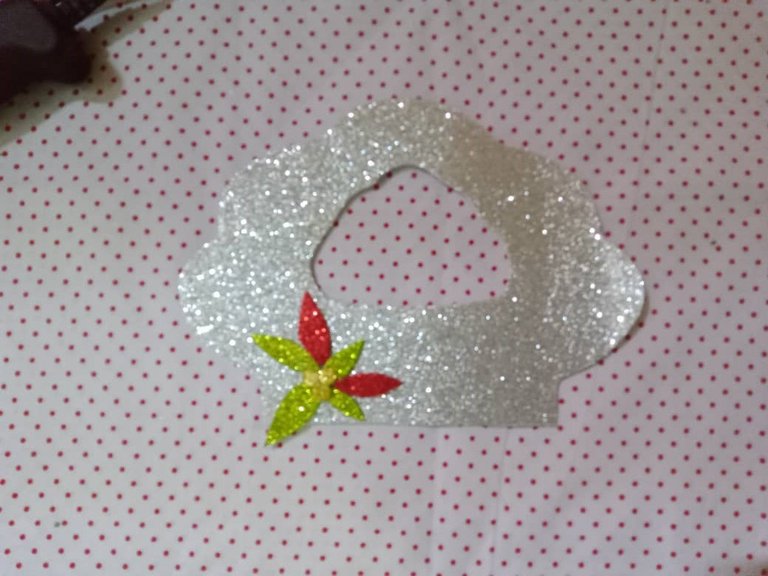
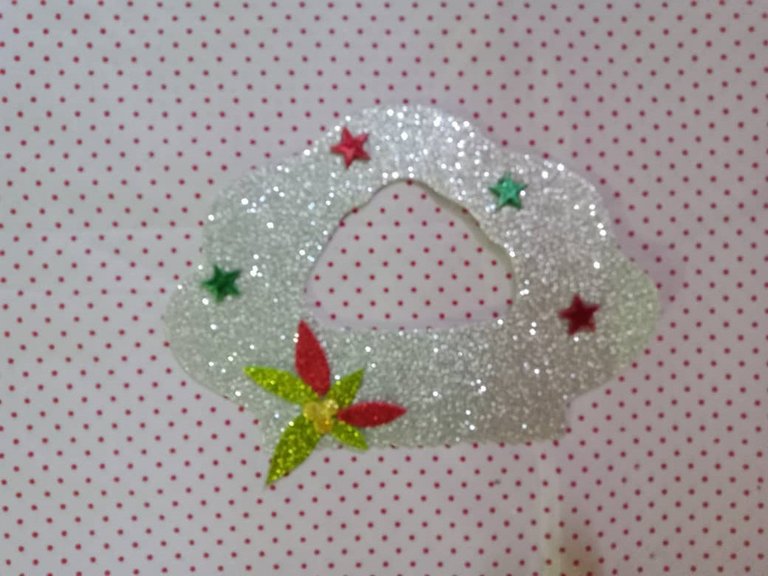
Once the pieces were cut, the next step was to decorate the hat of the cookie, this will be silver colored, I added a flower at the bottom and at the top I added red and green stars, with a silicone dot I glued each star.
Ya cortadas las piezas, el siguiente paso fue decorar el gorro de la galleta, este será de color plateado, agregué una flor en la parte inferior y en la parte superior agregué estrellas de color rojo y verde, con un punto de silicón pegué cada estrella.

The third step was to make the ribbon that will go in the union of the head and body of the cookie; I folded in half the foami strip taking both ends to the center, I added a dot of silicone ruche and let it dry, then in a triangular shape I glued the strips of the ribbon and joined them to this in the back, in the central front part of the ribbon I added two red circles.
El tercer paso fue hacer el lazo que irá en la unión de la cabeza y cuerpo de la galleta; doblé a la mitad la tira de foami llevando ambos extremos hasta el centro, agregué un punto de silicón arruche y dejé secar, luego en forma triangular pegué las tiras del lazo y las uní a este en el posterior, en la parte delantera central del lazo agregué dos círculos rojos.
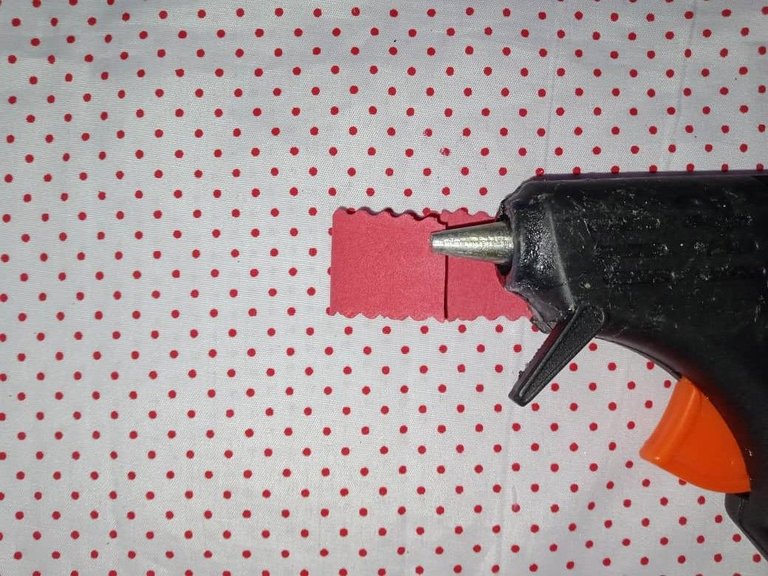
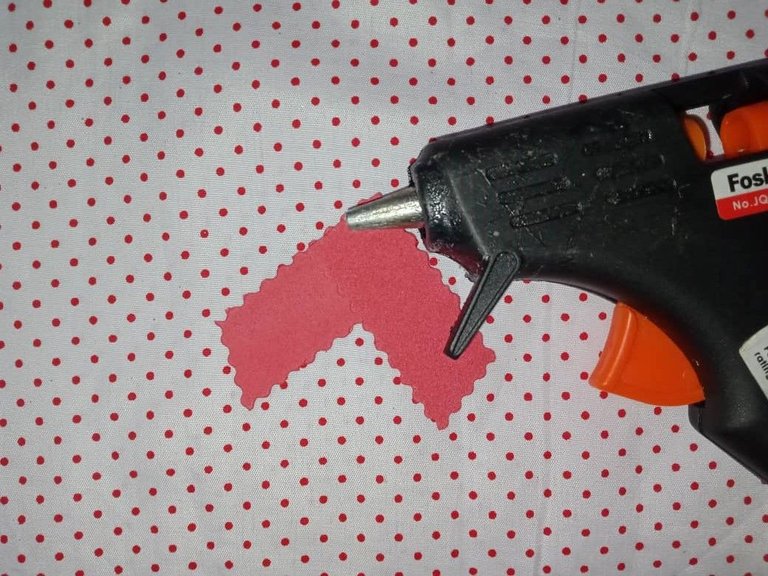
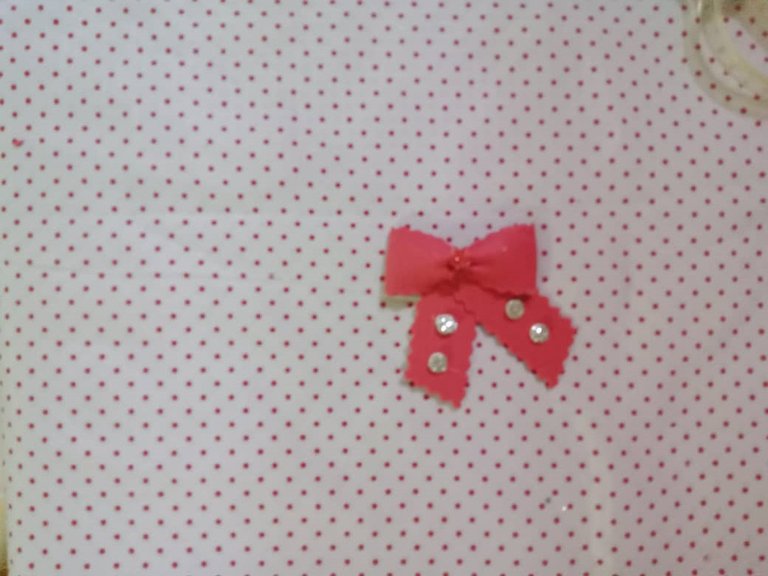

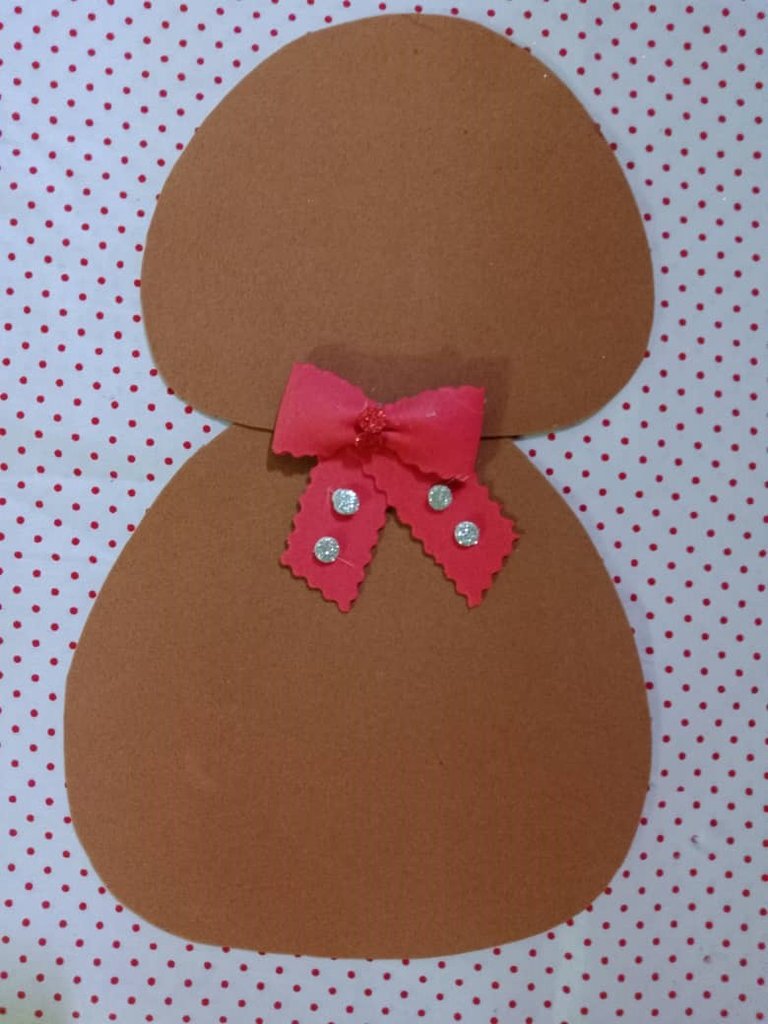
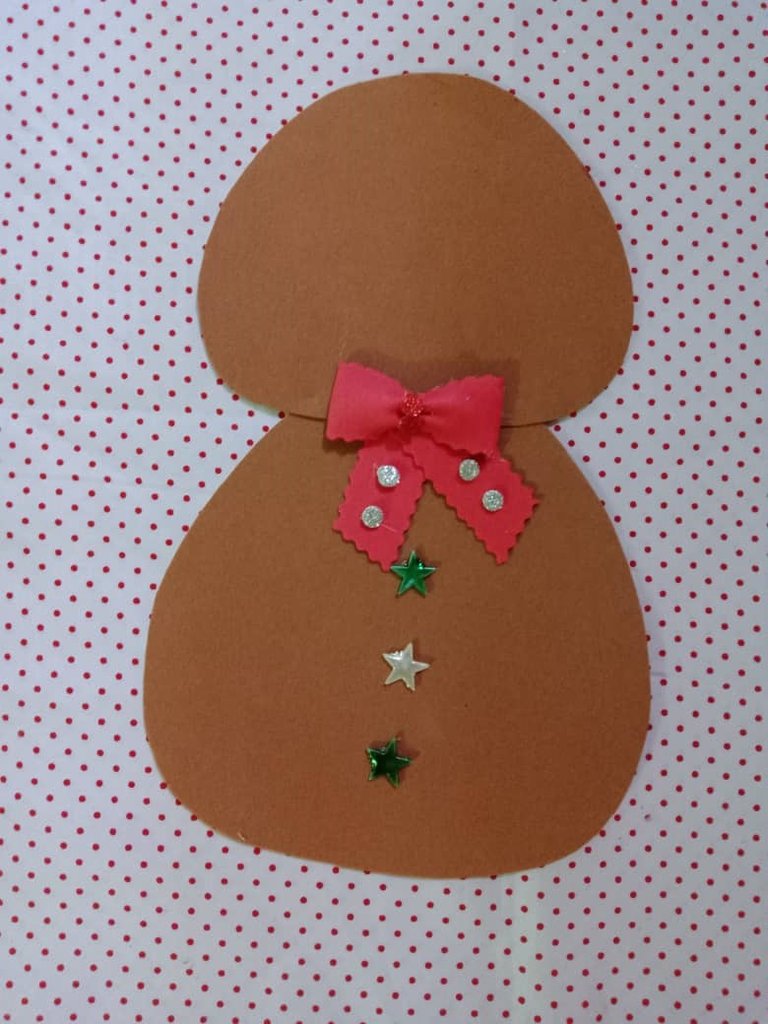
Then I attached the head to the body, in the most pronounced part of the body I placed the wide part of the head, I glued the same with hot silicone, I also added the bow in this union and I placed white and green stars in the body of the cookie.
Luego uní la cabeza al cuerpo, en la parte más pronunciada del cuerpo coloqué la parte ancha de la cabeza, pegué igualmente con silicón caliente, agregué también el lazo en esta Unión y coloqué estrellas de color blanco y verde en el cuerpo de la galleta.
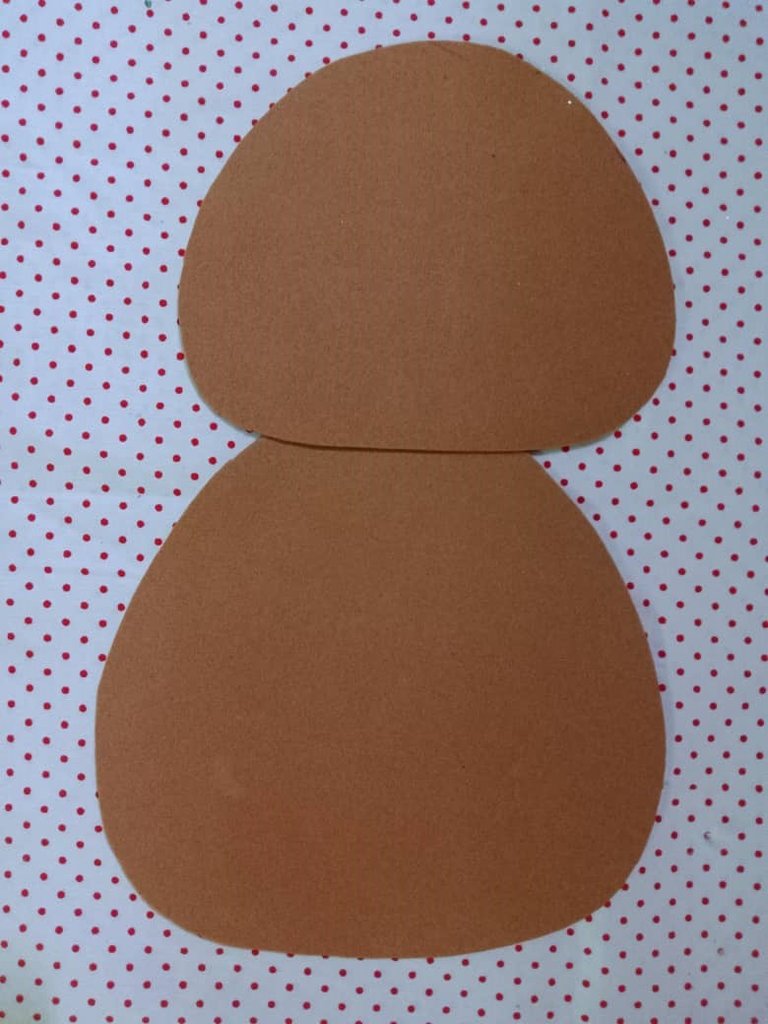

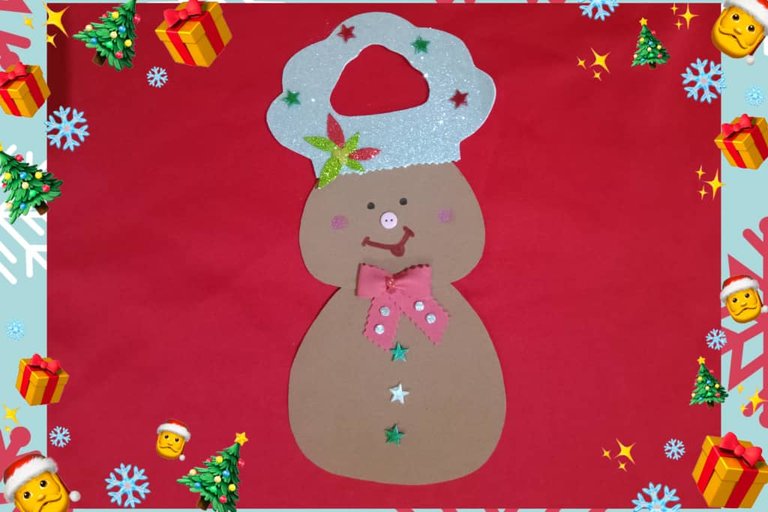
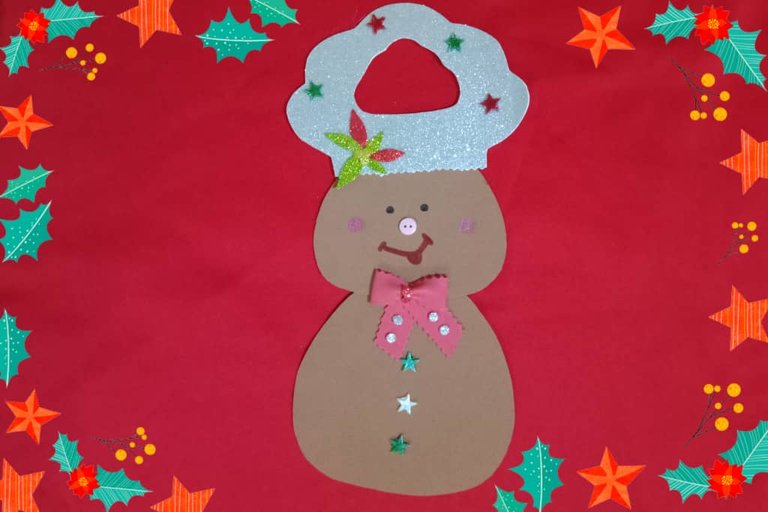
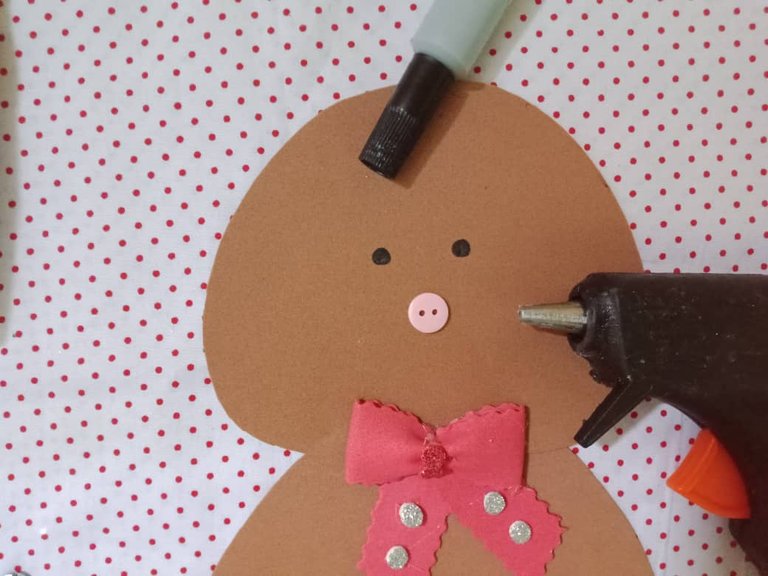
With the help of a marker I painted the eyes, then I glued a button that will be the nose, I added a little blush on the cheeks, I glued the hat on the cookie, I also added a hanging on the back and so is finished a nice gingerbread cookie to decorate the house for Christmas.
Con ayuda de un marcador pinté los ojos, luego pegué un botón que será la nariz, agregué un poco de rubor en las mejillas, pegué el gorro de la galleta, agregué también un colgadero en la parte trasera y así está terminada una linda galleta de jengibre para decorar la casa en Navidad.

This project is really easy to do in it we can combine different colors to decorate the cookie, as well as figures allusive to Christmas; canes, boots, bells, little Santas, among others that accompany this beautiful cookie, I hope you find it useful and are encouraged to do it.
Este proyecto es realmente sencillo de hacer en él podemos combinar diferentes colores para decorar la galleta, así como figuras alusivas a la Navidad; bastones, botas, campanas, pequeños santas, entre otros que acompañen a esta hermosa galleta, espero les sea de utilidad y se animen a realizarlo.


Translated with https://www.deepl.com/translator
          All images are my own, captured by a Síragon LC-3000 camera.

   Todas las imágenes son de mi autoría, capturadas por una cámara Síragon LC-3000.

