
Hello everyone
How are you all my friends, on this occasion you are back with me again with my latest work, namely making a beautiful bowl out of paper.
As we know, every origami paper also has ideas for various kinds of preparations, but on this occasion I chose a work made from a bowl, which we often use at home.
I visited a shop where there were various different and unique shapes that could be seen from the bowls and one of them was like the one I made, namely a bowl in the shape of a star, where this shape looks unique and so beautiful, anyone who holds it feels comfortable and happy, especially for Their children were very impressed with the beautiful shape of bowls like this
However, for friends who love my newest work and the beautiful shape, namely a star-shaped bowl, I will publish a tutorial on how to make it in detail so that all my friends can take part in making it and turning it into a toy at home.
The ingredients I use
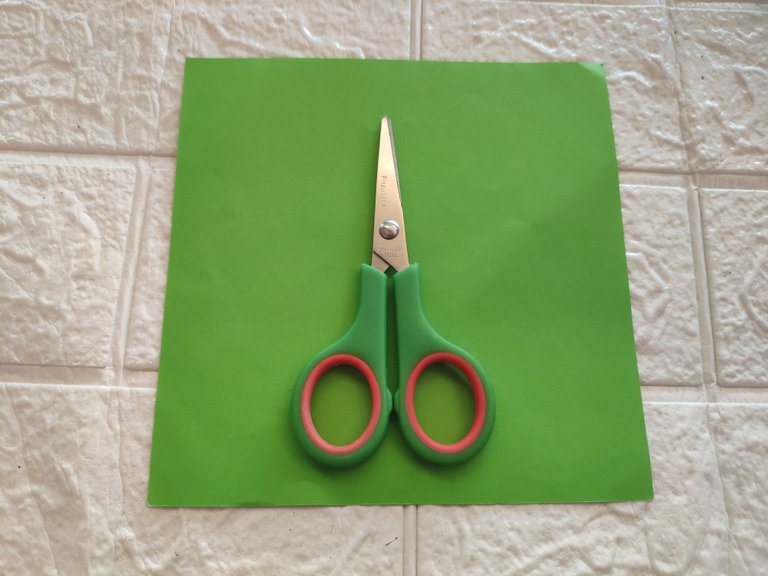
- Scissors
- Green Origami Paper
How to make a star bowl
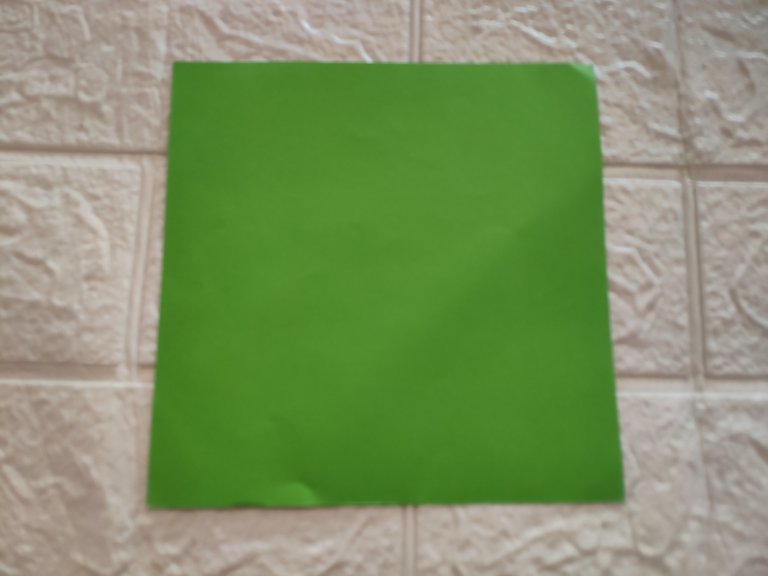
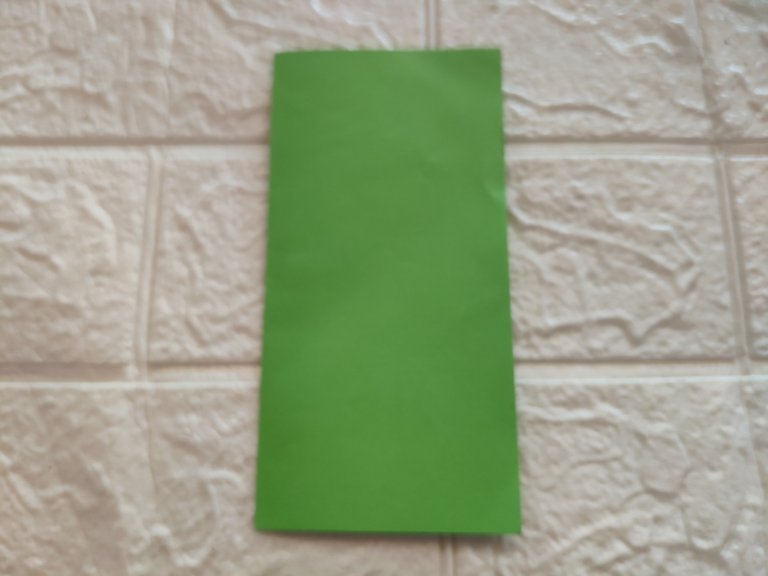
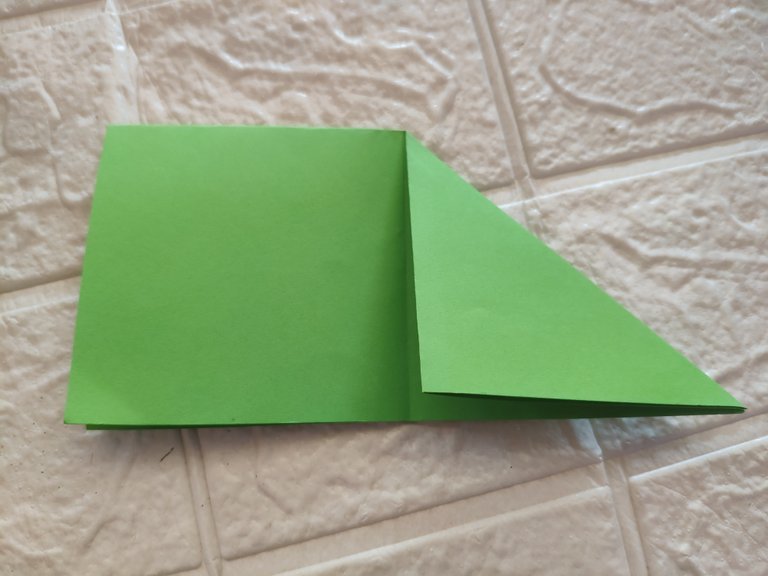
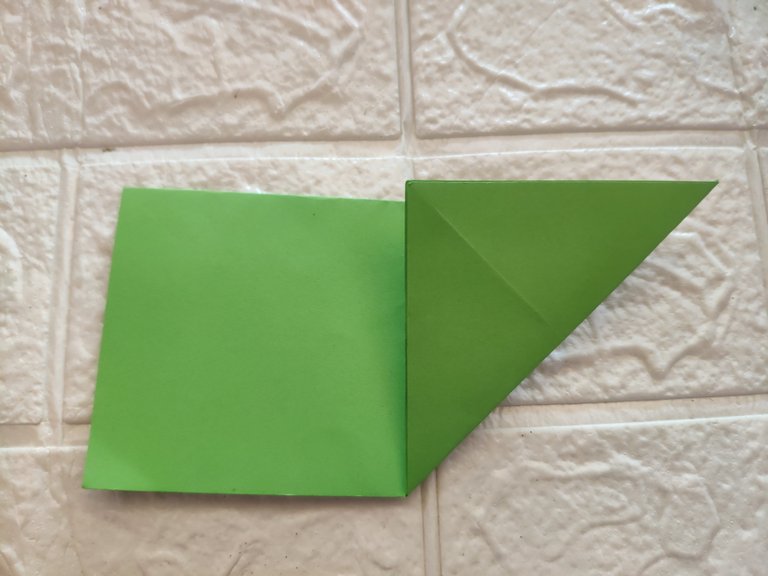
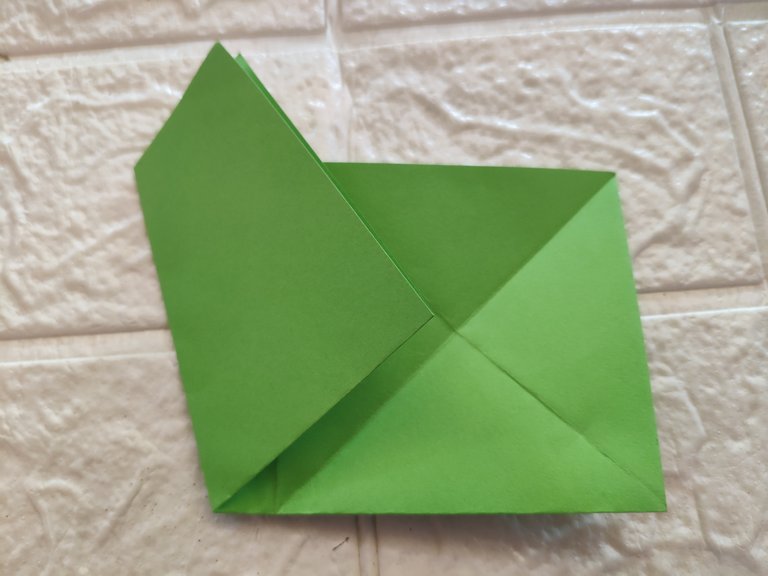
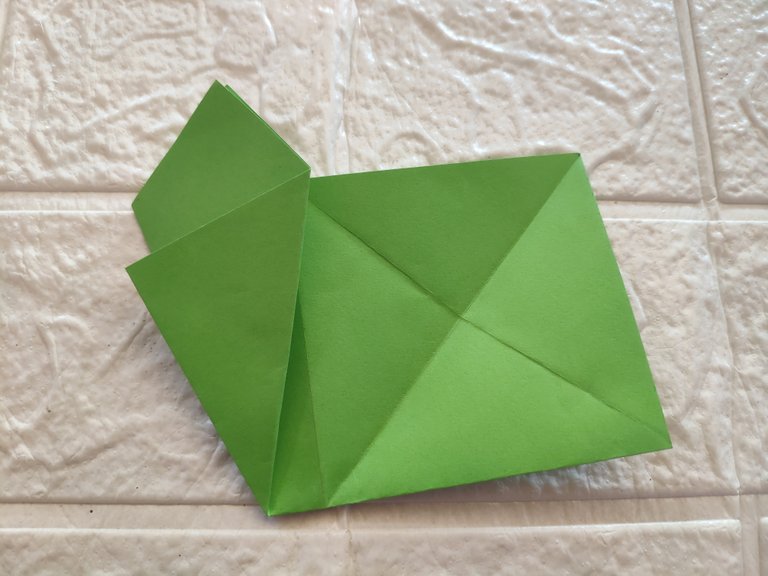
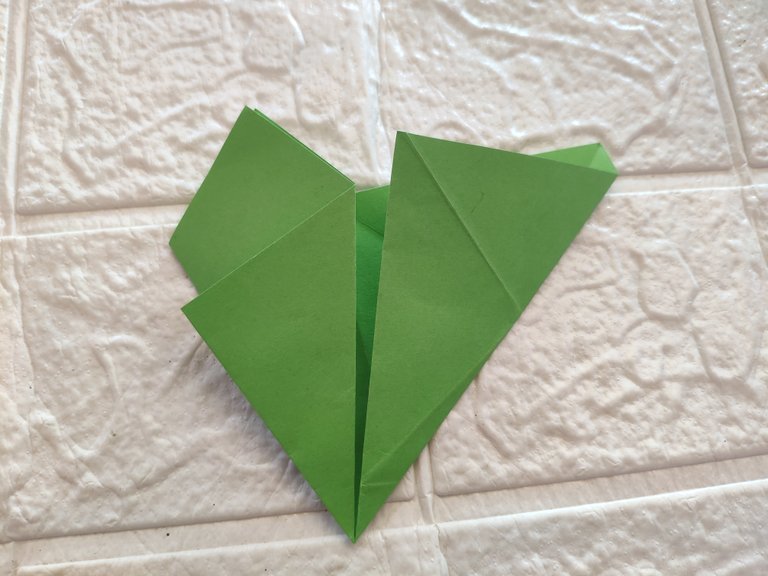
(1) The first step we have to do in forming a bowl is that we fold the origami paper in the shape of a rectangle into two parts, then we fold it again into one part, after that we fold the part on the right to form a slide down above. After that, we do the origami paper on the left side, we fold it to the middle, then we put it together
 |  |
|---|
 |  |
|---|
 |  |
|---|
 |  |
|---|
(2) after we shape it and form it like a cone and point downwards, that's when we will take the key and cut it according to the line at the bottom and do it with that line correctly so that the cone shape of the star will ultimately look beautiful
 | 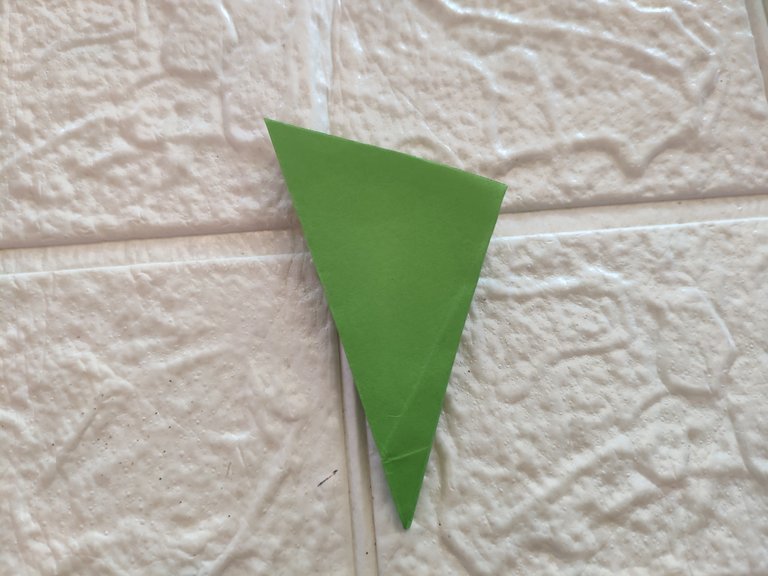 |
|---|
(3) after we shape it and form it like a cone and point downwards, that's when we will take the key and cut it according to the line at the bottom and do it with that line correctly so that the cone shape of the star will ultimately look beautiful
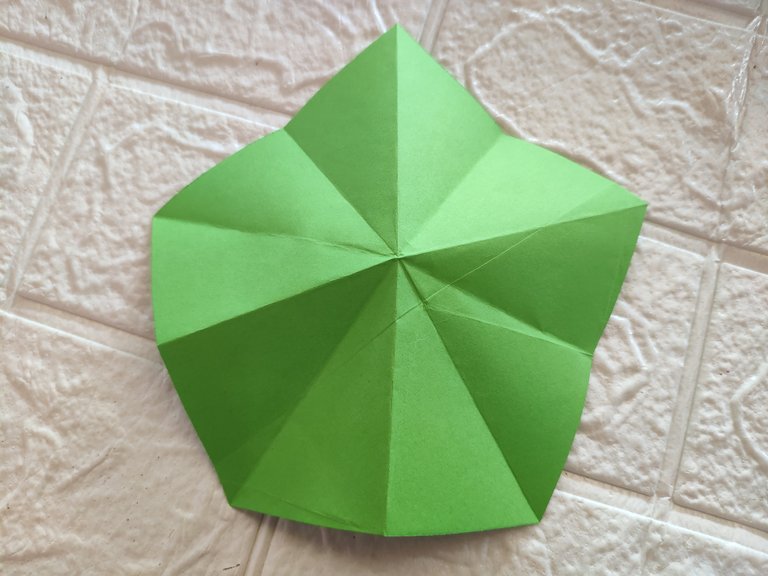 |  |
|---|
(4) Then we have to pay attention to whether the shape is appropriate or not and below I will show you a picture that is correct for both of us. After that, we will open and make a star-shaped bowl, please take it slowly so that the shape is more beautiful
 |  |
|---|
After doing well, please see the final result whether it is right and good and I feel satisfied and of course you guys too

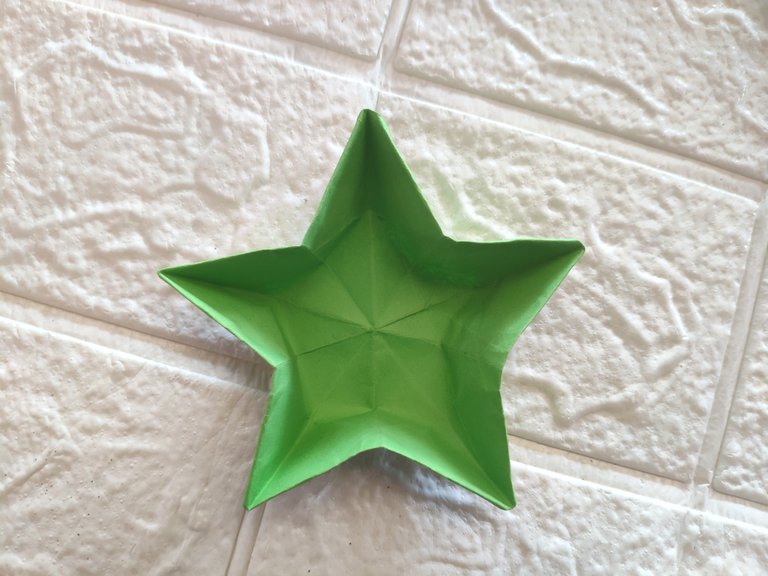


These are some of the detailed steps and tutorials that I showed to all of my friends. I hope that this tutorial will be useful for all of you, easily carry out every movement to form a factor and of course the results will be the same.
To all my friends who love some of the kitchen tools that you like, of course don't forget to try this tutorial, I hope it's useful


