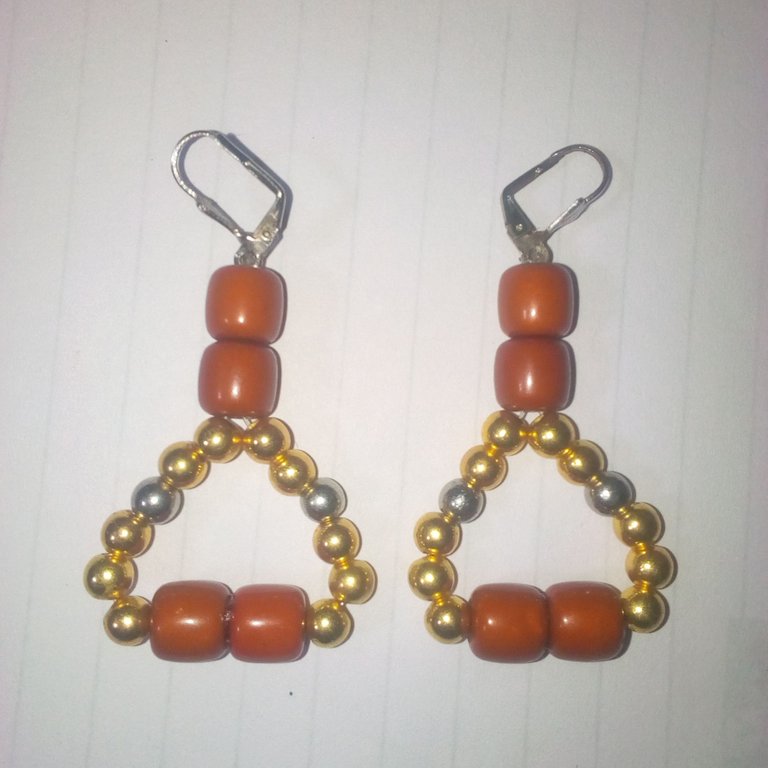
Hello fellow creators, I have missed you all with all your wonderful creative experiences. I wish this month of May is prosperous for us as I will be presenting to you a new earring meant for this month's tutorial. The earring is quite simple to the eye but with deep meaning when looking at the type of bead and its color combinations. I chose to make the earring for today's tutorial when I was less busy with other physical work.
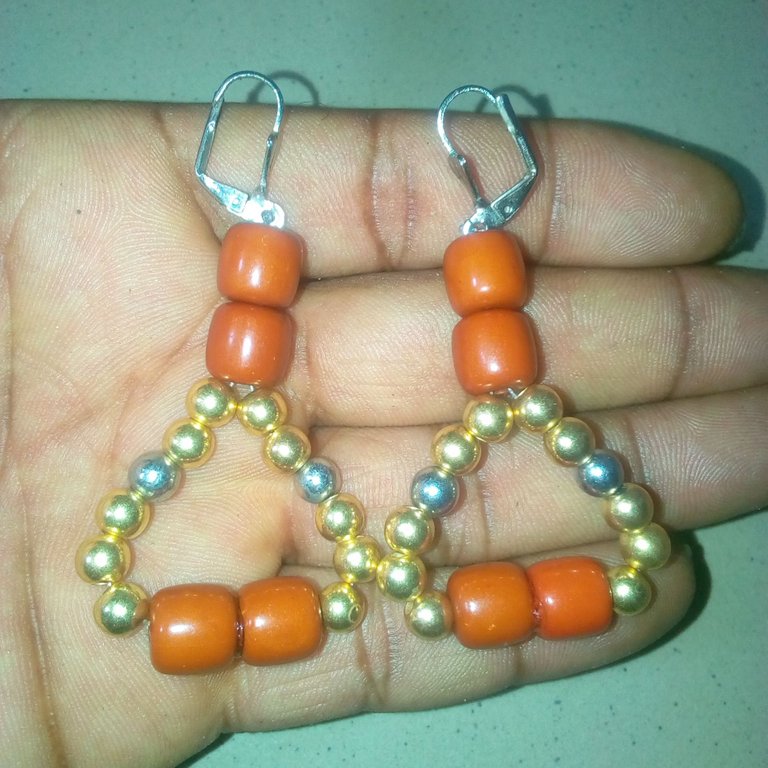
To be honest, when I finished making the complete earring, I didn't have it in mind that the beauty will turn out the way I'm seeing it. This is because when I started the plans for the earring, the idea I chose was inferior to mine. But as I was completing the earring-making process, people who saw it gave a positive remark. It was like, the earring is beautiful and colorful and it made my day as a was happy that my handwork is loved by people.
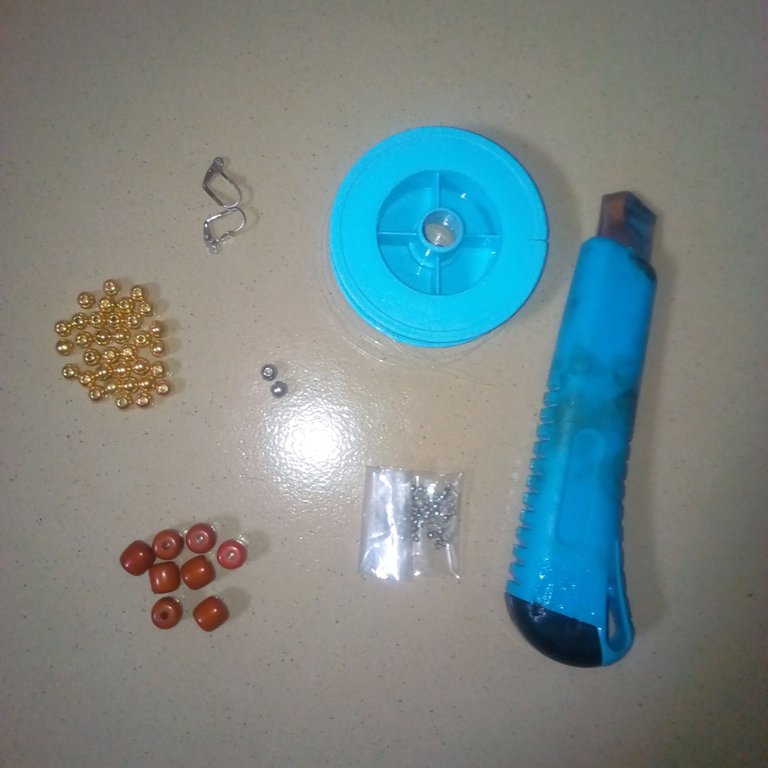
Without further delay, it will be of good impact to provide the materials and procedures adopted for the making of the earring. I know that it will be serving as a guideline anytime you feel to make one for yourself.
Materials used for the earring-making will be highlighted below:
Nylon line.
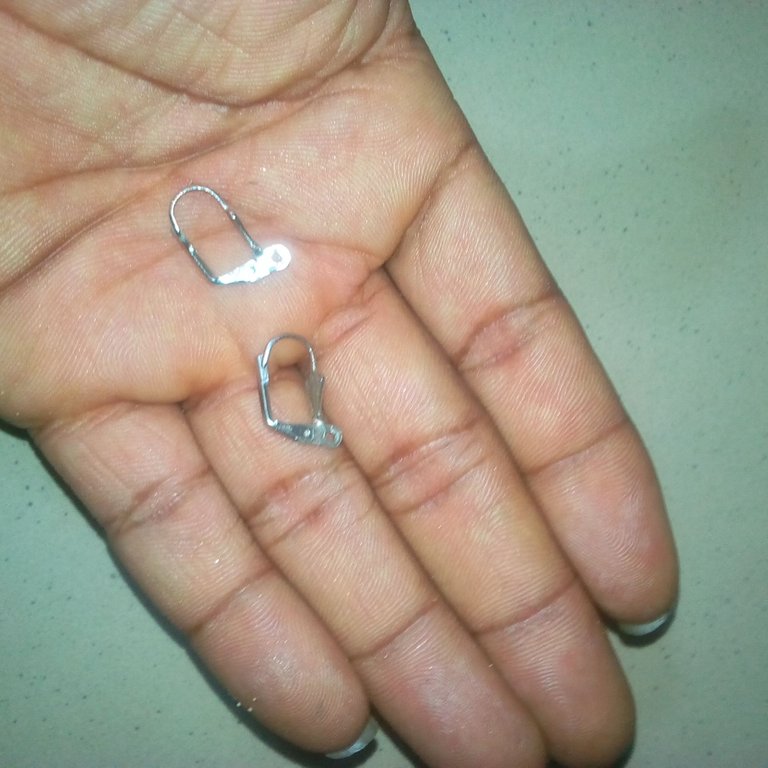
Earring hook.
Bead stopper.
8 pieces of cartoon color straw bead while 4 pieces were used for each ear side.
20 pieces of gold color pearl bead while 10 pieces were used for each side of the earring.
4 pieces of aluminum pearl bead while 2 pieces were used for each side of the earring.
Procedures used for the making of the earring will be provided below:
What I usually do is gather all my materials to be used in one place for easy access and usage.
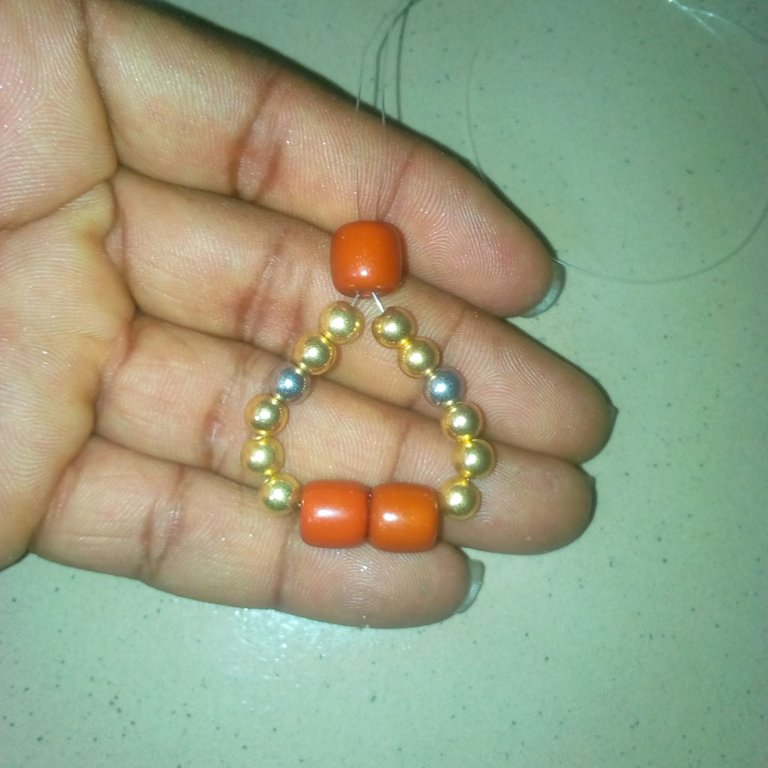
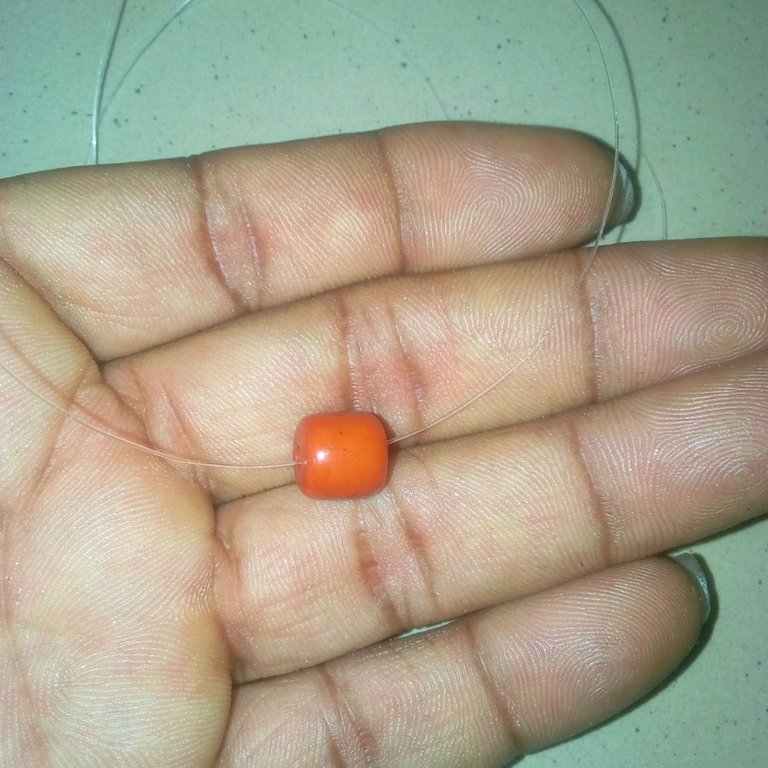
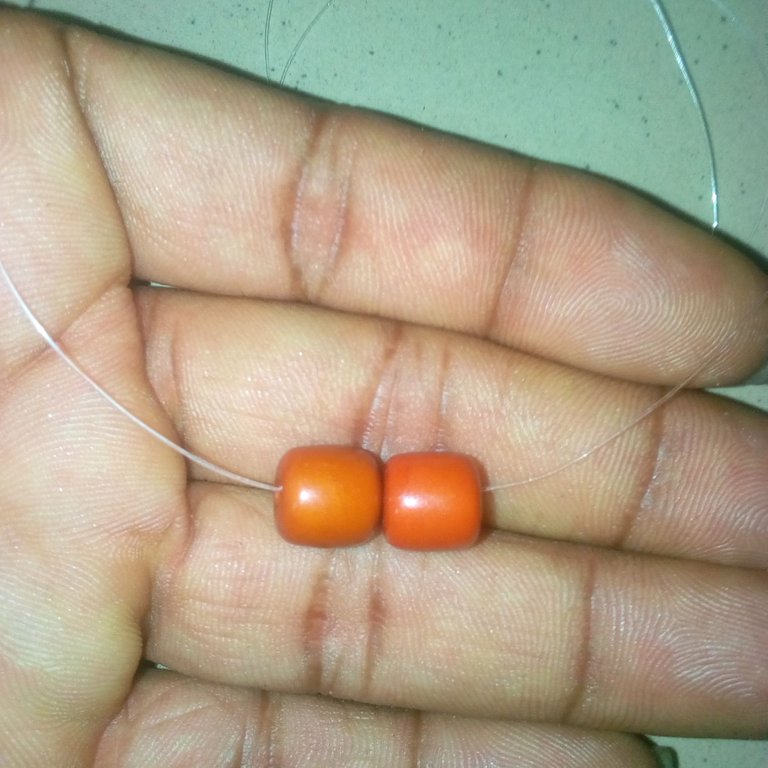
I cut a nylon line from its original row. After I did that, I took 2 pieces of cartoon color pearl beads and insert them into the nylon line.
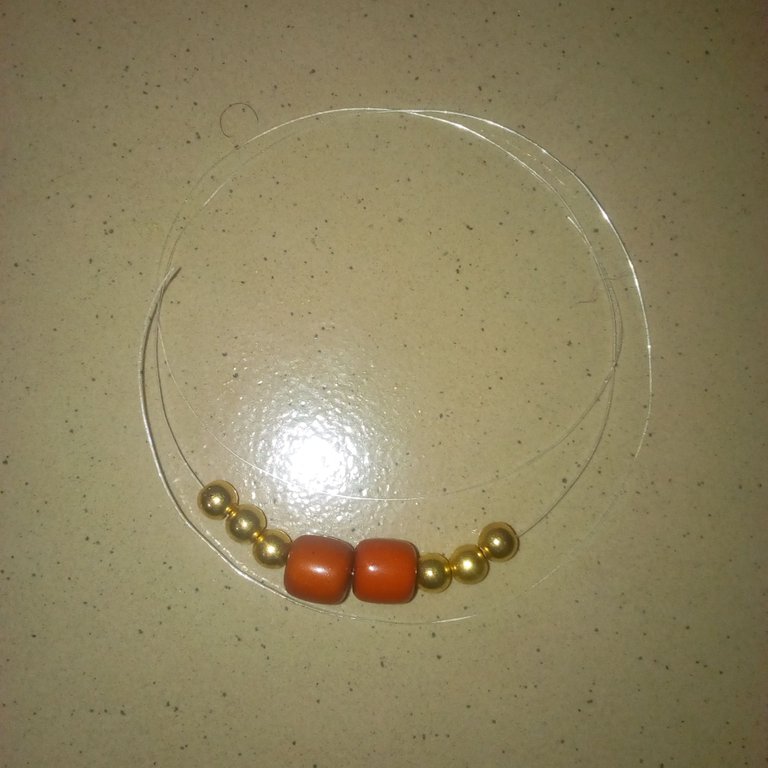
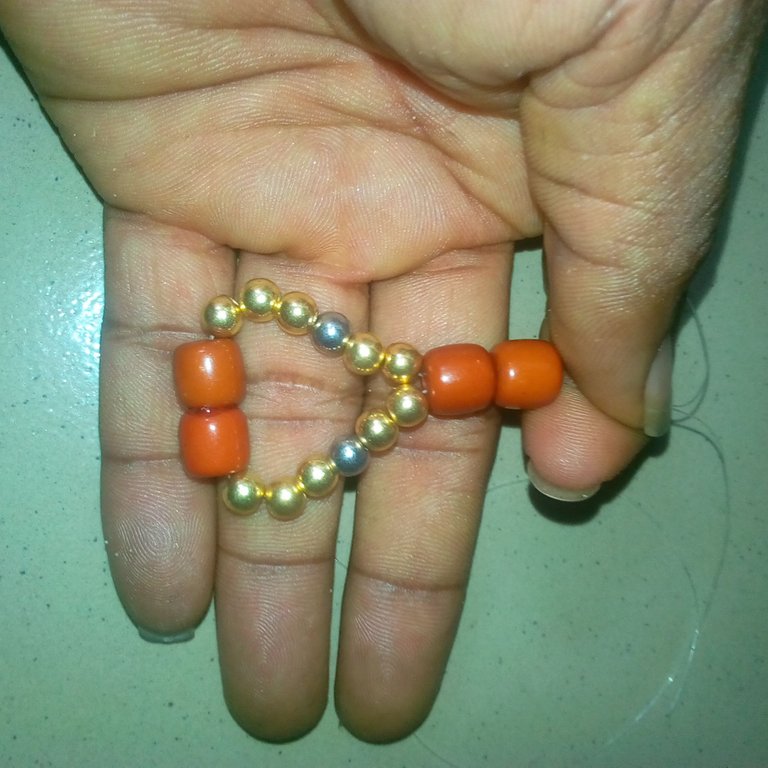
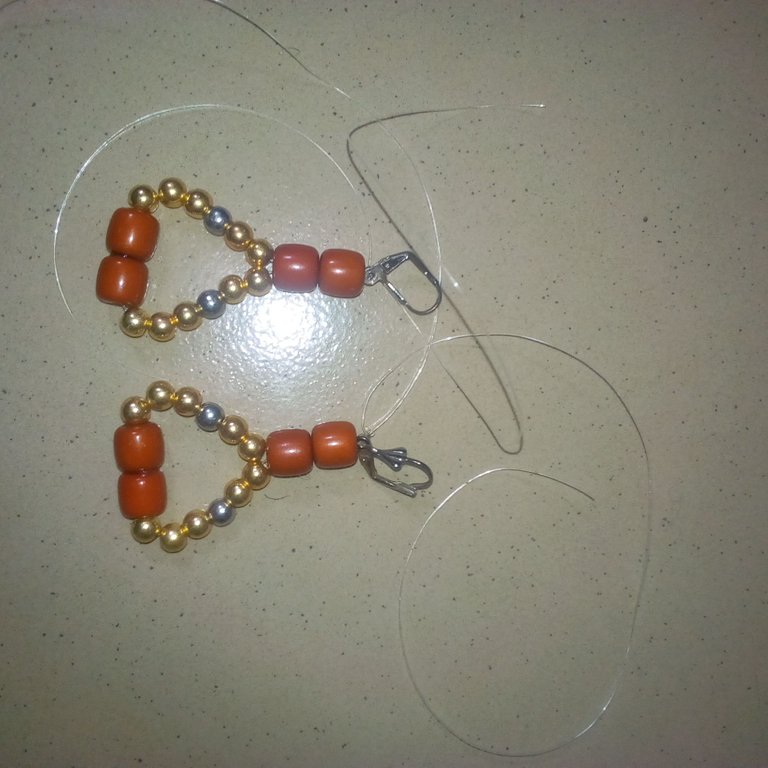
From the left side of the nylon line, I inserted 3 pieces of gold color pearl beads. I also did the same thing to the right side by inserting 3 pieces of gold color pearl beads. Now I inserted 1 piece of aluminum pearl bead into the left side and another 1 piece of the same aluminum pearl bead into the right side of the nylon line. I inserted 2 pieces of gold color pearl beads into the right side and another 2 pieces into the left side of the nylon line.
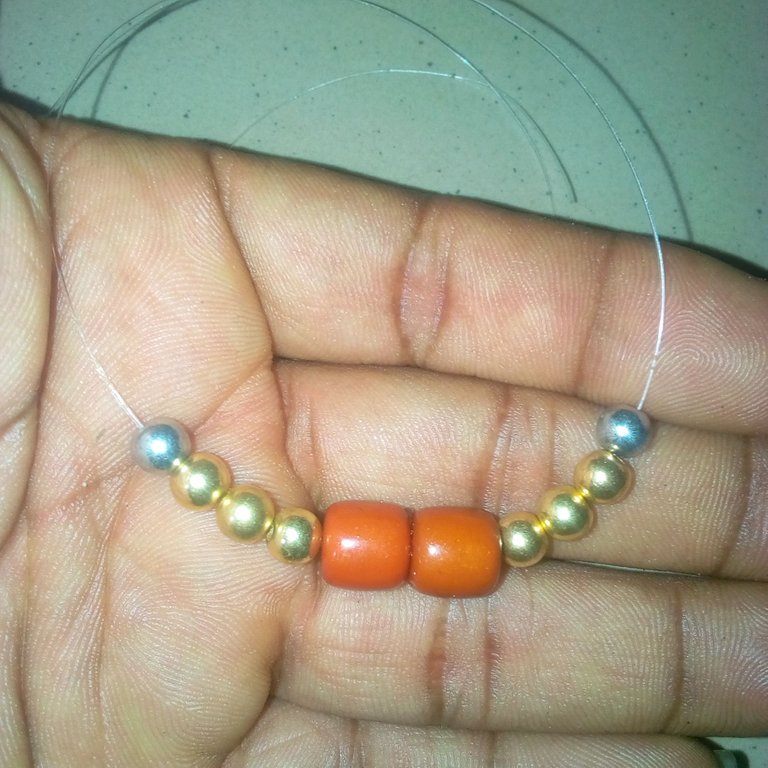
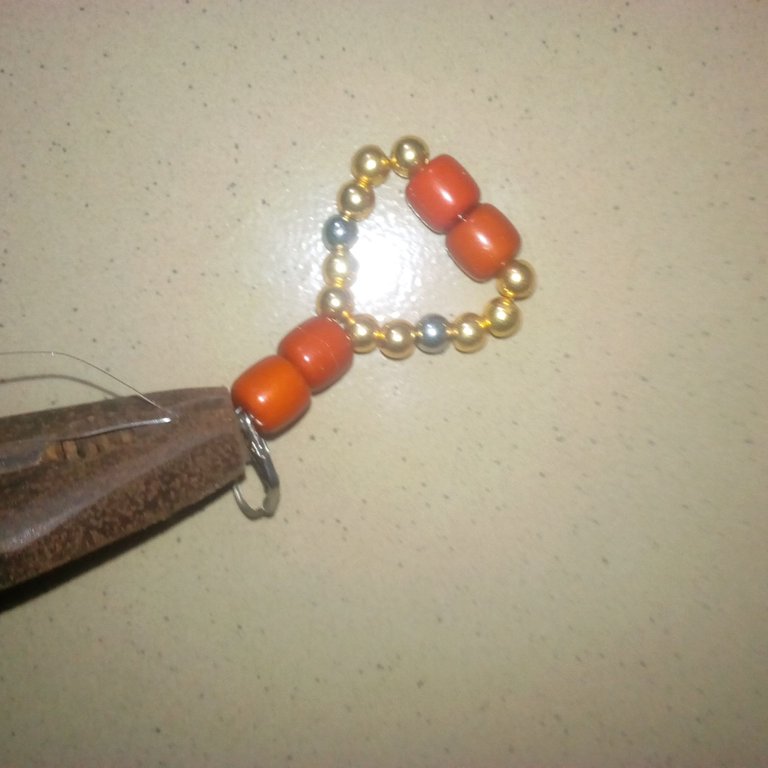
After the insertion of the pearl beads into the nylon lines, I have to join the both left and right nylon lines together and then insert 2 pieces of cartoon color straw beads.
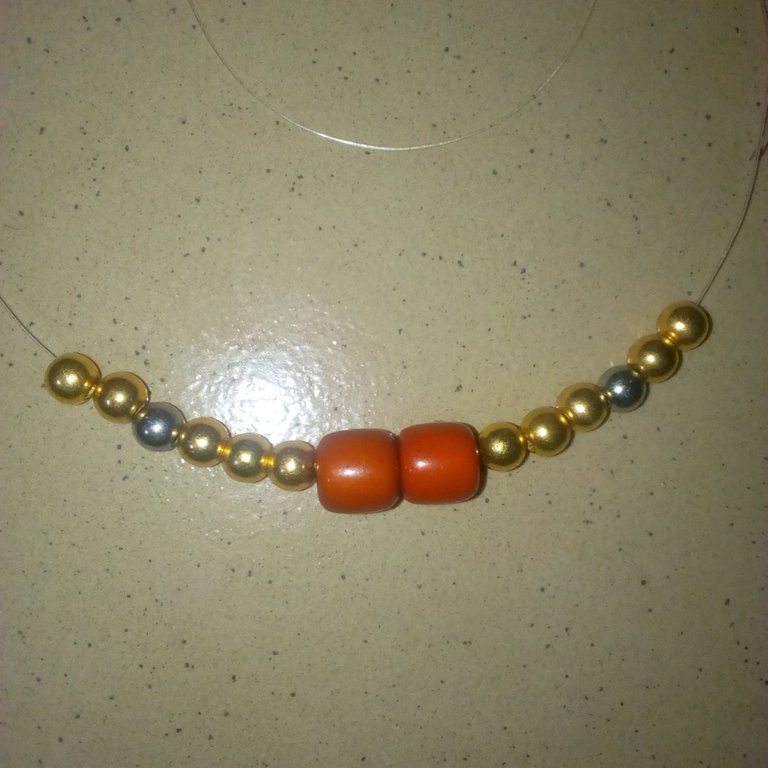
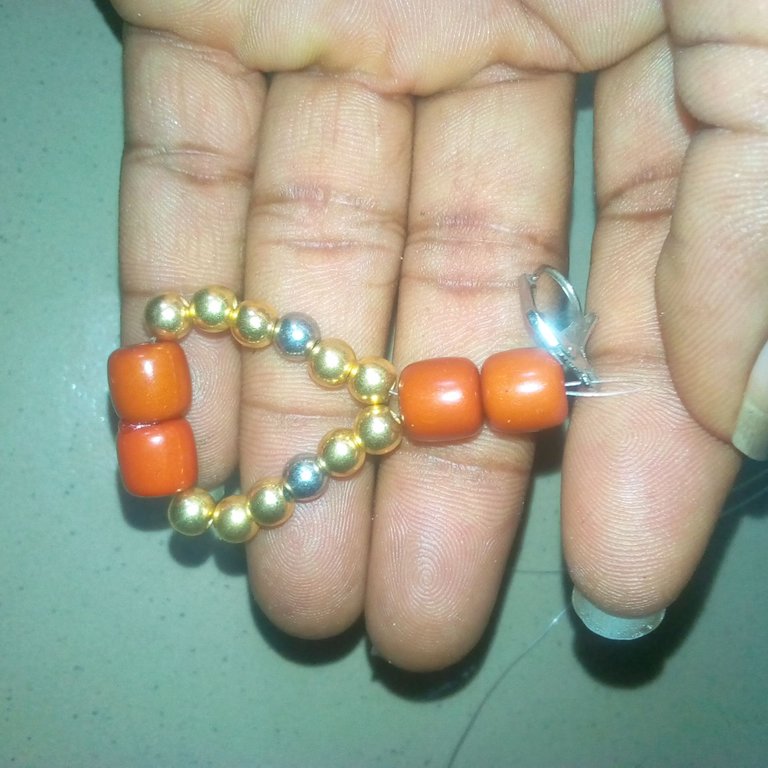
Now I have to insert an earring hook into one of the nylon lines and then use the second line to tie. I also make sure to use a bead stopper by using a plier to clip it to hold the earring hook well.
