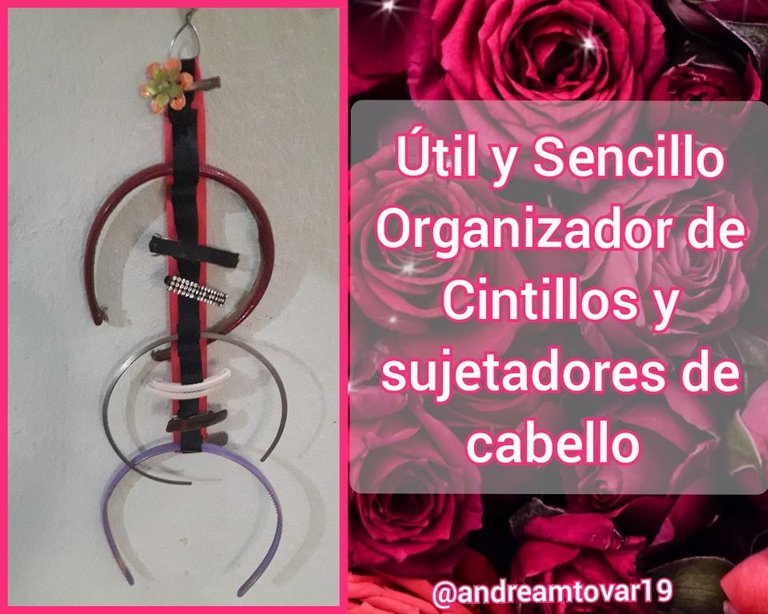

Buenas tardes queridos amigos de Hive y de esta hermosa comunidad de DIYHub, espero se encuentren bien y que hayan tenido un buen día. Hoy les quiero compartir un tutorial para hacer un organizador de cintillos. No sé si les pasa pero yo dejo todos los ganchos de pelo regados por donde sea y después me vuelvo loca buscándolos por todos lados, así que me propuse hacer este organizador tanto para tenerlos visibles cuando voy a escoger alguno o simplemente para tenerlos en un solo lugar, donde sepa que están y no buscarlos más. Espero que les guste y que les sea útil.
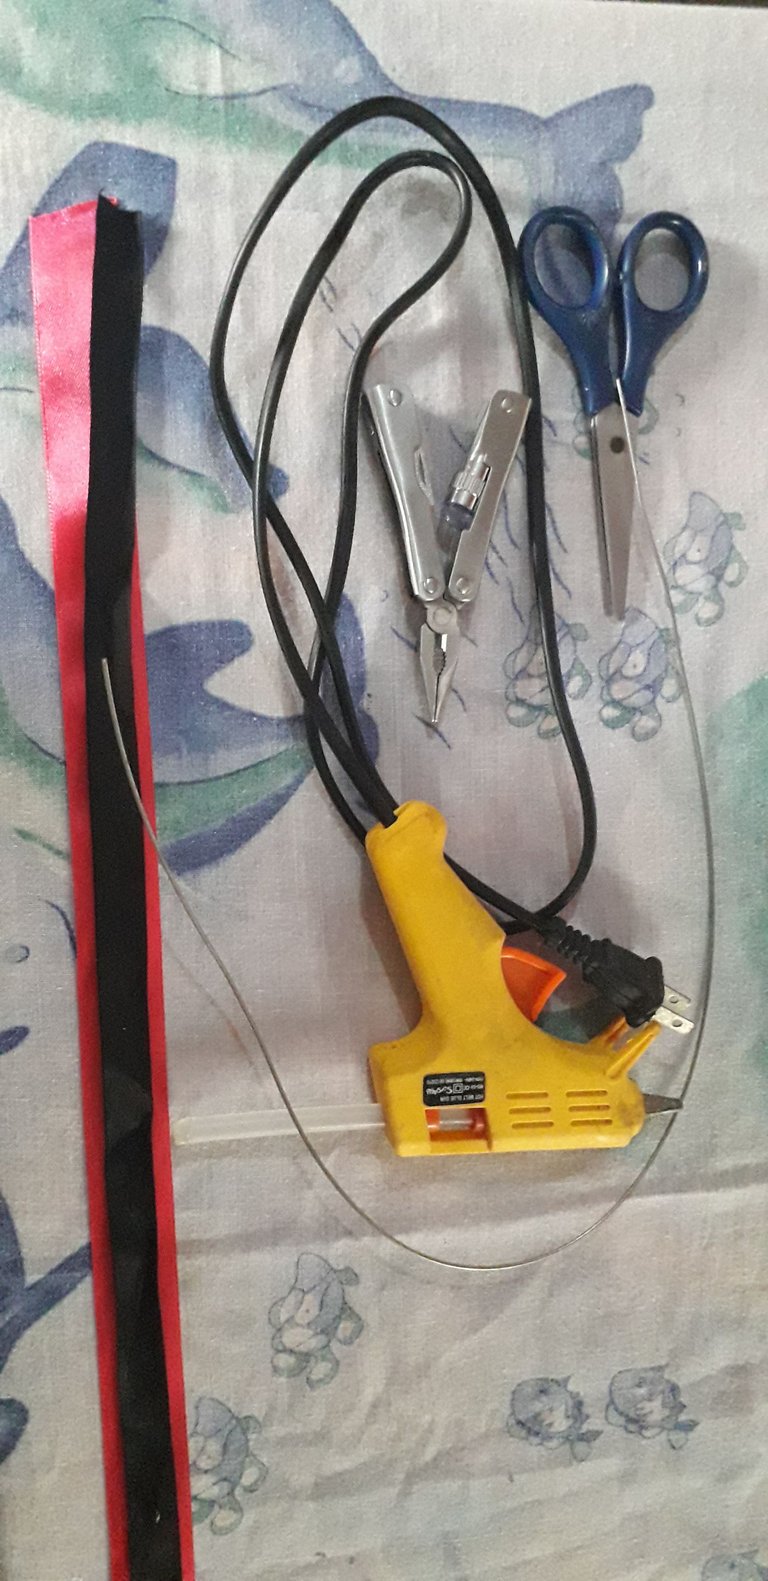
🎀60cm de cinta gruesa color rosado
🎀60cm de cinta más delgada color negro
🎀60 cm de alambre
🎀Tijeras
🎀Pinza
🎀Silicon caliente
➖Paso 1
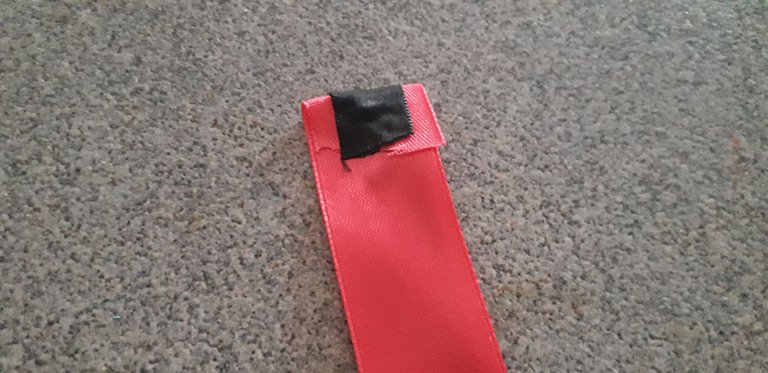
Primeramente vamos a calentar el silicón, una vez que esté caliente vamos a pegar un extremo de las cintas de forma que quede una sobre otra, luego 1cm de cinta lo doblamos y pegamos la punta al resto de la cinta.
➖ Paso 2
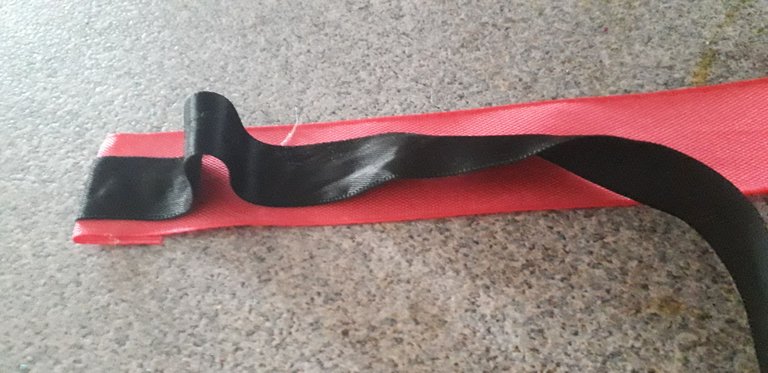
Ahora vamos a pegar la cinta negra a la cinta rosa 1cm más, dejamos 2cm de cinta negra libre para pegar a la cinta rosa 1cm más abajo donde pegamos al inicio. Debe quedar un sobresaliente de cinta negra que es donde vamos a insertar los cintillos.
➖ Paso 3
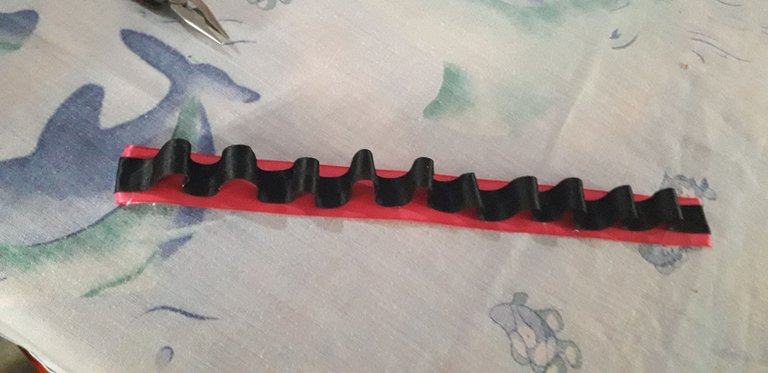
Repetimos el paso anterior hasta que se acabe la cinta negra y cortamos la cinta rosa sobrante.
➖ Paso 4
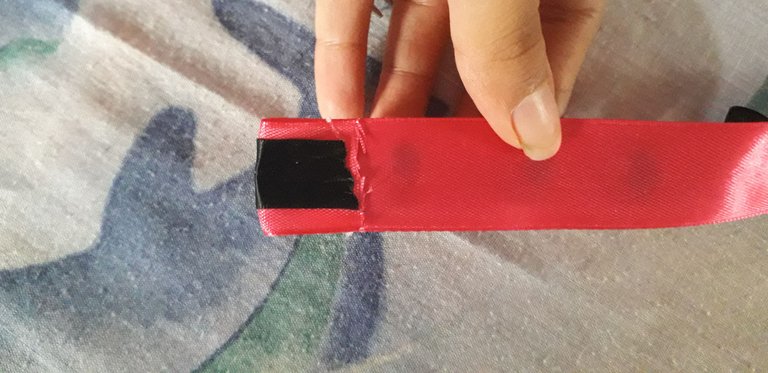
El extremo de las cintas la doblamos una vez más hacia el lado en que la doblamos en el paso 1 y pegamos el extremo.
➖ Paso 5
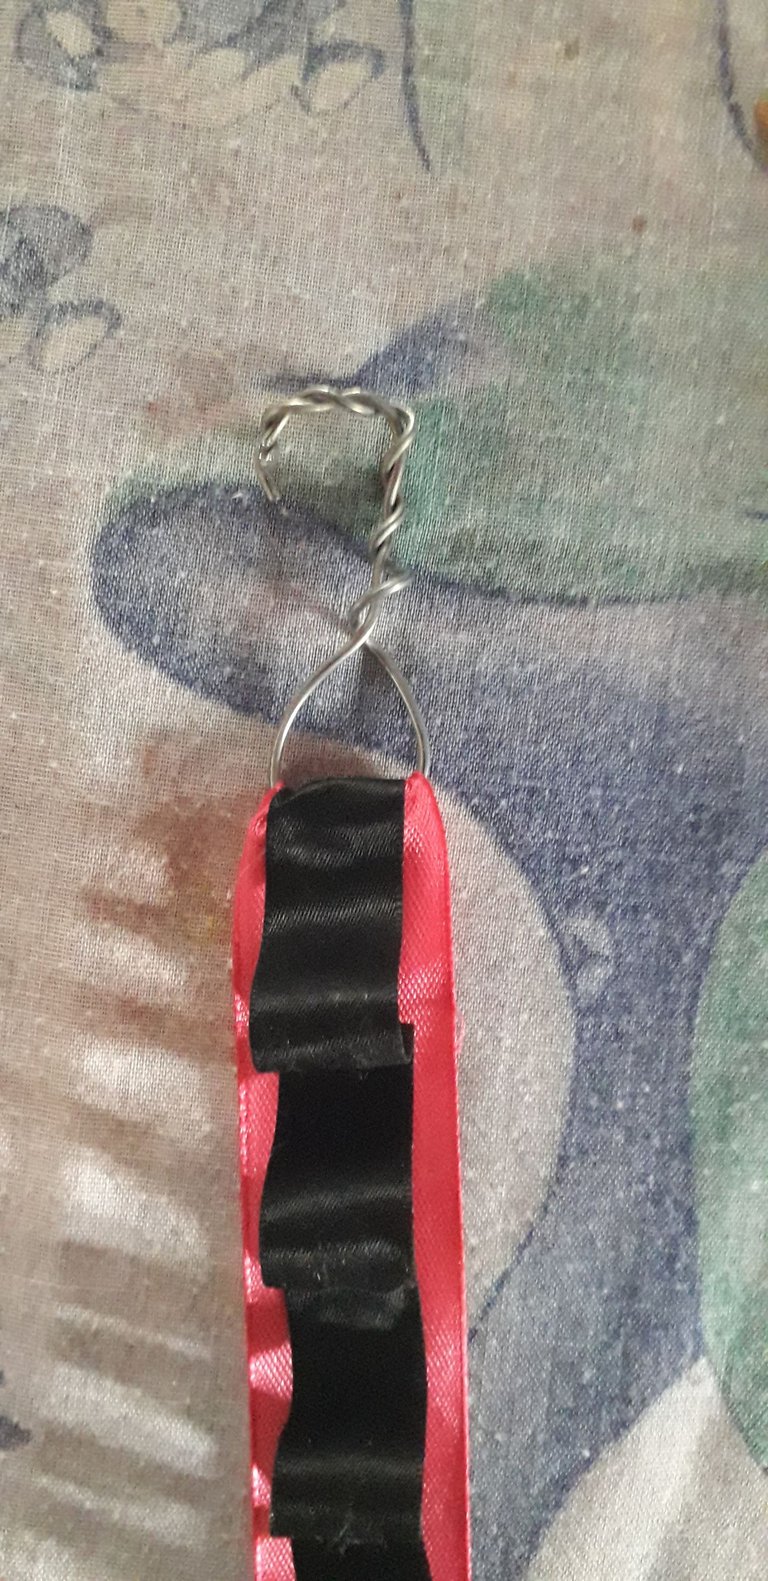
Ahora vamos a hacer el gancho donde vamos a colgar nuestro organizador, para esto vamos a insertar el alambre en uno de los dobleces de los extremos de la cinta, juntamos los extremos del alambre y le damos vueltas con la pinza para unirlos. Hacemos un gancho en la parte superior y cortamos el alambre que sobre.
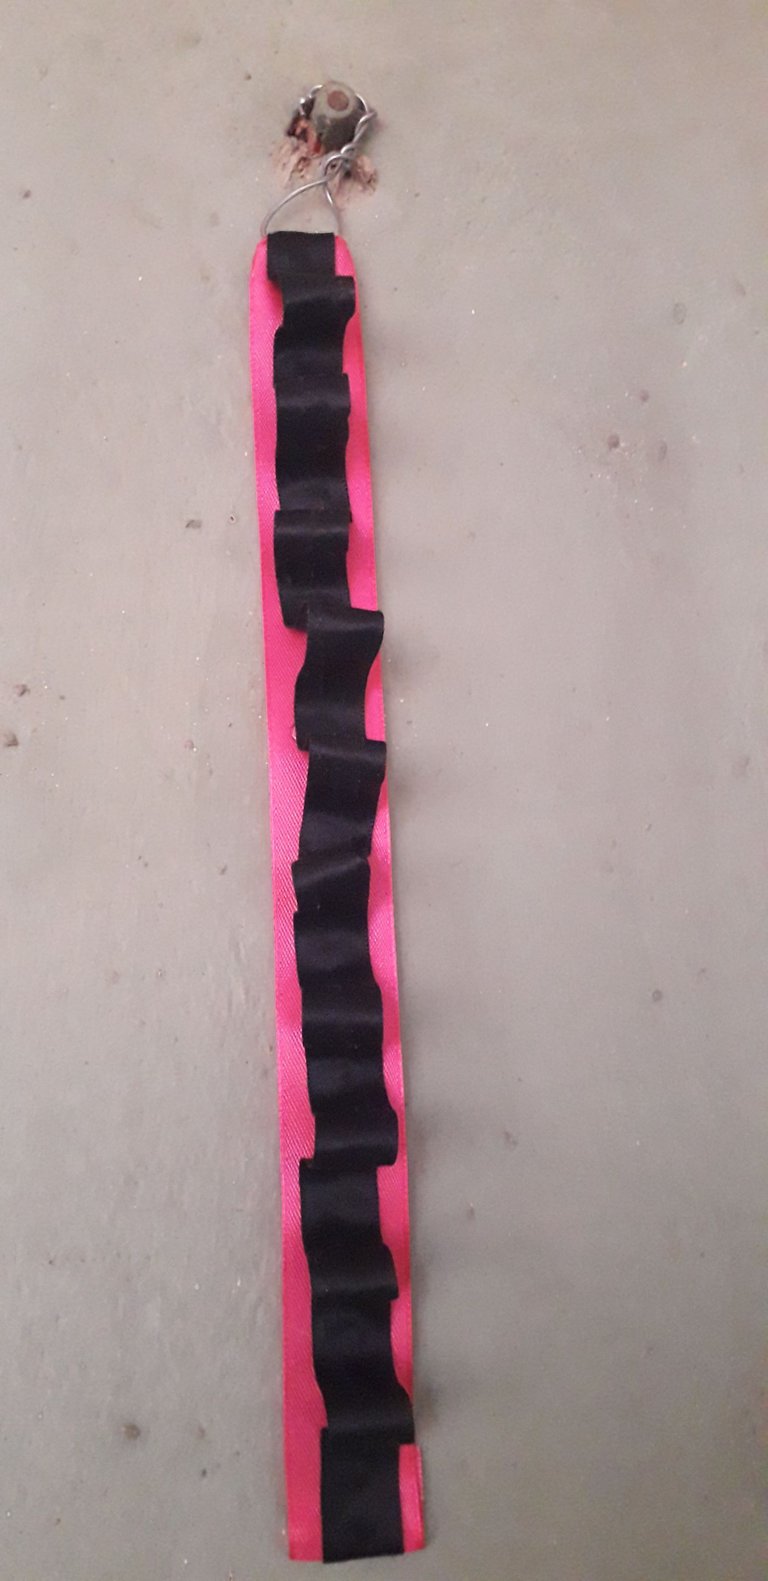
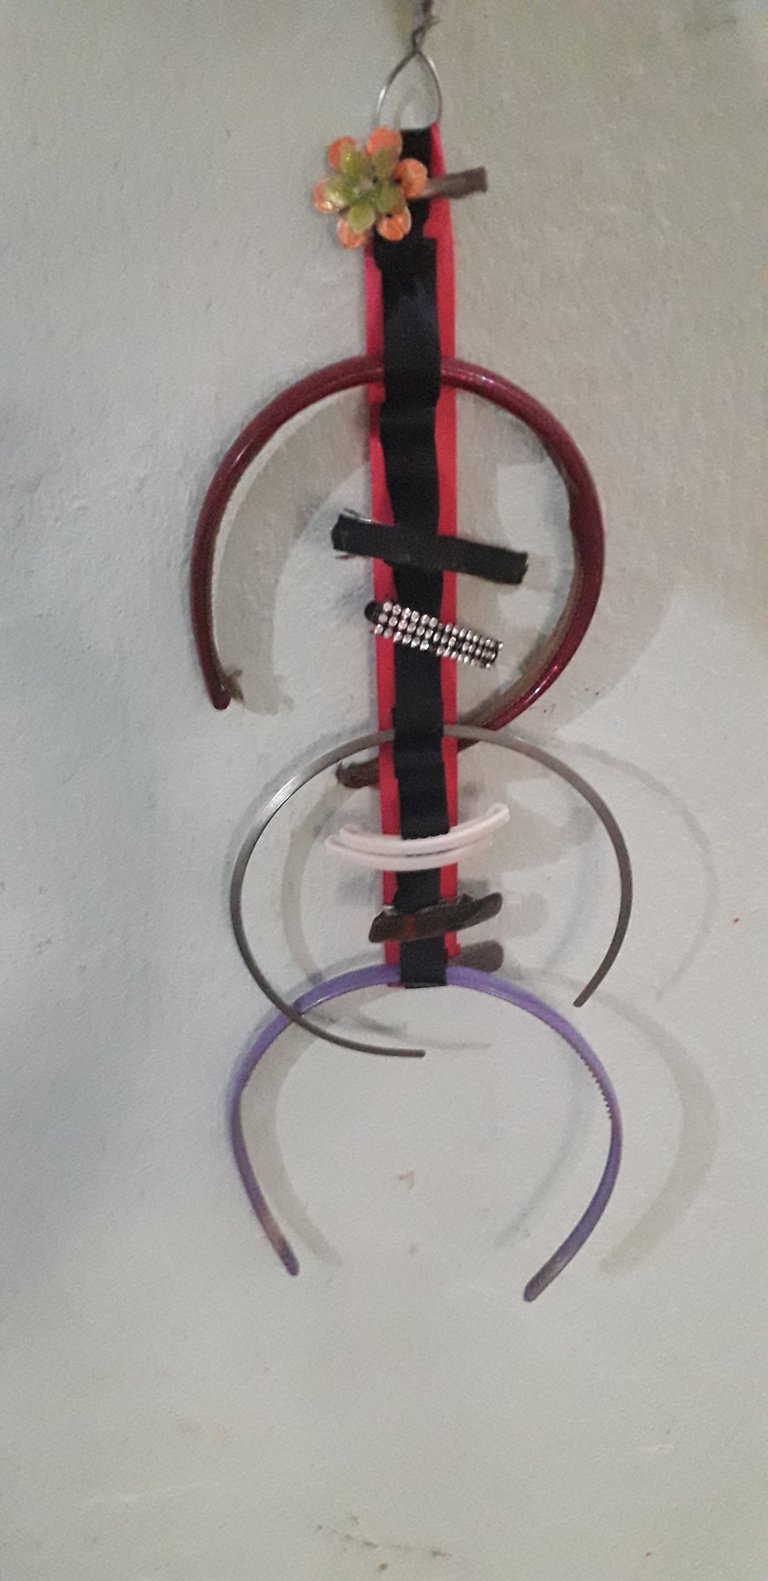
Y listo, terminamos.
Que Dios los Bendiga 🙏
- Fotos de mi autoría y fueron tomadas con un celular Samsung Galaxy J6
- Traductor usado: DeepL
- Edición de fotos a través de la app Editor de fotos Polish
- Separadores hechos con la app Editor de fotos Canva.

Good afternoon dear friends of Hive and this beautiful DIYHub community, I hope you are well and that you had a good day. Today I want to share with you a tutorial to make a headband organizer. I don’t know if it happens to you but I leave all the hair clips scattered everywhere and then I go crazy looking for them everywhere, so I decided to make this organizer both to have them visible when I go to choose one or just to have them in one place, where I know they are and not to look for them anymore. I hope you like it and that you find it useful.

🎀60cm of thick pink ribbon.
🎀60cm of thinner ribbon black color.
🎀60cm of wire.
🎀Scissors
🎀Pincer
🎀Hot silicon
➖Step 1.

First we are going to heat the silicone, once it is hot we are going to glue one end of the ribbons so that it is one on top of the other, then 1cm of ribbon we fold it and glue the tip to the rest of the ribbon.
➖ Step 2.

Now we are going to glue the black ribbon to the pink ribbon 1cm more, we leave 2cm of black ribbon free to glue to the pink ribbon 1cm below where we glued at the beginning. There should be a black ribbon overhang where we are going to insert the ribbons.
➖Step 3

Repeat the previous step until the black ribbon runs out and cut the excess pink ribbon.
➖ Step 4.

The end of the ribbons we fold it once again to the side where we folded it in step 1 and glue the end.
➖ Step 5.

Now we are going to make the hook where we are going to hang our organizer, for this we are going to insert the wire in one of the bends at the ends of the ribbon, we put the ends of the wire together and twist it with the pliers to join them. We make a hook at the top and cut the excess wire.


And that’s it, we’re done.
God Bless 🙏
- Photos of my authorship and were taken with a Samsung Galaxy J6 cell phone.
- Translator used: DeepL
- Photo editing using the Polish Photo Editor app.
- Separators made with the Canva Photo Editor app.
