Feliz y bendecida noche amigos creativos de diyhub. Es un gusto saludarlos nuevamente y desearles una bendecida noche. Espero se encuentren bien, descansando para mañana iniciar un nuevo día lleno de mucha energía. En esta noche quiero mostrarles la elaboración de un lindo organizador de cartón para mantener las cosas de nuestras niñas en orden. Este lo hice pensando en mi hija, ya que es un poco desorganizada😜Este organizador es muy lindo y lo más importante es que podemos utilizar material reciclado. Es un trabajo que requiere paciencia ya que se invierte mucho tiempo, pero vale la pena el esfuerzo y la espera. Si les gusta la idea, acompañame al final.
Happy and blessed night creative friends of diyhub. It is a pleasure to greet you again and wish you a blessed night. I hope you are well, resting for tomorrow to start a new day full of lots of energy. Tonight I want to show you how to make a cute cardboard organizer to keep our girls' things in order. I made this one thinking about my daughter, since she is a little disorganized😜This organizer is very cute and the most important thing is that we can use recycled material. It is a job that requires patience since a lot of time is invested, but it is worth the effort and wait. If you like the idea, join me at the end.
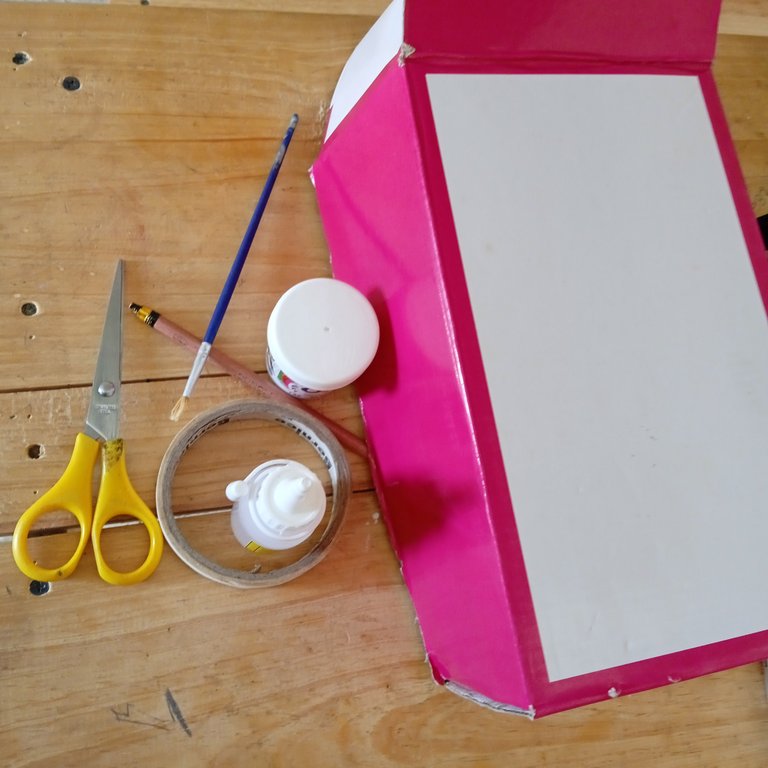
Materiales.
- Tijera.
- Lápiz.
- Cartón.
- Pintura y pincel.
- Regla.
- Silicona liquida.
- Cinta adhesiva.
Materials.
- Scissors.
- Pencil.
- Cardboard.
- Paint and brush.
- Ruler.
- Liquid silicone.
- Adhesive tape.
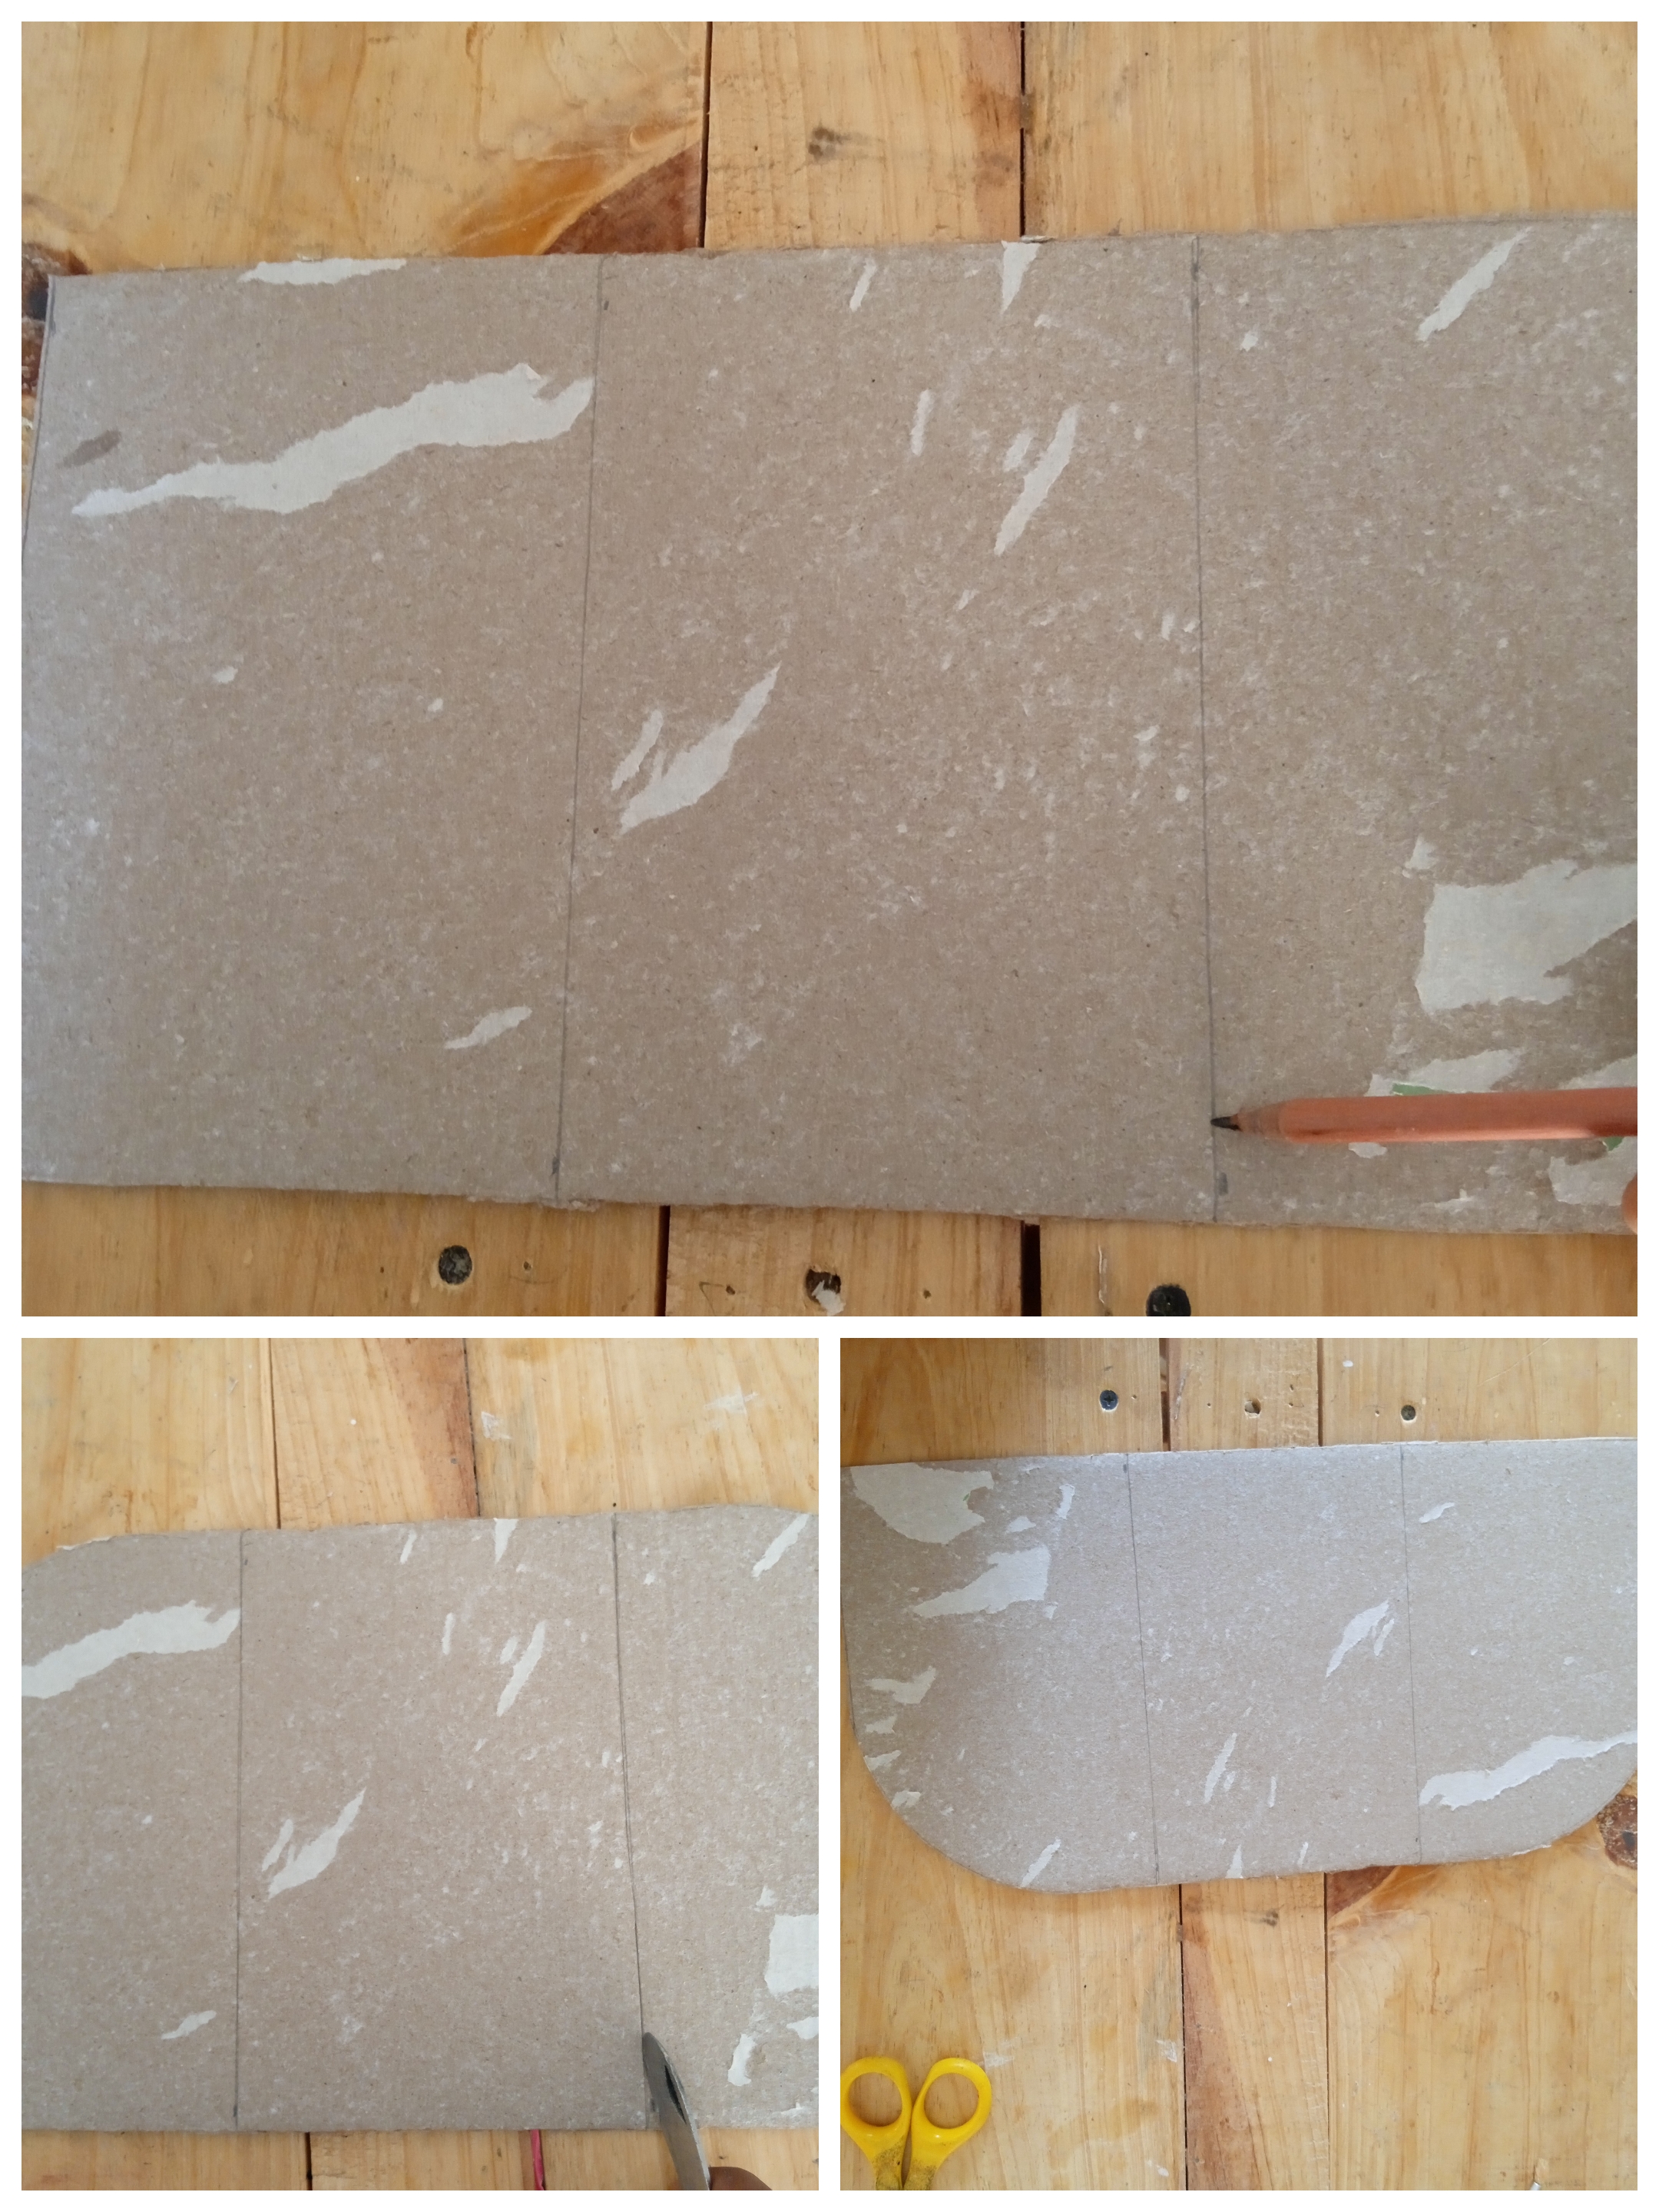
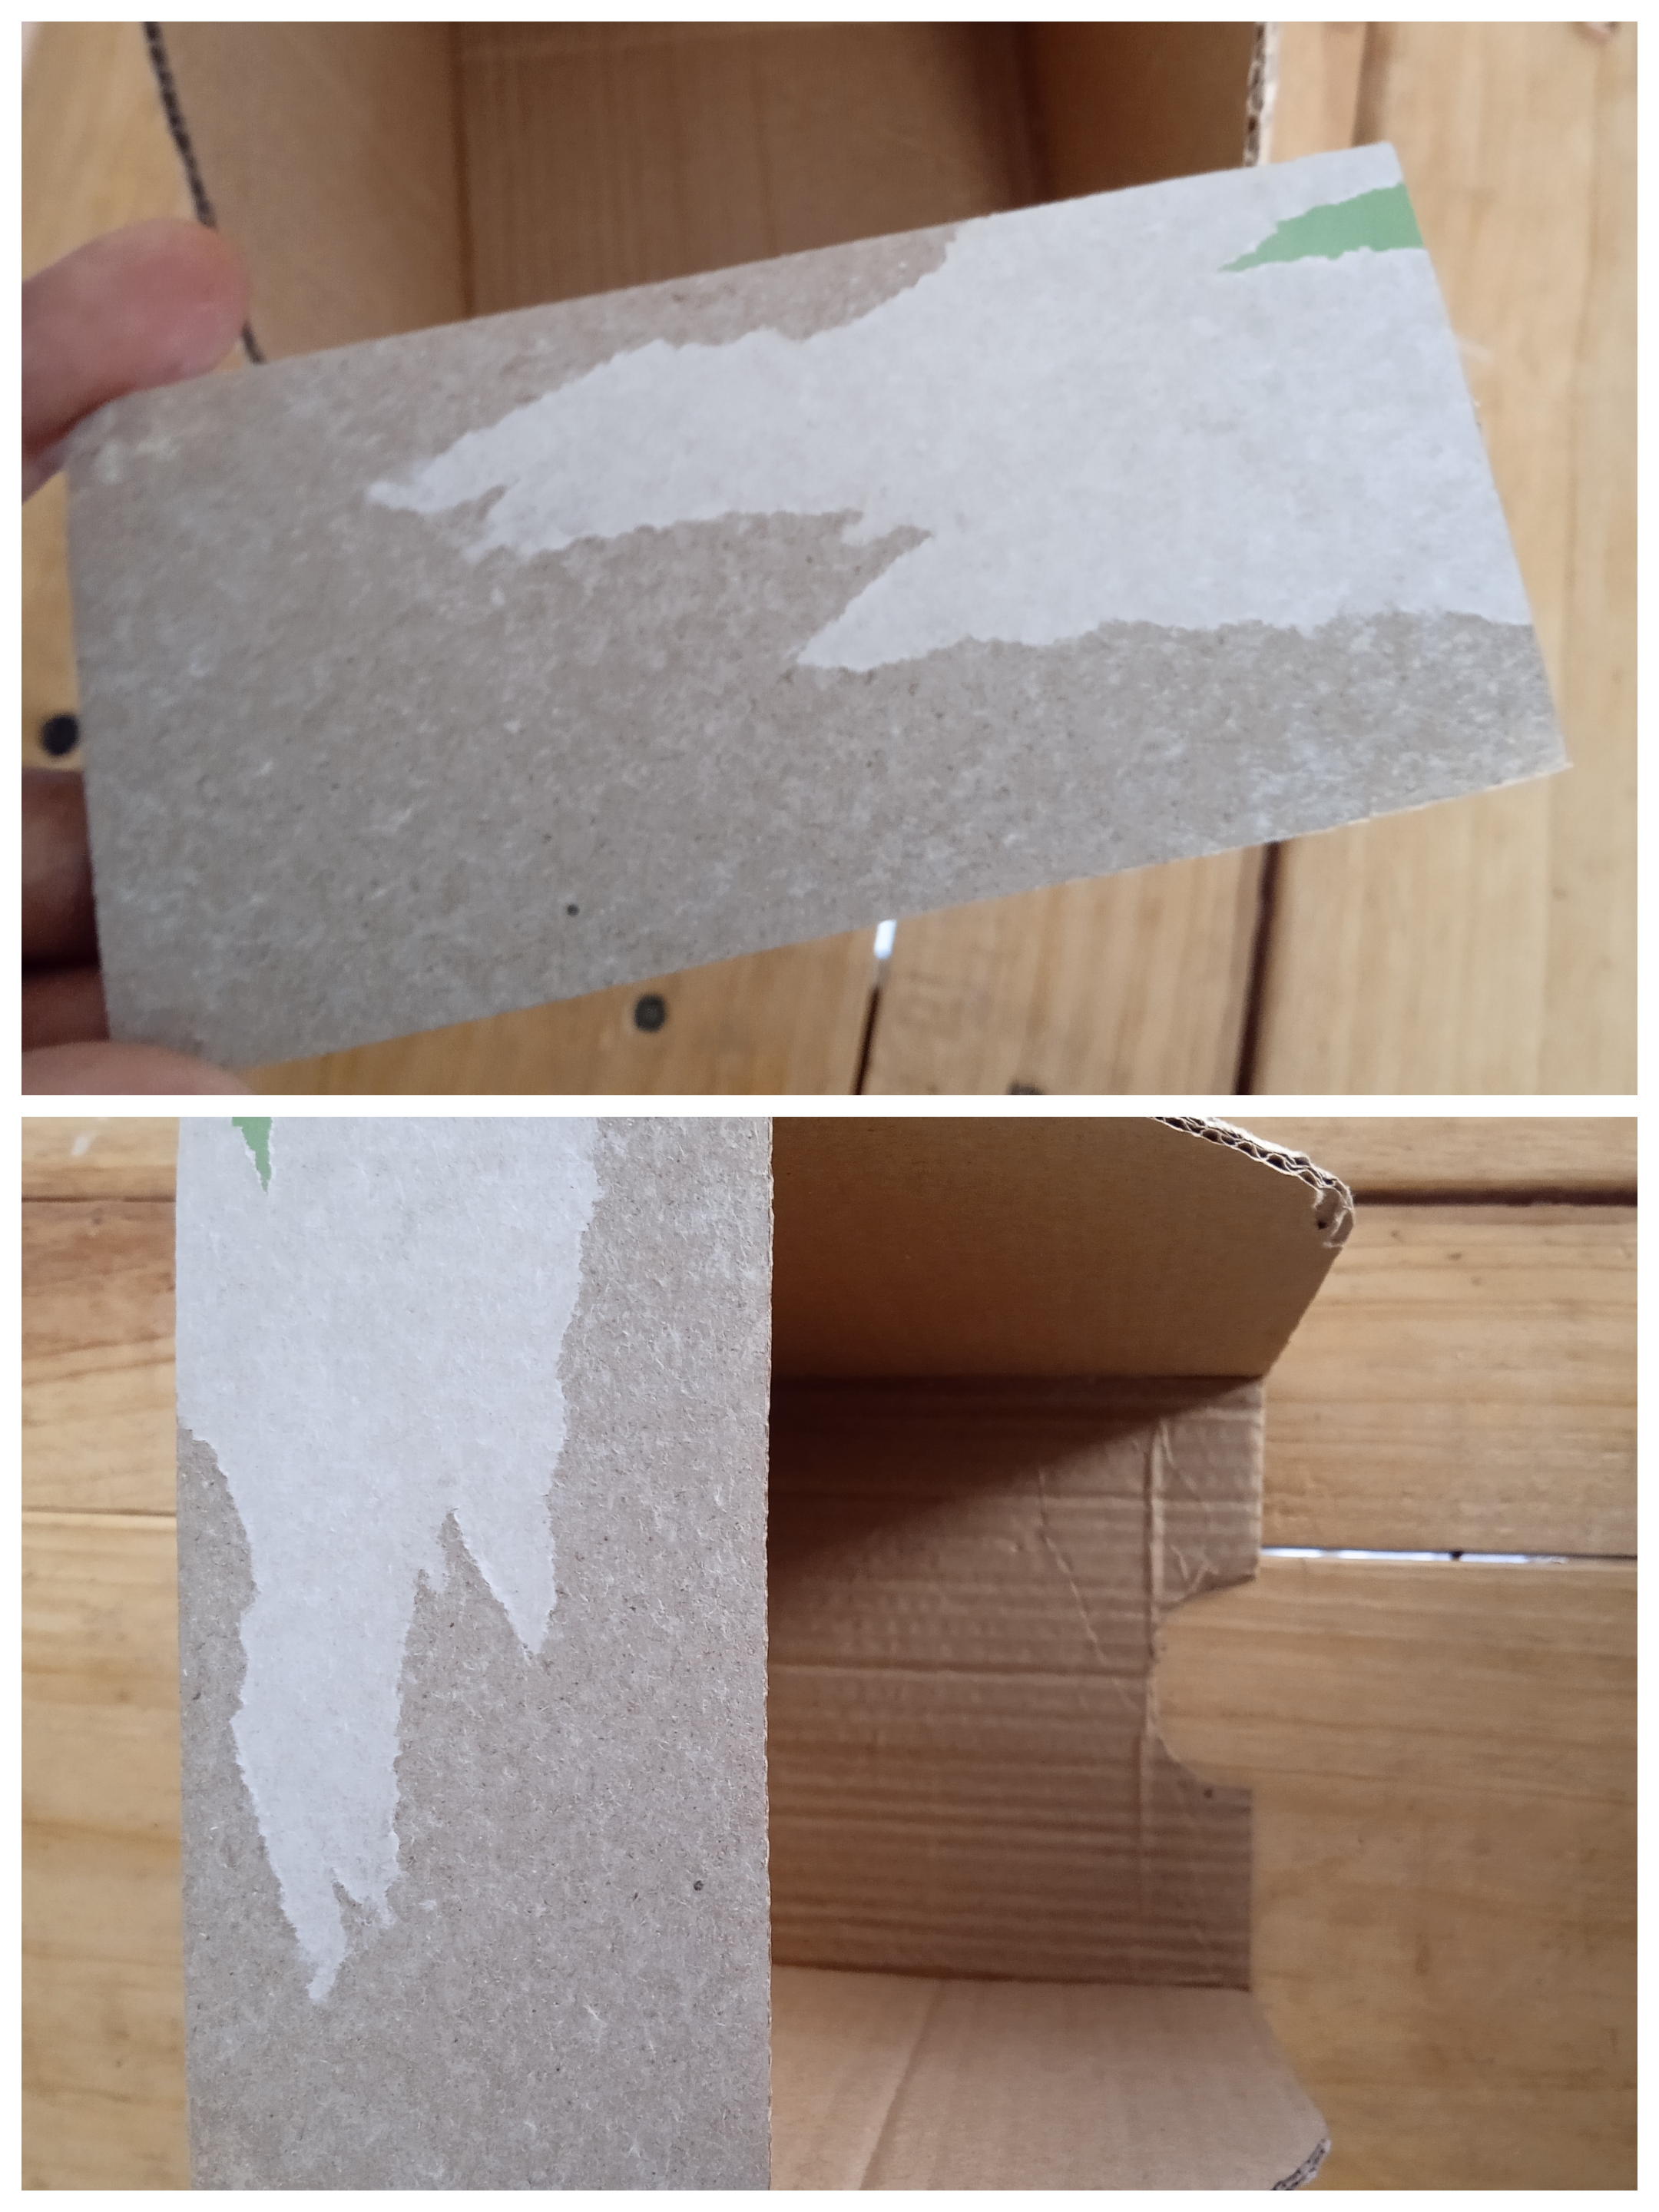
Paso 1.
Para iniciar, vamos tomar el cartón y recortamos en forma de rectangulo con divisiones de 12cm x 10 cada una. Marcamos unas líneas rectas y con ayuda de una hojilla la pasamos con cuidado por cada línea sin separar. Para finalizar este paso, damos forma redonda cómo ven en las imágenes.
Step 1.
To begin, we are going to take the cardboard and cut it into a rectangle with divisions of 12cm x 10 each. We mark some straight lines and with the help of a sheet of paper we carefully pass it along each line without separating. To finish this step, we give it a round shape as you see in the images.
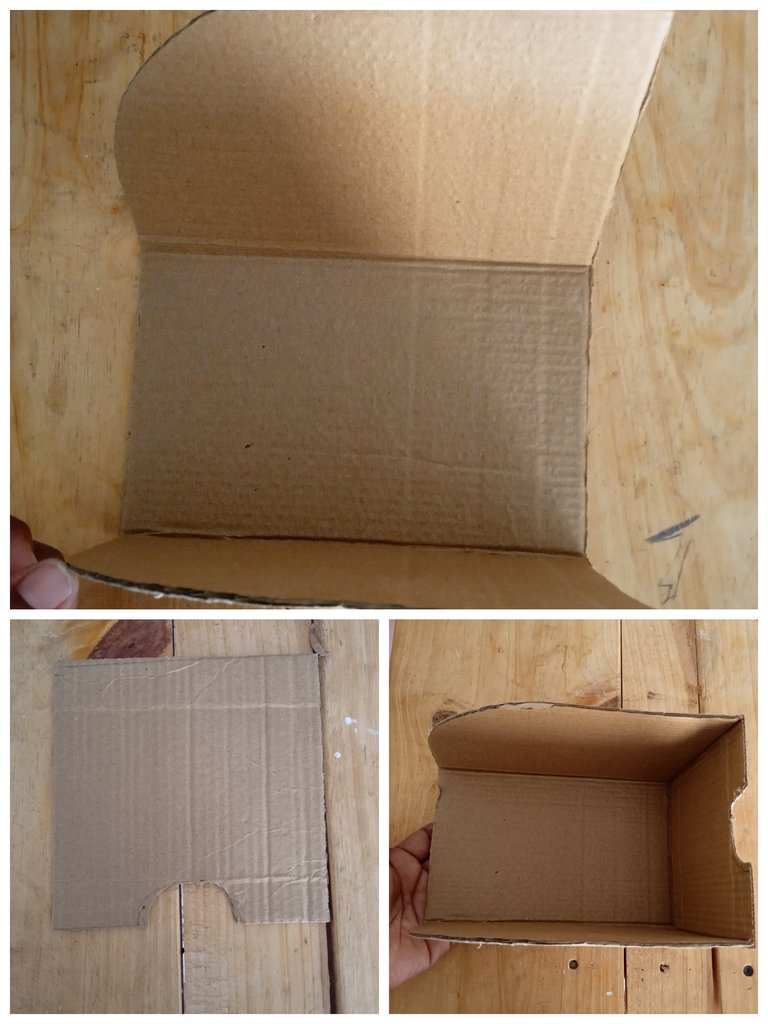
Paso 2.
Doblamos la pieza, observén, ahora recortamos un cuadrado con las mismas medidas de la caja para hacer una tapa. Una vez que hemos recortado está tapa, vamos a hacer un pequeño corte en forma de arco y unimos la piezas agregando silicona.
Step 2.
We fold the piece, observe, now we cut out a square of the same measurements as the box to make a lid. Once we have cut out this lid, we are going to make a small arc-shaped cut and join the pieces together by adding silicone.
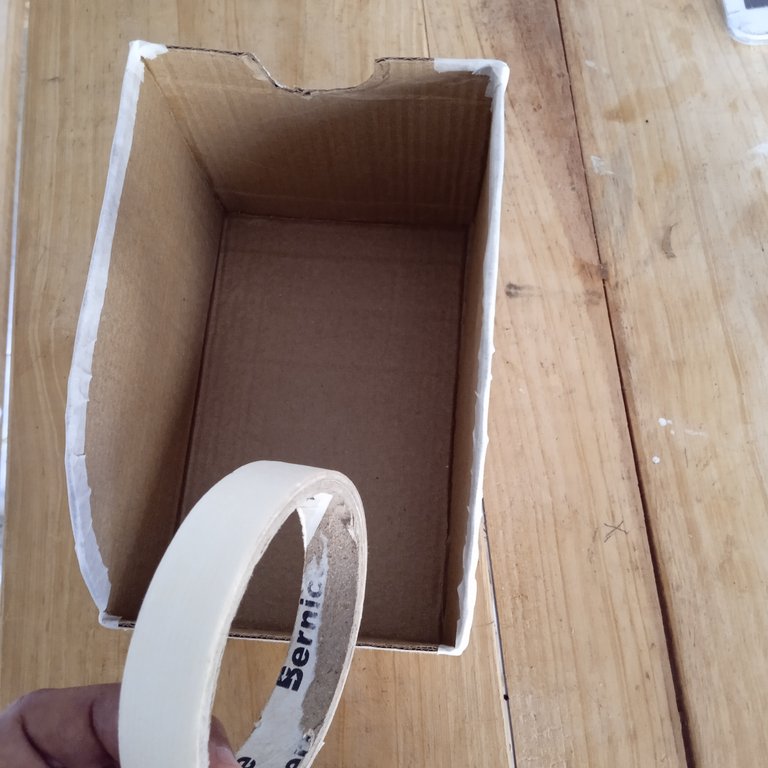
Paso 3.
Continuamos, vamos a recortar un pequeño rectangulo pará pegarlo en la parte arqueada de la caja. Pegamos está con silicona líquida, también puedes utilizar silicona cliente y será más resistente.
Step 3.
Continue, we are going to cut out a small rectangle to paste it on the arched part of the box. We glue it with liquid silicone, you can also use client silicone and it will be more resistant.
Paso 4.
Con está cinta adhesiva, vamos a cubrir los bordes para que al momento de pintar quede muy linda. Debemos hacer dos iguales.
Step 4.
With this adhesive tape, we are going to cover the edges so that when we paint it it will look very nice. We must make two alike.
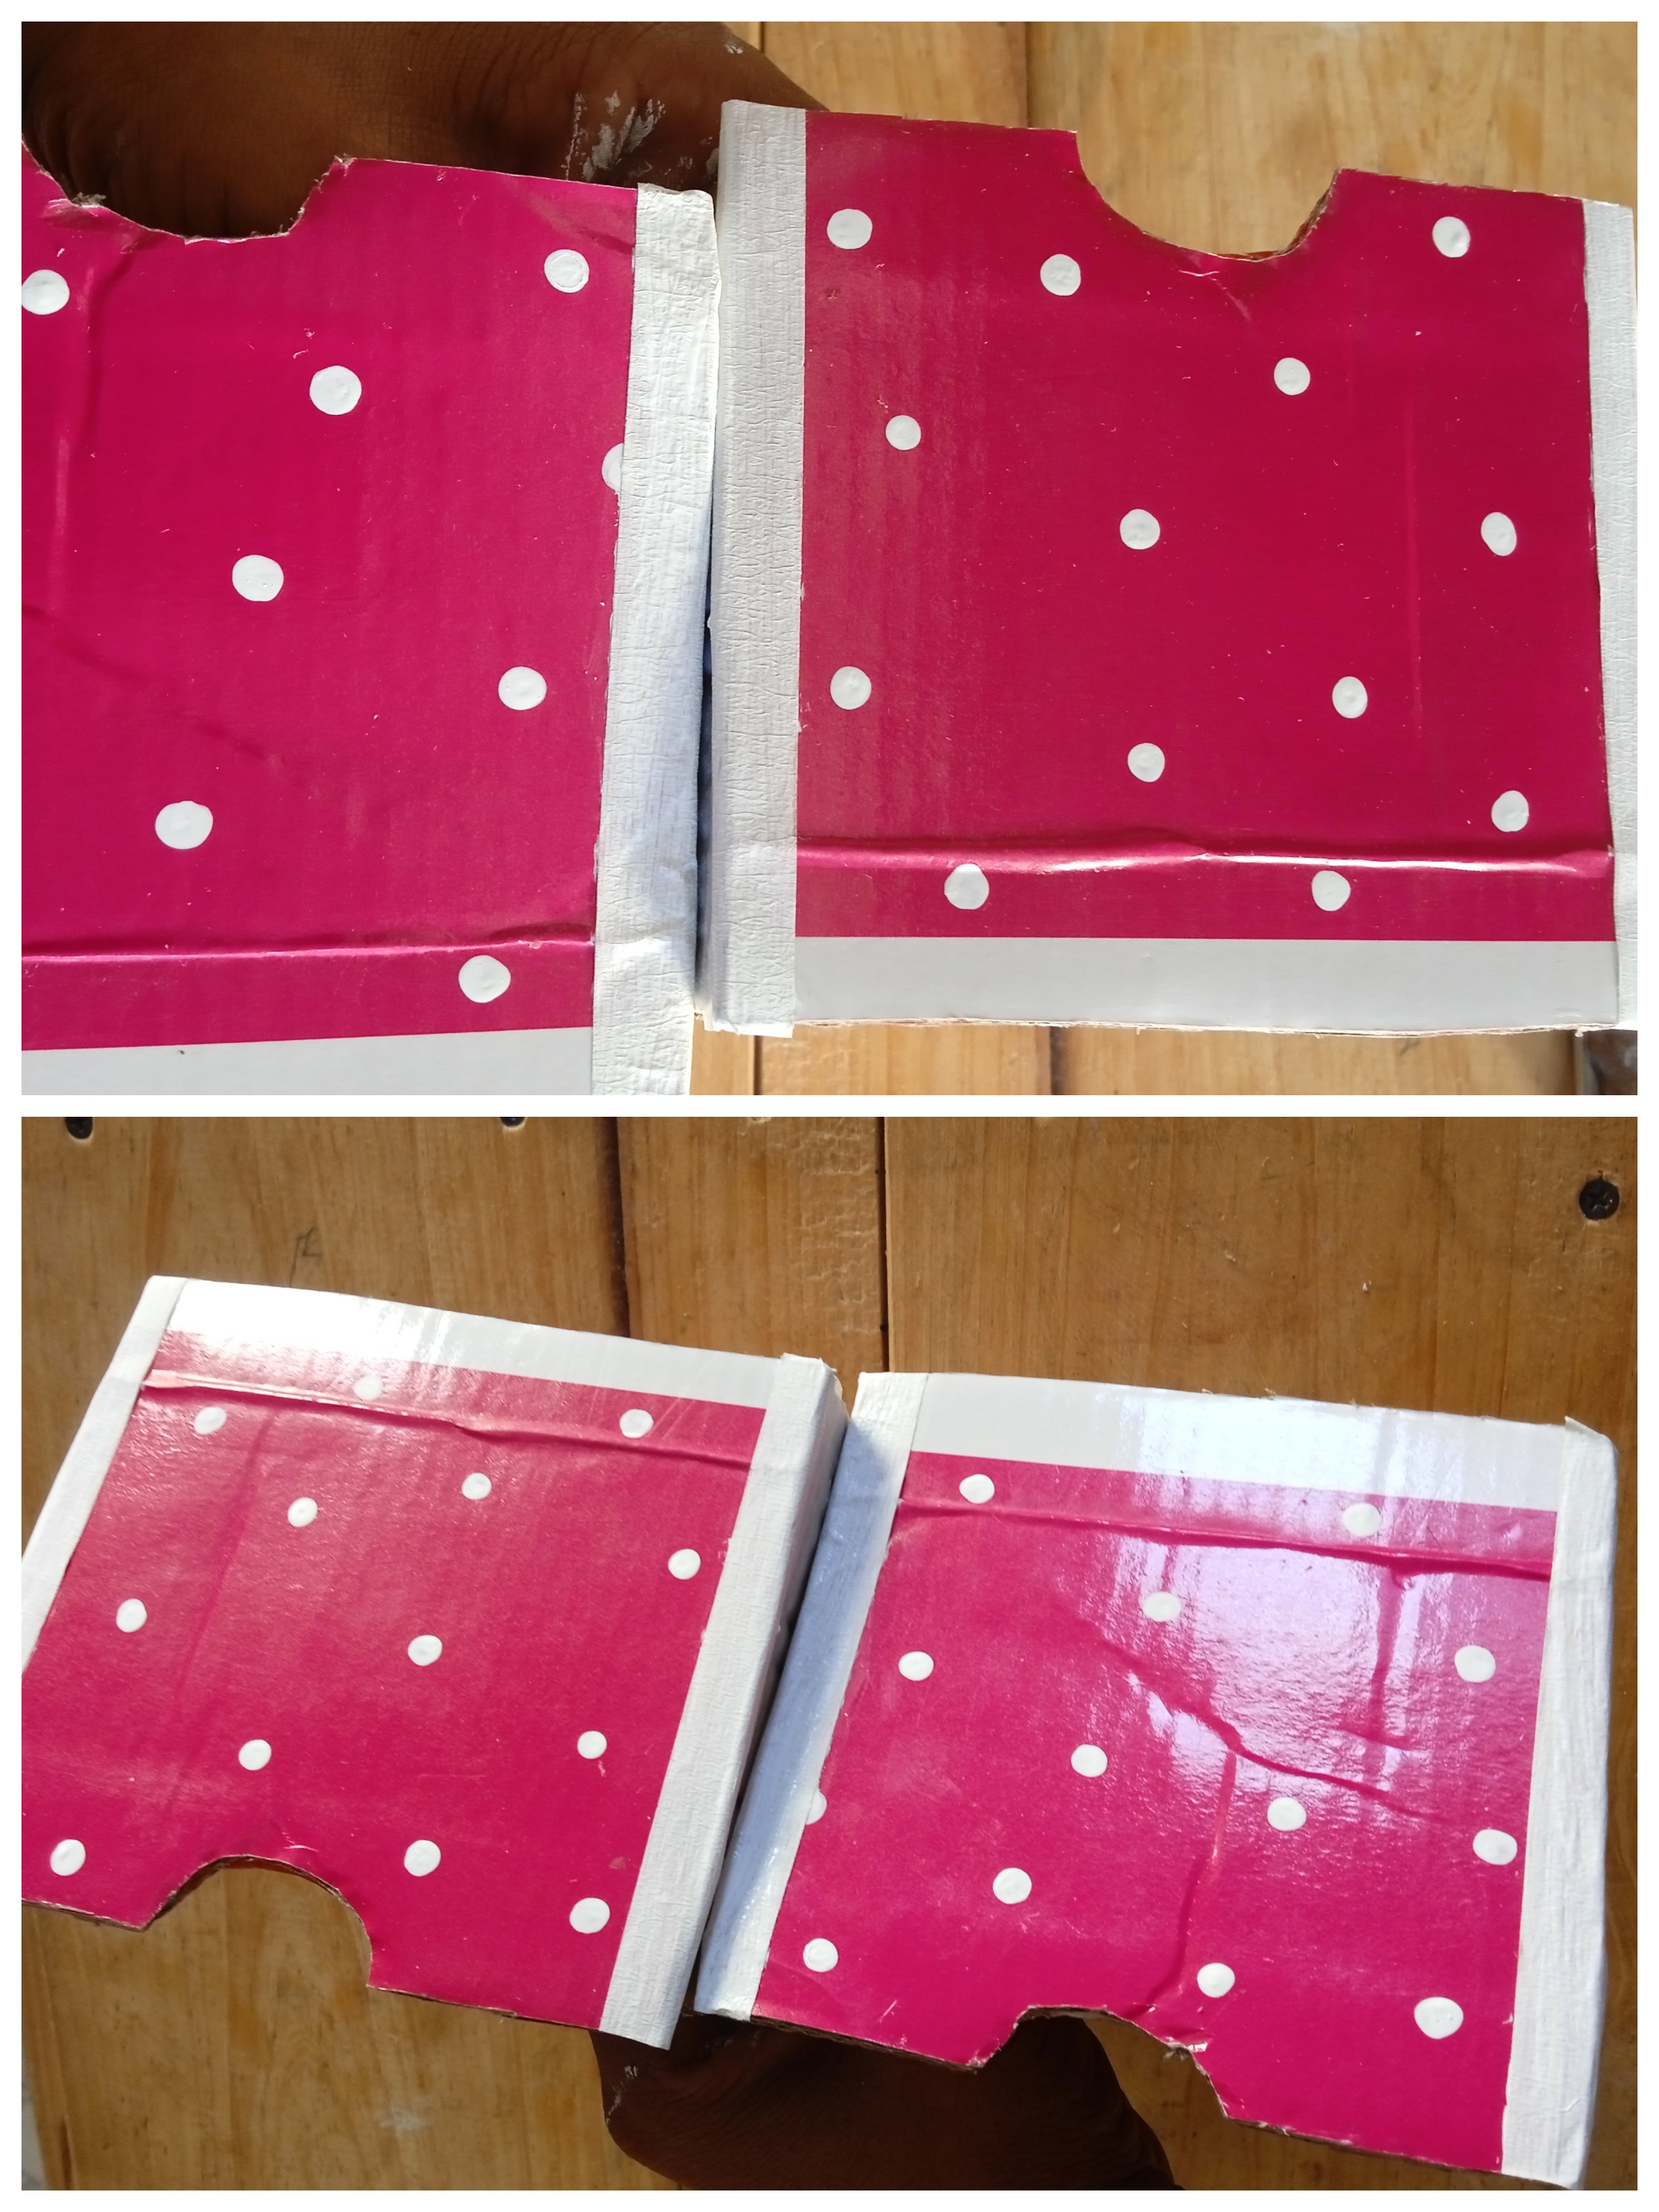
Paso 5.
Seguidamente vamos a pintar las cajas por dentro y por fuera. Por la parte de afuera pueden decorar con foami, tela o cualquier otro papel decorativo.
Step 5.
Next we are going to paint the boxes inside and out. On the outside you can decorate with foam, fabric or any other decorative paper.
Paso 6.
Recortamos tres rectangulos de 26cmx 12 y tres piezas un poco más pequeñas que las otras las cuales irán a los lados y en el centro para dividir las cajas. Pegamos la piezas pequeñas como ven en la imagen. Pegamos una de las piezas arriba y la otra en la parte do atrás. Introducimos las gavetas en su respectivo lugar, pintamos y decoramos a nuestro gusto.
Step 6.
We cut out three 26cmx 12 rectangles and three slightly smaller pieces which will go on the sides and in the center to divide the boxes. We glue the small pieces as you see in the image. We glue one of the pieces on top and the other on the back. We put the drawers in their respective places and paint and decorate to our liking.
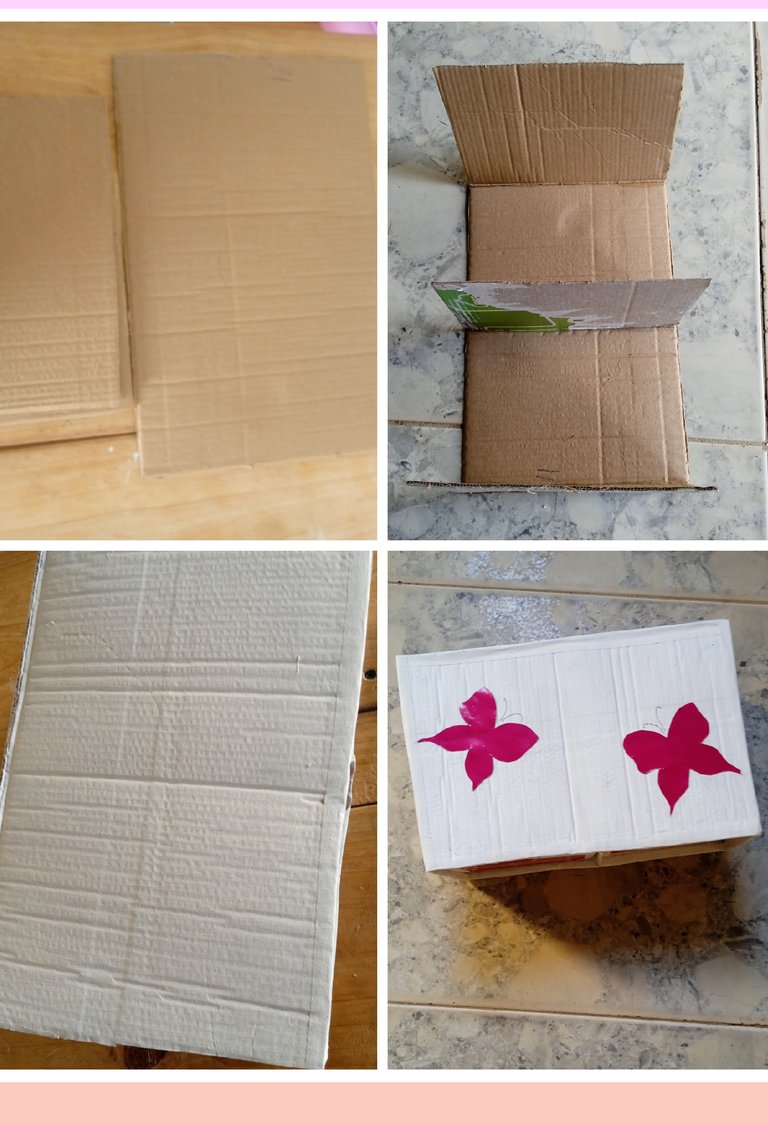
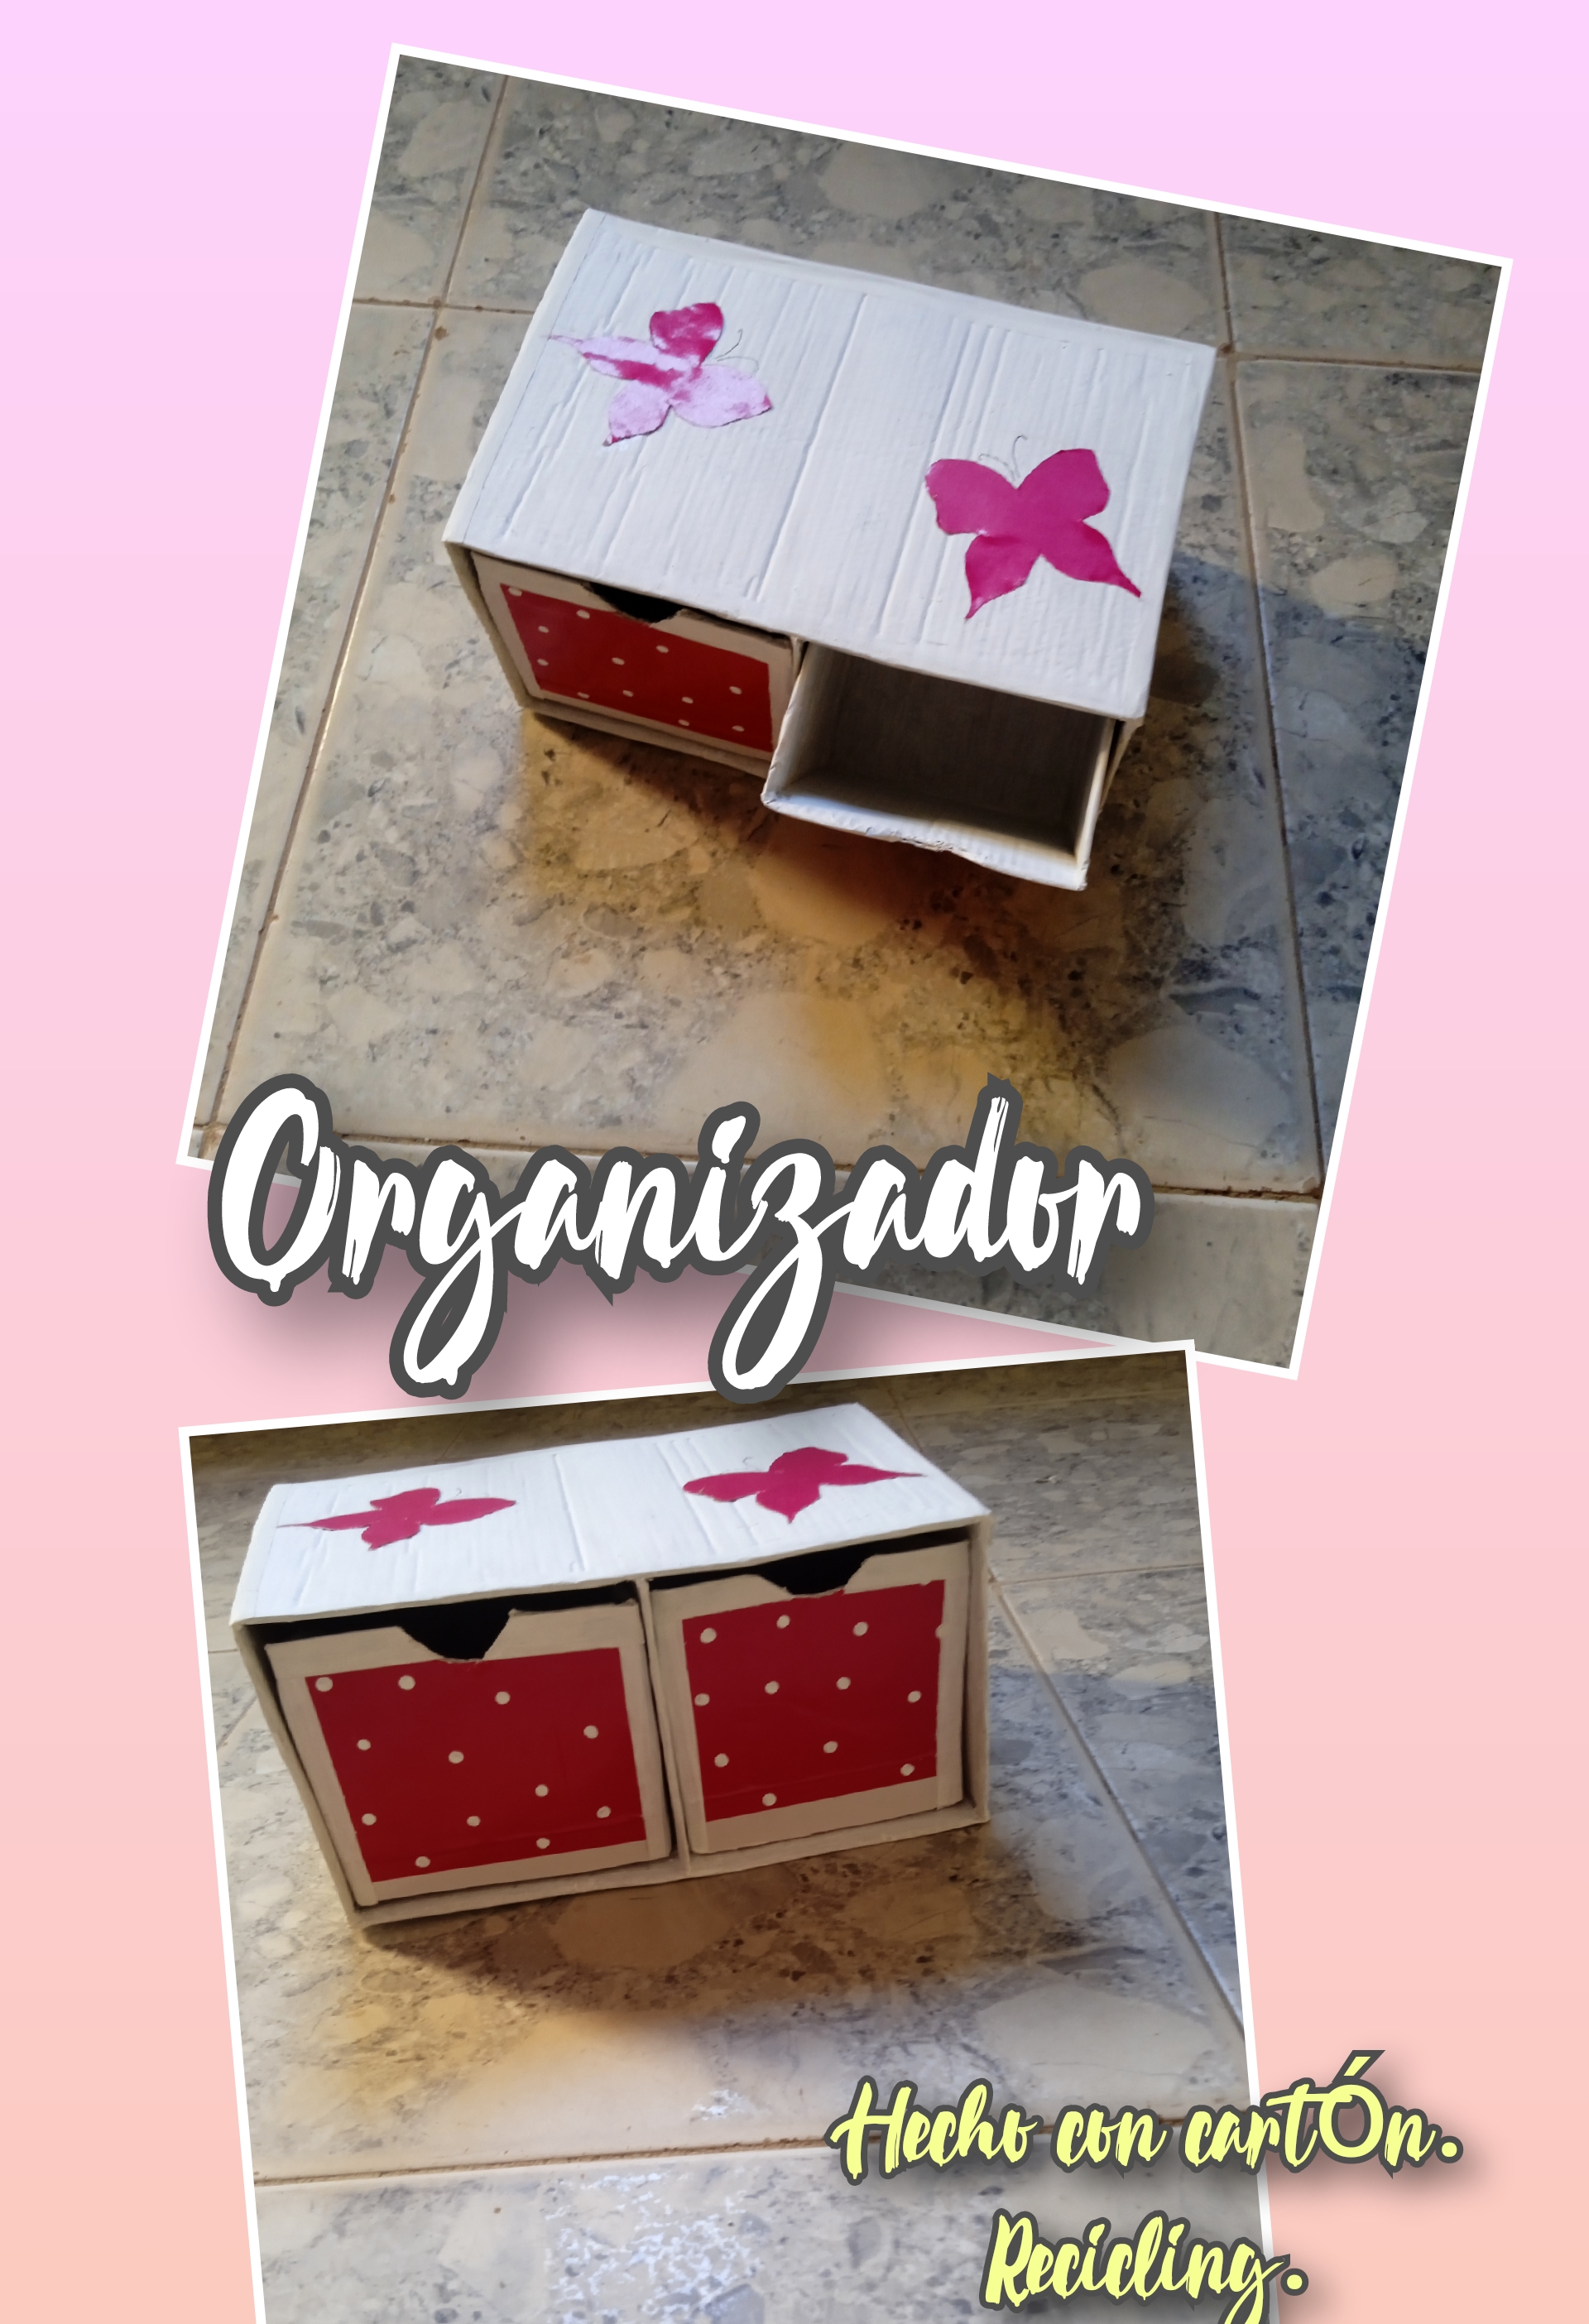
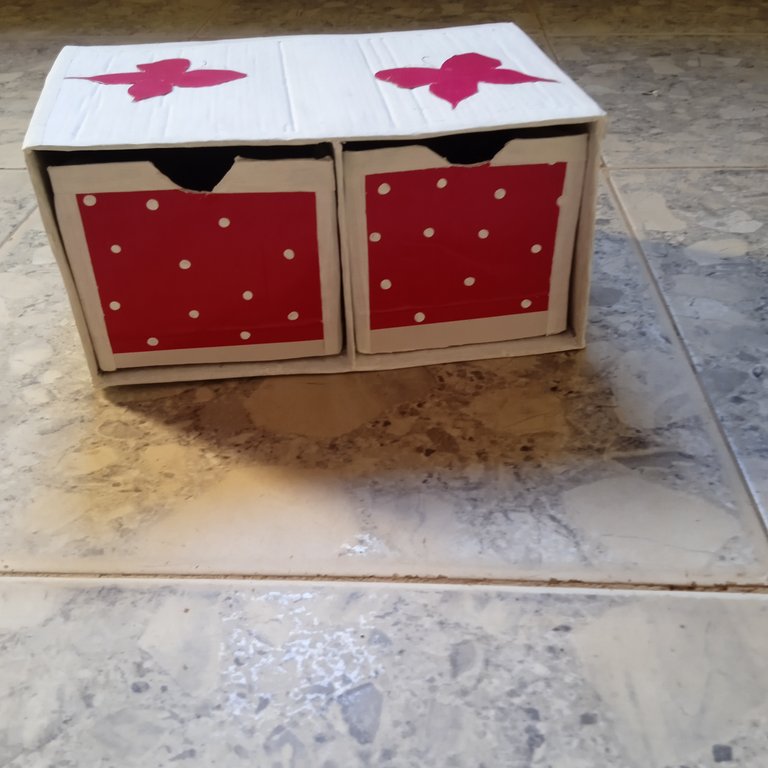
Resultado/Result.
Este es el resultado final, espero que les guste y se animen a elaborar una para mantener las cosas de los niños en orden. A mi hija le encantó el resultado, espero que mantenga en orden sus cosas, en especial sus accesorios.😬
Result/Result.
This is the final result, I hope you like it and are encouraged to make one to keep the children's things in order. My daughter loved the result, I hope it keeps her things in order, especially her accessories.😬


Amigos, ha Sido un placer compartir con todos ustedes este lindo organizador para niñas. Disfrute mucho este momento y espero volver con un nuevo y creativo proyecto. Se les quiere mucho, feliz noche!
Friends, it has been a pleasure to share this cute organizer for girls with all of you. I really enjoyed this moment and I hope to return with a new and creative project. We love you very much, happy night!
Content of my authorship.
Photos captured by my Redmi9 phone and edited by Griart. >Google.com Translator
Contenido de mi autoría.
Fotos capturadas por mi teléfono Redmi9 y editadas por Griart.
Traductor Google.com


