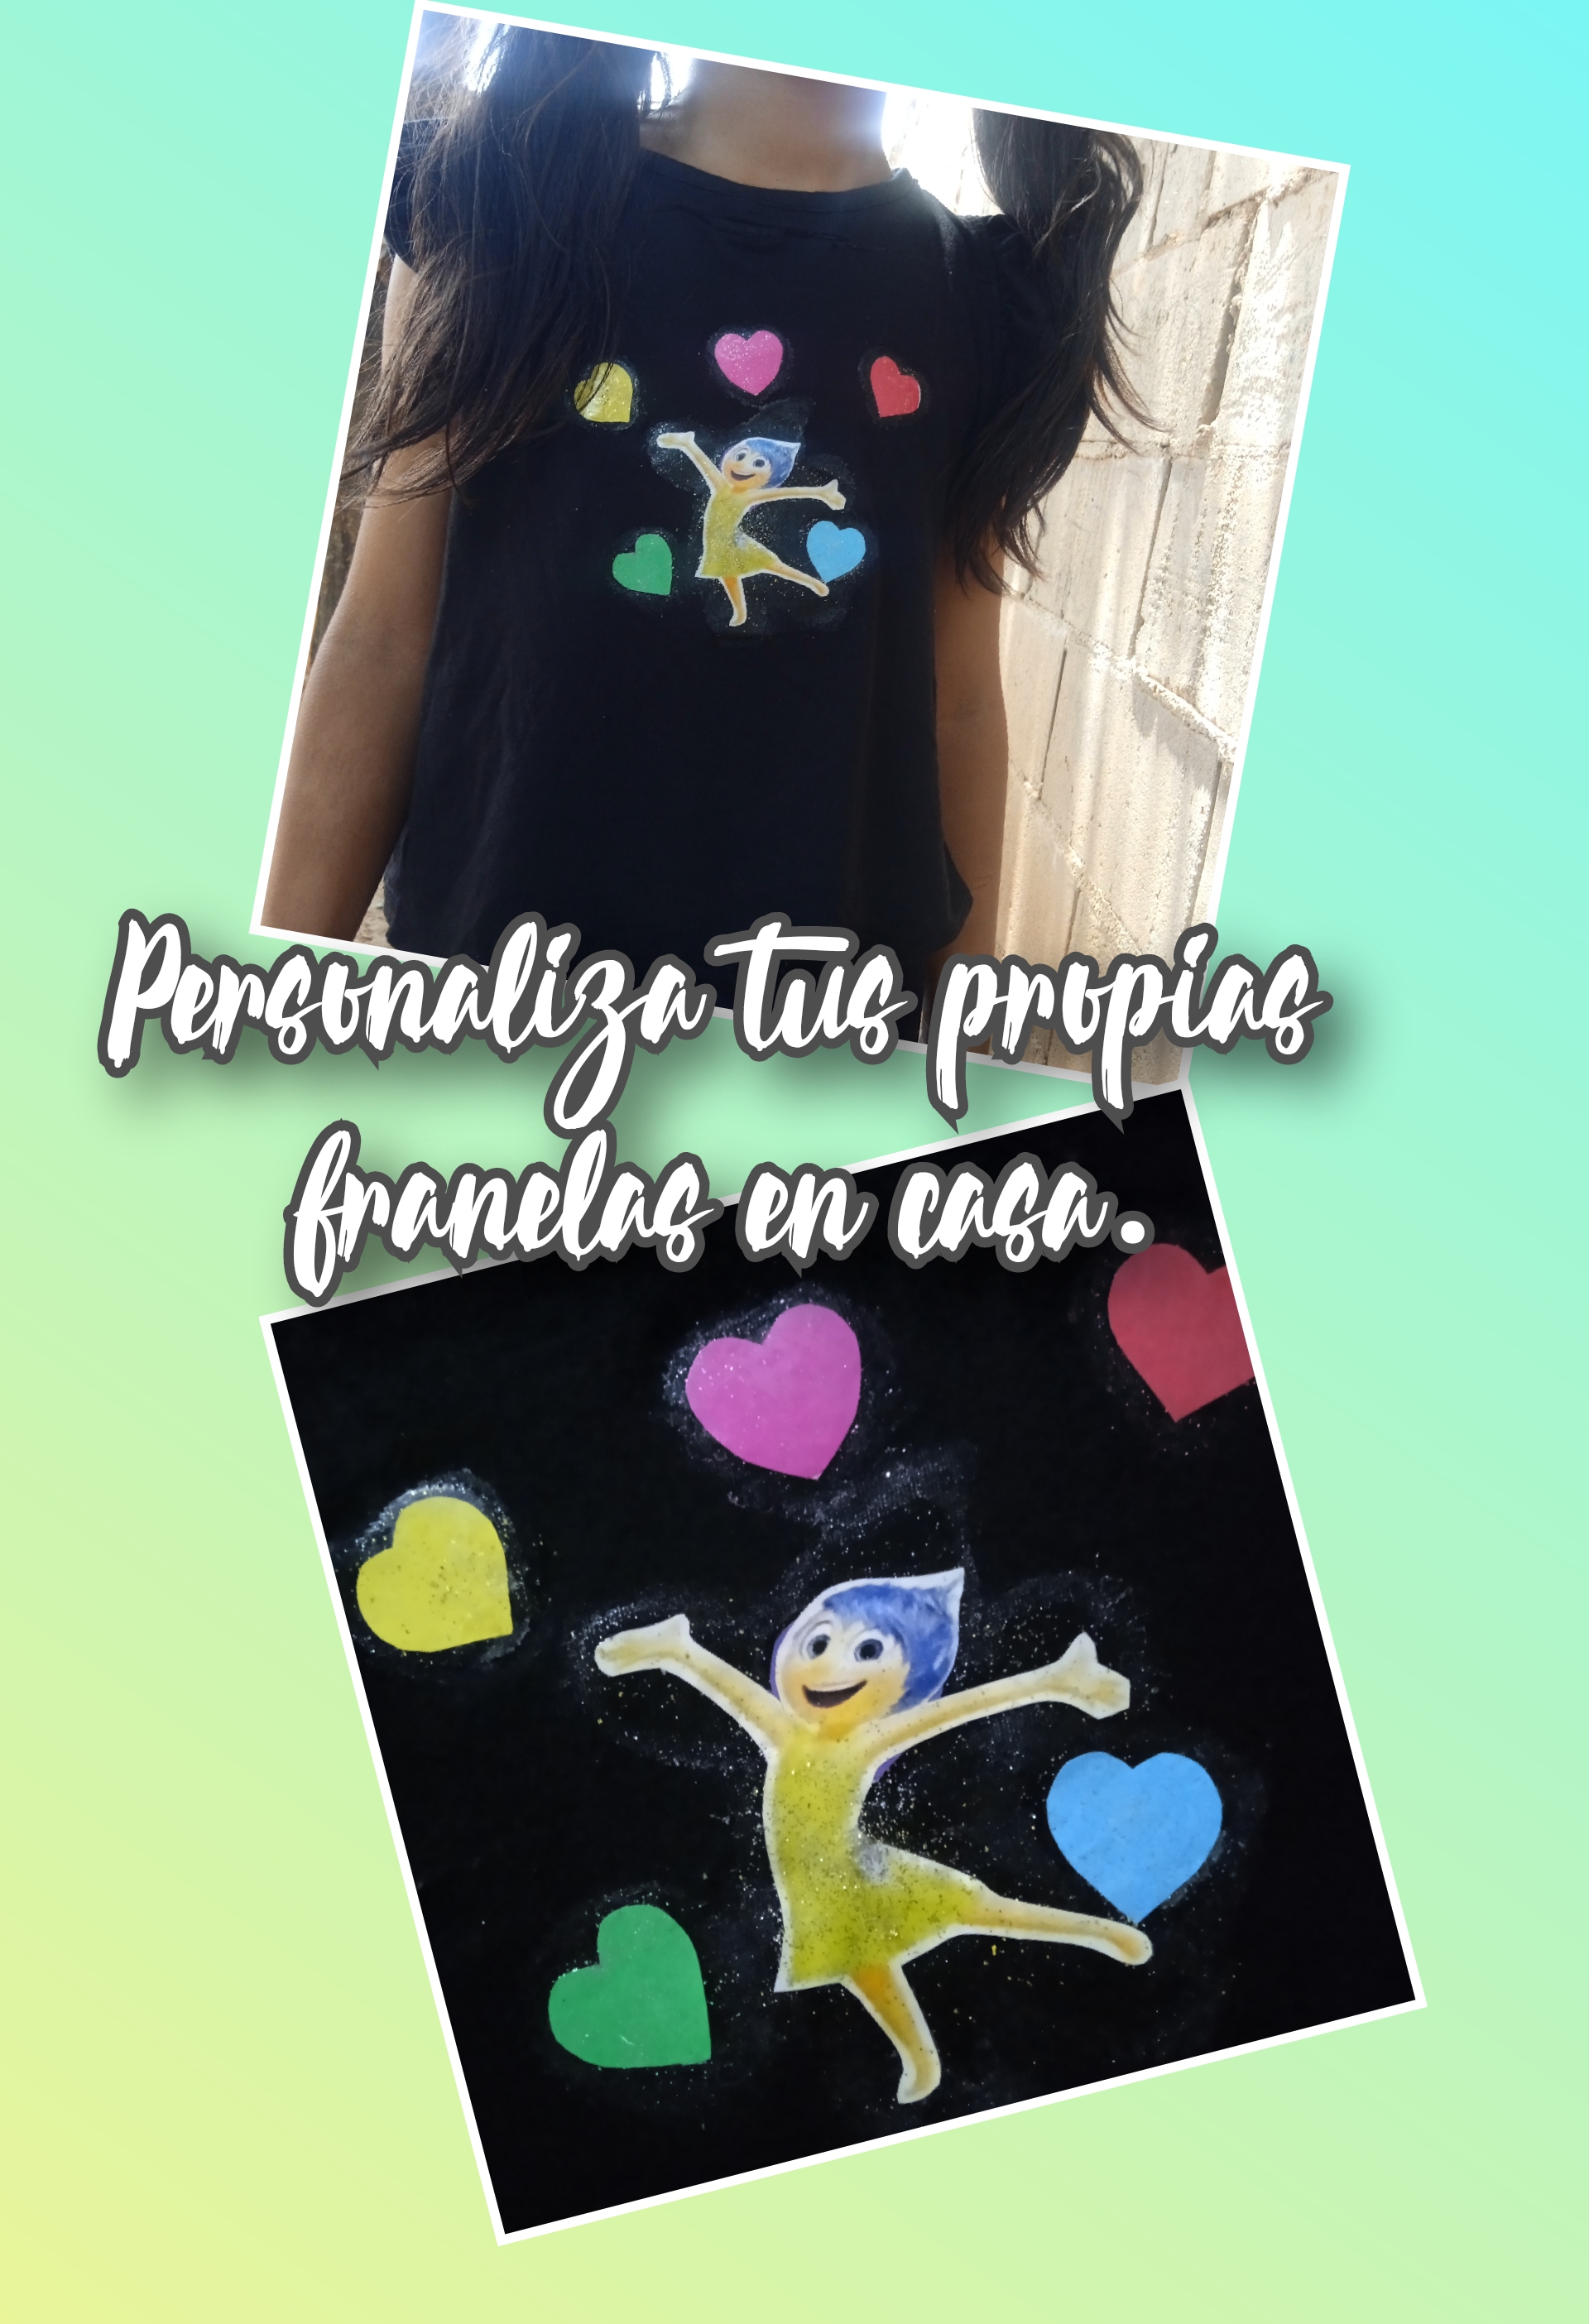
Happy and blessed night, diyhub creative friends. It is a pleasure to greet you and wish you many blessings. I hope you are well, resting from the stress of the day. On this beautiful night I want to share a new, original and very creative project. This is an easy way to personalize our flannels in a handmade way and with very few materials, we will only need magazine clippings or color photocopies. This is a nice project that we can do at home and without spending a lot. If you like this idea like I do, we invite you to read the entire content until the end, join me.
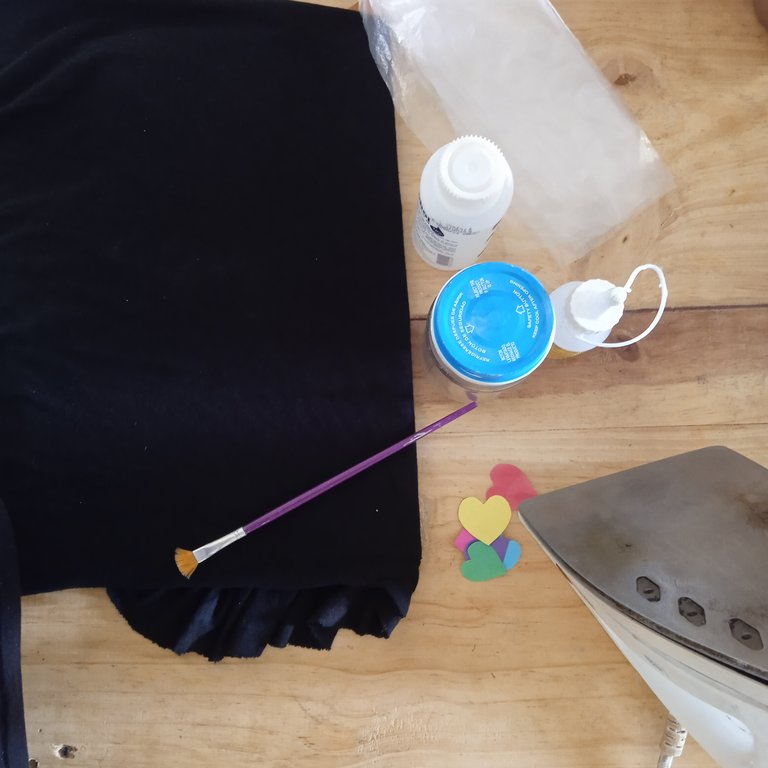
Materiales que utilicé.
- Tijera.
- Recortes de revistas o fotocopias a color.
- Silicona liquida.
- Alcohol 70%.
- Un pincel.
- Un envase de vidrio con tapa.
- Una tabla de madera o cerámica.
- Bolsa de plástico.
- Una plancha de ropa y un trozo de tela chifón o papel encerado.
Materials I used.
- Scissors.
- Magazine clippings or color photocopies.
- Liquid silicone.
- Alcohol 70%.
- A brush.
- A glass container with a lid.
- A wooden or ceramic board. * Plastic bag.
- A clothes iron and a piece of chiffon fabric or enclosed paper.
Paso 1.
Step 1.
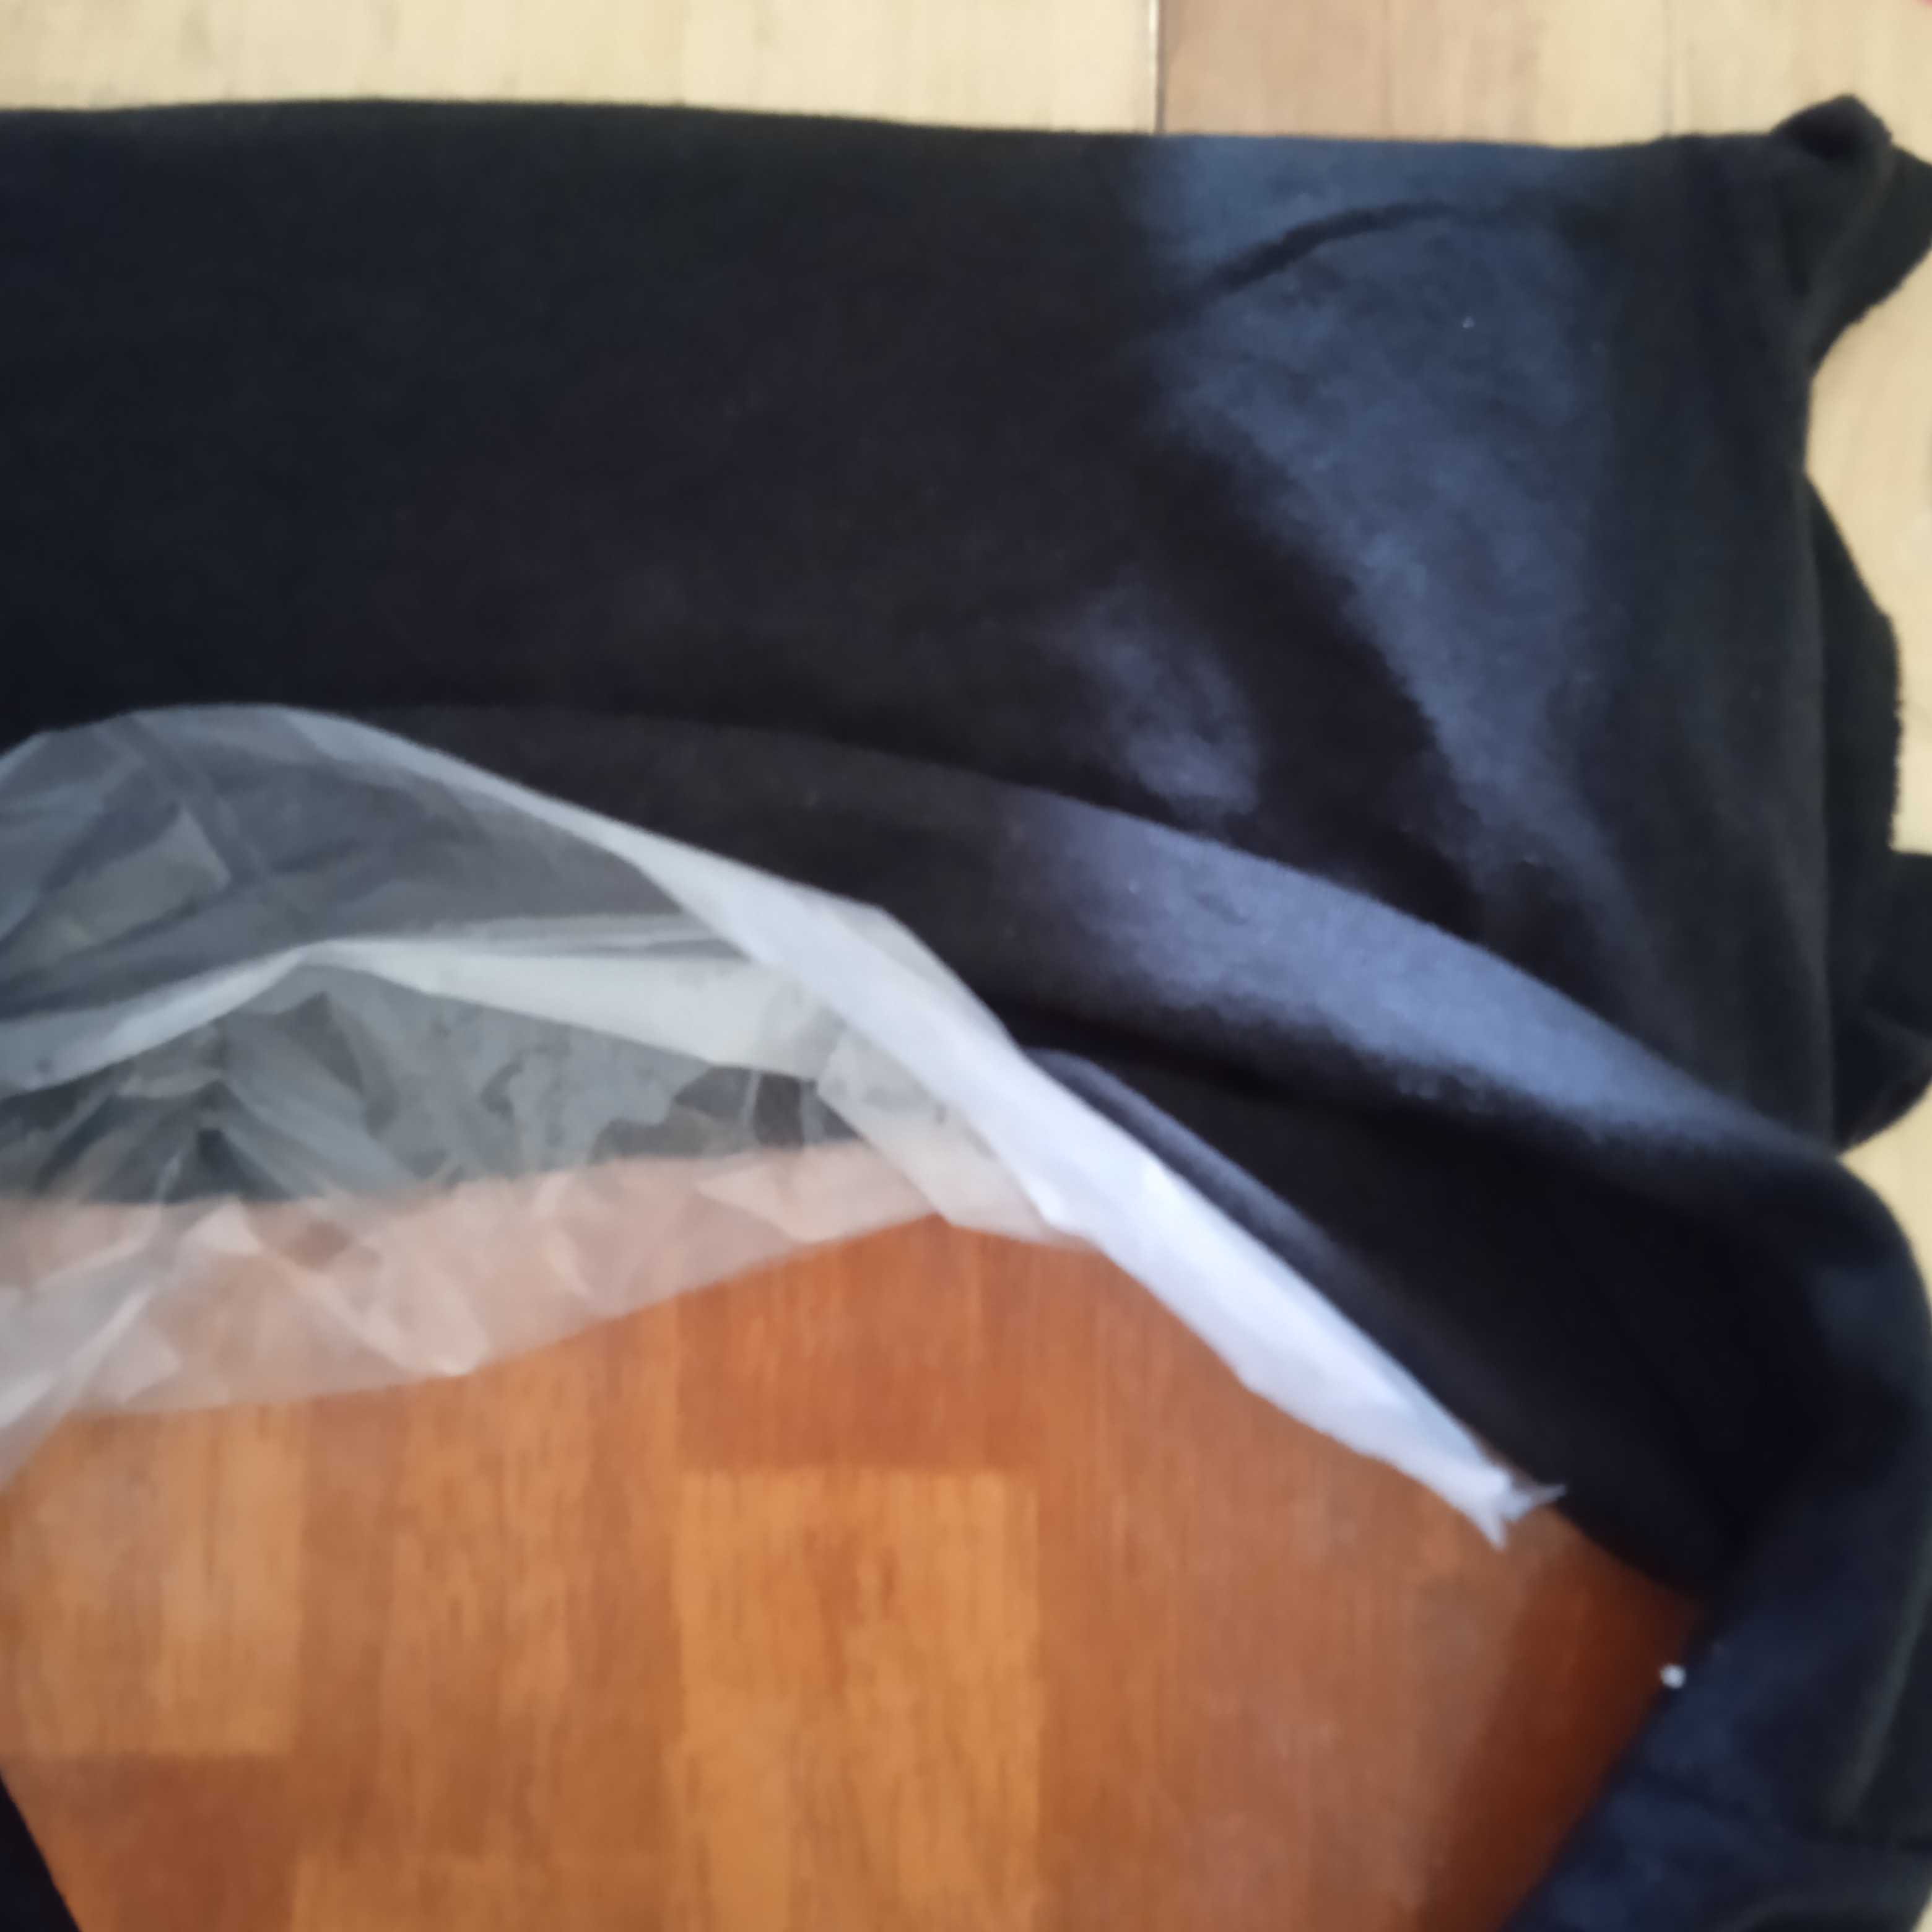
Friends, we start with this project, we take a plastic bag and cut it so that we only have one sheet left. We place this sheet on the board, in this case I used ceramic, but you can use wood. Now we place the board inside the flannel that we wanted to print.
Paso 2.
Step 2.
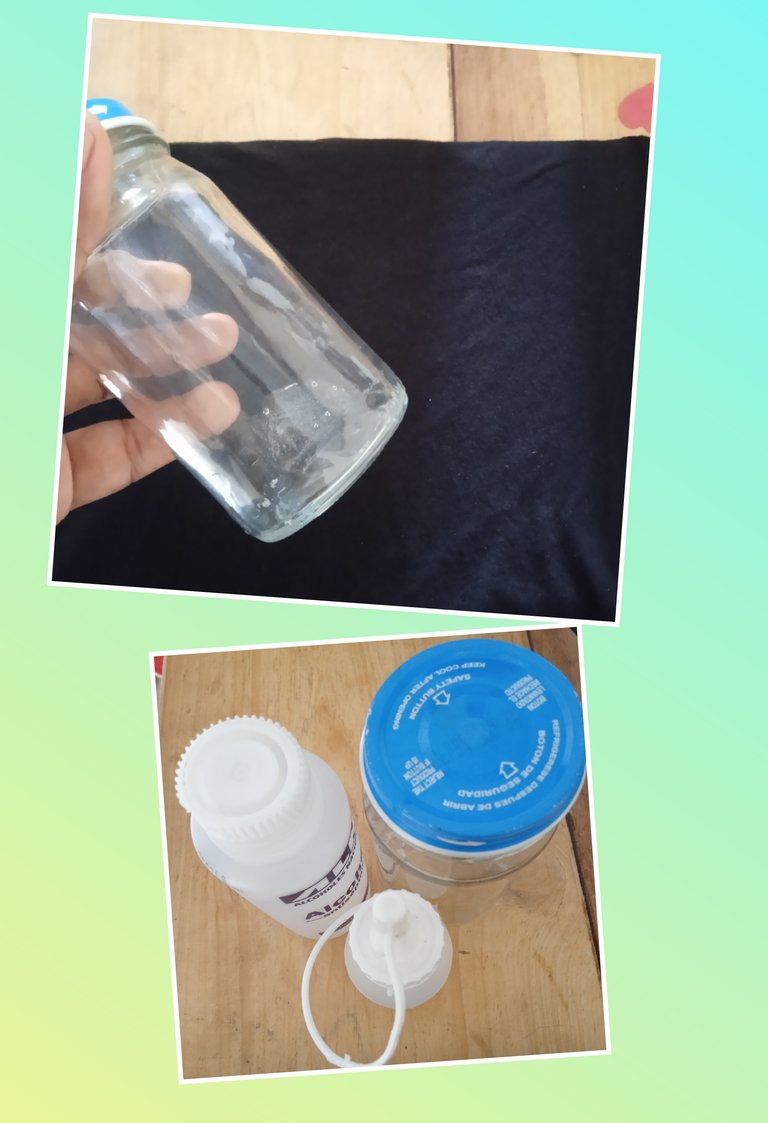
We continue with the procedure, we are going to prepare the mixture to waterproof the figures. In a glass container, we add 50% cold silicone and 50% 70° or 90° alcohol without water. We mix very well so that it is like honey. We cover very well and let it rest for 15 minutes so that all those bubbles dissolve.
Paso 3.
Step 3.
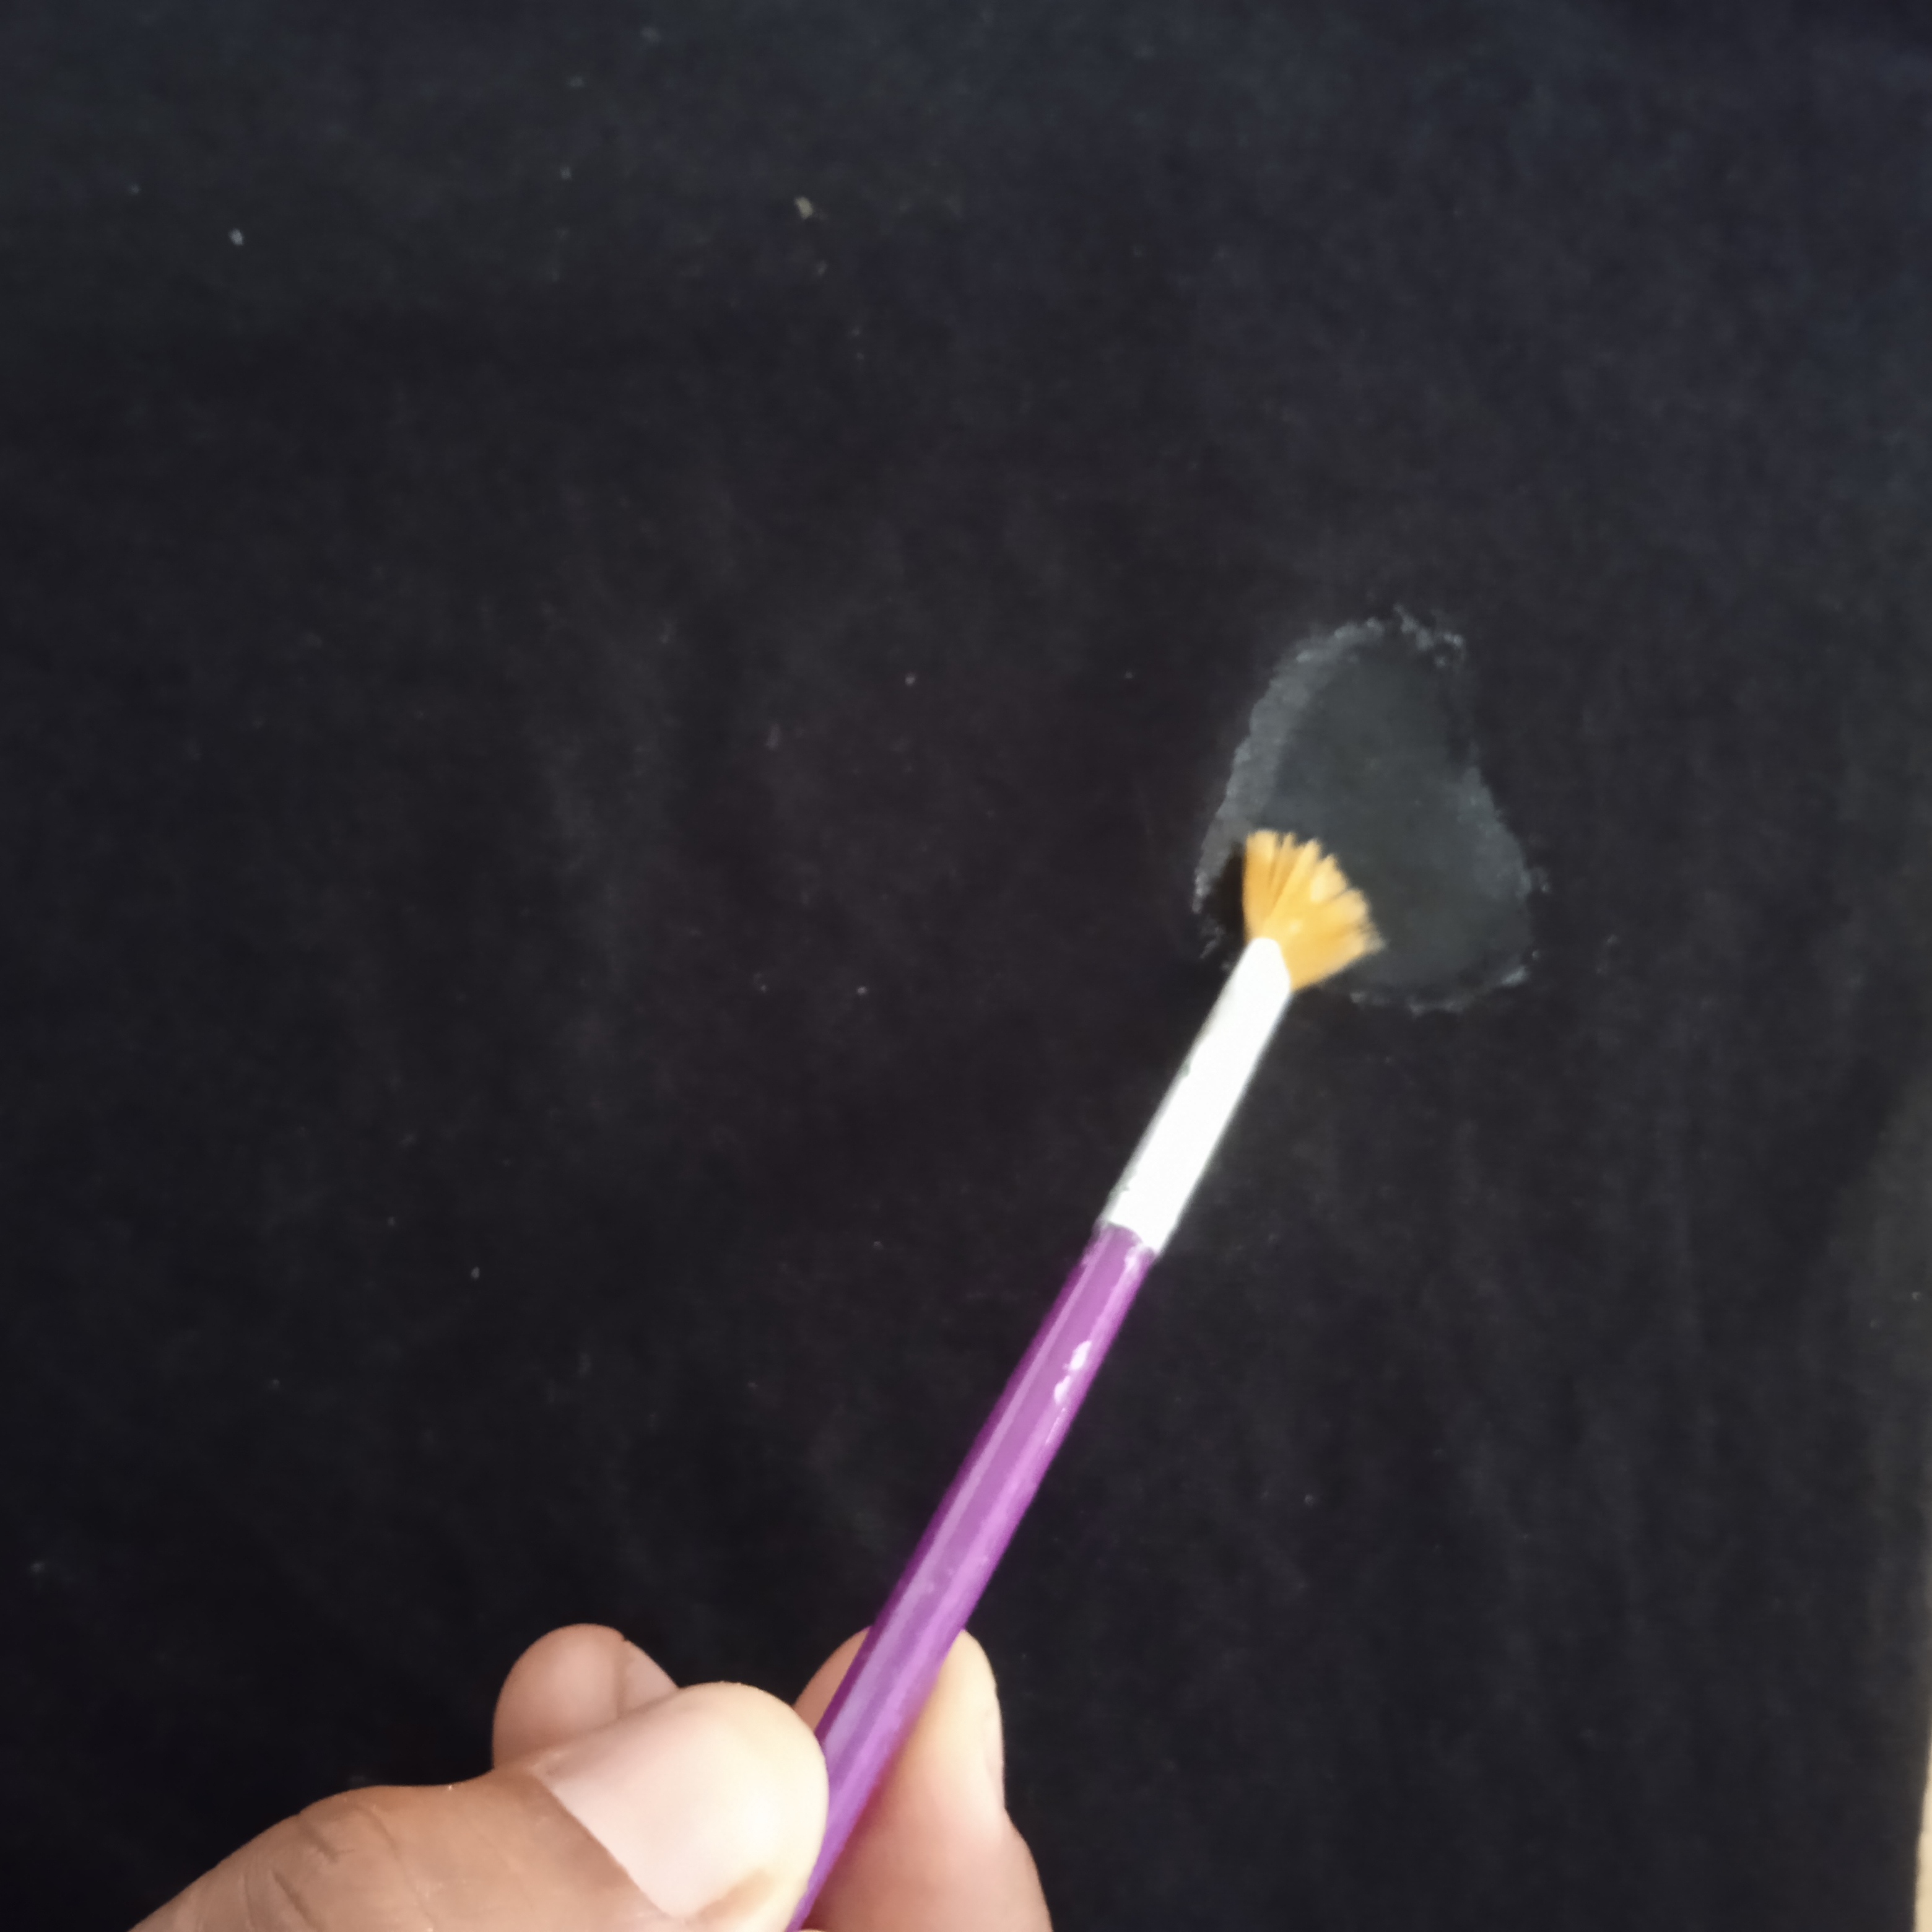
With a brush, we are going to dip it in our mixture and pass it on the fabric to seal the pores. You can mark the shape of the figure first before adding the mixture. I'm making hearts because that's what I'm going to place on the flannel, along with a color copy. We let it dry for 1 hour.
Paso 4.
Step 4.
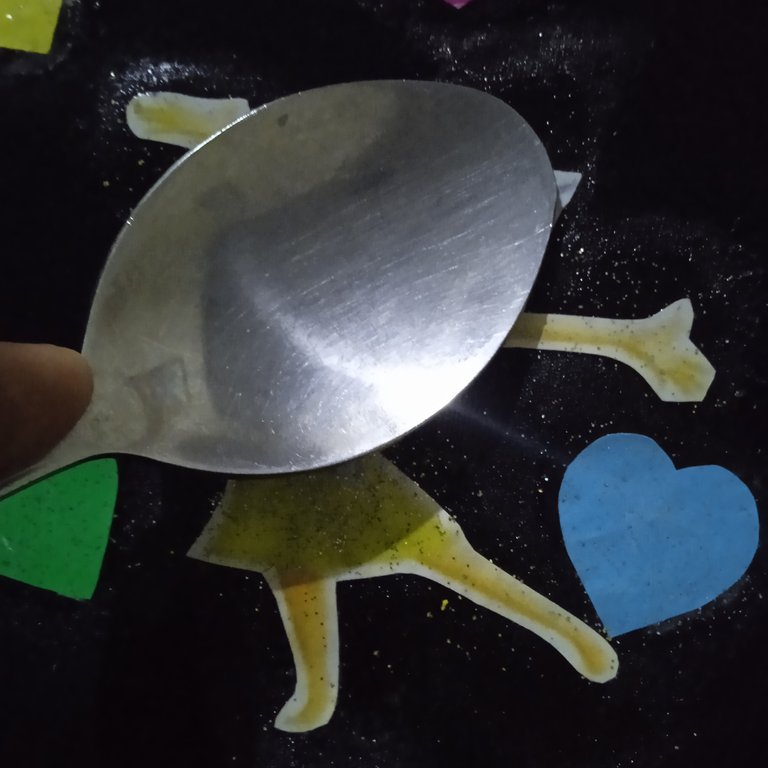
We cut out the figures that we want to place, I used images from magazines and made hearts. In addition to the hearts I am going to use a color copy of Joy immensely2 since my daughter loves it. Once the balnise has dried, we add a little more of the thick mixture and let it dry for 8 minutes. After 8 minutes, we place all the cutouts and with a spoon we carefully pass it over each image and let it dry very well.
Paso 5
Step 5
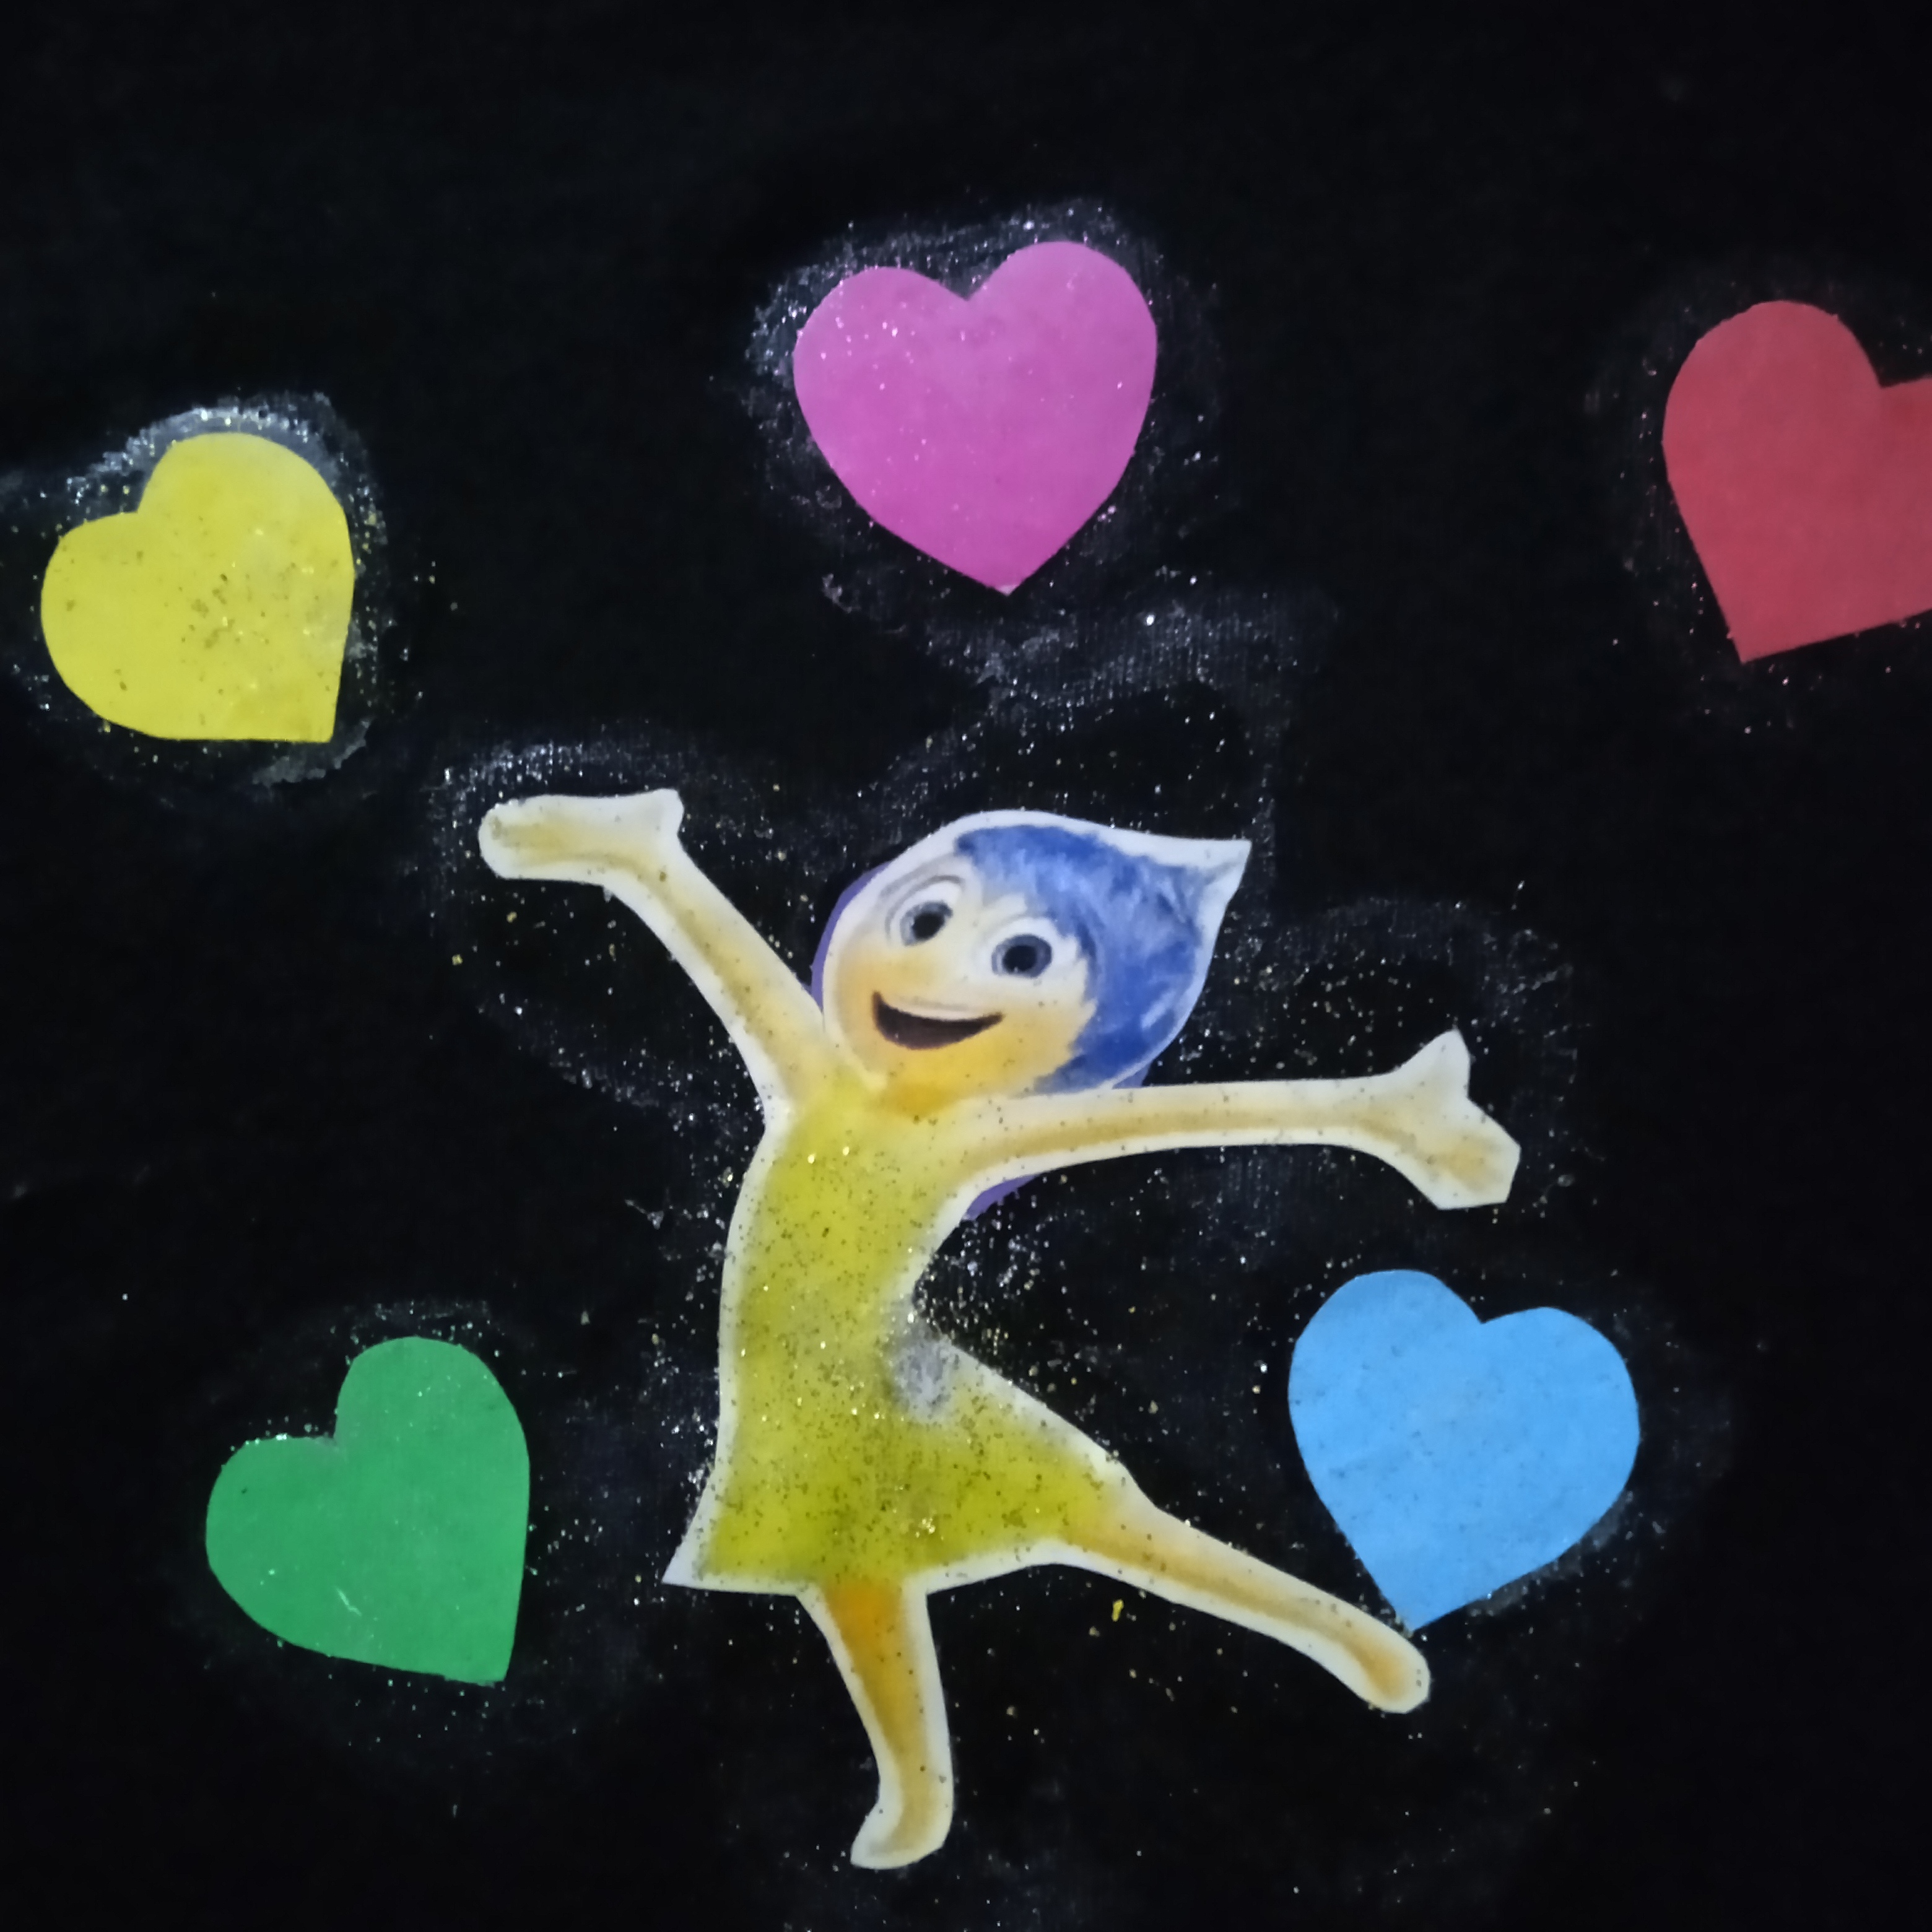
Once dry, we are going to cover the images with mixture. Instead of the brush we will use the index finger and pass it over each image so that we cover each one well. This will permeabilize the image so that water does not damage it. We let it dry well.
Paso 6.
Step 6.
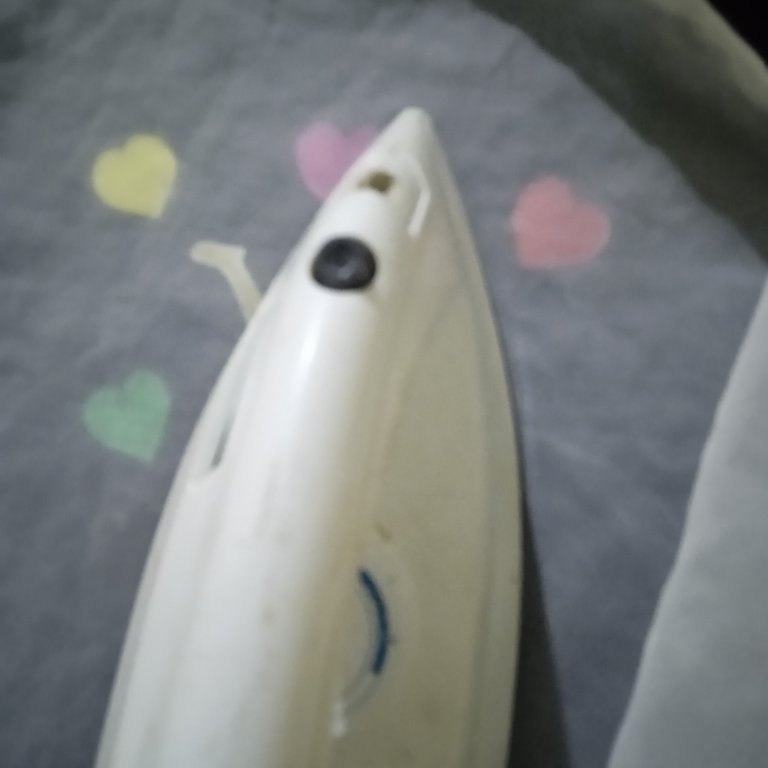
Once it has dried well, we take enclosed paper and place it over the image and with a warm iron we go over everything to remove any relief.
As a result we have a nice print on this flannel of my daughter's. As I told you before, you can use photocopies or images from magazines. The key to a good stamp is to add enough mixture and seal it well. I hope you like this nice project.
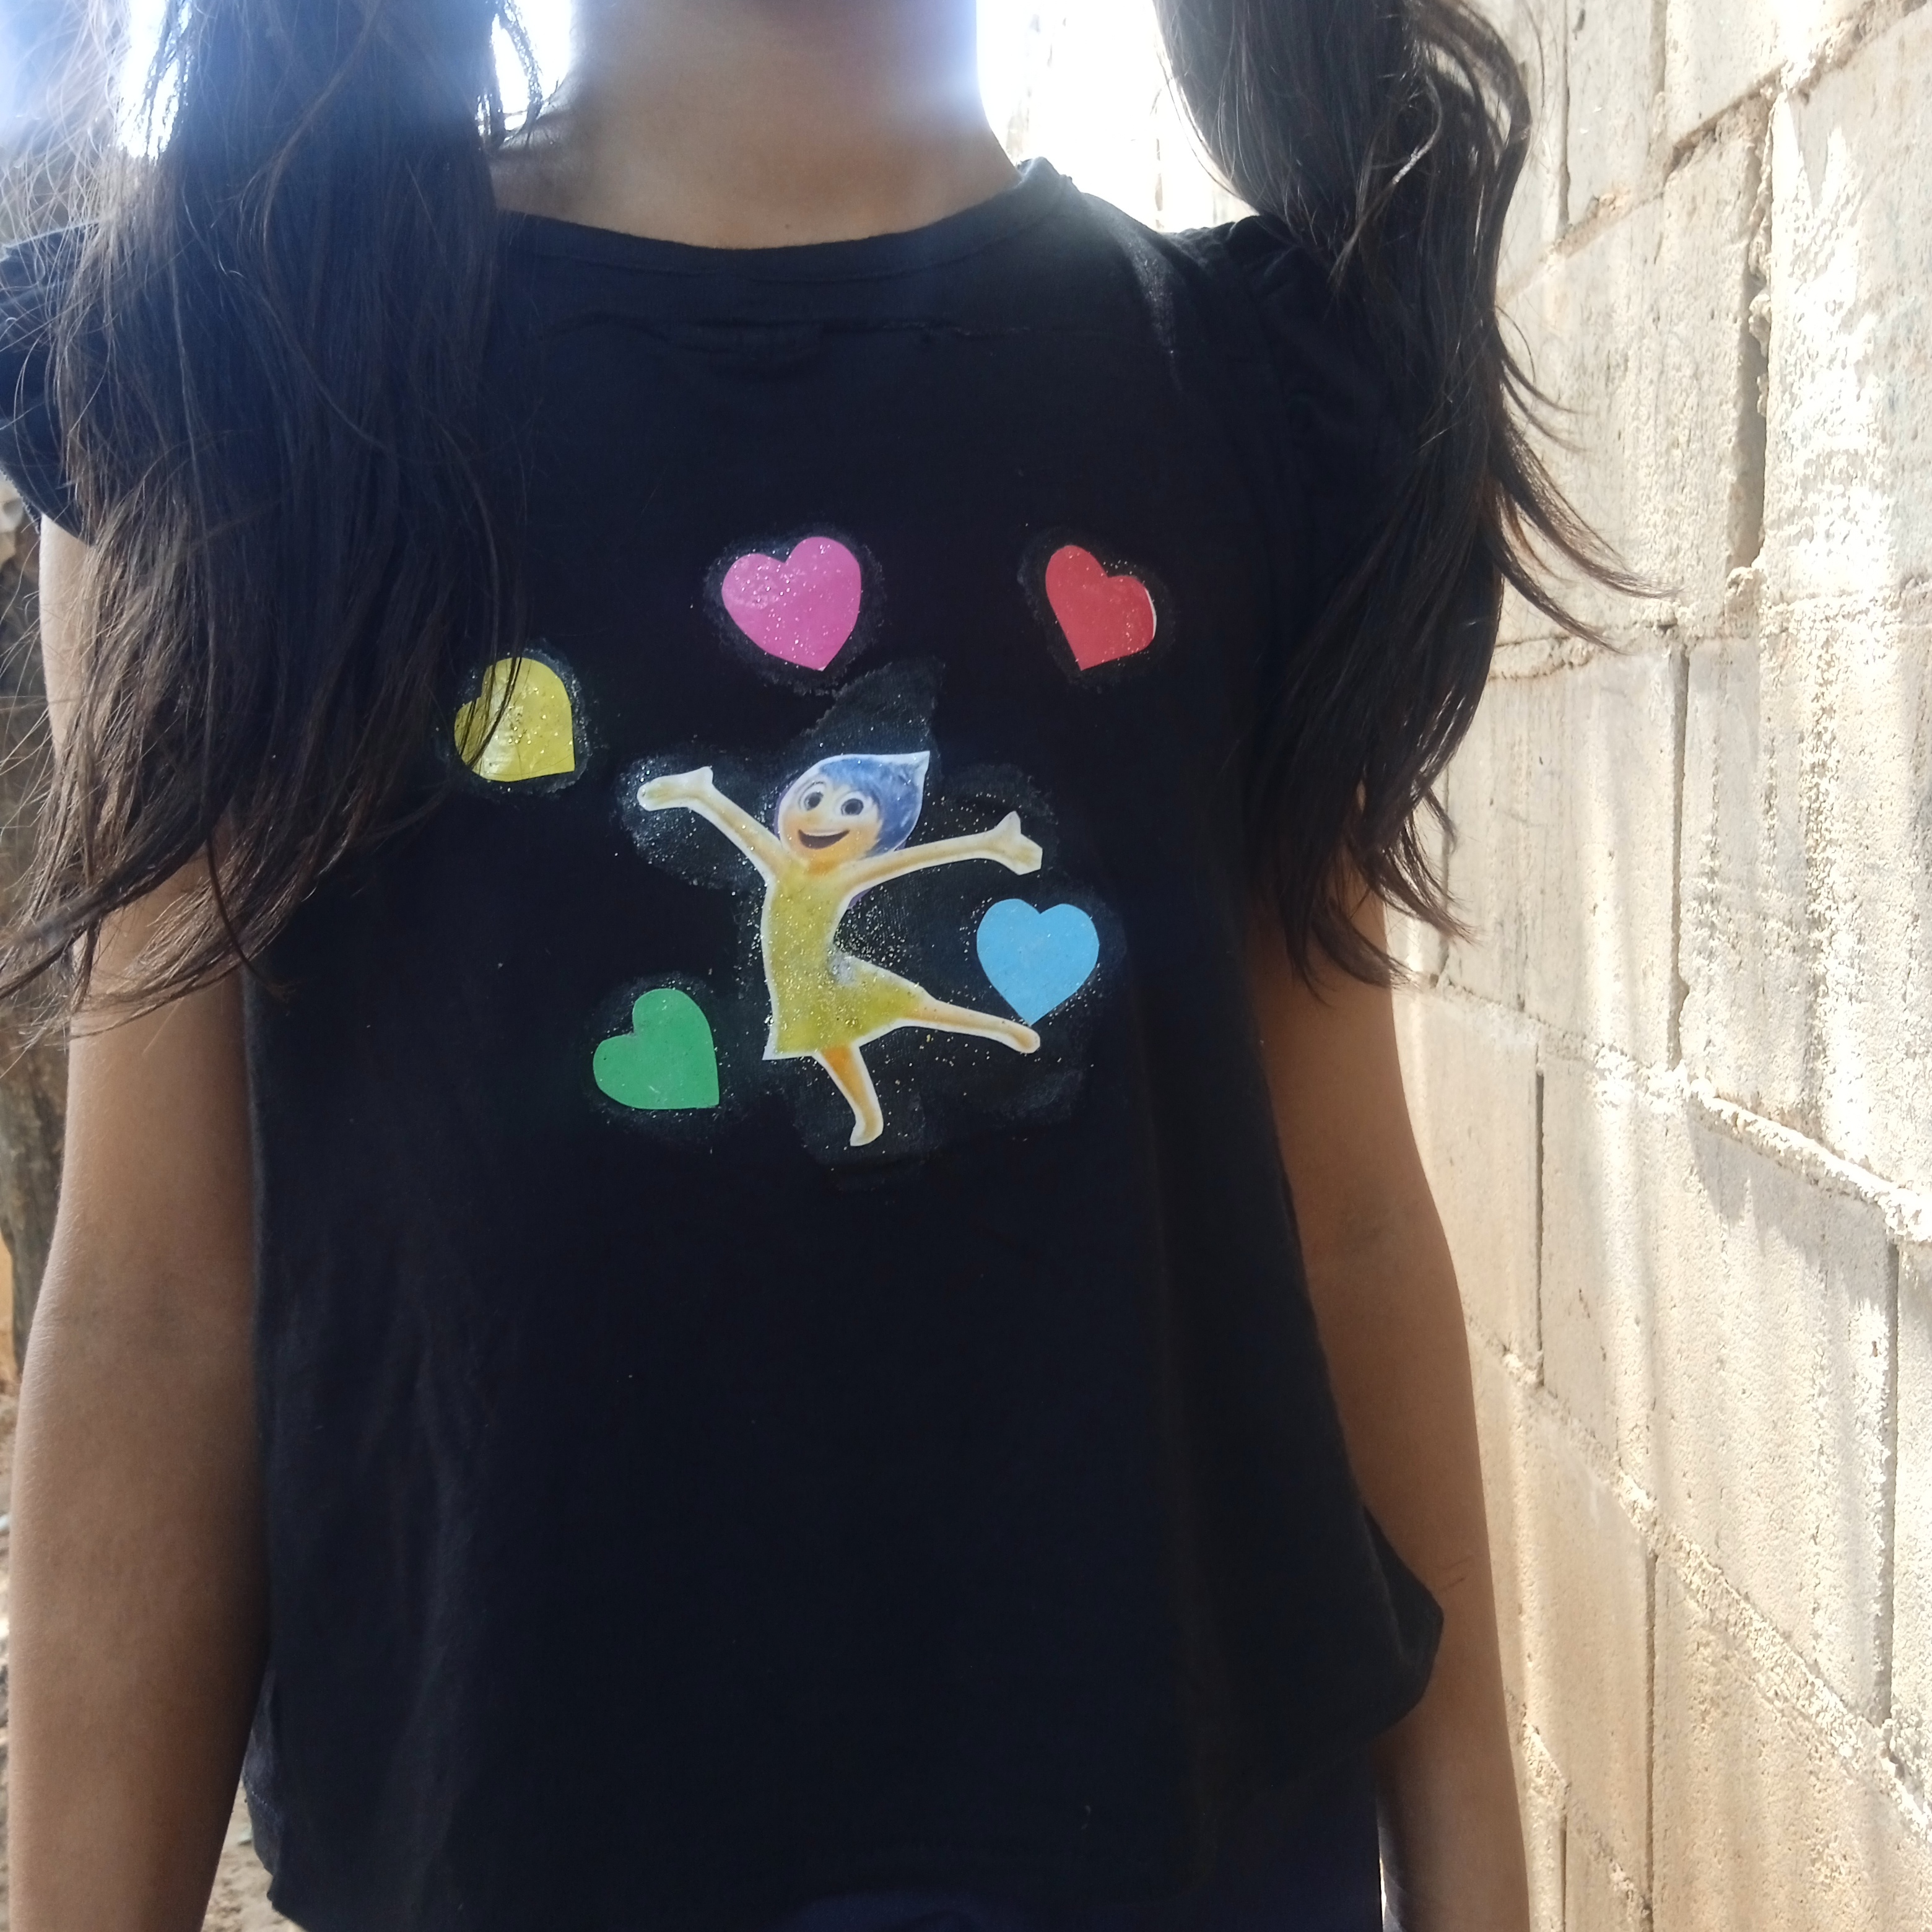
Friends, it has been a pleasure for me to be able to share this secret of handmade prints, I hope you liked it and are encouraged to make one at home. Without further ado, I wish you a happy night, take care and see you again. I send you a big hug and many blessings.
Contenido de mi autoría.
Fotos capturadas por teléfono Redmi9 y editadas por Griart.
Traductor Google.com
Content of my authorship.
Photos captured by Redmi9 phone and edited by Griart.
Google.com Translator
