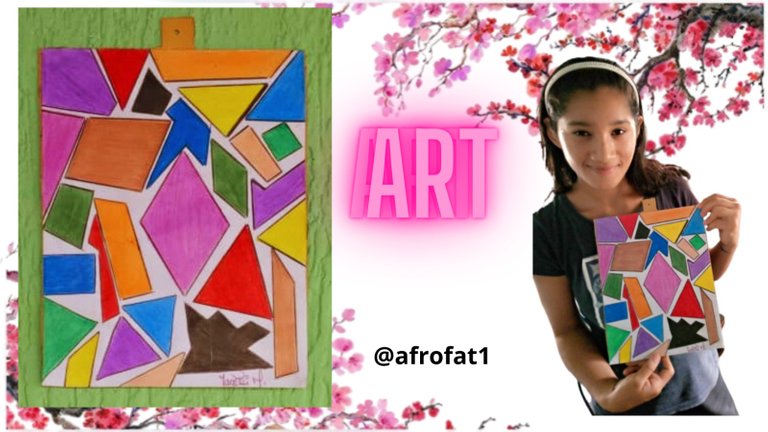
Los siguientes materiales utilizado en esta publicación fueron los siguientes
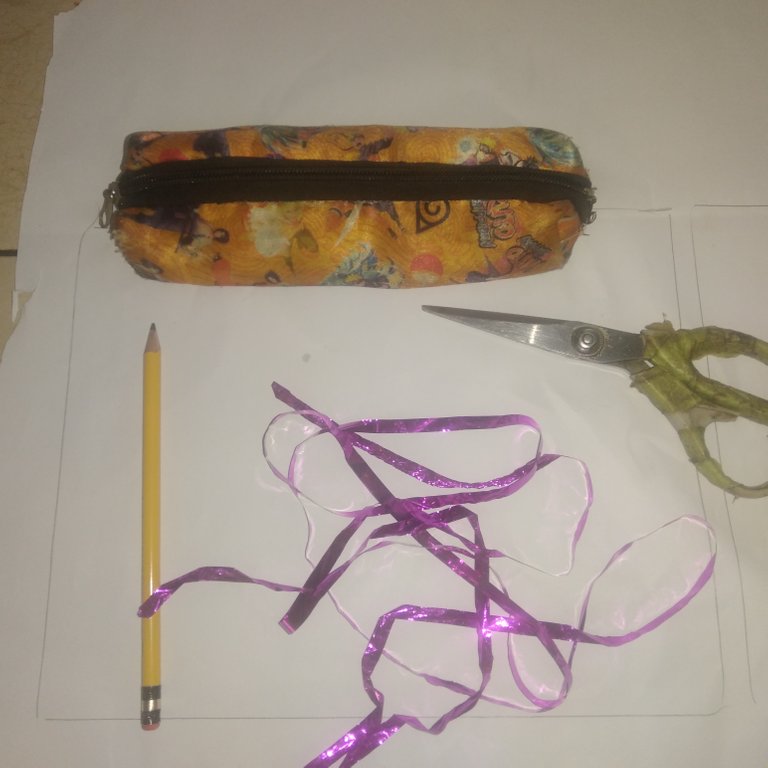
- Para empezar, necesitaremos hojas de papel.
- lápices de colores
- regla
- tijeras
- Pegamento
- Carton piedra
Paso 1
Lo primero que debemos hacer es plegar la hoja de papel en forma diagonal, de manera que hay empezaremos a dibujar.
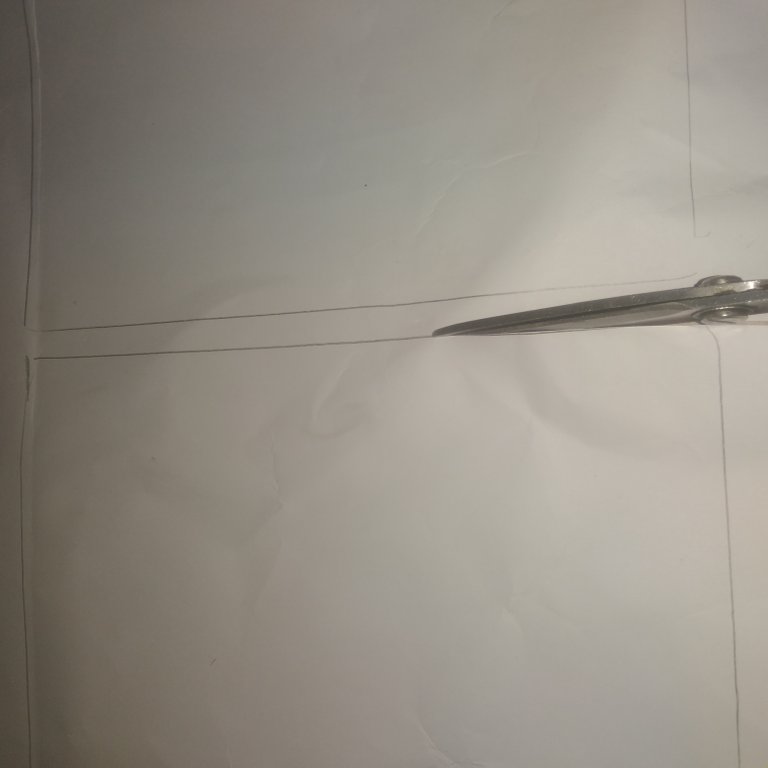
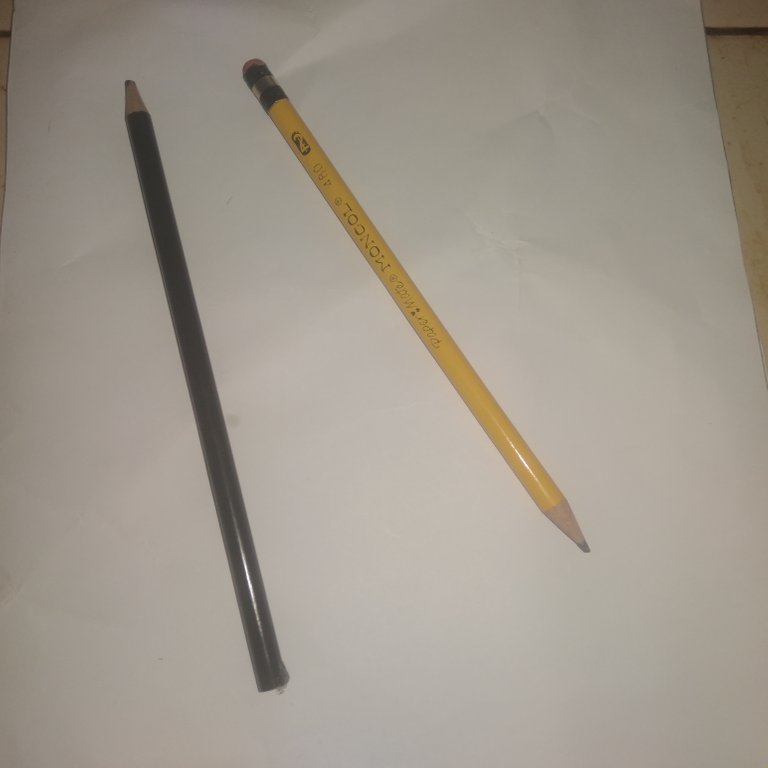
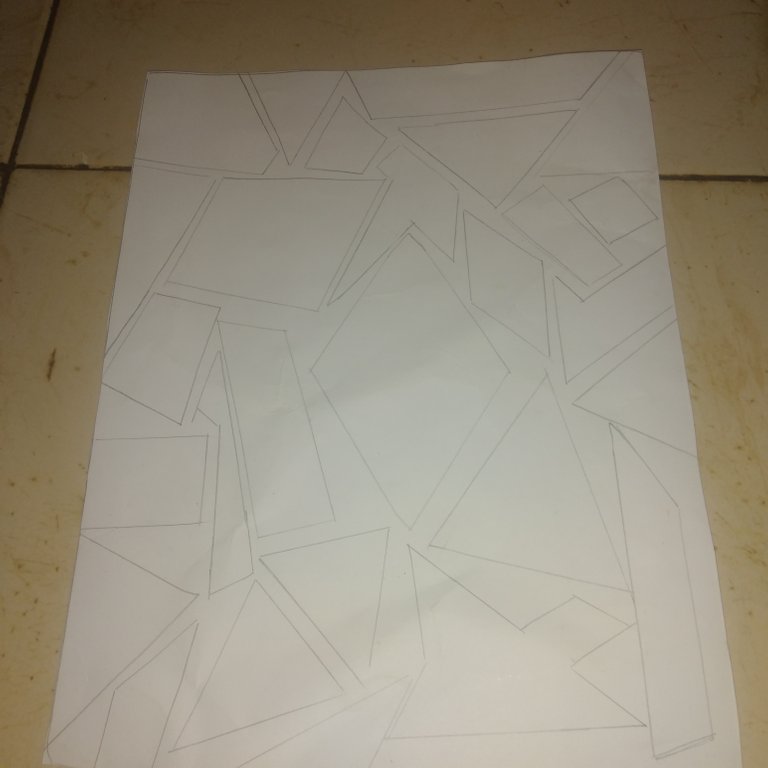
En este caso lo primero que vamos a hacer es dibujar con lapiz los triangulos del gusto que uno quiera .
Paso 2
Con la regla, haremos tres líneas rectas que partirán desde la base del triángulo pequeño hacia la punta. Estas líneas deben ser equidistantes y paralelas entre sí.
Paso 3
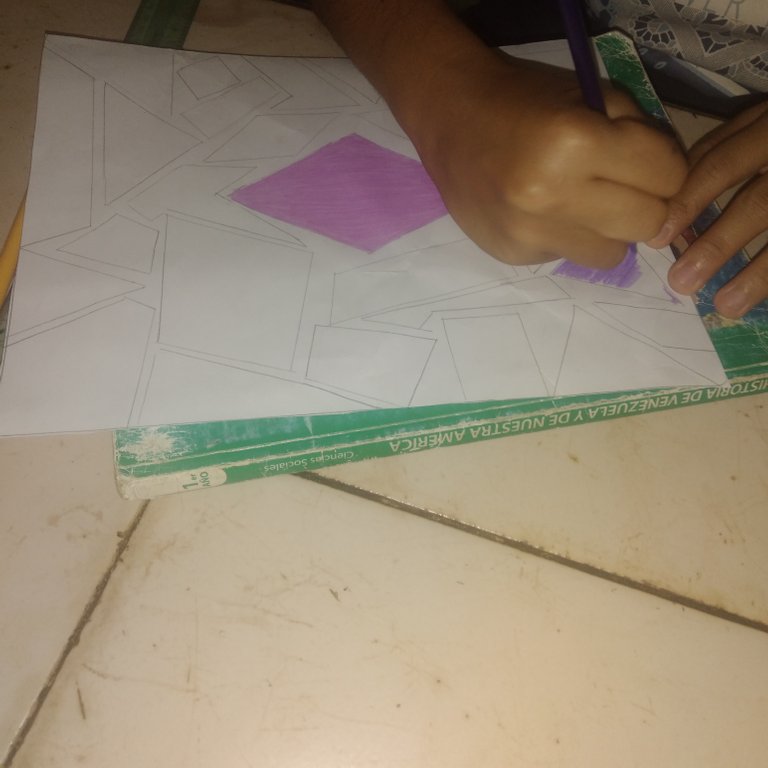
Una vez que tengamos las líneas hechas, podemos empezar a colorear cada uno de los triángulos que se han formado. Para que quede más llamativo, podemos utilizar distintas tonalidades del mismo color o incluso utilizar una paleta de colores variada.
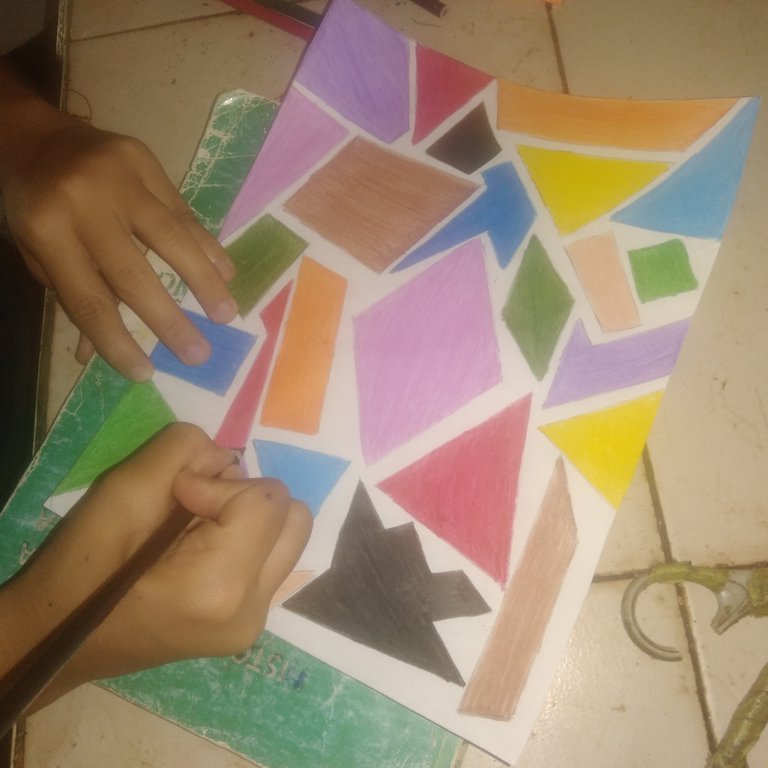
Después de haber coloreado los triángulos, . De esta manera, se formarán varios triángulos que podremos pegar en otra hoja de papel o en cualquier superficie como lo hice yo en un carton piedra.
Paso 4
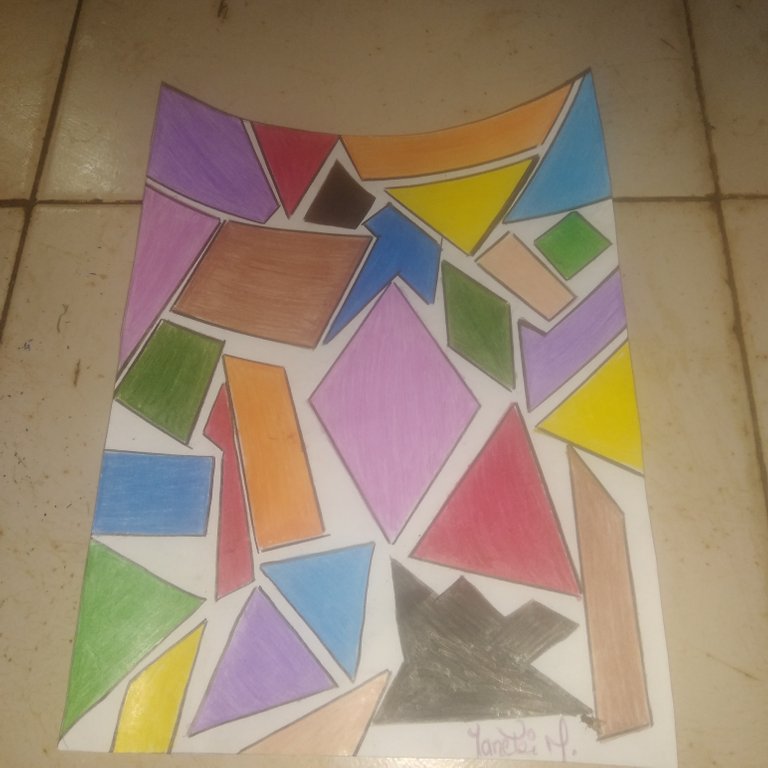
Ahora solo toca terminar los triángulos de manera que se forme un patrón, pueden hacerlo en forma de rombo, estrella o incluso dejar volar su creatividad y formar figuras abstractas tambien pueden ser circulos puntos o cualquier tipo de diseño que a uno le guste pronto les estare mostrando un cuadro de rosas espero que este sea de mucho agrado .
Despues de esto lo que haremos es ponerlo en el carton piedra solo lo pegaremos con silicon .
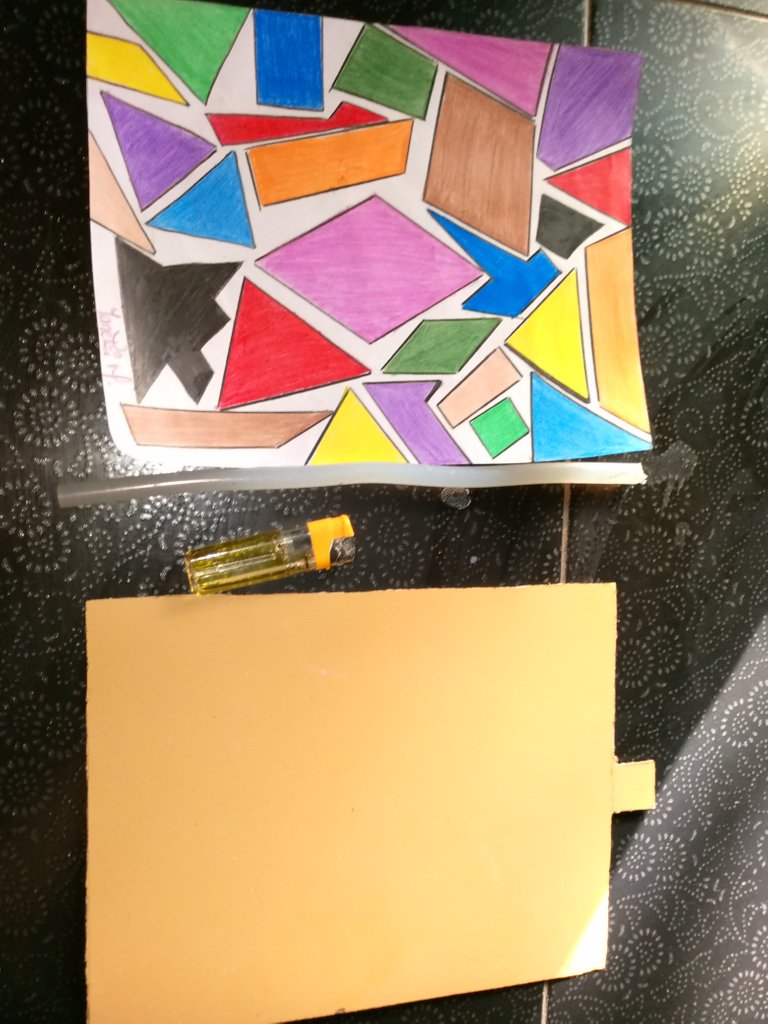
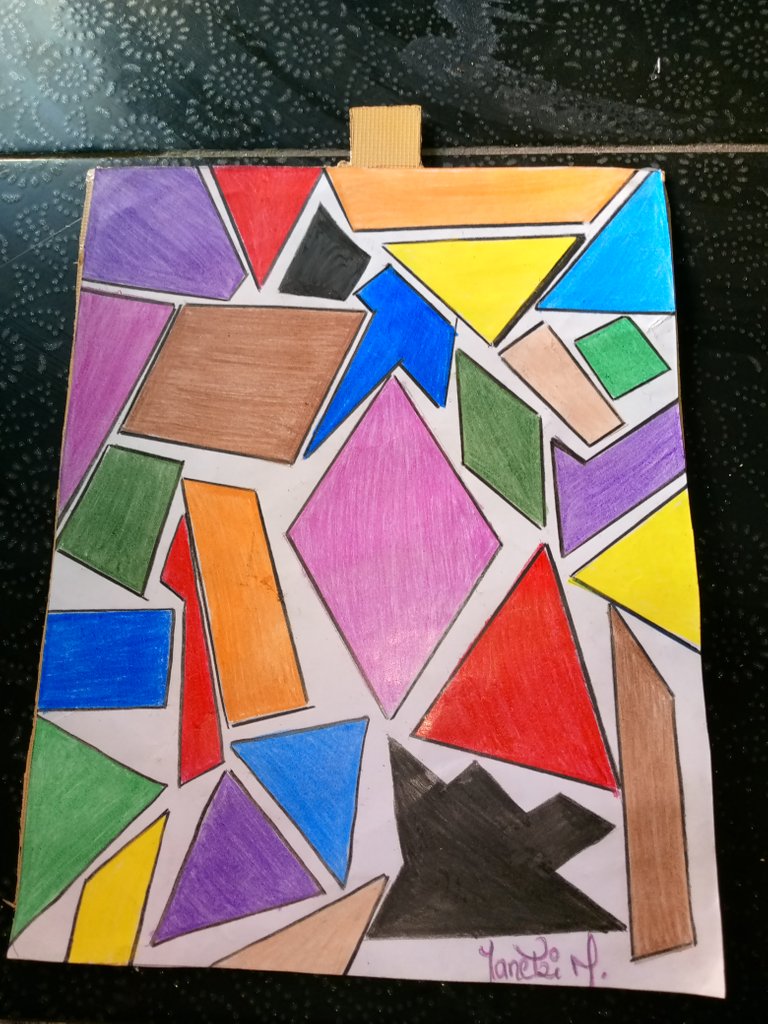
Paso 5
Como pueden ver, hacer un cuadro de triángulo es muy sencillo y no requiere de materiales costosos o difíciles de encontrar. Además, es una excelente actividad para disfrutar en familia o en tiempo libre.
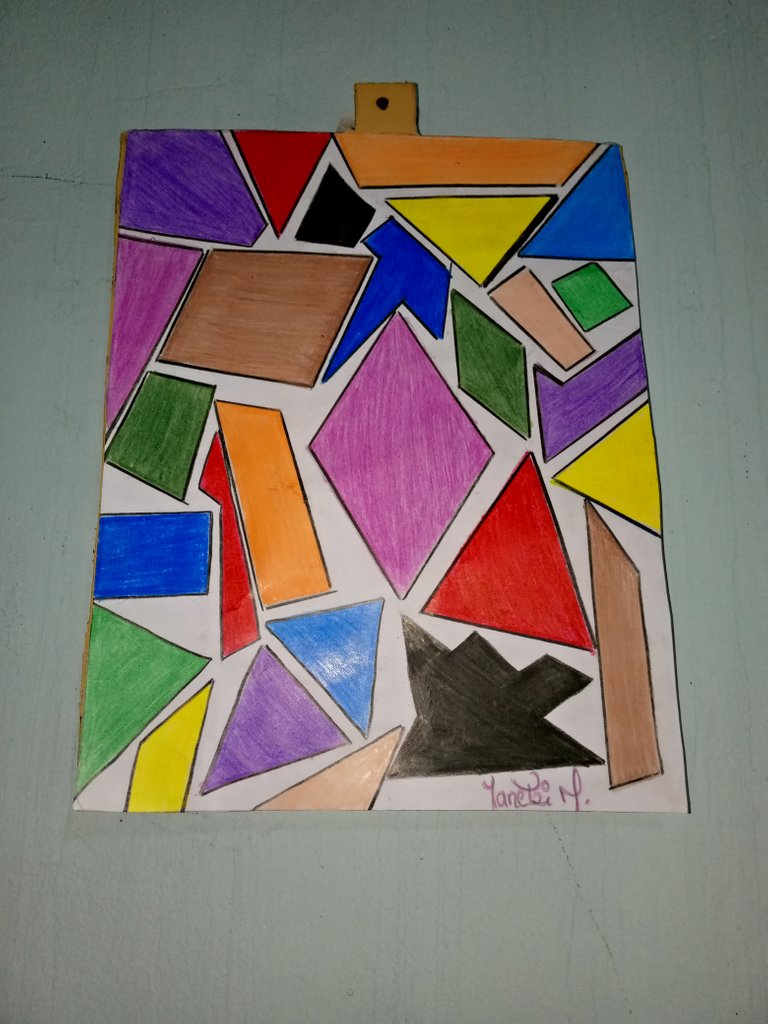
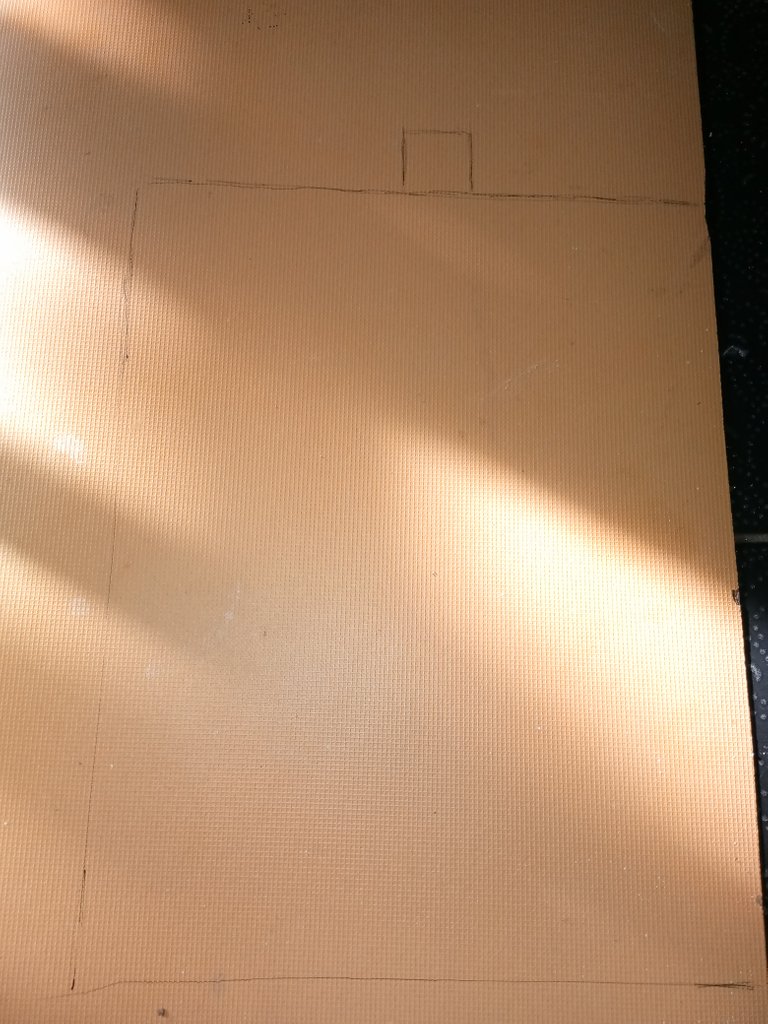
Esto es muy facil solo tenemos que dibujar al tamaño del cuadro recortar y pegar la hoja en el carton piedra o tambien puede ser en carton anime o cartón normal .
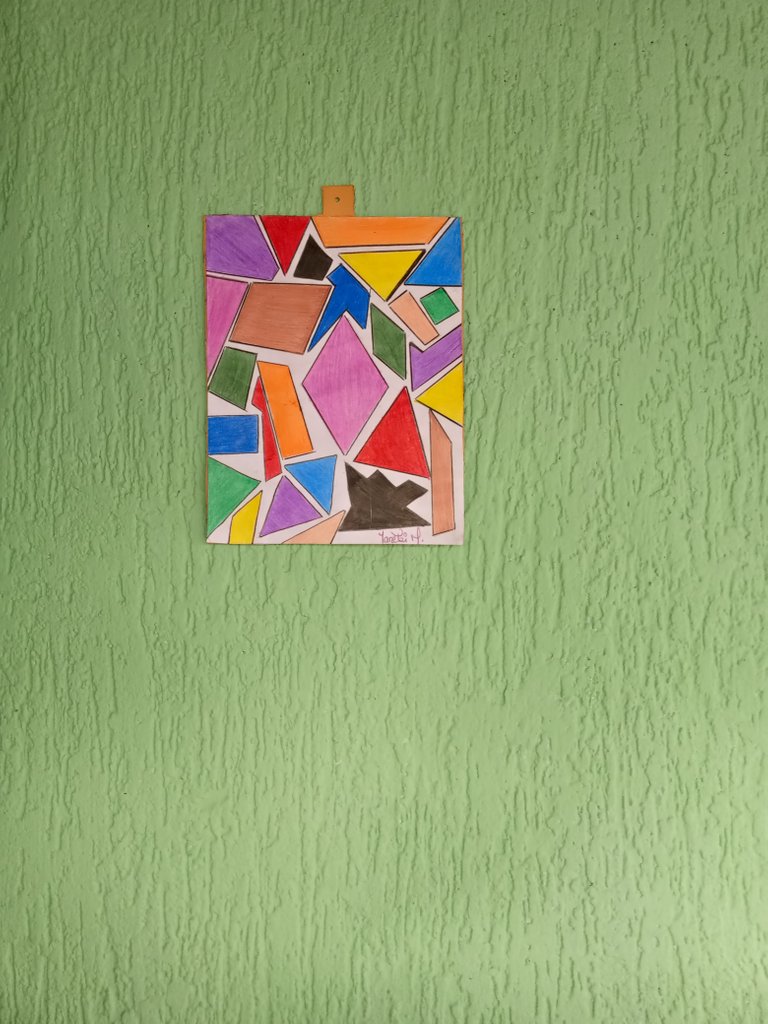
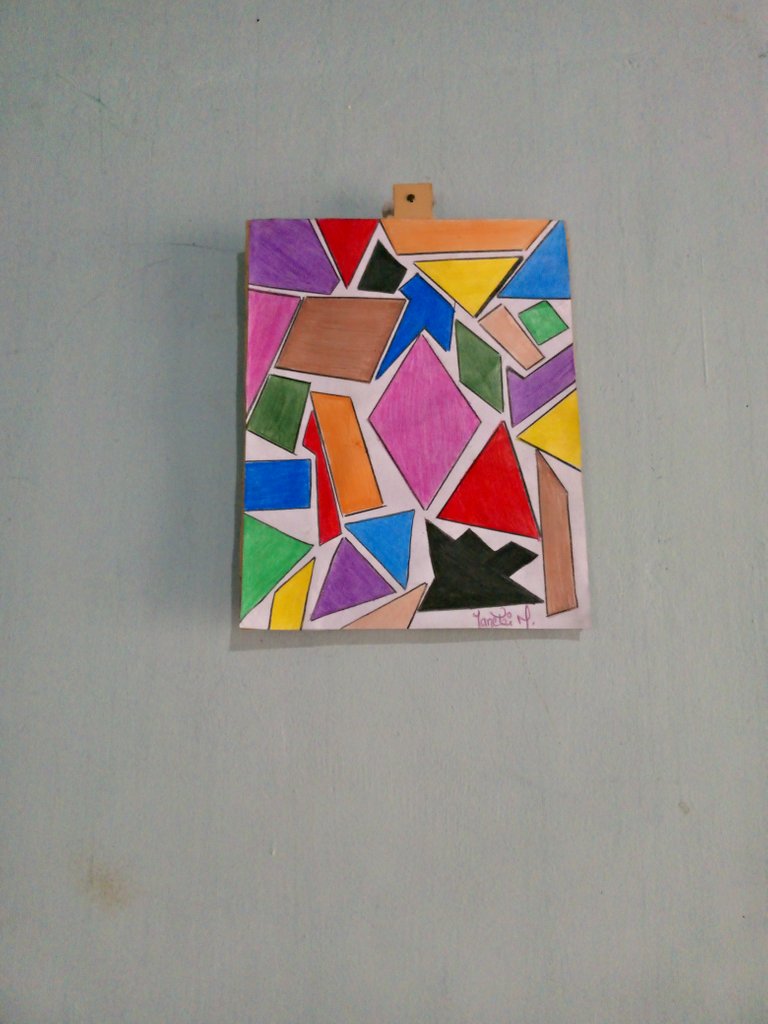
Espero que les haya gustado este tutorial y que se animen a hacerlo en casa es una gran idea para decorar nuestras casas o cuartos les aseguro que lucen muy bien espero sus comentarios mis queridos amigos de hive un fuerte abrazo. ¡Hasta la próxima!
- Las fotos son de mi propiedad y fueron tomadas por mi teléfono tecno pop 8.
- Las fotos son editadas mediante la aplicación editor de fotos polish y los separadores fueron editados en canva .
- Traductor utilizado: Deelp traslater traductor.
BENDICIONES DEL UNIVERSO

The following materials were used in this publication.

- To start, we will need sheets of paper.
- colored pencils
- ruler
- scissors
- glue
- Stone cardboard
Step 1
The first thing to do is to fold the sheet of paper diagonally, so that we can start drawing.


In this case the first thing we are going to do is to draw with pencil the triangles of the taste that one wants.
Step 2
With the ruler, we will make three straight lines starting from the base of the small triangle towards the tip. These lines must be equidistant and parallel to each other.


Step 3
Once we have the lines done, we can start coloring each of the triangles that have been formed. To make it more striking, we can use different shades of the same color or even use a varied color palette.

After having colored the triangles, . In this way, several triangles will be formed and we can glue them on another sheet of paper or on any surface as I did on a cardboard stone.
Step 4
Now we just have to finish the triangles so that a pattern is formed, you can do it in the form of rhombus, star or even let your creativity fly and form abstract figures can also be circles, dots or any type of design that you like soon I will be showing a picture of roses I hope this is to your liking.
After this what we will do is to put it on the cardboard stone just glue it with silicone.


Step 5
As you can see, making a triangle square is very simple and does not require expensive or hard to find materials. In addition, it is an excellent activity to enjoy with the family or in your spare time.


This is very easy, we just have to draw the size of the picture, cut and paste the sheet on the cardboard or it can also be on anime cardboard or normal cardboard.


I hope you liked this tutorial and that you are encouraged to do it at home is a great idea to decorate our homes or rooms I assure you that look great I hope your comments my dear friends of hive a big hug. see you next time!
- The photos are my property and were taken by my tecno pop 8 phone.
- The photos are edited using polish photo editor application and the separators were edited in canva .
- Translator used: Deelp translator translator.
BLESSINGS FROM THE UNIVERSE.
