Good day to you all here in the DIYhub community. It’s a pleasure to be here again. I love this community because we get to learn some basic skills and it’s all about things we can implement into our real world.
Today I would be coming up with how I coupled my NEW STANDING FAN.

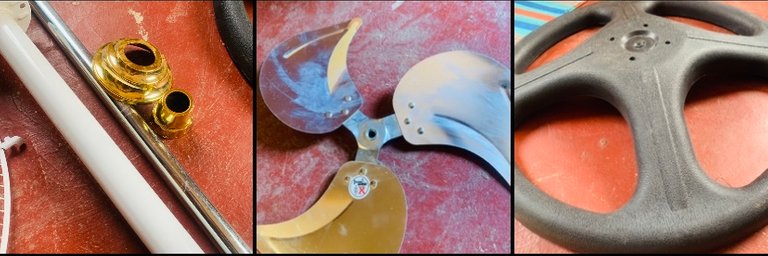
Group screenshot of my capture. All images are mine
First thing first, you have to unbox the carton and take out the uncoupled parts then if there is a manual guide you can make sure to read through it. It would be of great help probably when things go wrong.
WHAT I FOUND IN MY BOX
- FAN BLADES
- FAN CENTER HUB AND MOTOR
- POWER SWITCH
- PROTECTIVE GUARD
- FAN MOUNT
- ELECTRICAL WIRING
- SCREWS

MY TOOLS
- STAR AND FLAT SCREWDRIVERS

STEP BY STEP GUIDE
STEP 1: MOUNTING THE STAND
The fan mount comes in two forms, I mean, two rods, one with the aluminum coat on it and the other with the shining look. These two rods have different functions. They are both mounters, the silver one would be inserted inside the coated one. The coated rod is used to mount the fan against the stand. While the aluminum rod is for mounting the hub.

These two rods could also serve the importance of increasing and decreasing the fan height.
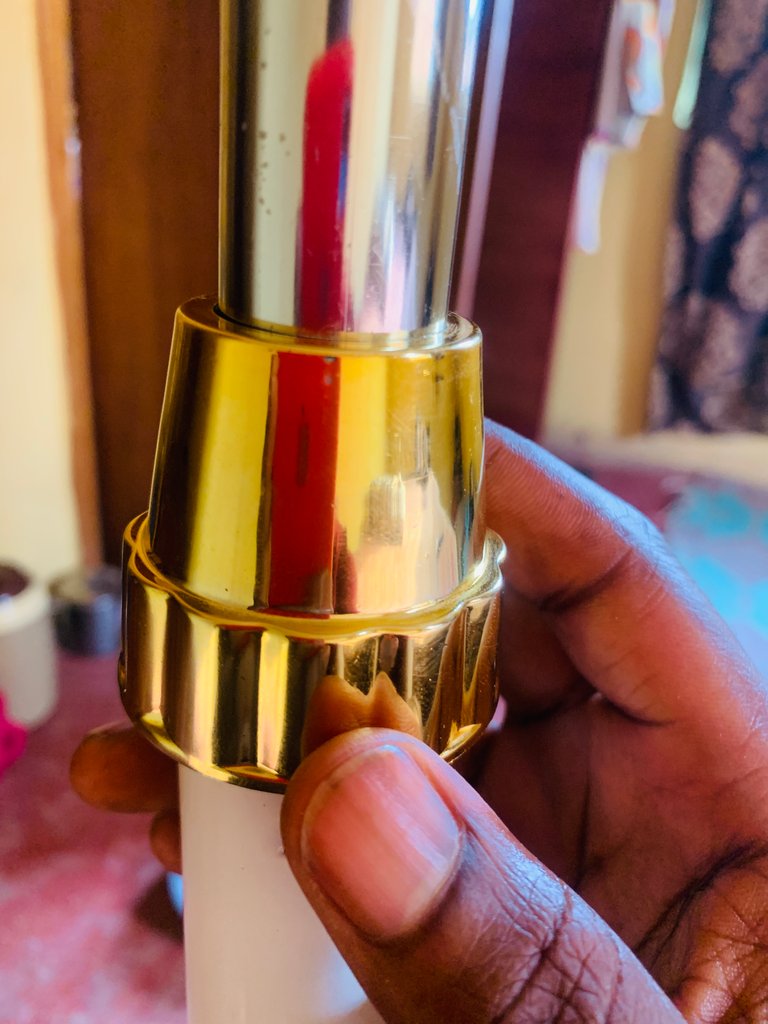
After inserting the rods together, you can get the screws (four screws) then place them against the stand and the rod then tighten it with the screwdriver.

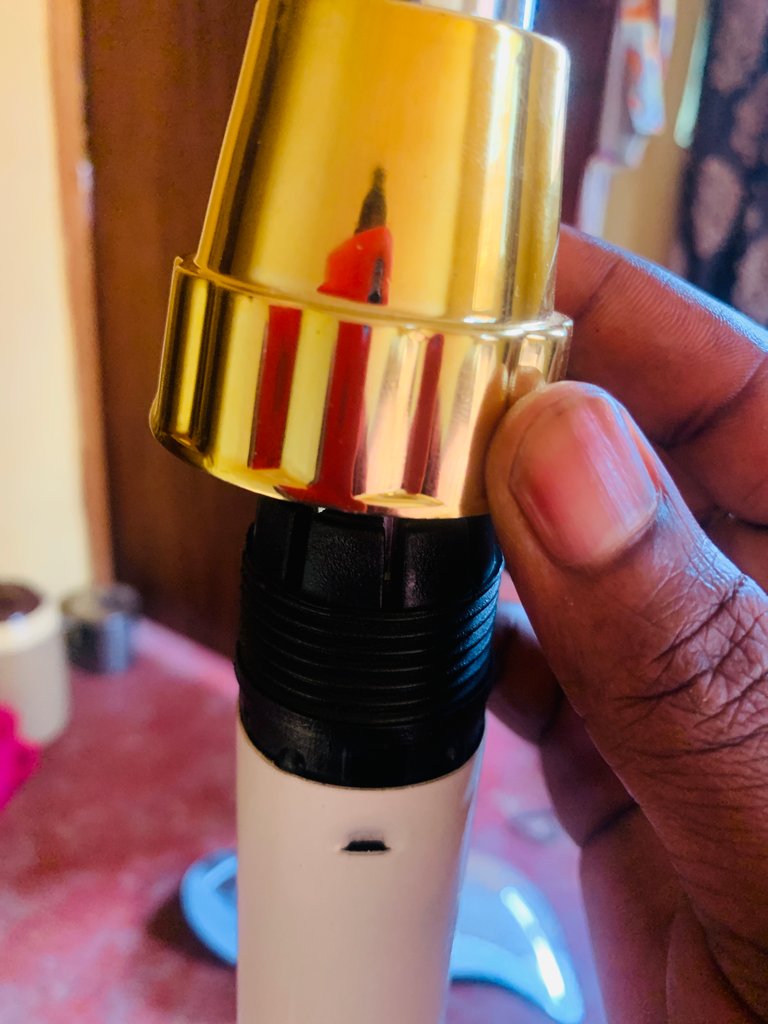
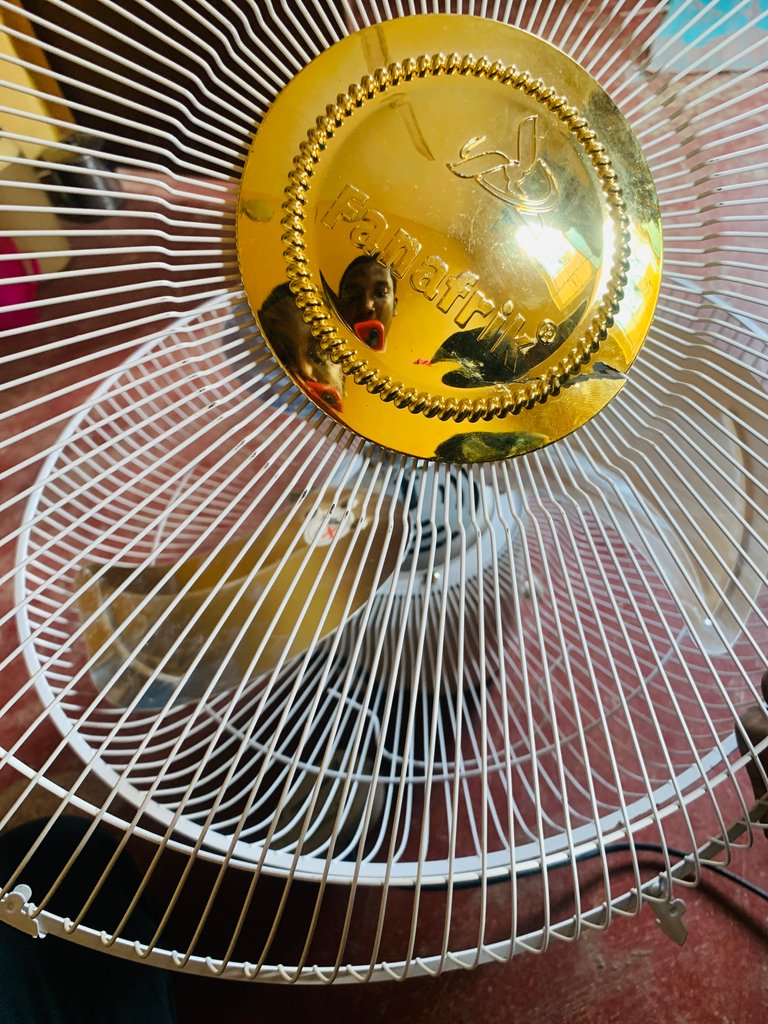
After that, you can place the cap on it to make it look so cool and attractive covering up the screwed outlook.

At the top of the rod, there is a rubber nut, this nut would be covered with a plastic bolt. The bolt and nut could be adjusted, it could be loosened, and also tightened. When losing the rod holding the hub could be elongated making the fan a little higher, and it could also be dropped making the fan lower.

STEP 2: FIXING THE BLADES
Before fixing the blades, some things ought to be done. The protective guards come in pairs. But one part has to be attached to the hub before attaching the blade to the motor.

Get four of the screws and place the protector on the hub. Insert the screw and then tighten it well.
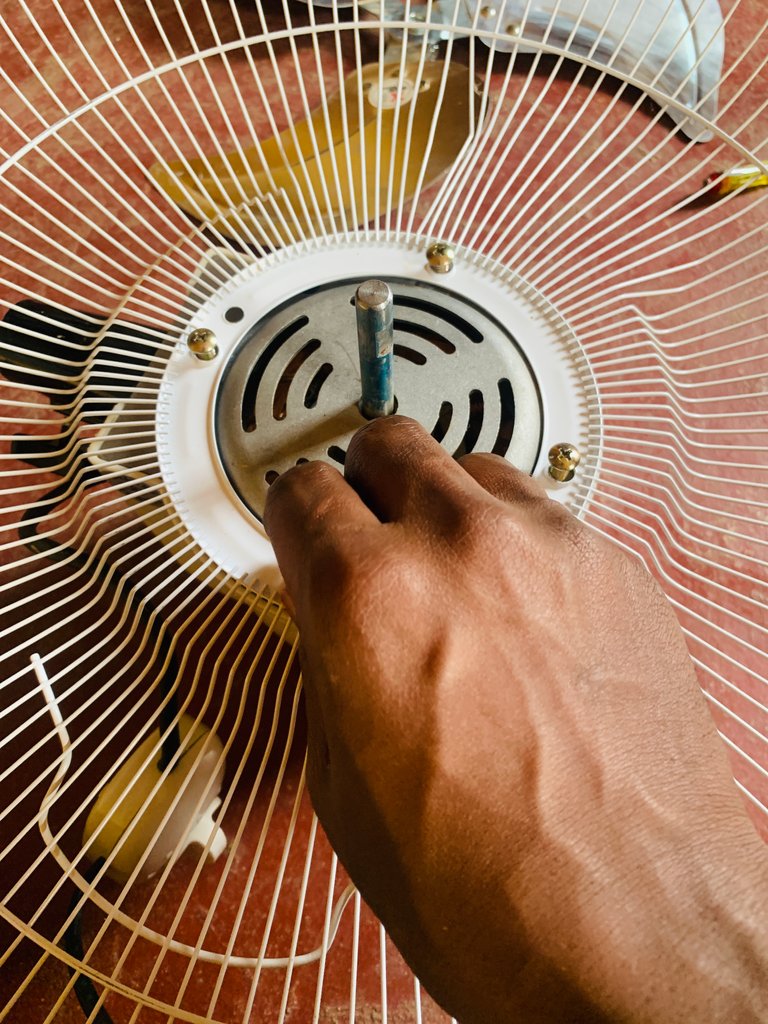
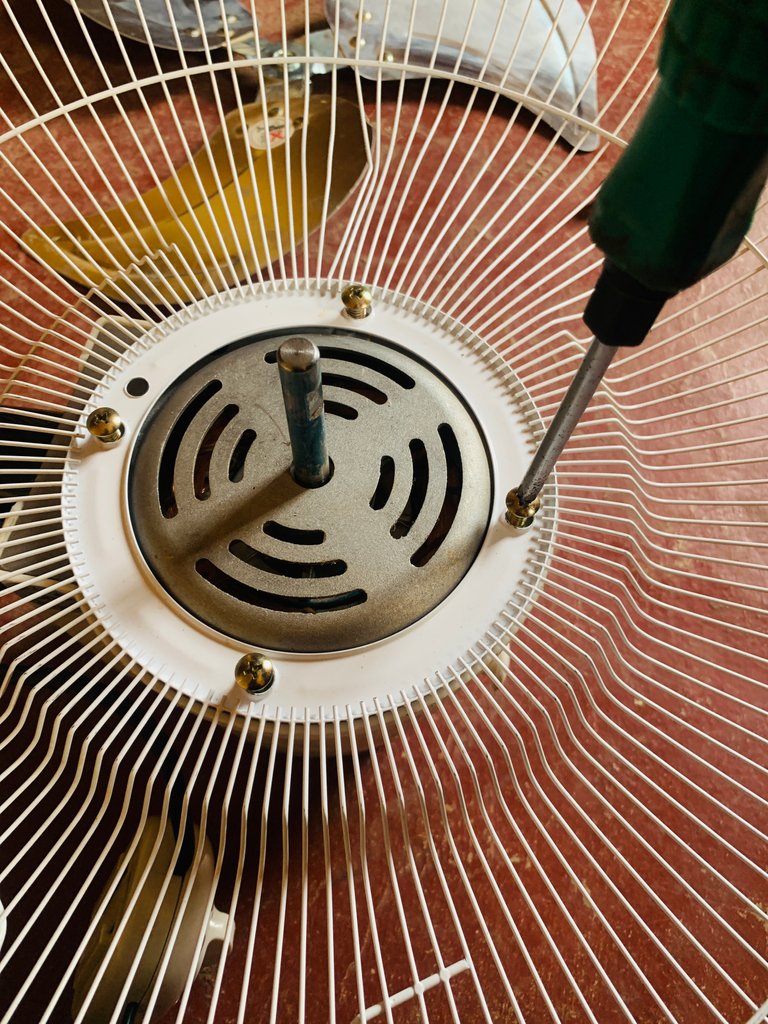
After tightening the protector to the hub, you would see the motor, when you spin it, it is so clear that there is where the blade should be attached.

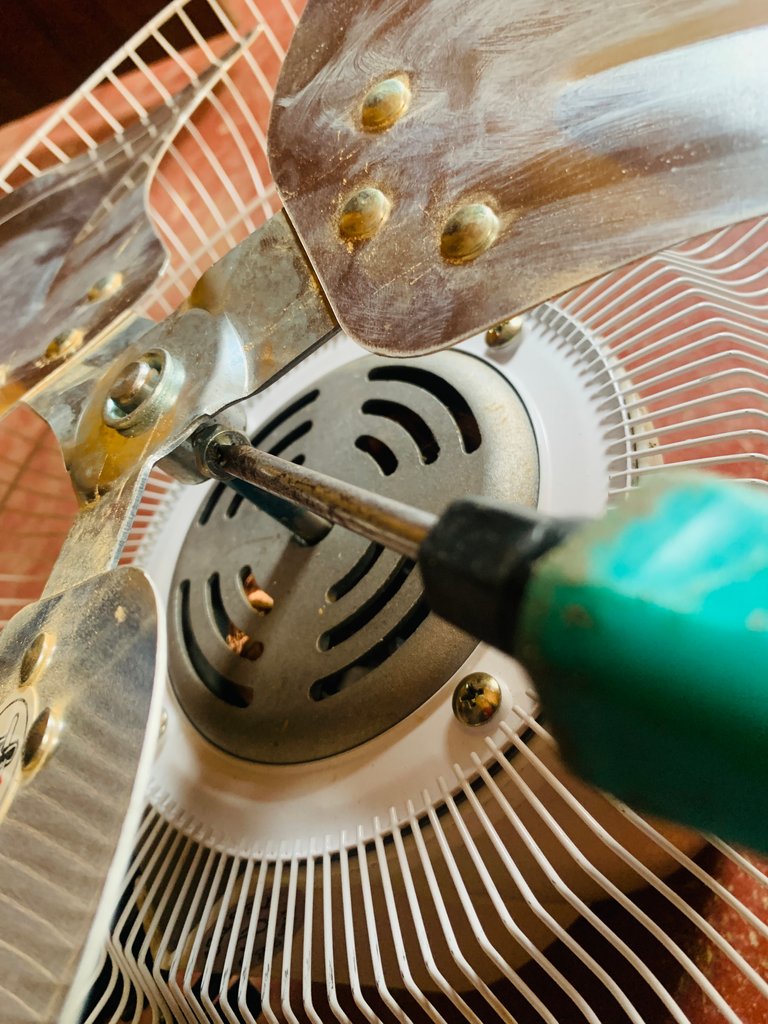
Get the blade and fix it on the motor. But before fixing it to the motor, there are some things to take note of. These are the screw and the cut-out for the screw. We all know how dangerous these blades are. Though there is a protector, that can’t be guaranteed. So it’s better to do it right.

On the motor there is a fitting that looks obvious, showing that this is where the screw should be tightened. Set the blade in place of the fitting, then tighten it well.

STEP 3: APPLICATION OF THE PROTECTIVE GUARD
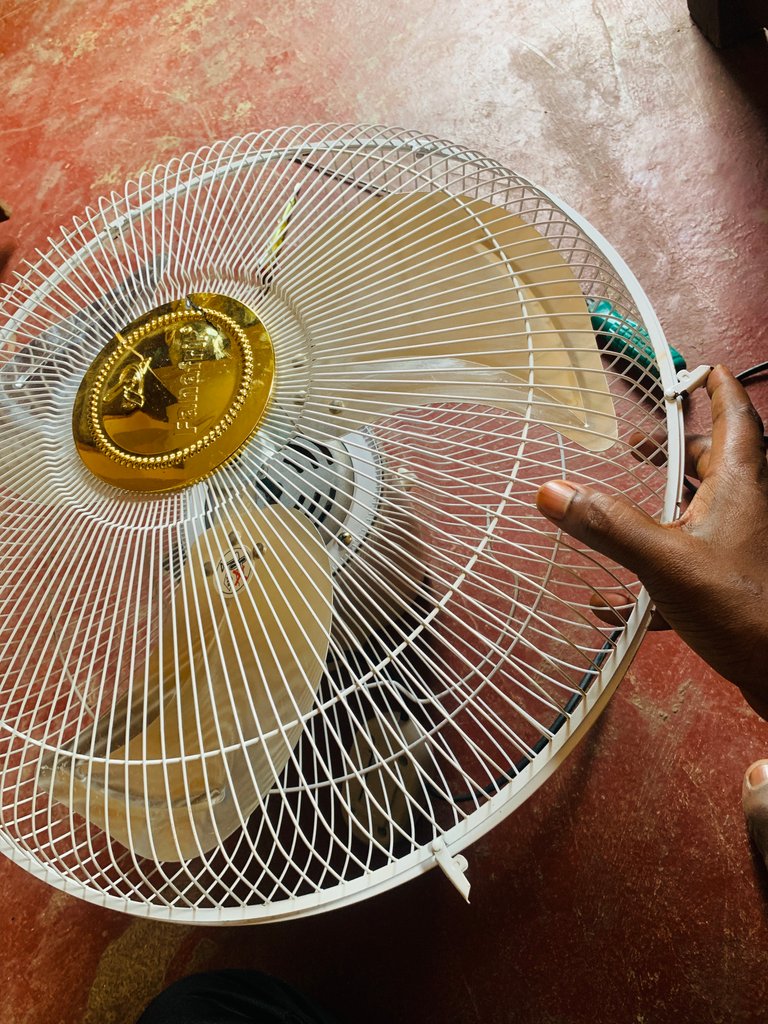
After successfully fitting the blade to its right position, the next thing is to make sure you fix the pair of protective guards. This would act as a safety measure from the hazard of the blades while the fan is working.
Get the other pair of the protector, and place it in the screwed pair. There are some locks on the pair too. Make sure they are well set with the lower part of the protector.

Then lock them together and make sure they are well-keyed into each other…
STEP 4: FITTING THE HUB AND SWITCH.
We are almost done at the stage. All that's left are just minor steps and easy ones. After coupling the protective guards the next thing to be done is to fit the hub on the mounted rod and stand.

After placing the hub on the rod, there is a screw beside the hub where you can lose and tighten the hub to the rod. After tightening. Then the fan is complete.

The last thing is to mount the switch. This might be in different forms depending on the company. For this fan, I have to mount the switch to the back of the fan.


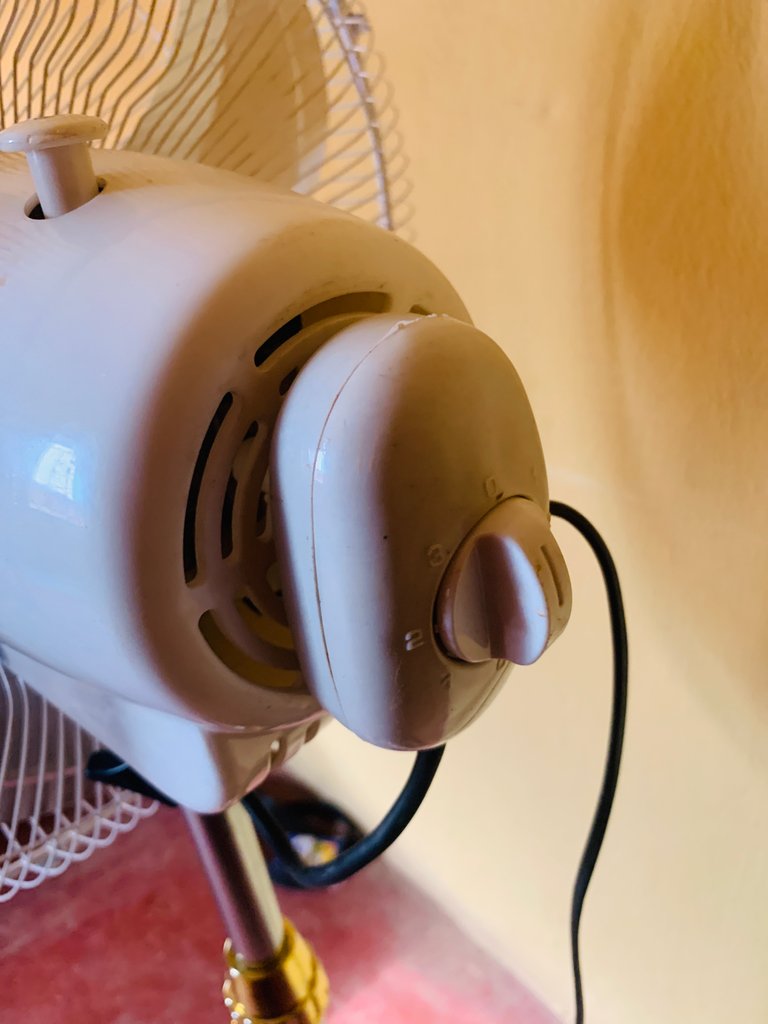
STEP 5: WIRING AND TESTING
After all the above steps. The fan coupling was successful. Then the next thing is to check the wiring and test run the fan.
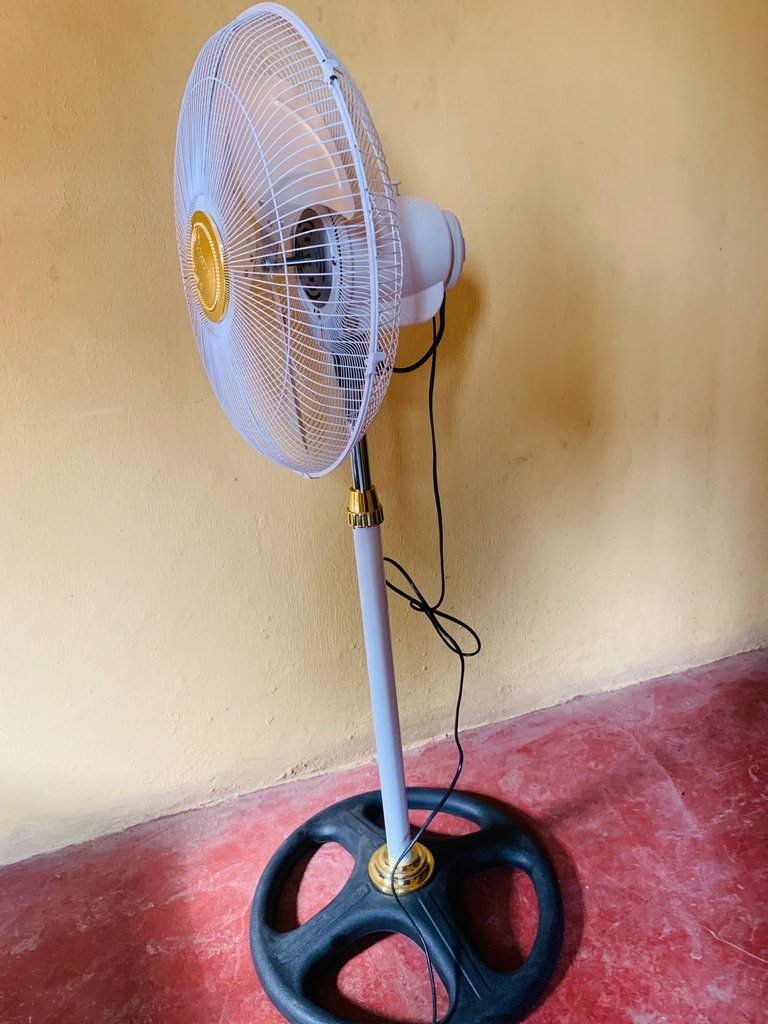
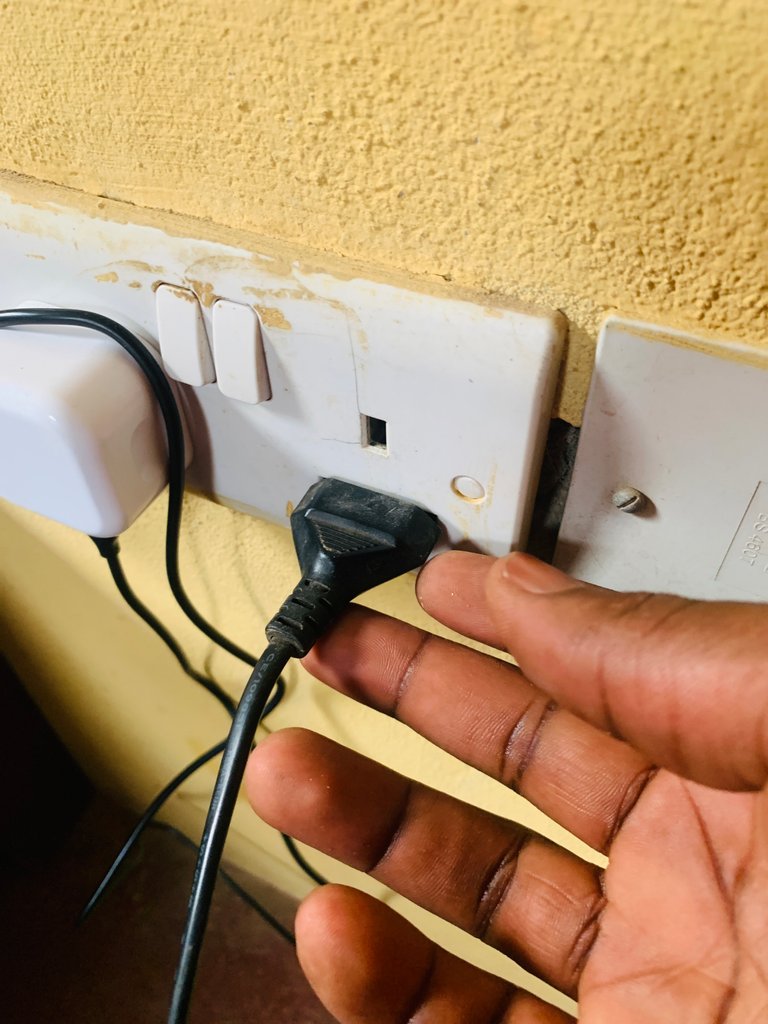
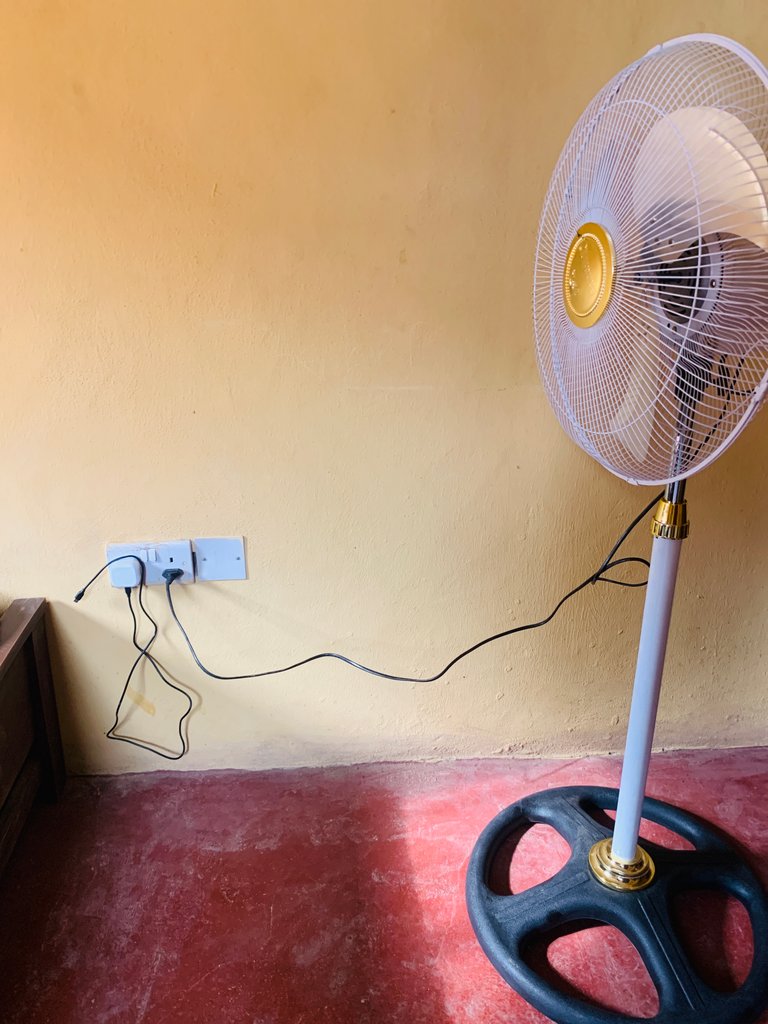
Here, I plugged the fan into a socket and put it on for some while and I could feel it work perfectly fine.
IT WAS FINALLY A SUCCESS!!!
Thanks so much for journeying with me from the beginning to the end…