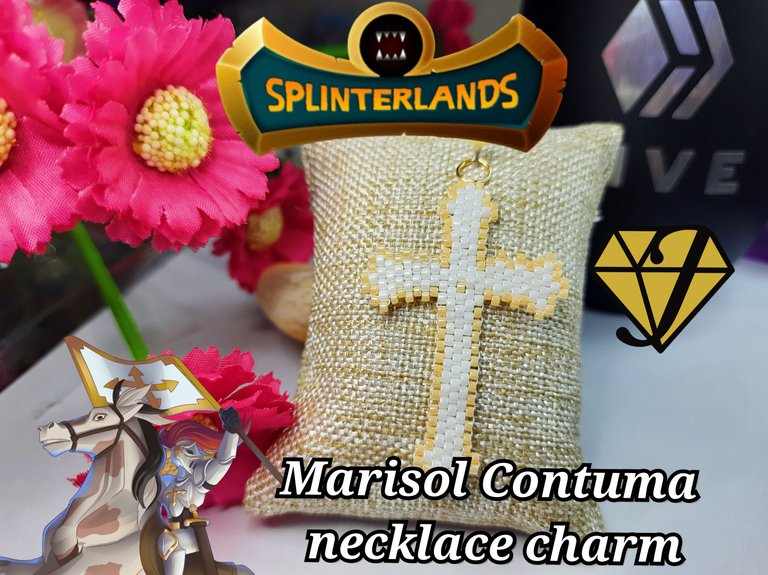


Un saludo, mi gente maravillosa de @jewelry hoy vengo a participar en el concurso #301 de Splinterlands, para ello me inspire en un fan art y realice unos "colgante" para un collar de nuestra carta, inspirado en el personaje de nombre "Marisol Contuma" este fan art me ha inspirado para realizar este colgante con la técnica de miyuki, me he inspirado como tal en su traje y su bandera que tiene una cruz, la cruz es dorada pero quise darle un toque diferente y la realice blanca con dorado.
Marisol Contuma posee Bloodlust en el primer nivel que le da un aumento de 1 punto en todas sus estadísticas cada vez que elimina a un monstruo enemigo y Reach que le permite atacar desde la segunda posición, en el cuarto nivel adquiere Inspire aumentado el ataque cuerpo a cuerpo de toda nuestra formación en 1 punto, finalmente en el sexto nivel obtiene Trample que le permite al eliminar un monstruo enemigo atacar nuevamente al siguiente monstruo en la formación.
Para este Fan Art utilice una técnica de miyuki, para darle un toque especial, he hice una combinación de colores blanco y dorado, disfrute mucho hacer este colgante, tengo algunas ideas para jacer varios como este, ahora les invito a ponerse manos a la obra mis queridos creativos. Y ver este paso a paso.

Greetings, my wonderful people of @jewelry today I come to participate in the contest #301 of Splinterlands, for this I was inspired by a fan art and made a "pendant " for a necklace of our card, inspired by the character named "Marisol Contuma " this fan art has inspired me to make this pendant with the miyuki technique, I was inspired as such in his costume and his flag that has a cross, the cross is golden but I wanted to give it a different touch and made it white with gold.
Marisol Contuma has Bloodlust in the first level that gives an increase of 1 point in all her stats every time she eliminates an enemy monster and Reach that allows her to attack from the second position, in the fourth level she acquires Inspire increasing the melee attack of all our formation in 1 point, finally in the sixth level she gets Trample that allows her to eliminate an enemy monster and attack again the next monster in the formation.
For this Fan Art I used a miyuki technique, to give it a special touch, I made a combination of white and gold colors, I really enjoyed making this pendant, I have some ideas to make several like this, now I invite you to get to work my dear creatives. And watch this step by step.

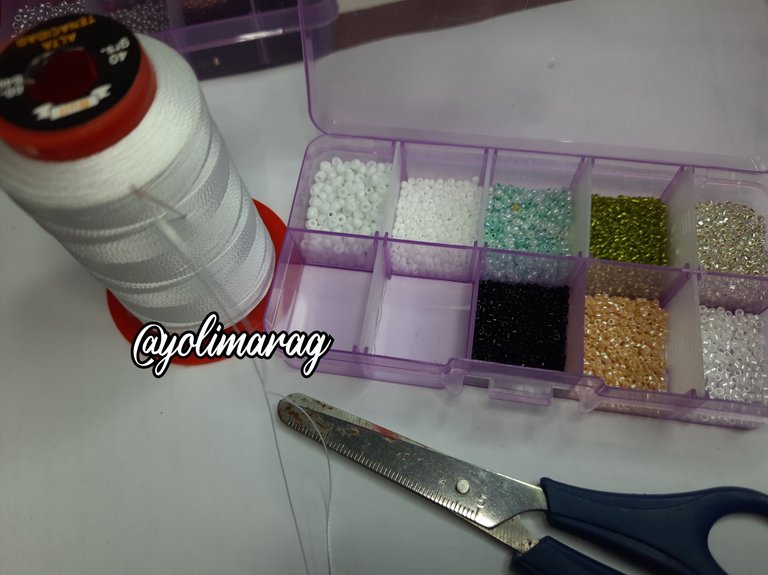
Materiales:
✅️ Hilo para miyuki
✅️ Mostacillas blancas y doradas
✅️ Tijera
✅️ yesquero.
✅️ 1 Argolla.
Materials
✅️ Thread for miyuki
✅️ White and gold beads
✅️ Scissors
✅️ tinder.
✅️ 1 Ring.

Paso a Paso / Step by Step

 |  |
|---|
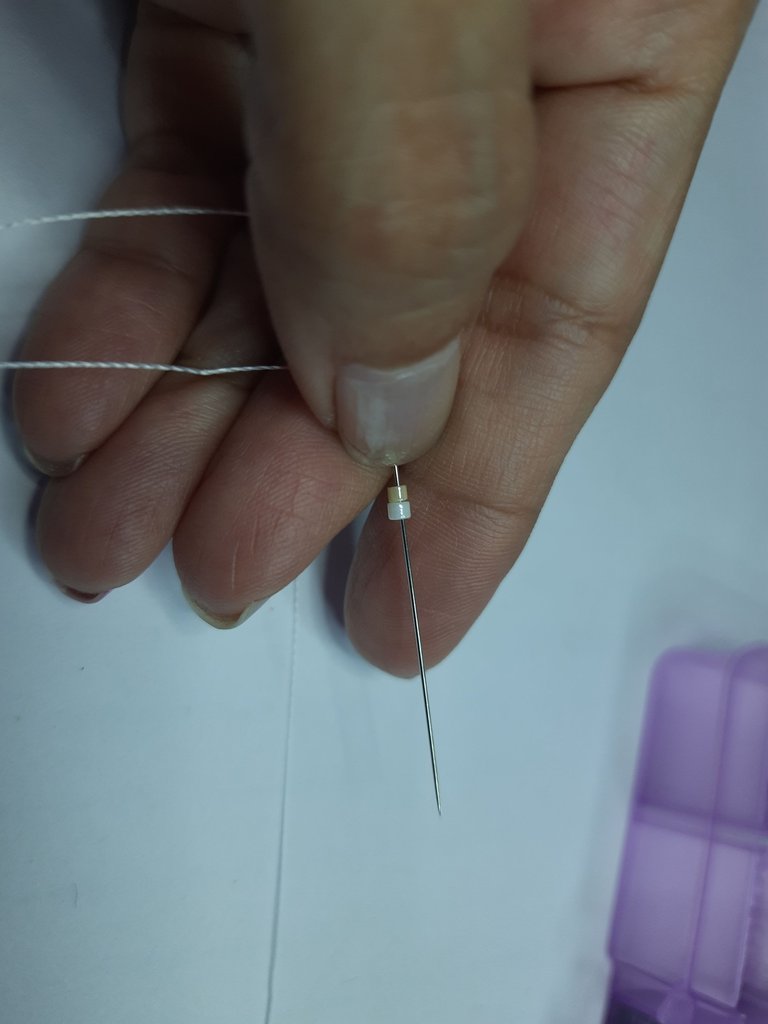
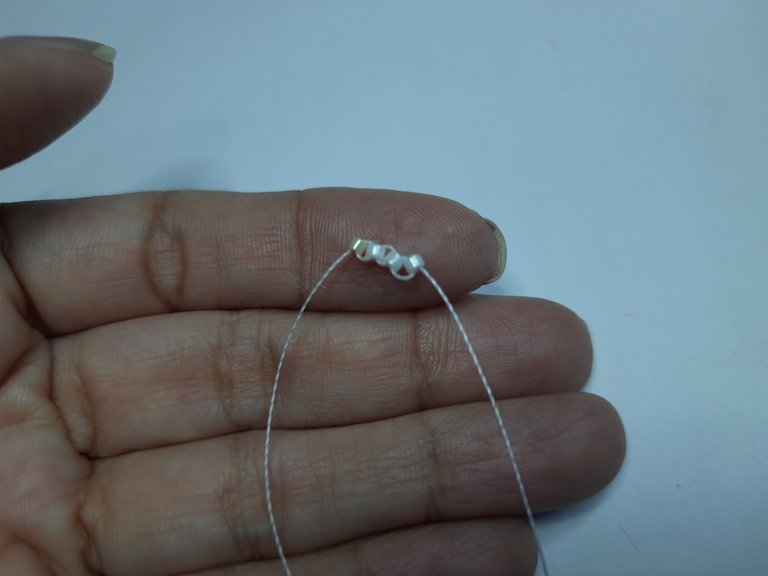
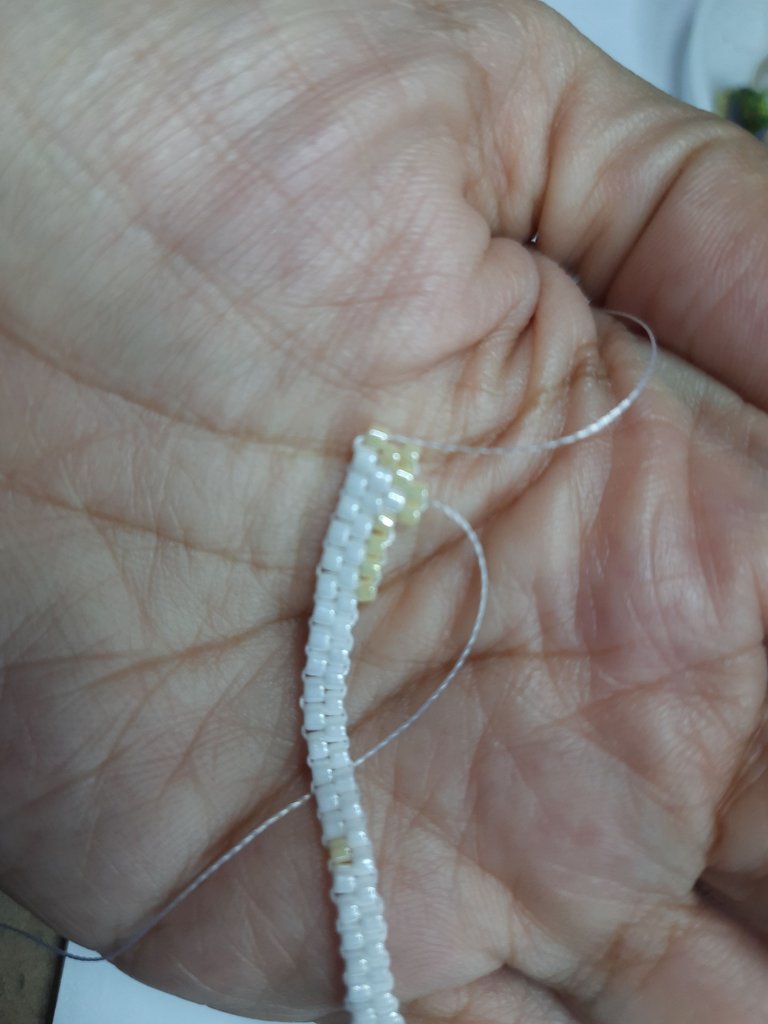
Comenzaremos insertando nuestro hilo en la aguja, el hilo debe tener aproximadamente un metro 90 y vamos a introducir una mostacilla dorada y una blanca, llevaremos hasta la parte de abajo para comenzar a tejer nuestra primera hilera, co las primeras dos vamos a ir insertando de arriba a abajo el hilo y vamos posicionando a los lados las siguientes.
We will begin by inserting our thread in the needle, the thread should have approximately one meter 90 and we will introduce a golden and a white bead, we will take it to the bottom to begin to weave our first row, with the first two we will insert the thread from top to bottom and we will position the following ones at the sides.

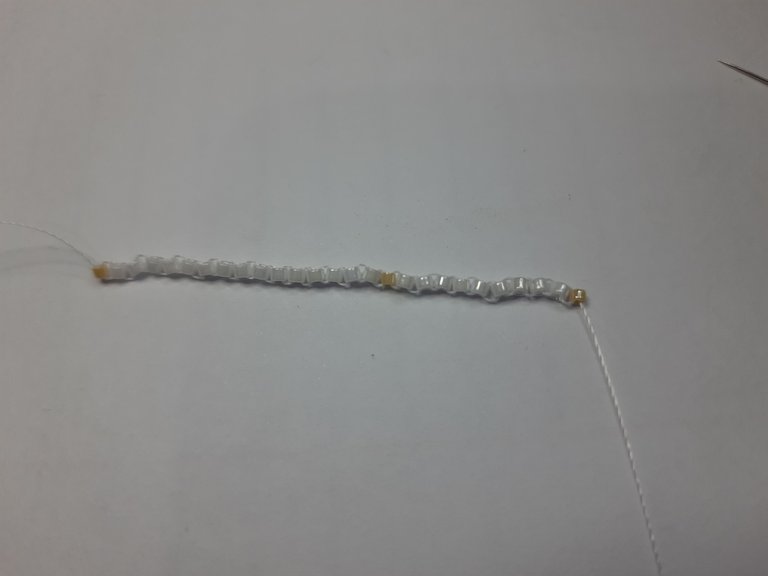
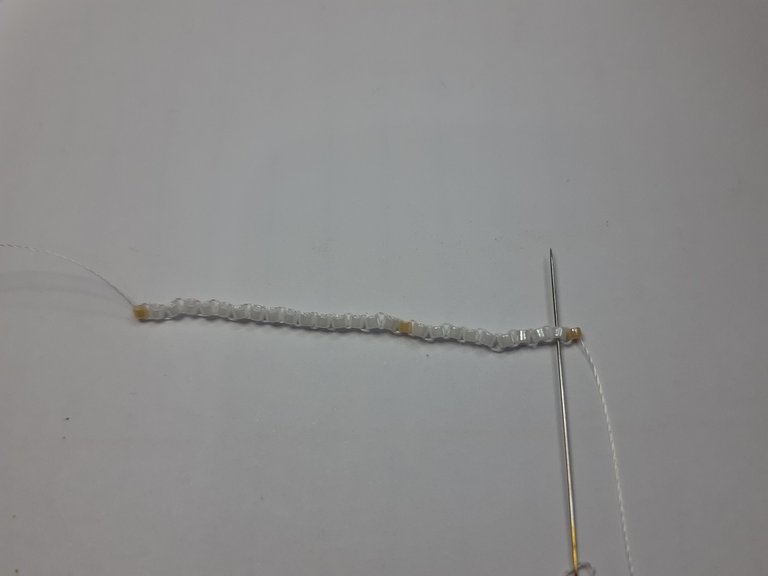
La mostacilla las vamos a ir introduciendo una dorada 15 blancas otra dorada y nuevamente nueve blancas y de último una dorada todas de un lado al otro.
We are going to introduce a golden one, 15 white ones, another golden one and again nine white ones and finally a golden one, all of them from one side to the other.

 |  |  |
|---|
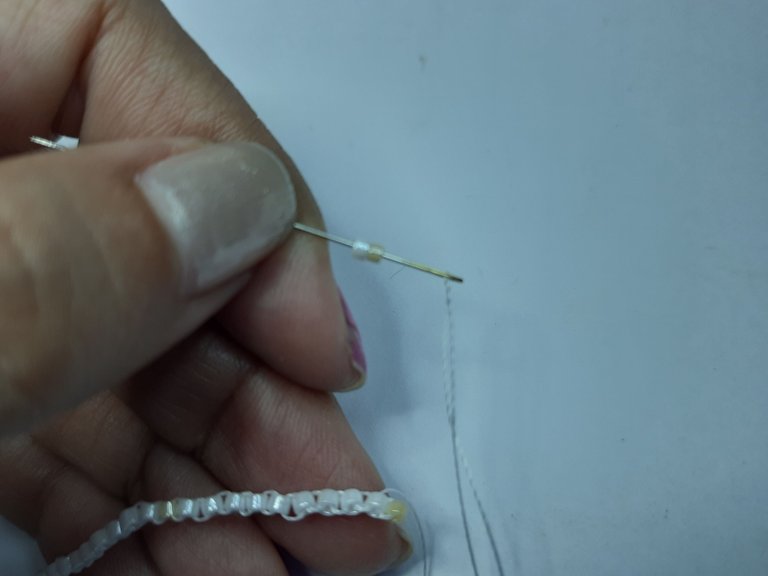
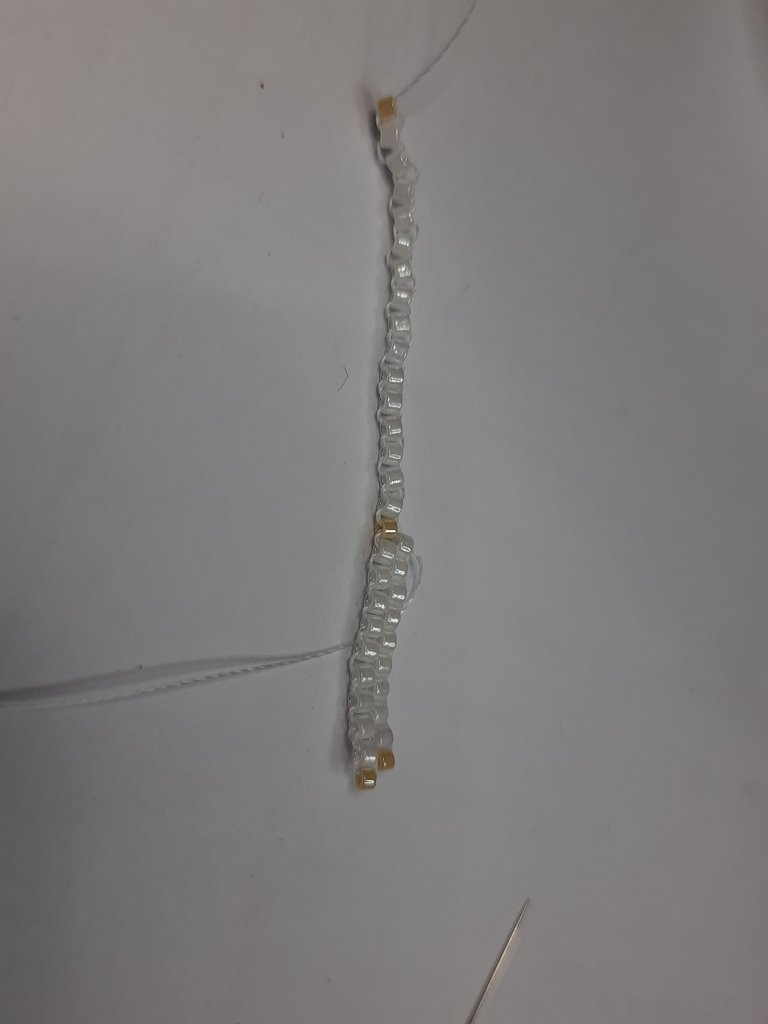
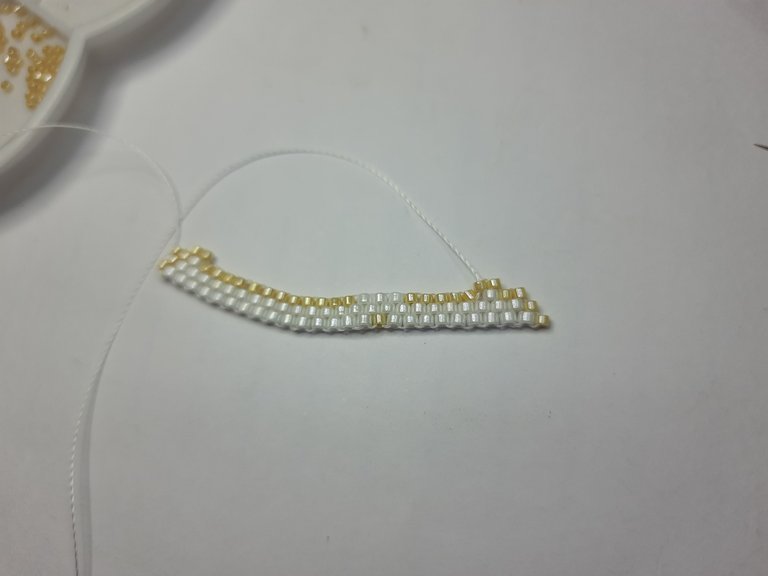
Vamos ahora a introducir en reducción la siguiente hilera vamos a introducir primero una dorada luego introduciremos 25 blancas y al final otra Dorada para hacer un total de 27 cuentas.
We are now going to introduce in reduction the next row, we are going to introduce first one golden bead, then we will introduce 25 white beads and at the end another golden bead to make a total of 27 beads.

 |  |
|---|
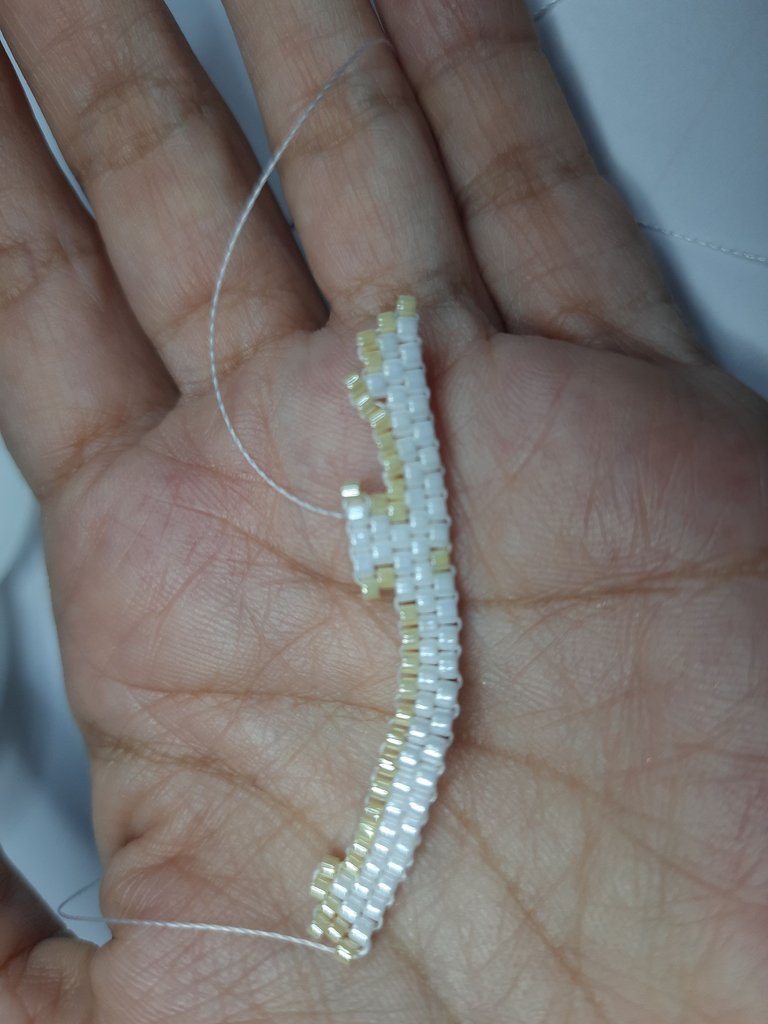
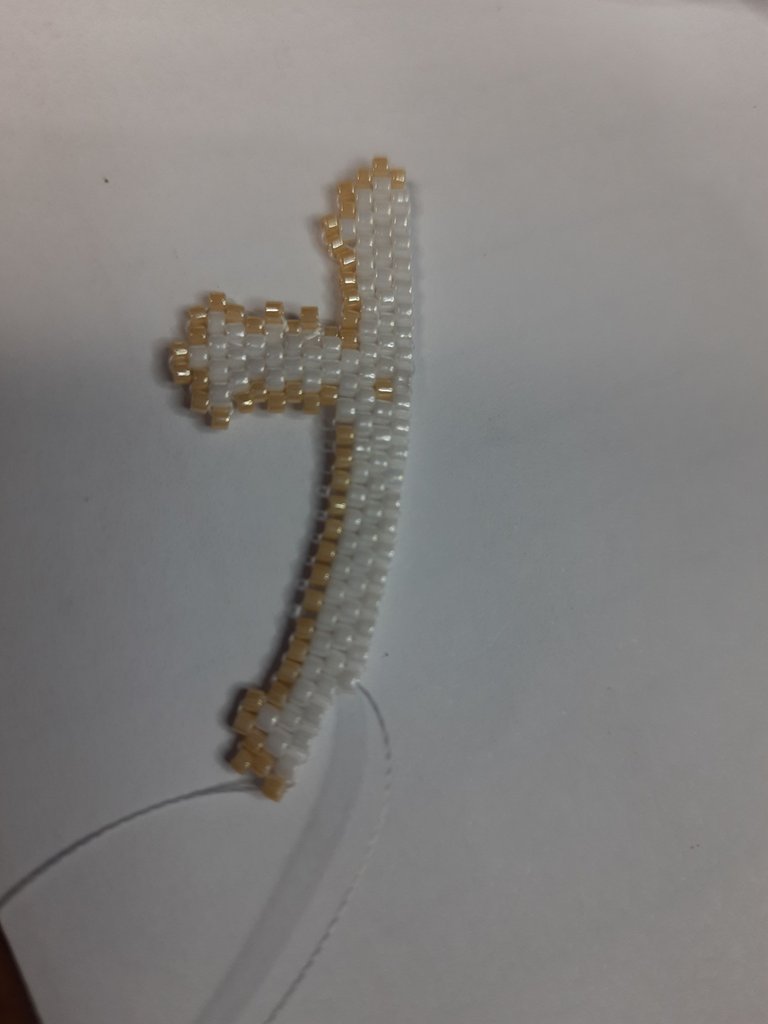
En esta hilera vamos a introducir 26 cuentas, cinco son blancas y 21 son doradas para ir ya haciendo los bordes de lo que será nuestra Cruz, encima de las blancas de la esquinas de las esquinas vamos a introducir dos doradas más para ir dándole forma a la parte de arriba de la cruz que parece una flechas.
In this row we are going to introduce 26 beads, five are white and 21 are golden to make the edges of what will be our cross, on top of the white beads in the corners we are going to introduce two more golden beads to give shape to the top of the cross that looks like an arrow.

 |  |  |
|---|
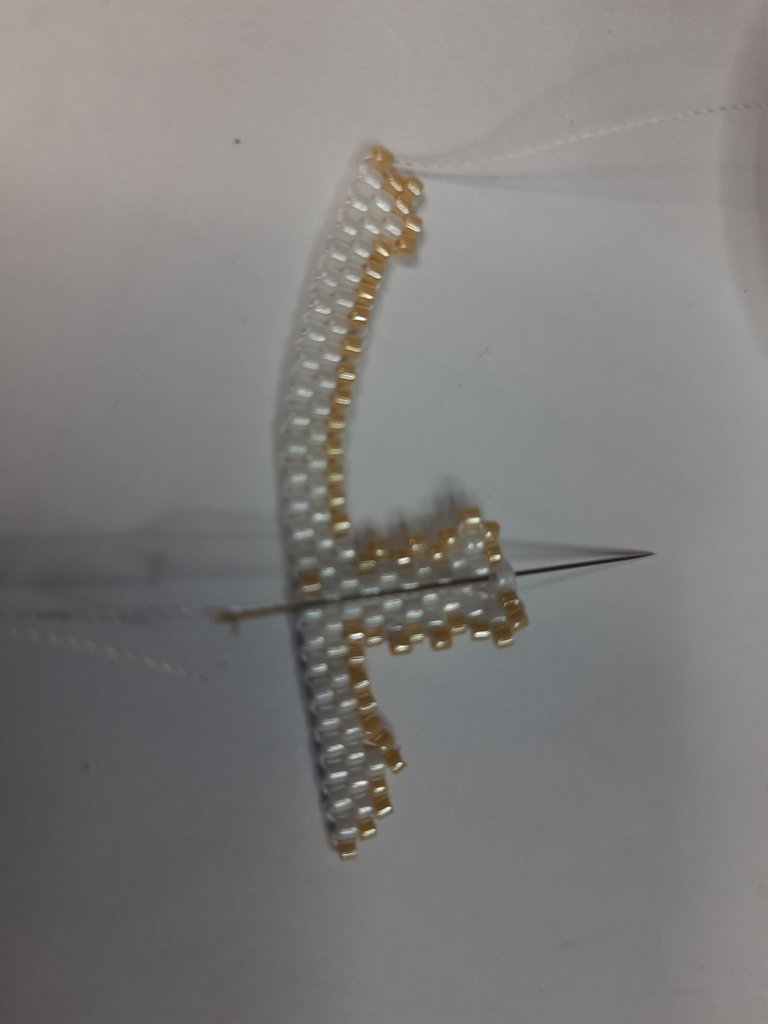
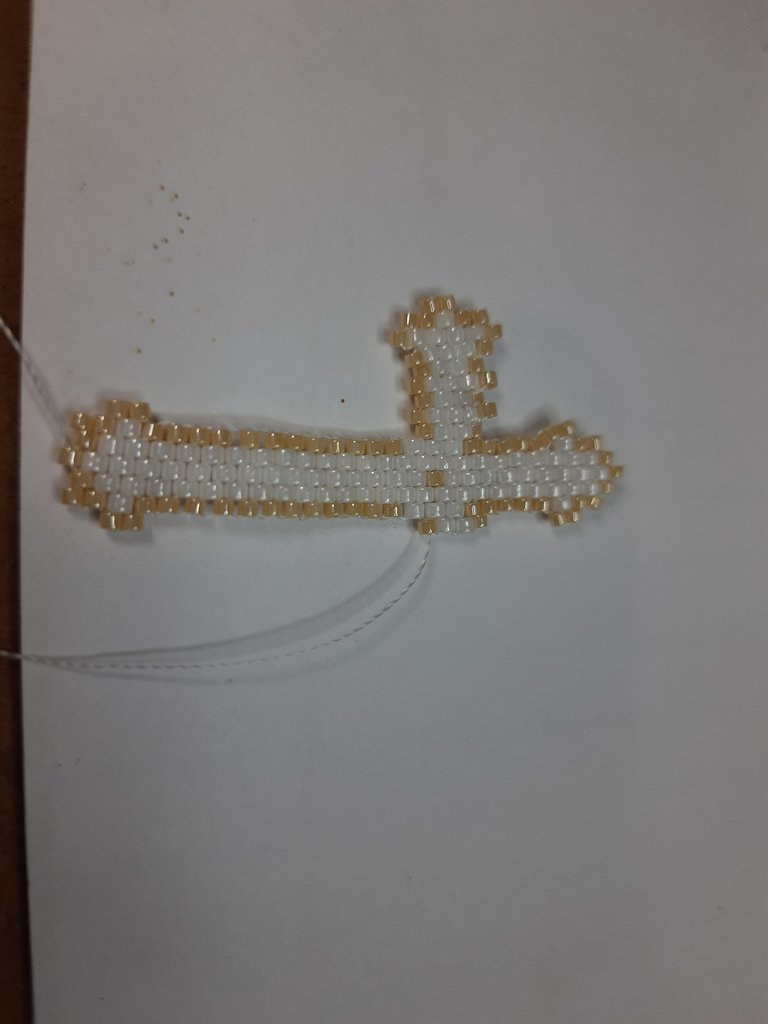
Ahora nos vamos a ir hacia la parte donde tenemos las tres cuentas blancas juntas, sobre ellas vamos a colocar una base de cuatro cuentas, una dorada dos blancas y una dorada encima, vamos a ir en aumento una dorada tres blancas y una dorada, luego volvemos a colocar una fila de cuatro, luego otra de 5, luego otra de cuatro, otra de 5 y una de 6, volvemos a una de 5 con dos doradas una blanca dos doradas y encima de la blanca dos doradas, para terminar un lado de nuestra cruz.
Now we are going to go to the part where we have the three white beads together, on them we are going to place a base of four beads, one golden two white and one golden on top, we are going to increase one golden three white and one golden, then we return to place a row of four, then another of 5, then another of four, another of 5 and one of 6, we return to one of 5 with two golden one white two golden and on top of the white two golden, to finish one side of our cross.

 |  |
|---|
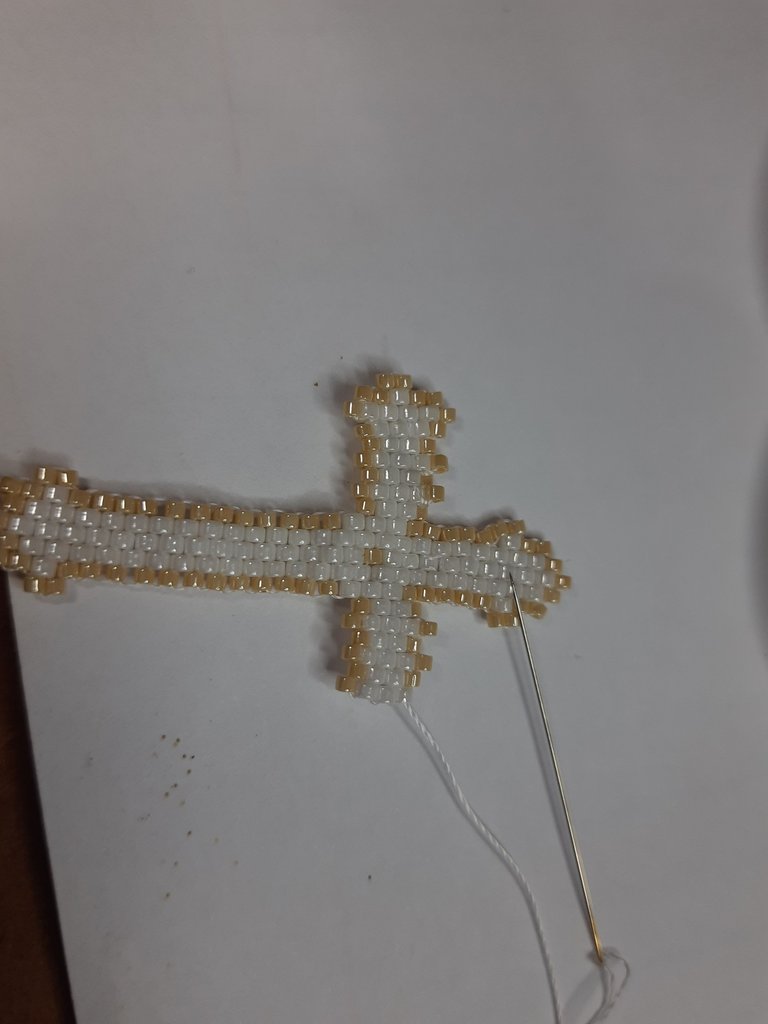
Repetiremos todo el proceso del otro lado haciendo la primera línea, luego la última línea y luego la parte de la cruz que sigue tal cual lo hicimos en la primera parte, por último colocaremos en la parte de arriba de nuestra Cruz una pequeña argolla para poder guindarla en un collar y hemos terminado.
We will repeat the whole process on the other side making the first line, then the last line and then the part of the cross that follows as we did in the first part, finally we will place on the top of our cross a small ring to hang it on a necklace and we have finished.

Resultado: / Result:

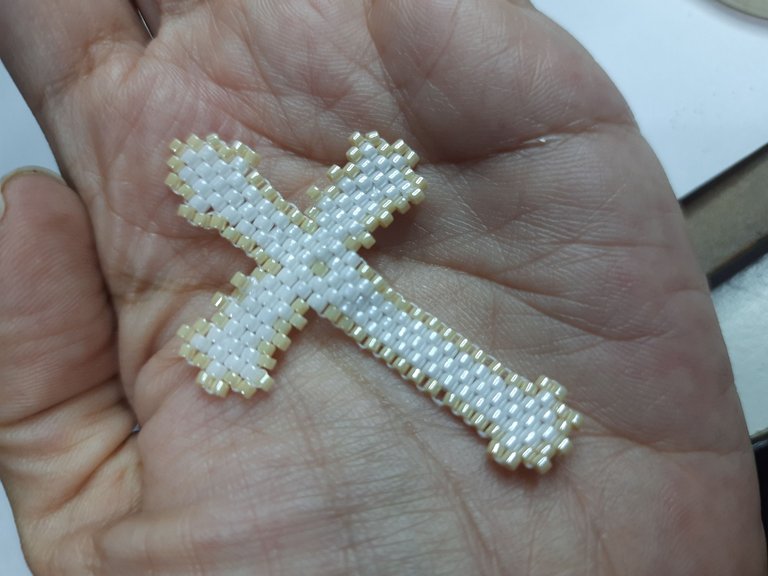
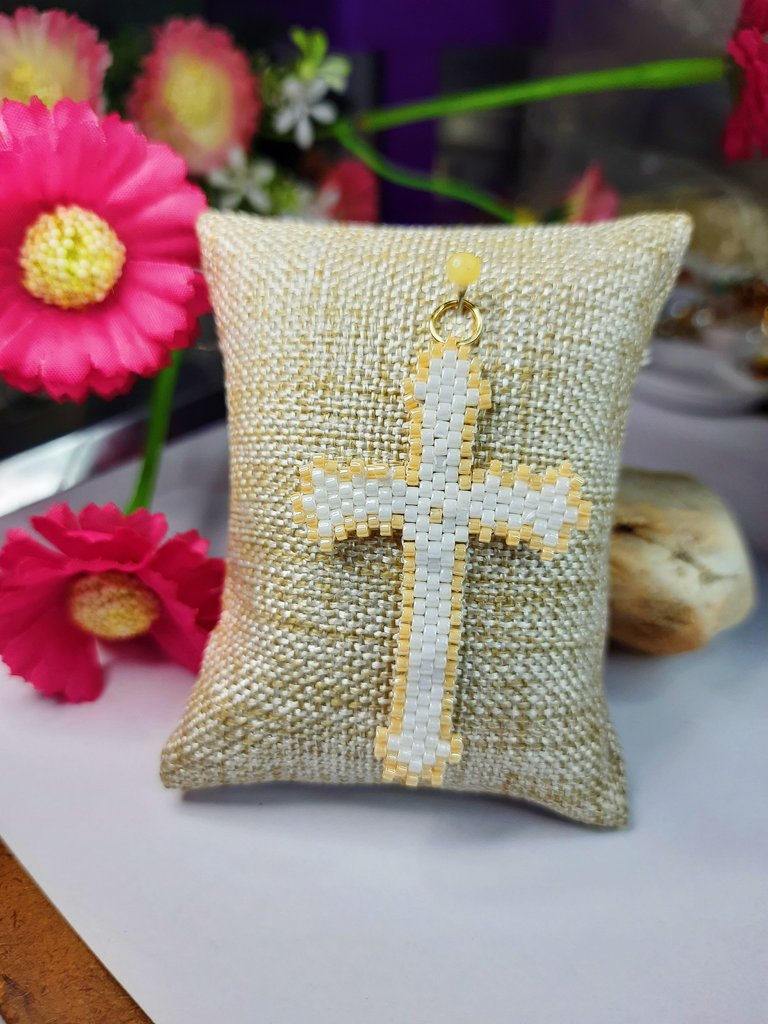
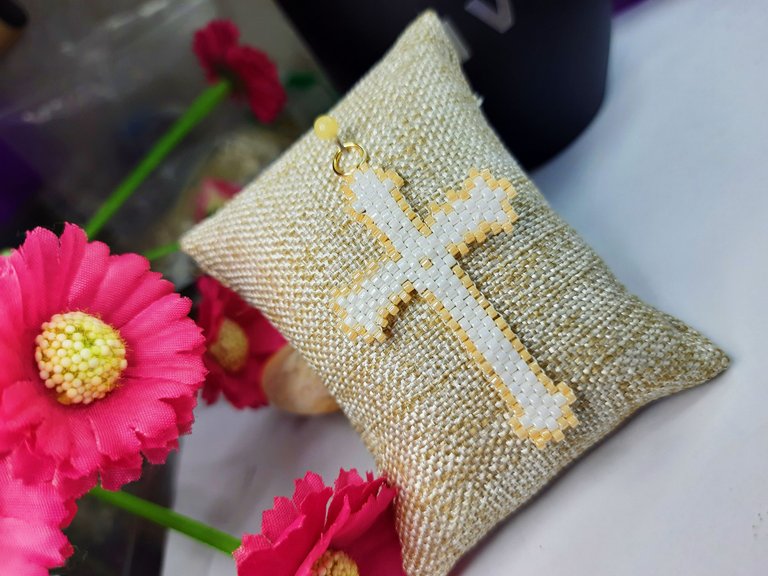
Así ha quedado listo nuestro colgante dedicado a nuestro fanart inspirado en la cruz que lleva, y así ha quedado nuestro sencillo tutorial, espero que sea de su agrado, tanto como me ha gustado a mi esta pequeña y hermosa creación y mi participación al concurso de arte de @Splinterlands
Gracias por estar aquí y ser parte de mi blog y de la comunidad @jewelry 😉
So is ready our pendant dedicated to our fanart inspired by the cross that carries, and so is our simple tutorial, I hope you like it, as much as I liked this beautiful little creation and my participation in the art contest @Splinterlands
Thank you for being here and being part of my blog and the @jewelry community 😉.

Les invito a suscribirse a la comunidad de @Jewelry y poder así mostrar todas sus creaciones de accesorios, tanto de adultos como de niños; nos encanta ver y apoyar a todos los artesanos, manualistas y orfebres, puedes crear accesorios para damas, caballeros y niños, así que tu creatividad es el límite 😉
I invite you to subscribe to the @Jewelry community to showcase all your accessory creations for both adults and children; we love to see and support all the artisans, crafters and goldsmiths, you can create accessories for ladies, gents and kids, so your creativity is the limit 😉.
"Los accesorios tienen el poder de hacer sentir a la mujer única y especial"
Accessories have the power to make a woman feel unique and special"
Fotos principal editada con Canva.
Separadores de mi Autoría
Fotos de mi Autoría derechos reservados
Cámara: Samsung M31
Traducido con www.DeepL.com/Translator (versión gratuita)
Photos edited with Canva
Separators by me
Photos by me Author's rights reserved
Camera: Samsung M31
Translated with www.DeepL.com/Translator (free version)


