


Un saludo querida comunidad de @jewelry para mi es un gusto traer un nuevo tutorial a todos ustedes, me agrada poder compartir con ustedes un nuevo post, he visto excelentes tutoriales en la semana cada día la calidad de los post es mejor y los tutoriales increíbles, en este caso yo prepare un tutorial de Macramé.
Es un tutorial muy sencillo de seguir, se trata de una "pulsera con nudo Josefina" es muy sencillo la verdad y es un nudo muy bonito, lo que me gusta de está pulsera es que puede ser usada en la playa, se puede mojar y no le pasará nada.
Esta pulsera no necesita de muchos materiales en realidad, solo cola de ratón, tan sencillo como eso.

Greetings dear community of @jewelry for me it is a pleasure to bring a new tutorial to all of you, I am pleased to share with you a new post, I have seen excellent tutorials in the week every day the quality of the post is better and the incredible tutorials, in this case I prepare a Macramé tutorial.
It is a very simple tutorial to follow, it is a "bracelet with Josefina knot " is very simple and it is a very nice knot, what I like about this bracelet is that it can be used on the beach, you can get wet and nothing will happen to it.
This bracelet doesn't really need a lot of materials, just mouse glue, as simple as that.

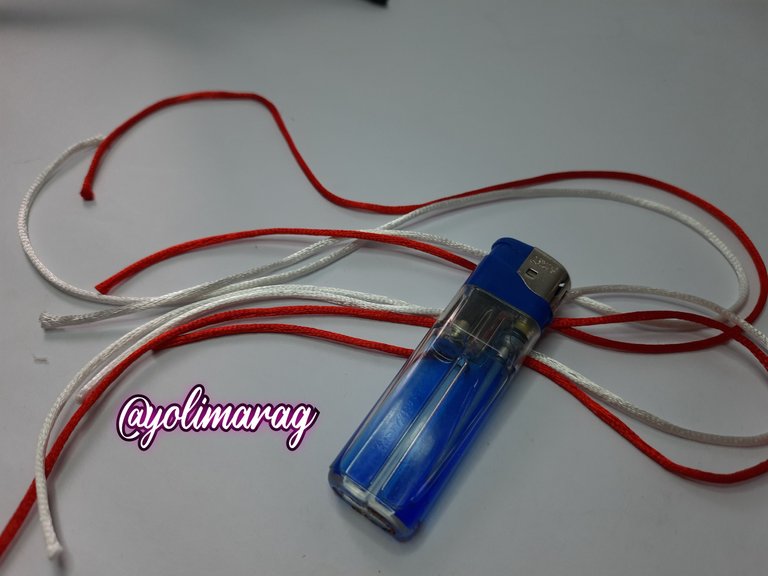
Materiales:
- 230cm de Cola de ratón
- Yesquero
Materials
- 230cm of Mouse Tail
- Tinder

Paso a Paso / Step by Step

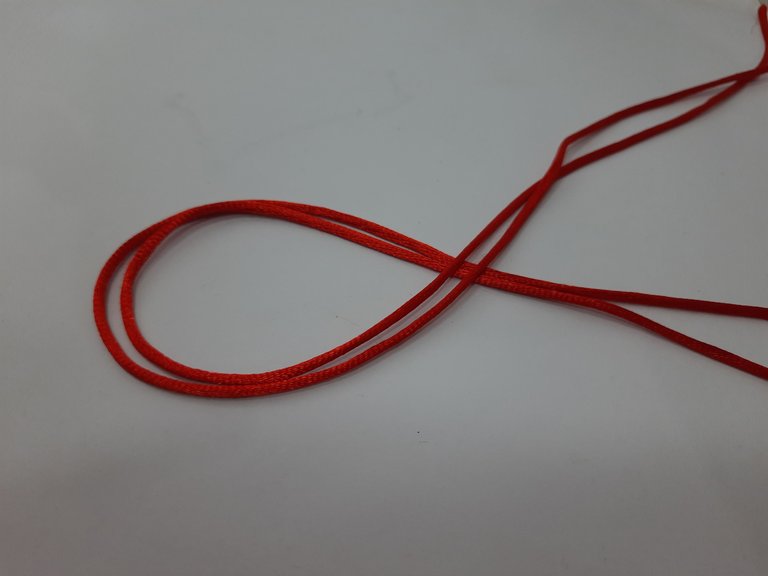
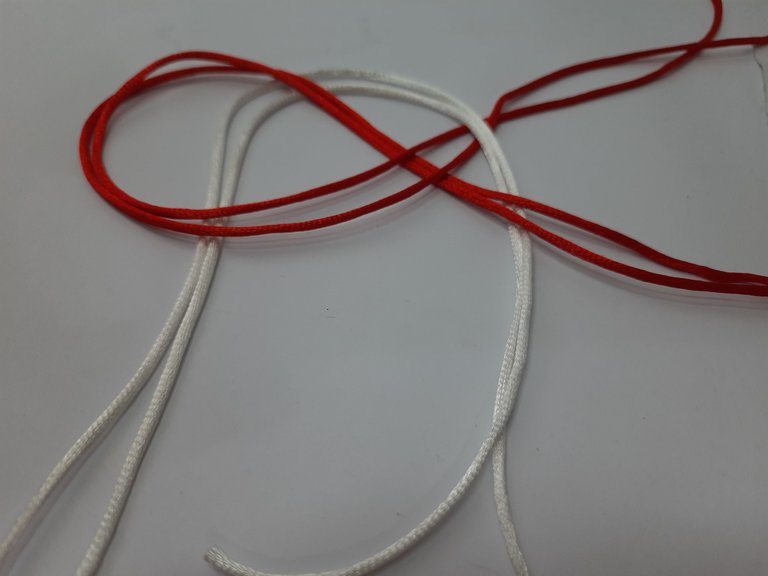
Lo primero que haremos será cortar 2 tiras de color rojo y dos de color blanco de unos cincuenta centimetros cada una, en total cuatro tiras.
Tomamos la de color rojo y ponemos juntas, doblamos un poco a la mitad y pasamos las tiras de abajo sobre la de arriba, como se muestra en la foto.
The first thing we will do is cut two red and two white strips of about fifty centimeters each, a total of four strips.
We take the red one and put them together, fold a little in half and pass the bottom strips over the top one, as shown in the photo.

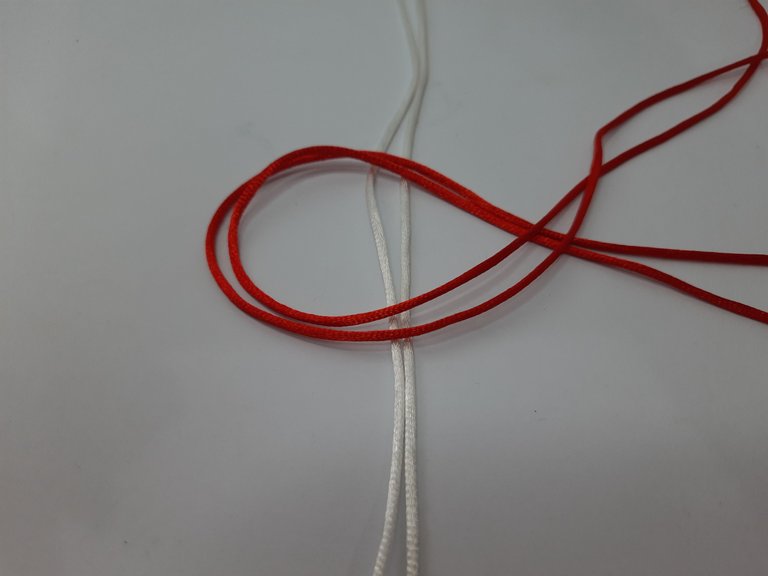
Tomaremos ahora las dos tiras de color blanco y colocaremos debajo de la de color rojo por la parte del circulo, luego pasaremos por encima de la tira roja de arriba.
We will now take the two white strips and place them under the red strip on the circle side, then we will pass over the red strip on top.

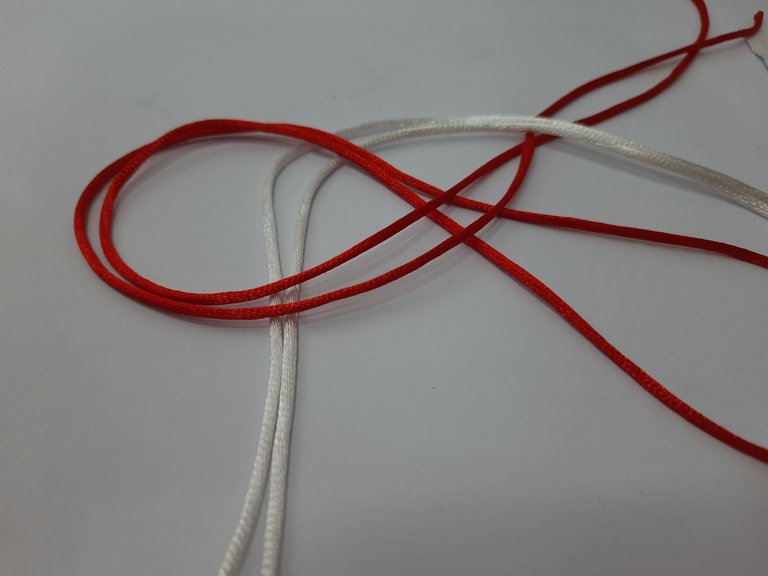
Ya pasamos por encima de la tira roja de arriba y ahora pasamos por debajo de la otra.
We have already passed over the top red strip and now we pass under the other one.

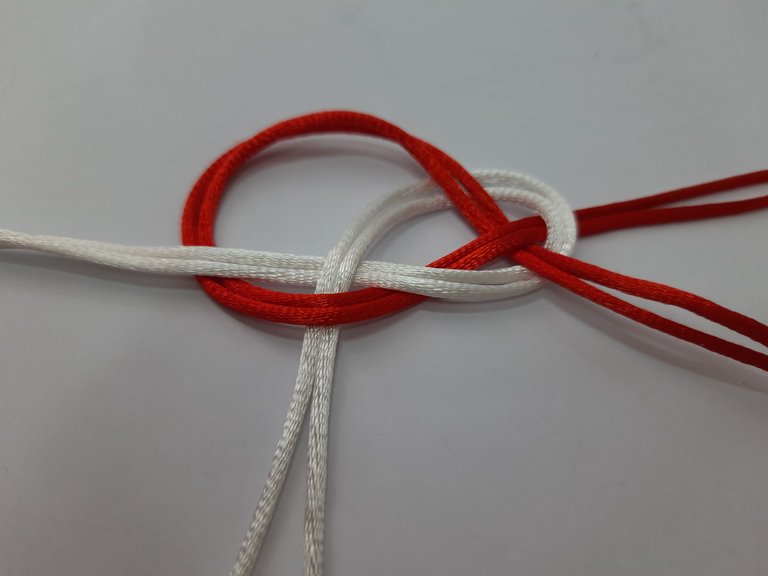
Vamos ahora a pasar las mismas tiras blancas por debajo de las mismas tiras blancas, tratando de hacer un infinito.
We are now going to pass the same white strips underneath the same white strips, trying to make an infinity.

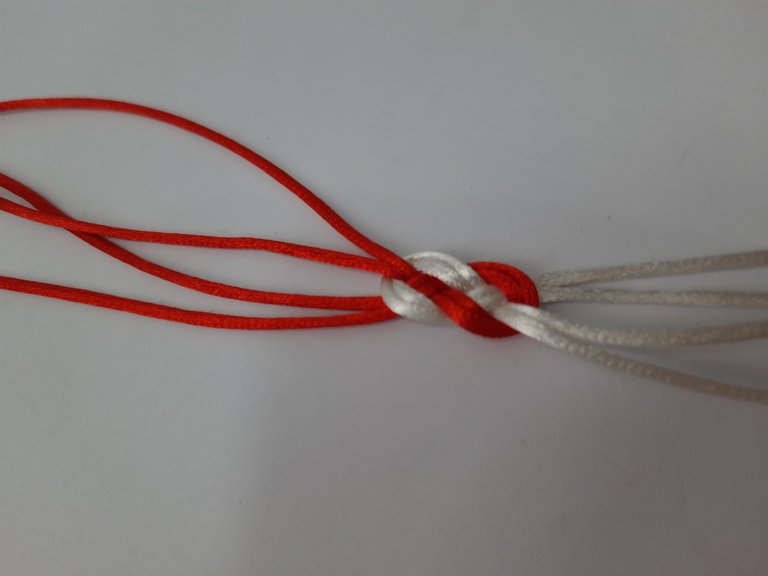
Ahora vamos a ir ajustando ambas partes, hasta que queden bien unidas y sin dobleces, bien parejo, así obtendremos el nudo Josefina.
Now we are going to adjust both parts, until they are well united and without folds, well even, this way we will obtain the Josefina knot.

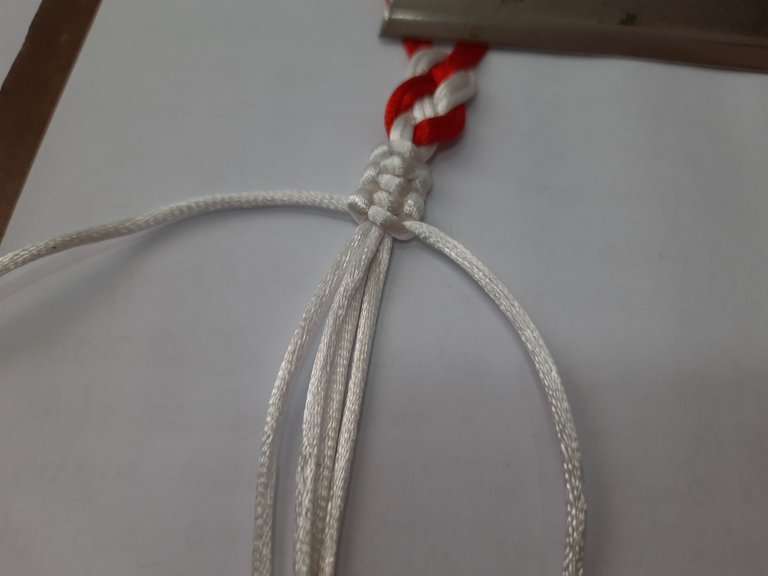
Vamos a hora a tomar una tira blanca de 40cm y haremos un nudo plano hasta acabar la tira.
Si quieres ver cpmo se have el nuevo plano te invito a ver este tutorial
We will now take a 40cm white strip and we will tie a flat knot until the end of the strip.
If you want to see how to make the new flat knot I invite you to watch this tutorial

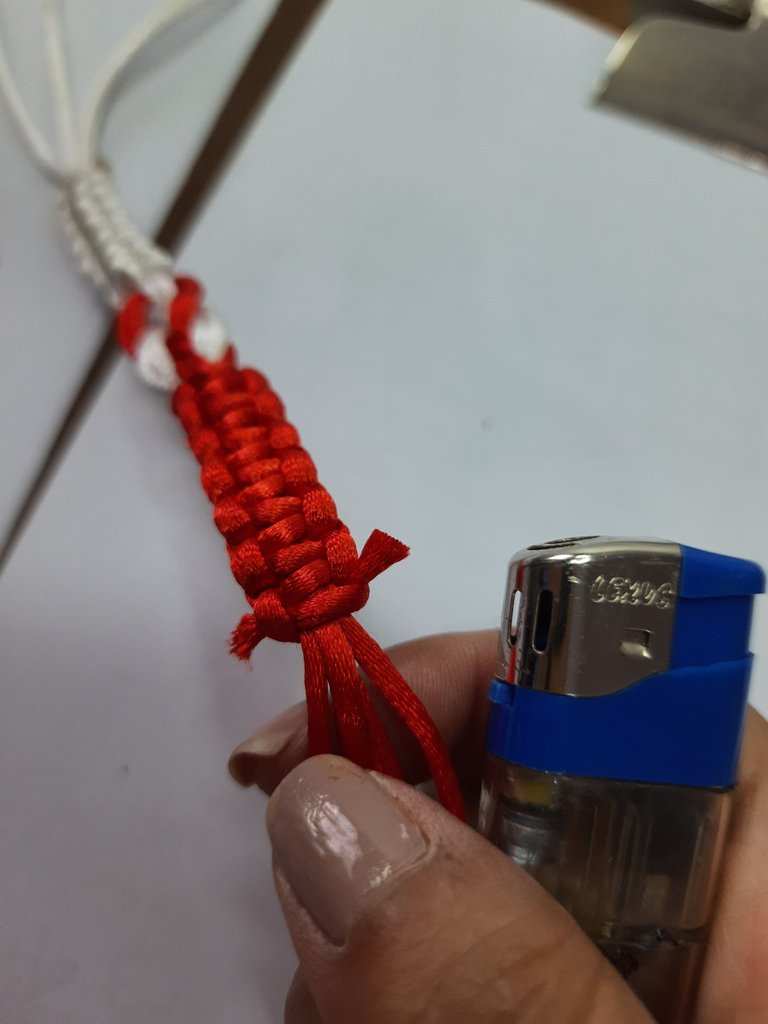
Haremos el nudo plano igual del otro lado con el color rojo, cortaremos los excedentes y quemaremos con el yesquero para sellar nuestro nudo.
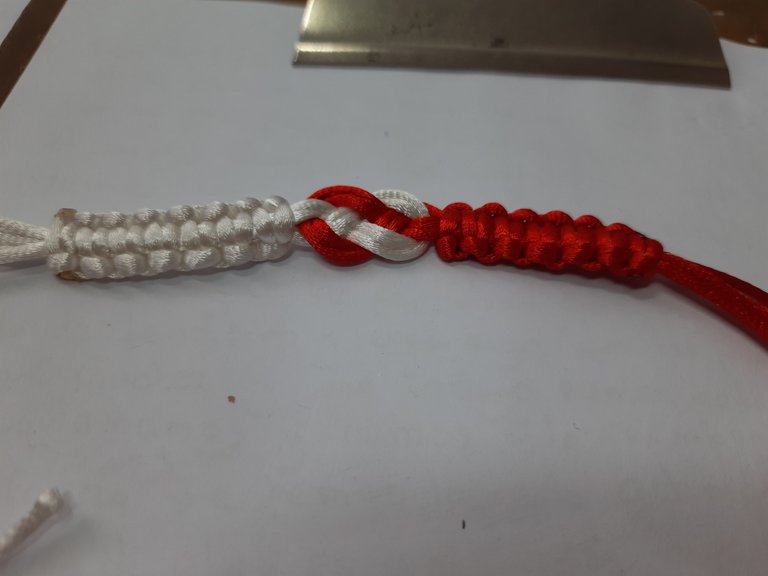
We will make the same flat knot on the other side with the red color, cut the excess and burn with the tinder to seal our knot.

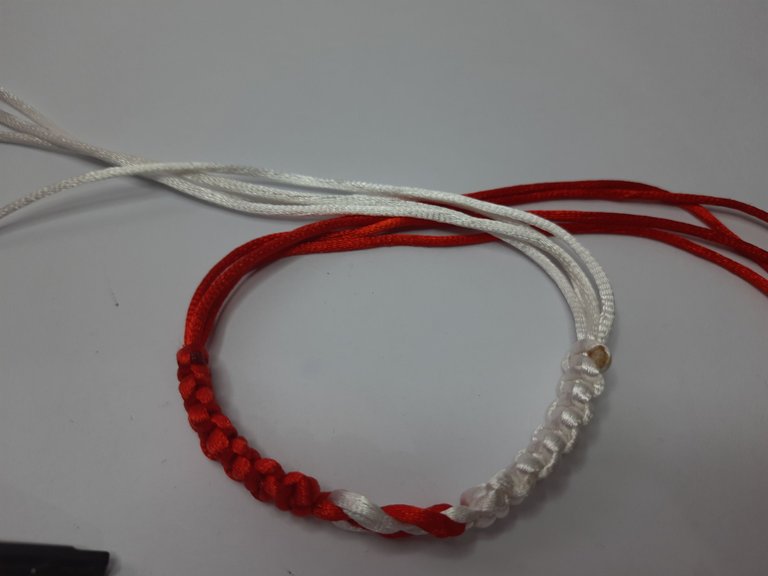
Cortaremos una tira de 30 cm del color de su preferencia, en este caso yo la corte blanco y uniremos ambos extremos de la pulsera.
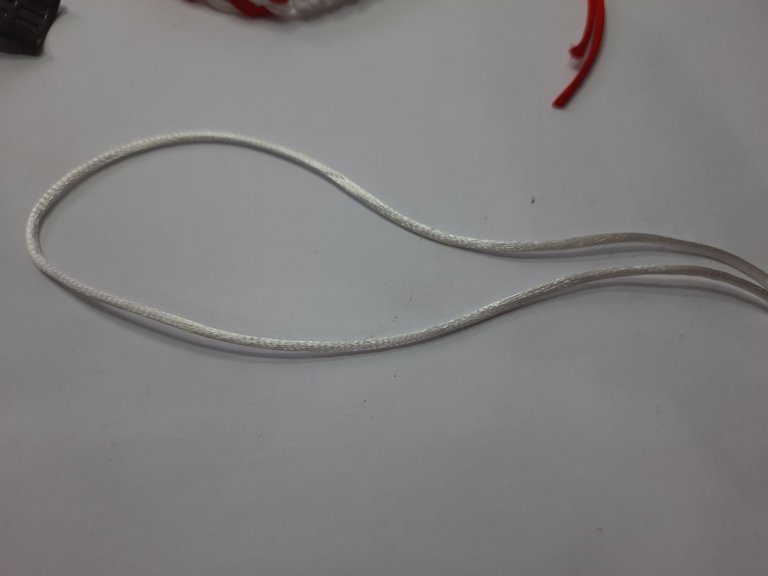
We will cut a strip of 30 cm of the color of your preference, in this case I cut it white and we will join both ends of the bracelet.

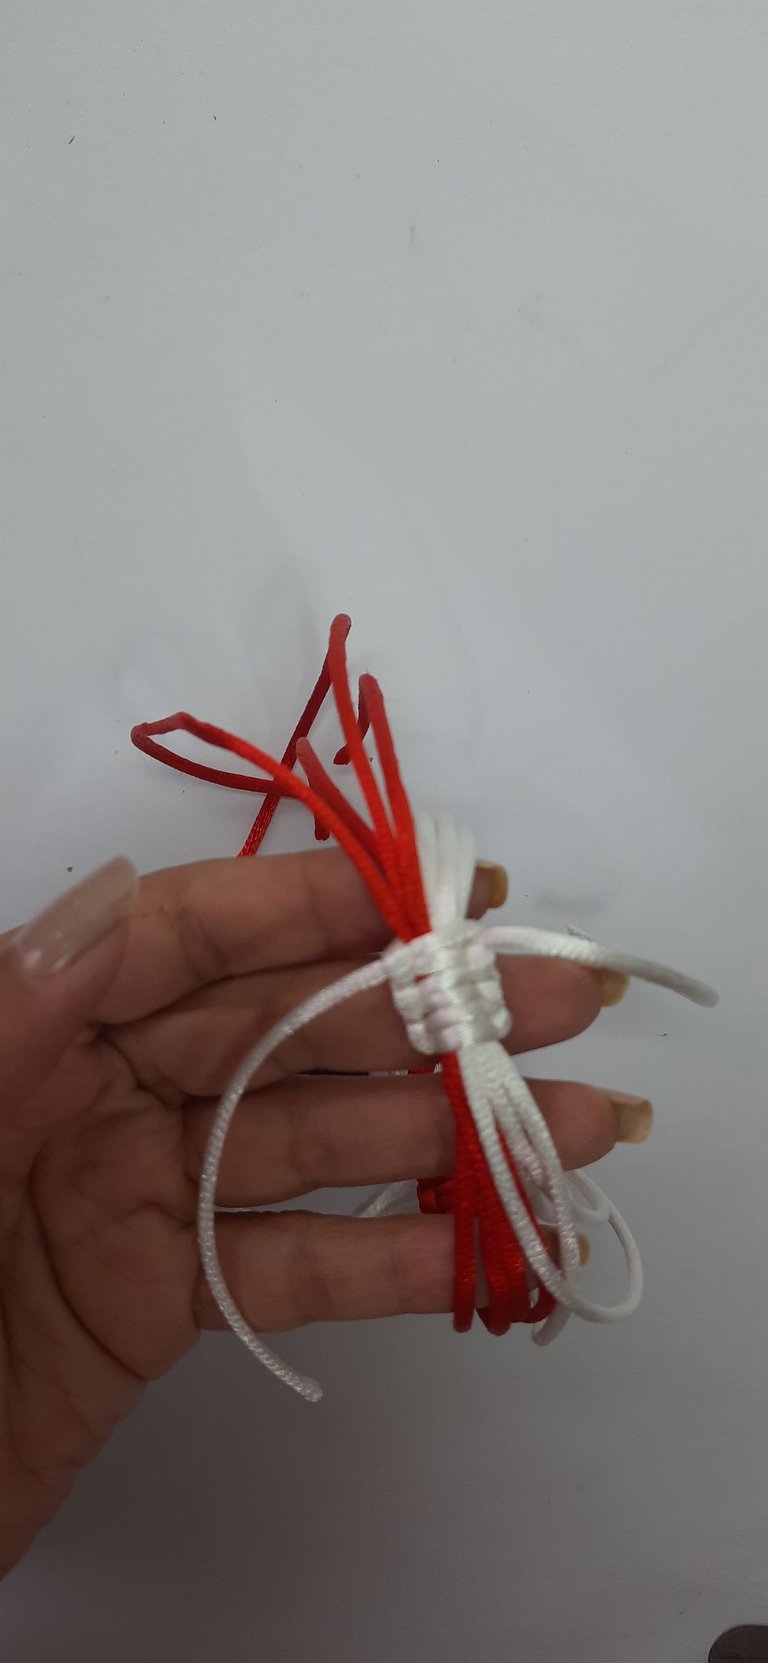
Vamos a hacer con el hilo de 30cm un nudo plano que será el cierre de la pulsera, algo pequeño y cerramos las puntas igual con el yesquero.
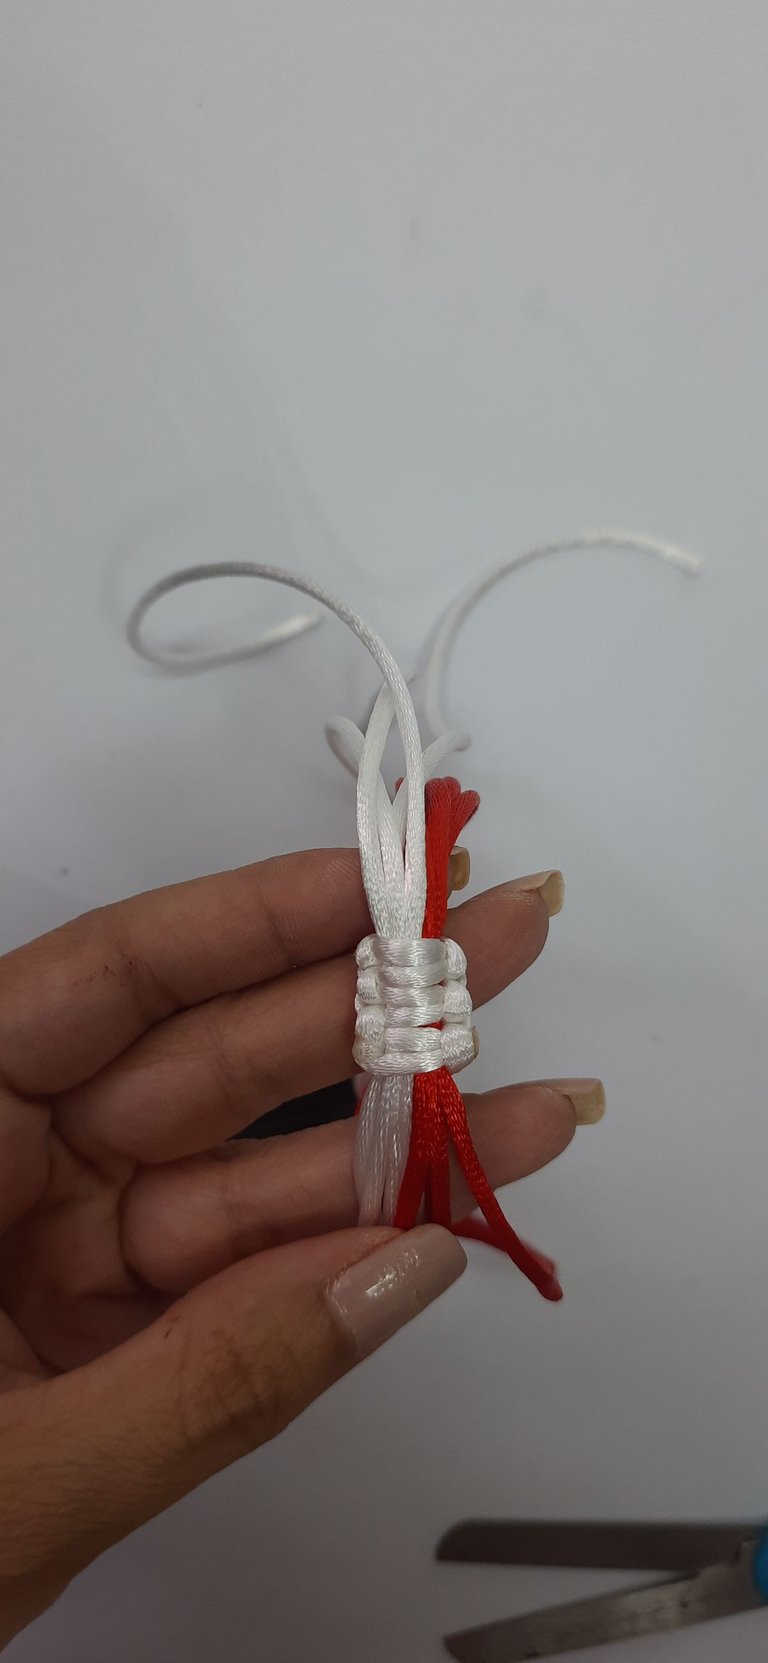
We are going to make with the 30cm thread a flat knot that will be the clasp of the bracelet, something small and we close the ends the same with the tinder.

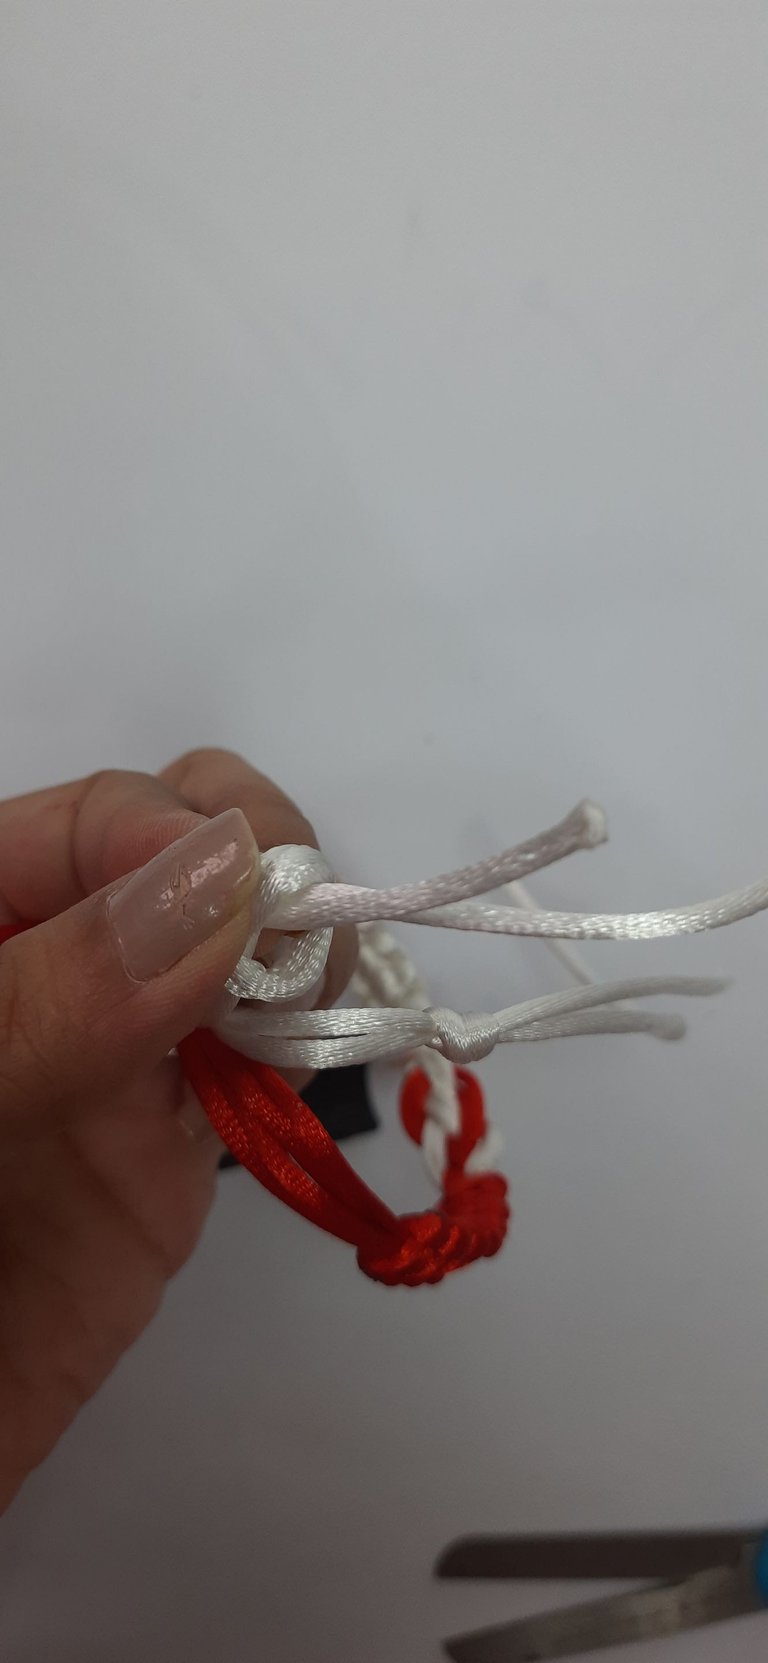
Por último vamos a tomar las puntas de dos en dos y vamos a anudar, cortar y quemar con nuestro yesquero para así terminar nuestra linda pulsera de Macramé.
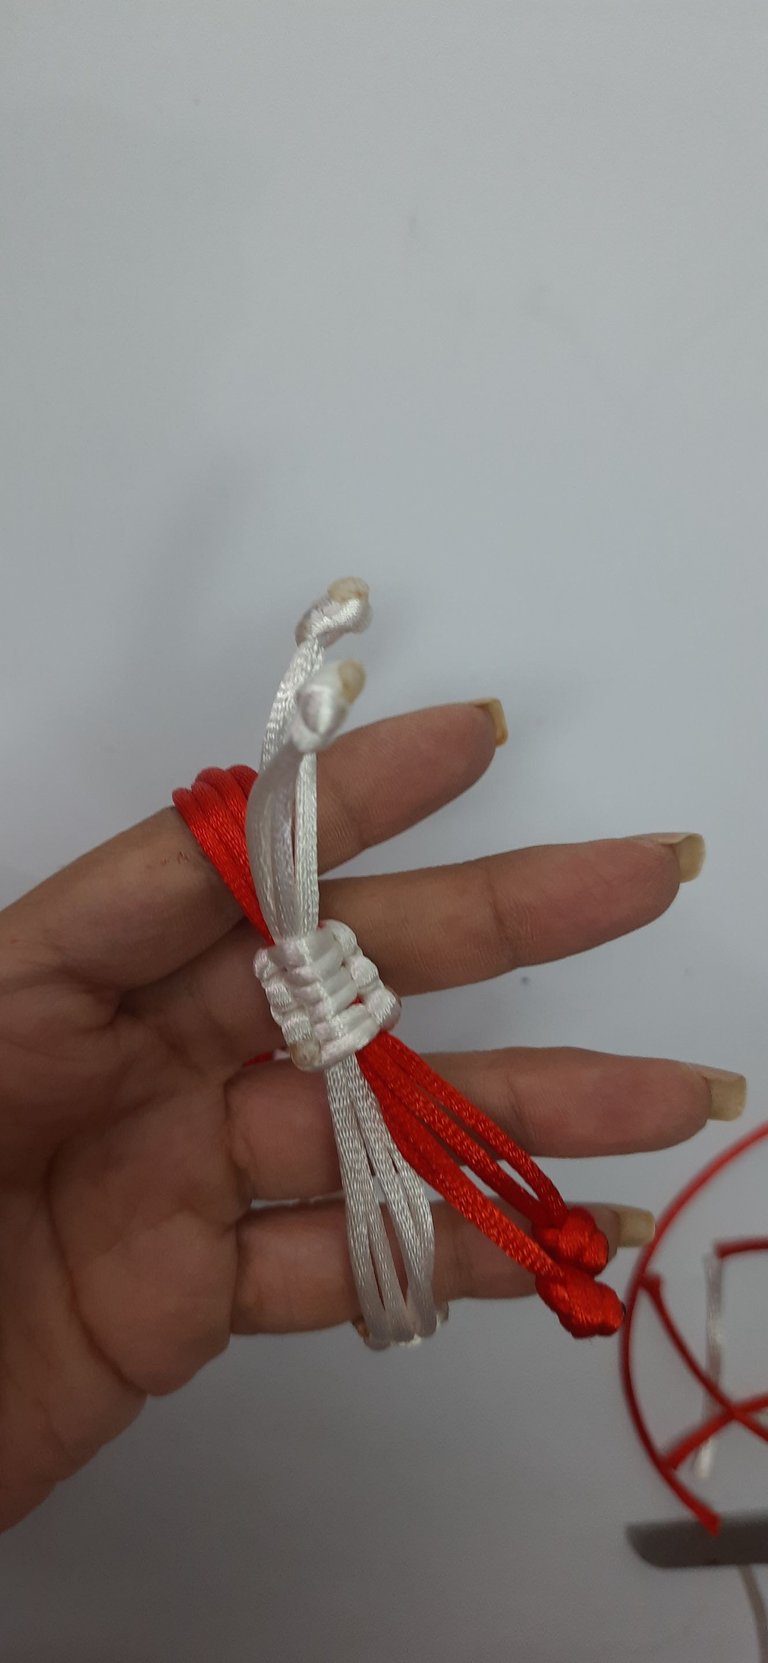
Finally we are going to take the ends in pairs and we are going to knot, cut and burn them with our tinder to finish our beautiful Macramé bracelet.

Resultado: / Result:

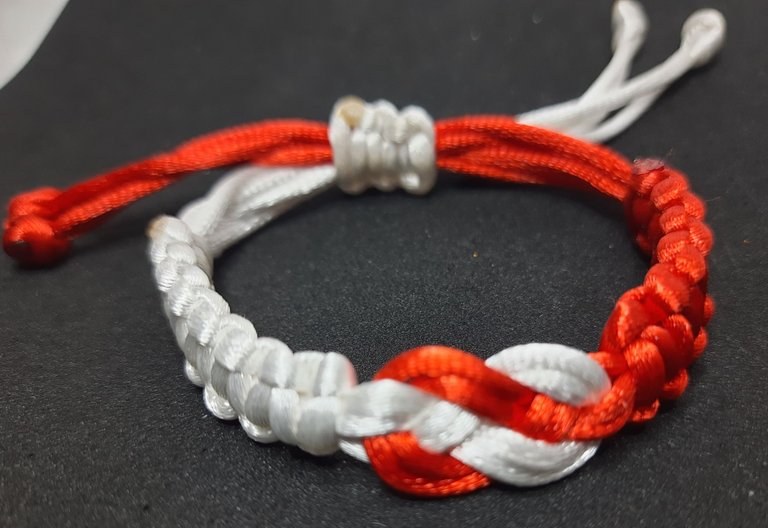
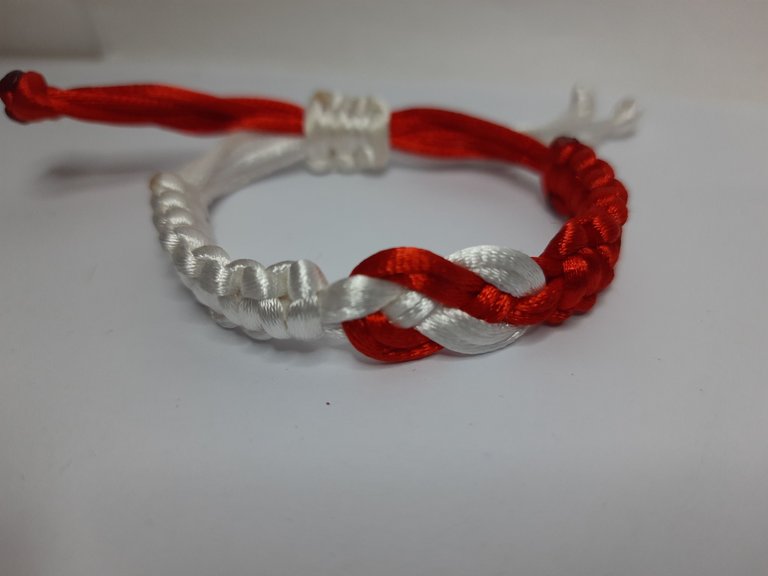
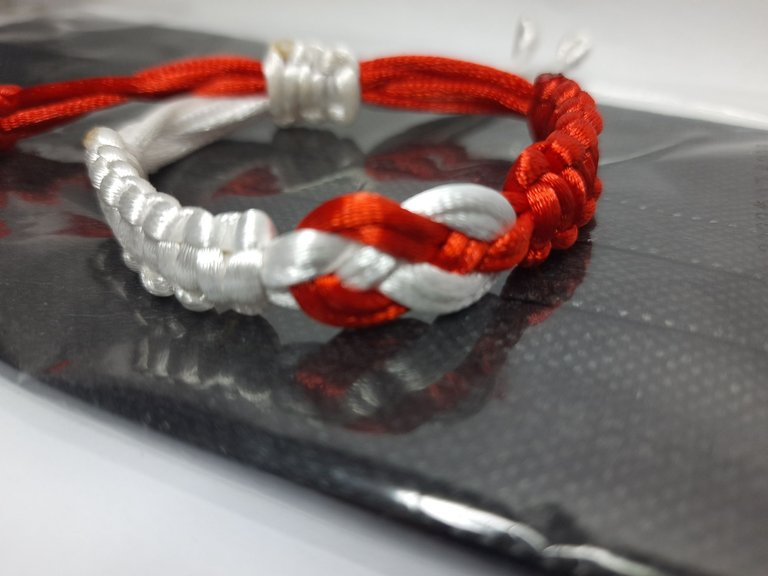
Y así ha quedado esta linda pulsera, si la hacen en piel de serpiente les aseguro que queda más bonita aún.
Gracias por estar aquí y ser parte de mi blog y de la comunidad @jewelry 😉
And this is how this beautiful bracelet turned out, if you make it in snakeskin I assure you that it will be even more beautiful.
Thank you for being here and being part of my blog and the @jewelry community 😉.

Les invito a suscribirse a la comunidad de @Jewelry y poder así mostrar todas sus creaciones de accesorios, tanto de adultos como de niños; nos encanta ver y apoyar a todos los artesanos, manualistas y orfebres, puedes crear accesorios para damas, caballeros y niños, así que tu creatividad es el límite 😉
I invite you to subscribe to the @Jewelry community to showcase all your accessory creations for both adults and children; we love to see and support all the artisans, crafters and goldsmiths, you can create accessories for ladies, gents and kids, so your creativity is the limit 😉.
Fotos principal editada con Canva.
Separadores de mi Autoría
Fotos de mi Autoría derechos reservados
Cámara: Samsung M31
Traducido con www.DeepL.com/Translator (versión gratuita)
Photos edited with Canva
Separators by me
Photos by me Author's rights reserved
Camera: Samsung M31
Translated with www.DeepL.com/Translator (free version)


