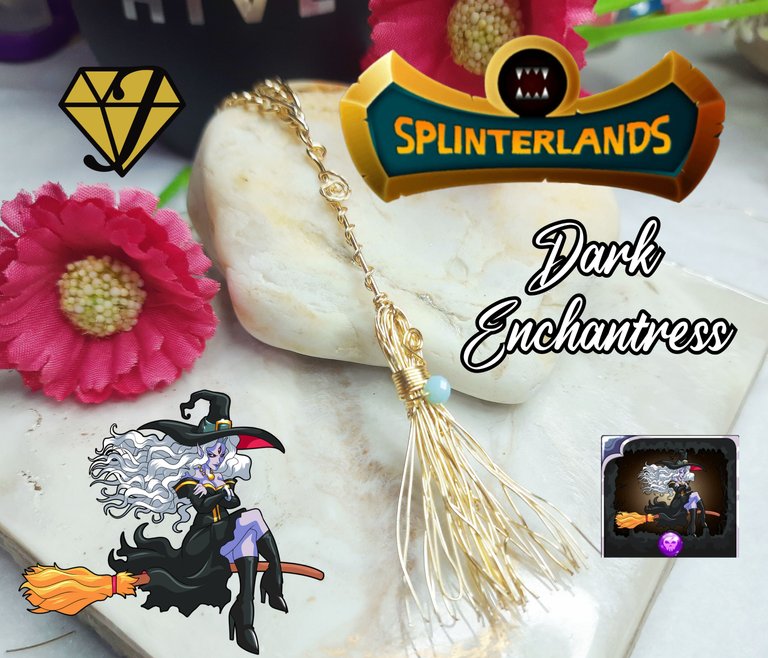


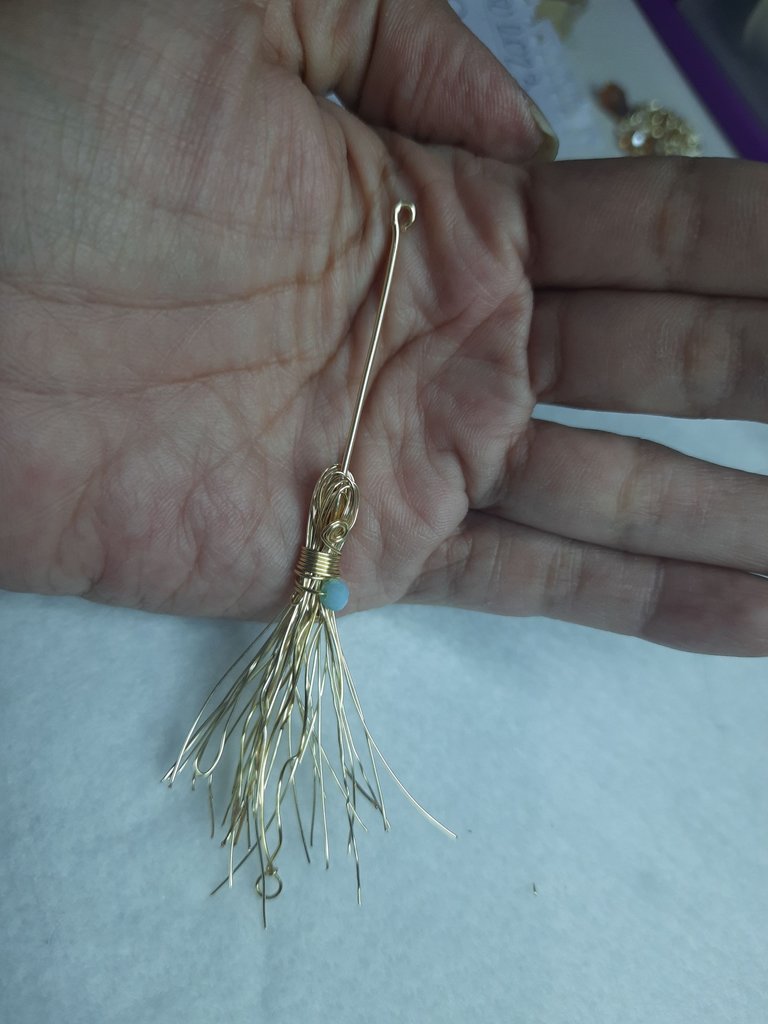
Un saludo, mi gente maravillosa de @jewelry hoy vengo a participar en el concurso #288 de Splinterlands, para ello realice un fan art en un "dije" de nuestra carta, inspirado en el personaje de nombre "Dark Enchantress" este fan art me gustó mucho y me inspire en la escoba donde ella está sentada.
Dark Enchantress, La primera dama de los Eternos Oscuros comenzó hace mucho tiempo con el lejano recuerdo de una vida en Lyveria como simple hija de un granjero. Había conocido al Señor de las Tinieblas, se había enamorado y ella misma había firmado el Contrato Oscuro. Ahora era la Encantadora Oscura, todopoderosa en magia y la verdadera Reina del Señor Oscuro.
Tiene un tercer ojo intuitivo, capaz de mirar la debilidad de sus victimas, de la unión con el señor de las tinieblas se convirtió en reina de lo oscuro. Es una carta Death, esta carta posee bueno atributos, velocidad, daño y vida, que con una buena posición y una buena estrategia podría ganar la partida.
Para este Fan Art utilice una técnica sencilla de bisutería fina, en alambrismo que es una hermosa técnica, ahora les invito a ver el paso a paso de este hermoso dije, espero sea de su agrado, manos a la obra mis queridos creativos.

Greetings, my wonderful people from @jewelry today I come to participate in the contest #288 of Splinterlands, for this I made a fan art in a "I said" of our letter, inspired by the character named "Dark Enchantress" I liked this fan art a lot and I was inspired by the broom where she is sitting.
Dark Enchantress, The first lady of the Dark Eternals began long ago with the distant memory of a life in Lyveria as a simple farmer's daughter. She had met the Lord of Darkness, fallen in love, and signed the Dark Contract herself. She was now the Dark Enchantress, all-powerful in magic and the true Queen of the Dark Lord.
She has an intuitive third eye, able to look at the weakness of her victims, from union with the lord of darkness she became queen of the dark. It is a Death card, this card has good attributes, speed, damage and health, which with a good position and a good strategy could win the game.
For this Fan Art I used a simple technique of fine costume jewelry, in wire that is a beautiful technique, now I invite you to see the step by step of this beautiful charm, I hope it is to your liking, let's get to work my dear creatives

Materiales:
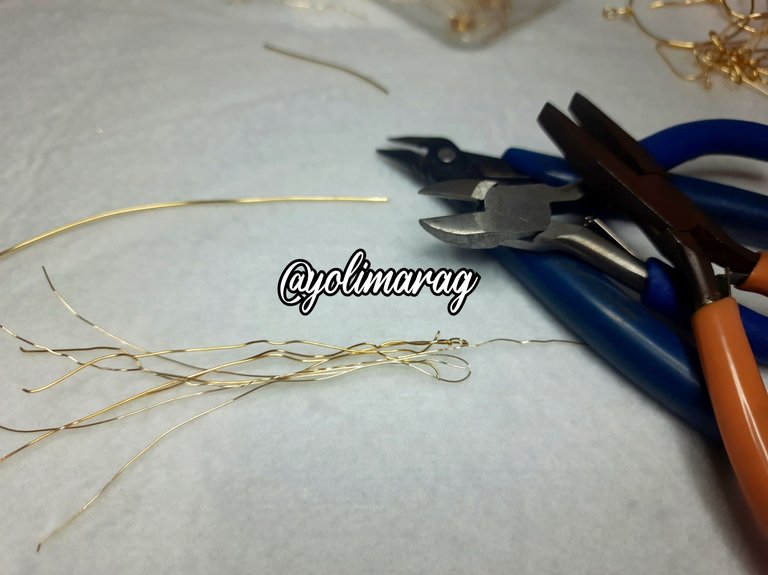
✅️ Alambre #26 #24 y #20
✅️ Pinzas de Bisutería
✅️ 1 crustal de 2mm
✅️ 1 Cadena de 40cm
Materials
✅️ Wire #26, #24 & #20
✅️ Costume Jewelry Tweezers
✅️ 1 x 2mm crustal
✅️ 1 x 40cm chain

Paso a Paso / Step by Step

 |  |
|---|
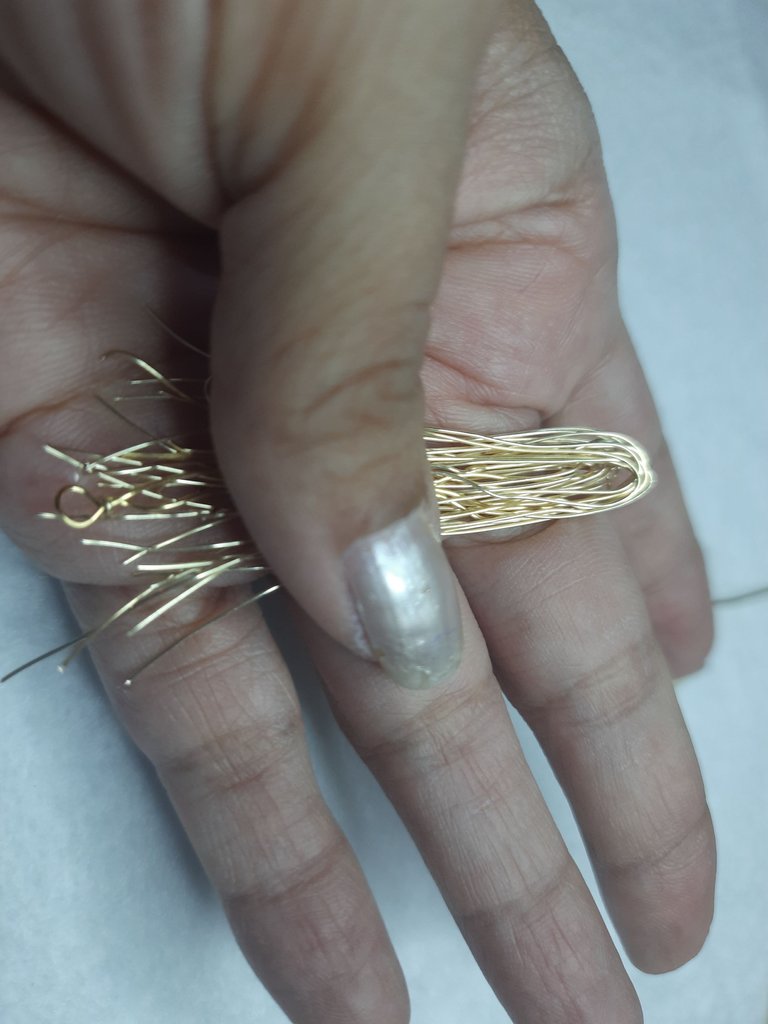
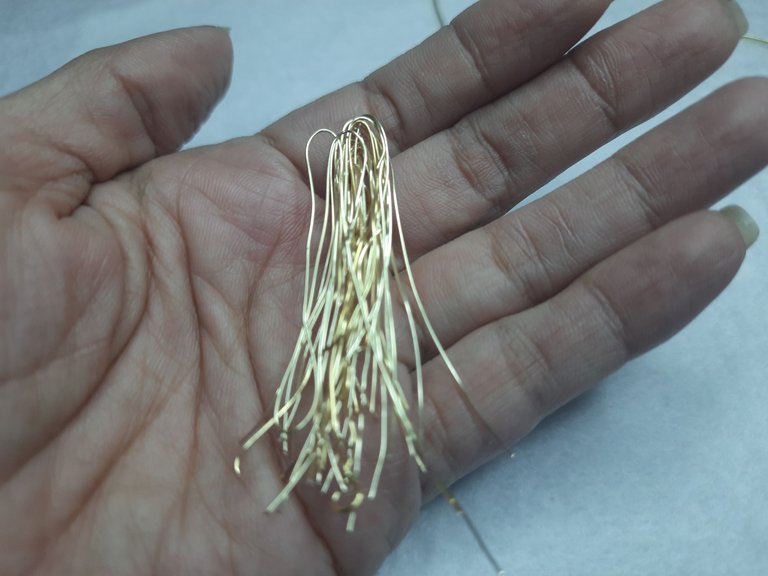
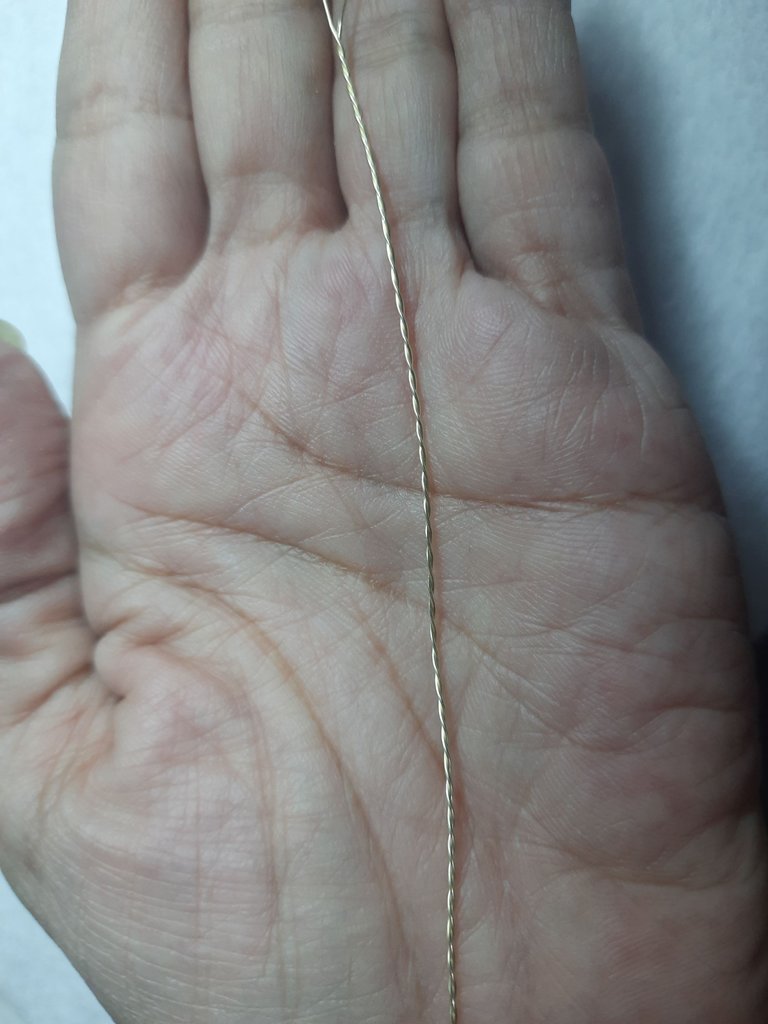
Lo primero que haremos será tomar alambre número 26 de 10 cm Aproximadamente, doblaremos a la mitad para formar lo que serán los pelitos de la escoba, estos alambres yo he utilizado de los que me quedan cuando hago cualquier proyecto, y así no los pierdo, por lo cual tomaré de diferentes medidas y los doblaré a la mitad.
The first thing we will do is take wire number 26 of 10 cm Approximately, we will fold in half to form what will be the hairs of the broom, these wires I have used from the ones I have left when I make any project, and so I do not lose them, so I will take different measurements and bend them in half.

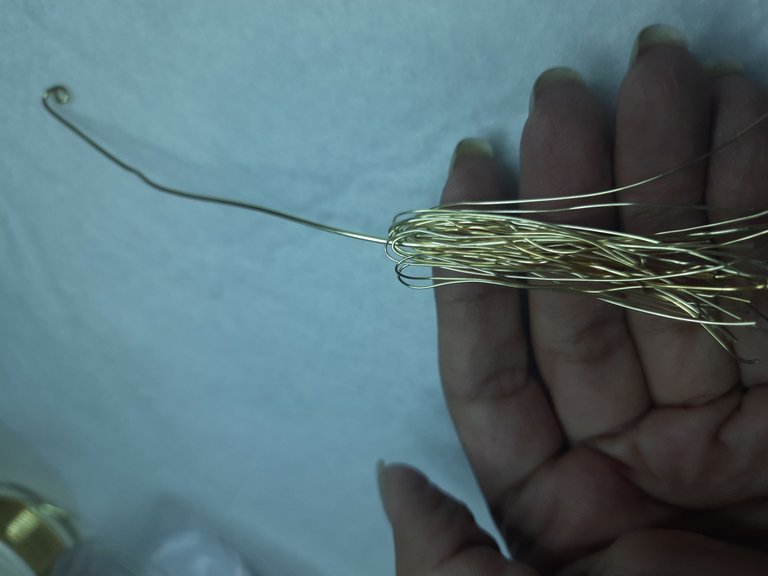
Introduciremos un alambre número 20 en la mitad aproximadamente de unos 15 cm y vamos a la parte de abajo hacer un pequeño aro como para engancharlo y no se salga.
We will insert a wire number 20 in the middle of approximately 15 cm and we are going to make a small ring at the bottom to hook it so that it does not come out.

 |  |
|---|
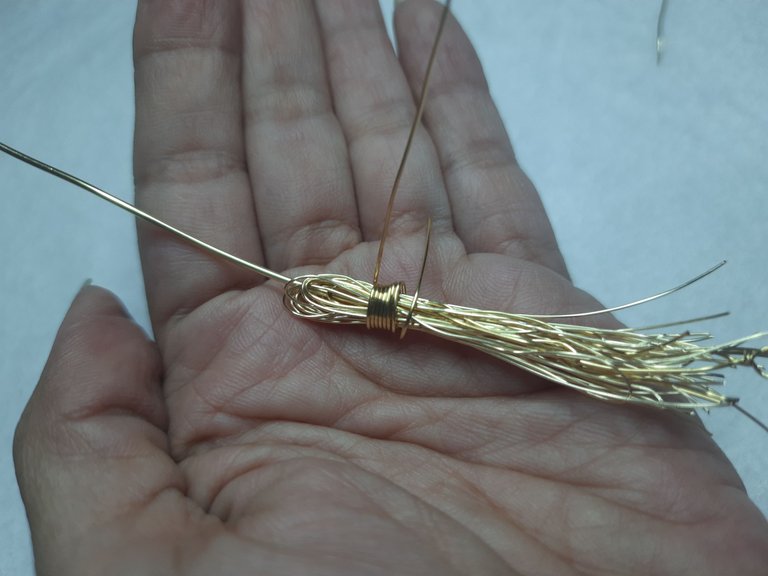
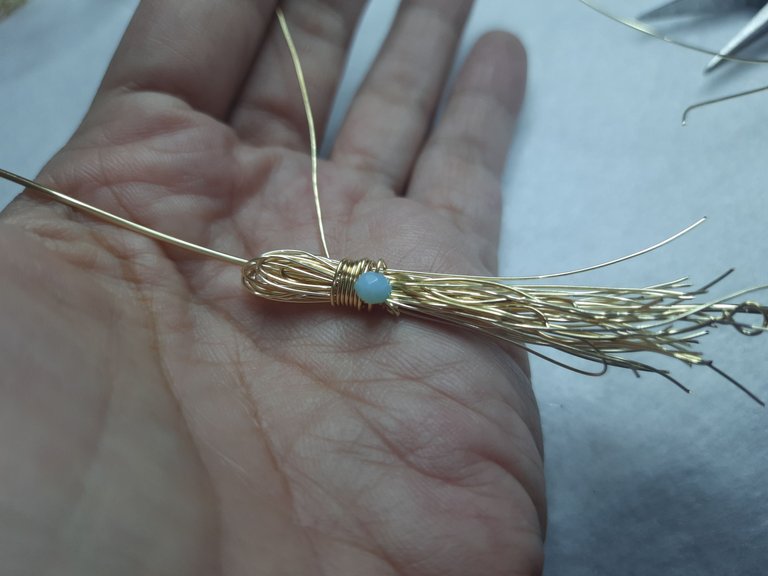
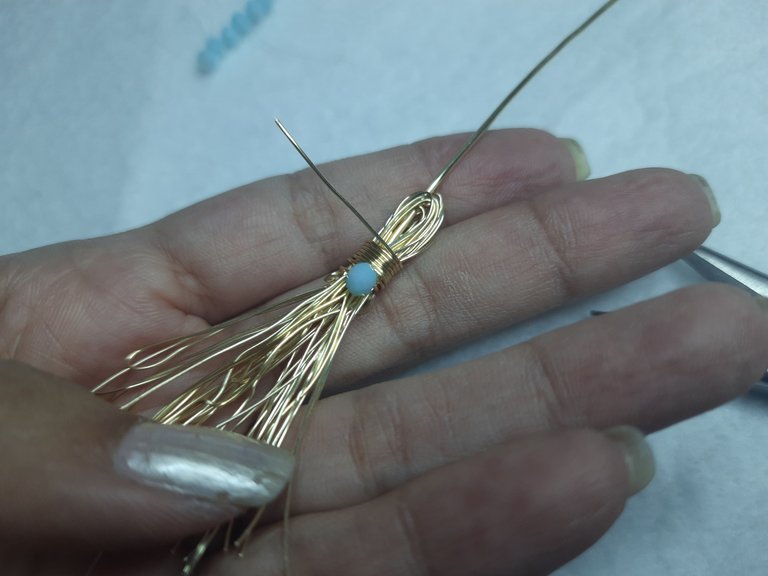
Tomaremos ahora alambre número 24 y sostendremos con él nuestros alambres 26 y el 20 que introducimos a la mitad, darenos unas vueltas sobre la parte de arriba del alambre, daremos aproximadamente unas cinco a siete vueltas y en la parte de abajo introduje un pequeño cristal checo de color azul para darle un toque diferente.
We will now take wire number 24 and hold with it our wires 26 and 20 that we introduced in the middle, we will give a few turns on the top of the wire, we will make approximately five to seven turns and in the bottom part I introduced a small blue Czech glass to give it a different touch

 |  |
|---|
Vamos a cerrar en la parte de abajo donde colocamos el cristal dando una vuelta, y en la parte de arriba vamos a cerrar haciendo un pequeño espiral.
We are going to close at the bottom where we place the glass, making a turn, and at the top we are going to close making a small spiral.

 |  |  |
|---|
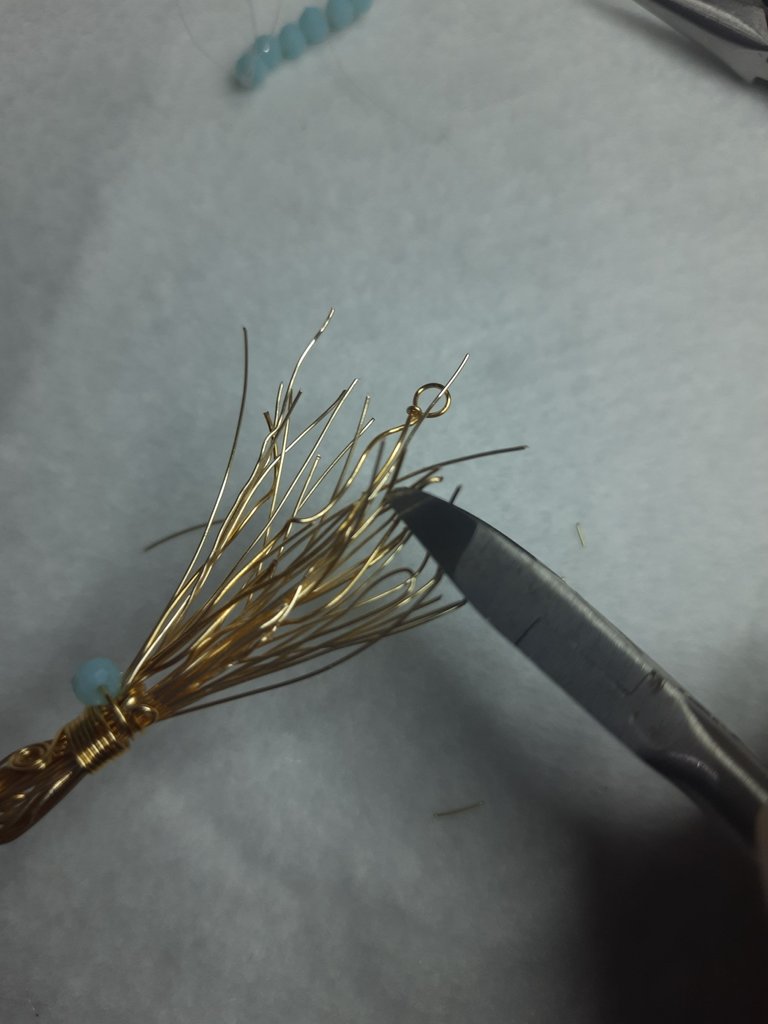
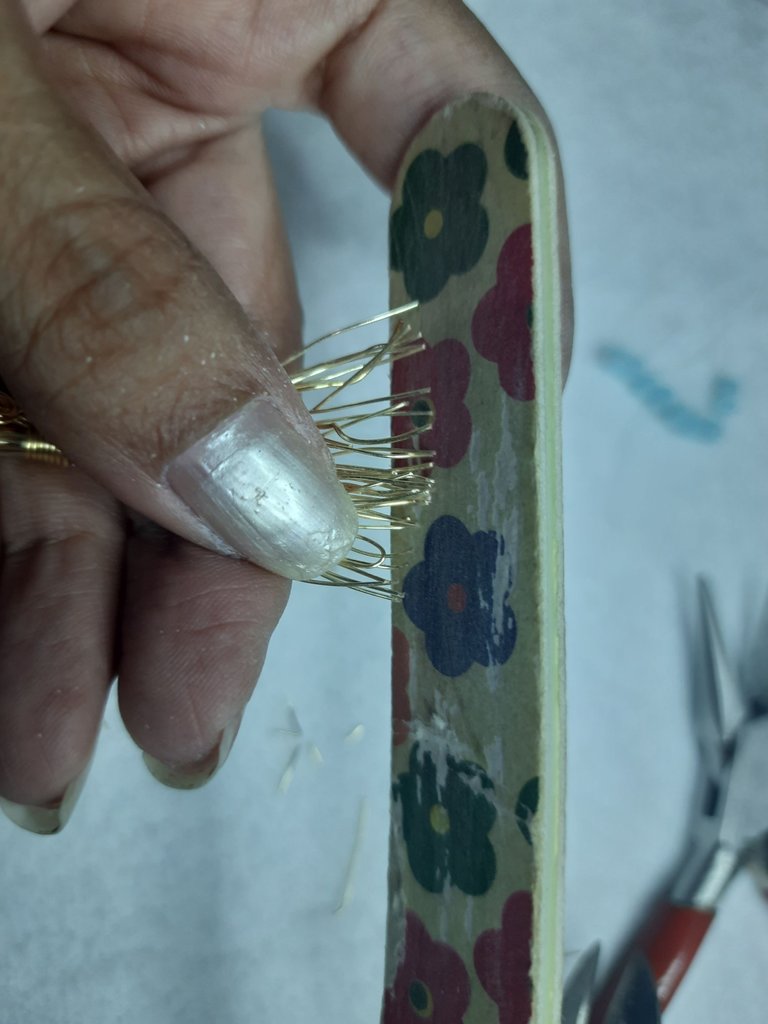
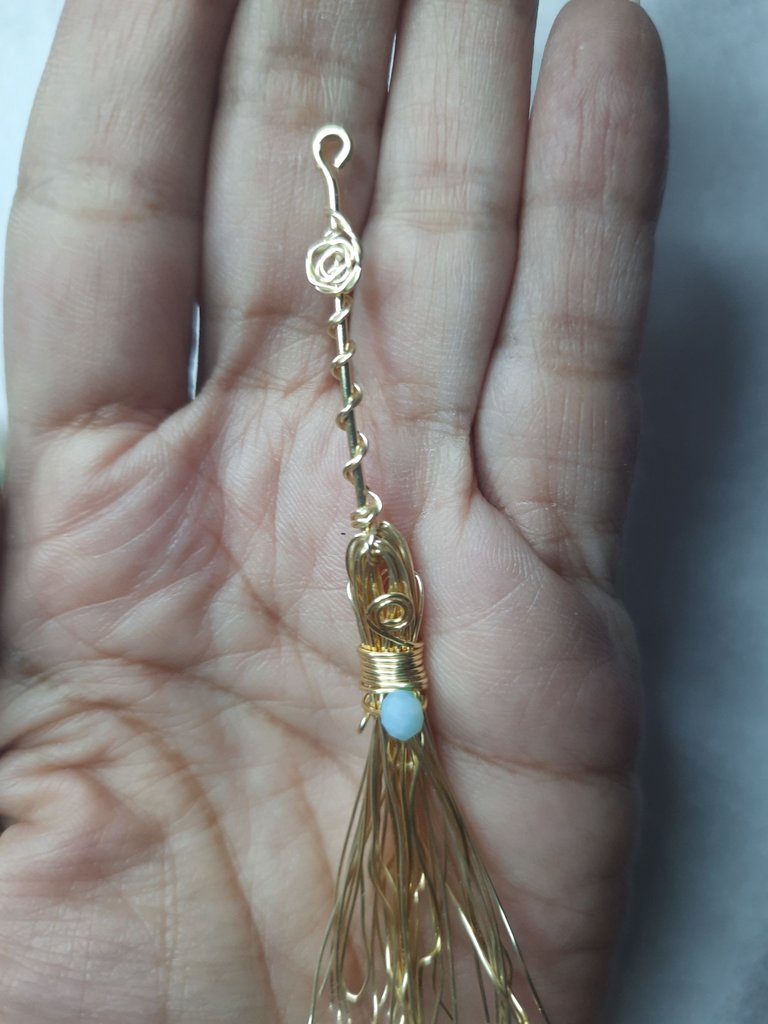
En la parte de arriba del palo de nuestra escoba haremos un pequeño aro que será donde lo vamos a guindar, luego vamos a cortar la parte de abajo de nuestra escoba para que se vea uniforme, y vamos a limar para que no nos pegue o no nos puye cuando lo coloquemos y tampoco maltrate la ropa.
On the top of the stick of our broom we will make a small ring that will be where we are going to hang it, then we are going to cut the bottom of our broom so that it looks uniform, and we are going to file so that it does not stick or puff us when we place it and does not mistreat the clothes

 |  |  |
|---|
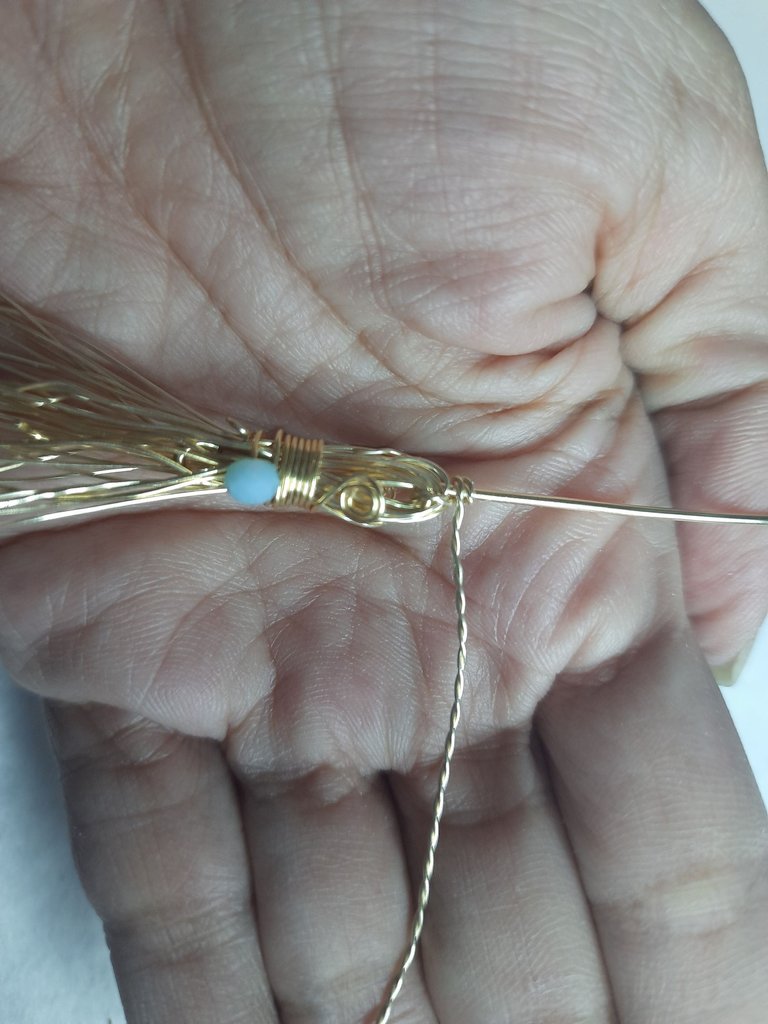
Por último vamos a tomar unos 15 cm de alambre entorchado y vamos a sostener primero por la parte donde están doblados todos los alambres y de allí vamos a sacarlo hacia el palo de escoba, vamos a ir amarrando hasta llegar al final, en la parte de arriba haremos un espiral para cerrar y terminar nuestra pieza.
Finally we are going to take about 15 cm of wound wire and we are going to hold first by the part where all the wires are bent and from there we are going to take it out to the broomstick, we are going to tie until we reach the end, at the top we will make a spiral to close and finish our piece

Resultado: / Result:

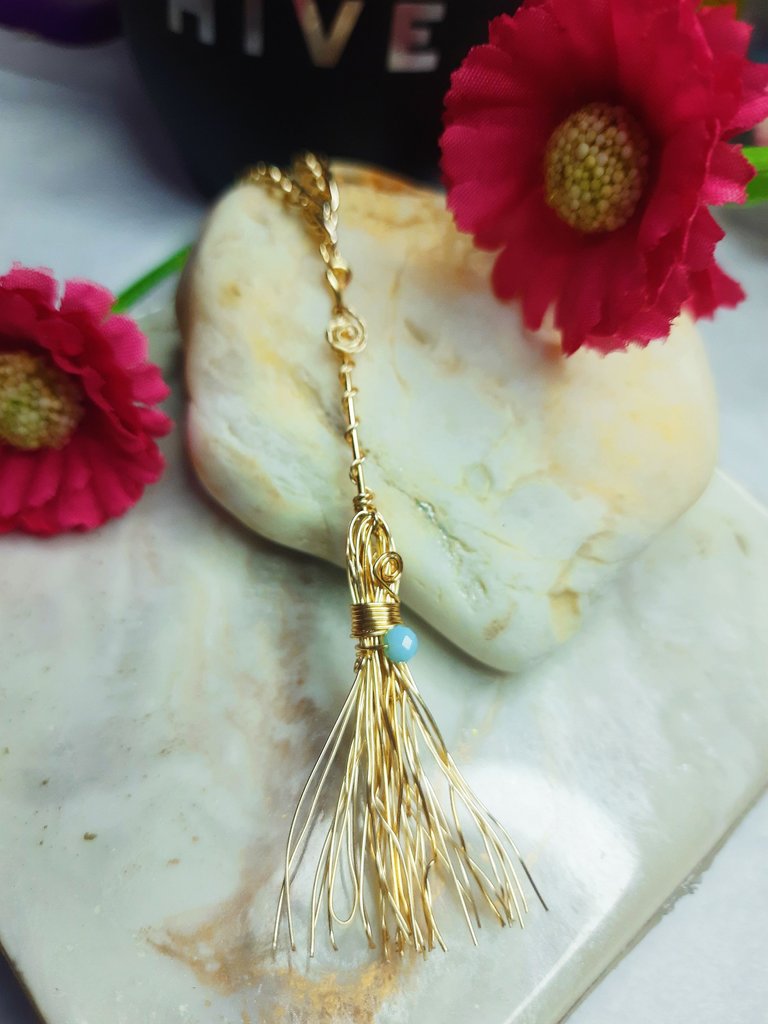
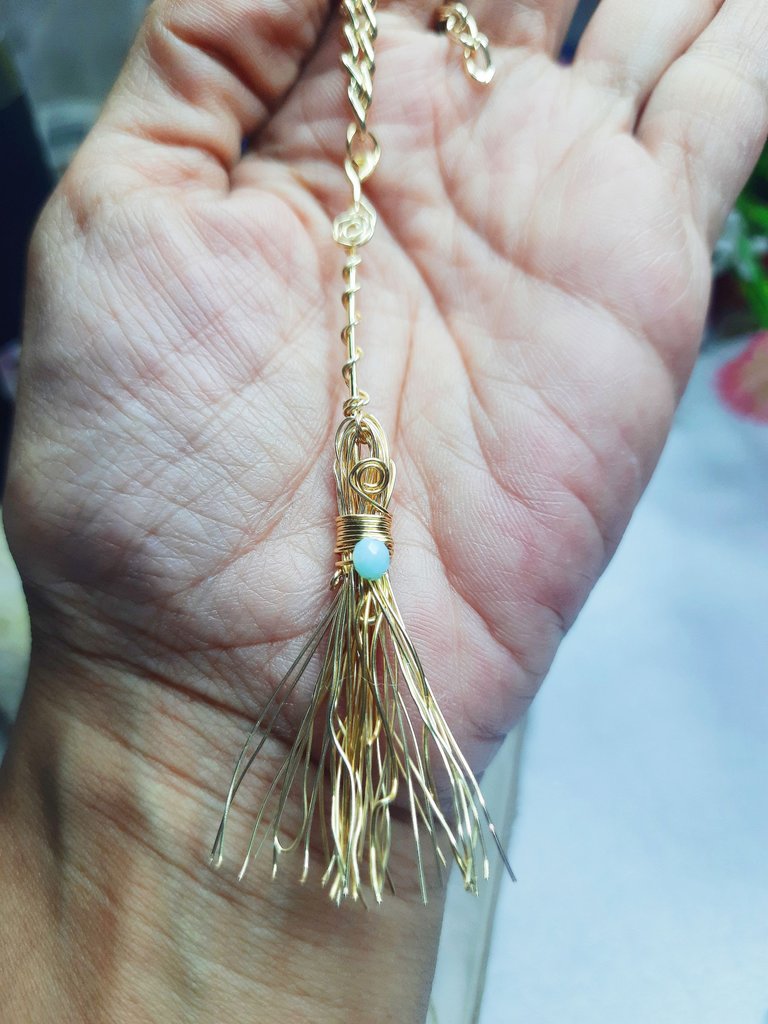
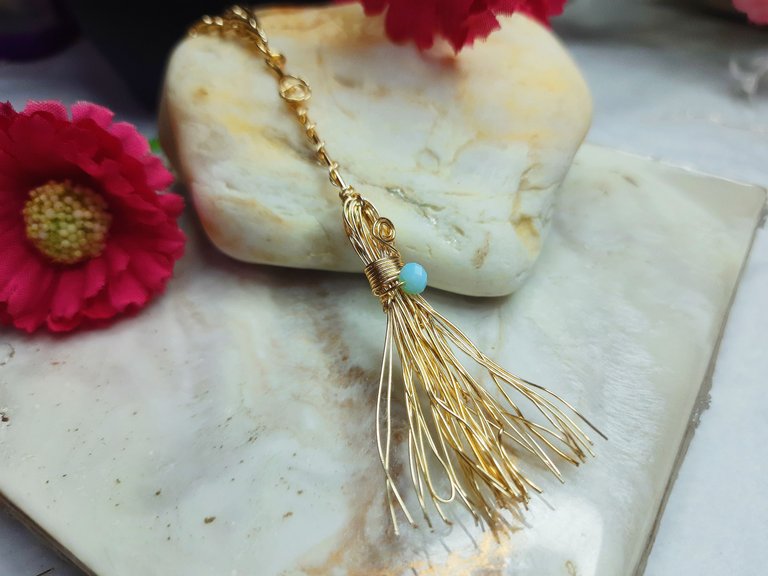
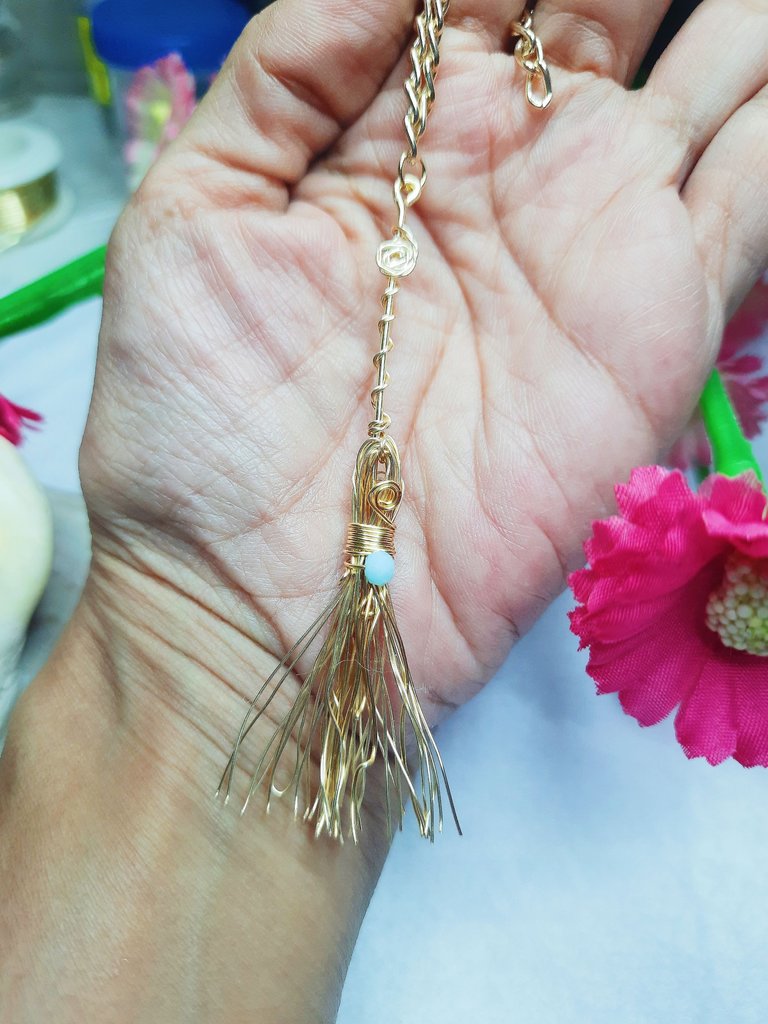
Y así ha quedado nuestro sencillo tutorial de nuestro fan art, espero que sea de su agrado, tanto como me ha gustado a mi esta pequeña y hermosa creación y mi participación al concurso de arte de @Splinterlands
Gracias por estar aquí y ser parte de mi blog y de la comunidad @jewelry 😉
And this is how our simple tutorial of our fanart turned out, I hope you like it, as much as I liked this beautiful little creation and my participation to the @Splinterlands art contest.
Thank you for being here and being part of my blog and the @jewelry community 😉.

Les invito a suscribirse a la comunidad de @Jewelry y poder así mostrar todas sus creaciones de accesorios, tanto de adultos como de niños; nos encanta ver y apoyar a todos los artesanos, manualistas y orfebres, puedes crear accesorios para damas, caballeros y niños, así que tu creatividad es el límite 😉
I invite you to subscribe to the @Jewelry community to showcase all your accessory creations for both adults and children; we love to see and support all the artisans, crafters and goldsmiths, you can create accessories for ladies, gents and kids, so your creativity is the limit 😉.
"Los accesorios tienen el poder de hacer sentir a la mujer única y especial"
Accessories have the power to make a woman feel unique and special"
Fotos principal editada con Canva.
Separadores de mi Autoría
Fotos de mi Autoría derechos reservados
Cámara: Samsung M31
Traducido con www.DeepL.com/Translator (versión gratuita)
Photos edited with Canva
Separators by me
Photos by me Author's rights reserved
Camera: Samsung M31
Translated with www.DeepL.com/Translator (free version)


