🇬🇧🇬🇧🇬🇧ENGLISH🇬🇧🇬🇧🇬🇧
Hello community:
I love crafts and I really enjoy the process of making each piece. This is my first time here and I'm here to show you the process of making a wire work. It is also my first time doing something with this material and I liked the experience.
I had at home a few meters of telephone cable that had been removed because it was in bad condition and was no longer useful for that service. My dad uses these cables for electricity, so they were stored for this purpose.
He happened to be doing some work when I walked past him and saw these cute little coloured wires that caught my eye - it's amazing how many little wires fit inside that grey sheath! I couldn't resist the temptation and asked him to give me a pair of these that come intertwined in pairs.
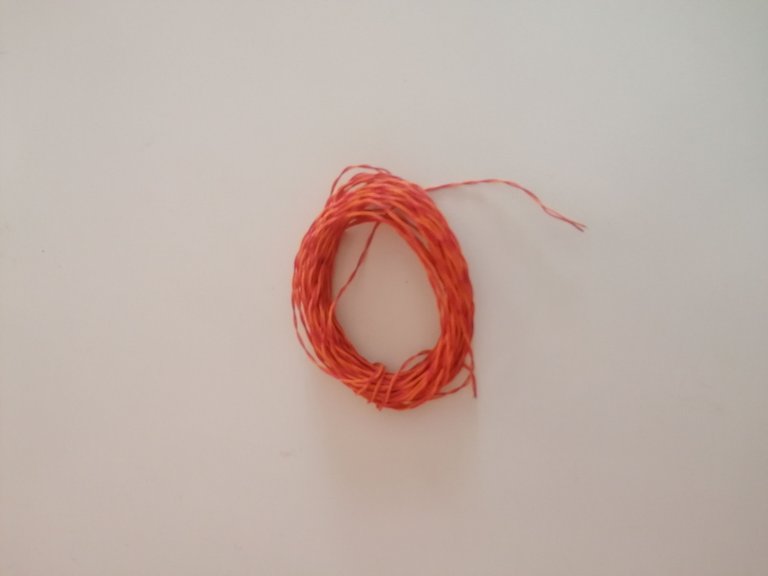
I knew I wanted to make flowers, but I had no idea how. I thought: petals! Recreate petals... and so I did. I explain the process in detail below:
Materials used:
- Telephone wire (a couple of small wires)
- Cutting tweezers
- Three beads
- Base for earrings
Process:
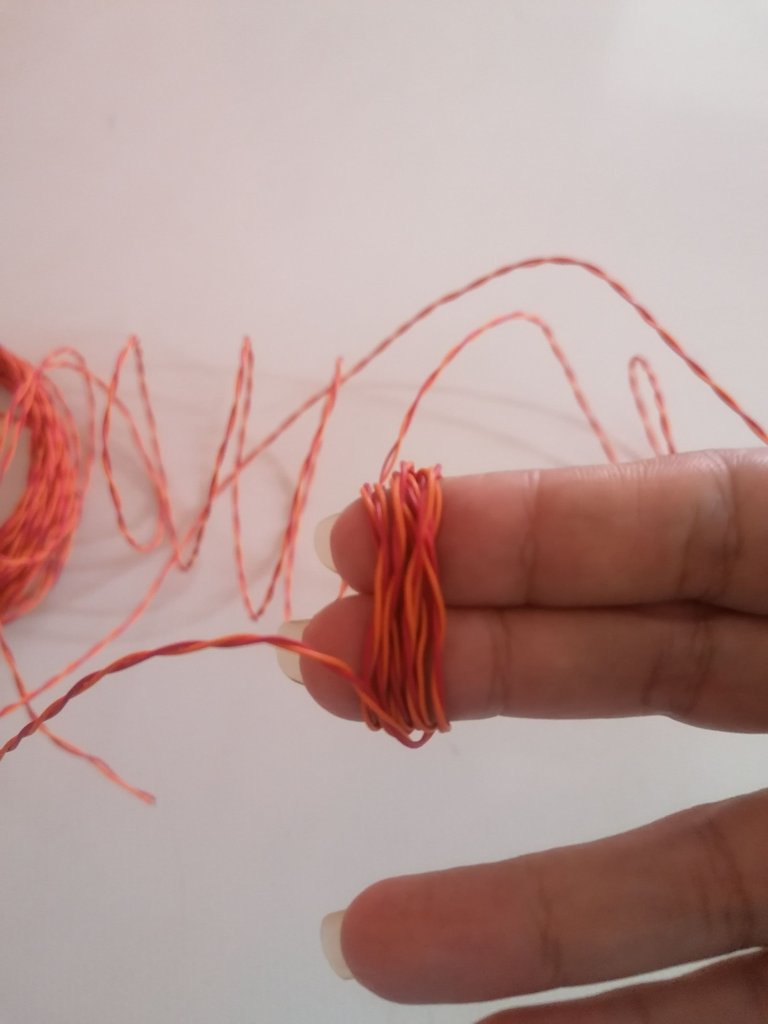
I took one end of the wire and wrapped it around two of my fingers, making seven full turns.
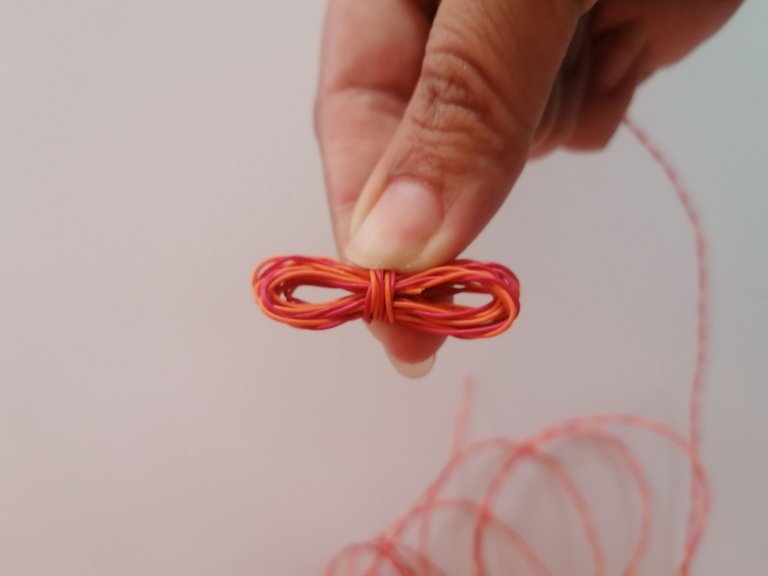
I squeezed it with my fingers in the middle and, as if I was going to make a loop, I tied it with the same wire so that it wouldn't come loose.
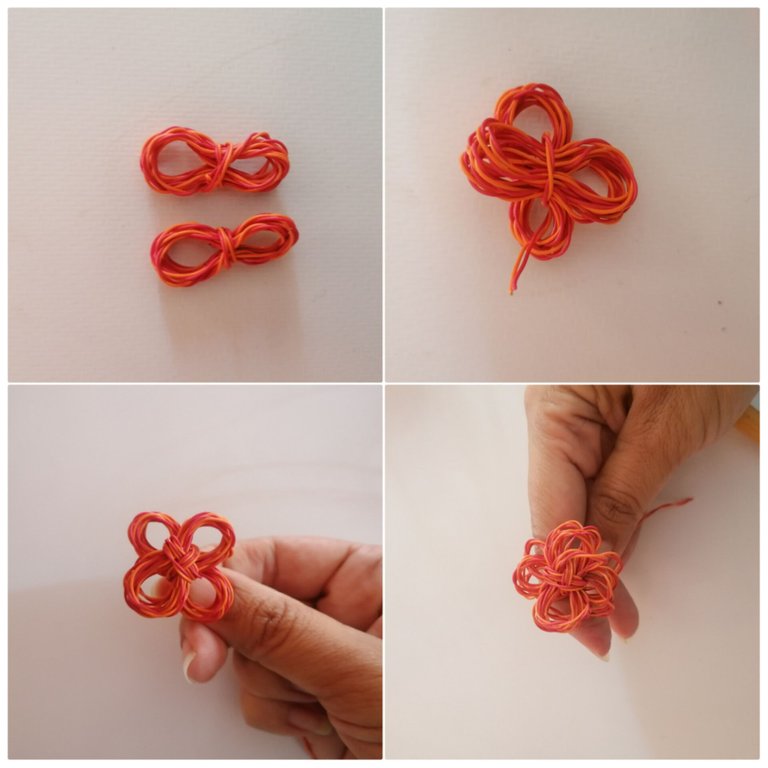
I made two copies of these. I arranged one on top of the other perpendicularly and reinforced their joint with several turns of wire. Then I arranged the petals by displacing them and achieving a three-dimensional flower.
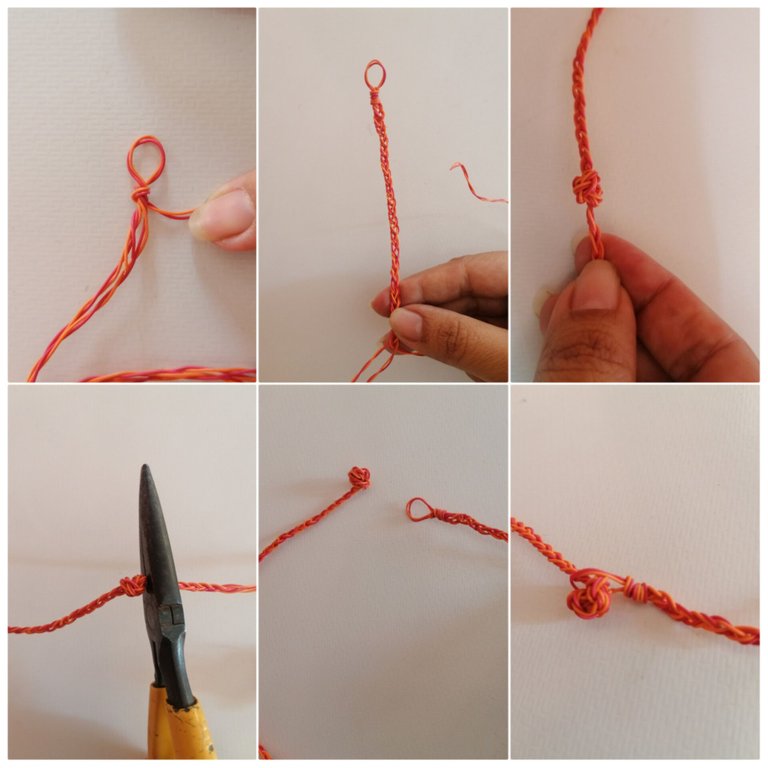
With three pieces of these double wires I made a ring and from it I made a braid which I then measured around my neck to take a suitable distance for the making of a necklace. I tied a double knot at the end and checked that it would fit into the ring. I cut off the excess material and the necklace clasp was ready.
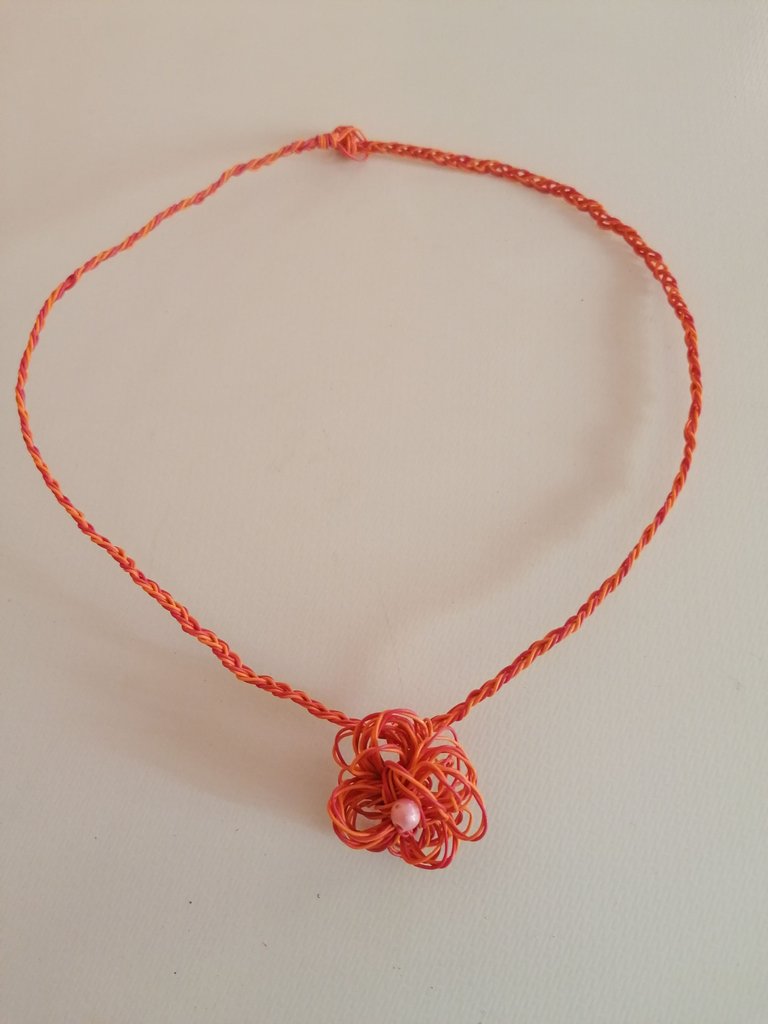
A detail of a bead in the centre of the flower, then with a piece of wire I tied the flower to the centre of the necklace.
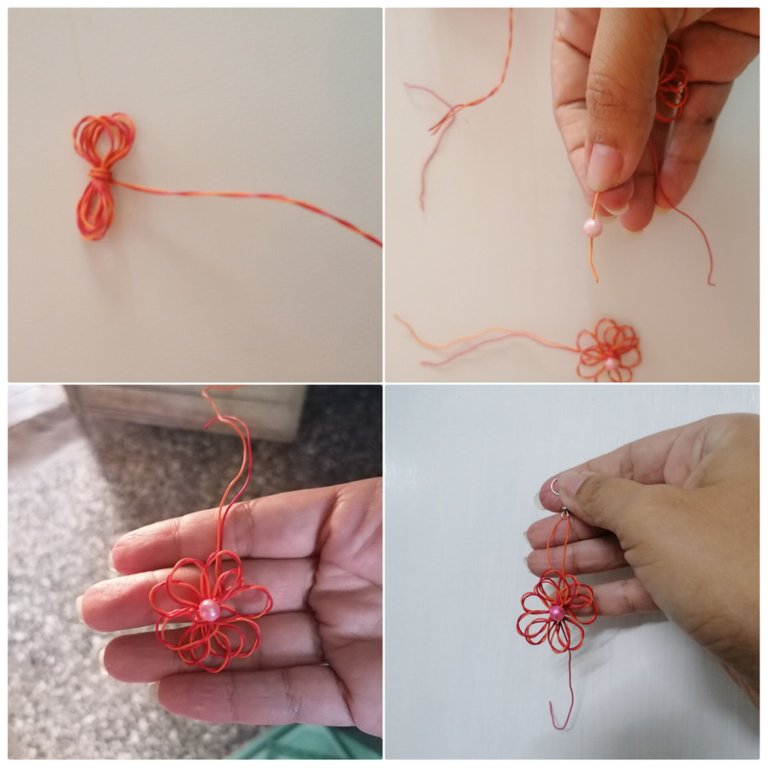
To make the earrings, I repeated the same process as for the flower, but instead of using seven strands I only used five. I arranged the petals, placed a bead in the centre and then inserted it into the earring base.
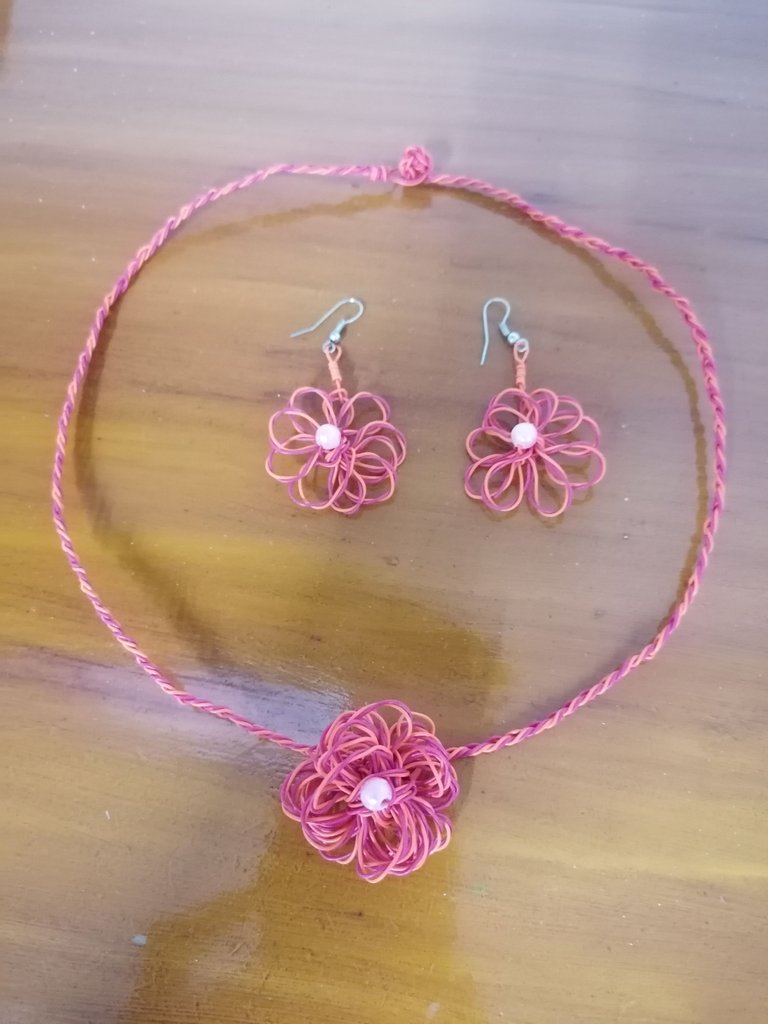
In this way we have a set of necklace and earrings made basically with recycled wire that we can make in a few simple steps.
I hope to improve my technique with wire and develop new creative ideas that allow me to share them with many people who love the art of crafts and jewellery.
I also hope that you like it and that in some way it contributes and inspires those who, like me, are starting out in this new and marvellous world. In the meantime I will continue dreaming; I will try to bring to reality what my imagination is capable of devising and my hands have the certainty of creating.
Thank you for your reading time and see you soon.
🇪🇸🇪🇸🇪🇸ESPAÑOL🇪🇸🇪🇸🇪🇸
Hola comunidad:
Me encantan las manualidades y disfruto mucho del proceso de confección de cada pieza. Esta es mi primera vez por acá y vengo a mostrarles el proceso de confección de un trabajo con alambre. También es mi primera vez haciendo algo con este material y me ha gustado la experiencia.
Tenía en casa unos cuantos metros de cable de teléfono que había sido retirado por encontrarse en mal estado y ya no servía para ese servicio. Mi papá usa estos cables para temas de electricidad, así que estaban guardados con estos fines.
Casualmente él estaba realizando un trabajo cuando pasé por su lado y vi estos tiernos cablecitos en colores que llamaron mi atención. ¡Es increíble cuántos cablecitos caben dentro de esa funda gris! No pude aguantar la tentación y le pedí que me diera un par de estos que vienen entrelazados entre sí por pares.

Sabía que quería hacer flores, pero el cómo no tenía idea. Pensé: ¡pétalos! Recrea pétalos... y así lo hice. Les explico detalladamente a continuación el proceso:
Materiales empleados:
- Alambre de teléfono (un par de cablecitos)
- Pinza de corte
- Tres perlitas
- Base para aretes
Proceso:

Tomé una punta del alambre y lo enroyé en dos de mis dedos, dando siete vueltas enteras.

Apreté con mis dedos por el centro y como si fuera a hacer un lazo amarré con el mismo alambre para que no se zafase.

Hice dos ejemplares de estos. Dispuse uno encima del otro perpendicularmente y reforcé la unión de ellos con varias vueltas de alambre. Luego acomodé los pétalos deplazándolos y logrando una flor tridimensional.

Con tres trozos de estos alambres dobles hice una argolla y a partir de ella elaboré una trenza que luego medí alrededor de mi cuello para tomar una distancia adecuada para la confección de un collar. Hice un nudo doble en el extremo y comprobé que entrara en la argolla. Corté el material sobrante y así quedó listo el cierre del collar.

Un detalle de una perlita en el centro de la flor, luego con un pedazo de alambre até la flor al centro del collar.

Para la elaboración de los aretes, repetí el mismo proceso de la flor, pero en lugar de utilizar siete vueltas solo empleé cinco. Acomodé los pétalos, coloqué una perlita en su centro y luego lo inserté en la base para aretes.

De esta forma quedó conformado un conjunto de collar y aretes elaborados básicamente con alambre reciclado que podemos realizar en unos pocos pasos sencillos.
Espero ir mejorando mi técnica con alambre y desarrollar nuevas ideas creativas que me permitan compartirlas con muchas personas que aman el arte de las manualidades y la joyería.
Igualmente deseo que sea de su agrado y que en alguna medida aporte e inspire a quienes como yo comienzan en este nuevo y maravilloso mundo. Mientras tanto seguiré soñando; trataré de llevar a la realidad lo que mi imaginación sea capaz de idear y mis manos tengan la certeza de crear.
Gracias por su tiempo de lectura y nos vemos próximamente.

Own text, translated into English via DeepL. Photos by me, from my HUAWEI P30 LITE phone, edited in InShot.
Texto propio, traducido al inglés mediante DeepL. Fotos de mi autoría, desde mi teléfono HUAWEI P30 LITE, editado en InShot.
Twitter: @ylaffittep
Facebook: @ylaffittep


