

Hola amigos de Hive, bendecido día tengan todos que cada uno de sus proyectos se materialicen. Agradezco el apoyo que he recibido en Hive y en especial es esta linda comunidad de @jewelry. Muchas gracias por sus comentarios y sugerencias!
Poder peinar a nuestros niños y niñas en un vinculo que generamos con nuestros niños y que ademas forma parte de su salud fisica y de su precencia. Pero generalmente es con nuestras niñas que imaginamos diseños y accesorios que puedan facilitarnos y además decorar el peinado. Hoy en día los lazos son una alternativa muy de moda al mometo de peinar a las pequeñas de la casa. Es por ellos que el día de hoy quiero presentarles la elaboración de unos bonitos lazos muy sencillos pero tambien muy cómodos.
El proceso de fabricación es muy facil y sobre todo necesitamos pocos materiales para realizar el proyecto.
Espero les guste y disfruten el paso a paso de la elaborción de los mismos.
Materiales:
- Cinta Fucsia de ositos 1 metro
- Cinta Azul de ositos 20 cm
- Gancho sujetador
- Silicón Al frio
- Perla de Cristal redonda
Paso 1

Se debe tomar la cinta funcia de ositos y se tiene que hacer una vuelta entre los cuatro dedos de la mano ( dedos indice, medio, anular y meñique)

Esta es la forma en la que deben quedar las cintas en al rededor de los 4 dedos. No se puede hacer mucha presión al momento de dar las vueltas al rededor de los dedos, pero tampoco se debe dejar muy holgado las cintas. Se dene realizar tres vueltas al rededor de los dedos.
Paso 2

Luego se debe sacar la cinta evitando que esta pierda la forma al momento de sacr los dedos.
Paso 3
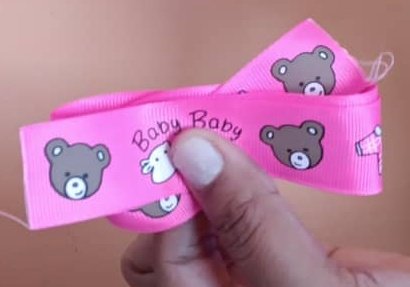
Luego se deben ir abriendo los extremos de las cintas, siempre sujetando el area central del lazo para evitar que estos se suelten.
Paso 4
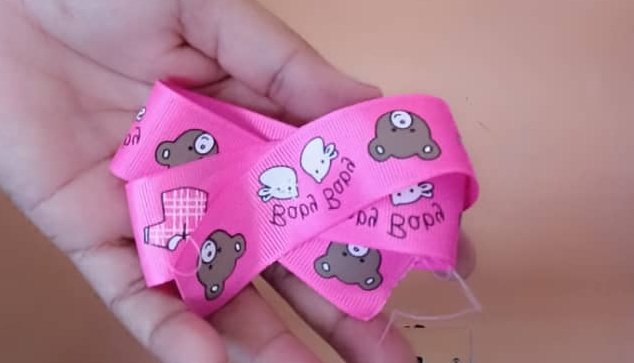
Esta es la manera que deben quedar abiertas las cintas. Para evitar que estas se suelten en la zona central del lazo se debe introducir una aguja con hilo y pasar varias veces la aguja para fijar el lazo.
Paso 5
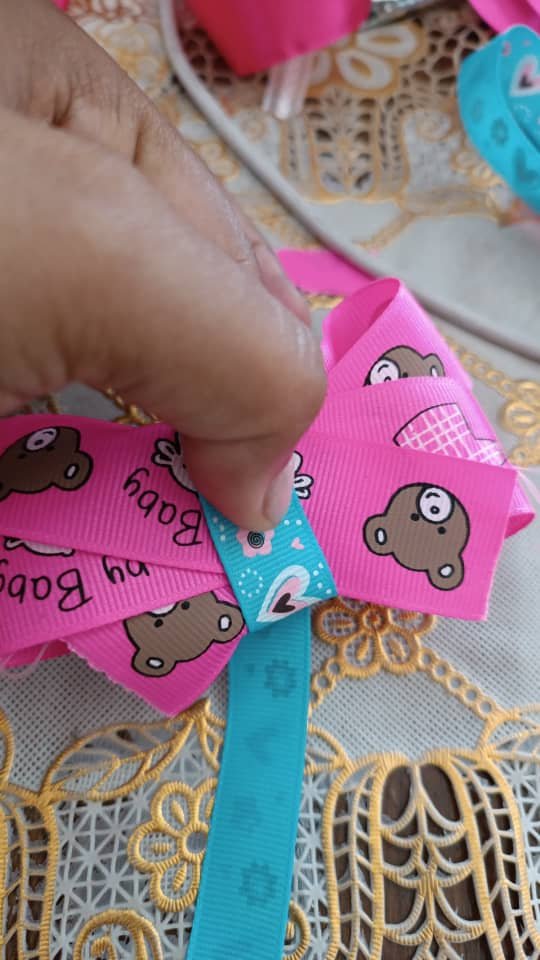
Seguidamente se debe tomar la cinta azul de ositos y se debe fijar esta en la zona central del lazo. Solo un pedazo de esta y se corta el material sobrante y se quita este extremo con la tijera. Luego se pega el silicón al frio al frio.
6
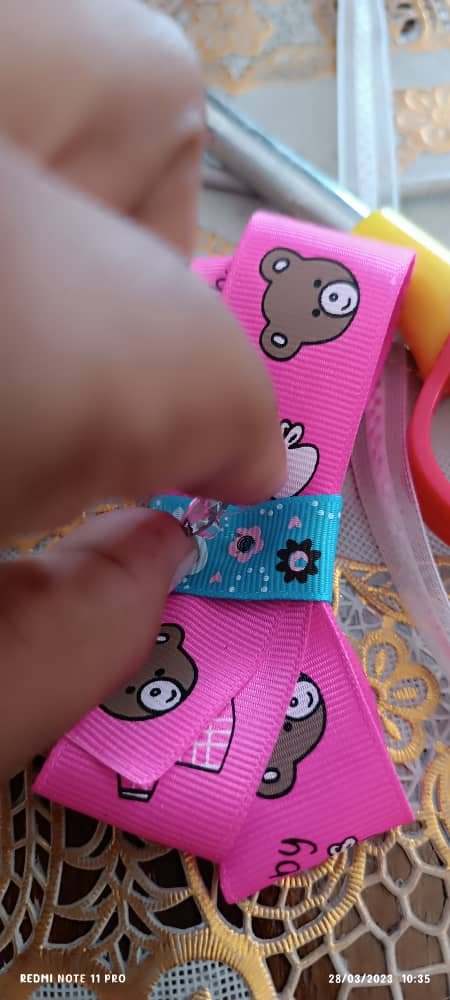
Luego se pega con el silicón al frio el cristal en la zona central del lazo.
7
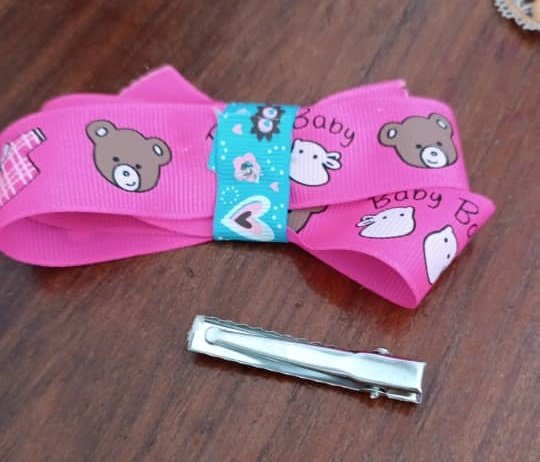
Luego se debe pegar el gancho o el sujetdaor con el silicón al frio en la parte trasera del lazo.
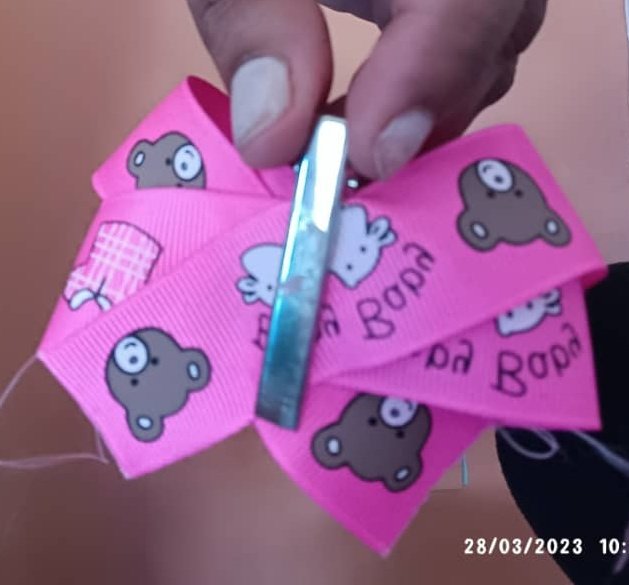
Al pegar el gancho terminamos de culminar nuestro lazo.
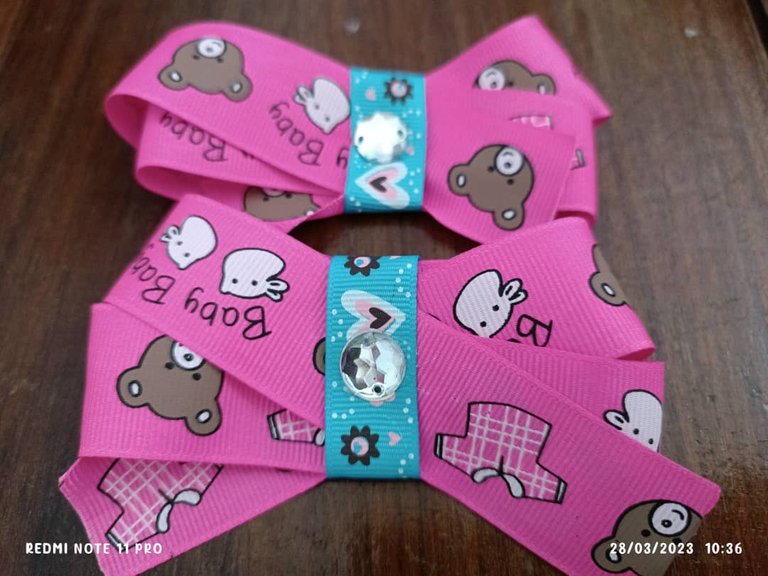
De esta manera se ha terminado de realizar estos bonitos lazos. La verdad, fue un proceso muy rápido al realizarlos.

Espero que hayan disfrutado de la elaboración de estos lazos y que puedan seguir además el tutorial. Muchas gracias por leer, que la bendición de Dios les guie siempre con salud y prosperidad.
Gracias
Las imagenes son de mi autoria y fueron Tomadas a traves de un Telefono Redmi Note 11 Pro
Traductor utilizado: Deepl
La edicion de la portada fue editada en Canva.


Hello Hive friends, blessed day have all of you that each of your projects materialize. I appreciate the support I have received on Hive and especially is this nice community of @jewelry. Thank you so much for your comments and suggestions!
Being able to do our children's hair is a bond that we generate with our children and that is also part of their physical health and their precence. But it is usually with our girls that we imagine designs and accessories that can facilitate and decorate the hairstyle. Nowadays, bows are a very fashionable alternative when styling the little girls' hair. That's why today I want to present you the elaboration of some beautiful, very simple but also very comfortable bows.
The manufacturing process is very easy and above all we need few materials to make the project.
I hope you like it and enjoy the step by step of the elaboration of them.
Materials:
- Fuchsia ribbon of teddy bears 1 meter
- Blue ribbon of bears 20 cm
- Hook fastener
- Cold Silicone
- Round Crystal Bead
Step 1

Take the ribbon and twist it between the four fingers of your hand (index, middle, ring and little finger).

This is the way the ribbons should be around the 4 fingers. Do not apply too much pressure when wrapping around the fingers, but do not leave the ribbons too loose. Three turns should be made around the fingers.
Step 2

Then remove the ribbon, making sure that it does not lose its shape when the fingers are pulled out.
Step 3

Then open the ends of the ribbons, always holding the central area of the loop to prevent them from coming loose.
Step 4

This is the way the ribbons should be opened. To prevent the ribbons from coming loose in the central area of the loop, insert a needle with thread and pass the needle several times to fix the loop.
Step 5

Next, take the blue ribbon of teddy bears and fix it in the central area of the ribbon. Just a piece of it and cut off the excess material and remove this end with the scissors. Then glue the silicone to the cold.
Step 6

Then glue with cold silicone the crystal in the central area of the loop.
Step 7

Then glue the hook or the fastener with the cold silicone on the back of the loop.

After gluing the hook we finish our bow.

This way we have finished making these beautiful bows. The truth is, it was a very fast process to make them.

I hope you enjoyed making these bows and that you can follow along with the tutorial. Thank you very much for reading, may God's blessing guide you always in health and prosperity.
Thank you.
The images are of my authorship and were taken through a Redmi Note 11 Pro phone.
Translator used: Deepl
The cover editing was edited in Canva.


