Hello dear hivers! Today I come to this creative #jewelry community to participate in this month's pink month initiative and put my little grain of sand in support of this noble cause. Those who know me know that if there is something that I almost never have is time, as I get absorbed by work, home and my walks. But today something will have to wait, because I want to leave my participation.
Next, I will show you the materials I used and the step by step of how I went about making my craft.
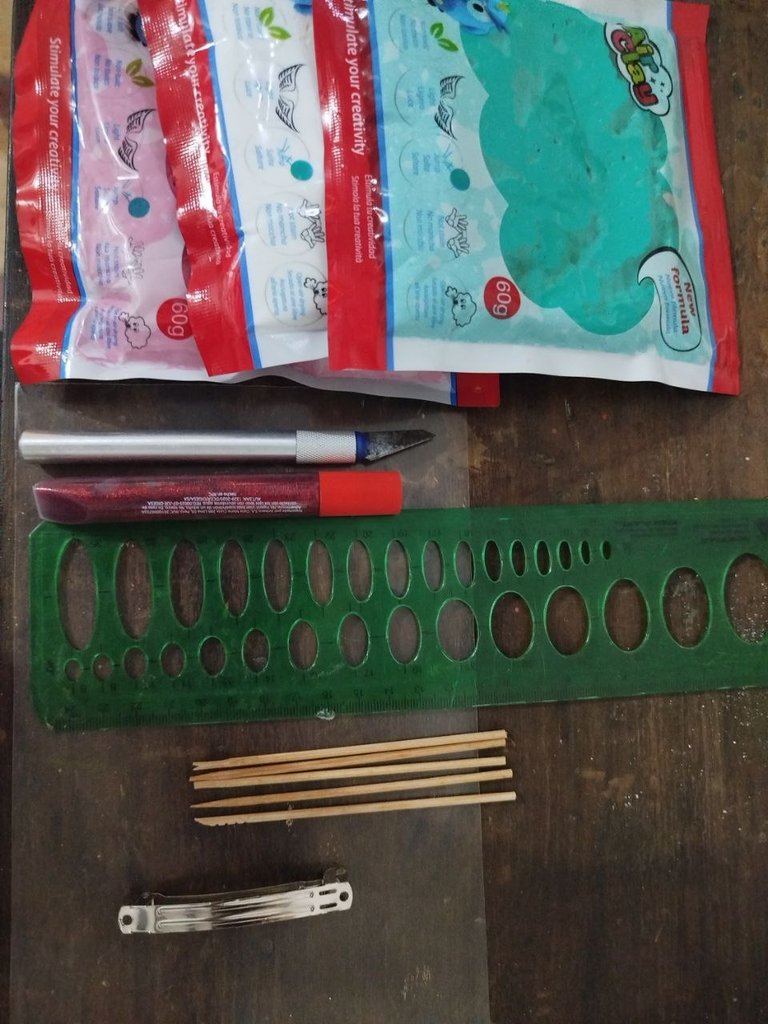
Materials
- Red, white and green moldable Foami.
- Work sticks.
- Ruler.
- Model knife.
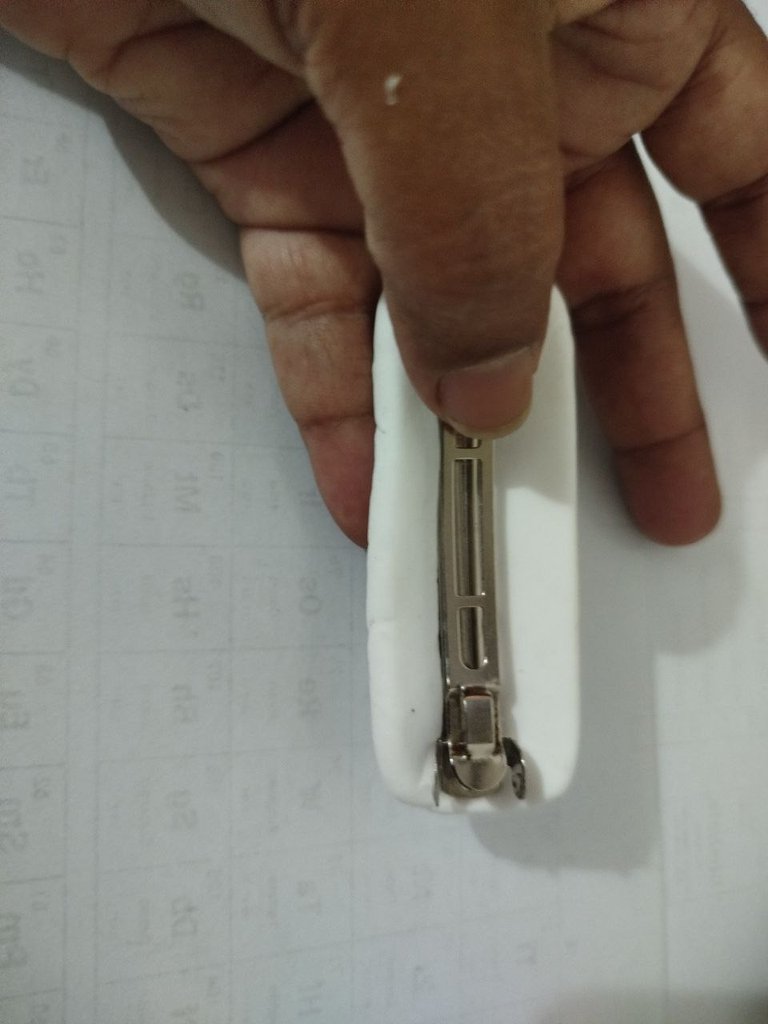
- Buckle.
¡Hola queridos hivers! Hoy vengo a esta creativa comunidad de #jewelry para participar en la iniciativa de este mes rosa y poner mi pequeño grano de arena en apoyo a esta noble causa. Los que me conocen saben que si hay algo que casi nunca tengo es tiempo, ya que me absorben el trabajo, la casa y mis caminatas. Pero hoy algo tendrá que esperar, porque quiero dejar mi participación.
A continuación, les mostraré los materiales que utilicé y el paso a paso de cómo fui elaborando mi manualidad.
Materiales
- Foami moldeable rojo, blanco y verde.
- Palillos de trabajo.
- Regla.
- Cuchilla de maqueta.
- Hebilla.
Step by Step
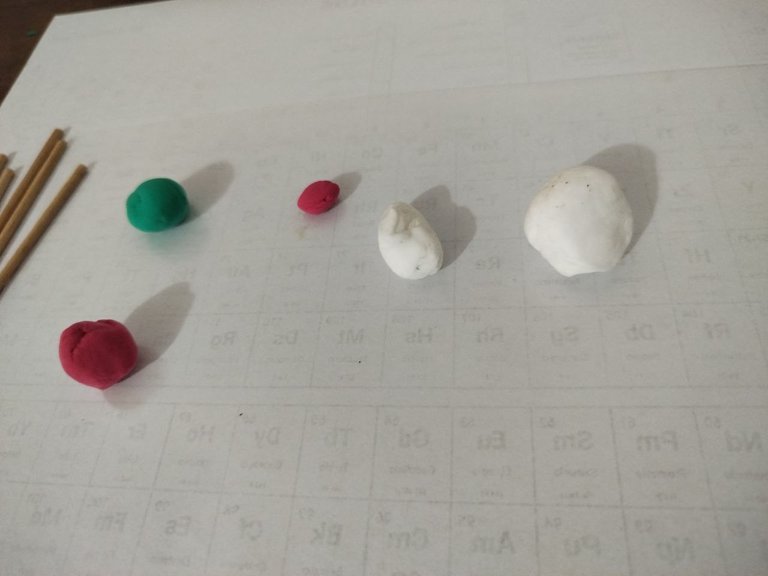
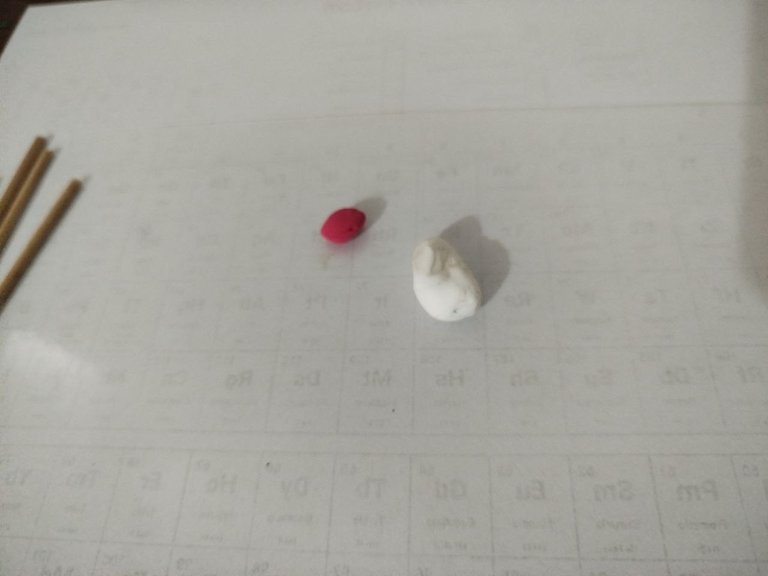
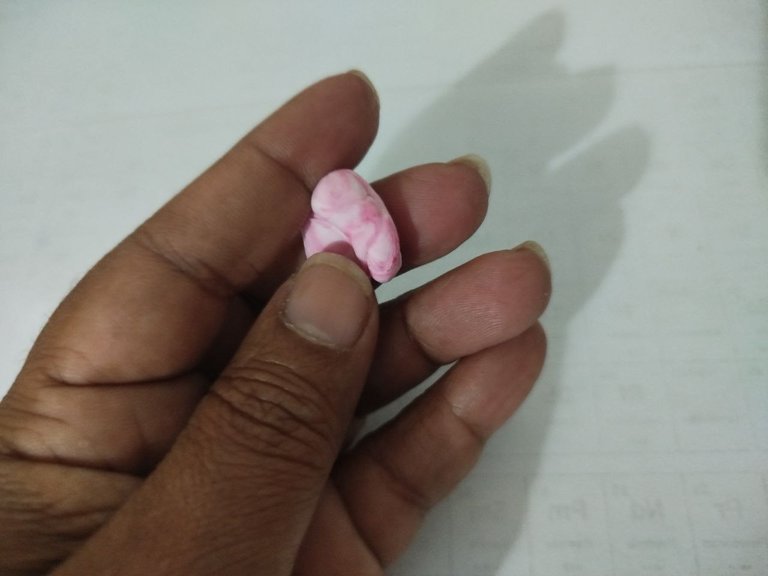
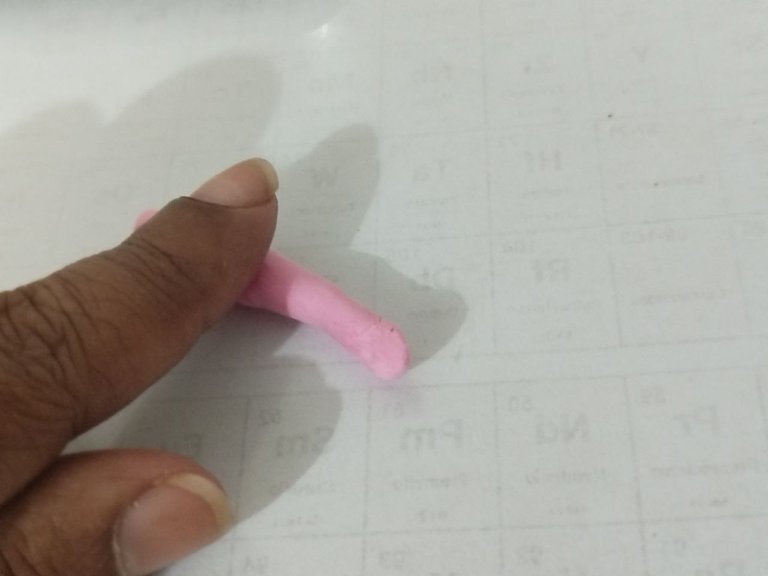
The first thing I did was to think of something I liked. I took out of the bag a portion of moldable foami of each color; in this case, I will only use red, white and green. I went on to mix a portion of white with a portion of red to get the pink color. I kept mixing until I got the desired color, and I was ready with the color I needed.
Paso a Paso
Lo primero que hice fue pensar en algo que me gustara. Saqué de la bolsa una porción de foami moldeable de cada color; en este caso, solo utilizaré rojo, blanco y verde. Pasé a mezclar una porción de blanco con una de rojo para lograr el color rosa. Así fui mezclando hasta obtener el color deseado, y ya dejé listo el color que necesitaba.
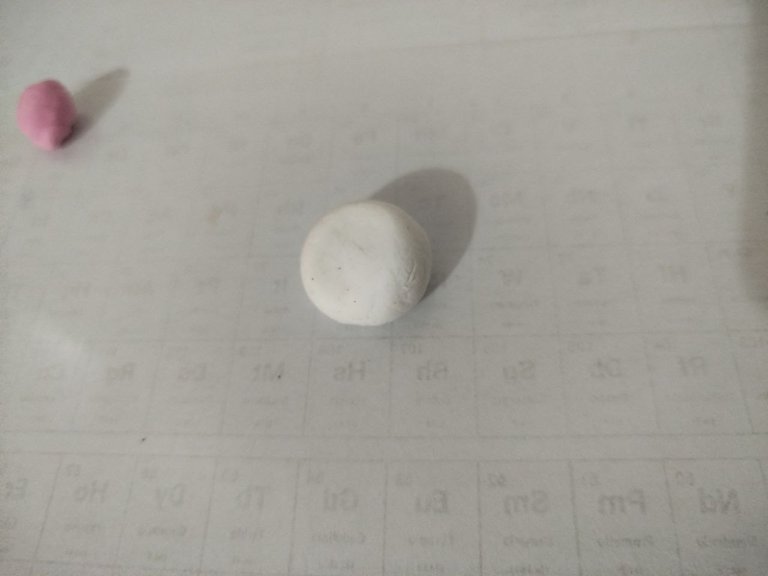
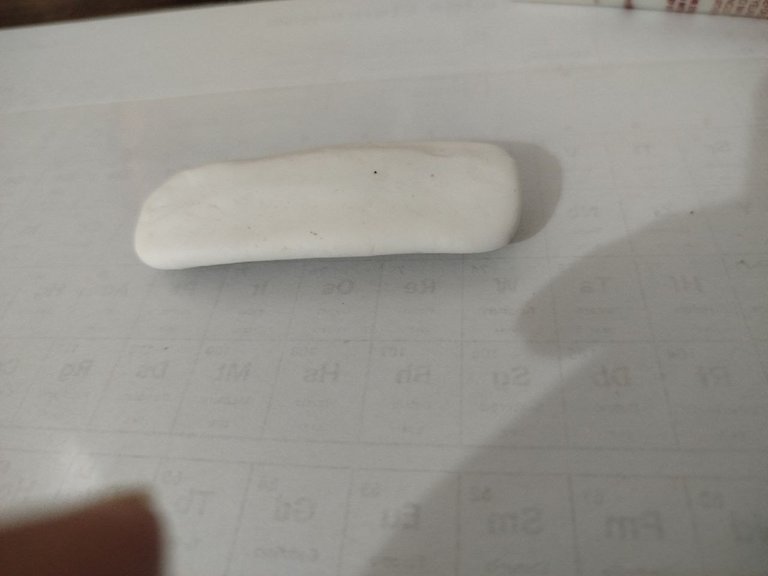
I took the portion of white foami, initially made a small ball and flattened it a little, leaving a thickness of 4 mm because it will be the body of the buckle that I will decorate.
Tomé la porción de foami blanco, hice inicialmente una bolita y la aplané un poco, dejándome un grosor de 4 mm porque será el cuerpo de la hebilla que decoraré.
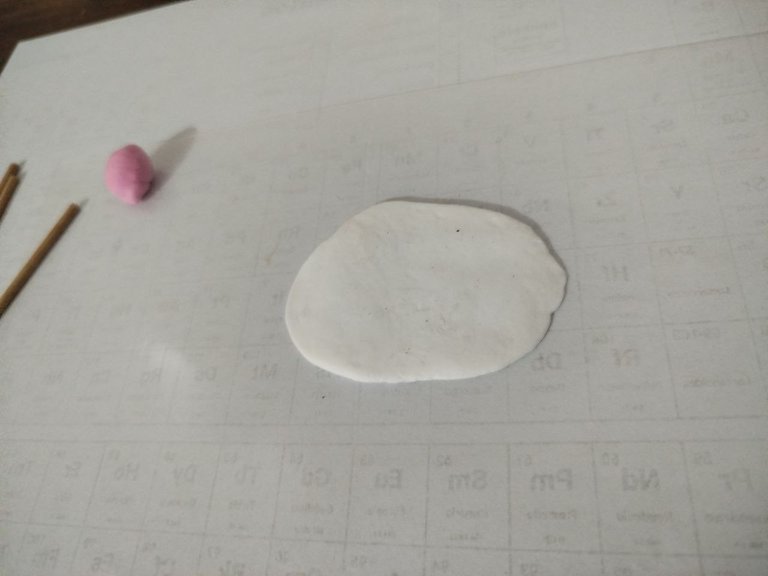
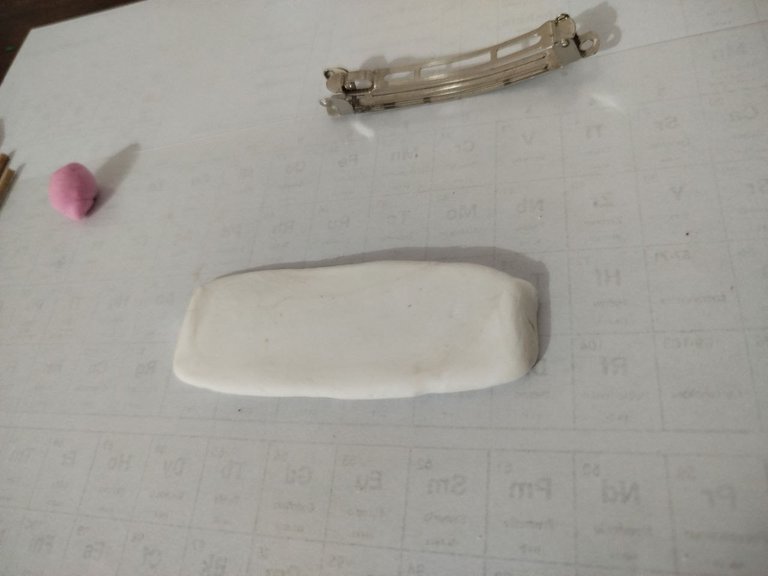
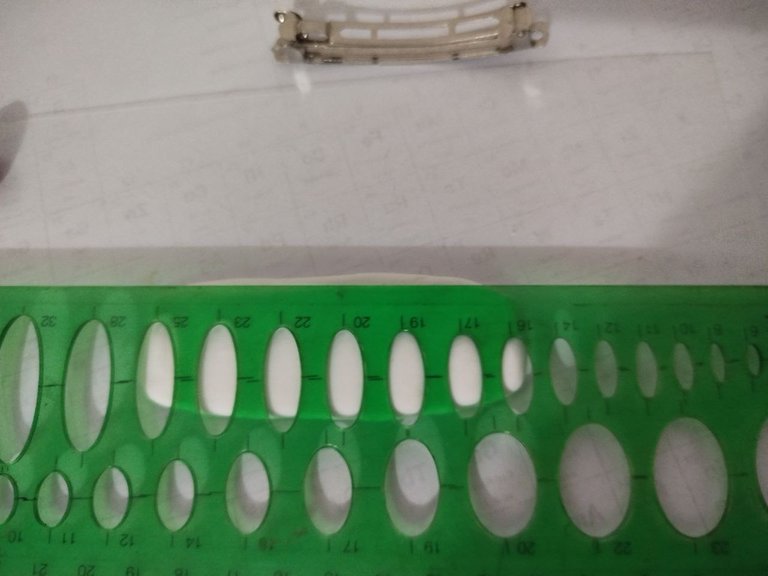
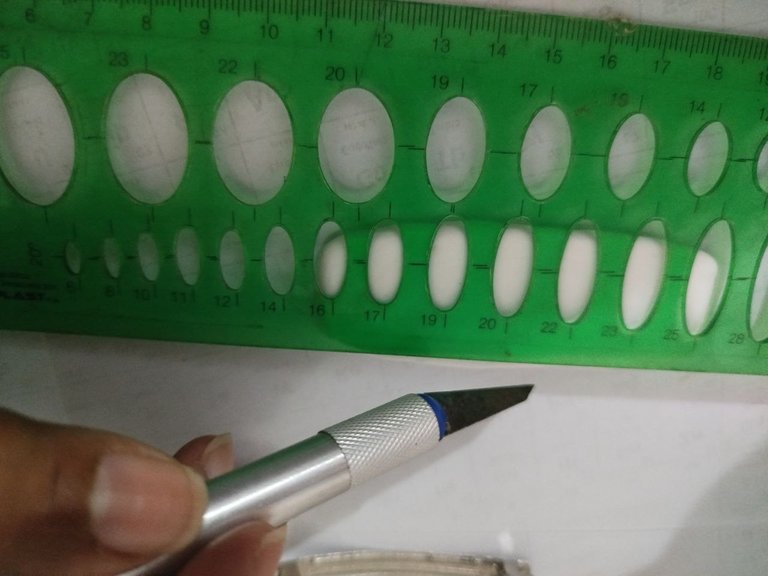
With the help of the ruler and the mock-up knife, I cut a rectangle approximately 4 cm long by 2 cm wide. With my fingers, I rounded all its edges since I didn't want it to have the appearance of stiffness.
Con ayuda de la regla y la cuchilla de maqueta, corté un rectángulo de aproximadamente 4 cm de largo por 2 cm de ancho. Con los dedos, redondeé todos sus bordes ya que no quería que tuviera la apariencia de rigidez.
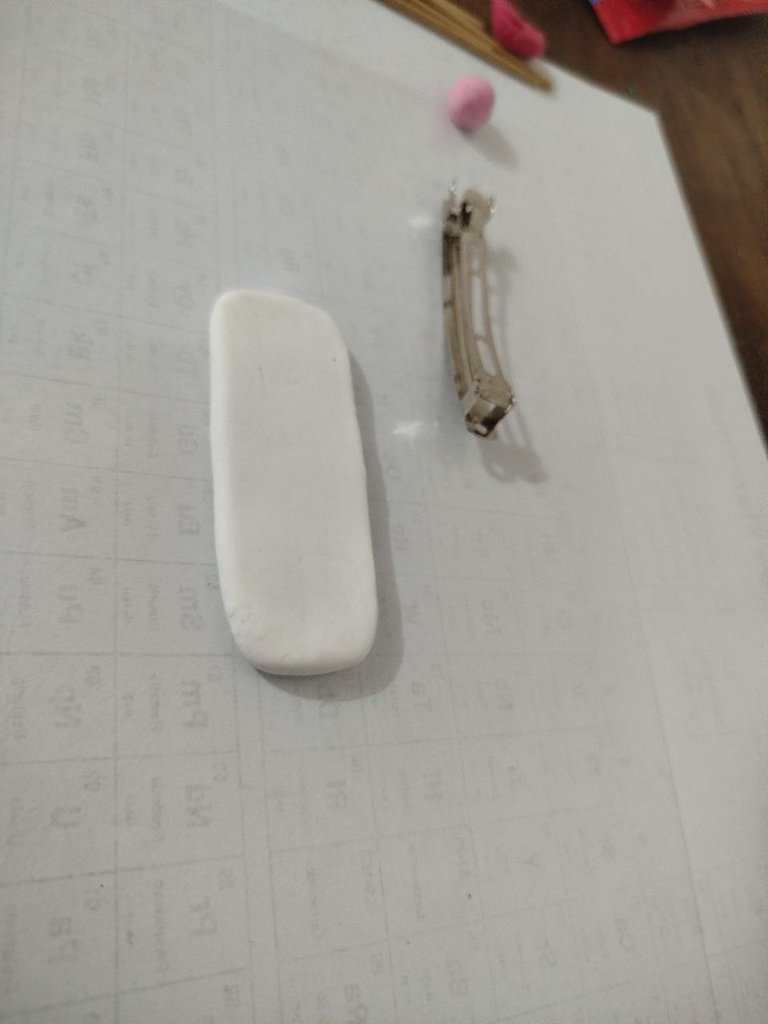
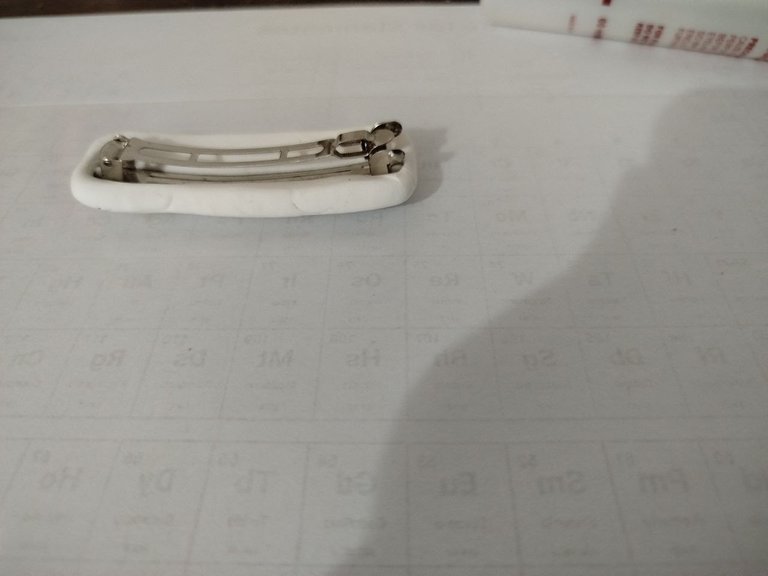
I placed the buckle on this piece and tightened it a little so that it fits well in the moldable foami while it is wet, so that when it dries it will be well adhered to the body of the buckle.
A esta pieza le coloqué la hebilla y la apreté un poco para que encaje bien en el foami moldeable mientras está húmedo, para que cuando seque ya quede bien adherida al cuerpo de la hebilla.
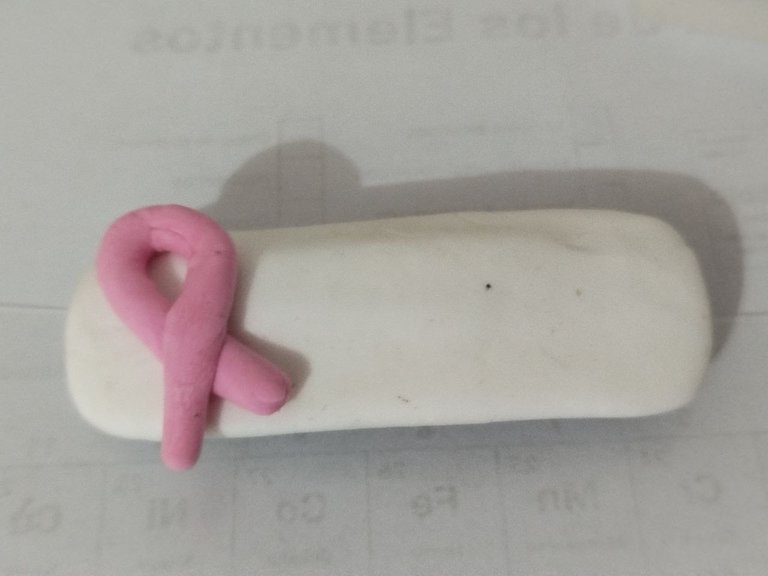
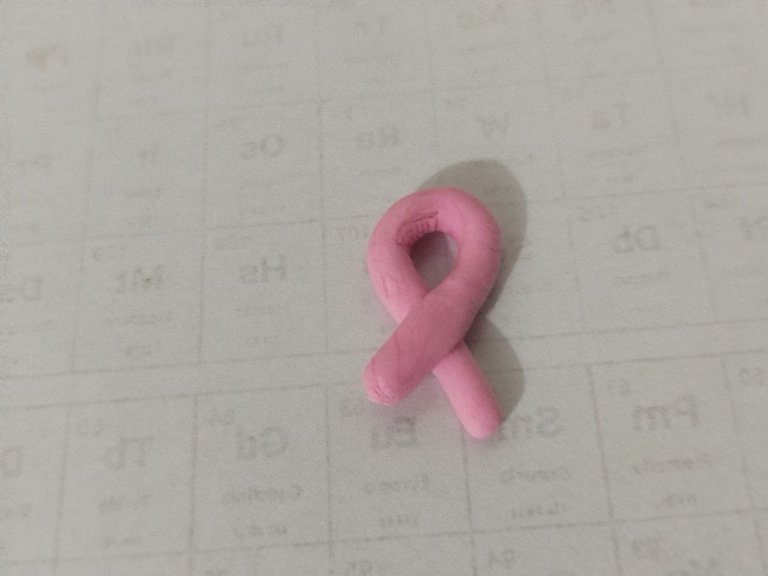
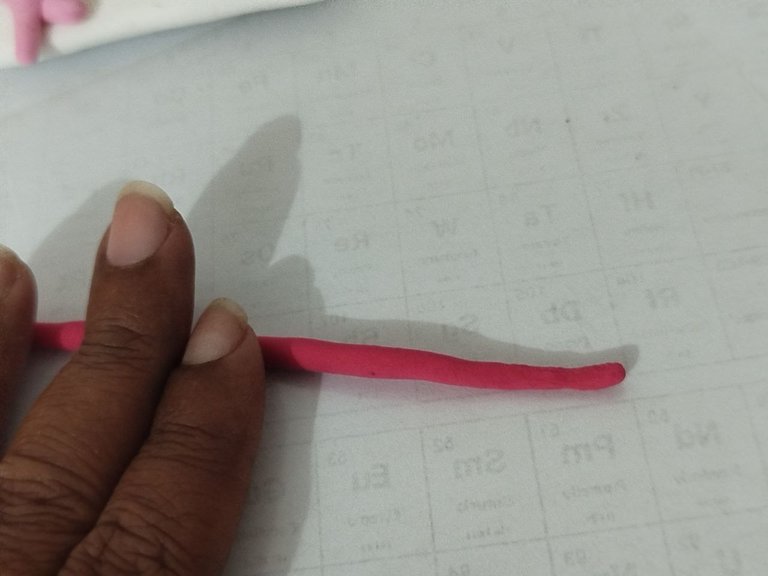
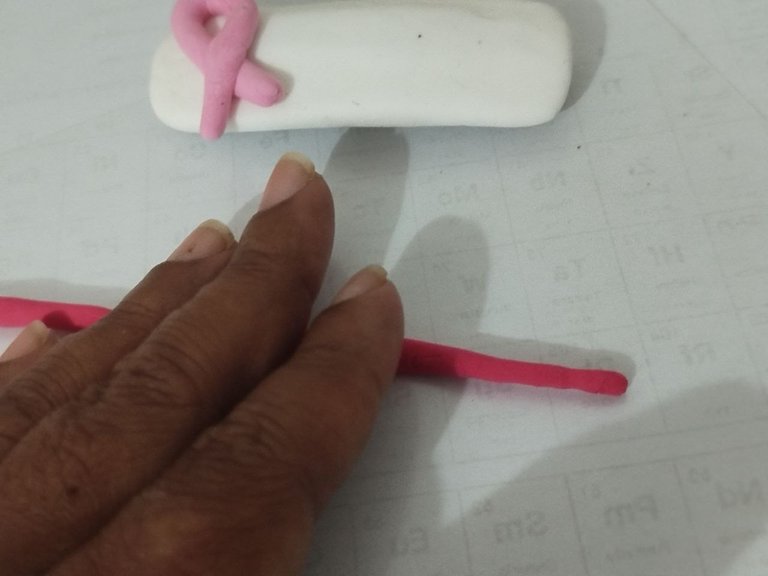
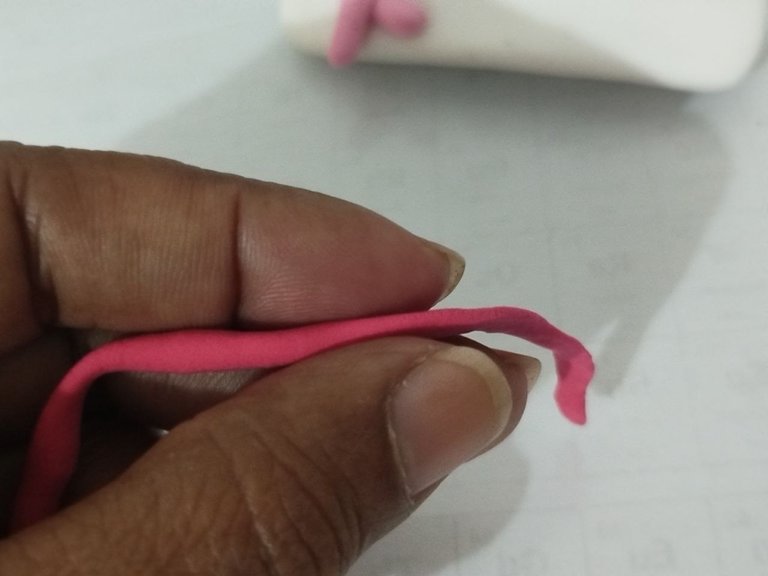
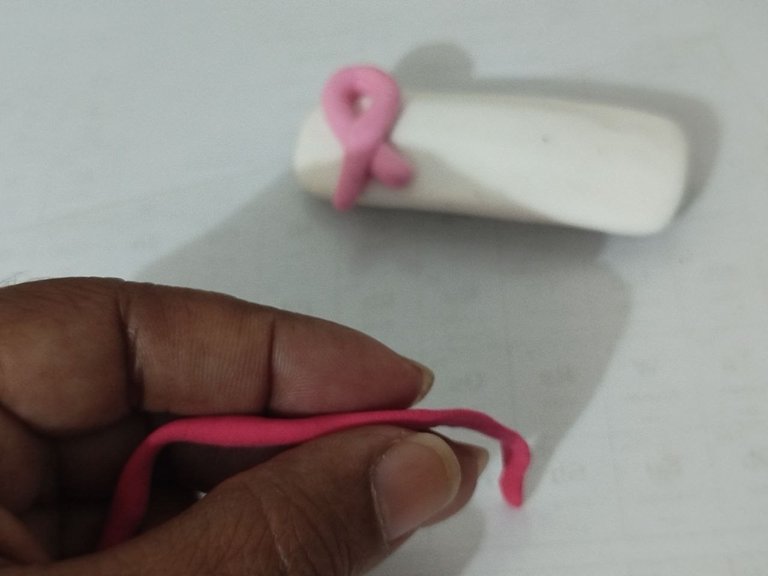
While this piece was drying, I made the pink ribbon with the dough that I had combined with red and white. I made a cylinder with an approximate diameter of 5 cm, I folded it gently to make the bow, and I placed it on the buckle, taking advantage of the humidity so that it would stick well.
Mientras esta pieza secaba, pasé a elaborar el lazo rosa con la masa que había combinado con rojo y blanco. Elaboré un cilindro con un diámetro aproximado de 5 cm, lo doblé suavemente quedando elaborado el lazo, y lo coloqué en la hebilla aprovechando la humedad para que quedara bien pegado.
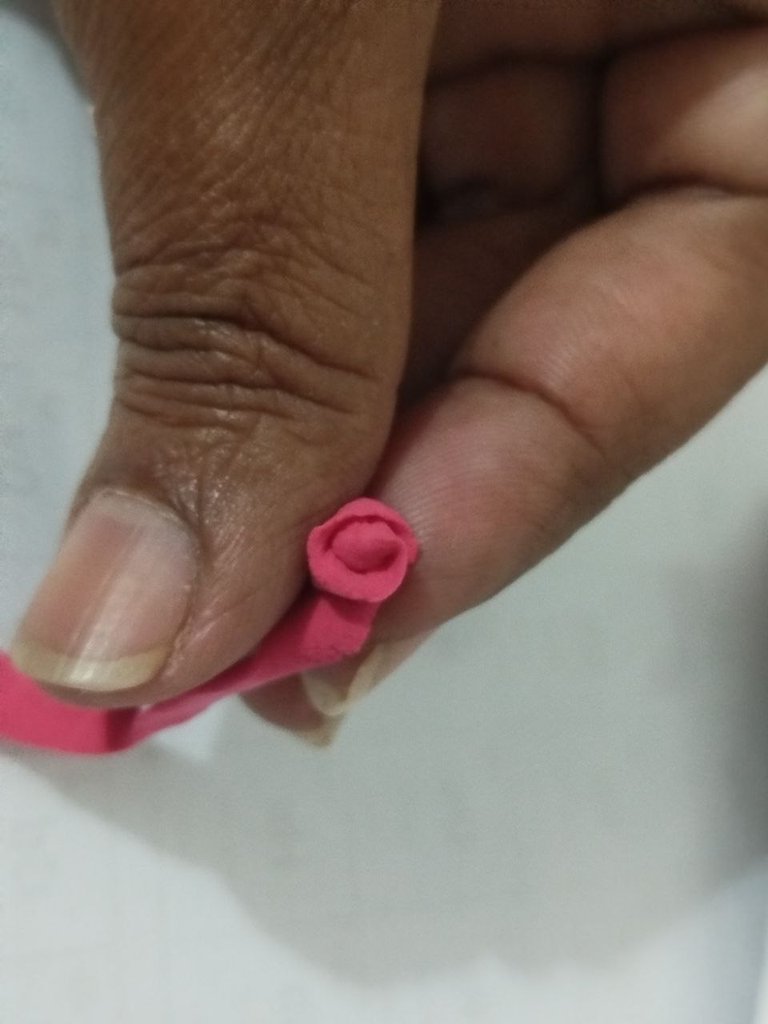
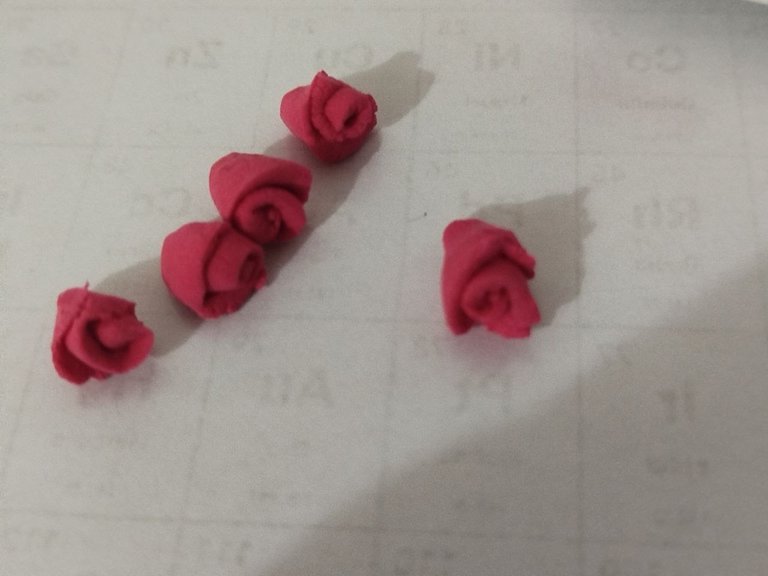
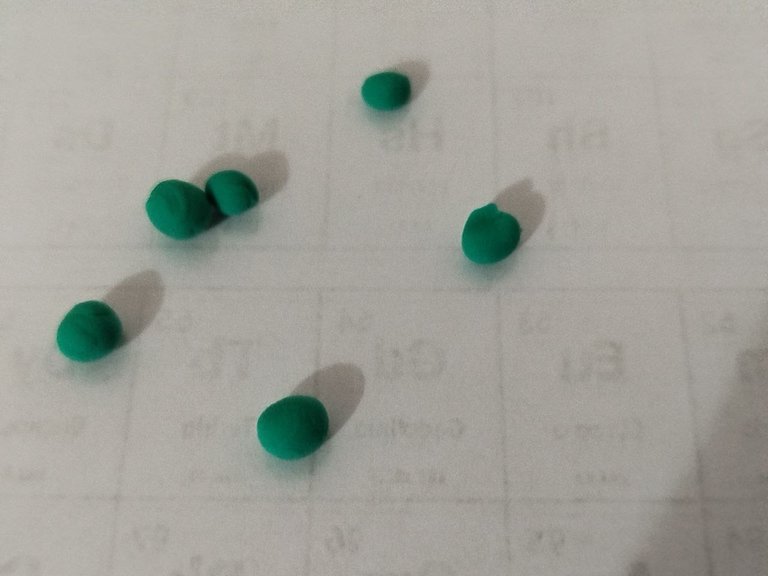
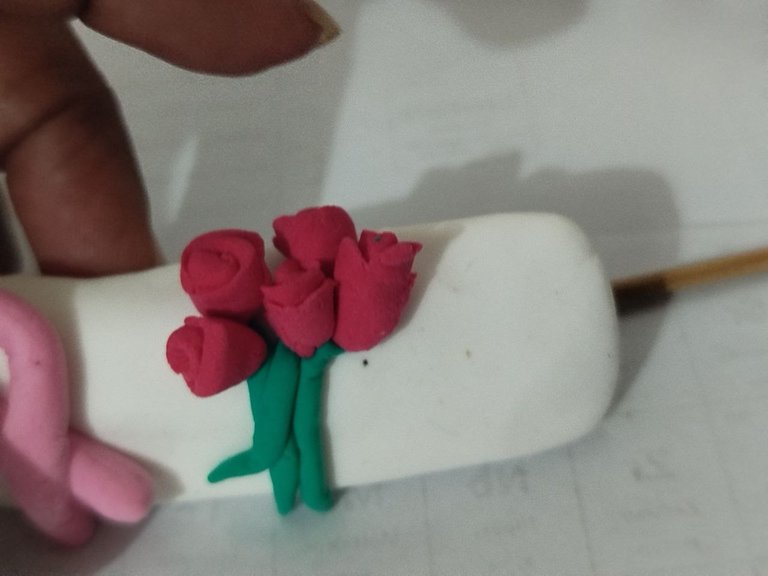
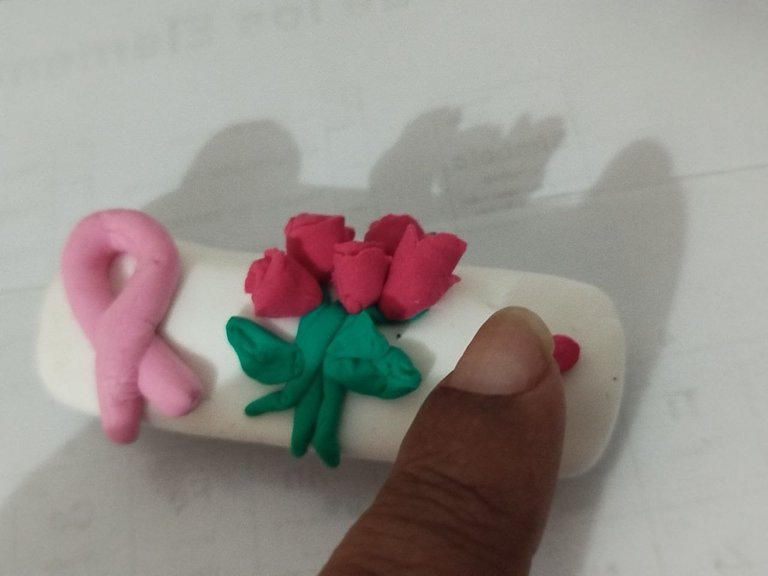
Now I am going to make the roses. I made a thin cylindrical strand, flattened it a little with my fingers and then rolled it, making the small rose. In the same way, I quickly made the rest of the roses.
With the moldable foami, when you make small pieces you have to act a little fast because the smaller they are, the faster they dry. My interest is to take advantage of its humidity so that all the pieces stick together without using glue, so that the piece is completely made of foami and looks good.
Ahora voy a elaborar las rosas. Elaboré una hebra cilíndrica fina, la aplané un poco con los dedos y luego la enrollé, quedando elaborada la pequeña rosa. De igual manera, elaboré rápidamente las demás.
Con el foami moldeable, cuando elaboras piezas pequeñas debes actuar un poco rápido porque mientras más pequeñas, su secado es más rápido. Mi interés es aprovechar su humedad para que todas las piezas se peguen sin necesidad de utilizar pegamento, para que la pieza sea completamente de foami y se vea bien.
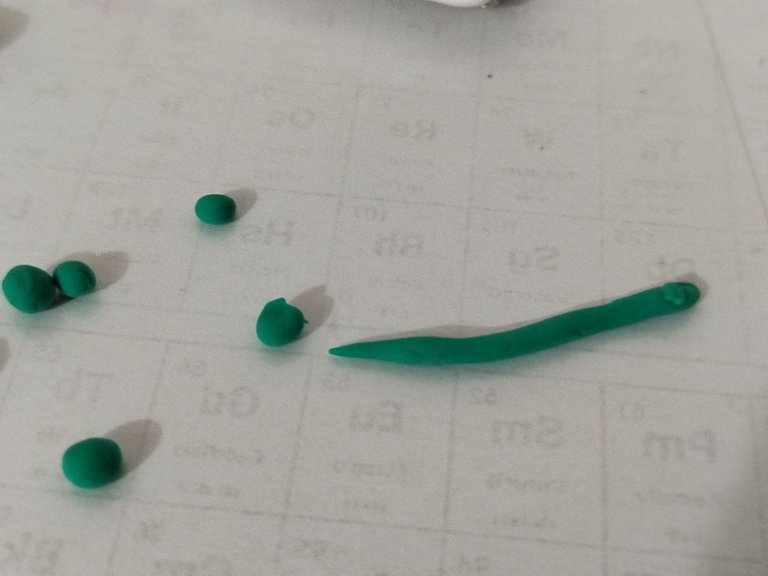
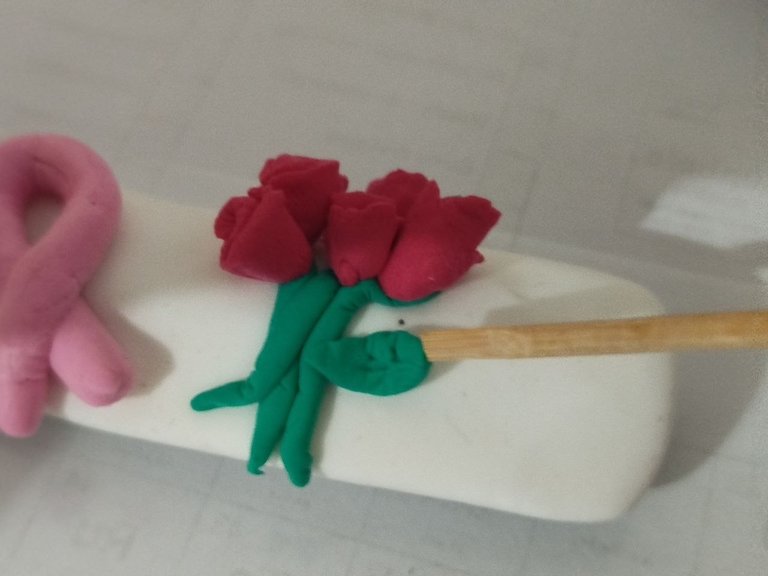
I went on to elaborate the green stems and the small leaves, which I shaped using the toothpicks to work the dough.
Pasé a elaborar los tallos de color verde y las pequeñas hojas, a las cuales les di forma utilizando los palillos para trabajar la masa.

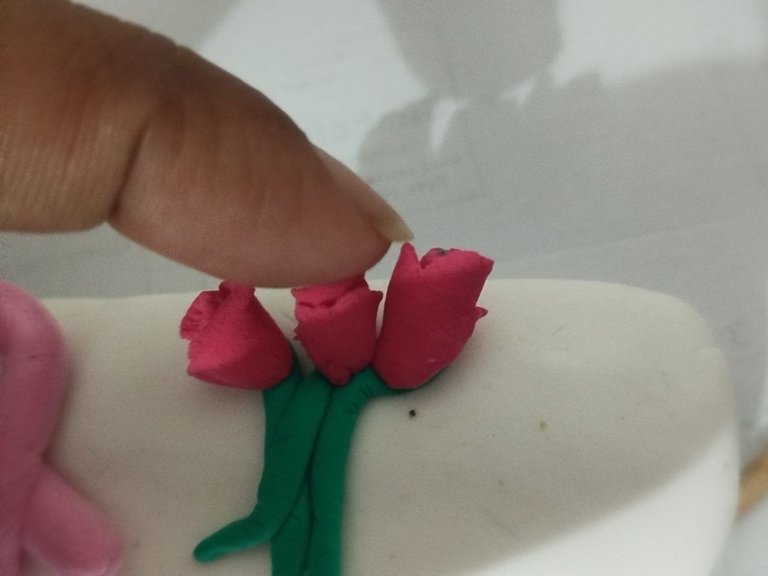
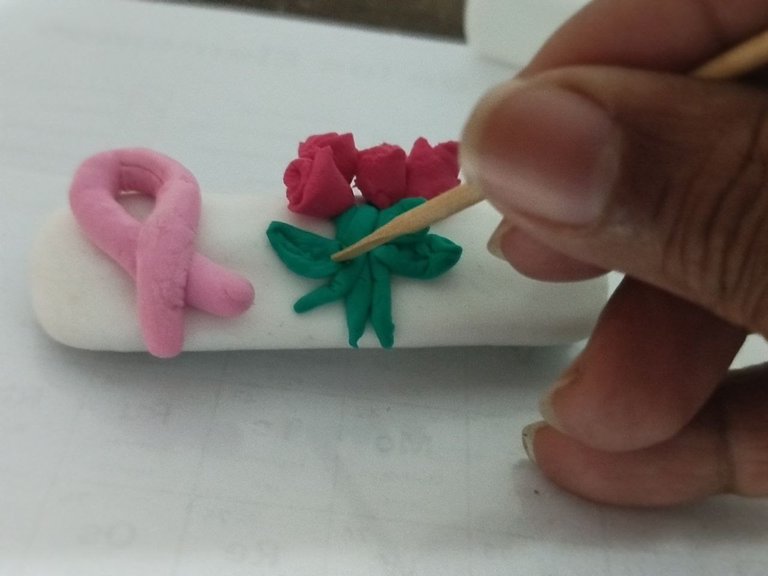
When the pieces were ready, I carefully assembled the bouquet of roses.
Cuando estuvieron listas las piezas, armé el ramo de rosas con mucho cuidado.
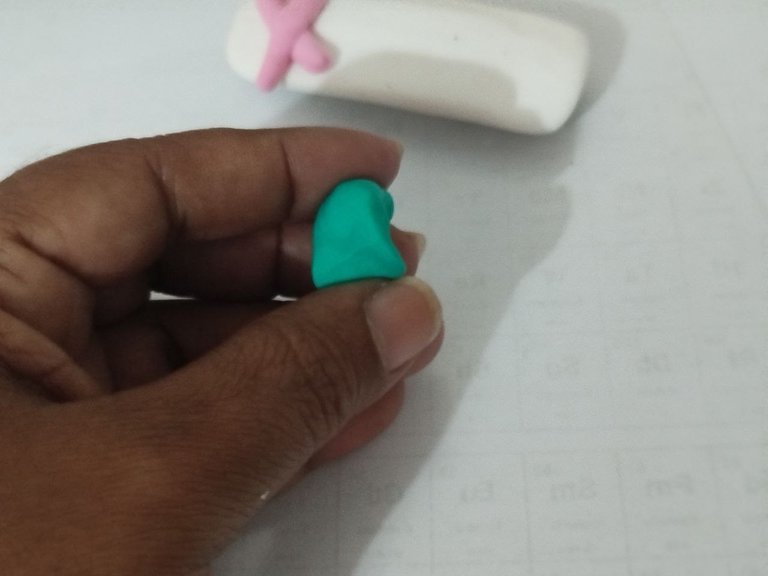
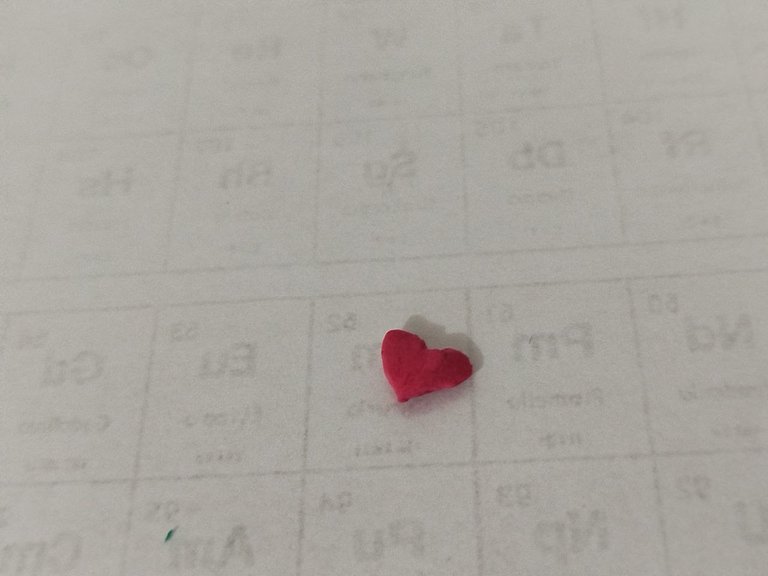
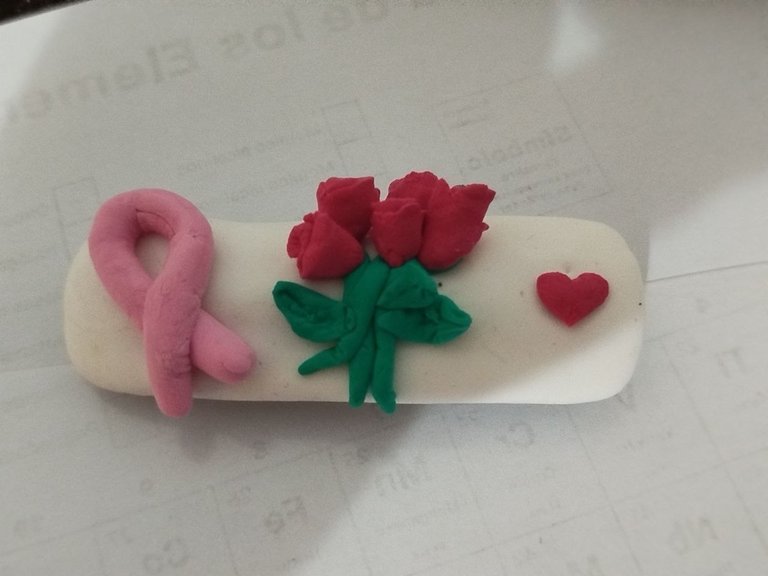
Finally, I made a small heart with the red foami, which I placed at one end of the buckle, stitching it with one of the work sticks, and put the buckle to dry. As I did not use large pieces, it will be dry in a short time, but I will give it a few hours to be sure.
Por último, elaboré con el foami rojo un pequeño corazón, el cual coloqué en un extremo de la hebilla, dándole unas puntadas con uno de los palillos de trabajo, y puse a secar la hebilla. Como no utilicé piezas grandes, en poco tiempo estará seca, pero le daré unas horas para estar segura.
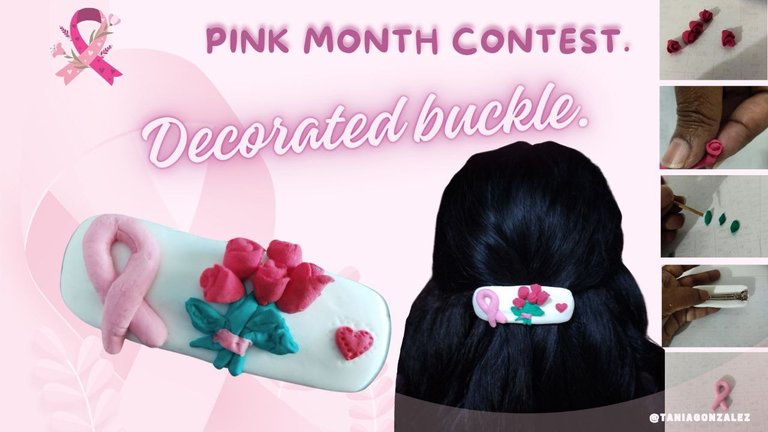
Here I show you how this decorated buckle turned out. I hope you like it.
Aquí les muestro cómo quedó esta hebilla decorada. Espero que sea del agrado de ustedes.
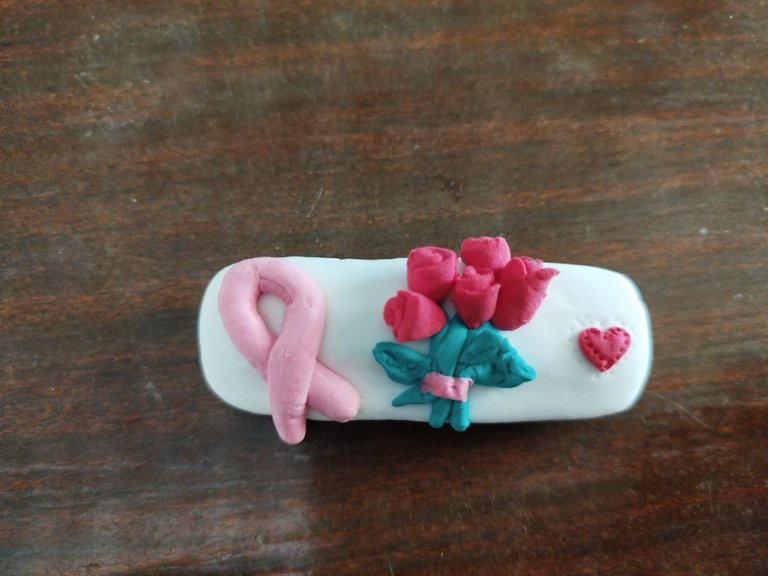

I love how the colors and shapes complement each other, creating a unique and special piece. This craft is not only a beautiful accessory, but also a symbol of support and solidarity with such an important cause as the fight against breast cancer.
I hope you liked this craft. I wish you all an excellent day.
Bye!
Me encanta cómo los colores y las formas se complementan, creando una pieza única y especial. Esta manualidad no solo es un hermoso accesorio, sino también un símbolo de apoyo y solidaridad con una causa tan importante como la lucha contra el cáncer de mama.
Espero que les haya gustado esta manualidad. Les deseo a todos un excelente día.
¡Chao!

The photos were taken with a Redmi Note 13
DeepeL was used
Photos was made with Canvas