Uno de mis grandes placeres es crear con la más manos, hace ya unos años me dedico a vender prendas realizadas a manos y es un gusto tener en Hive un espacio para compartir tutoriales que les pueden servir a otras personas.
Recuerda que todo se trata de la práctica, no te frustres si a la primera no te sale, siempre puedes volver a intentar, trabaja tu paciencia y comienza a crear cosas hermosas.
One of my greatest pleasures is to create with my hands, I have been selling handmade garments for a few years now and it is a pleasure to have in Hive a space to share tutorials that can be useful to other people.
Remember that it's all about practice, don't get frustrated if you don't get it right the first time, you can always try again, work on your patience and start creating beautiful things.

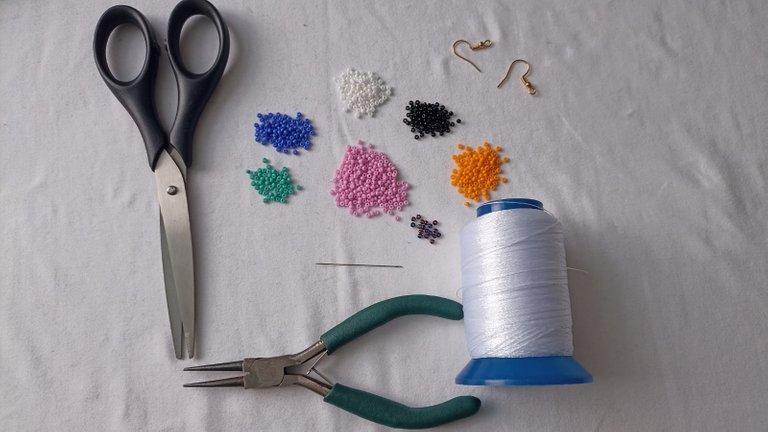
Materiales que utilicé:
- 1.50 Mts de hilo encerado
- mostacillas de colores varios
- aguja 0.30
- tijera
- dos topos para colgantes
- pinza para abrir aros
Materials I used:
- 1.50 Mts of waxed thread
- beads of various colors
- needle 0.30
- scissors
- two moles for pendants
- pliers to open earrings
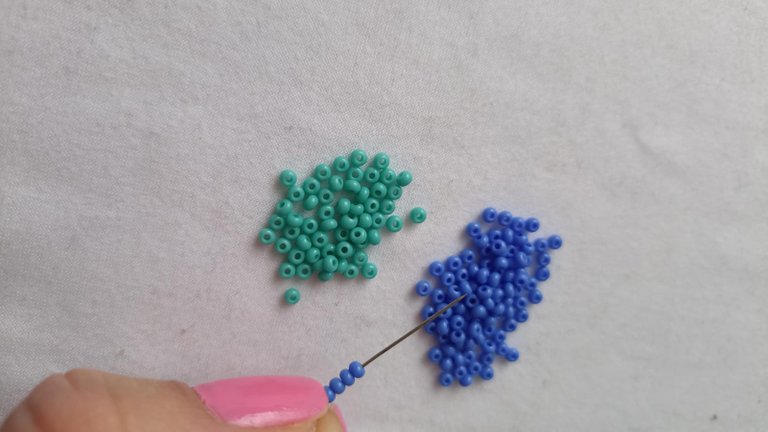
Lo primero que haremos es sacar 1.50 metros de hilo encerado, vamos a enhebrar la aguja dejando un lado más largo del hilo.
Cuando ya tenemos la aguja e hilo listo, vamos a meter al hilo 4 mostacillas del mismo color, yo utilicé el color azul.
The first thing we will do is to take out 1.50 meters of waxed thread, we will thread the needle leaving one side of the thread longer.
When we have the needle and thread ready, we are going to thread the thread with 4 beads of the same color, I used the blue color.


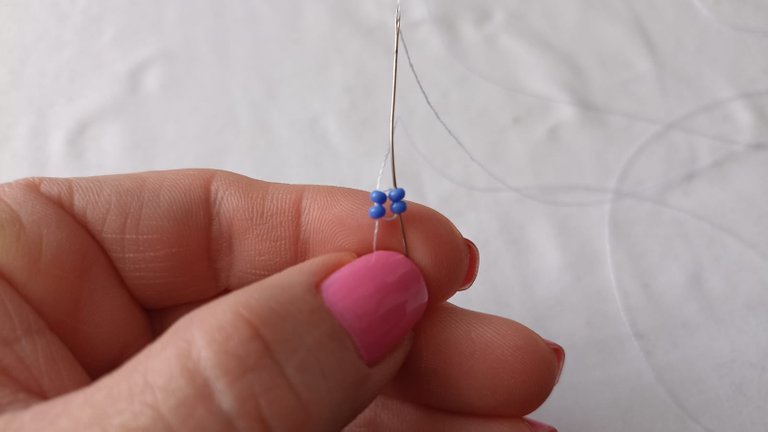
Con la aguja vamos a subir por las dos mostacillas de abajo. Nos hará una especie de cuadrado y volveremos a pasar la aguja por las dos mostacillas del lado derecho.
With the needle we are going to go up through the two lower beads. It will make a kind of square and we will pass the needle back through the two beads on the right side.



Ahora tomaré dos mostacillas blancas y volveremos a meter la aguja hacia abajo, siempre por las dos ultimas mostacillas y luego volvemos a subir por las blancas, y repetimos el procedimiento colocando dos más blancas.
Now I will take two white beads and we will put the needle back down, always through the last two beads and then back up through the white ones, and repeat the procedure placing two more white ones.
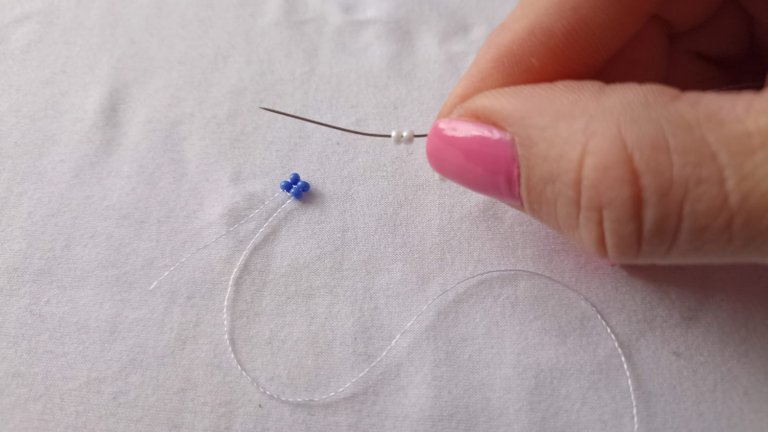


Así vamos a continuar hasta completar, dos filas blancas y tres filas azules.
We will continue in this way until we have completed two white rows and three blue rows.
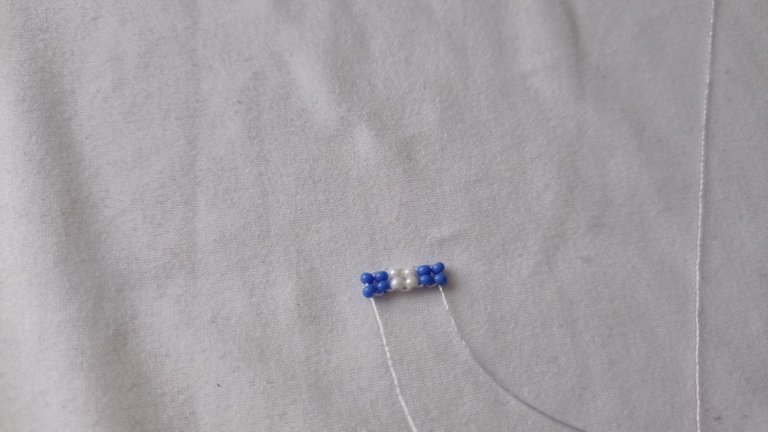
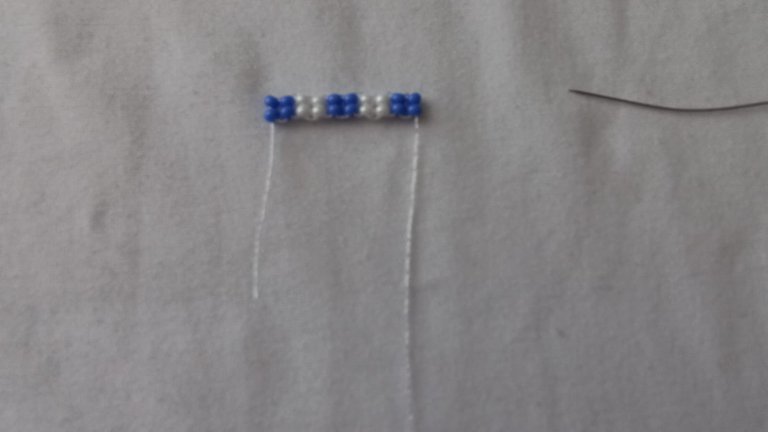
Cuando llegamos al final, vamos a meter cuatro mostacillas azules y vamos a meter la aguja por la primera pestañita de hilo de la costura de abajo.
Luego nos devolvemos los las mostacillas hacia arriba, luego bajaremos por las izquierdas y volveremos a subir por las de lado derecho, fíjate que es básicamente ir haciendo cuadraditos.
When we get to the end, we are going to put in four blue beads and we are going to put the needle through the first thread tab of the bottom seam.
Then we return the beads upwards, then we will go down the left side and we will go up again through the right side beads, notice that it is basically making little squares.

Cuando ya tenemos este cuadrito asegurado, vamos a continuar con las blancas.
Once we have this square secured, we will continue with the white.

Con este hilito que nos queda por fuera de la primera costura, lo vamos acortar y a quemar con un yesquero.
With this small thread that remains outside the first seam, we will shorten it and burn it with a tinderbox.

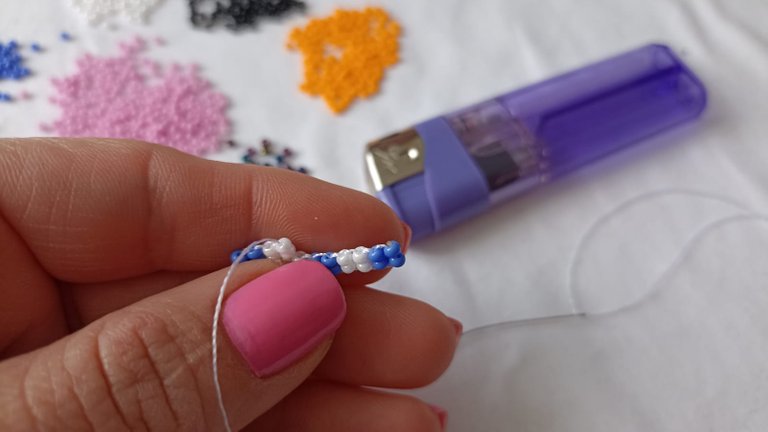
Así iremos haciendo las filitas hasta llegar hasta el final, y volver a subir usando nuevamente 4 mostacillas.
Haremos cinco columnas de cinco filas.
In this way we will make the little rows until we reach the end, and go up again using 4 beads.
We will make five columns of five rows.

Cuando ya tenemos esos pasos listos, vamos a llevar la aguja hasta el centro que seria las filitas azules del medio. Ahí vamos a meter cuatro piedritas azules tornasol y haremos otro cuadrito externo, de ahí vamos a sujetar nuestros aretes.
When we have these steps ready, we are going to take the needle to the center, which would be the blue strands in the middle. There we are going to put four blue iridescent stones and we will make another external square, from there we are going to attach our earrings.

Vamos a llevar nuestra aguja hasta la primera fila del mostacillas y comenzaremos a meter las rosadas para ir haciendo los flecos.
Meteremos catorce mostacillas rosadas, luego dos turquesas, luego intercalaremos blancas y negras, agregamos dos naranjas y una ultima blanca.
Estos fueron los colores y las cantidades que yo utilicé, recuerda que tu puedes usar la técnica para darle rienda sueltas a tu creatividad.
We are going to take our needle to the first row of the beads and start inserting the pink beads to make the bangs.
We will insert fourteen pink beads, then two turquoise beads, then we will intersperse black and white beads, add two orange beads and a last white bead.
These were the colors and quantities that I used, remember that you can use the technique to give free rein to your creativity.

Cuando tenemos todas las mostacillas en nuestra línea vamos a meter la aguja de vuelta por todas las mostacillas dejando la blanca por fuera, subimos hasta arriba, y luego la metemos por las dos primera azules y bajamos por las siguientes para hacer la siguiente línea.
When we have all the beads in our line we are going to put the needle back through all the beads leaving the white one on the outside, we go up to the top, and then we put it through the first two blue ones and go down through the following ones to make the next line.


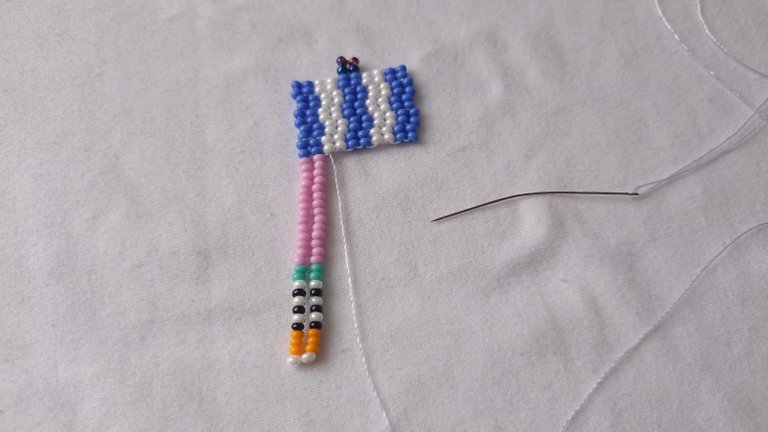
Seguimos construyendo las líneas de esta misma manera, como quiero que me queden las primeras un poco mas largas, cuando me acerque a las ultimas líneas voy a reducir una mostacilla rosada encada una.
We continue building the lines in the same way, as I want the first ones to be a little longer, when I approach the last lines I will reduce a pink bead on each one.

Haremos un nudito antes de sacar el hilo por arriba del principio del arete.
Cuando saquemos el hilo, lo cortamos y lo quemamos. De esta forma ya tenemos todo nuestro zarcillo construido, me encantan los tonos y la forma.
Repetimos procedimiento para hacer el segundo.
We will make a knot before pulling out the thread above the beginning of the earring.
When we pull out the thread, we cut it and burn it. This way we already have all our earring built, I love the tones and the shape.
We repeat the procedure to make the second one.

Pondremos ahora nuestros topitos colgantes, abrimos con la pinza el arito y colocamos nuestros zarcillos en el cuartito azul tornasol que dejamos arriba.
We will now place our dangling dots, open the earring with the tweezers and place our tendrils in the little blue iridescent quartz that we left above.
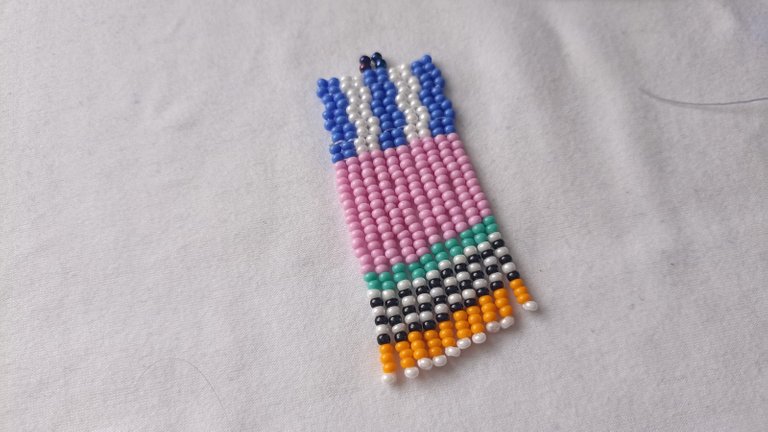


Tenemos unos zarcillos hermosos, perfectos para cualquier ocasión y hechos artesanalmente lo cual lo hacen mas valiosos.
Espero te hayan gustado muchísimo y pongas a prueba tu creatividad.
We have some beautiful tendrils, perfect for any occasion and handmade which makes them even more valuable.
I hope you liked them a lot and put your creativity to the test.

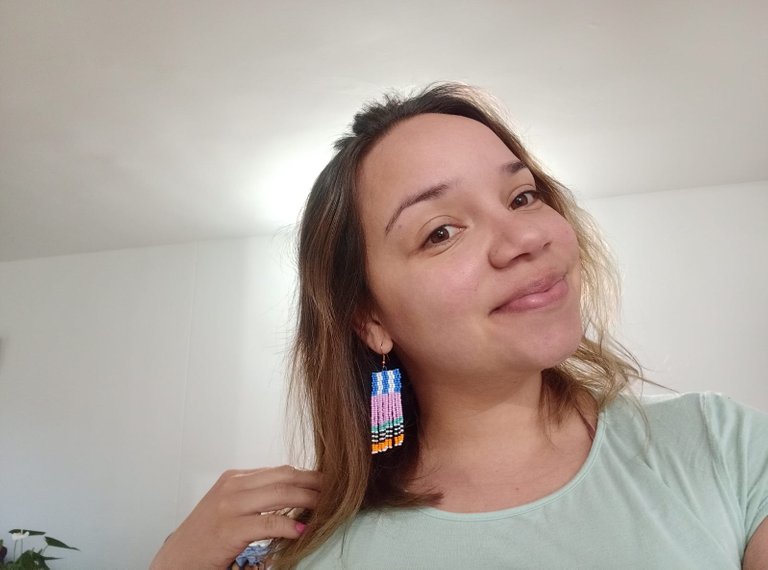
Fotografías hechas por mi, Redmi
Diseños y collages realizados en Canva
Traducción con Deepl.
✂️✂️✂️✂️✂️✂️✂️✂️✂️✂️✂️✂️✂️✂️✂️✂️✂️✂️
Photographs taken by me, Redmi
Designs and collages made in Canva
Translation with Deepl.
