Beautiful earrings with costume jewelry wire.
Hermosos pendientes con alambre de bisutería.
Hello friends of this great community, today I want to present the elaboration of some very striking and beautiful earrings, they are charming and I really like them too much, the elaboration must be done with patience and dedication because if we neglect with some double we will get frustrated a little but with love and calmness the desired objectives are achieved.
Hola amigos de esta grandiosa comunidad, el día de hoy les quiero presentar la elaboración de unos pendientes muy llamativos y hermosos son encantadores y realmente me gustan demasiado, la elaboración se debe hacer con paciencia y dedicación ya que si nos descuidamos con algún doble nos vamos a frustrar un poco pero con amor y mucha calma se logran los objetivos deseados.
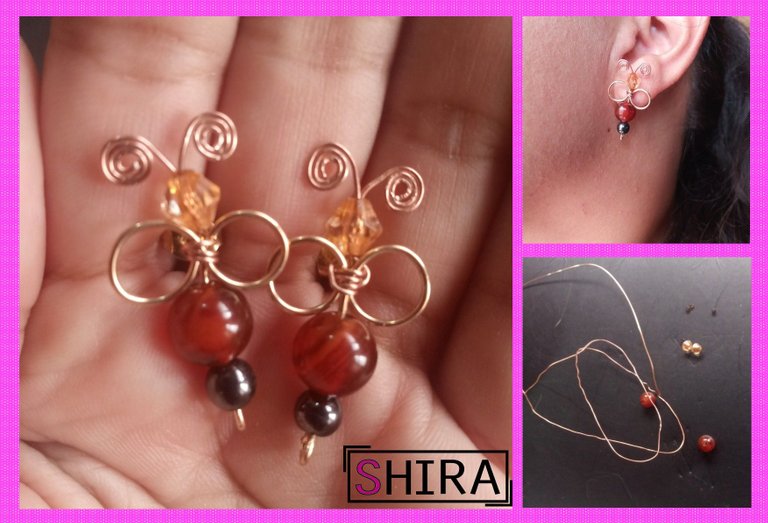
Those who have time here and know me know that I like to make crafts that are productive in the day to day that we are performing, as they are crafts that could become a great venture for your social life. As I always say I love to learn and do new things and get feedback from other people who also offer their content, so I often ask you to leave a comment to see if you have any suggestions to improve something done or just want to give your point of view. Don't miss it and join me until the end of the post.
Los que tienen tiempo acá y me conocen saben que me agrada realizar manualidades que sean productivas en el día a día que vamos desempeñando, ya que son manualidades que podrían llegar a ser un gran emprendimiento para tu vida social. Pues siempre digo me encanta aprender y hacer cosas nuevas y retroalimentarme de otras personas que también ofrecen su contenido, por eso muchas veces pido que dejen su comentario para saber si tienen alguna sugerencia para mejorar algo realizado o simplemente quieran opinar su punto de vista. No te lo pierdas y acompáñame hasta el final del post.

>The different materials that were used for the elaboration of this handicraft are the following:
- Jewelry wire
- Copper wire
- Decorative stones
- Brush
- Piqueta
Los diversos materiales que fueron utilizados para la elaboración de dicha manualidad son los siguientes:
- Alambre de bisutería
- Alambre de cobre
- Piedras decorativas
- Pincel
- Piqueta
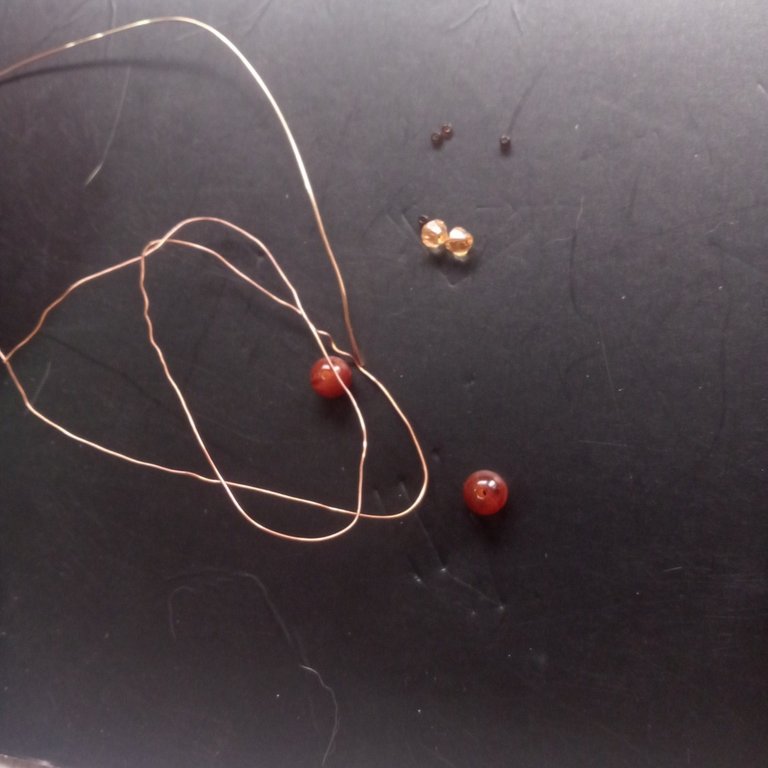

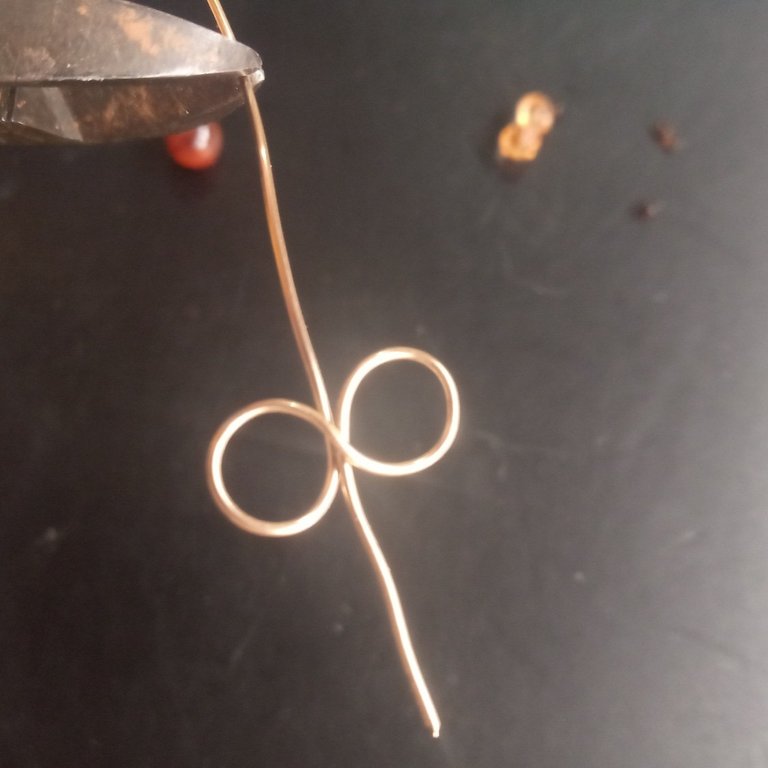
Here I begin the realization of the handicraft and the first thing to do is to cut the wire of costume jewelry 15 cm and then proceed to make some doubles in the form of infinity, taking a round brush to give the shape we want, as you can see in the images.
Aquí comienzo la realización de la manualidad y lo primero que se debe hacer es cortar el alambre de bisutería 15cm y luego se procede hace unos dobles en forma de infinito, tomando un pincel redondo para dar la forma que deseamos, así como lo podrán observar en las imágenes.
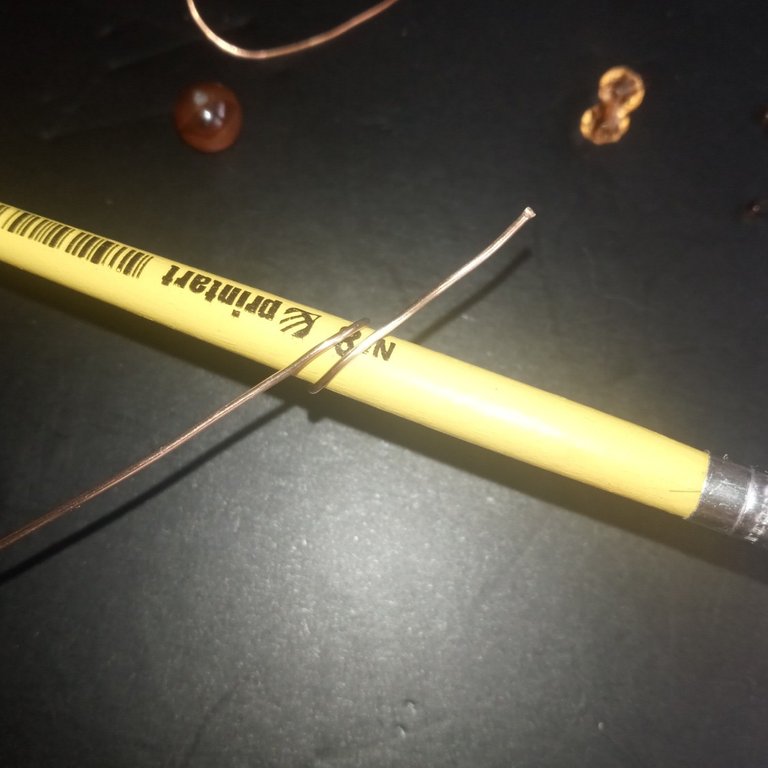
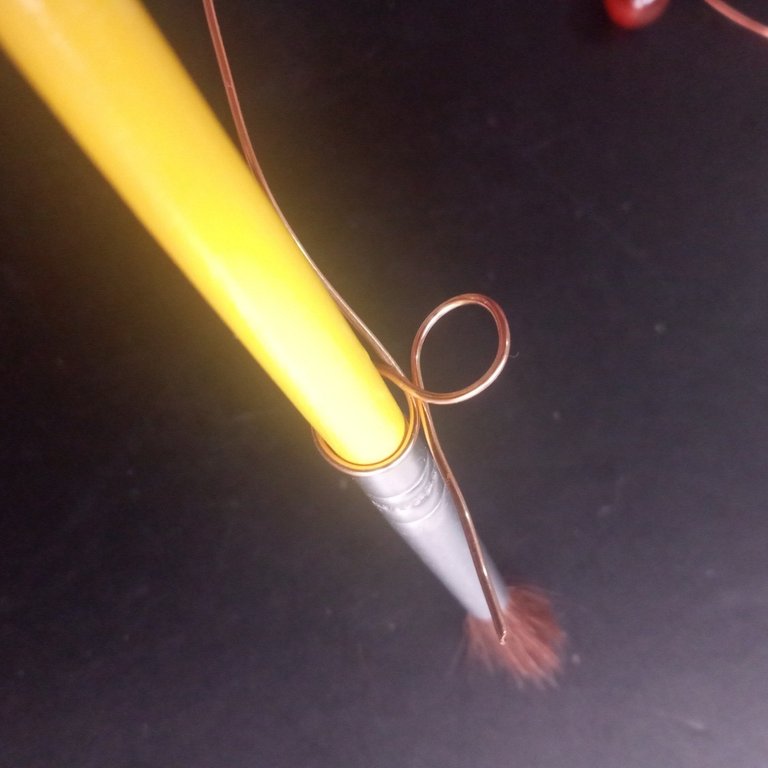

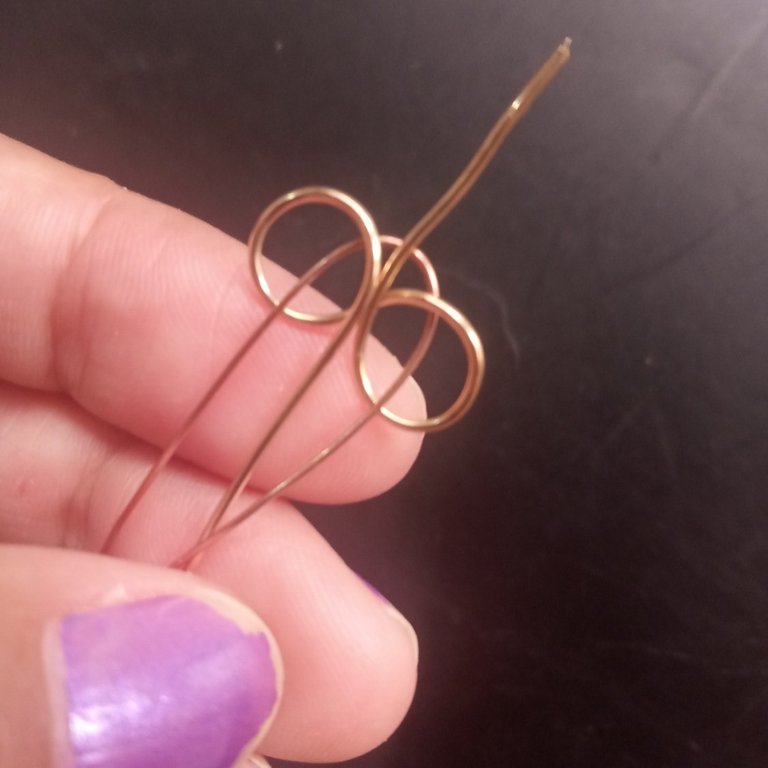
After obtaining the doubles in the shape of infinity, which will be the wings of the earring to be made. The copper wire is introduced through the two circles and we tie a knot to prevent it from untying. Also in this step we take the wire that is on the top of the head of the earring and with the pliers we bend it towards the middle of the wings.
Luego de obtener los dobles en forma de infinito, los cuales serán las alas del pendiente a realizar. Se introduce por los dos círculos el alambre de cobre y hacemos un nudo para evitar que este pueda desatarse. También en este paso se agarra el alambre que está en la parte de arriba de la cabeza del pendiente y con la pinza lo doblamos hacia el medio de las alas.
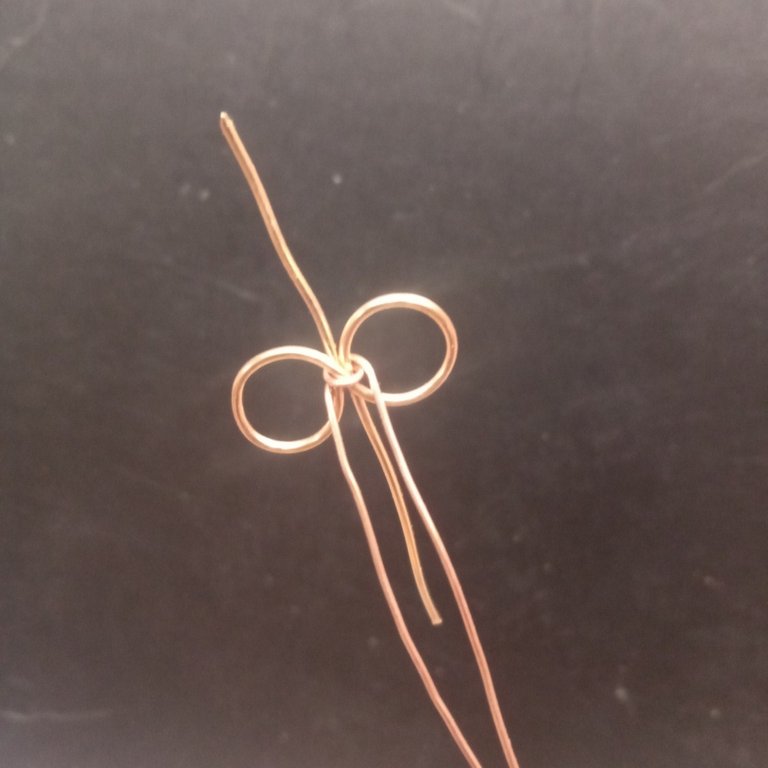

Next, we take the copper wire and the remaining antennae and we make a double and join them to be able to introduce the decorative stone that will adorn the head of the beautiful earring.
Seguidamente agarramos el alambre de cobre y las antenas sobrantes le hacemos un dobles y las unimos para poder introducir la piedra decorativa que irá adornado la cabeza del hermoso pendiente.
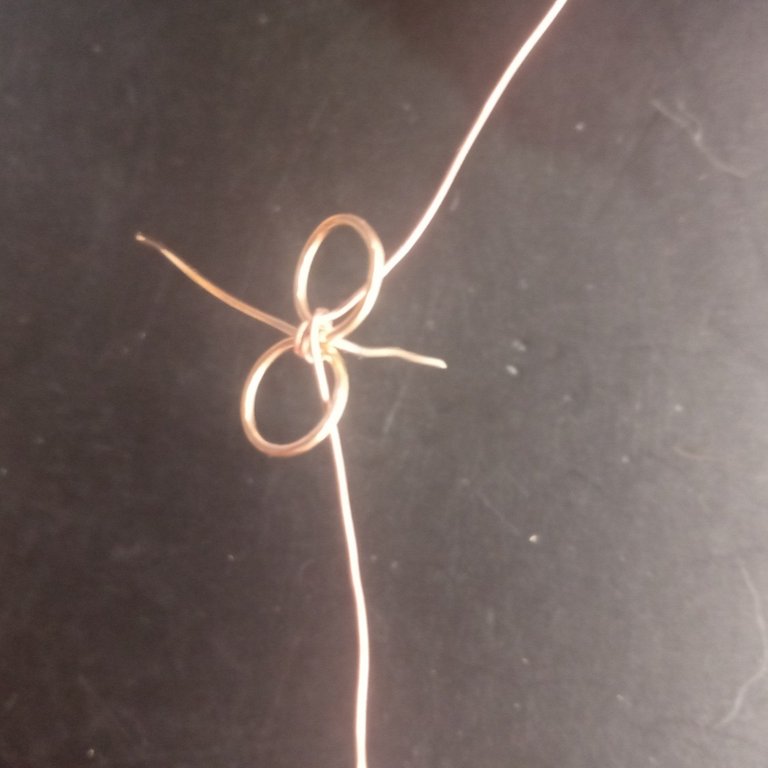
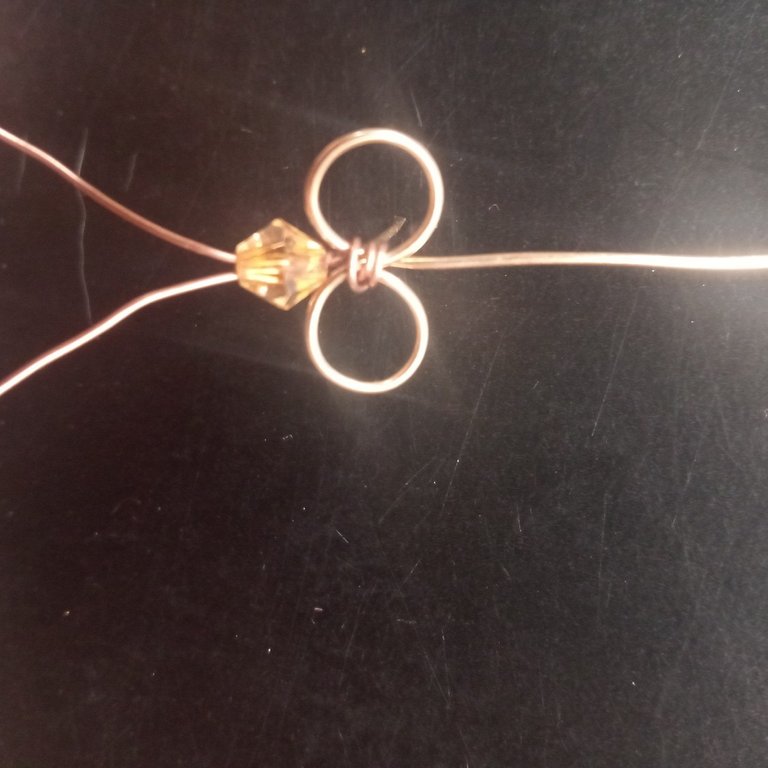

Once the costume jewelry stone is inserted, we separate again the copper wire and they will be in the form of antennas as shown in the image, proceeding to make some spirals in each antenna.
Ya introducida la piedra de bisutería, separamos nuevamente el alambre de cobre y quedarán en forma de antenas así como se muestra en la imagen, procediendo hacer unos espirales en cada antena.
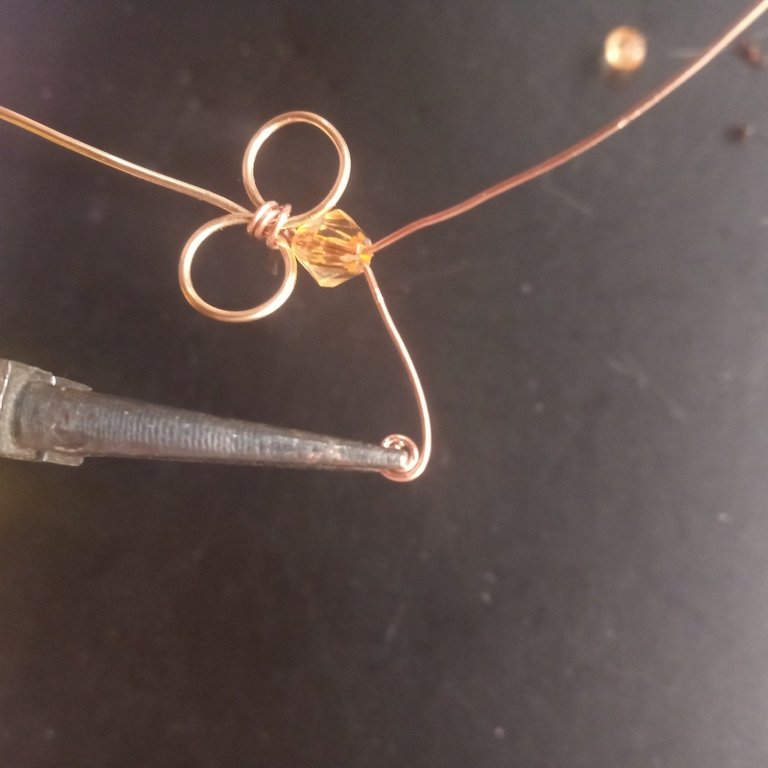
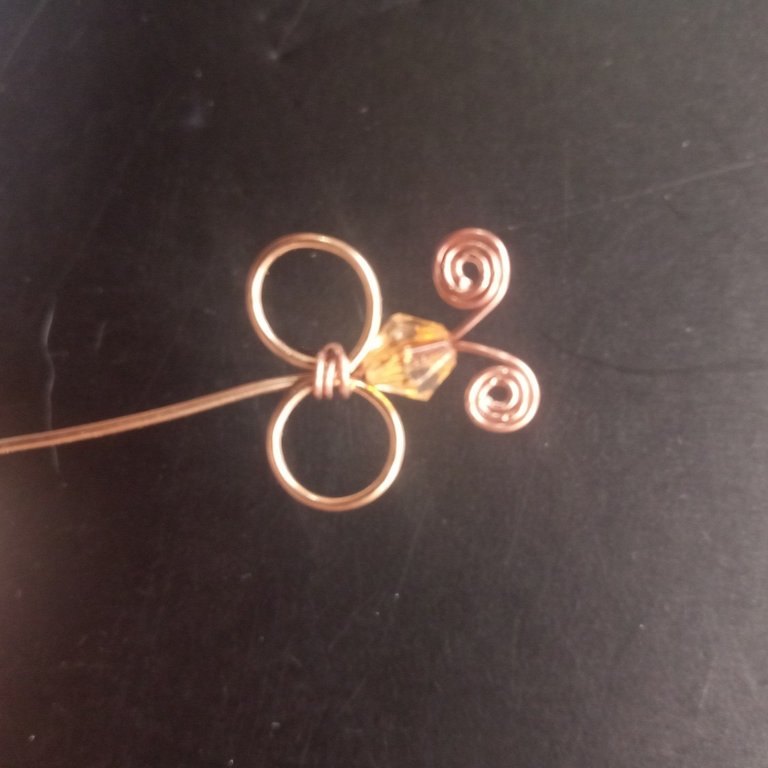

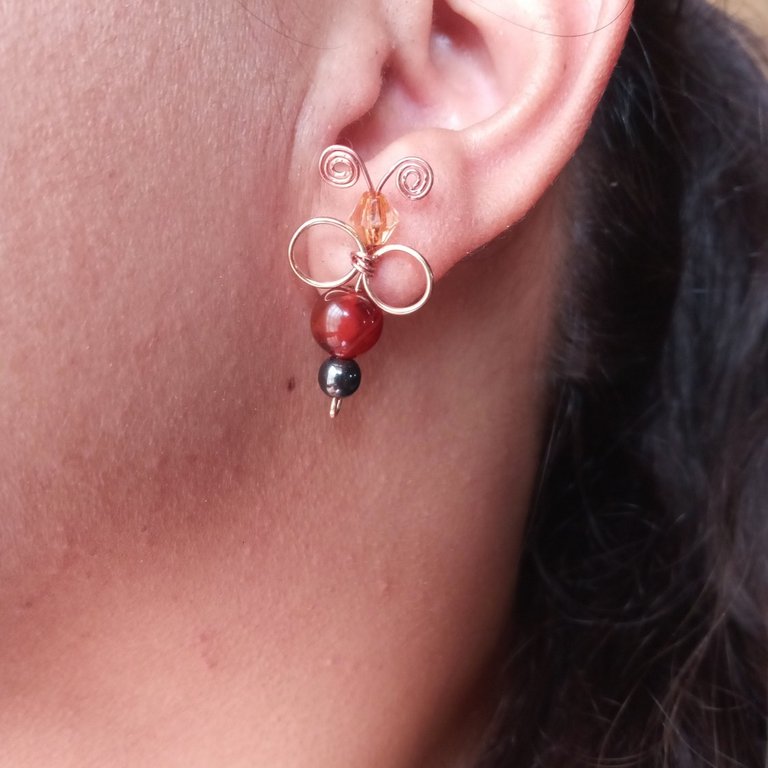
When we are almost finished, we take the biggest stone and place it at the bottom of the earring together with a smaller one to give it the shape of a stinger. With the round clamp we close it and make a small circle at the bottom to prevent the stones from slipping out.
Ya casi finalizando agarramos la piedra más grande y la colocamos en la parte de abajo del pendiente acompañada de otra más pequeña para que de la forma de un aguijón, con la pinza redonda se cierra y se le hace un pequeño círculo en la parte de abajo para evitar que las piedras puedan salirse.
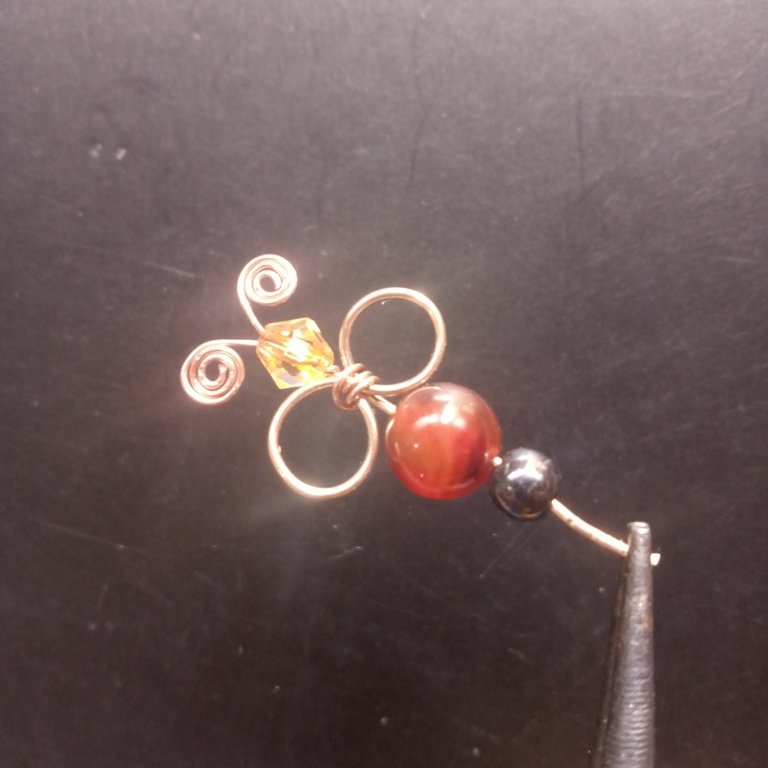

After finishing one of the earrings, the same process is repeated to obtain the next earring and thus have a pair of charming earrings ready.
Luego de terminar uno de los pendientes se vuelve a repetir el mismo proceso para obtener el siguiente pendiente y así poder tener listo un par de pendientes encantadores.
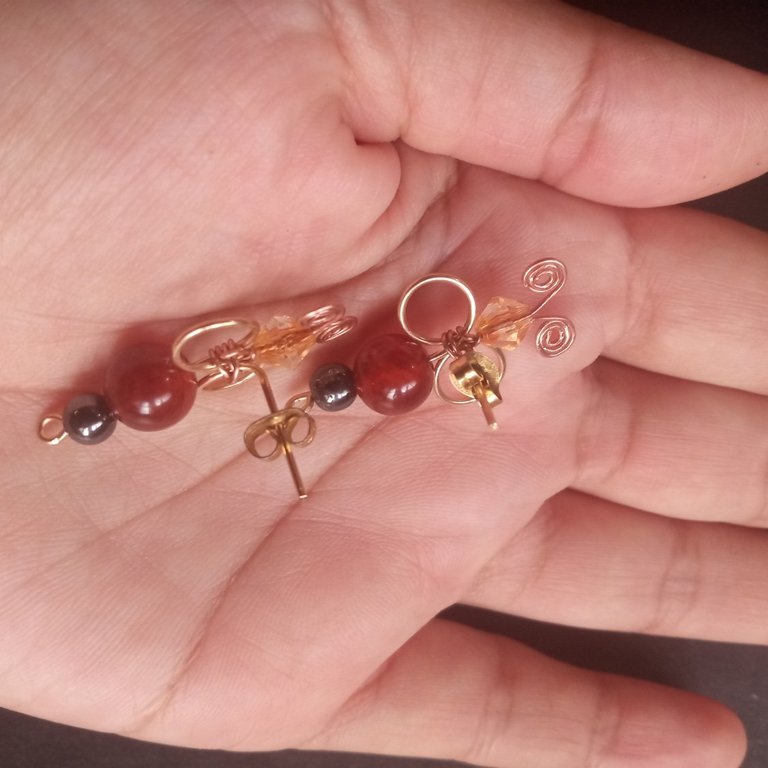

As always I leave the images with the final result of this craft, hoping that these beautiful earrings are to your liking.
Cómo siempre les dejo las imágenes con el resultado final de esta manualidad, esperando que estos hermosos pendientes sean de todo su agrado.
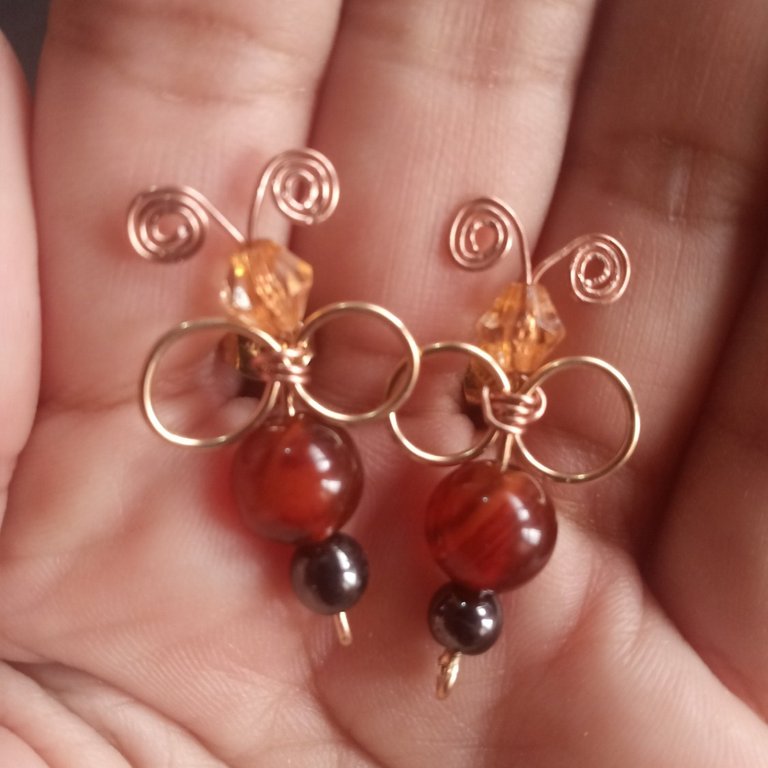
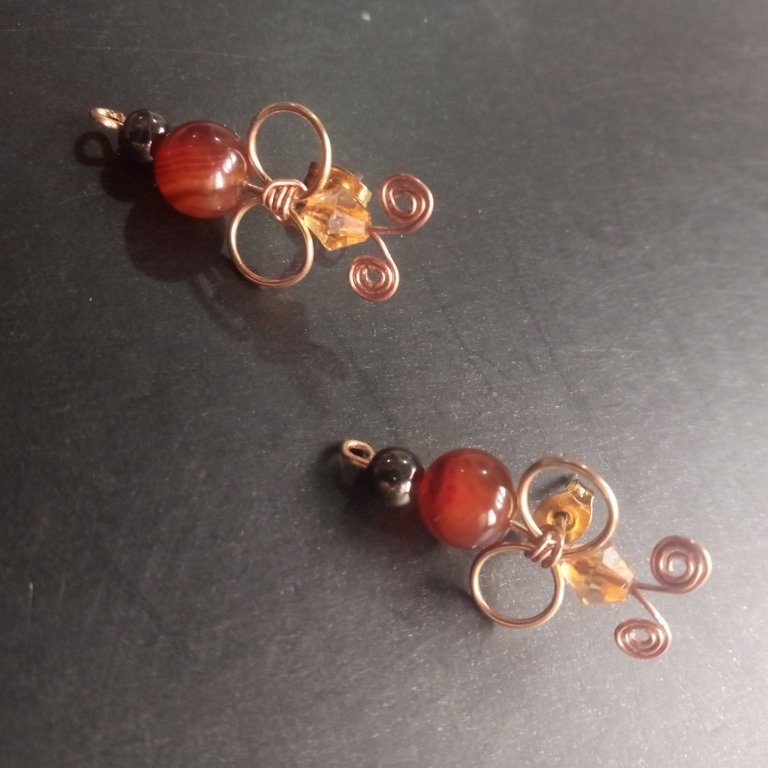
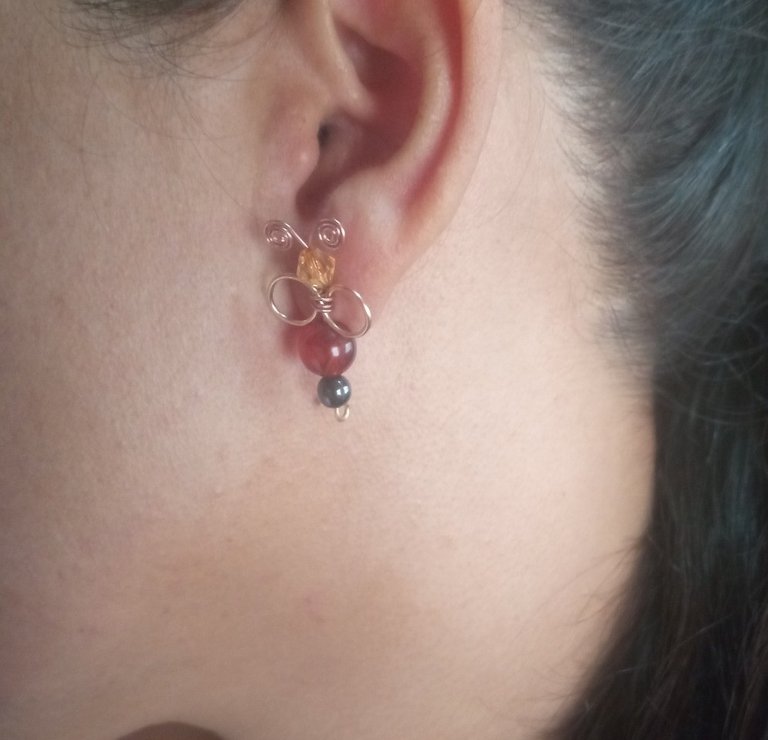

Without more to say and hoping that this craft will be to the liking of each reader I say goodbye with a big hug, love @shirahoshi.
Sin más que decir y esperando que esta manualidad sea del agrado de cada lector me despido con un gran abrazo, los quiere @shirahoshi.


The photographs are my own and were taken by me with a Redmi 9 and were edited in powerpoint.
Las fotografías son de mi autoría y fueron tomadas por mí con un Redmi 9 y se editaron en powerpoint.
The Step by Step Gif was made by me in AdobePhotoshop CC2014.
El Gif de Paso a Paso fue realizado por mi en AdobePhotoshop CC2014.
The logo was designed by me in Adobe Illustrator CC 2015 and its animated version was made in After Effects CC 2017.
El logo fue diseñado por mí en Adobe Illustrator CC 2015 y su versión animada la realice en After Effects CC 2017.

