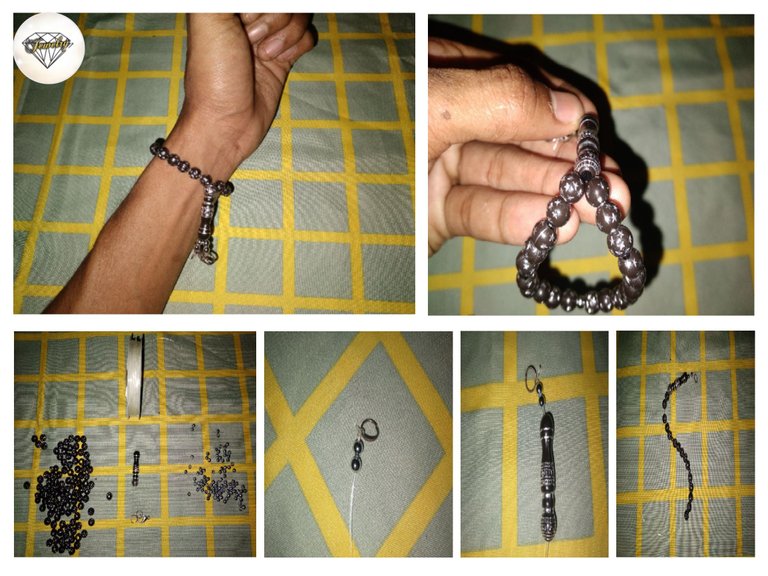
Ahora veamos cómo mi viaje hace esta pulsera.
Hello Jewelry Lovers... I want to share how I made a cool bracelet with a star-shaped bead motif that is suitable for use by teenage boys. The process of making it is also very easy to be imitated by children and adults who must have the desire to make accessories as we do in this Jewelry community.
Now let's see how my journey makes this bracelet.
The Material I Prepared For This Bracelet
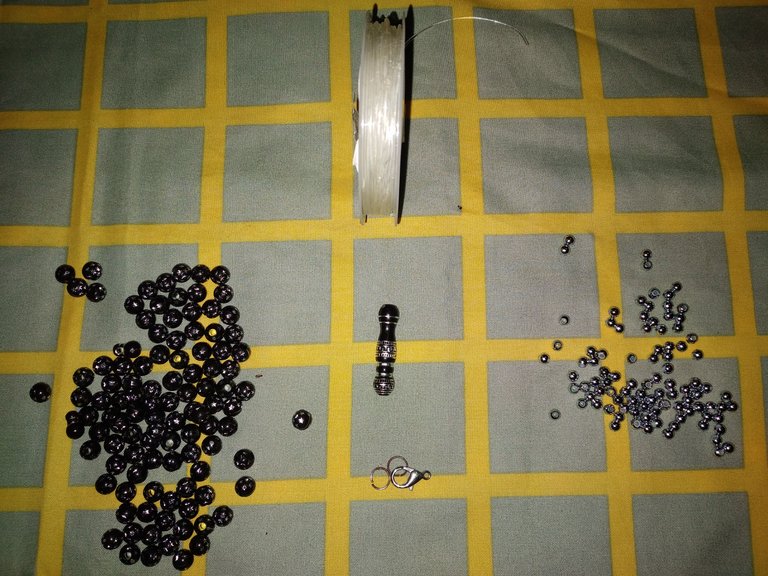
The material for making this bracelet that I share is not much,which costs only $1 only all the materials and I bought at a sewing store in my city. But I do not know how much beads cost in other cities, which is clear in my city is a place of production of unfinished materials such as beads,threads,ropes,fabrics and many others so that the cost here is Cheaper.
Detalles del Material
- Cuerda
- Abalorios con Patrón de Estrella
- Abalorios Blancos
- Cierre de Pulsera
- Adhesivo de Punta de Perla
Material Details
- String
- Star Pattern Beads
- White Beaded Beads
- Bracelet Fastener
- Bead Tip Adhesive
Star Bracelet Making Process
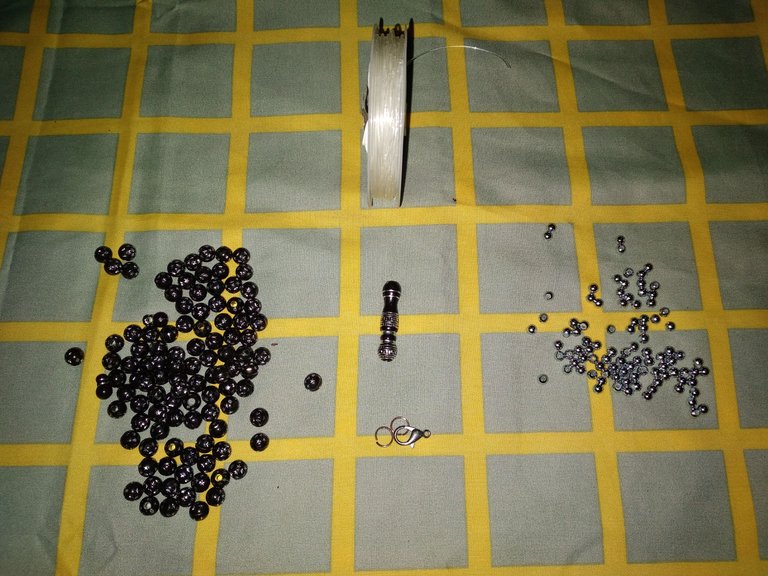
The first thing I do when making accessories is to arrange what materials I will use first so that it is easy for me to pick it up when the manufacturing process takes place and does not make my mind chaotic.
The first stage I take the thread and measure to my wrist, here do not forget to overload the thread a little or do not measure the size fits in the hand because later sometimes if the thread does not reach the wrist then we have to remake the bracelet.
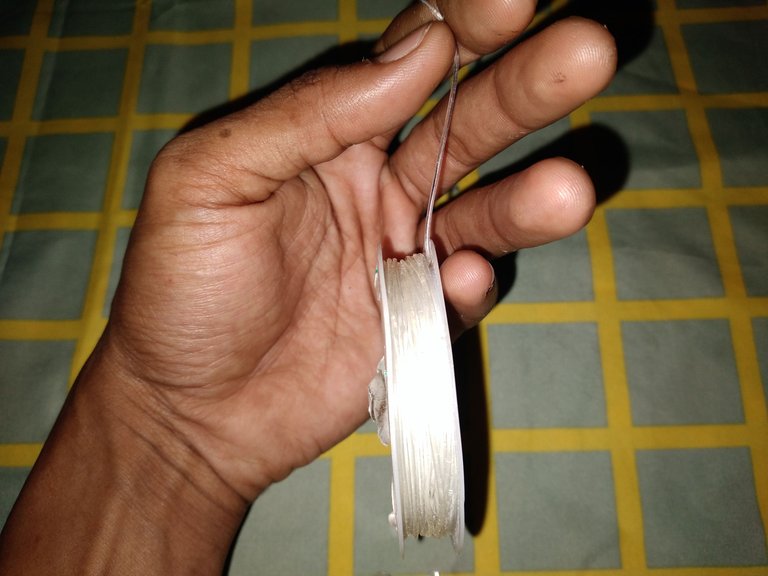
Then after I cut the string I immediately tie it to the bead adhesive on the left end where later this adhesive is the connection to enlarge and reduce the bracelet.
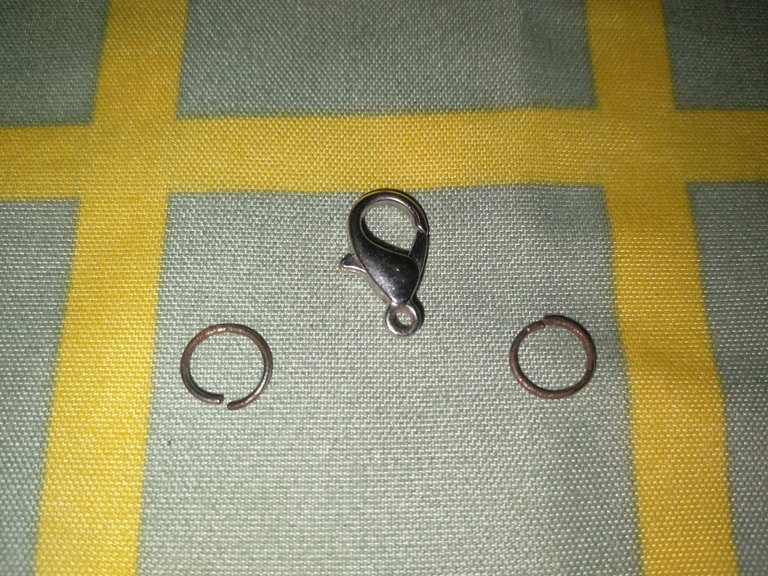
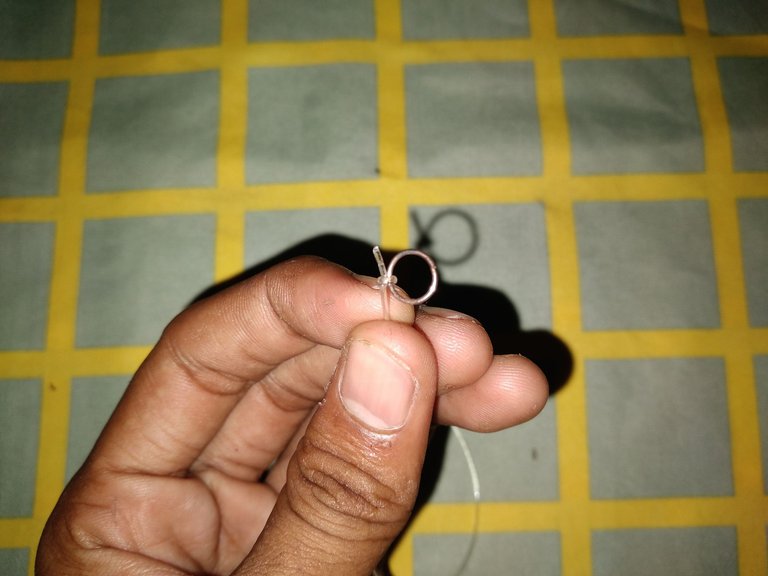
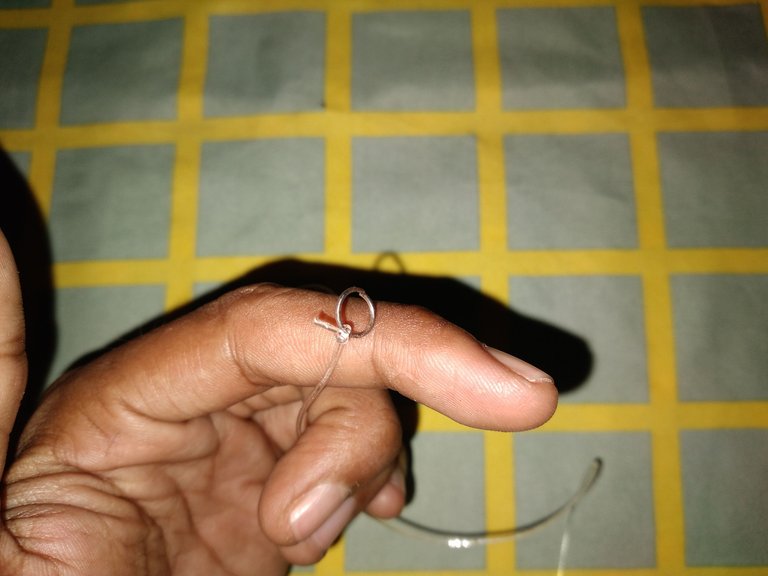
Then insert 2 white bead seeds at the end as a marker before we insert the bead tip adhesive. Putoh beads are not much in use only a few seeds that are indeed white beads here as a black bead decorator.
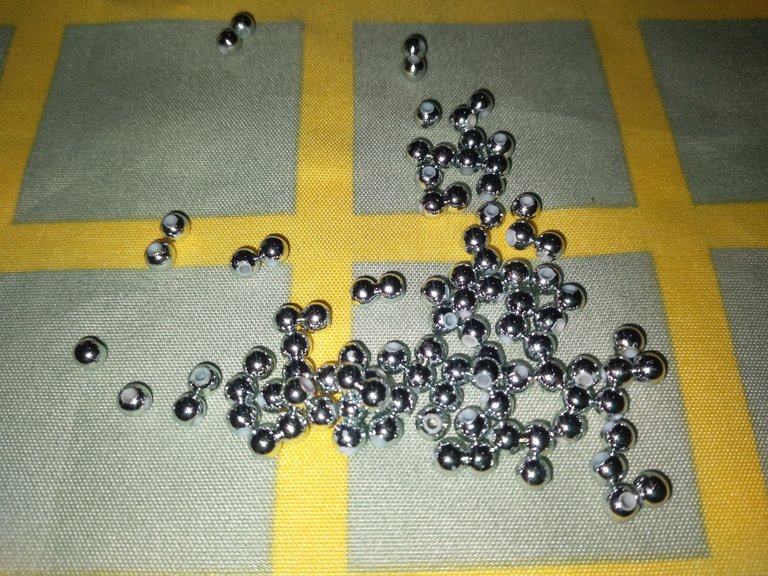
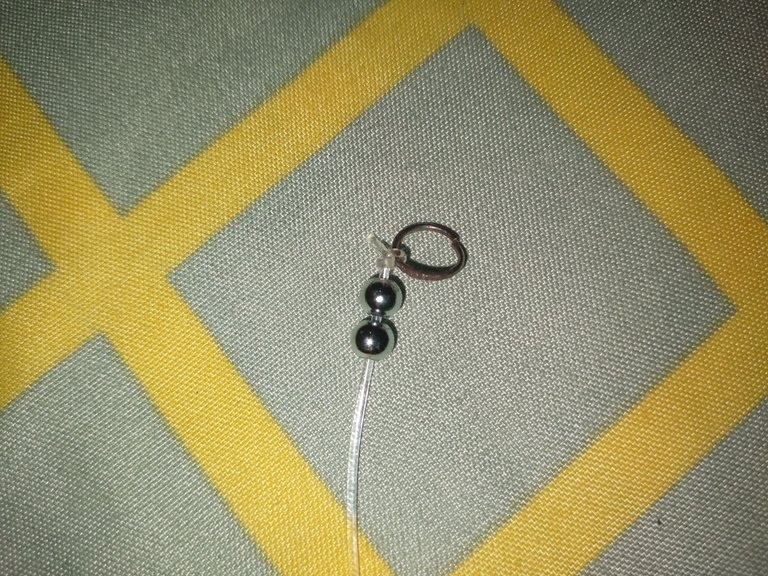
After inserting 2 white beads and then insert the bead adhesive, as for the bead adhesive as shown below.
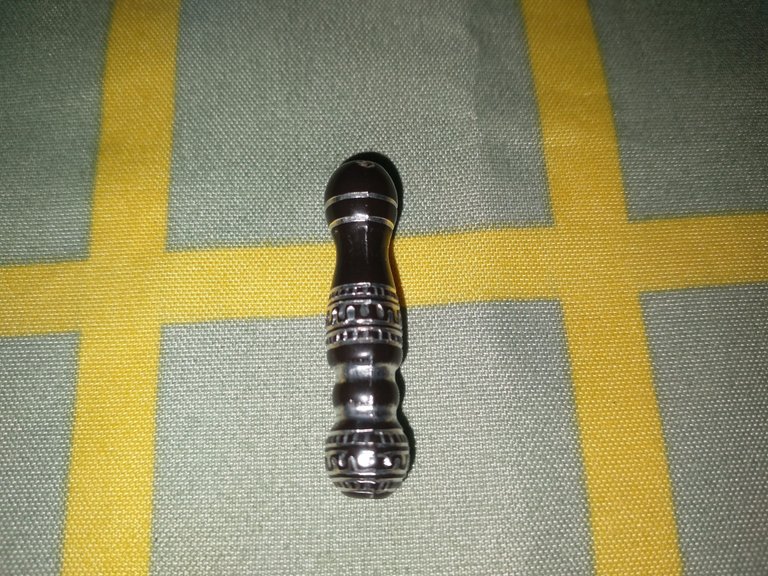
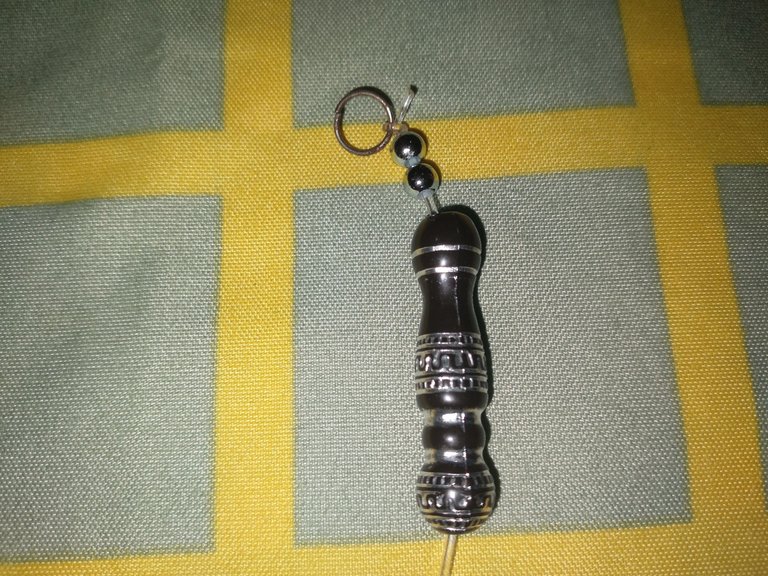
After this I will insert the main bead, which is a black bead with a star pattern. This star bead I use 5 seeds per 5 seeds which every 5 seeds are followed by white beads.
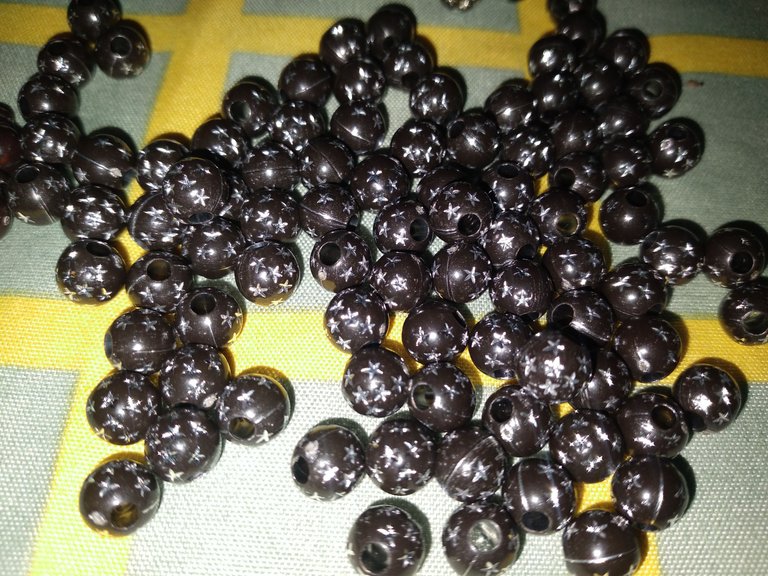
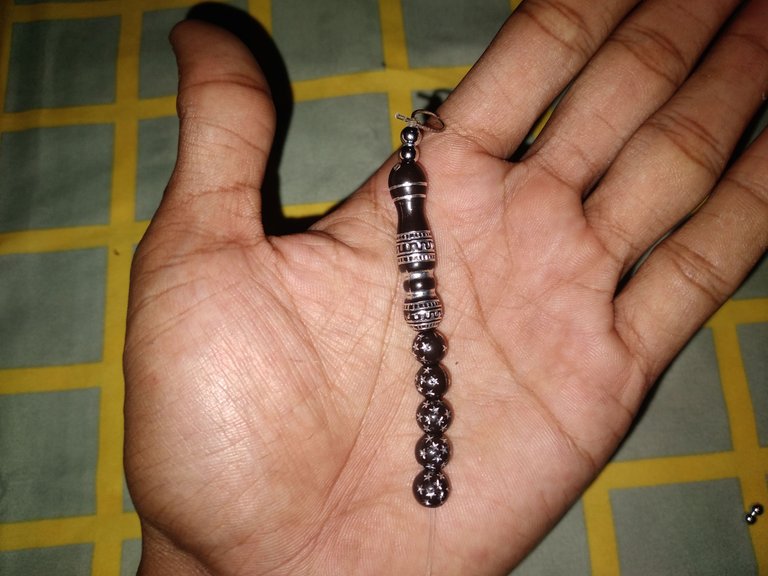
Insert black beads continuously every 5 seeds in Paste 1 white bead until the bead envelops our hand carving.
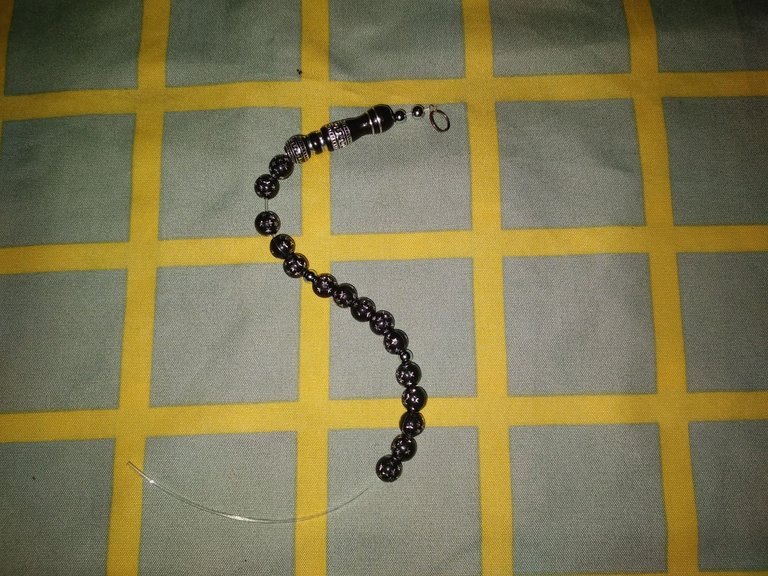
If it has enveloped the hand insert the end of the thread into the bead adhesive into one hole. And after that we get to the last stage which is to install a bead fastener so that later we can change the size of the bracelet. This bead binder buy at the store accessories once with beads but I do not know how much the price of one seed because usually people buy boxes and I only 1 added beads told to pay for $1 only.
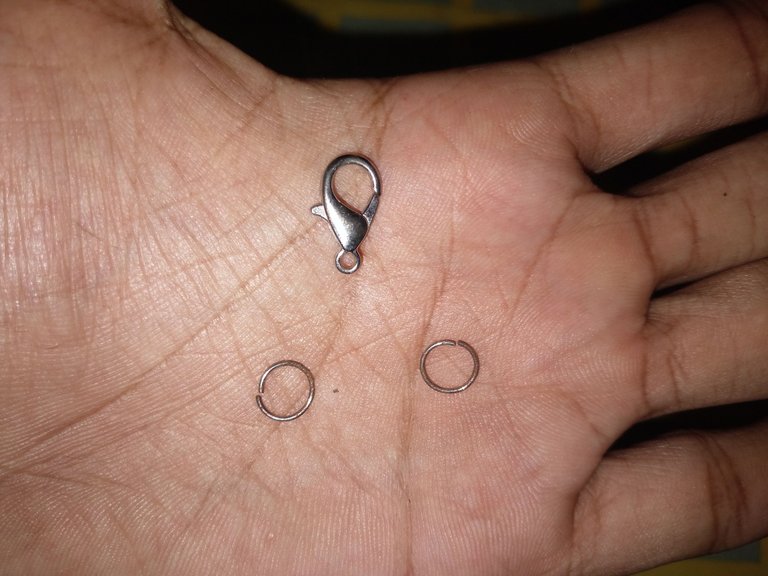
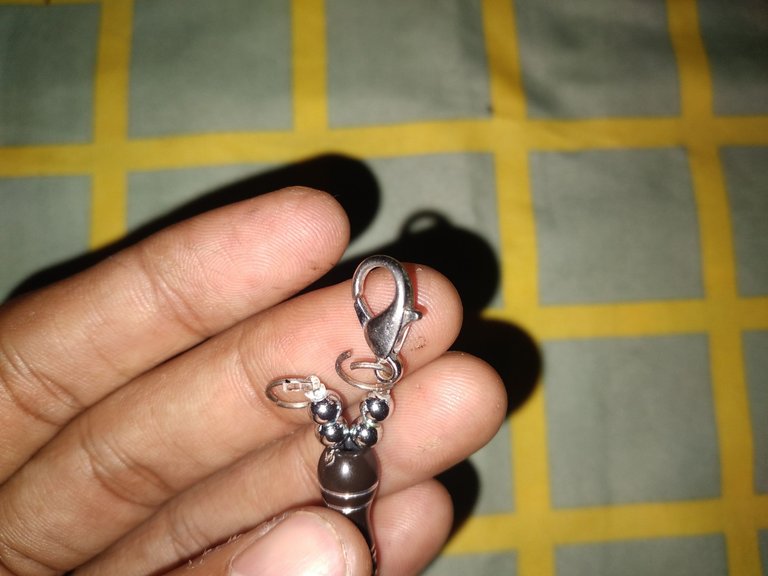
Hasta este momento se ha completado todo el proceso de fabricación.
Up to this point all the manufacturing process has been completed.
Star-Patterned Bracelet Ready To Use
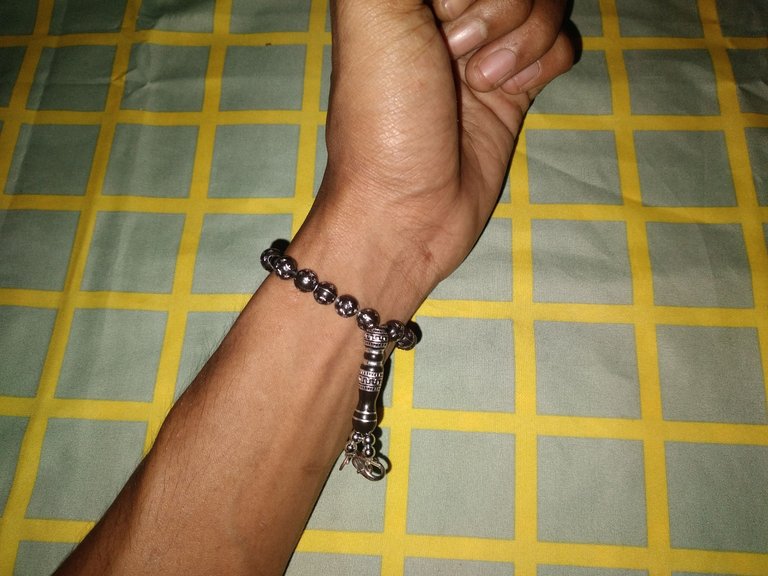
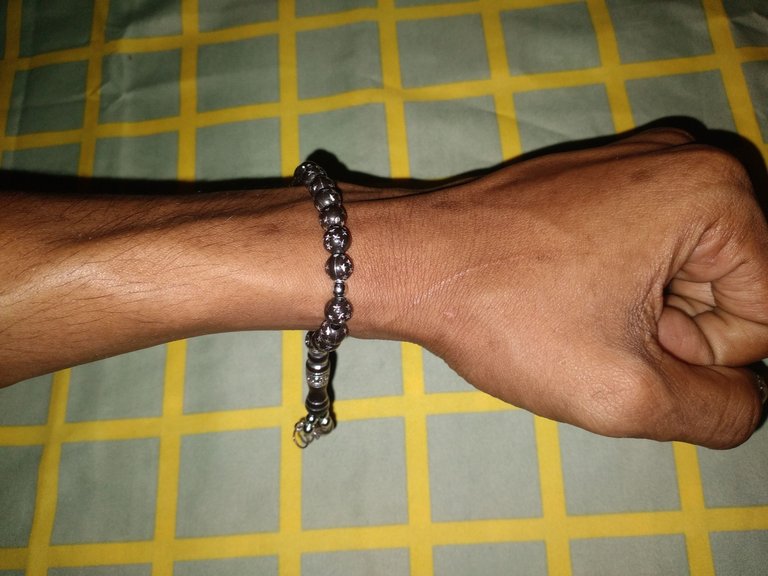
After spending about 1 hour working time I finally managed to make this bracelet and when I saw it was very beautiful at the same time it fit in my hand. I will wear this bracelet when I go out at night because the star motif in the beads will be more visible at night.
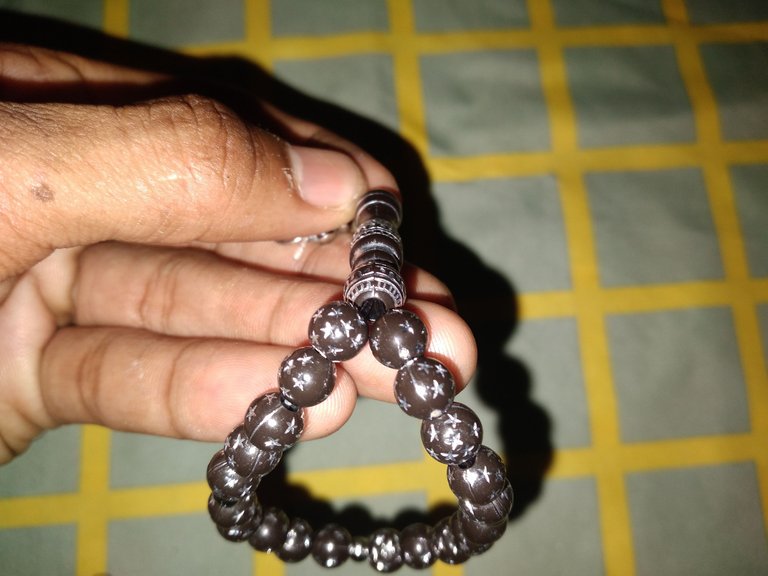
Making accessories is a hobby of mine when I'm bored but I do not want to leave the House. Making accessories I have also done since I was in school duku which I was taught by my female teacher to learn to make accessories.
Regards,
Rebon Re

