
Bienvenidos || Welcome
Algo que siempre me ha gustado de nuestra plataforma son las iniciativas, creo que siempre nos retan hacer algo fuera de nuestra zona confort o darnos a conocer mejor, dependiendo del estilo de la iniciativa valga la redundancia, así que no podía dejar pasar la oportunidad y "decir" presente hace tiempo que no realizaba algún accesorio para mis niñas, mi hija mayor tiene un cintillo rojo por lo que decide realizar uno para mí hija más pequeña, para este proyecto utilice los siguientes materiales:
Something that I have always liked about our platform are the initiatives, I think they always challenge us to do something out of our comfort zone or to make ourselves better known, depending on the style of the initiative, so I could not miss the opportunity and "say" that it has been a long time since I made an accessory for my girls, my oldest daughter has a red headband so I decided to make one for my youngest daughter, for this project I used the following materials:
Materiales || Materials
🌺 fieltro de color rojo.
🌺 Tijera.
🌺 Aguja.
🌺 Hilo.
🌺 Perlas.
🌺 Mostacillas.
🌺 Cintillo de tela.
🌺 red felt.
🌺 Scissors.
🌺 Needle.
🌺 Thread.
🌺 Beads.
🌺 Beads.
🌺 Fabric headband.
Pasos ||Steps
🌺 Paso 1. Las protagonista de este cintillos son las flores así que lo primeros que vamos hacer es tomar nuestro fieltro y en el vamos con un lapicero dibujar lo que es la forma de la flor en mi caso decidí hacerla de 5 pétalos.
🌺 Step 1. The protagonist of this headbands are the flowers so the first thing we are going to do is to take our felt and in it we are going to draw with a pencil what is the shape of the flower in my case I decided to make it with 5 petals.

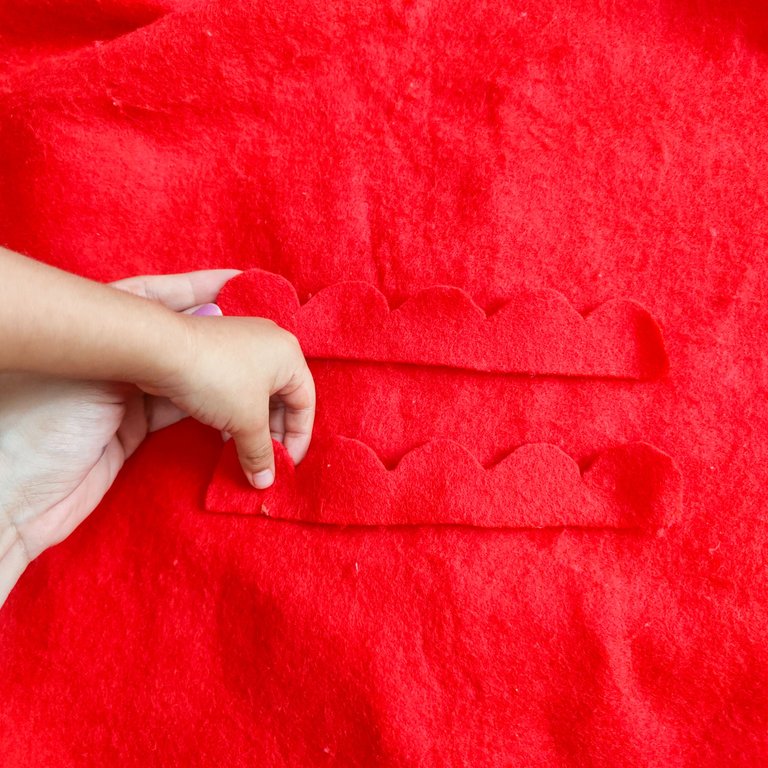
🌺 Paso 2. Una vez que ya tenemos las flores dibujadas en el fieltro en mi caso fueron 2 vamos a recortarlas con la tijera (mi hija mayor me estaba asistiendo) 🥰
🌺 Step 2. Once we already have the flowers drawn on the felt in my case there were 2 we are going to cut them out with the scissors (my oldest daughter was assisting me) 🥰.
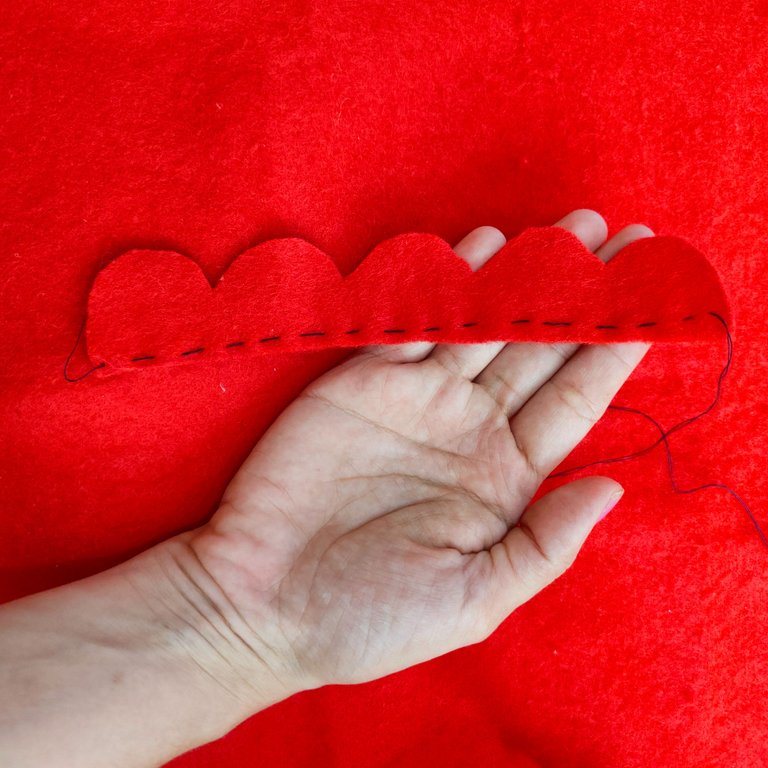
🌺 Paso 3. Vamos a tomar nuestra aguja e hilo preferiblemente del mismo color del fieltro (en mi caso fue hilo azul para una mejor comprensión y demostración de la creación del cintillo) y vamos a coser en línea recta en su extremo inferior.
🌺 Step 3. We are going to take our needle and thread preferably of the same color as the felt (in my case it was blue thread for a better understanding and demonstration of the creation of the headband) and we are going to sew in a straight line at its lower end.
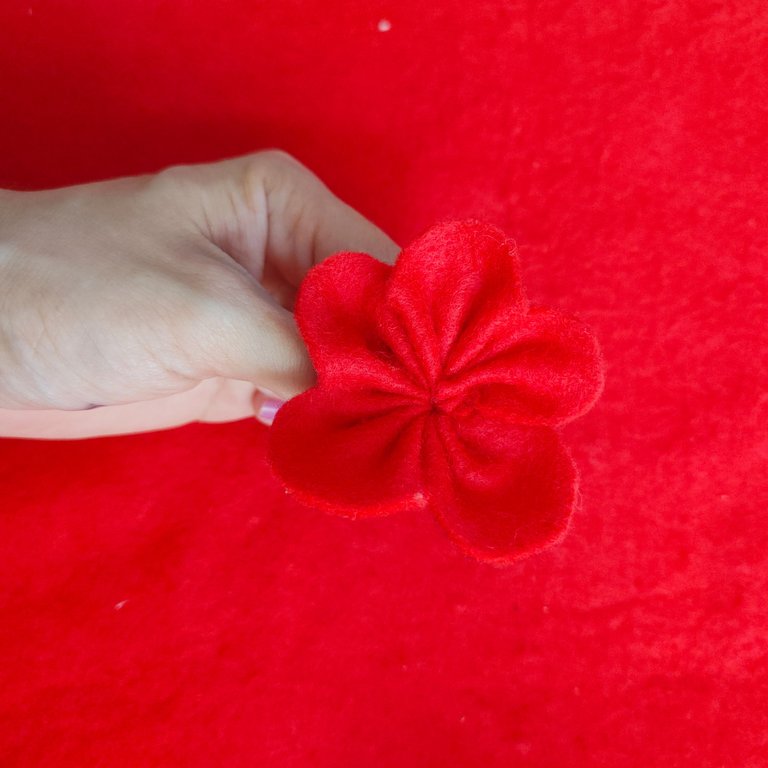
🌺 Paso 4. Tiramos de nuestro hilo y veremos cómo automáticamente se forma nuestra flor.
🌺 Step 4. We pull our thread and we will see how our flower is automatically formed.
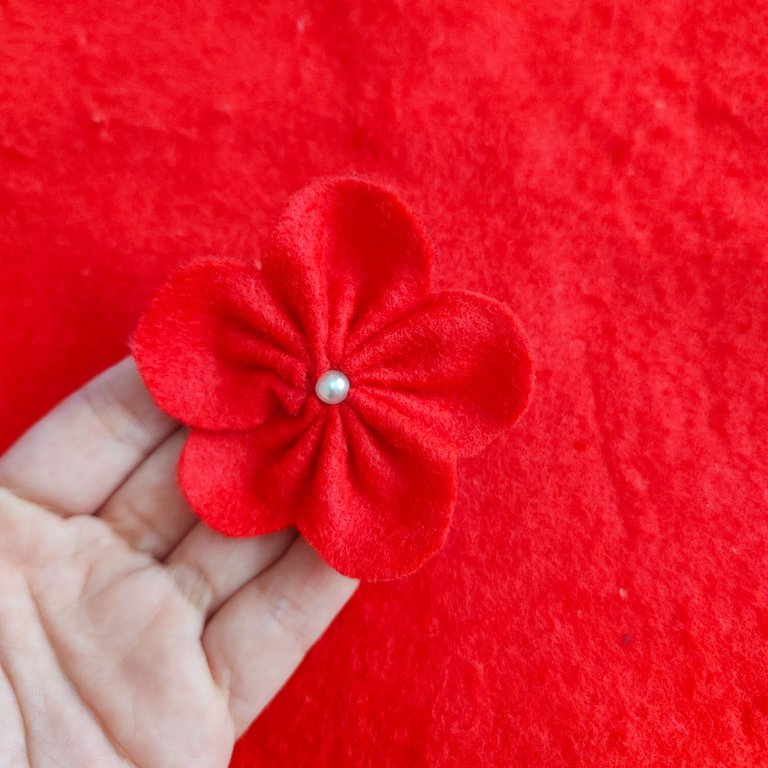
🌺 Paso 5. Procedemos con la aguja pasala por el centro y hacia la parte superior de la flor para así fija con hilo y aguja la perla en su centro.
🌺 Step 5. Proceed with the needle passing it through the center and towards the top of the flower in order to fix with thread and needle the pearl in its center.
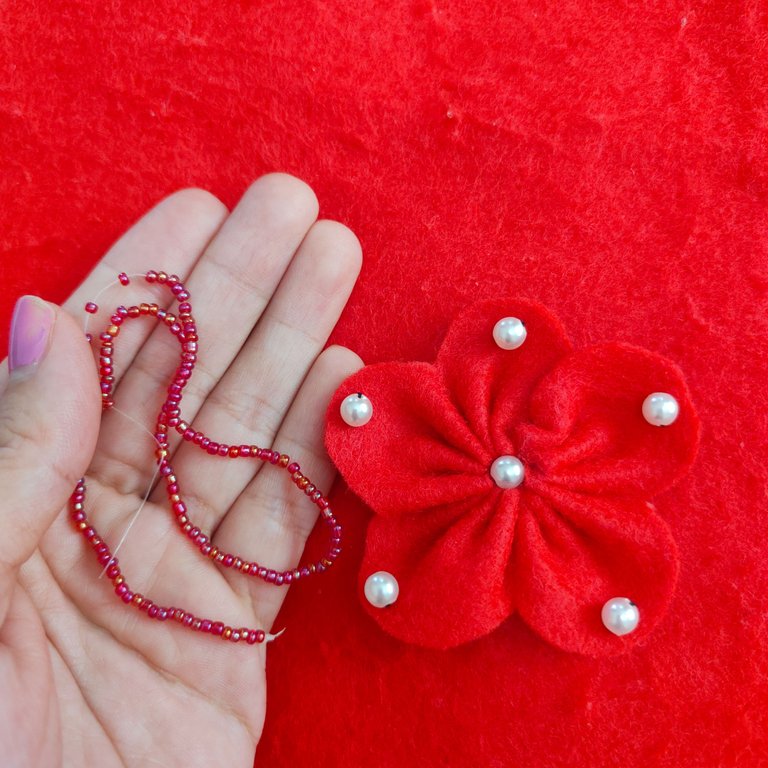
🌺 Paso 6. Lo siguiente que hice en la primera flor fue fijar una perla en el borde en cada pétalo.
🌺 Step 6. The next thing I did on the first flower was to attach a bead to the edge on each petal.
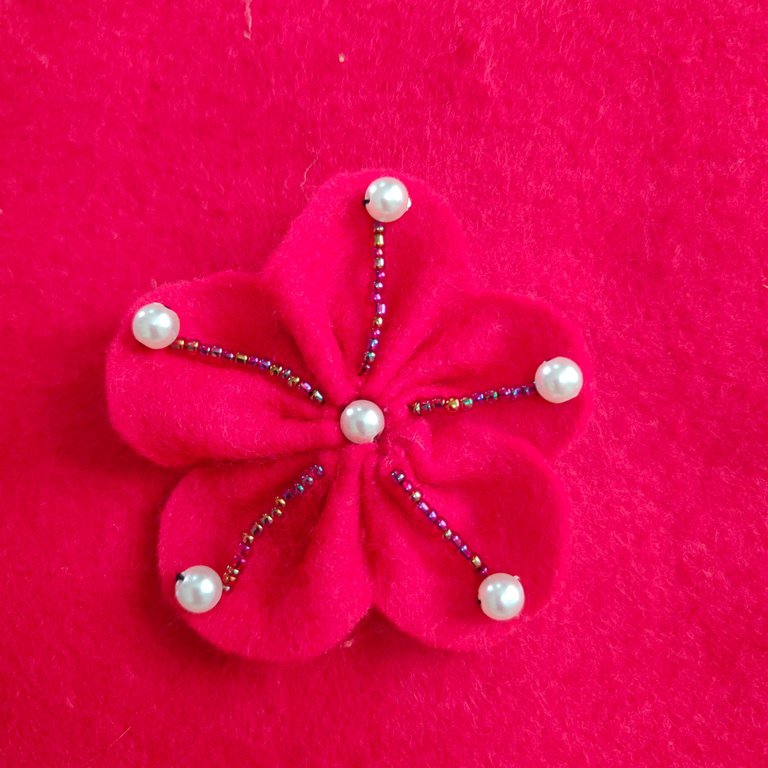
🌺 Paso 7. Y con mostacillas de color rojo Hive en cada pétalo una línea hasta llegar a las perlas previamente fijadas, de esta manera culmine mi primera flor.
🌺 Step 7. And with red beads I made a line on each petal until I reached the previously fixed beads, in this way I finished my first flower.
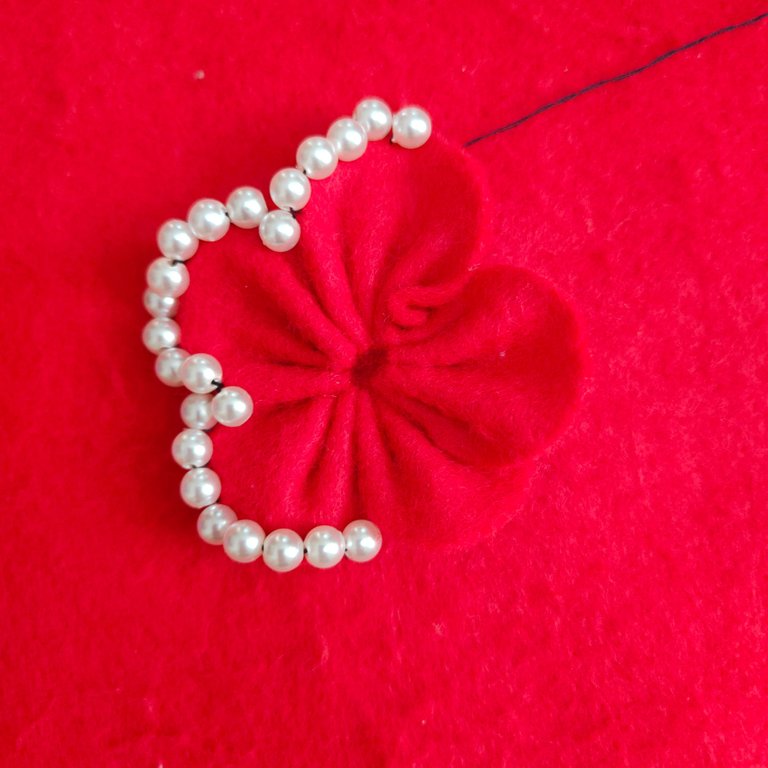
🌺 Paso 8. Para lo siguiente flor quise fijar perlas en todo su alrededor la verdad me costó un tanto y considero que no quedaron tan alineadas y que debo practicar más la técnica de fijar perlas o mostacillas sobre tela para obtener un acabado mejor.
🌺 Step 8.For the next flower I wanted to fix beads all around it, the truth is that it was a bit difficult and I consider that they were not so aligned and that I should practice more the technique of fixing beads or beads on fabric to get a better finish.
🌺 Paso 10. Tome el Cintillo de tela de color negro y con aguja e hilo Cosi las flores en él.
🌺 Step 10. Take the black fabric headband and with needle and thread sew the flowers on it.
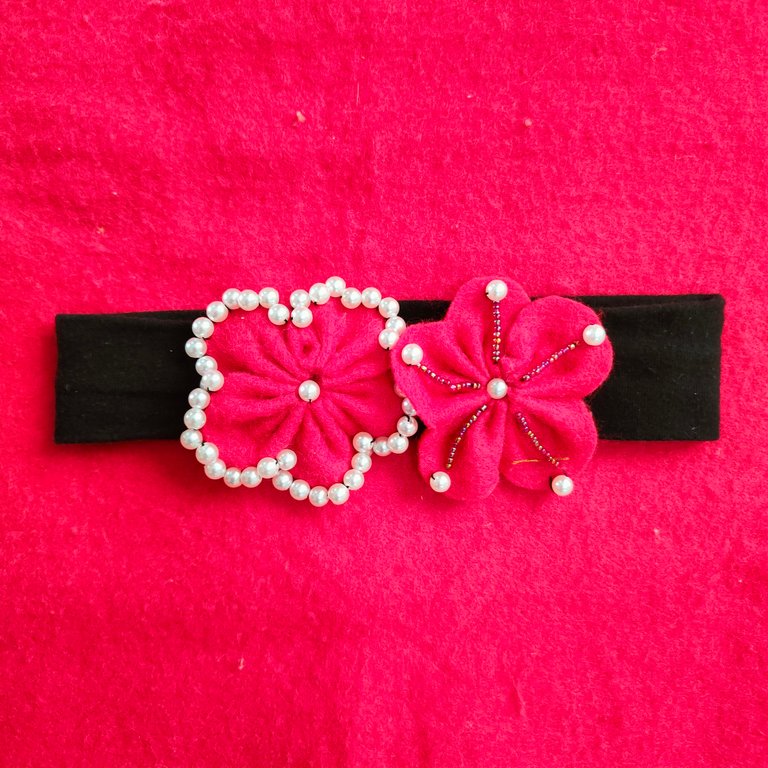
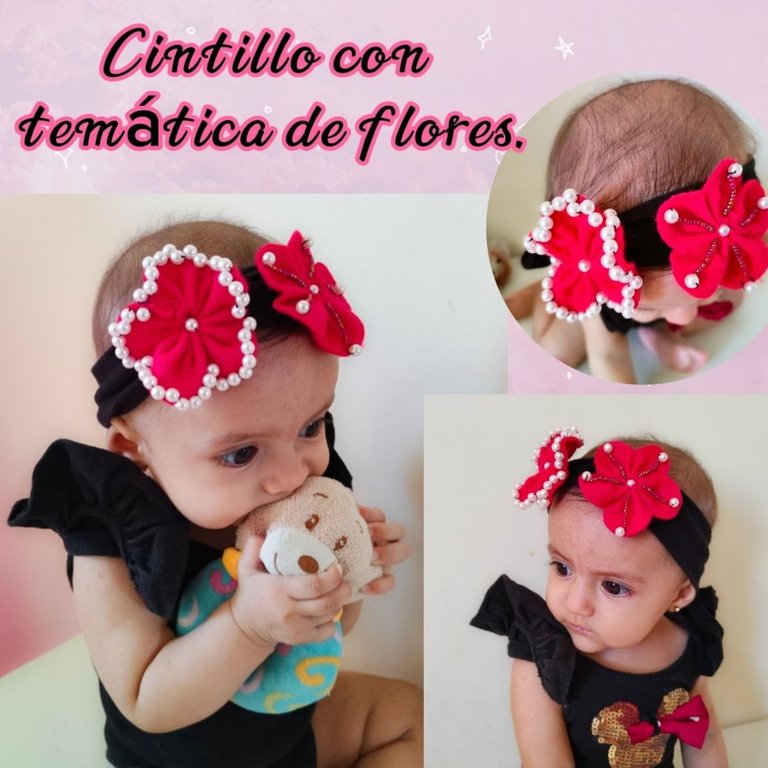
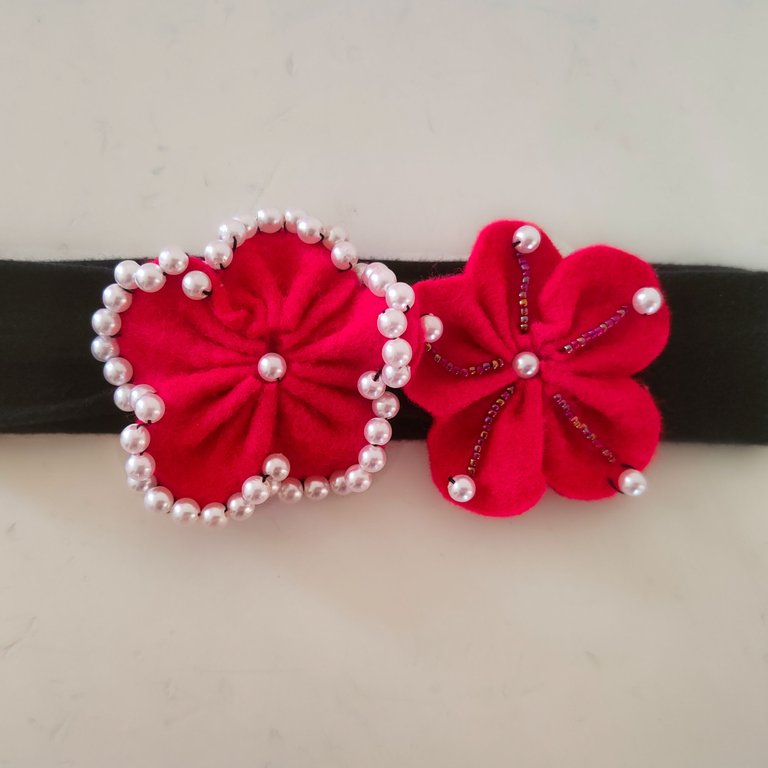
De esta forma estuvo listo nuestro cintillo debo confesar que me gustó mucho más la flor que tenía los bordes con perla aunque siempre es genial poder probar y hacer diversos diseños.
This way our headband was ready, I must confess that I liked the flower with the pearl edges much more, although it is always great to try and make different designs.
Resultado || Result
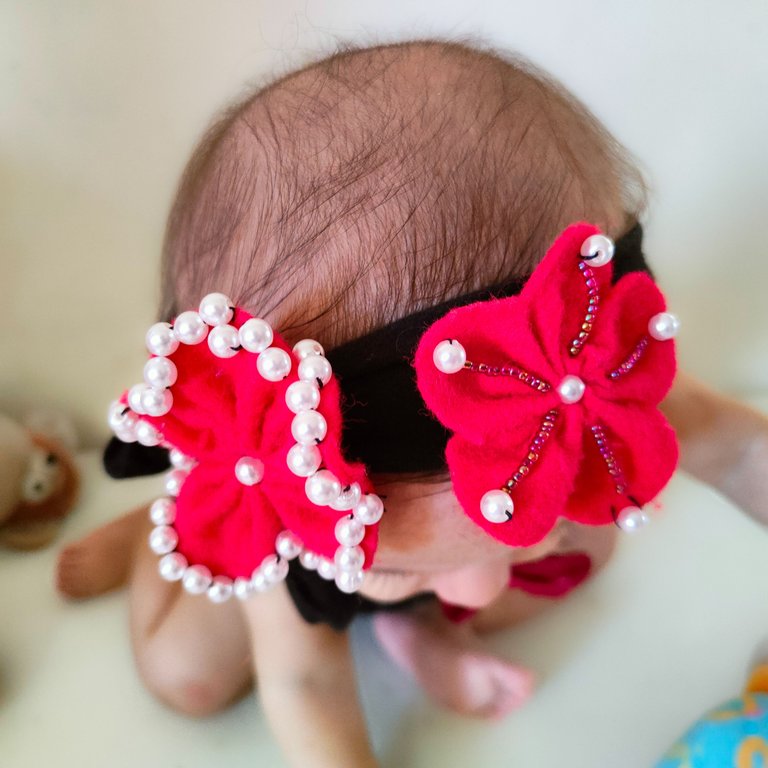
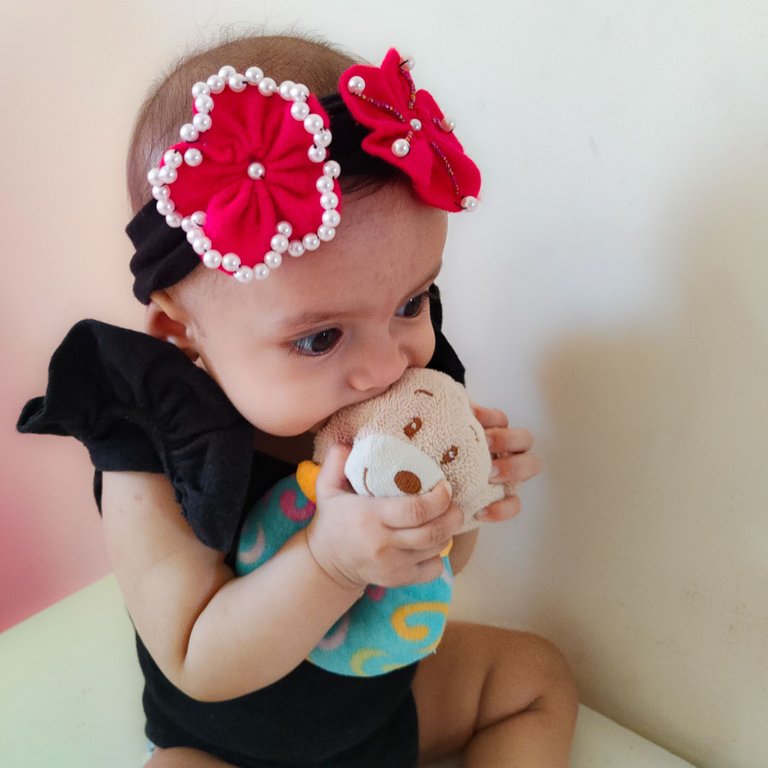
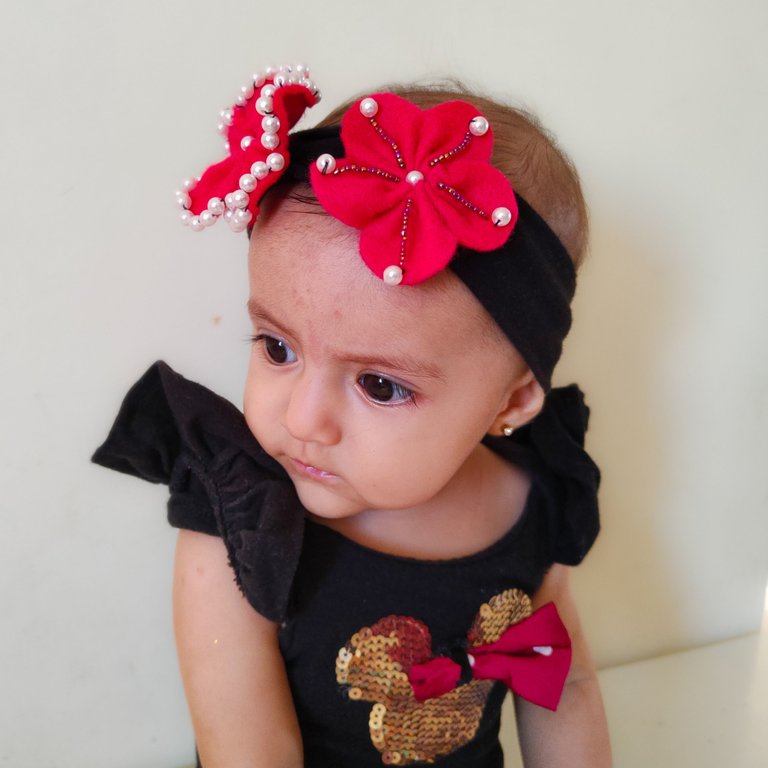
Espero el resultado haya sido de su agrado, en lo personal ame como le lucía a mi pequeña Amanda este cintillo de flores así que anímense y únanse a esta gran iniciativa y comunidad donde la creatividad no tiene límite estimados amigos, asi mismos aprovecho el espacio para invitar a participar
a las talentosas hivers @jeandri.lespe @mariaj151305 @creacioneslelys gracias a todos por llegar hasta aquí, por su tiempo, atención y apoyo.
I hope the result has been to your liking, I personally love how this flower headband looked to my little Amanda, so cheer up and join this great initiative and community where creativity has no limit dear friends, likewise I take this space to invite to participate
to the talented hivers @jeandri.lespe @mariaj151305 @creacioneslelys thank you all for your time, attention and support.
La creatividad no tiene límite. || There is no limit to creativity. ✨💎🎉🌷

Hasta la próxima...
See you next time... 🩷

🎥Imágenes y vídeo creados con: |Images and video created with: CapCut | Giphy| Canva
🇪🇸Traducido con DeepL

