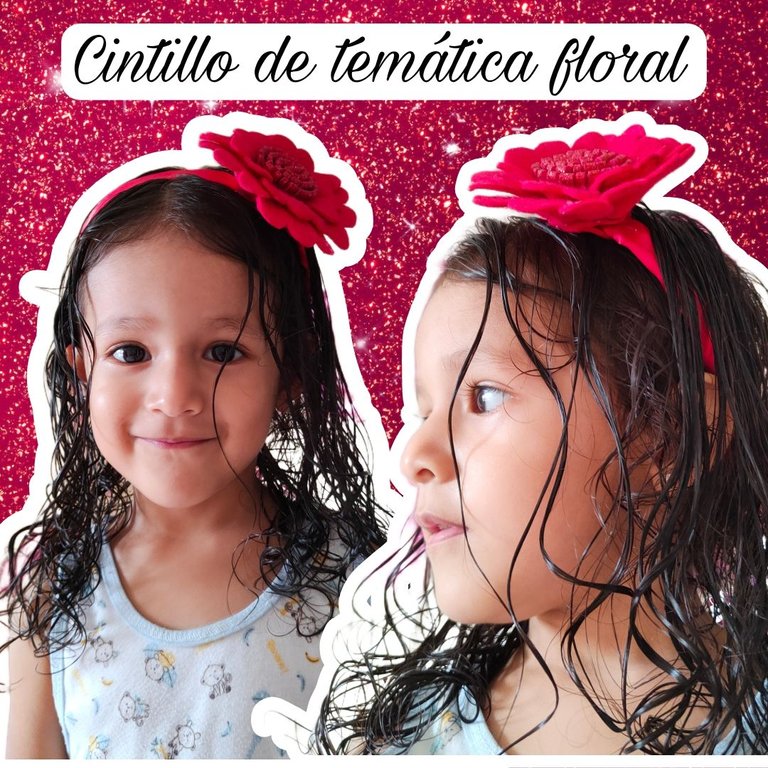
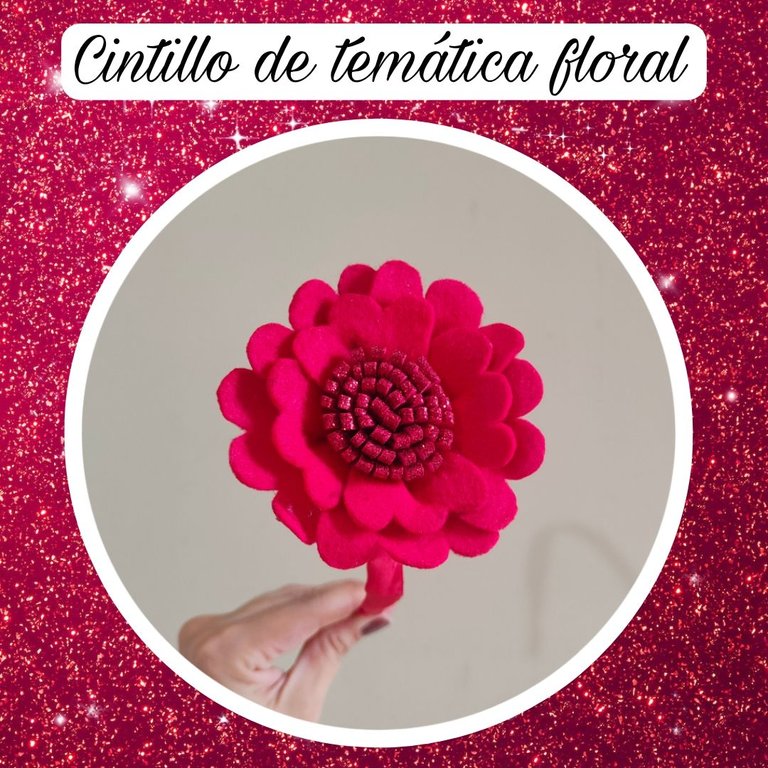
Bienvenidos || Welcome

Feliz noche queridos amigos y lectores siempre es genial compartir con cada uno de ustedes en esta ocasión quiero compartir el paso a paso de como realice un lindo cintillo con tematica floral con pocos materiales mucho ingenió asi que sin más acompañame.
Happy evening dear friends and readers it's always great to share with each of you on this occasion I want to share the step by step of how to make a nice headband with floral theme with few materials a lot of ingenuity so without further ado join me.

Materiales || Materials

✅ Cintillo de metal.
✅ Fieltro de color rojo.
✅ Silicon en barra.
✅ Foamy rojo.
✅ Tijera.
✅ Lapicero.
✅ Cinta roja.
✅ Metal band.
✅ Red felt.
✅ Silicon stick.
✅ Red foamy.
✅ Scissors.
✅ Pencil.
✅ Red tape.

Pasos ||Steps

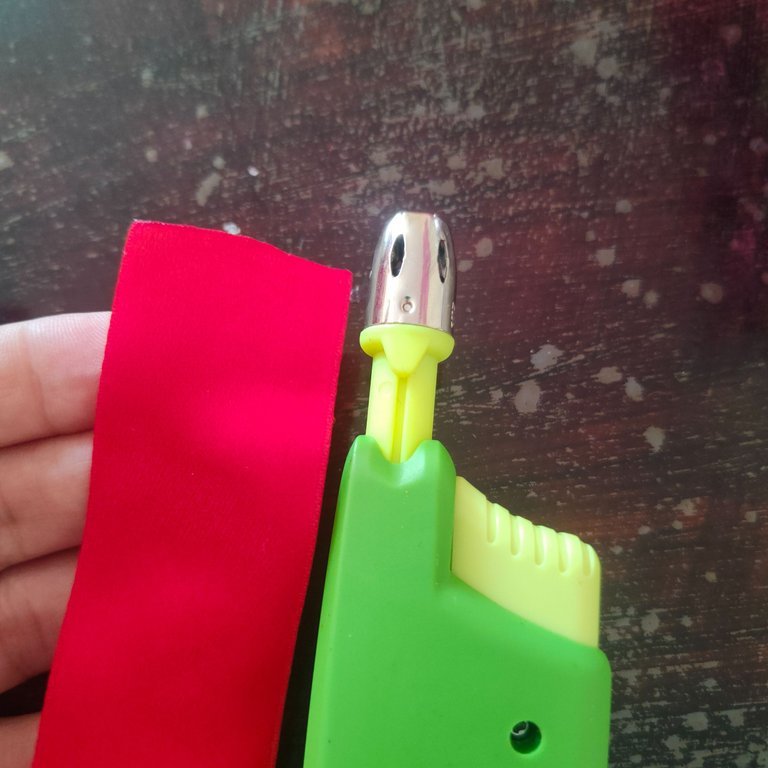
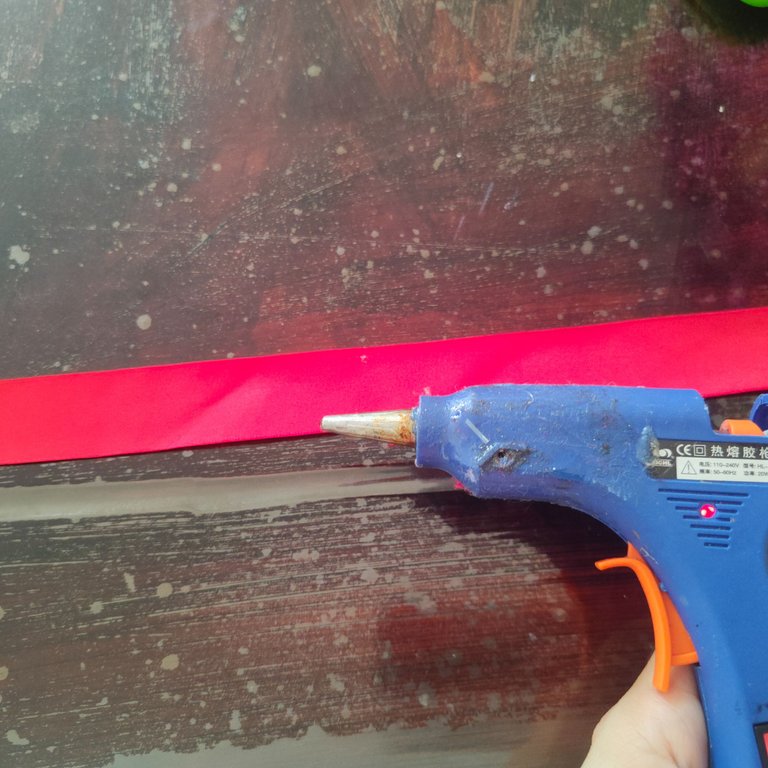
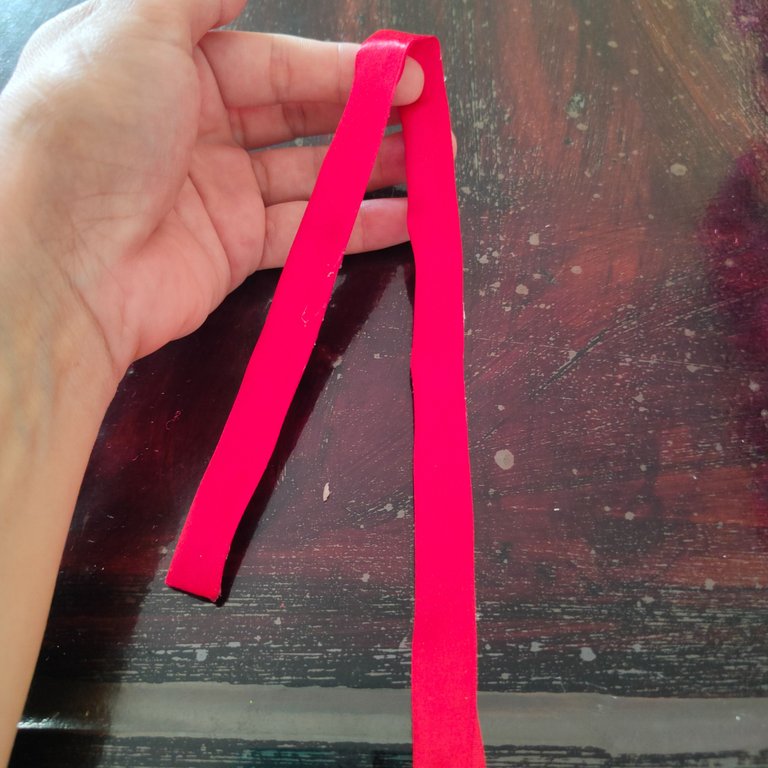
✅ Paso 1. Iniciaremos tomando nuestra cinta roja, con el encendedor vamos a sellar sus puntas para evitar que se deshilache y como con está es que vamos a cubrir el cintillo de metal con la ayuda de la pistola de silicon vamos a pegar la cinta por su borde.
✅ Step 1. We will start by taking our red ribbon, with the lighter we will seal its ends to prevent it from fraying and as this is what we are going to cover the metal band with the help of the silicone gun we will glue the ribbon around its edge.
 |  |
|---|
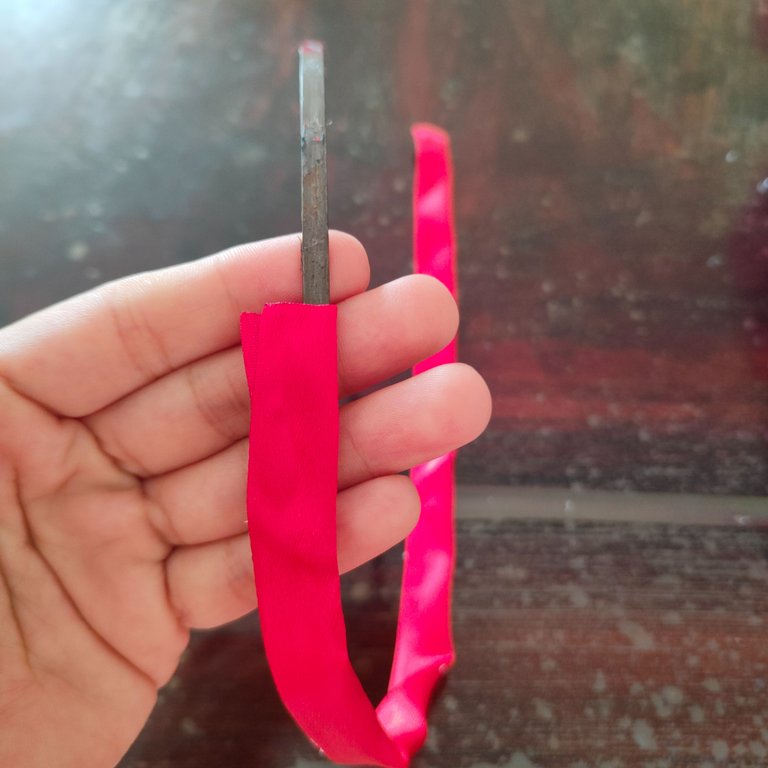
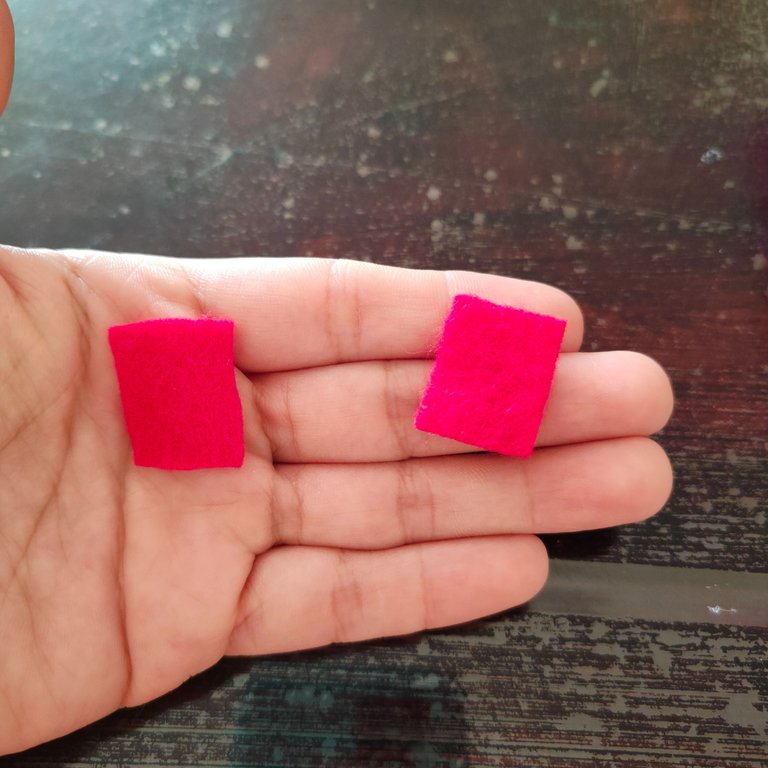
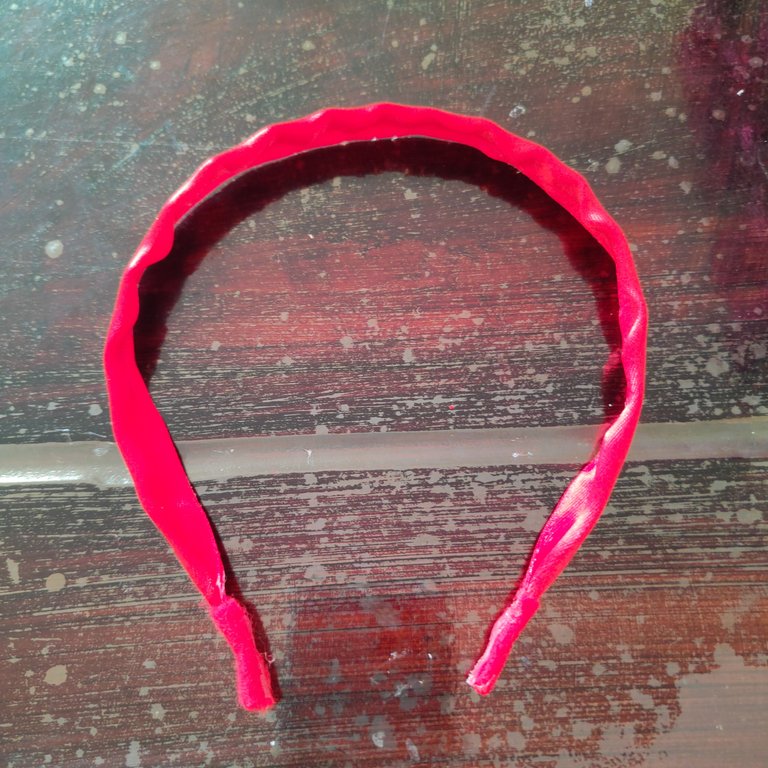
✅ Paso 2. seguidamente vamos introducir a través de la cinta el cintillo, debido a que la cinta es corta para sus puntas vamos usar fieltro rojo, así que realizaremos unos pequeños rectángulos y fijaremos alrededor del cintillo de metal de esta manera estara forrado nuestro cintillo.
✅ Step 2. Next, we are going to introduce through the ribbon the headband, because the ribbon is short for its ends we are going to use red felt, so we will make some small rectangles and we will fix them around the metal headband in this way our headband will be lined.
 |  |
|---|
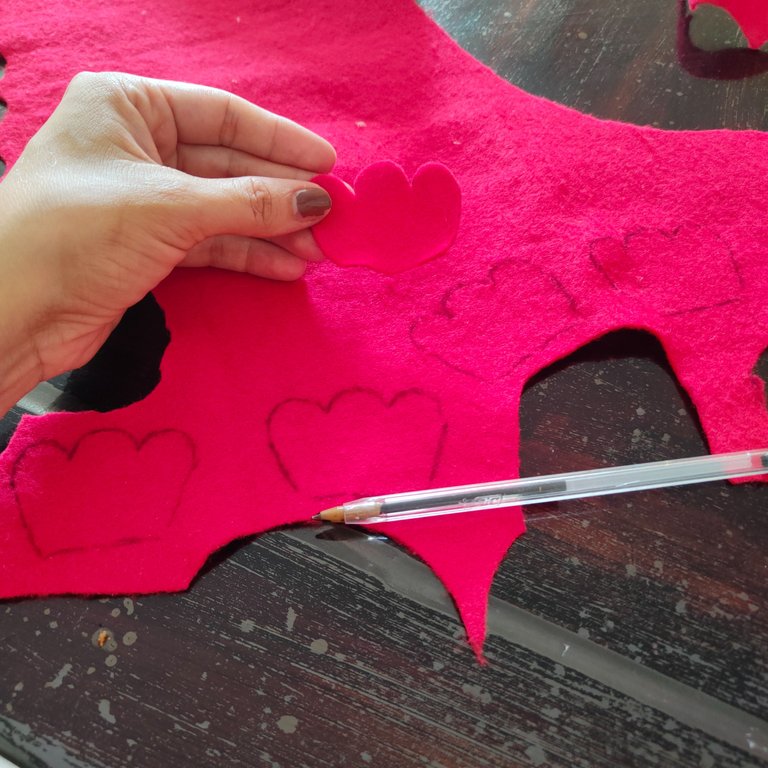
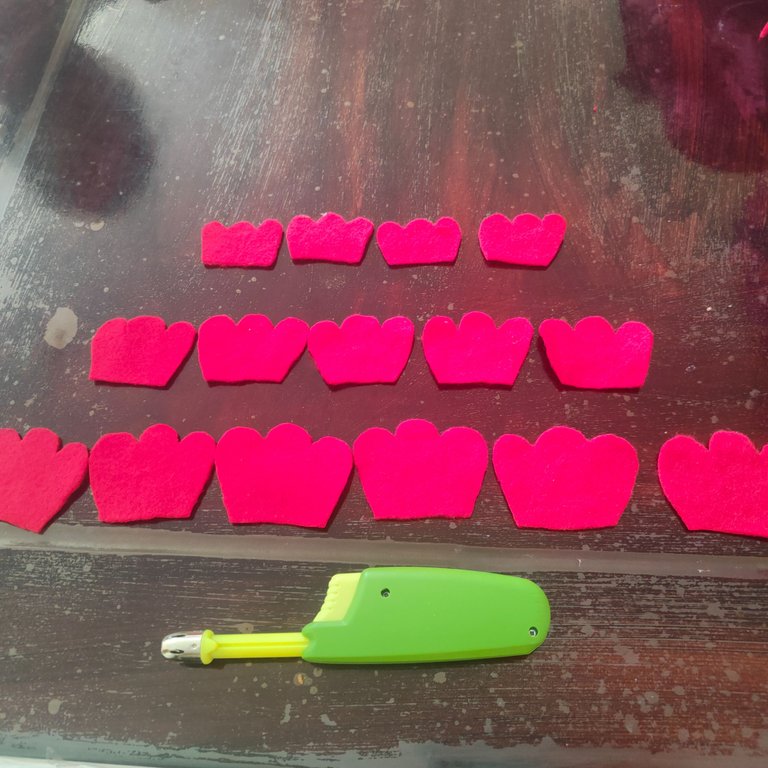
✅ Paso 3. Lo siguiente sera realizar los petalos de nuestra flor nos ayudaremos con un lapicero, haciéndolos lo mas parecidos, asi que procederemos hacer 4 petalos pequeños, 5 medianos y 6 grandes, para quitarle al fieltro la pelusa le pasaremos el encendedor ligeramente esto tambien hará que el fieltro se torne menos endeble.
✅ Step 3. The next step is to make the petals of our flower, we will help with a pencil, making them as similar as possible, so we will proceed to make 4 small petals, 5 medium and 6 large, to remove the lint from the felt we will pass the lighter lightly, this will also make the felt less flimsy.
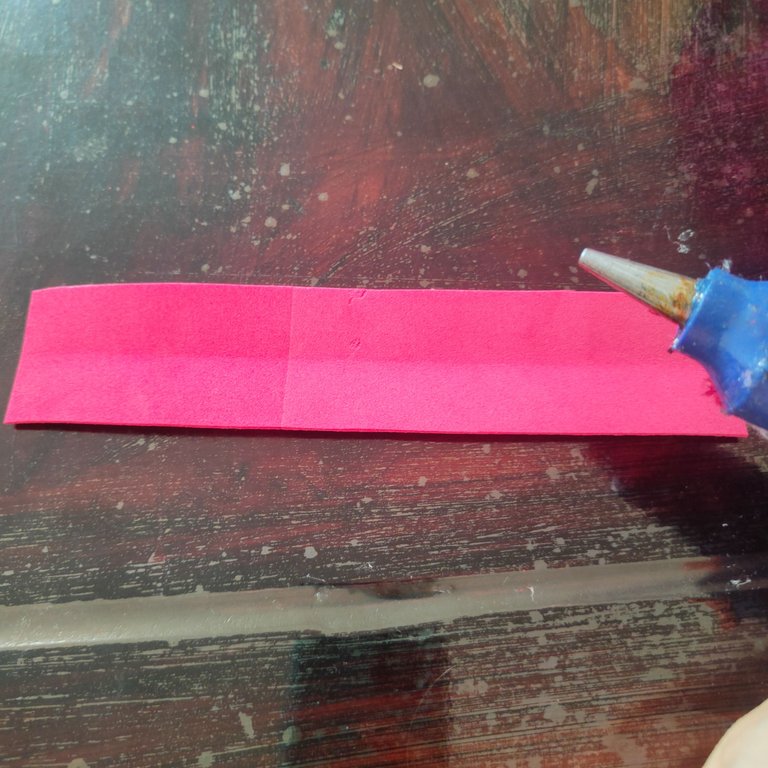
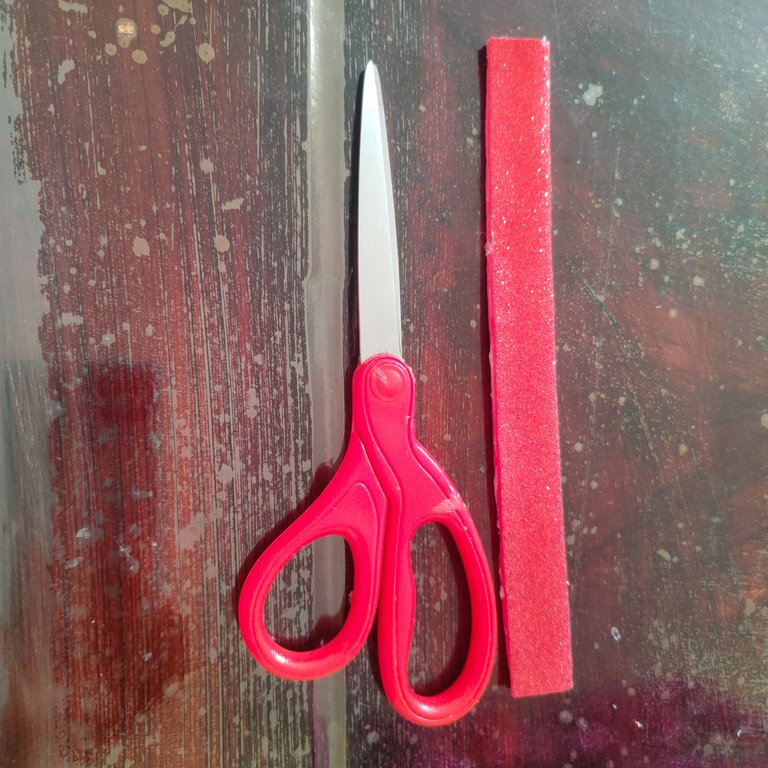
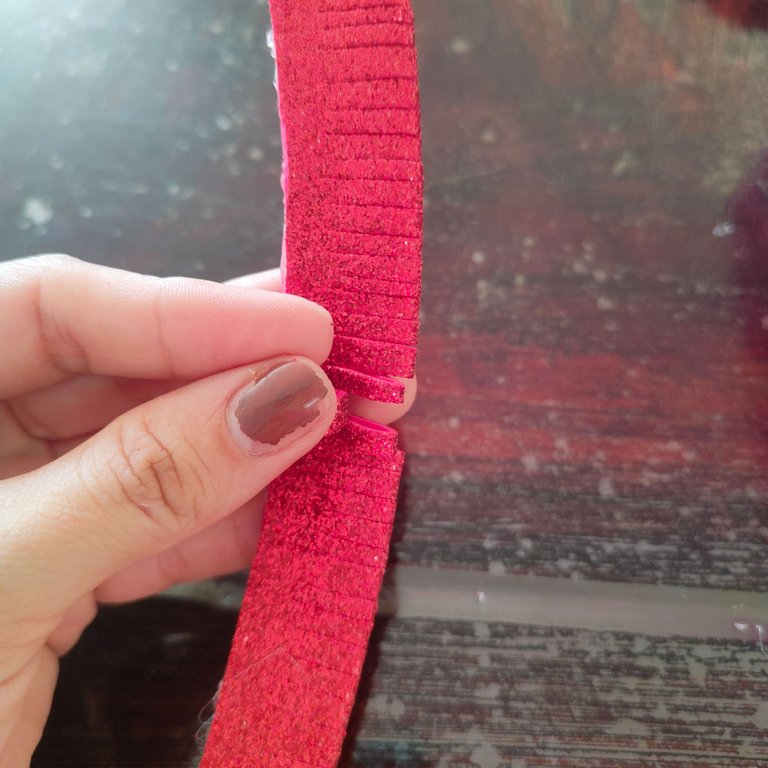
✅ Paso 4. Para realizar el centro de nuestra flor vamos a realizar una cinta con el foamy rojo, este medirá 12 centímetros de largo y 2 centímetros de ancho, con la ayuda de la pistola de silicon vamos a pegar los bordes del foamy y con la tijera comenzaremos hacer pequeños cortes por todo lo largo de la pieza, seguidamente vamos a pegarla formando un circulo y el centro de la flor.
✅ Step 4. To make the center of our flower we will make a ribbon with the red foamy, this will measure 12 centimeters long and 2 centimeters wide, with the help of the silicone gun we will glue the edges of the foamy and with the scissors we will begin to make small cuts along the entire length of the piece, then we will glue it forming a circle and the center of the flower.
 |  |  |
|---|
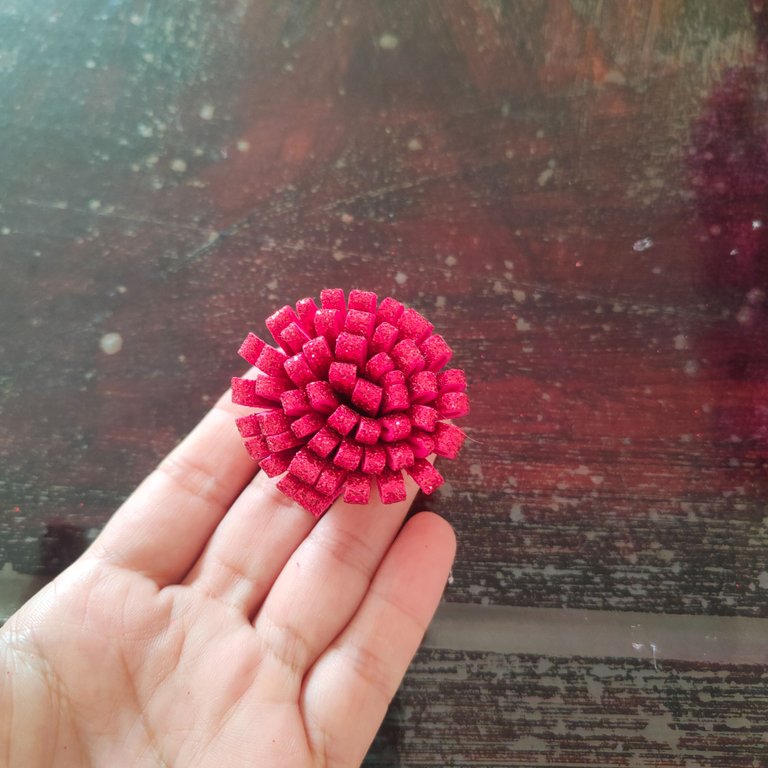
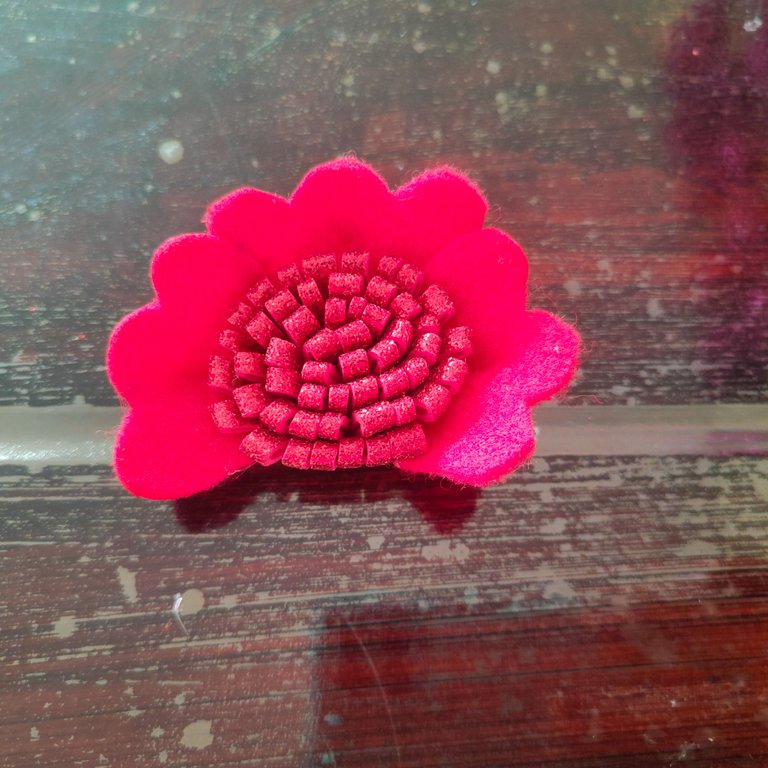
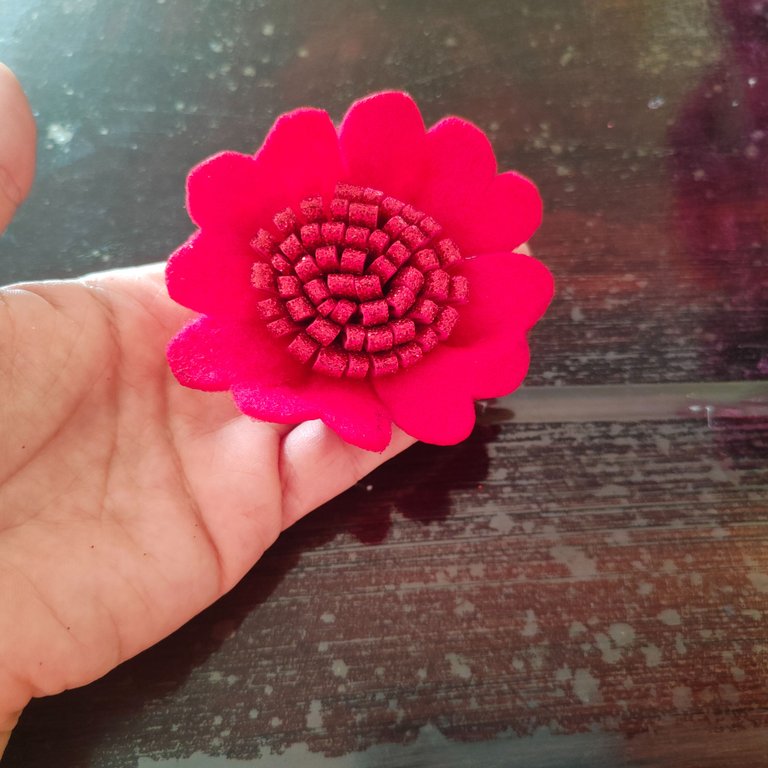
✅ Paso 5. Una vez que tenemos todas nuestras piezas listas, vamos a comenzar a pegarlas entre si comenzaremos tomando el centro de nuestra flor y pegaremos 1 por uno los 4 petalos pequeños.
✅ Step 5. Once we have all our pieces ready, we will start gluing them together. We will start by taking the center of our flower and glue 1 by 1 the 4 small petals.
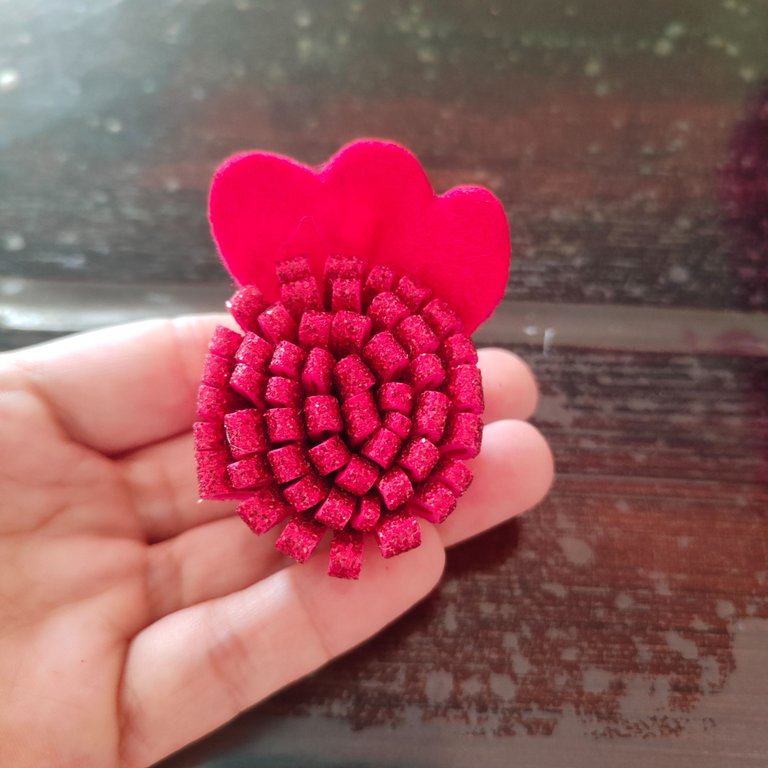
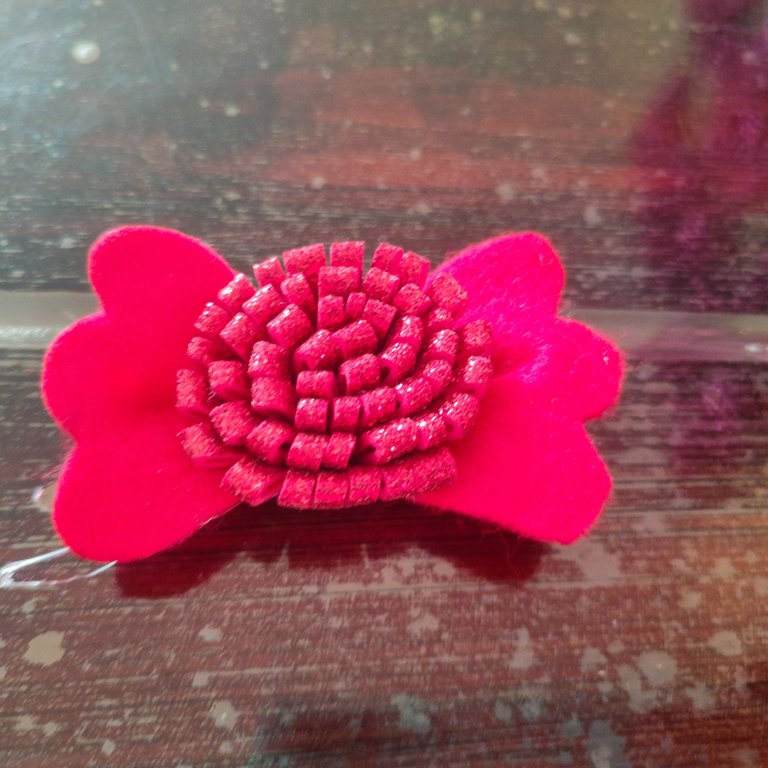
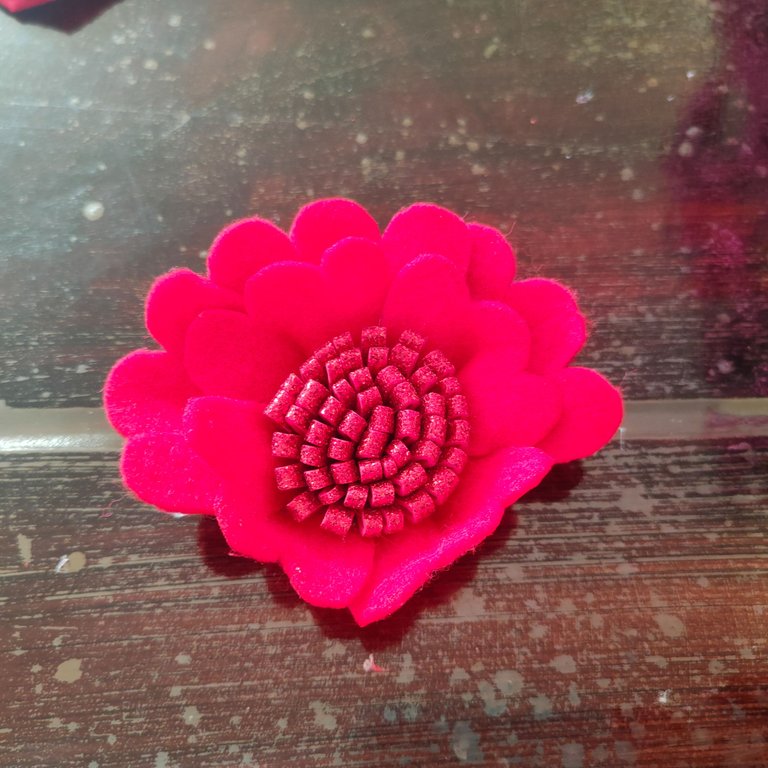
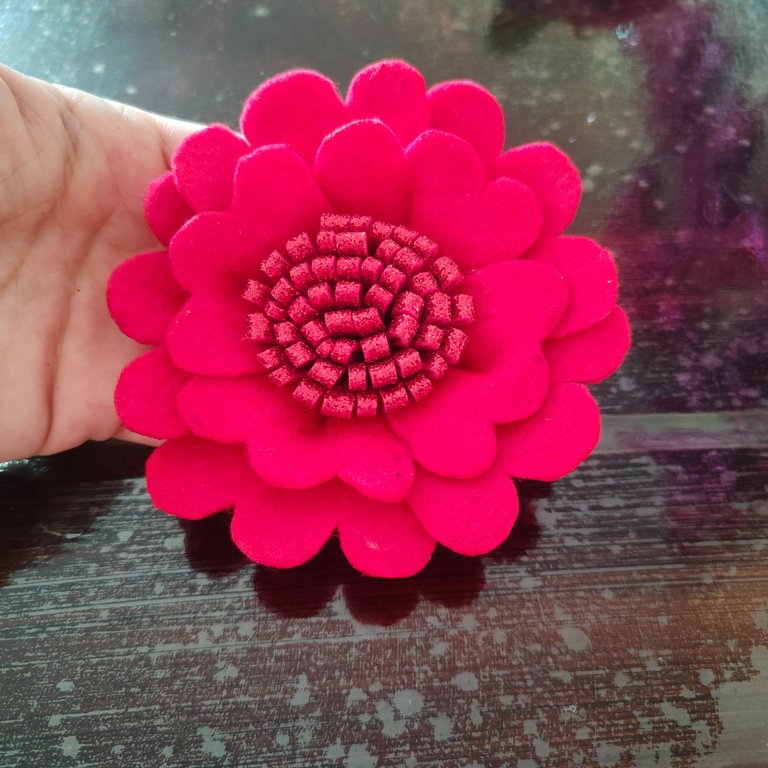
✅ Paso 6. Seguiremos pegando a nuestra flor los petalos medianos y aunque hice petalos grandes no hice uso de estos ya que la flor tenia el tamaño que queria para el cintillo.
✅ Step 6. We will continue gluing the medium petals to our flower and although I made large petals I did not use them since the flower was the size I wanted for the headband.
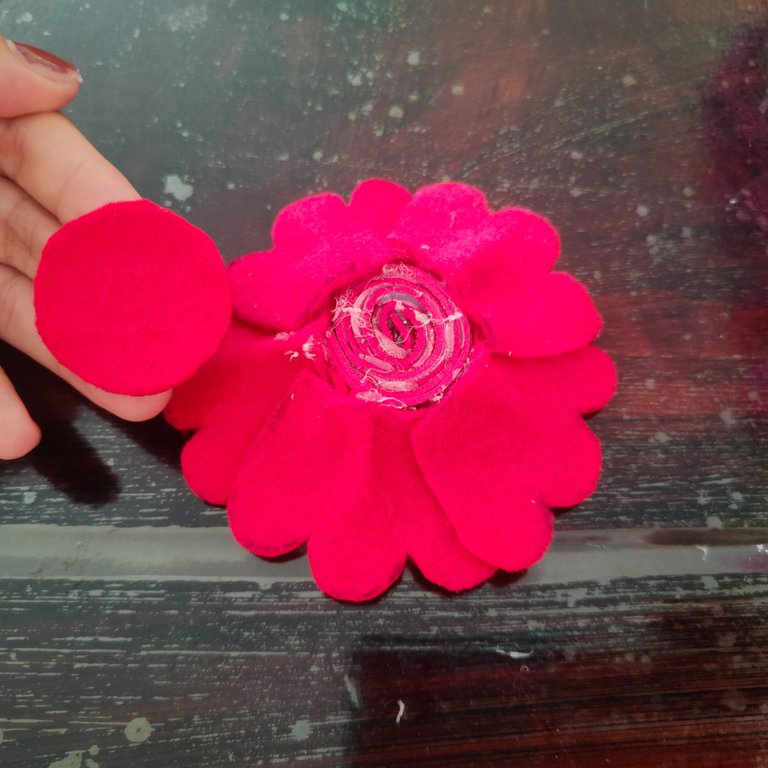
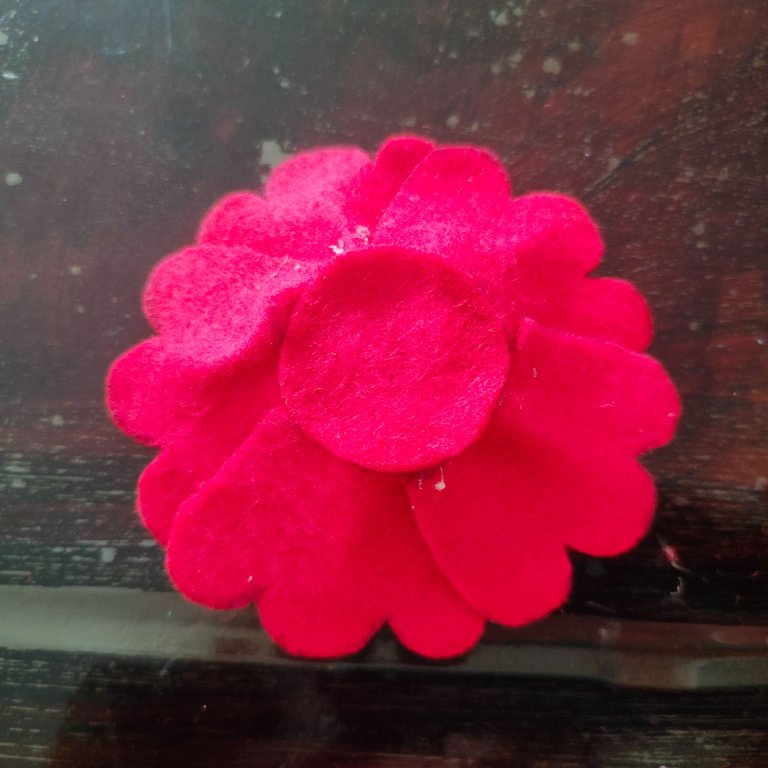
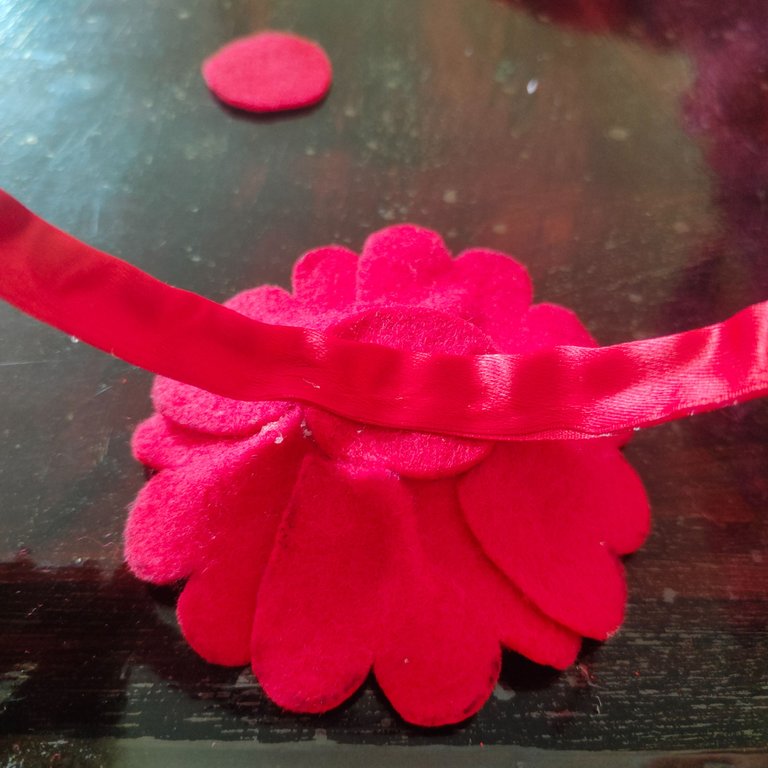
✅ Paso 7. Para que la flor quedase mas prolija procedí hacer dos circulos uno para fijarlo en la parte inferior, seguidamente fije la flor al cintillo y luego fije el otro circulo sobre el cintillo y la flor.
✅ Step 7. To make the flower neater I proceeded to make two circles, one to fix it at the bottom, then I fixed the flower to the headband and then I fixed the other circle over the headband and the flower.
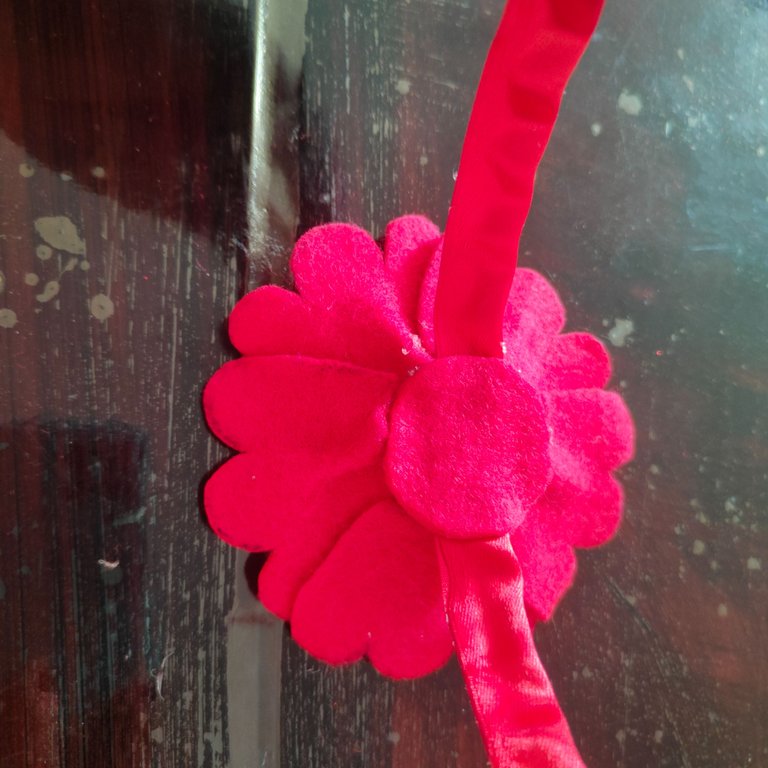
De esta forma tendremos listo nuestro cintillo muy bonito para las mas pequeñas de la casa.
In this way we will have ready our very pretty headband for the little ones of the house.

Resultado || Result

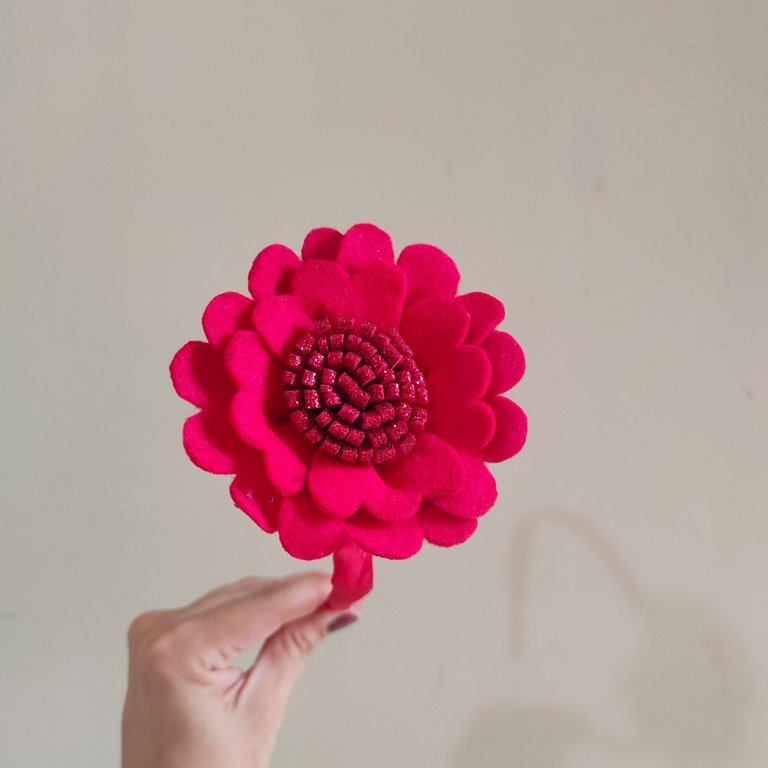
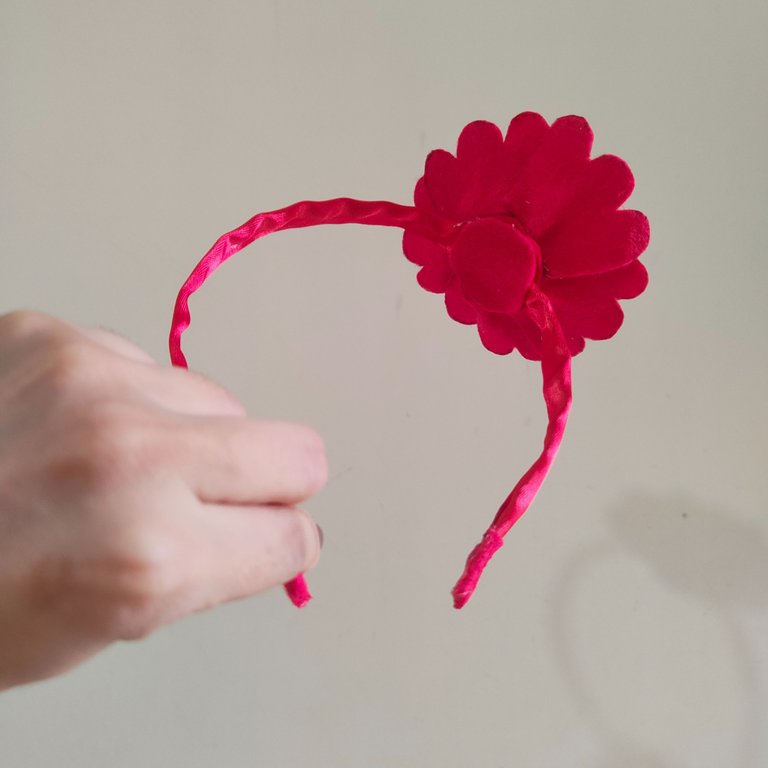
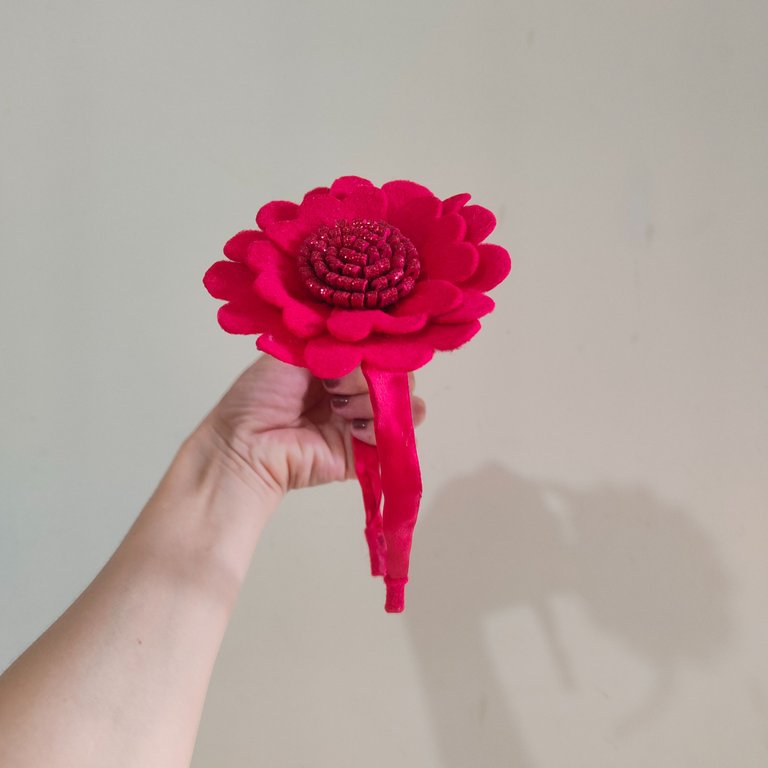


En lo personal me encanta trabajar con fieltro porque los trabajos quedan bastantes bonitos y prolijos adicional a ello son super duraderos, y cuando se trata de niños pequeños este material resiste más que otros, esta flor en particular me encantó!!! Y mi hija mayor quedo feliz con su cintillo nuevo, esto ha sido todo en esta ocasión estimados amigos y lectores espero el contenido fuese de su agrado, como siempre agradecida con todos por su tiempo, atención y apoyo será hasta unas próxima ocasión.
Personally I love working with felt because the works are quite nice and neat, in addition to this they are super durable, and when it comes to young children this material resists more than others, this particular flower I loved!!!! And my oldest daughter was happy with her new headband, this has been all on this occasion dear friends and readers I hope the content was to your liking, as always grateful to everyone for their time, attention and support will be until next time.
La creatividad no tiene límite. || There is no limit to creativity. ✨💎🎉🌷
COMMUNITY JEWELRY.

🎥Imágenes y vídeo creados con: |Images and video created with: Youcut video| Giphy | Canva |
🇪🇸 Traducido con DeepL


