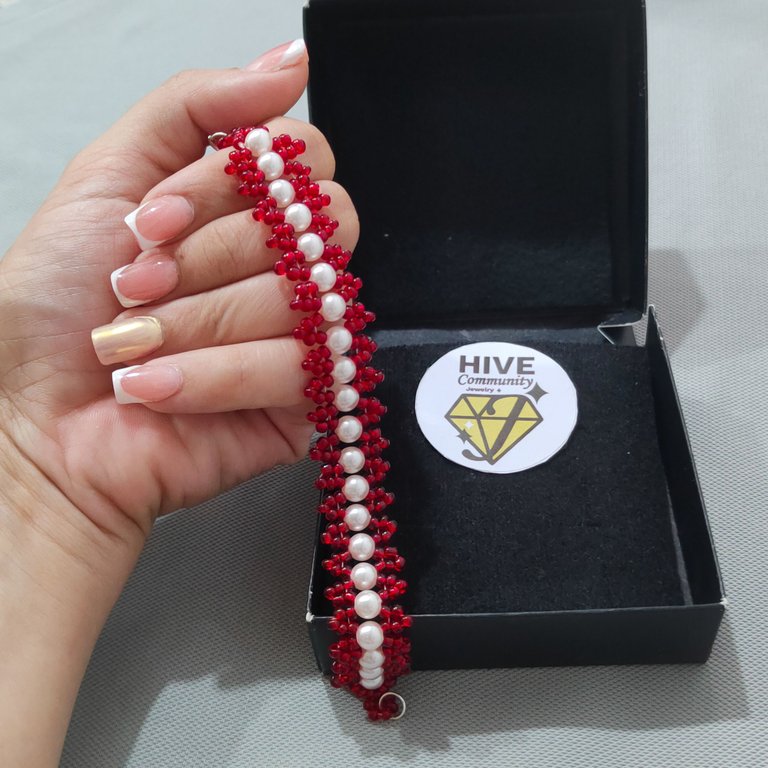
Bienvenidos || Welcome

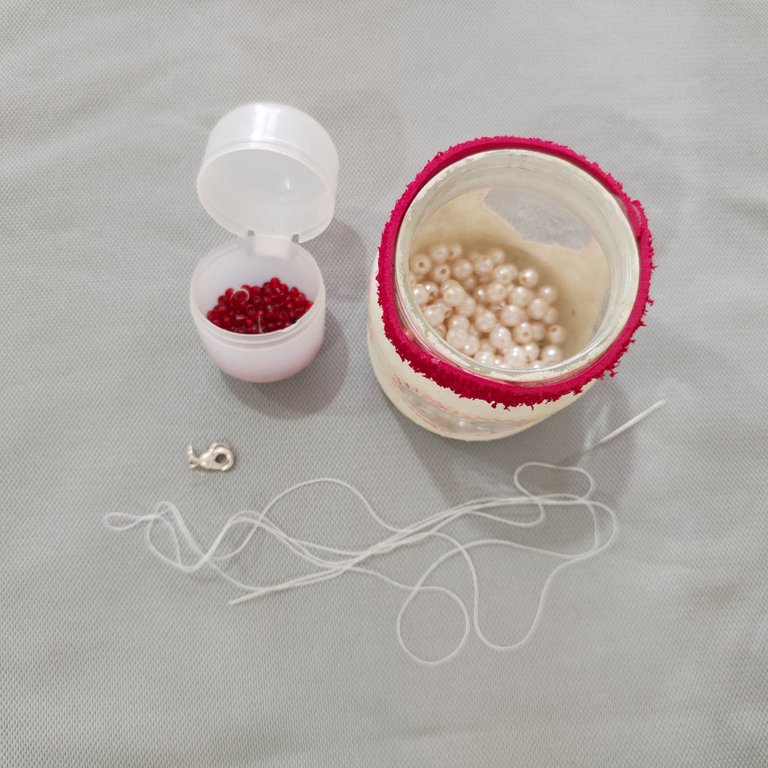
Feliz viernes mis estimados y queridos artesanos creativos de esta hermosa comunidad, hoy me llena de felicidad cerrar la semana compartiendo con todos ustedes l creación de esta hermosa pulsera de perlas con mostacilla, para la cual vamos a necesitar los siguientes materiales.
Happy Friday my dear and dear creative artisans of this beautiful community, today it fills me with happiness to close the week sharing with all of you the creation of this beautiful bead bracelet with beads and beads with clay, for which we will need the following materials.

Materiales || Materials

✅ Perlas.
✅ Mostacillas rojas.
✅ Hilo naylon.
✅ Aguja.
✅ 2 aritos de bisutería.
✅ 1 tranca.
✅ Tijera.
✅ Pearls.
✅ Red beads.
✅ Nylon thread.
✅ Needle.
✅ 2 costume jewelry earrings.
✅ 1 string.
✅ Scissors.

Pasos ||Steps

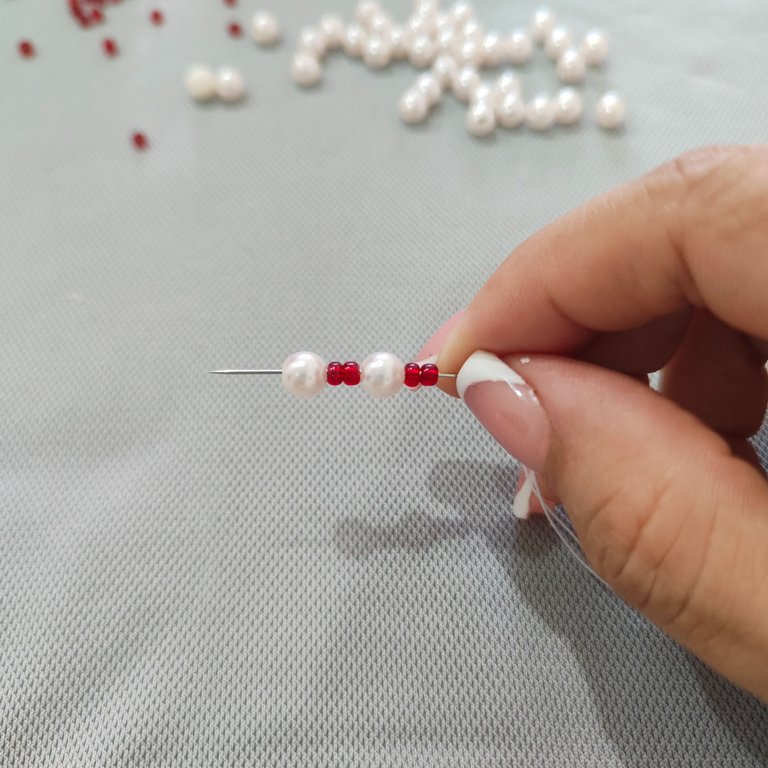
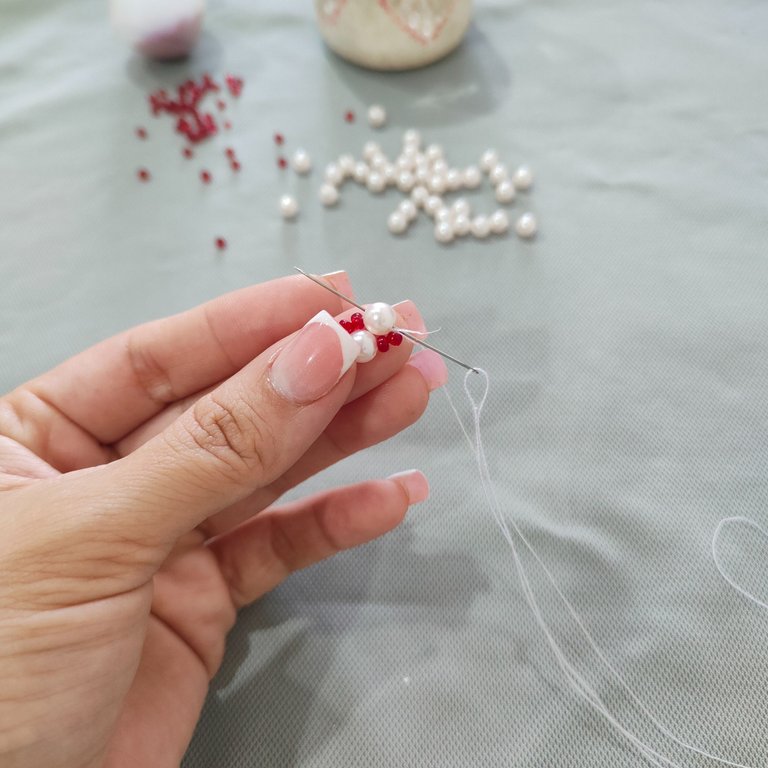
✅ Paso 1. Iniciaremos midiendo un metro y medio de hilo nylon, seguidamente vamos a insertar dos mostacillas una perla dos mostacillas y una perla más, llevamos al final de nuestro hilo y ponemos sobre nuestro dedo, pasaremos con la aguja nuevamente por nuestra mostacillas y Perlas.
✅ Step 1. We will start by measuring a meter and a half of nylon thread, then we will insert two beads, one pearl, two beads and one more pearl, we take the end of our thread and put it on our finger, we will pass with the needle again through our beads and pearls.
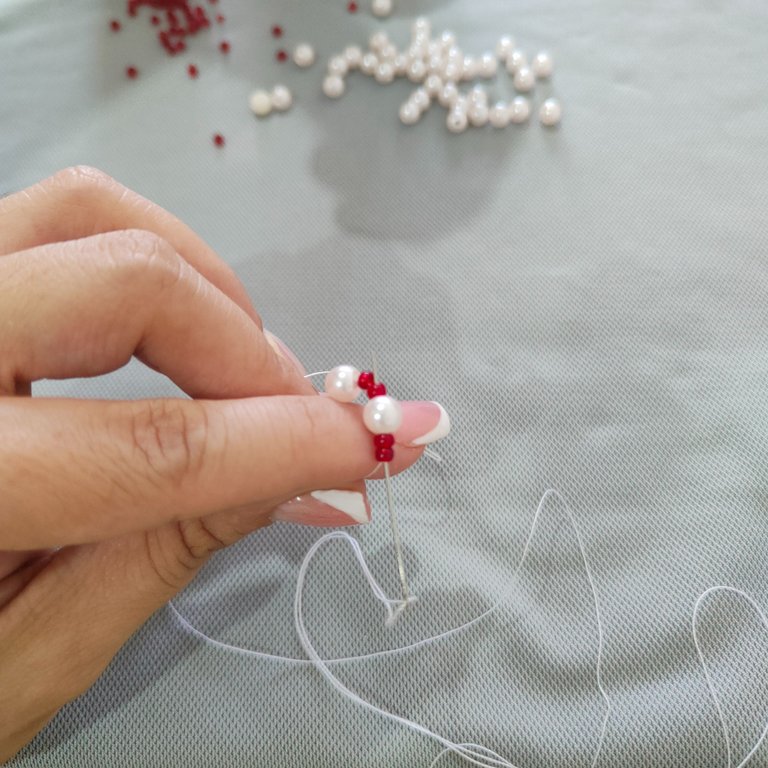
✅ Paso 2. Una vez que pasamos el hilo por todas nuestras Perlas y mostacillas nuevamente vamos a proceder a hacer un nudo clásico cortando el extremo más corto y el extremo más largo el cual tienen insertada nuestra aguja lo vamos a pasar por la perla.
✅ Step 2. Once we pass the thread through all our Pearls and beads again we will proceed to make a classic knot by cutting the shorter end and the longer end which has our needle inserted we will pass it through the pearl.
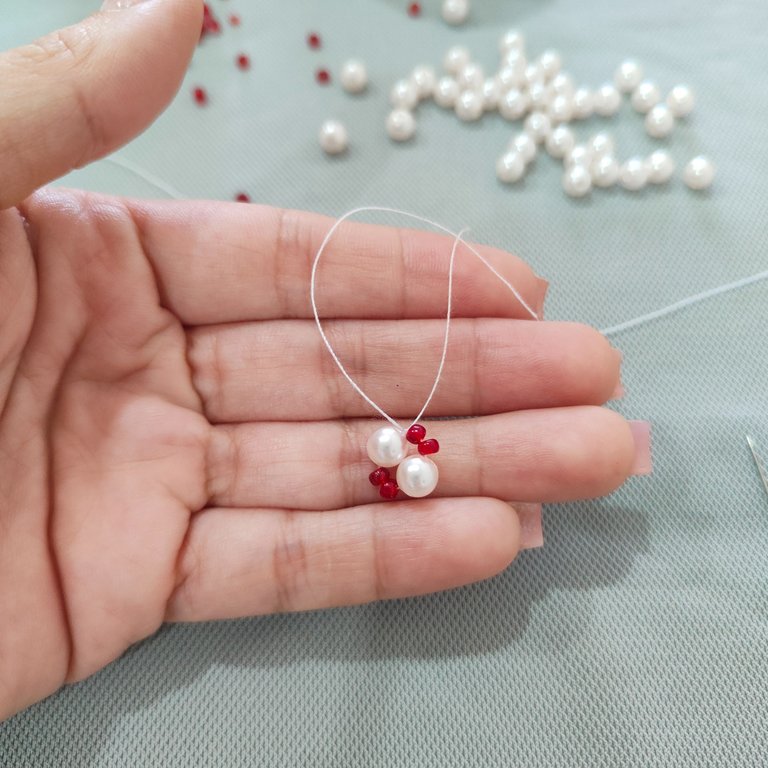
✅ Paso 3. Seguidamente vamos a insertar cinco mostacillas en nuestro hilo y pasaremos con esta a través de la perla por la cual ya habíamos pasado anteriormente con nuestro hilo, y a continuación vamos a pasar con nuestra aguja por tres de las cinco mostacillas que insertamos.
✅ Step 3. Next we are going to insert five beads in our thread and pass it through the bead through which we had already passed our thread, and then we are going to pass our needle through three of the five beads we inserted.
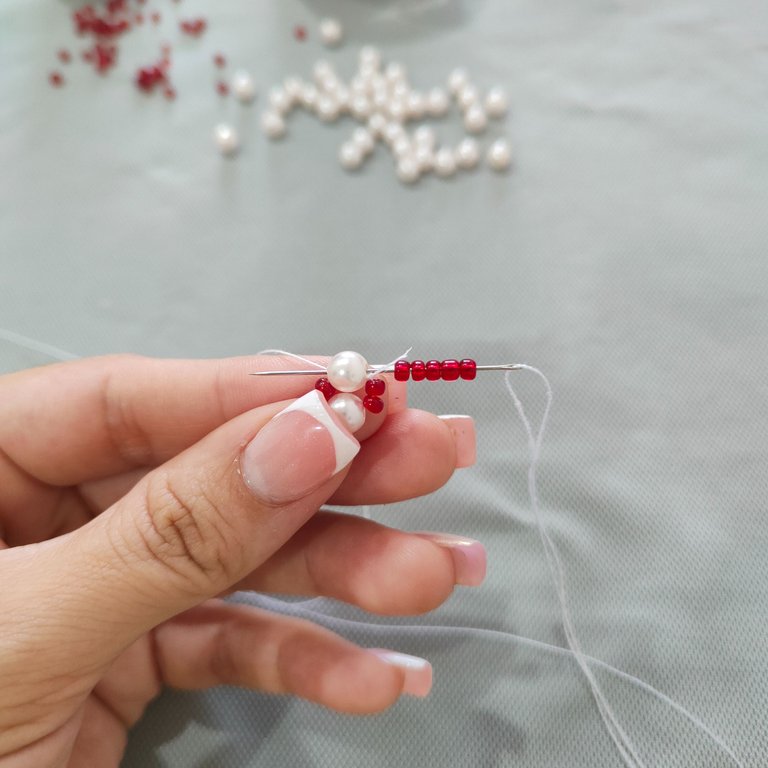
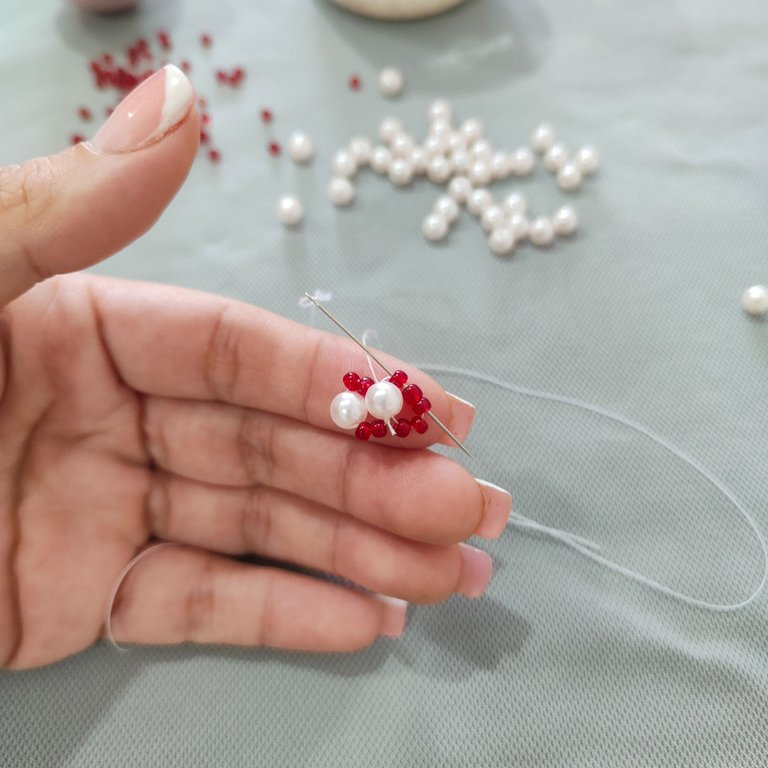
✅ Paso 4. Insertaremos en este caso cinco mostacillas formando con ella un círculo donde más adelante irá nuestro arito de bisutería, al crear el círculo de mostacilla nos vamos a regresar a través de todas ellas para que quede reforzado con nuestro hijo nylon.
✅ Step 4. We will insert in this case five beads forming with it a circle where later will go our costume jewelry earring, when creating the circle of beads we will go back through all of them so that it is reinforced with our nylon son.
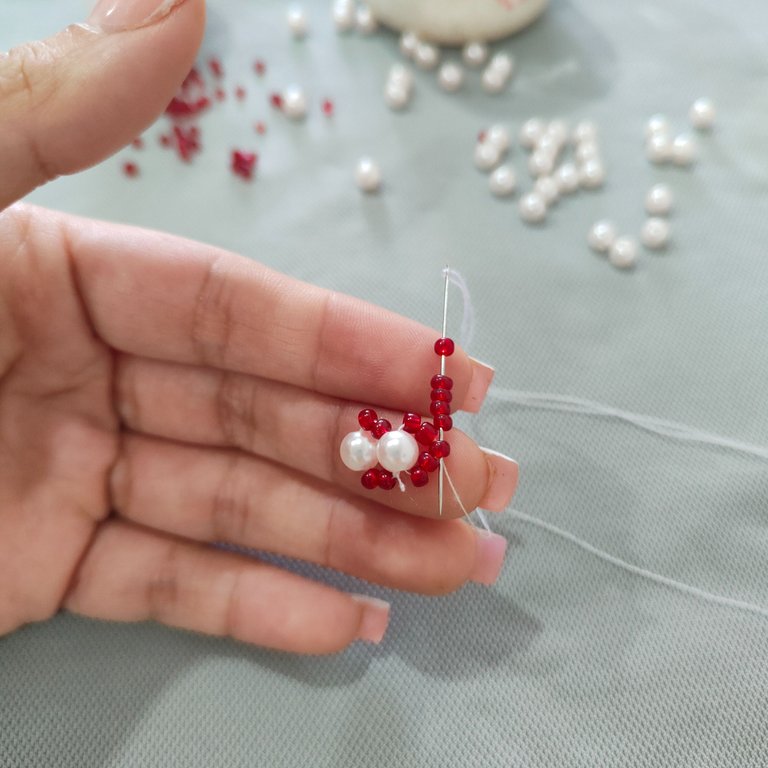
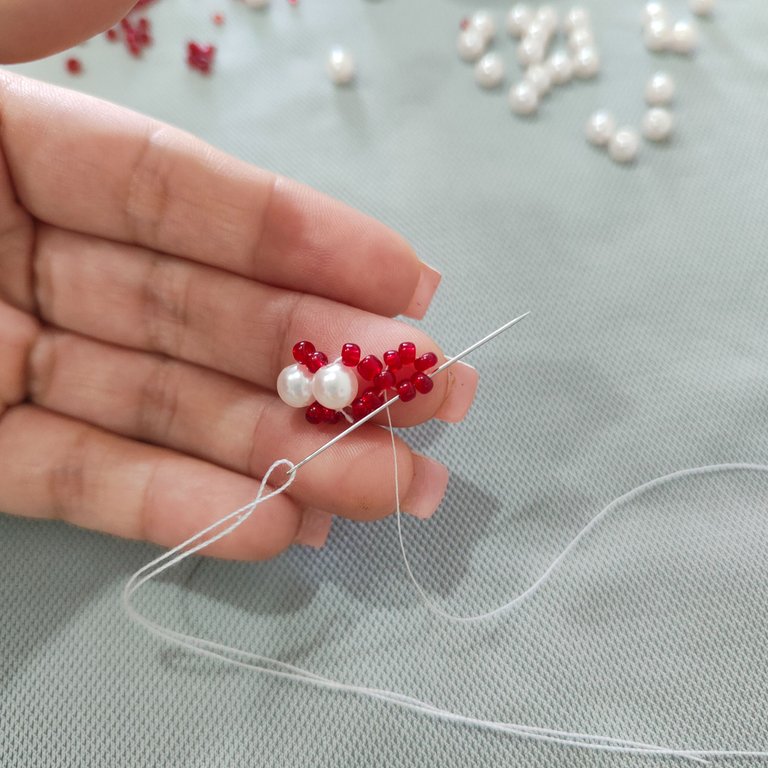
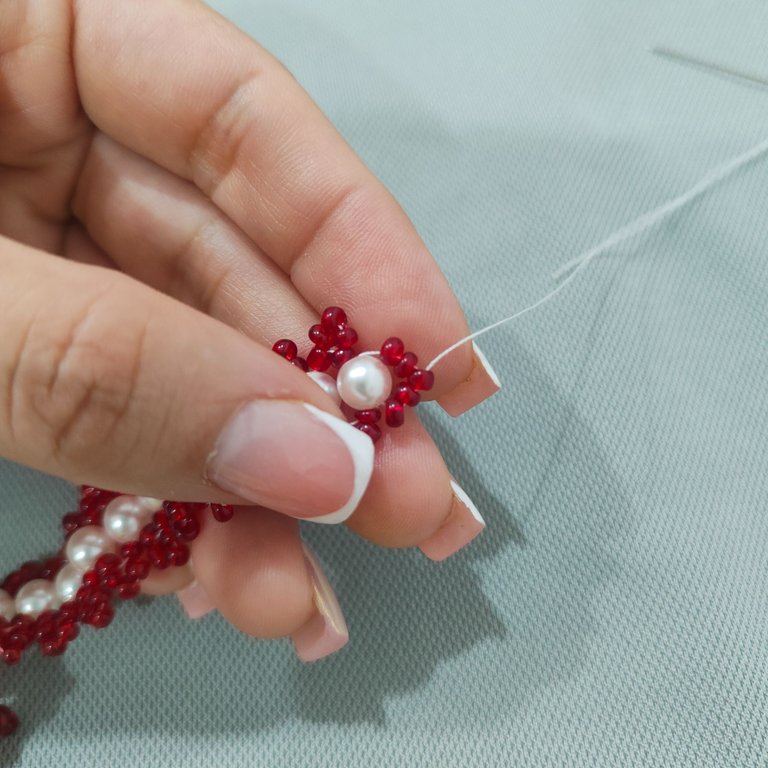
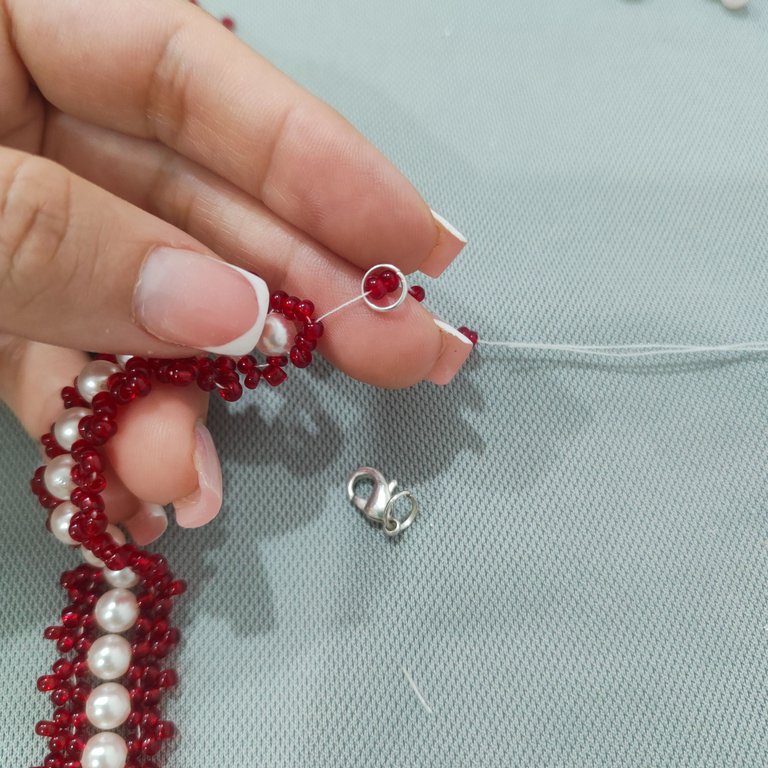
✅ Paso 5. Seguidamente vamos a pasar por las dos mostacillas que bordean nuestra perla y así mismo pasaremos por la perla, a partir de este momento comenzaremos con lo que será el entramado de nuestra pulsera iniciaremos pasando por la primera mostacilla siguiente a nuestra Perla agregaremos tres mostacillas y pasamos por las siguientes mostacilla con nuestra aguja e hilo naylon, ajustamos y veremos cómo se forma un triángulo con mostacilla en este extremo de nuestra Perla.
✅ Step 5. Next we will pass through the two beads that border our pearl and we will pass through the pearl, from this moment we will begin with what will be the weaving of our bracelet we will start by passing through the first bead next to our pearl we will add three beads and pass through the following beads with our needle and naylon thread, we adjust and we will see how a triangle is formed with beads at this end of our pearl.
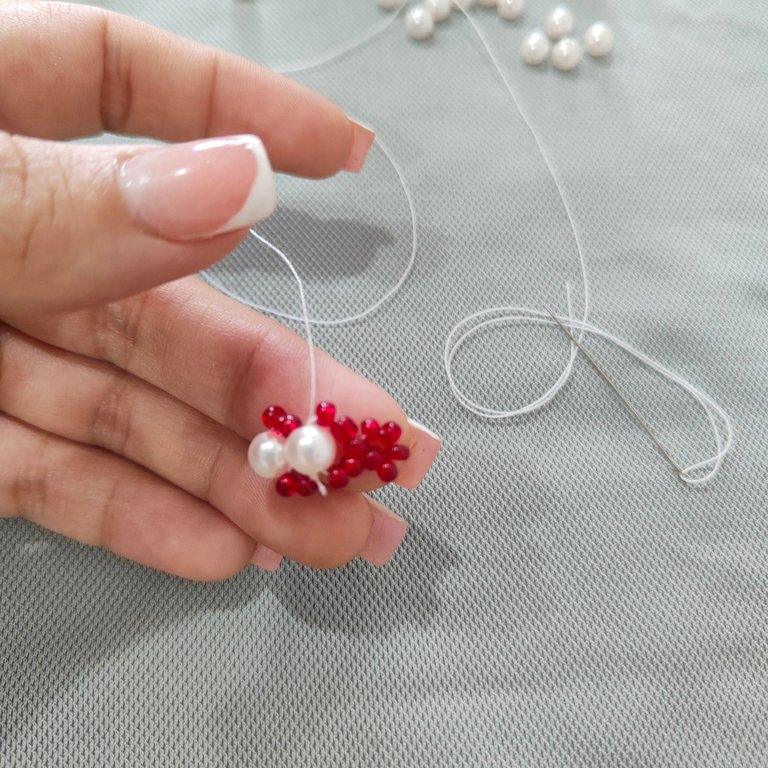
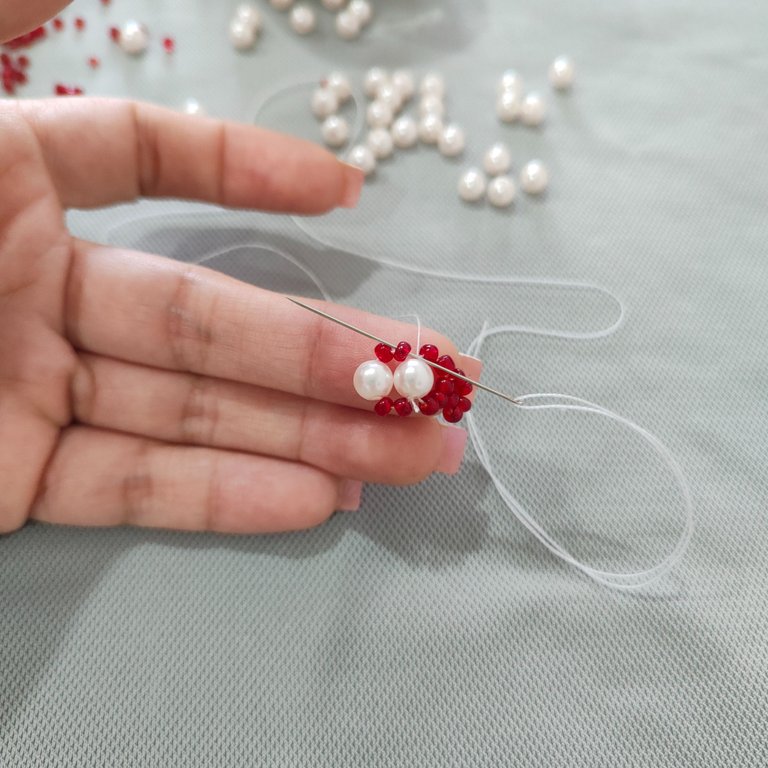
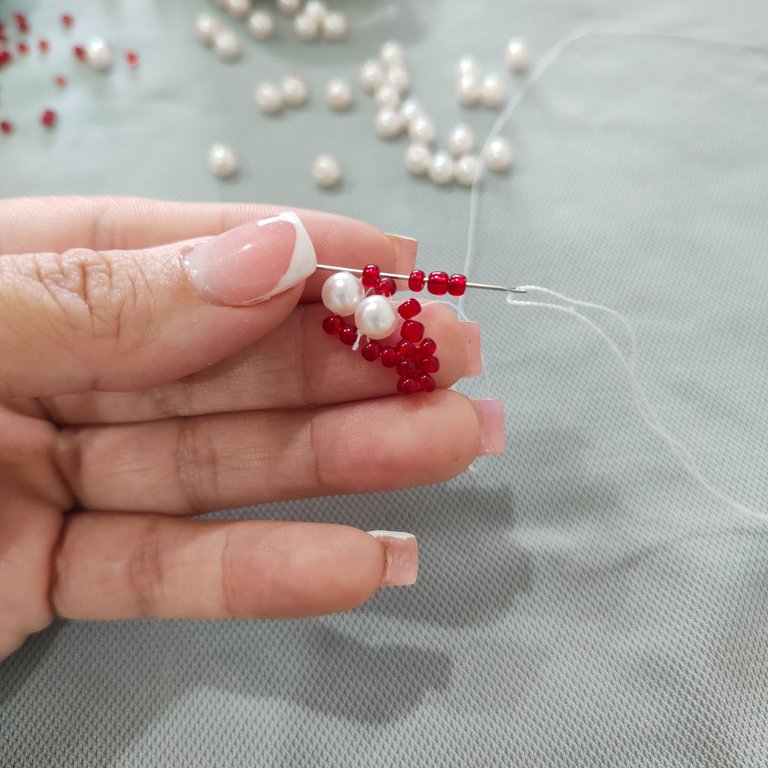
✅ Paso 6. Seguidamente vamos a pasar nuestra aguja a través de la perla y a través de la mostacilla ubicada a mano derecha agregaremos tres mostacillas y pasaremos con nuestra aguja a través de la mostacilla siguiente a mano izquierda de nuestra Perla pensamos el hilo y de esta manera veremos cómo se forma un triángulo en este extremo de esta Perla también.
✅ Step 6. Next we are going to pass our needle through the pearl and through the bead located on the right hand side we will add three beads and we will pass with our needle through the next bead on the left hand side of our pearl we will think the thread and in this way we will see how a triangle is formed at this end of this pearl as well.
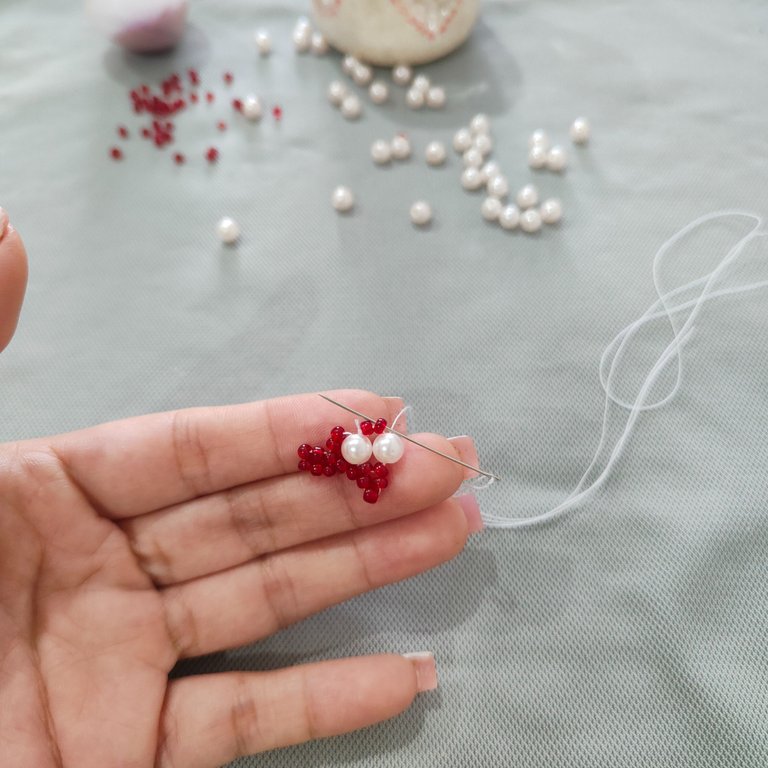
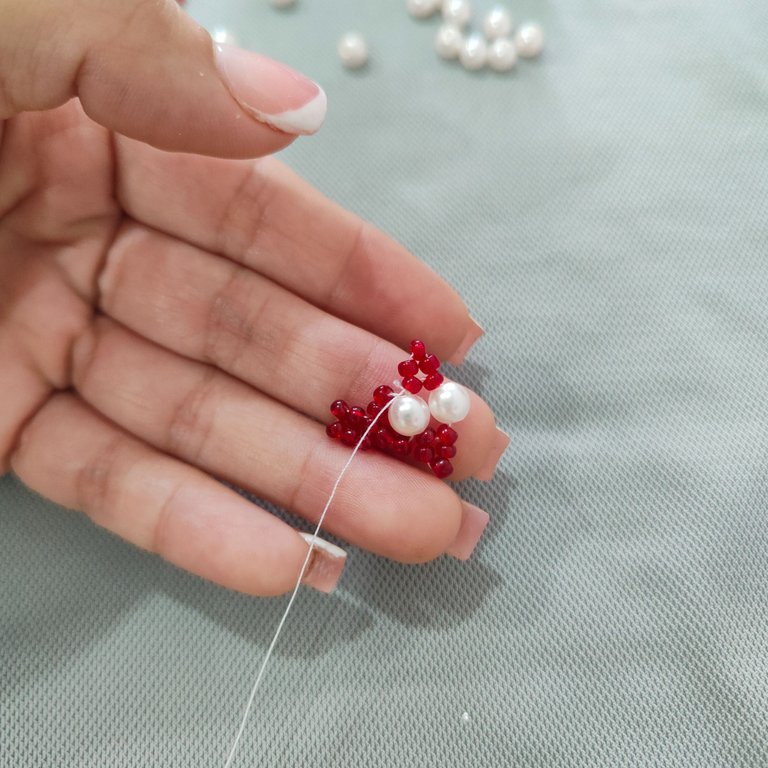
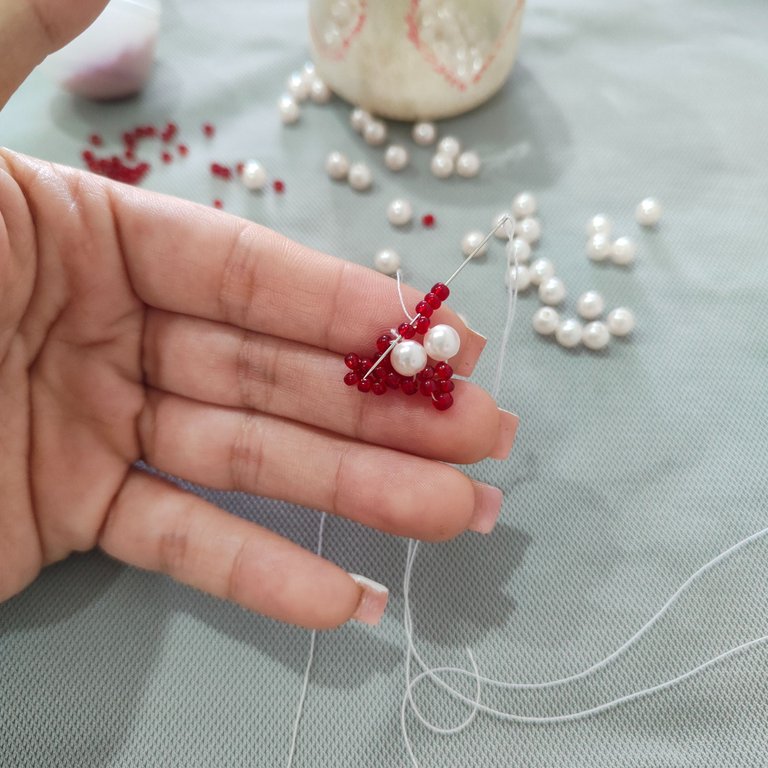
✅ Paso 7. A continuación pasaremos nuestra aguja por nuestra Perla, una vez que la hemos pasado vamos a pasar nuestra aguja también por las dos mostacillas siguiente a nuestra Perla, para así iniciar de nuevo los pasos anteriores y seguir con el entramado de nuestra pulsera así que tomaremos dos mostacillas rojas una perla dos mostacillas rojas y repetiremos los pasos anteriores nuevamente hasta obtener el largo deseado en nuestra pulsera.
✅ Step 7. Next we will pass our needle through our Pearl, once we have passed it we will pass our needle also through the two beads next to our Pearl, in order to start again the previous steps and continue with the weaving of our bracelet so we will take two red beads one bead two red beads and repeat the previous steps again until we get the desired length in our bracelet.
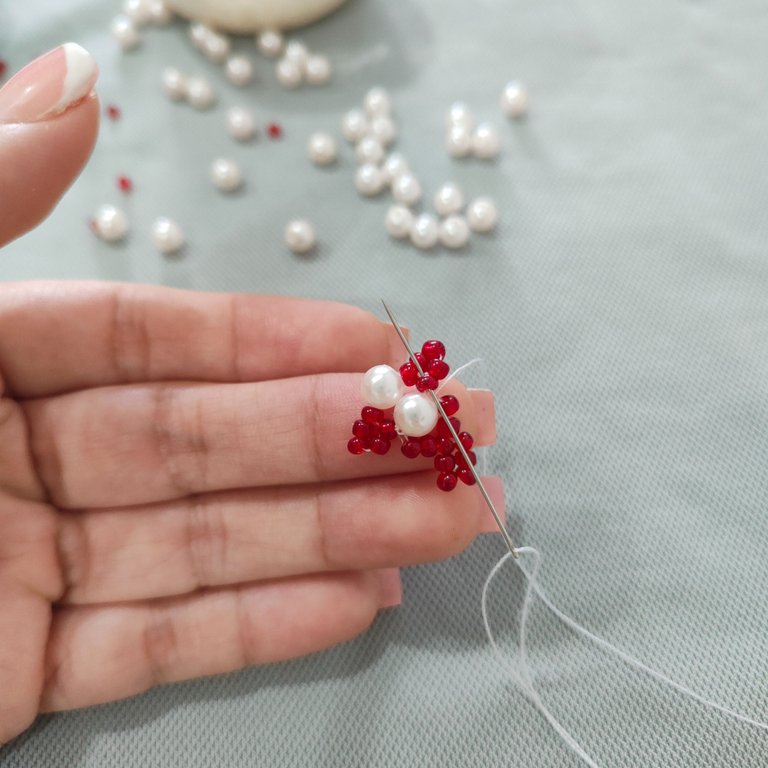
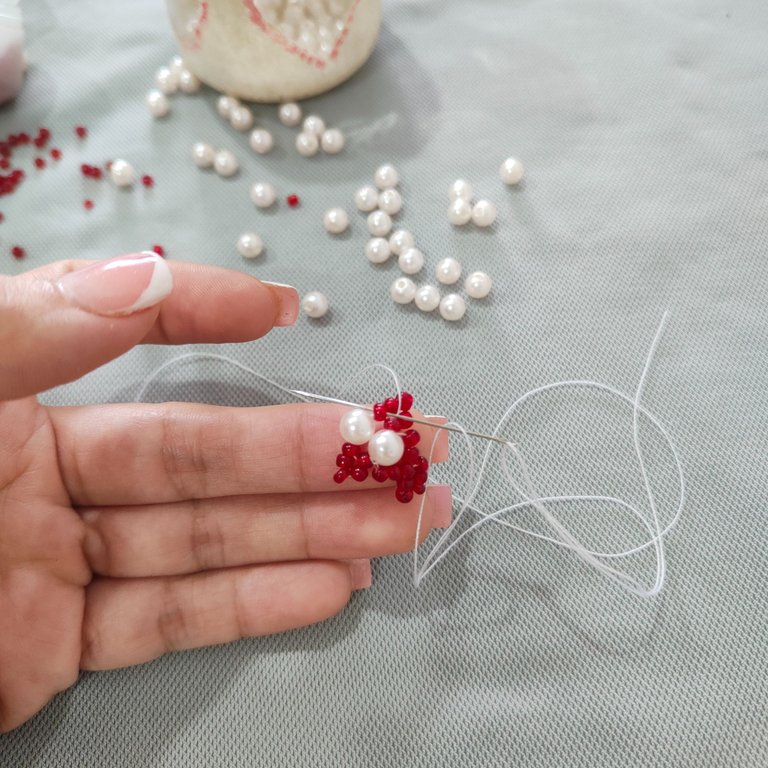
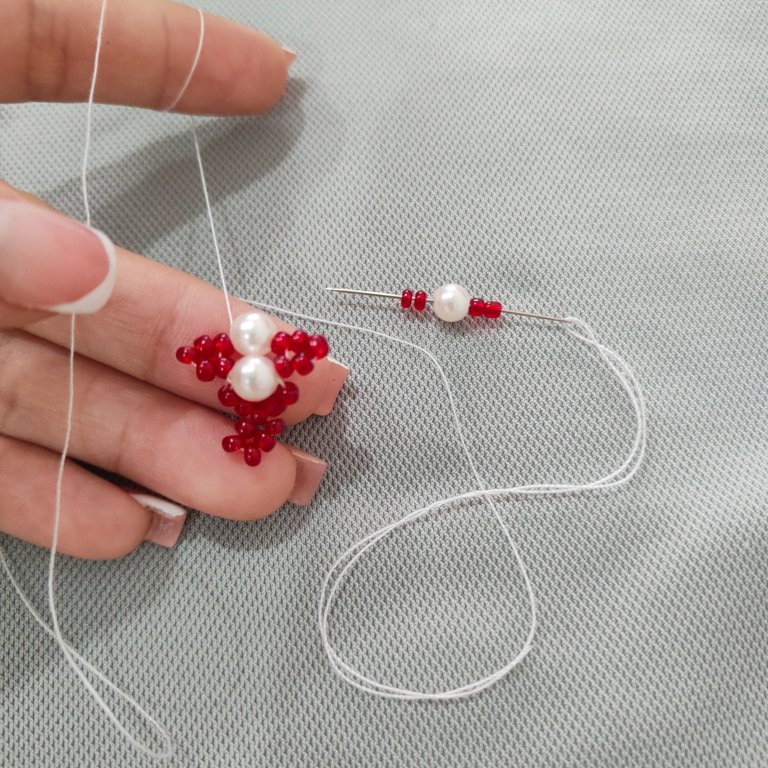
✅ Paso 8. Aquí visualizamos como poco a poco avanzamos en el entramado de nuestra pulsera creando así la misma.
✅ Step 8. Here we visualize how little by little we advance in the weaving of our bracelet, thus creating it.
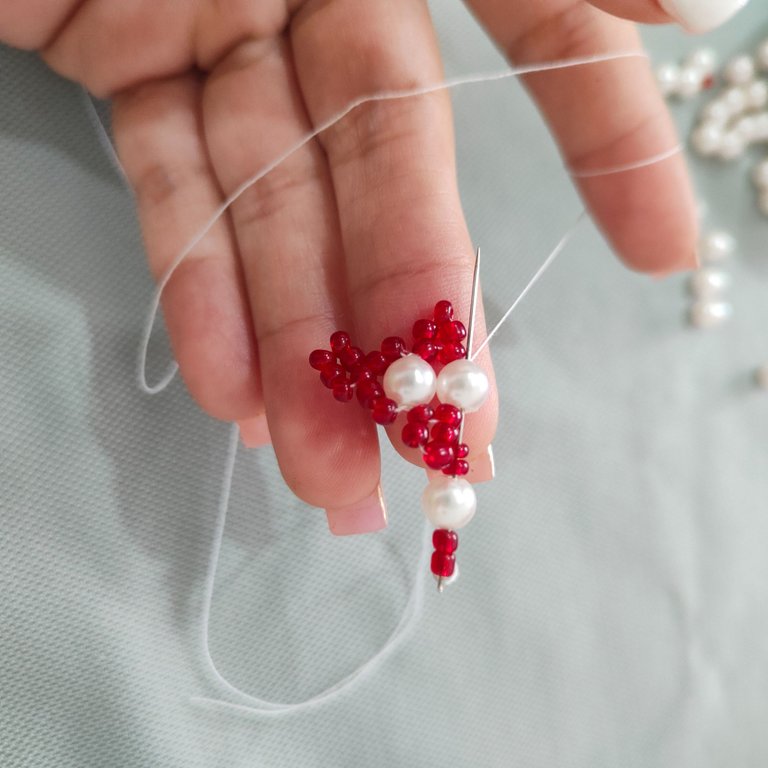
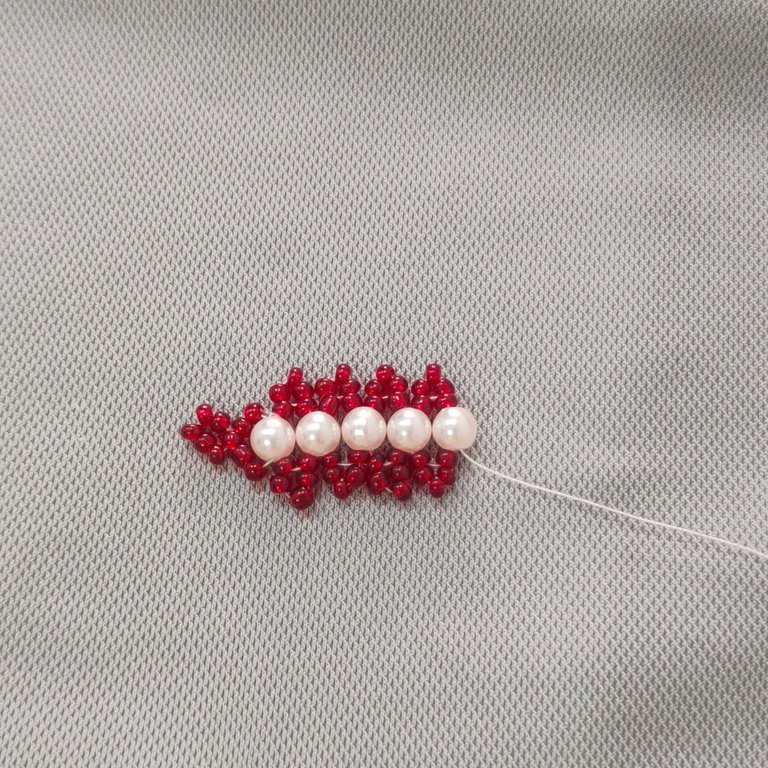
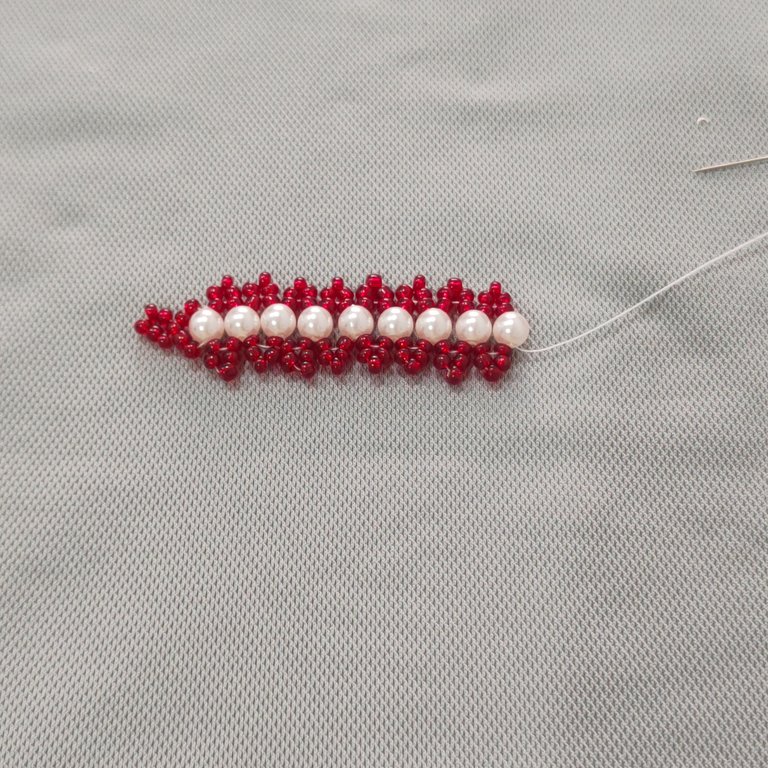
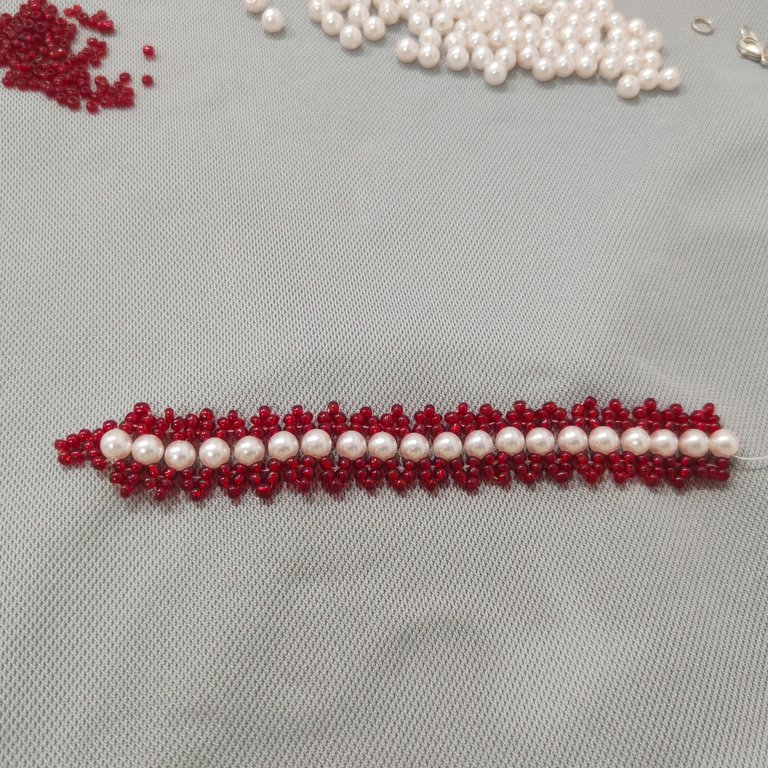
✅ Paso 9. Una vez que tenemos el largo deseado de nuestra pulsera o brazalete vamos a finiquitar realizando los pasos 1 y 2 de nuestro tutorial con el fin de que este extremo quede idéntico al otro, para así insertar en cada extremo los aritos de bisutería y su respectiva tranca finalizando así nuestro proyecto artesanal.
✅ Step 9. Once we have the desired length of our bracelet or bracelet we are going to finish performing steps 1 and 2 of our tutorial so that this end is identical to the other, in order to insert at each end the earrings of jewelry and their respective tranca thus finalizing our craft project.
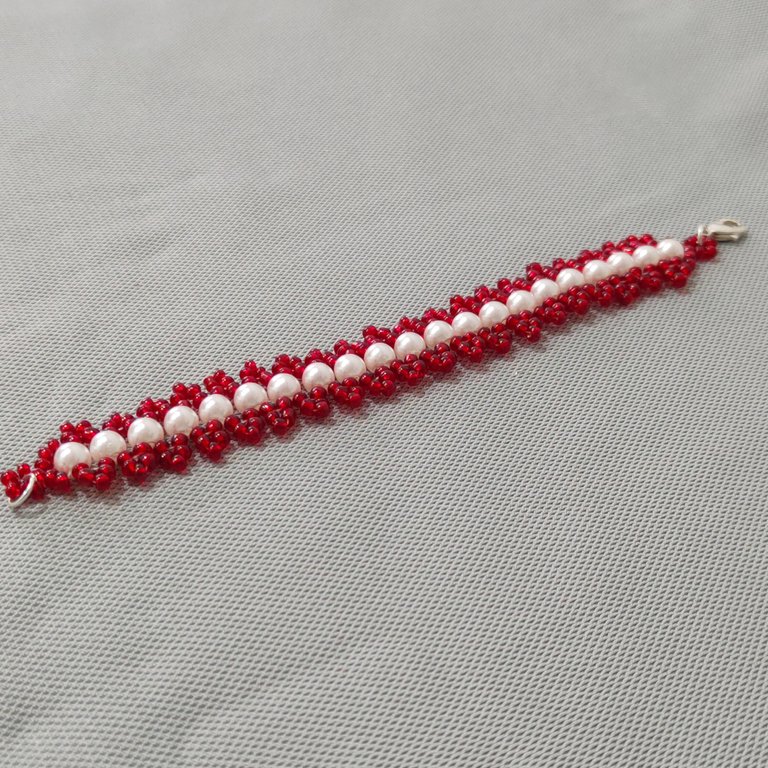

Resultado || Result

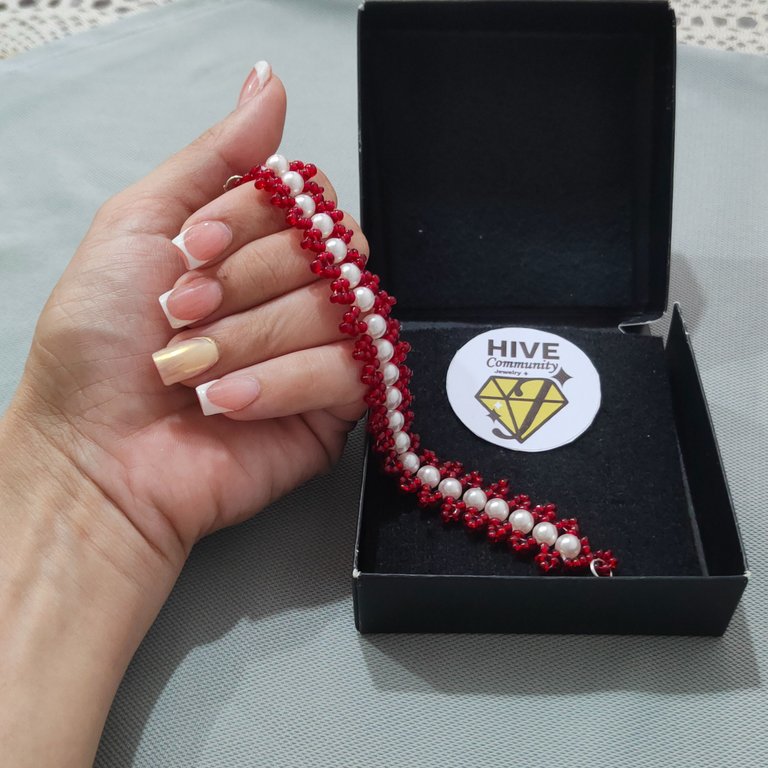

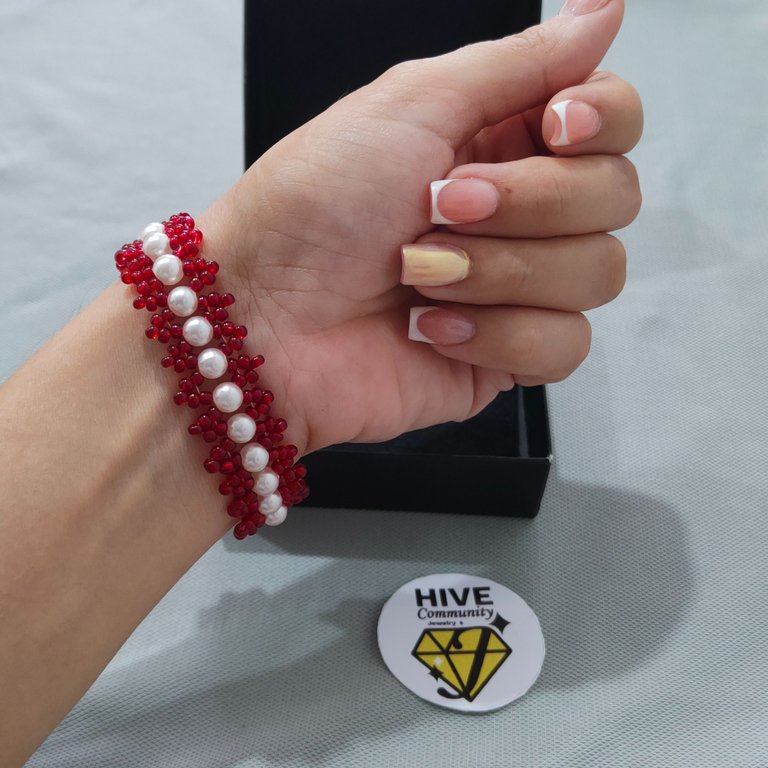
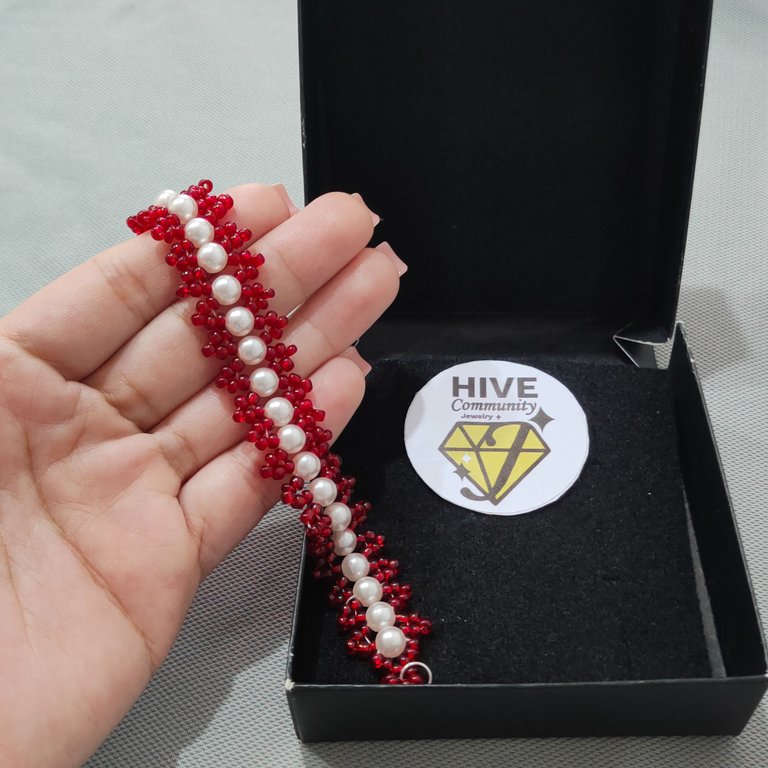
Sin duda un entramado sencillo de realizar pero con un resultado muy bonito y prolijo, este ha sido de mi total agrado, así como estar en esta ocasión nuevamente con todos ustedes compartiendo el paso a paso de cómo realizar esta pulsera de perlas con mostacillas rojas espero el mismo haya sido también de su agrado, esperando disfruten su fin de semana me despido con un fuerte abrazo mi estimados artesanos creativos.
Undoubtedly a simple lattice to make but with a very nice and neat result, this has been of my total pleasure, as well as being on this occasion again with all of you sharing the step by step of how to make this pearl bracelet with red beads I hope it has also been to your liking, hoping you enjoy your weekend I say goodbye with a big hug my dear creative artisans.
La creatividad no tiene límite. || There is no limit to creativity. ✨💎🎉🌷

COMMUNITY JEWELRY.

🎥Imágenes y vídeo creados con: |Images and video created with: Youcut video| Giphy | Canva |
🇪🇸 Traducido con DeepL


