
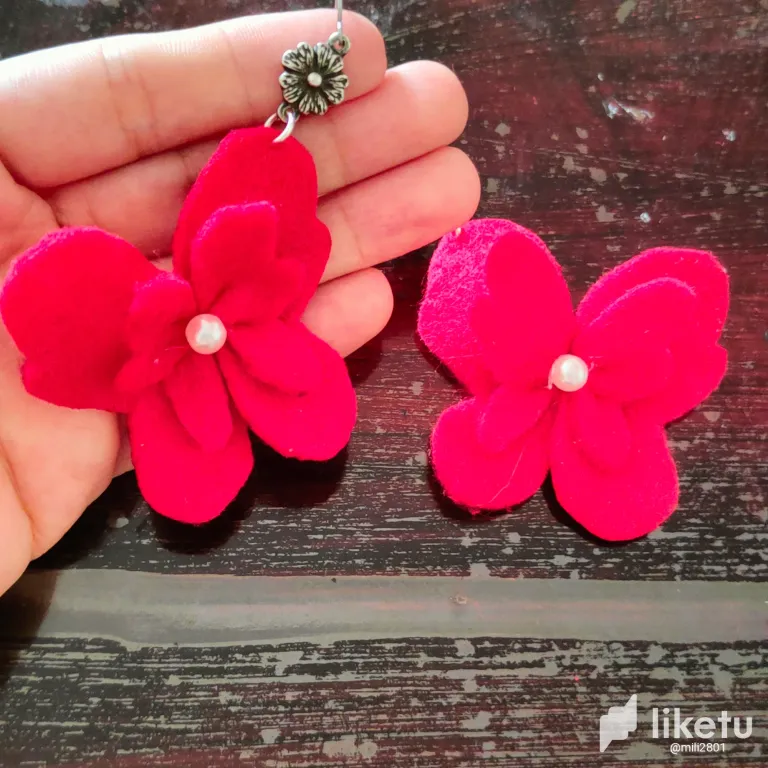
Bienvenidos || Welcome

Una vez mas estimados amigos como siempre es un grato placer compartir con ustedes en este espacio creativo el dia de hoy quiero compartir xon ustedes como realizar un zarcillos de forma sencilla con fieltro si asi como leen con Fieltro lo mejor es que se requiere muy pocos materiales para realizarlos, como siempre les he mencionado la creatividad no tiene limite asi que para hacer estos hermosos zarcillos de temática de mariposas vamos a necesitar los siguientes materiales.
Once again dear friends as always it is a pleasure to share with you in this creative space today I want to share with you how to make a simple tendrils with felt yes as you read with felt the best thing is that it requires very few materials to make them, as I have always mentioned creativity has no limit so to make these beautiful butterfly themed tendrils we will need the following materials.

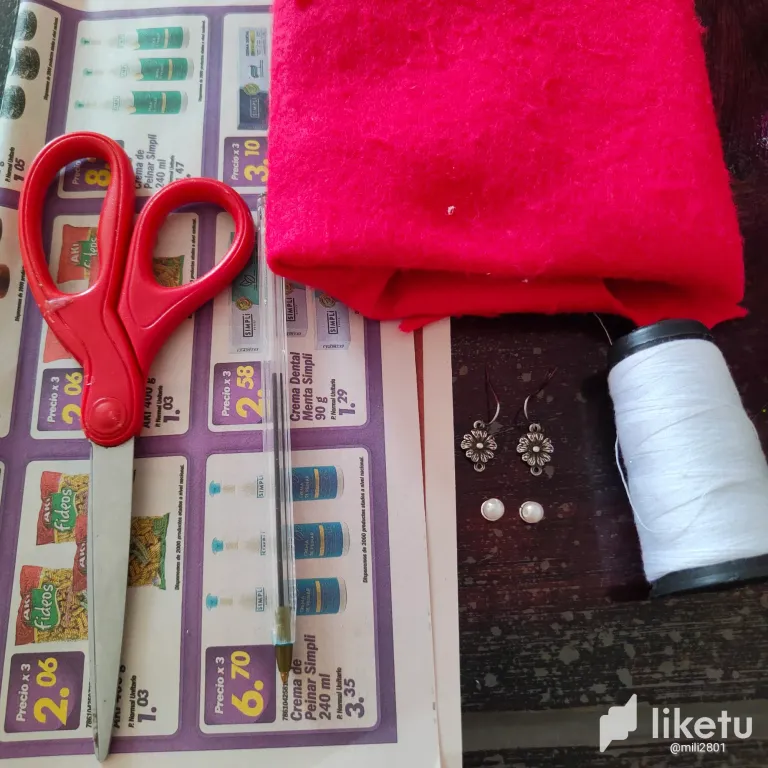
Materiales || Materials

🦋 Fieltro de color rojo.
🦋 Periodico.
🦋 Lapicero.
🦋 Tijera.
🦋 Hilo.
🦋 Silicon.
🦋 2 perlas.
🦋 2 aritos de bisutería.
🦋 2 anzuelos de bisutería.
🦋 Encendedor.
🦋 Red felt.
🦋 Newspaper.
🦋 Pencil.
🦋 Scissors.
🦋 Thread.
🦋 Silicon.
🦋 2 beads.
🦋 2 costume jewelry earrings.
🦋 2 fashion jewelry hooks.
🦋 Lighter.

Pasos ||Steps

🦋 Paso 1. Iniciaremos tomando nuestra hoja de periodico y en ella vamos a dibujar 2 mariposas una grande y 1 pequeñas estos serán nuestros patrones, tambien pueden der impresos pero en vista que no tengo impresora la realizó a mano alzada, tratando que sean lo mas parecidas posiblemente, seguidamente las recortamos con la ayuda de la tijera.
🦋 Step 1. We will start by taking our sheet of newspaper and on it we will draw 2 butterflies, one large and 1 small, these will be our patterns, they can also be printed but since I don't have a printer I made it freehand, trying to make them as similar as possible, then we cut them out with the help of the scissors.
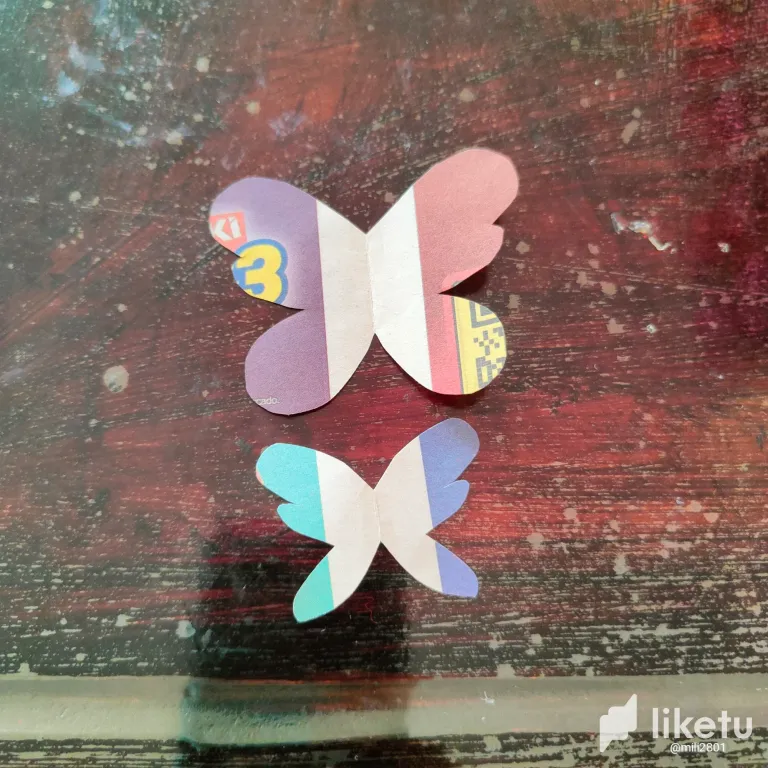
🦋 Paso 2. Una vez que ya tenemos nuestros patrones, vamos a calcar en nuestro fieltro en mi caso quise usar uno de color rojo, para las mariposas pequeñas use las sobras de fieltro que posible ya no ses de utilidad para otros proyectos por su diminuto tamaño.
🦋 Step 2. Once we already have our patterns, we are going to trace on our felt in my case I wanted to use a red one, for the small butterflies I used the leftover felt that may no longer be useful for other projects because of its tiny size.
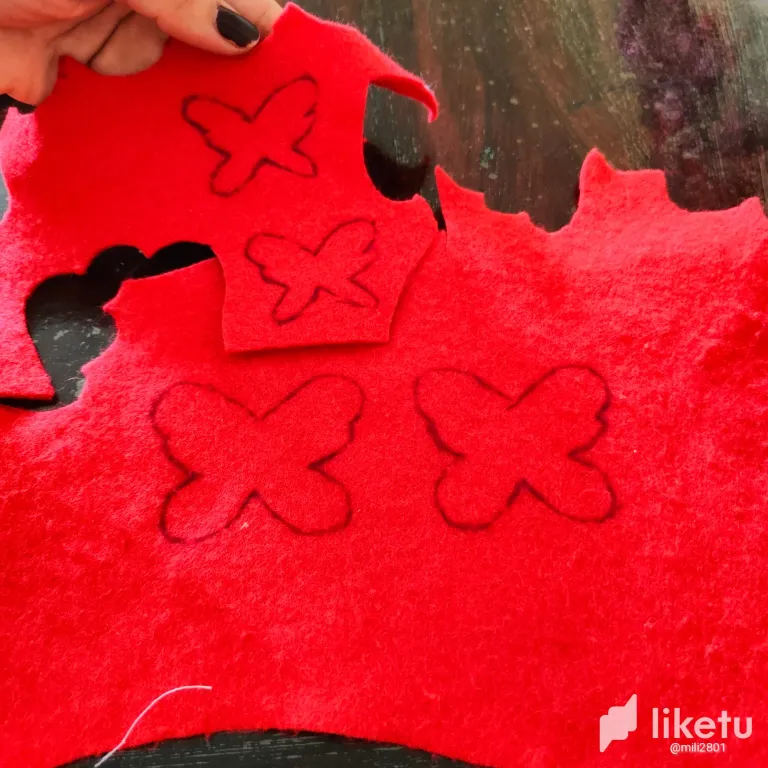
🦋 Paso 3. Procedemos a recortar con cuidado las mariposas dibujadas en el fieltro, es recomendable que la tijera tenga un buen filo.
🦋 Step 3. We proceed to carefully cut out the butterflies drawn on the felt, it is recommended that the scissors have a good edge.
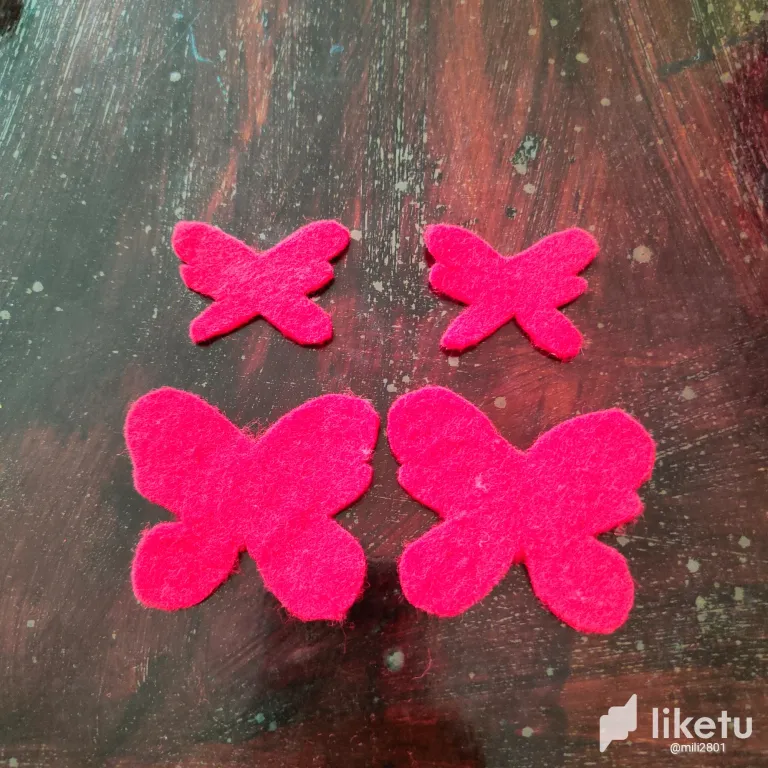
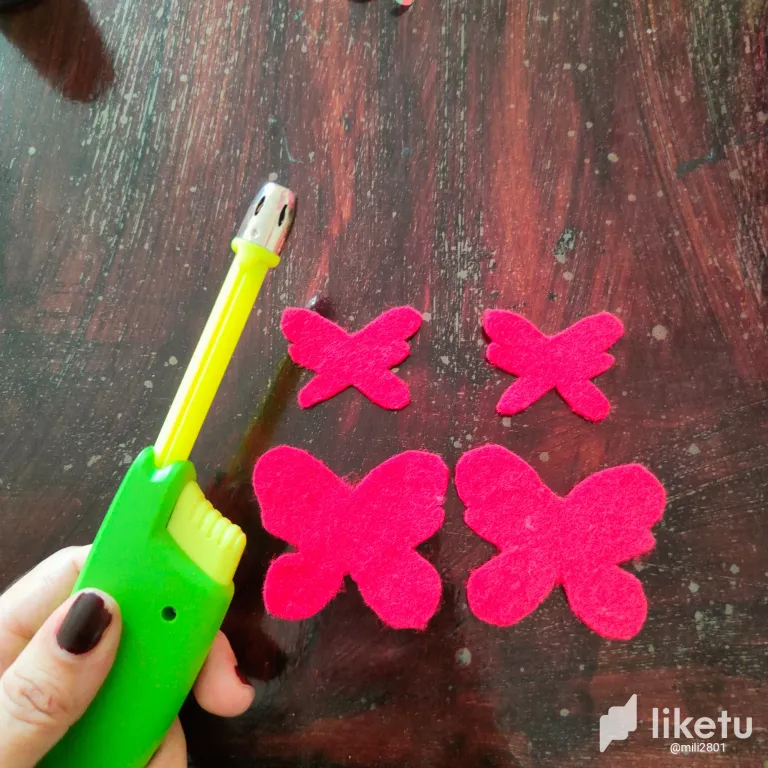
🦋 Paso 4. Para quitarle al fieltro el exceso de pelusa pasaremos ligeramente a las mariposas por fuego, nos podemos ayudar con un encendedor.
🦋 Step 4. To remove the excess lint from the felt, lightly pass the butterflies through fire, we can help with a lighter.
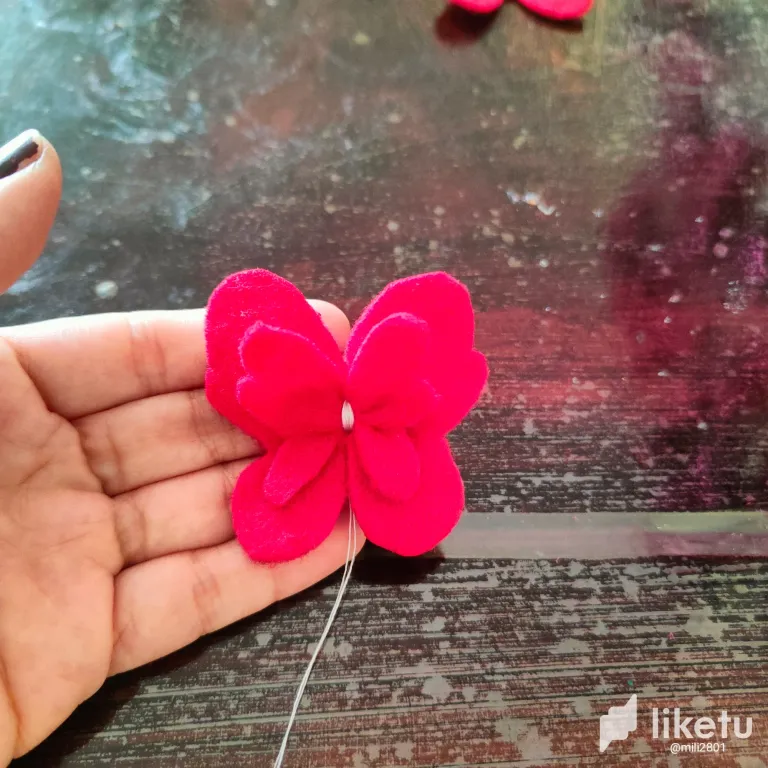
🦋 Paso 5. Colocaremos la mariposa mas pequeñas sobre la mas grande lo mas centrada posiblemente y con el hilo vamos amarran bien por todo el centro esto hará que nuestros zarcillos no sean planos sino que tengan un efecto 3D.
🦋 Step 5. We will place the smallest butterfly over the biggest one as centered as possible and with the thread we will tie it well all over the center, this will make our tendrils not flat but with a 3D effect.
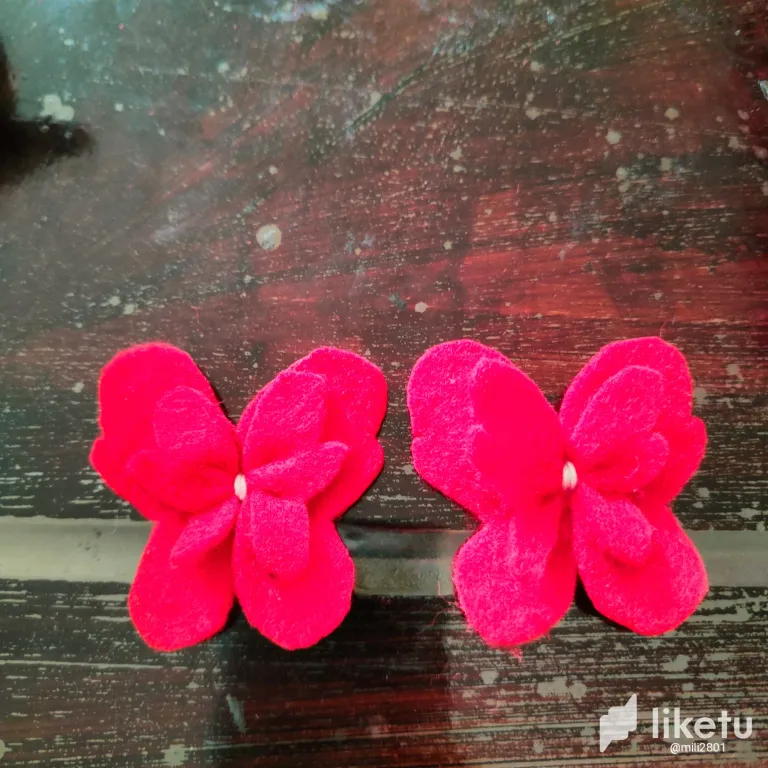
🦋 Paso 6. Ahora vamos a proceder a colocar en cada mariposa un arito de bisutería en el extremo superior de una de sus alas principales.
🦋 Step 6. Now we are going to proceed to place on each butterfly a costume jewelry earring at the upper end of one of its main wings.
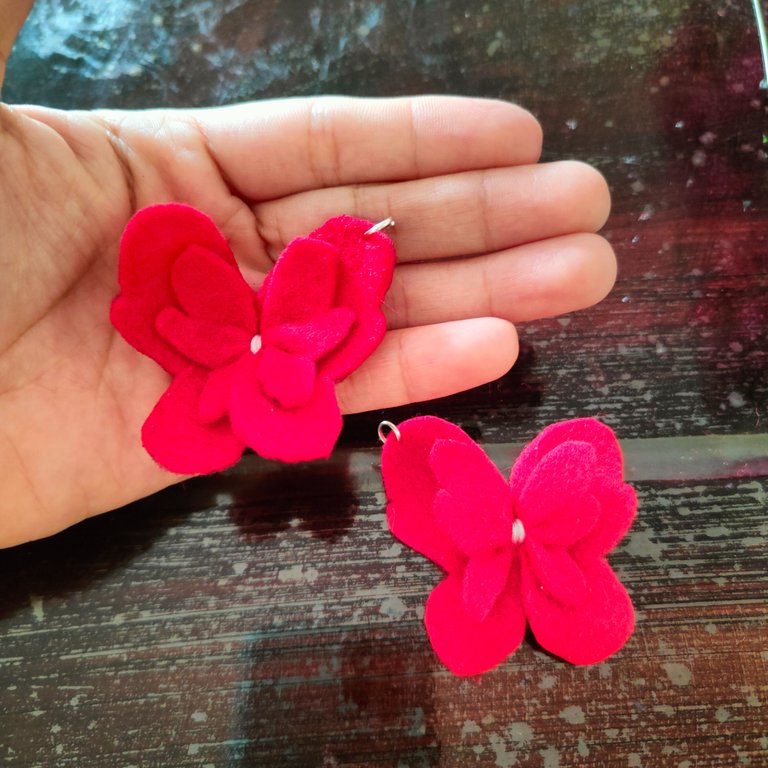
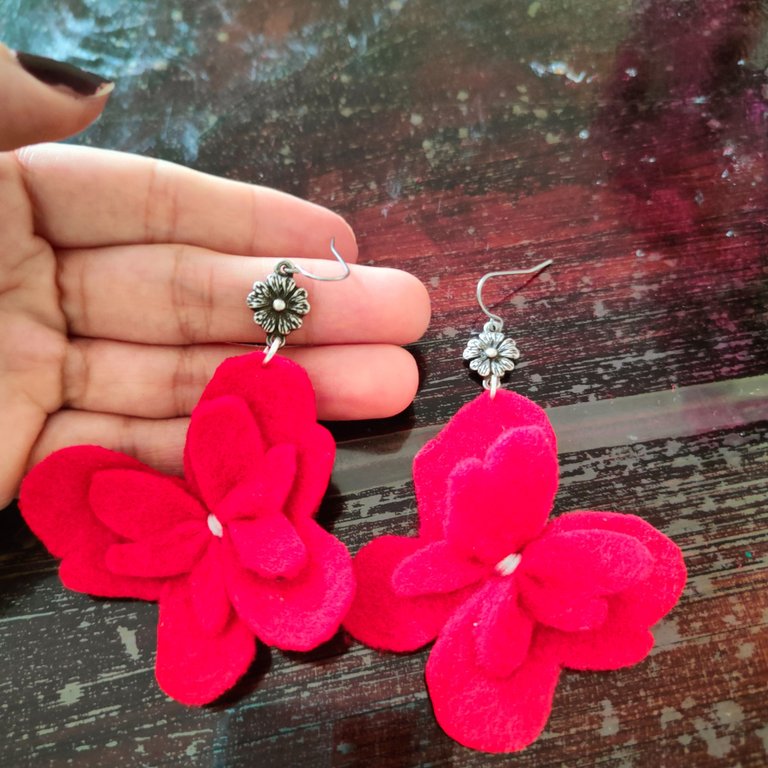
🦋 Paso 7. Una vez que ya estan colocados los aritos de bisutería vamos agregar los anzuelos a nuestros lindos zarcillos.
🦋 Step 7. Once the jewelry earrings are in place, we are going to add the hooks to our pretty earrings.
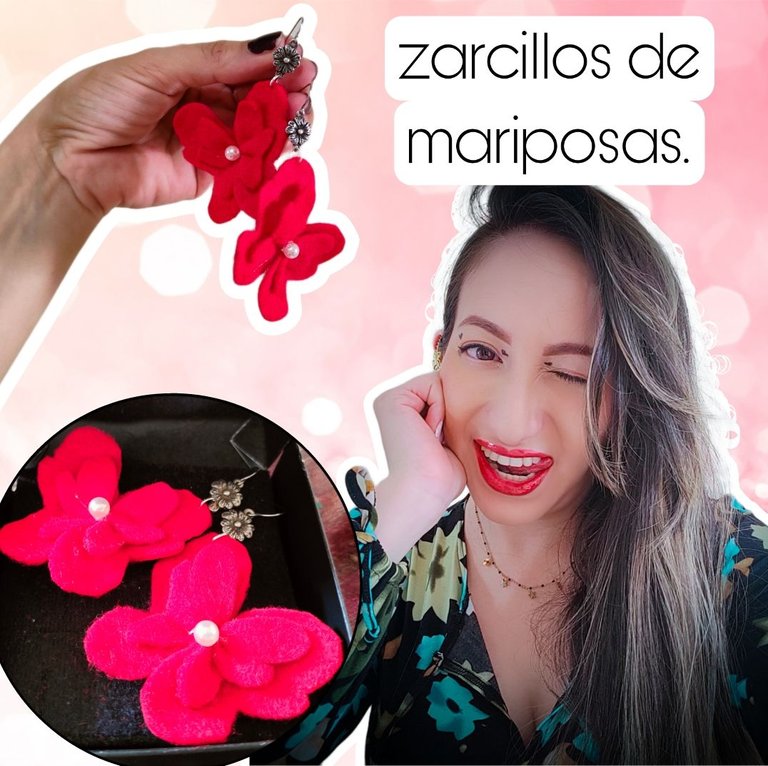
🦋 Paso 8. Por último pegamos en el centro de nuestras mariposas una perla en cada zarcillos, primero para que no se vea el hilo y segundo le da un toque delicado a los zarcillos.
🦋 Step 8. Finally we glue a pearl in the center of our butterflies on each tendril, first so that the thread is not visible and secondly it gives a delicate touch to the tendrils.

Resultado || Result

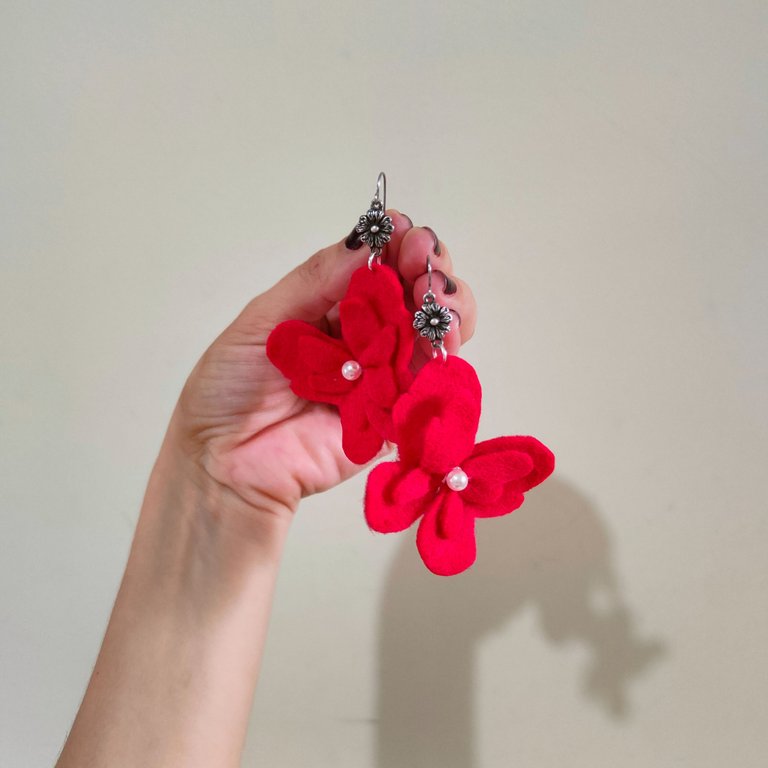
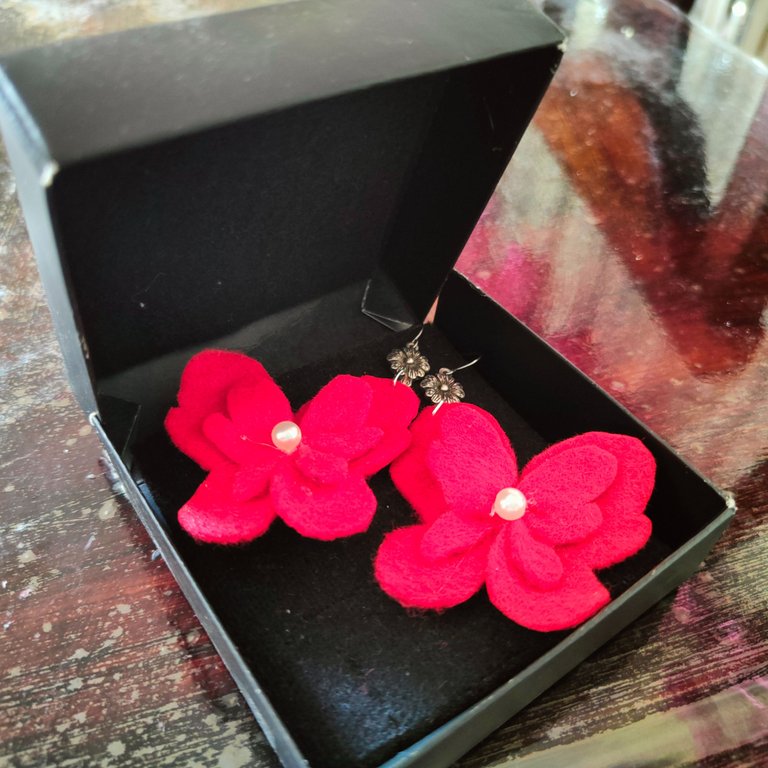
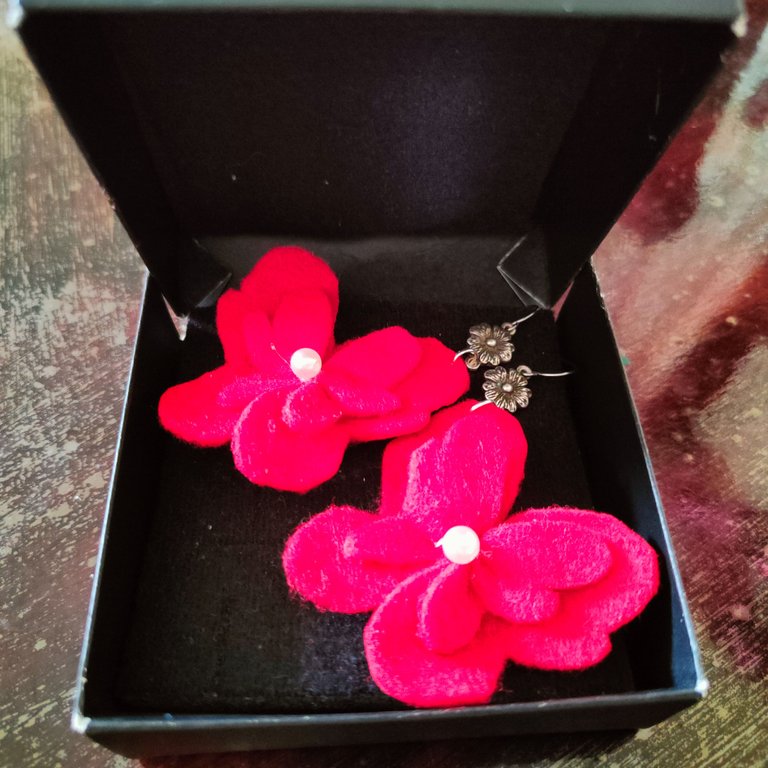
De esta forma habremos terminado en pocos pasos nuestros hermosos zarcillos con temática de mariposa, es un proyecto sencillo y creativo, por otro lado cuando se trate de crear accesorios para disfraces usar fieltro para hacer zarcillos personalizados es una buena opcion debido a que es un material facil de trabajar y las opciones infinita como la creatividad.
This way we will have finished in a few steps our beautiful butterfly themed tendrils, it is a simple and creative project, on the other hand when it comes to creating accessories for costumes using felt to make custom tendrils is a good option because it is an easy material to work with and the options are as endless as creativity.

Como siempre ha sido un placer compartir con ustedes en esta ocasión, esperando el post hata sido de su agrado y utilidad me despido hasta una próxima ocasión, asimismo agradezco a todos su atención, apoyo y comentarios estimados amigos y lectores de esta creatividad familia.
As always it has been a pleasure to share with you on this occasion, hoping the post has been to your liking and usefulness I say goodbye until next time, I also thank you all for your attention, support and comments dear friends and readers of this creativity family.
La creatividad no tiene límite. || There is no limit to creativity. ✨💎🎉🌷

COMMUNITY JEWELRY.

🎥Imágenes y vídeo creados con: |Images and video created with: Youcut video| Giphy | Canva |
🇪🇸 Traducido con DeepL

For the best experience view this post on Liketu

