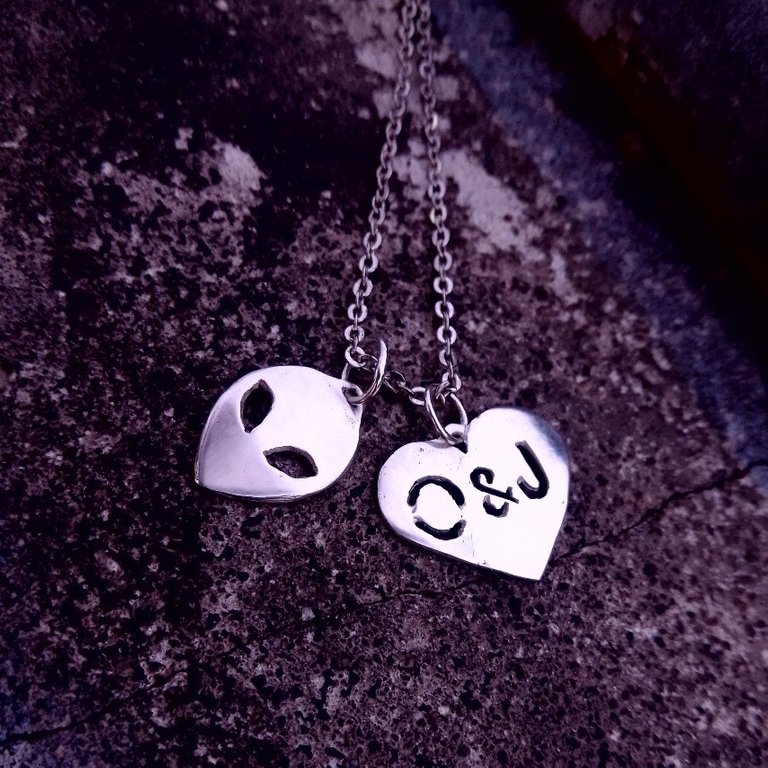
Hace par de meses me contacto un chico fuera de Caracas por Instagram que quería regalarle a su pareja un detalle sencillo de una cadena con el dije corazón con las iniciales de ambos y un alien, parece que a ella le gusta mucho esa figura del rostro alienígena.... las opciones con el corazón era hacerlo grabado o cortado a mano con la segueta de joyería, yo le insiste con esta última opción porque a mi parecer suele notarse más las iniciales, además así también me ahorro la salida de ir a donde me hacen los grabados cuando necesito....
Me puse manos a la obra en el programa de diseño Inkscape y busque la silueta de cara alien que ya tenía, un corazón, puse las iniciales, ajuste el tamaño de los dijes para imprimir en una hoja carta....
Estas son algunas de las cosas que use:
🦁 Lámina de plata 0,7 mm
🦁 Arco de segueta y pelos de segueta 0/2
🦁 Lijas 3M de número 220, 340 y 400
🦁 Limas de joyeria
🦁 Astillero de Madera o superficie plana con forma de V para hacer los cortes.
🦁 Dremel y motor de banco.
🦁 Fresa de 0,7 mm y Porta lijas.
🦁 Mopa de pulir y cera de pulir para joyería.
🦁 Argollas de plata.
PROCESO
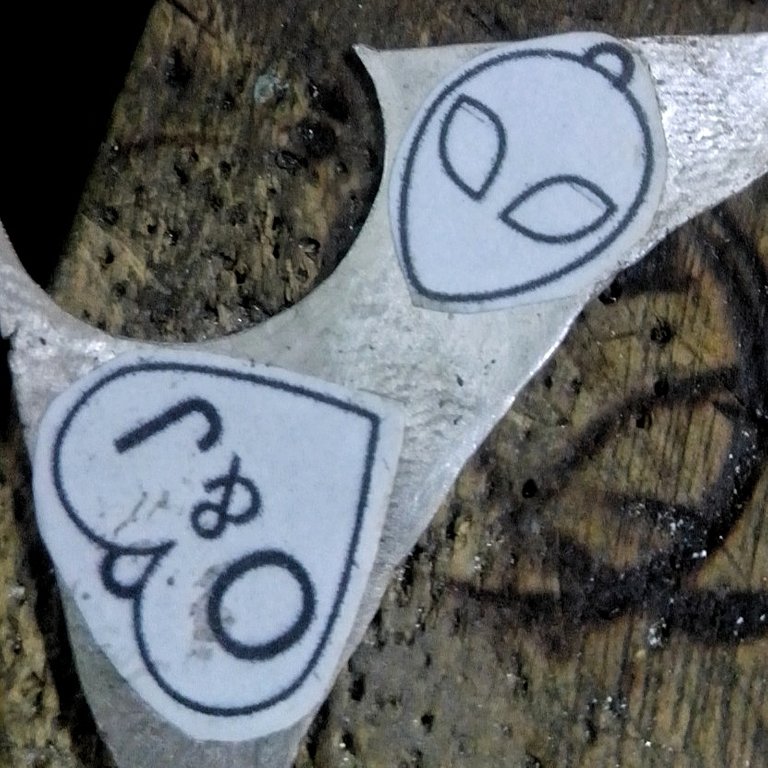
Pegue el dibujo impreso en un resto de láminas de plata que calzaba perfecto para las dos figuras. Lije un poco la superficie del metal use pega de barra.
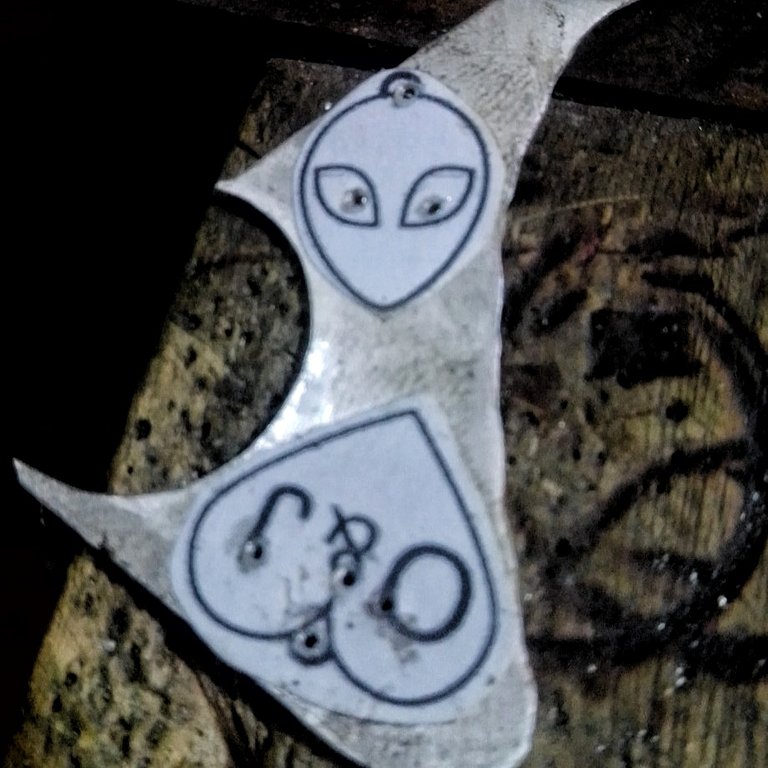
Con el Dremel y la mecha o fresa de 0.7 mm hice los huecos para luego hacer los cortes internos.
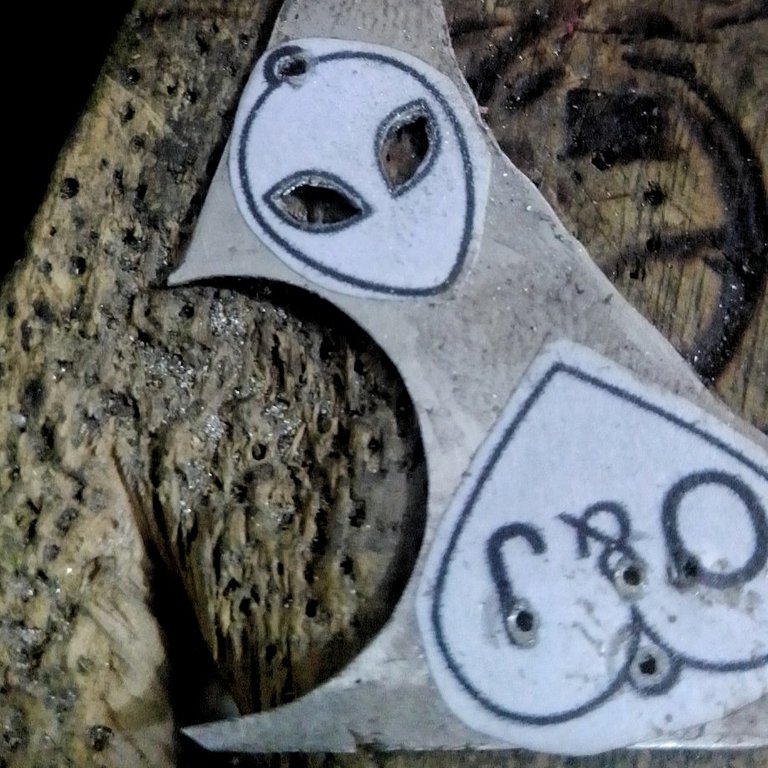
Con el arco de segueta y la sierra nº 0/2 empiezo a hacer los cortes internos, en la imagen se puede apreciar como avance la cara del alien, queda la parte del corazón que es un poco más compleja y que debo hacer con más cuidado.
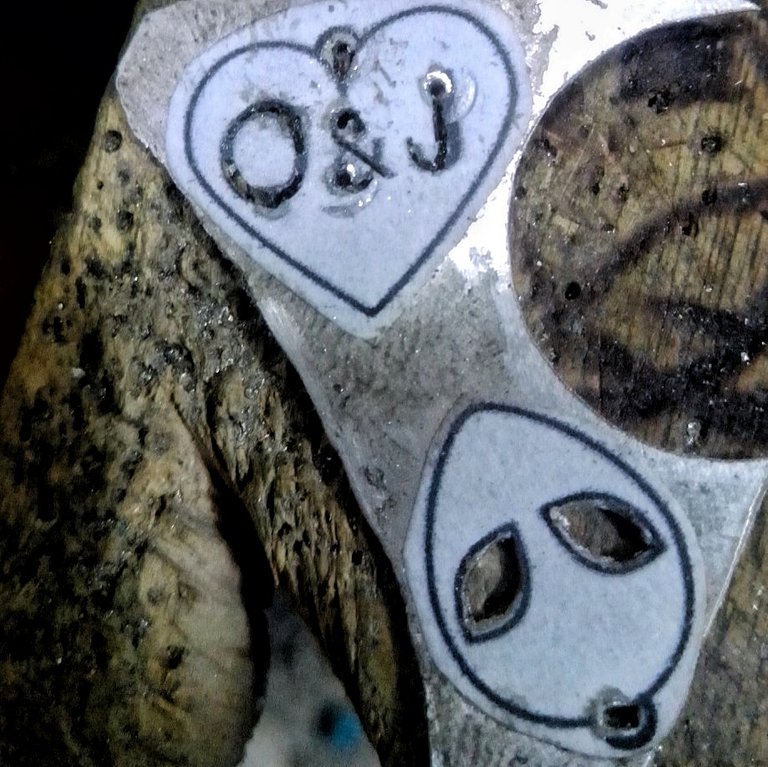
Inicio el corte del corazón con las iniciales, el reto se presenta en la "O" y el "&" en las que debo evitar hacer los cortes completos y dejar espacios donde el corte será superficial, para evitar que las partes internas de la "O" y el "&" se desprendan.
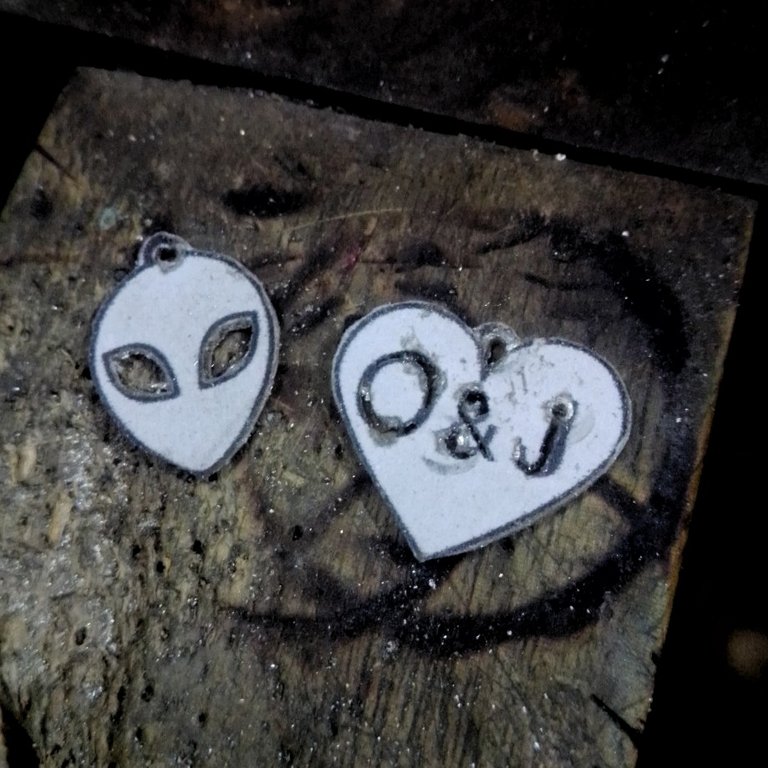
Así queda después de hacer el corte exterior de las siluetas del corazón y el alien. Aunque queda realizar algunos ajustes al corazón, pero antes de eso hay que desprender el papel para tener mejor visión de lo que hay que hacer.
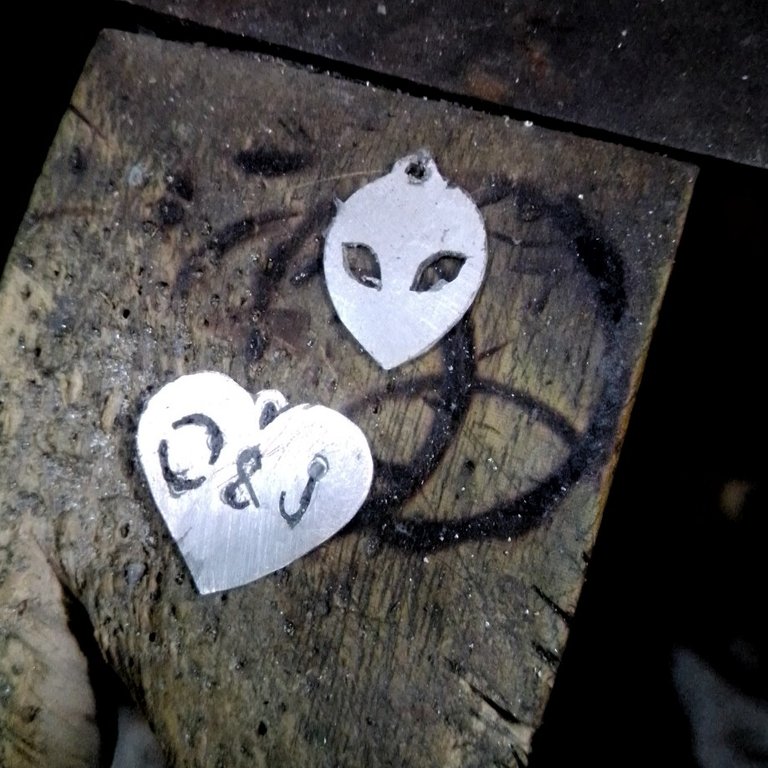
Quitado el papel, se nota, claramente, que hay que mejorar mucho, sobre todo en el corazón, en su parte interna y para esto se seguirá trabajando con el arco de segueta.
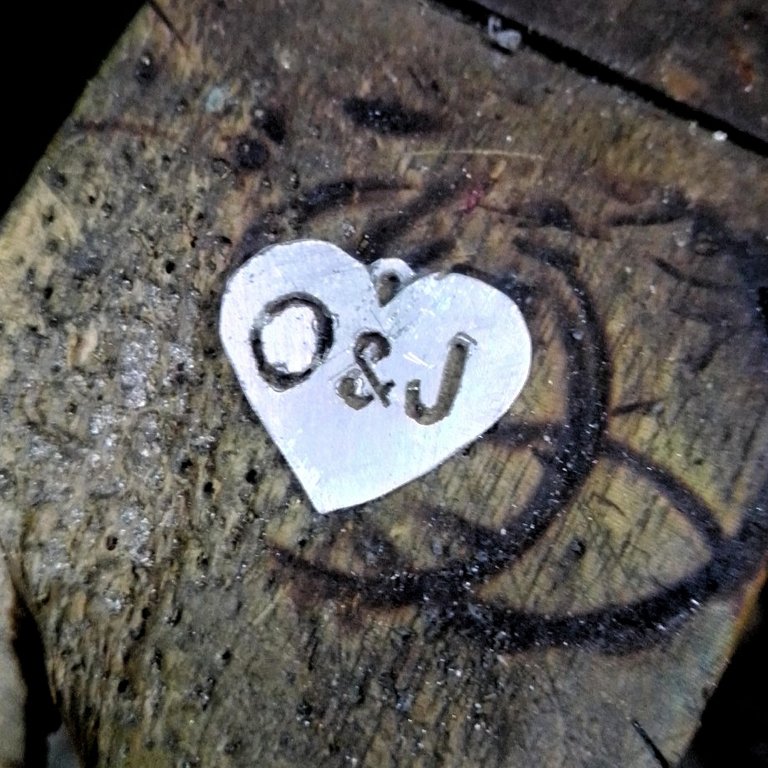
Con mucho cuidado con la segueta en la parte de la "O" fui haciendo el corte superficial para cerrar la línea... complete la "&" y engrose la "J".
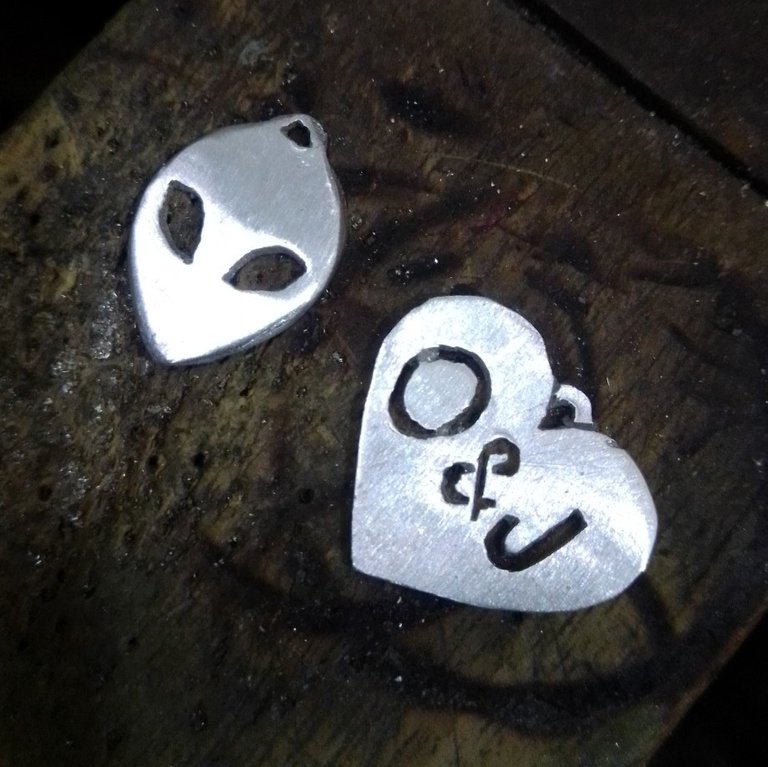
Con las limas de joyería fui dando ese borde curvo a las figuras del alien y el haciendo algunas mejoras a las siluetas, después procedí a pasar las distintas lijas en este orden: 220, 340 y 400.
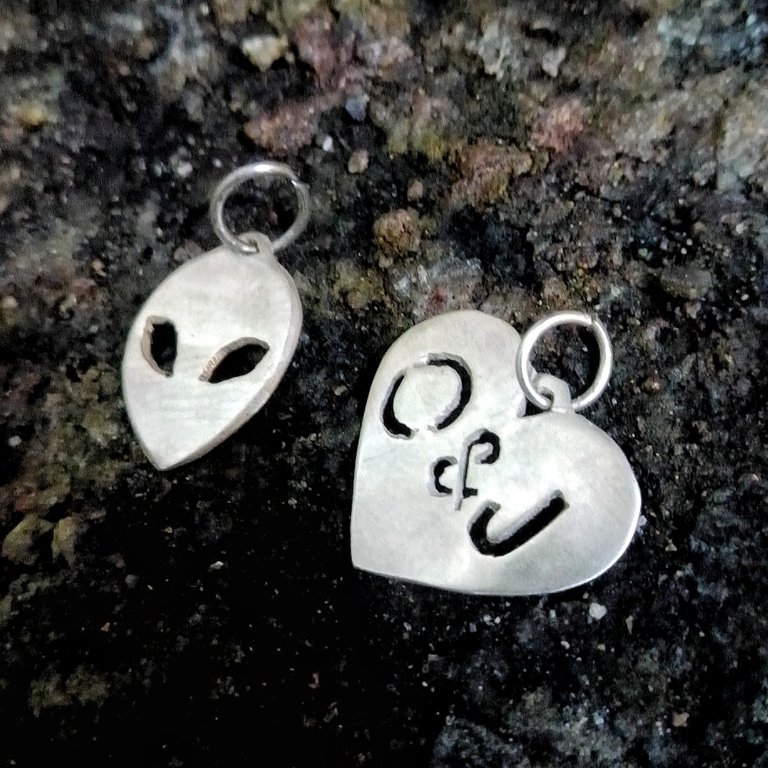
Incorpore las argollas de plata para los dos dijes como ven en la foto, después soldé las uniones con soldadura de plata, la intención es que no se abran con el uso, evitando que en un futuro que se pierda el dije porque se abrió una argolla.
Por la utilización del soplete, se meten las piezas al ácido para que blanquee y después se pasa lija 400 otras vez, por último ambas piezas se pulen con cera en el motor de banco, usando una mopa de tela de algodón.
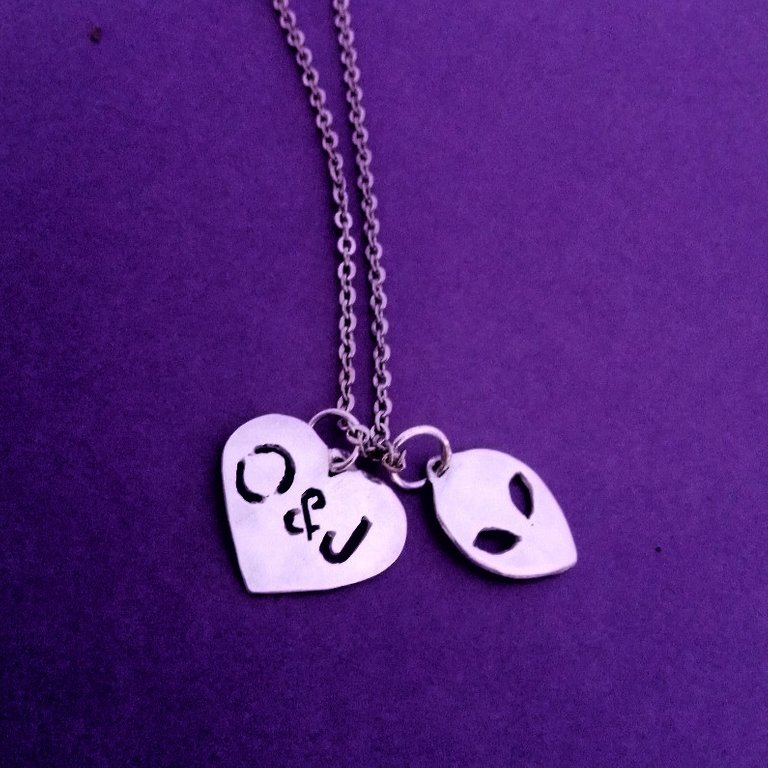
Este es el resultado final después de pulir y limpiar las piezas.

La entrega la hice personal a una amiga de la persona que me hizo el pedido, ella se lo haría llegar luego, porque los envíos por los servicios de encomienda están costosos.
Quede con la satisfacción de haber realizado un trabajo que a pesar de lo simple va a ser bastante significativo para la persona que lo regala y aún más para quien lo recibe... la personalización es una de las ventajas del trabajo hecho a mano y quizás también con esto de las redes sociales el cliente puede involucrarse en el proceso y su pedido ser parte de la galería del artesano...
Espero les haya gustado la pieza, la descripción de los procesos y que algo de aprendizaje se hayan llevado.
Gracias por el apoyo y puedes conocer o ver más de mi trabajo en Instagram.
https://www.instagram.com/m16ueljoyas/
>>>>>>>>>
///////////////////////////////////////////////////
English version /google translator
<<<<<<<<<<<<<>>>>>>>>>>>>>>>>

A couple of months ago a guy from Caracas contacted me on Instagram who wanted to give his partner a simple gift of a chain with a heart pendant with both their initials and an alien, it seems that she really likes that figure of the alien face.... the options with the heart were to make it engraved or cut by hand with the jewelry hacksaw, I insisted on this last option because in my opinion it usually The initials can be more noticeable, also this way I also save the exit of going to where they do the engravings when I need....
I got to work in the Inkscape design program and looked for the alien face silhouette that I already had, a heart, I put the initials, I adjusted the size of the charms to print on a letter sheet....
These are some of the things I used:
🦁 Silver foil 0.7 mm
🦁 Hacksaw bow and hacksaw hairs 0/2
🦁 3M sandpaper number 220, 340 and 400
🦁 Jewelry files
🦁 Wood Shipyard or V-shaped flat surface to make the cuts.
🦁 Dremel and bench engine.
🦁 0.7 mm strawberry and sandpaper holder.
🦁 Polishing mop and polishing wax for jewelry.
🦁 Silver rings.
PROCESS

Paste the printed drawing on a rest of silver sheets that fit perfectly for the two figures. Lightly sand the surface of the metal using a stick glue.

With the Dremel and the 0.7 mm bit or cutter I made the holes to then make the internal cuts.

With the hacksaw bow and the saw no. 0/2 I begin to make the internal cuts, in the image you can see how the face of the alien advances, the part of the heart remains which is a little more complex and which I must do with more care .

I start the cut of the heart with the initials, the challenge is in the "O" and the "&" in which I must avoid making the complete cuts and leave spaces where the cut will be superficial, to avoid that the internal parts of the " O" and the "&" come off.

This is how it looks after making the outer cut of the silhouettes of the heart and the alien. Although it remains to make some adjustments to the heart, but before that you have to remove the paper to have a better view of what needs to be done.

Once the paper is removed, it is clear that much needs to be improved, especially in the heart, in its internal part, and for this, work will continue with the hacksaw bow.

Very carefully with the saw in the part of the "O" I was making the superficial cut to close the line... complete the "&" and thicken the "J".

With the jewelry files I was giving that curved edge to the figures of the alien and making some improvements to the silhouettes, then I proceeded to pass the different sandpapers in this order: 220, 340 and 400.

Incorporate the silver rings for the two pendants as you see in the photo, then I soldered the joints with silver solder, the intention is that they do not open with use, preventing the pendant from being lost in the future because a ring was opened. .
By using the torch, the pieces are put in acid so that they whiten and then 400 sandpaper is passed again, finally both pieces are polished with wax on the bench motor, using a cotton cloth mop.

This is the final result after polishing and cleaning the pieces.

I made the delivery personally to a friend of the person who made the order, she would send it to her later, because shipments through parcel services are expensive.
I am left with the satisfaction of having done a job that, despite its simplicity, will be quite significant for the person who gives it as a gift and even more so for the person who receives it... customization is one of the advantages of handmade work and perhaps also with this social networks the client can get involved in the process and his request to be part of the artisan's gallery...
I hope you have liked the piece, the description of the processes and that you have learned something.
Thanks for the support and you can learn or see more of my work on Instagram.
