💕 Hello Hive Community! 💕
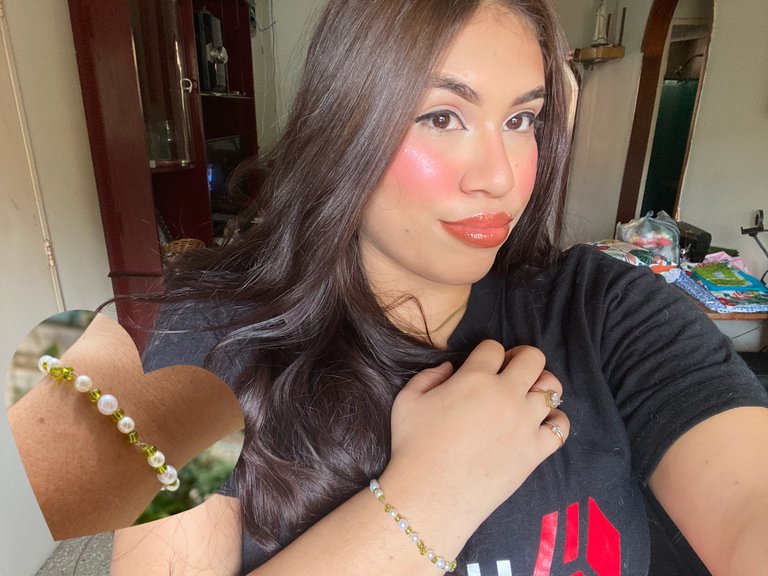
Si tengo que escoger un color realmente mi primera opción nunca sería el verde pero si tengo que admitir que hay un tono de verde y hay un tono de verde que si es de mi agrado porque me parece lindo, es este tono como militar va a entre claro y oscuro. Entre mi colección de accesorios no tengo uno de este color así que decidí crearme uno utilizando alambre y una técnica que he visto bastante tutoriales últimamente, realmente esta fue una práctica para realizar un collar pero no quedarme con una pieza tan grande así que decidí intentarlo en n una más pequeña. Les dejo con este tutorial de esta linda pulsera verde con perlas.
If I have to choose a color really my first choice would never be green but I have to admit that there is a shade of green and there is a shade of green that I like because I think it's cute, it's this tone as military goes between light and dark. Among my collection of accessories I don't have one in this color so I decided to create one using wire and a technique that I have seen quite a few tutorials lately, actually this was a practice to make a necklace but not to stay with such a big piece so I decided to try it in a smaller one. I leave you with this tutorial of this cute green bracelet with pearls.
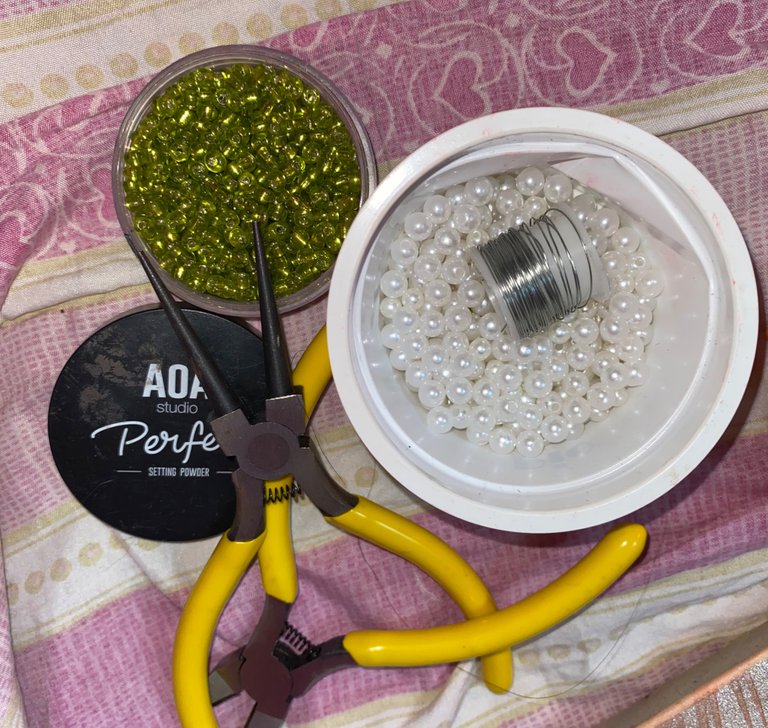
Los materiales que vamos a estar utilizando son pocos, ya que me gusta hacer accesorios con pocos materiales porque no tengo que pensar demasiado jaja. Primeramente está utilizando alambre de bisutería, puede ser el color que más le guste, y el grosor si fue Delgado exactamente 0.40mm. También utilicé perlas en 2 tamaños, mostacilla verde no tan pequeña y me estuve ayudando de mis pinzas, dos de ellas, la piqueta y también la que utilizamos para hacer las vueltas.
The materials we are going to be using are few, since I like to make accessories with few materials because I don't have to think too much haha. First of all is using bijouterie wire, it can be the color you like, and the thickness if it was thin exactly 0.40mm. I also used pearls in 2 sizes, green mustard not so small and I was helping me with my tweezers, two of them, the pickaxe and also the one we use to make the turns.
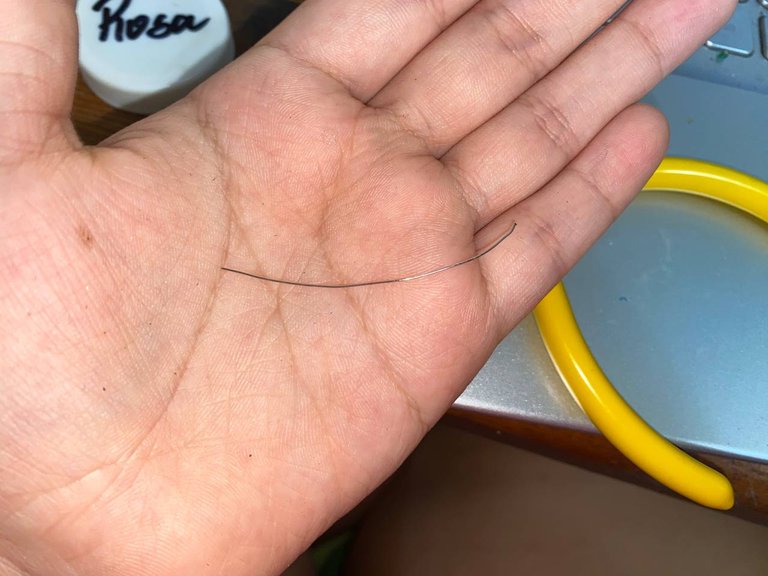
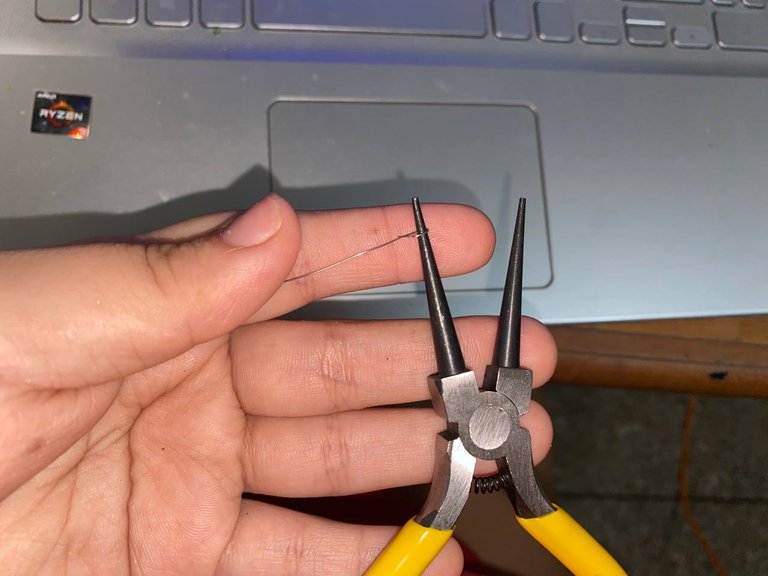
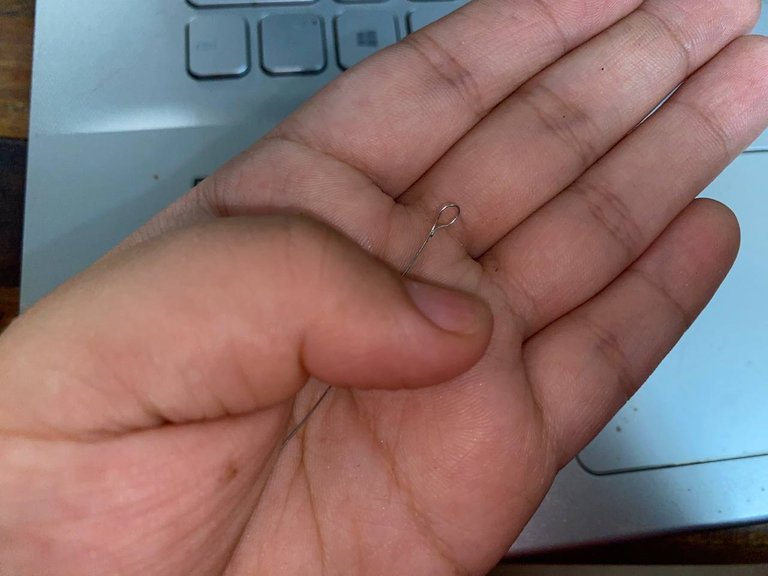
Para comenzar estuve cortando varios trocitos de alambre pequeños, como de 7cm, aproximadamente fueron 7 pedazos de alambre. Y luego con la pinza estuve dándole forma de aro, para que las piedras no se salgan al momento de colocarlas. Esta fue la técnica principal de alambrismo que estuve utilizando para hacer esta pulsera.
To start I was cutting several small pieces of wire, about 7cm, approximately 7 pieces of wire. And then with the pliers I was giving it a ring shape, so that the stones do not come out when placing them. This was the main technique I was using to make this bracelet.
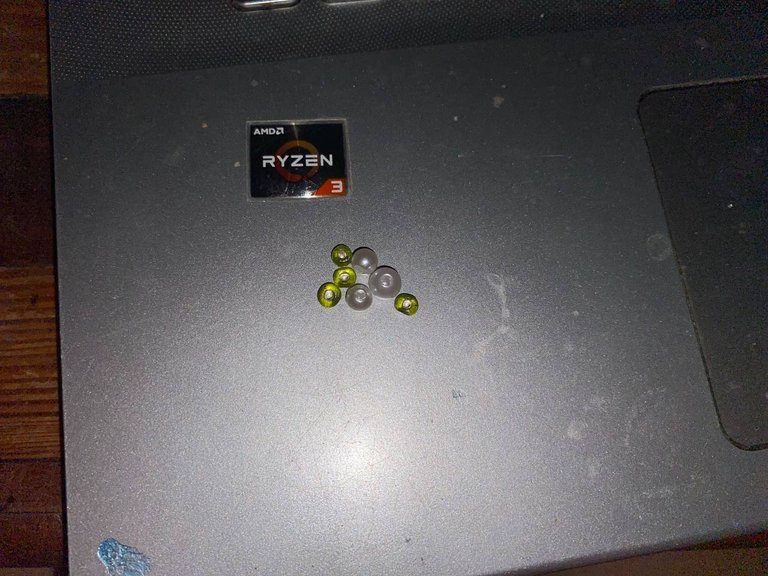
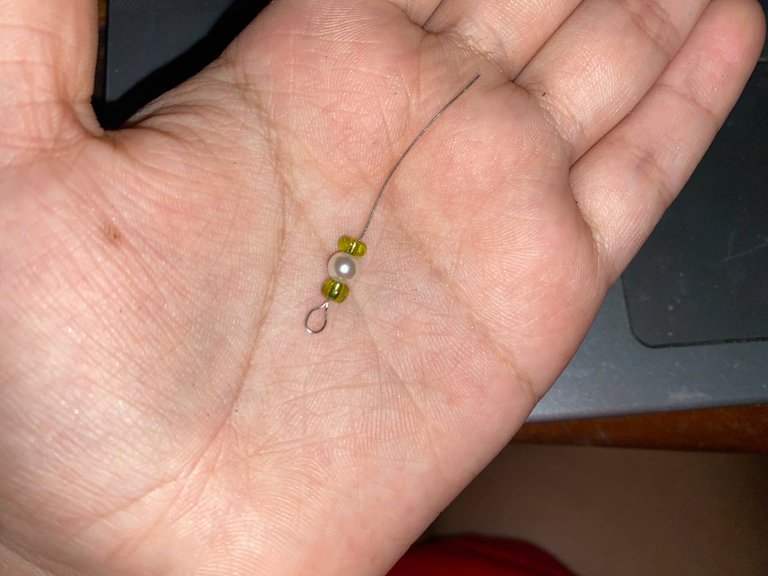
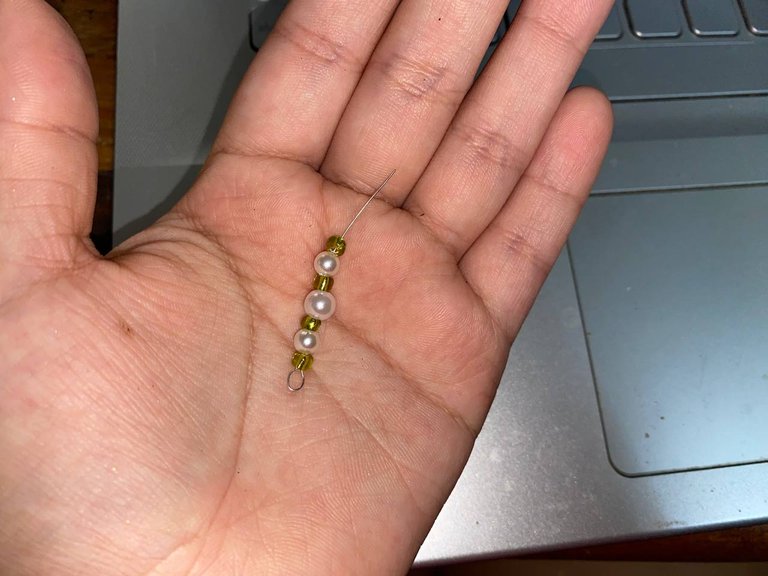
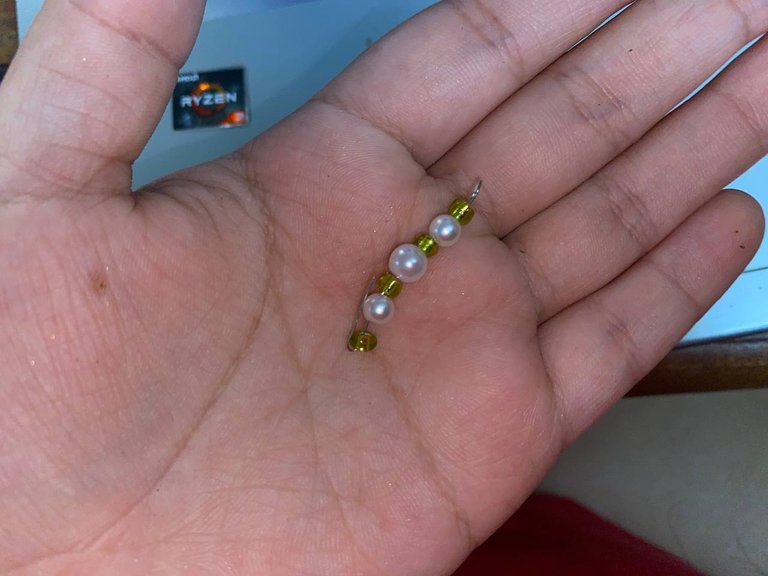
Luego hice mi selección de piedras, perlas y mostacillas verdes. El patrón era: 1 verde, 1 perla pequeña, 1 verde, una perla grande, 1 verde, 1 piedra pequeña y finalice con 1 verde. Luego con la pinza estuve nuevamente cerrando en forma de aro. Inicialmente quería colocar 1 verde, 1 perla y 1 verde, pero me gusto mas variar entre tamaños para hacerla mas bonita, no me gusta mucho hacer cosas simples.
Then I made my selection of stones, pearls and green beads. The pattern was: 1 green, 1 small pearl, 1 green, 1 large pearl, 1 green, 1 small stone and I finished with 1 green. Then with the tweezers I was again closing in the shape of a ring. Initially I wanted to place 1 green, 1 pearl and 1 green, but I liked more to vary between sizes to make it prettier, I do not like to do simple things.
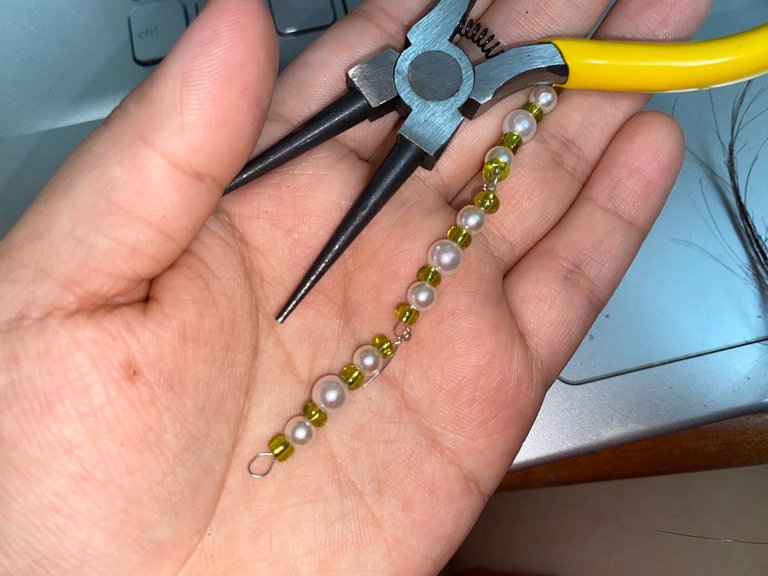
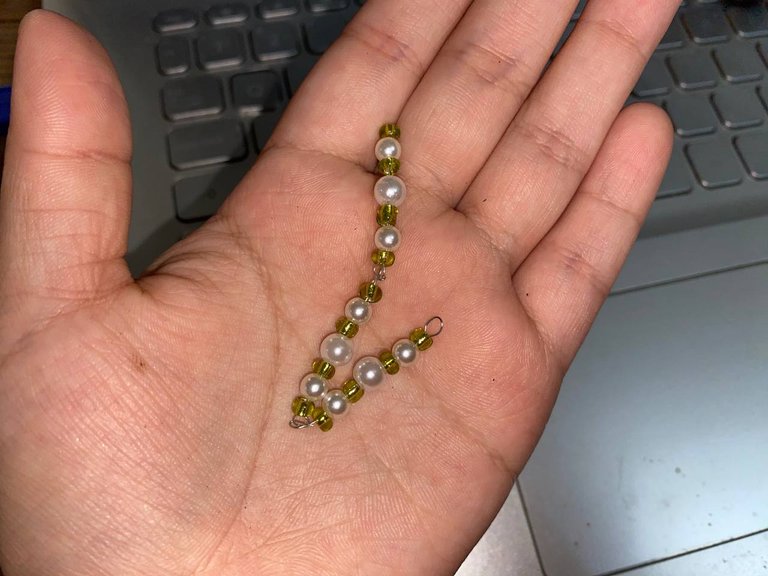
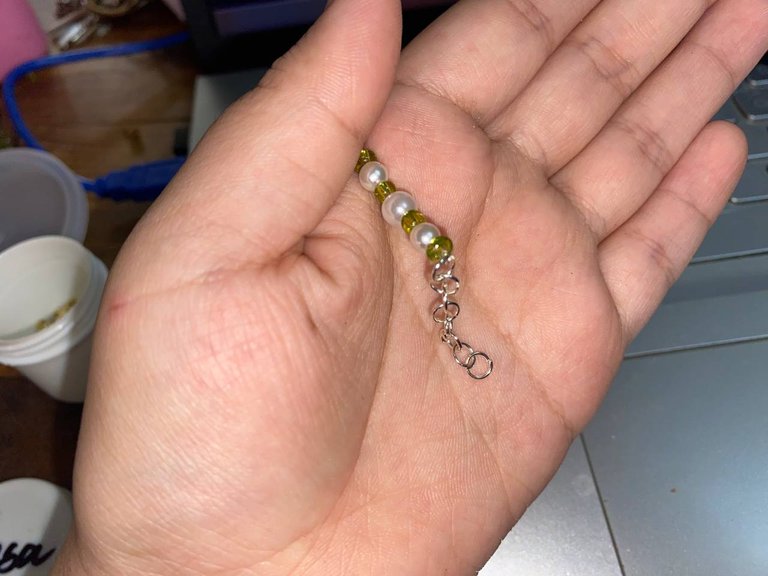
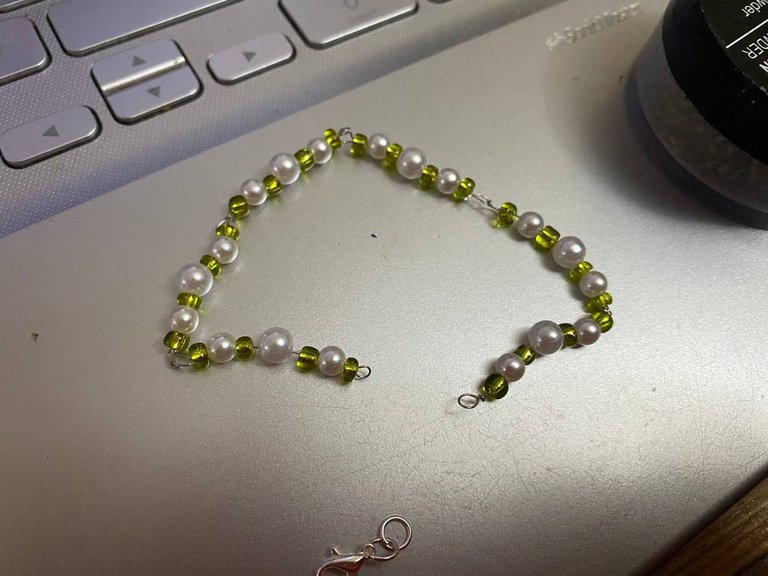
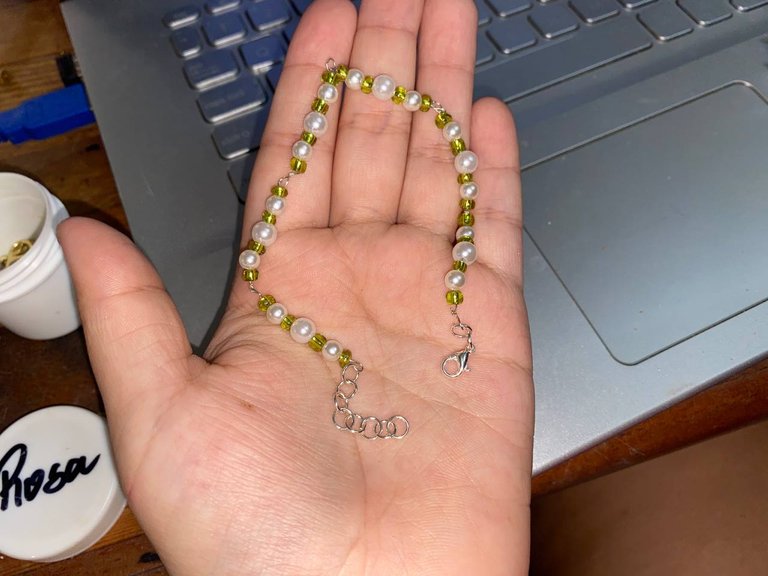
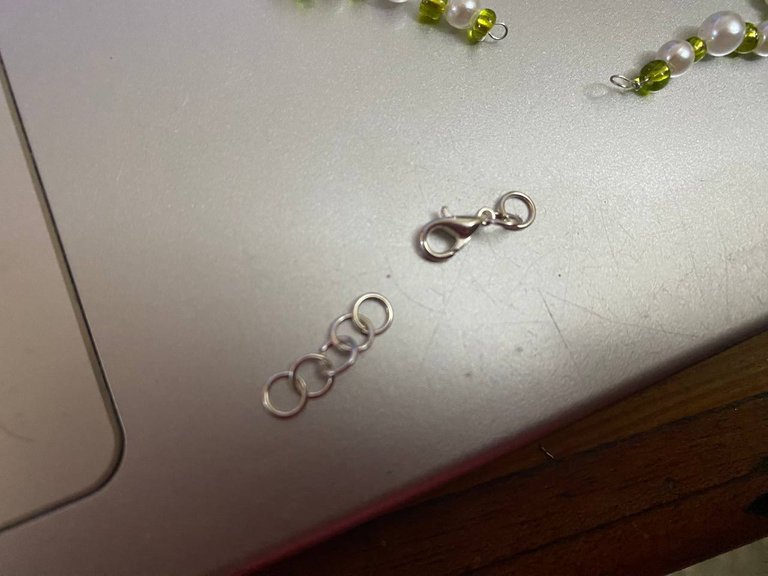
Este proceso lo realice muchas veces, entre 6 y 7 veces. Cuando ya las tuve todas estuve uniendo todas. Colocando cada uno mediante el ultimo aro. Finalmente coloque la tranca y también varios aros en tono plateado para que quedaran colgando. Es mejor utilizar las cadenas corridas para hacer lo ultimo que estuve haciendo, pero como no tenia entonces tuve que improvisar un poco.
I did this process many times, between 6 and 7 times. When I had them all I was joining them all together. Placing each one through the last hoop. Finally, I placed the clasp and also several silver tone hoops so that they would hang down. It's better to use the chains to do the last thing I was doing, but since I didn't have any, I had to improvise a little.
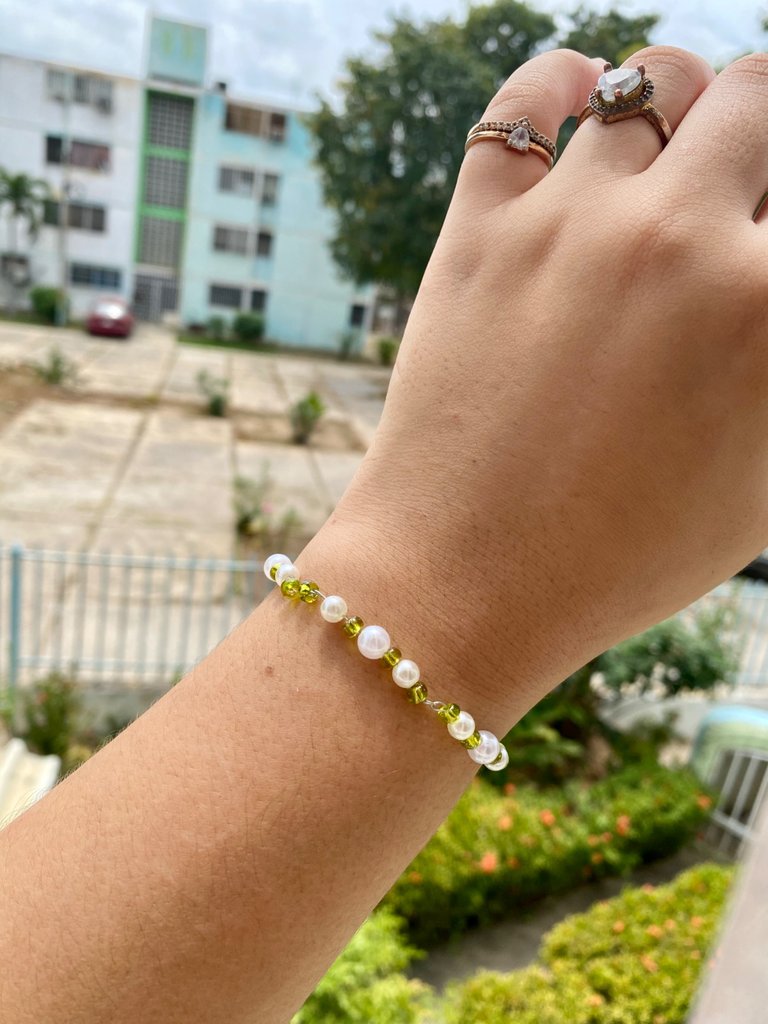
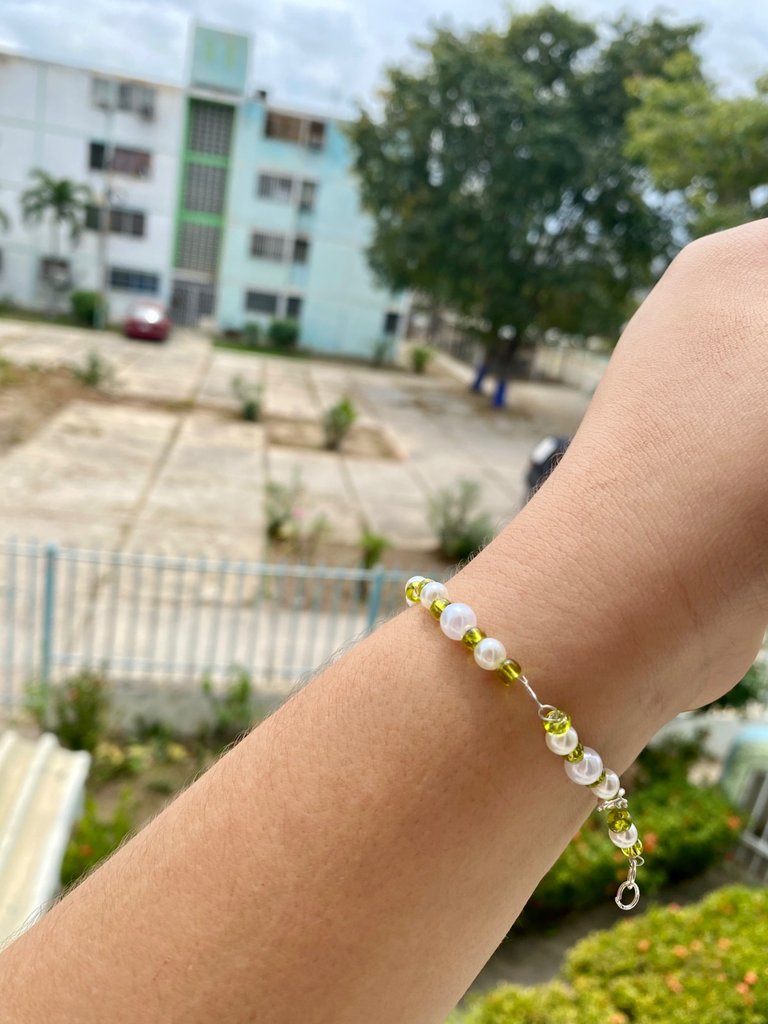
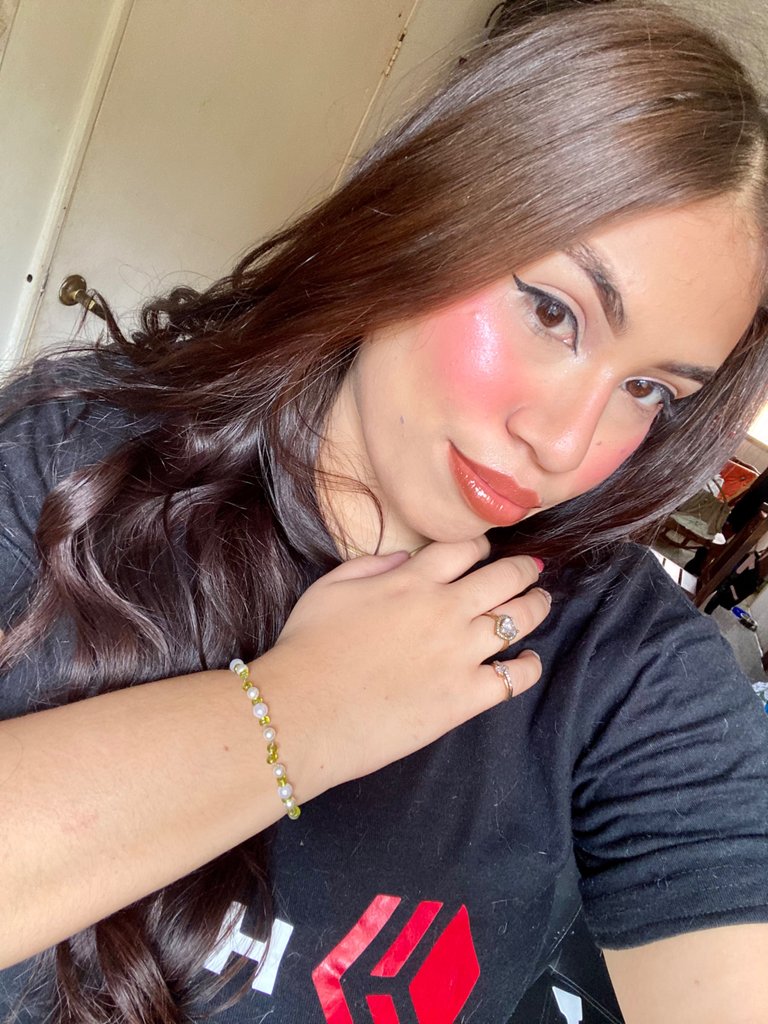
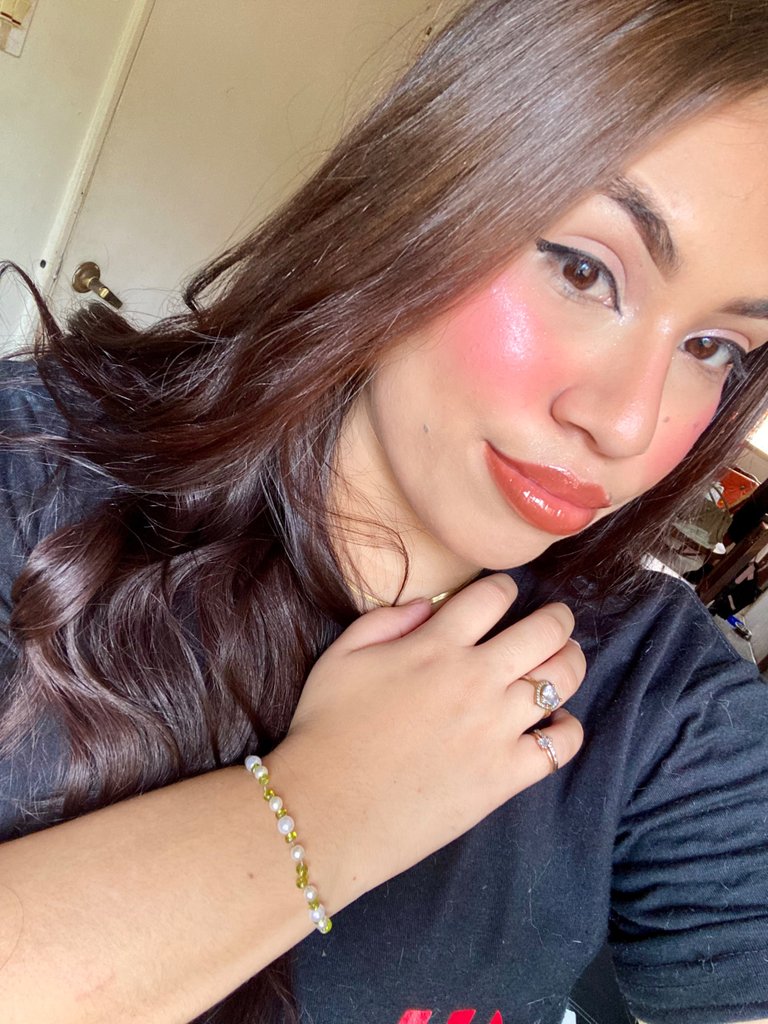
La verdad me parece bastante cuchi esta pulsera porque no es un estilo tan complicado, pero no es tan común. No me tomo tanto tiempo hacerla y eso me gustó mucho, fue un poco relajante el proceso ya que no fue nada complicado, me siento lista para próximamente hacer el collar que tenia pensado. Esta pulsera me gustaría combinarla con unos zarcillos también, de perlas, quedarían bastante lindos. Para ser la primera honestamente no estuvo tan mal, seguiré practicando esta técnica de alambrismo. Espero que les haya encantado este proceso, se los recomiendo mucho, nos leemos pronto!
The truth is that I think this bracelet is quite cute because it is not a complicated style, but it is not so common. It didn't take me so much time to make it and I liked that a lot, it was a little relaxing process because it wasn't complicated at all, I feel ready to make the necklace I had in mind. I would like to combine this bracelet with some pearl earrings as well, they would be very nice. For my first one it honestly wasn't too bad, I'll keep practicing this wire wrap technique. I hope you loved this process, I highly recommend it, see you soon!
Pictures of my property.
Exclusive Content for HIVE.
Camera: Apple iPhone 11.
If you like makeup, the world of beauty or making art on your skin I invite you to the Makeup Power Community and the Makeup Power Telegram
Scan the QR and follow me!
| Telegram | TikTok | 3speak | ||
|---|---|---|---|---|
|

|

|
|

|
