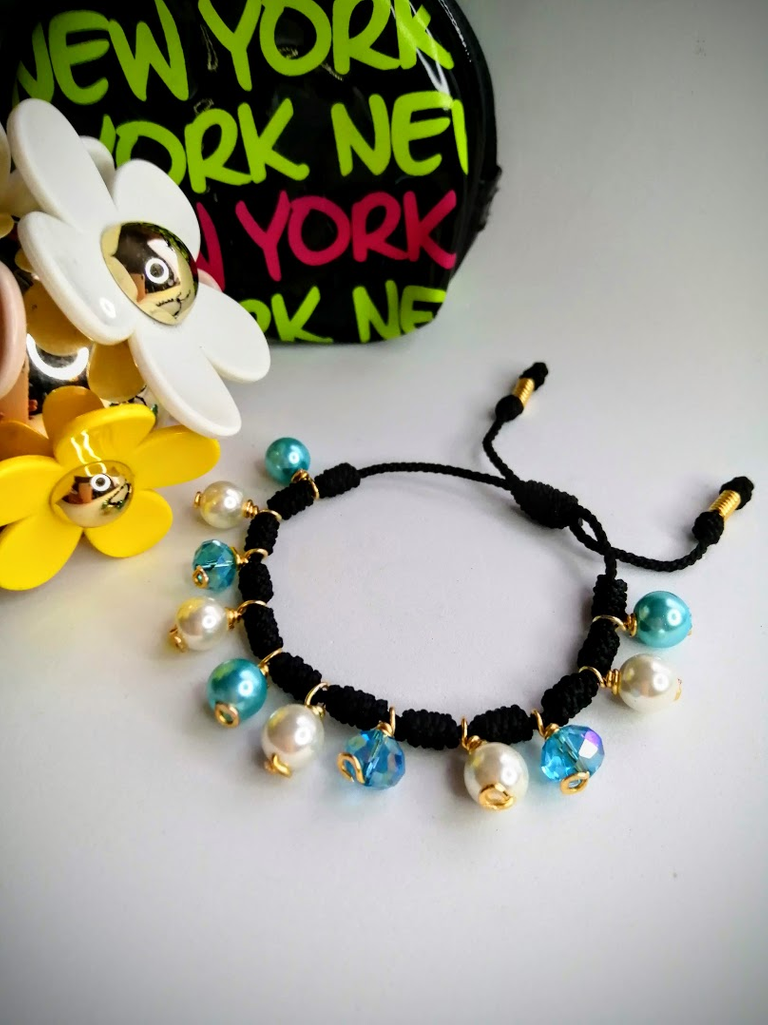
We have started classes and for many of us, whether we are parents who have to take the children to school, or as students at different educational levels: primary, secondary or university; I am more than convinced and I can say with propriety: that in one way or another stress will be part of our days; that is why I have been inspired to make a bracelet where several elements are reflected, among them: the inevitable stress (represented by a black cord), the calm in the middle of the storm (represented by blue pearls), peace and joy (represented by white pearls and blue crystals) after overcoming new challenges.
The moment of a new tutorial has begun, I hope you will not be stressed by its elaboration, on the contrary, my wish is that you will be inspired to create new accessories!
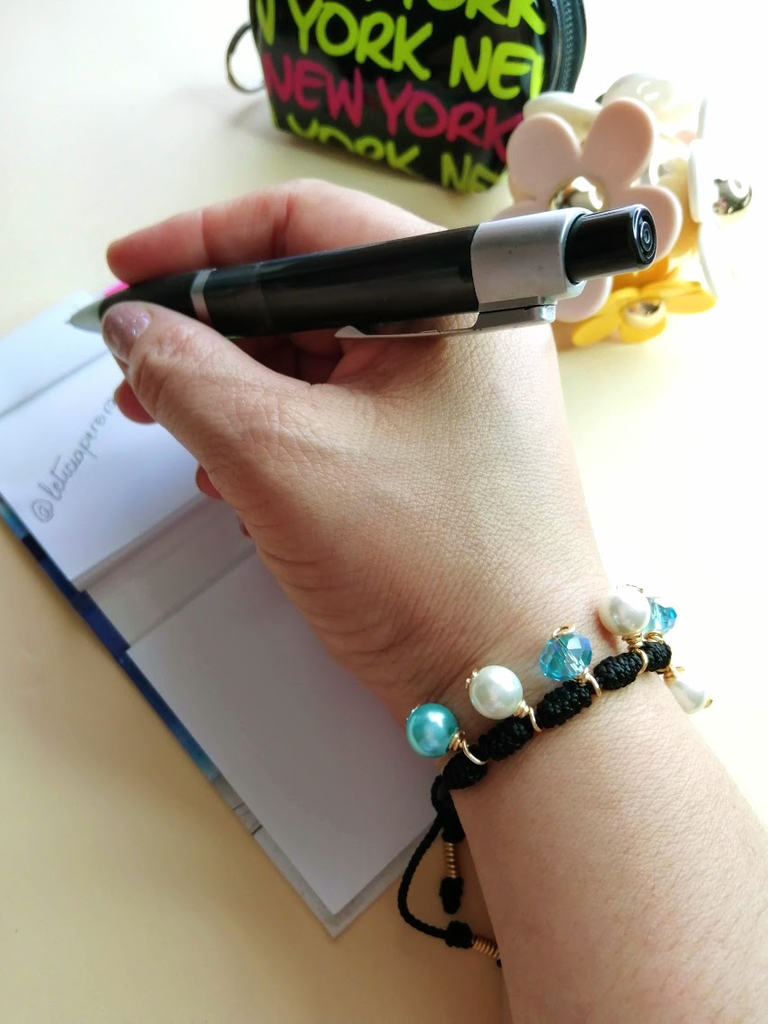
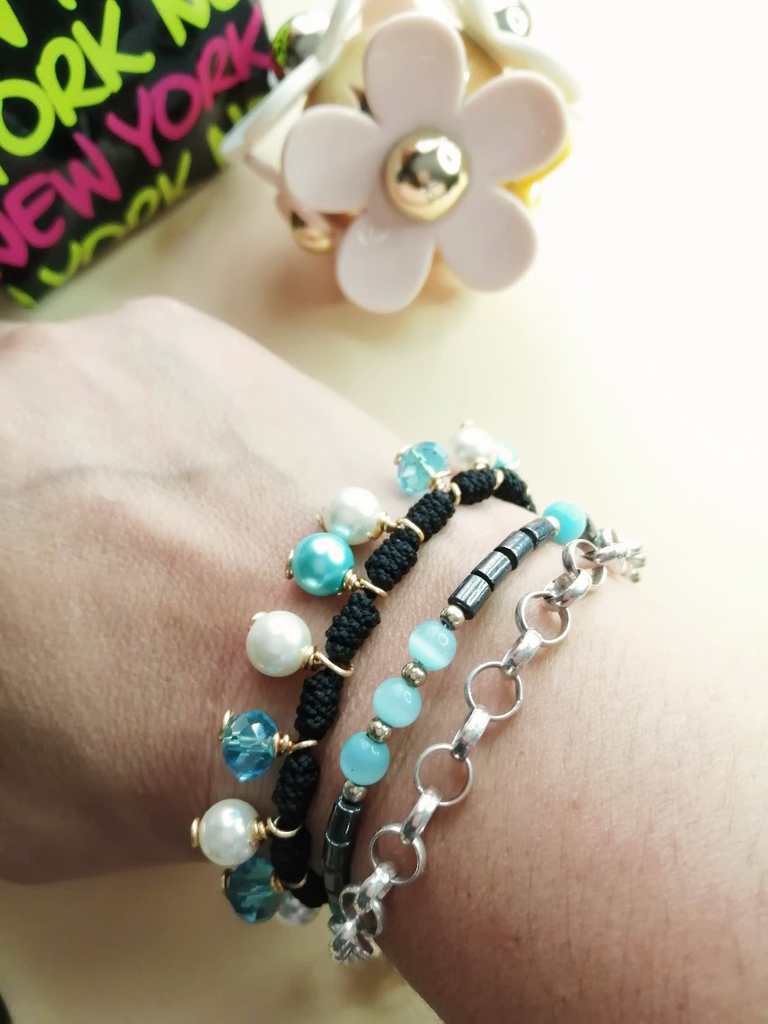
Hemos iniciado las clases y para muchos de nosotros, bien sea que seamos padres que debemos llevar a los niños al colegio, o como estudiantes en los diferentes niveles educativos: primaria, secundaria o universitaria; estoy más que convencida y puedo decir con propiedad: que de una u otra forma el estrés será parte de nuestros días; es por ello, que me he inspirado en la realización de una pulsera donde se reflejen varios elementos, entre ellos: el inevitable estrés (representado por un cordón negro), la calma en medio de la tormenta (representado por perlas de color azul), paz y alegría (representado por perlas blancas y cristales azules) tras superar nuevos desafíos.
¡El momento de un nuevo tutorial ha iniciado, espero que no te estrese su elaboración, por el contrario, mi deseo es que puedas inspirarte en crear nuevos accesorios!.
Materiales a utilizar:
- 180cm de cordón de 2mm
- Hilo de bisutería calibre 22
- Perlas de vidrio y cristales checos de 8mm (11 en total)
- Pinzas de bisutería
- Tijera
- Encendedor
- Removedor de plástico
Materials to be used:
- 2mm cord (180cm)
- 22 gauge costume jewellery thread
- 8mm mix glass beads and Czech glass crystals (11)
- Costume jewellery tweezers
- Scissors
- Lighter
- Plastic remover
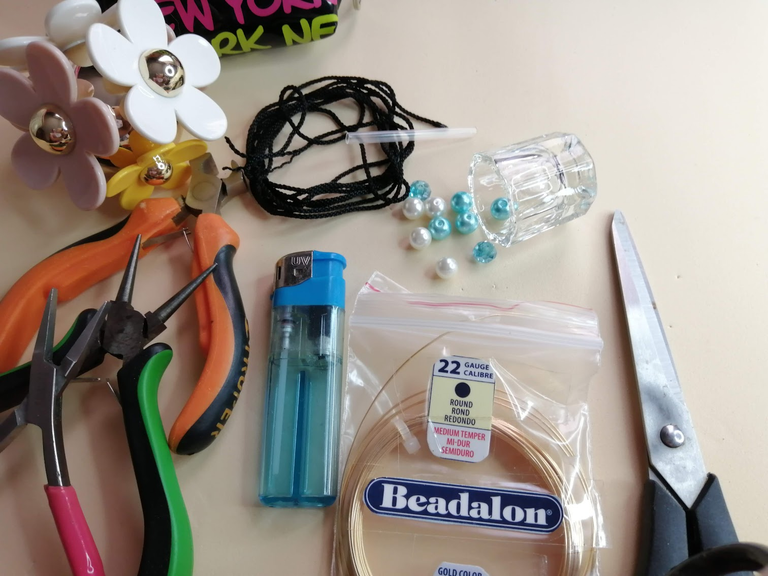
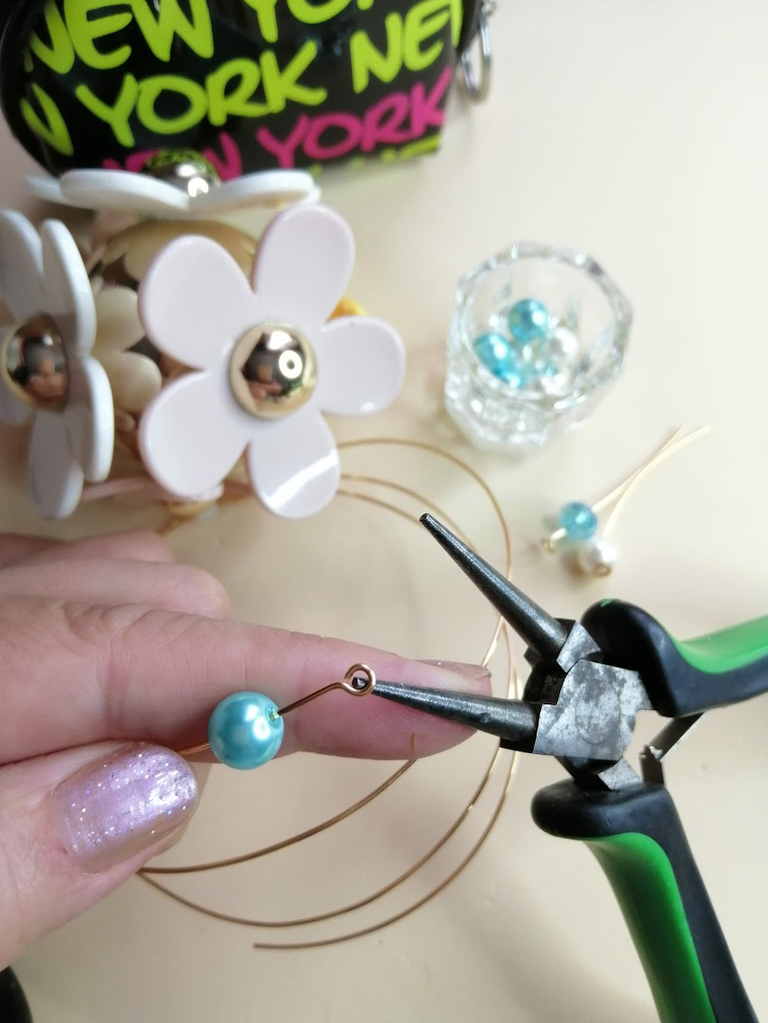
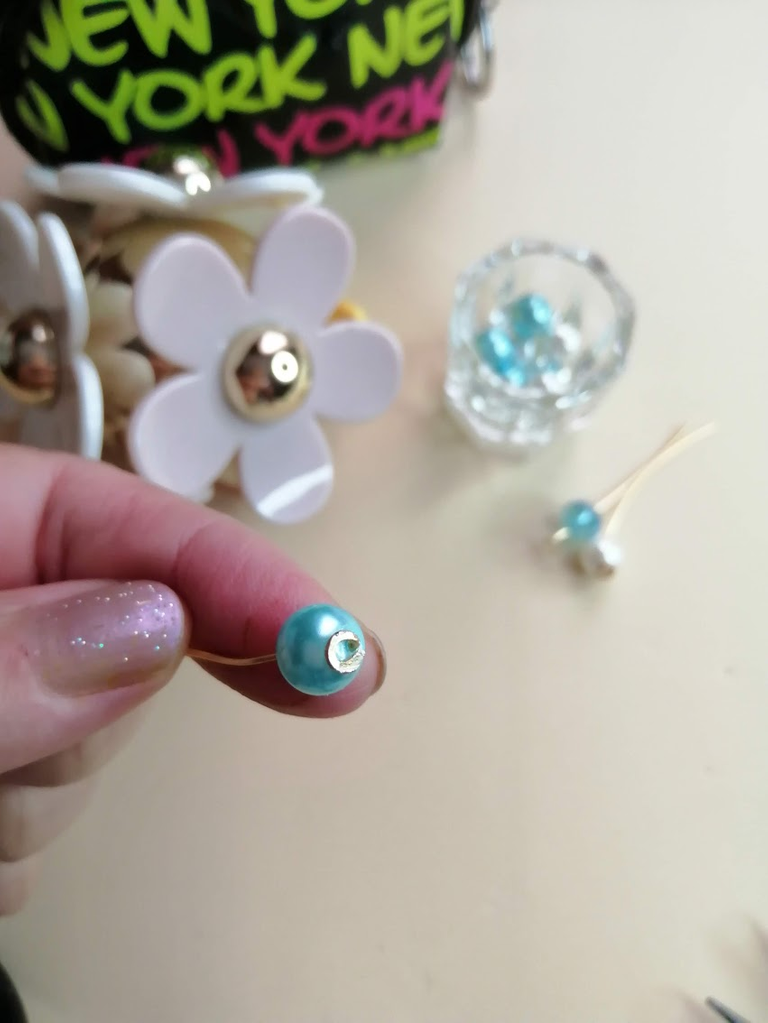
The first thing we will do is to insert one of our glass beads into the jewellery wire and with the help of a round tweezers, we will make a small ring, which we will flatten and then bend to ensure that our bead is well secured.
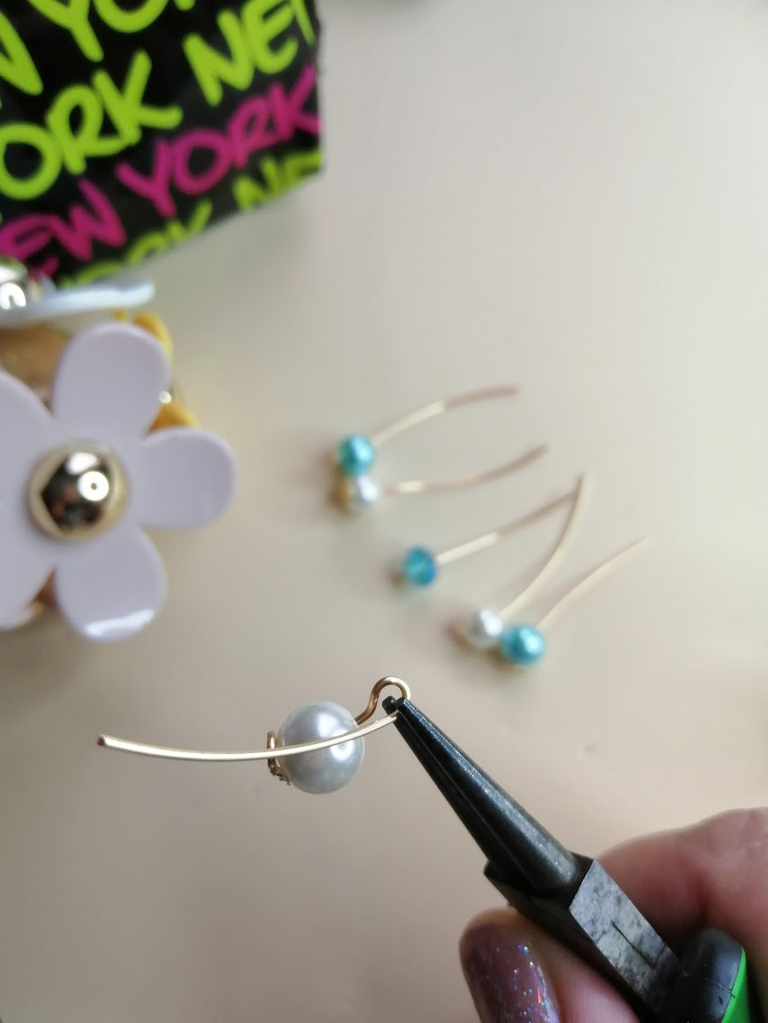
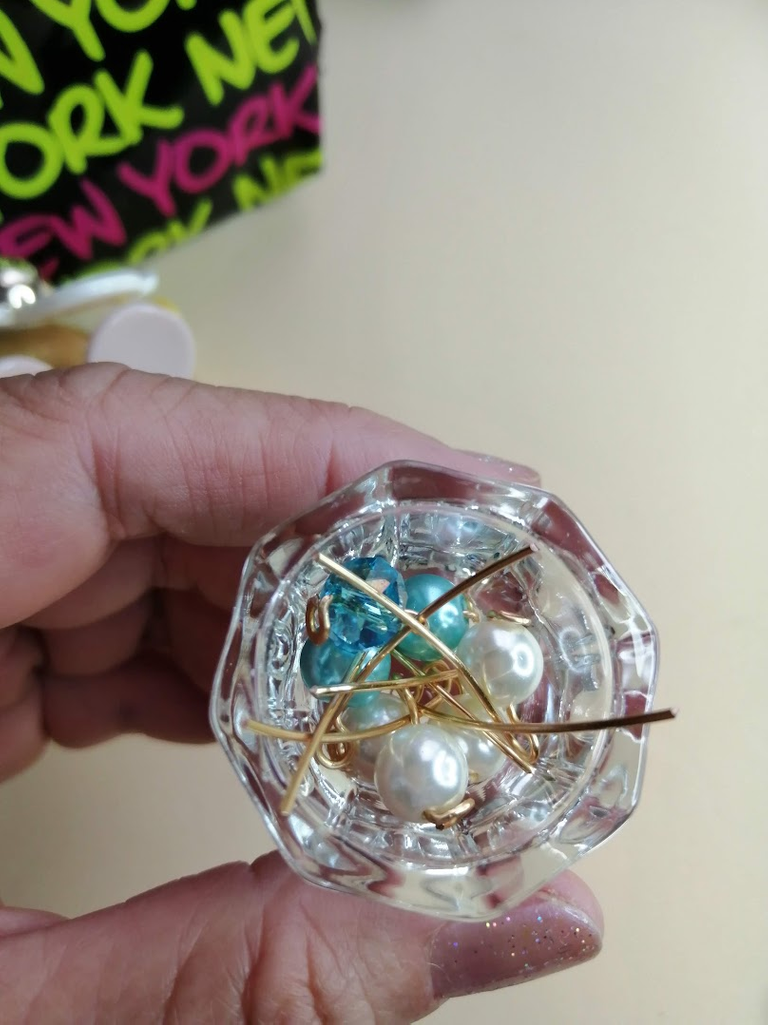 We proceed to cut the jewellery thread to an approximate length of 4 or 5cm, and again we make a ring that we are not going to close, but we are going to leave it as shown in the photograph, we repeat until we have completed the eleven pieces that will serve as the adornment of our accessory; we reserve the motifs.

 We are going to make "Franciscan knots", which consists of wrapping a plastic remover with our cord in a right - left direction, a total of 5 and a half turns, and then introducing the cord inside the remover and adjusting it.
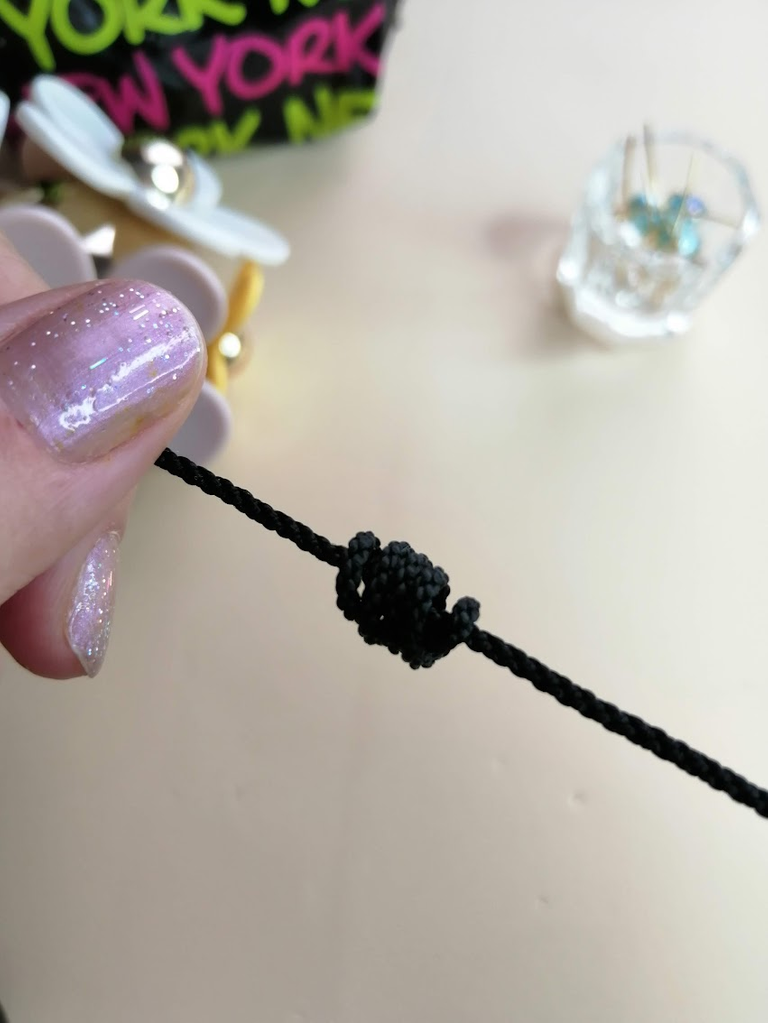
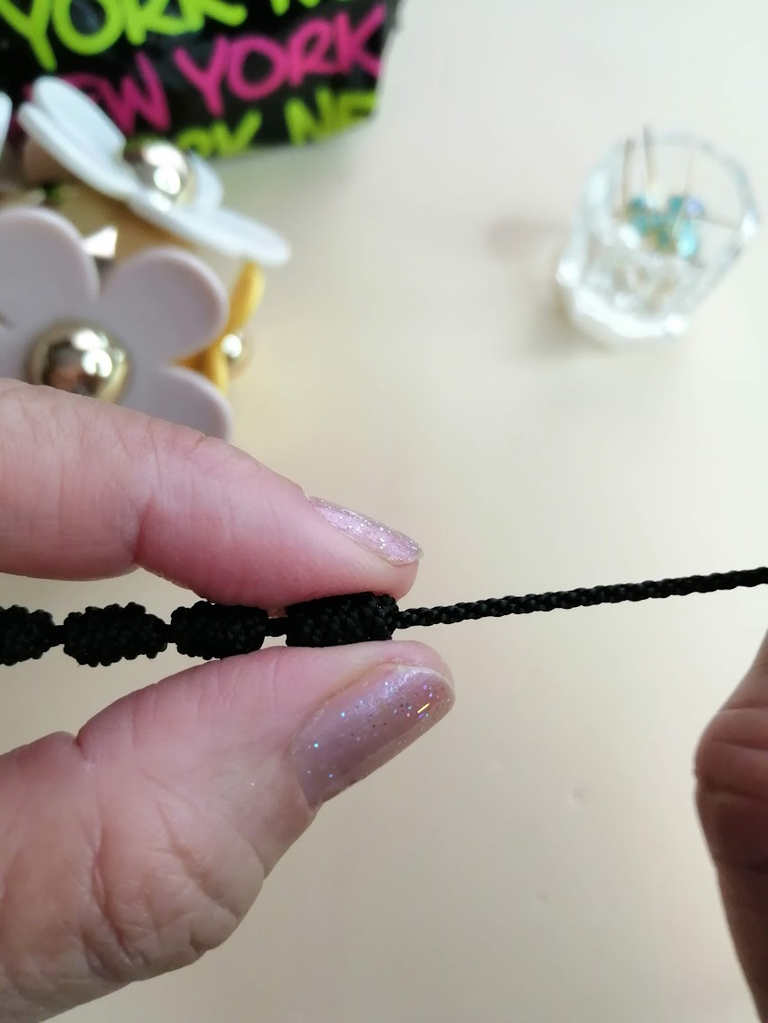 It is very important to determine the number of turns to be made in the knot, in order to maintain uniformity in the process; it is necessary to hold the knot with the index finger and thumb while adjusting firmly, in this way, we will avoid deformation of the ornament.

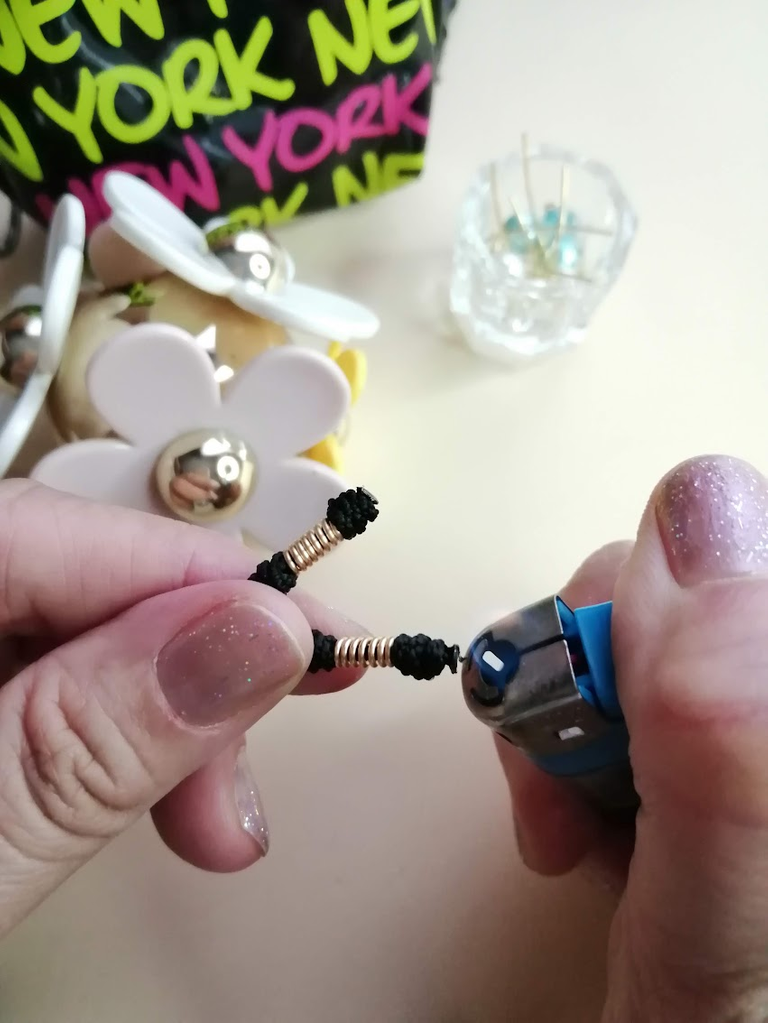
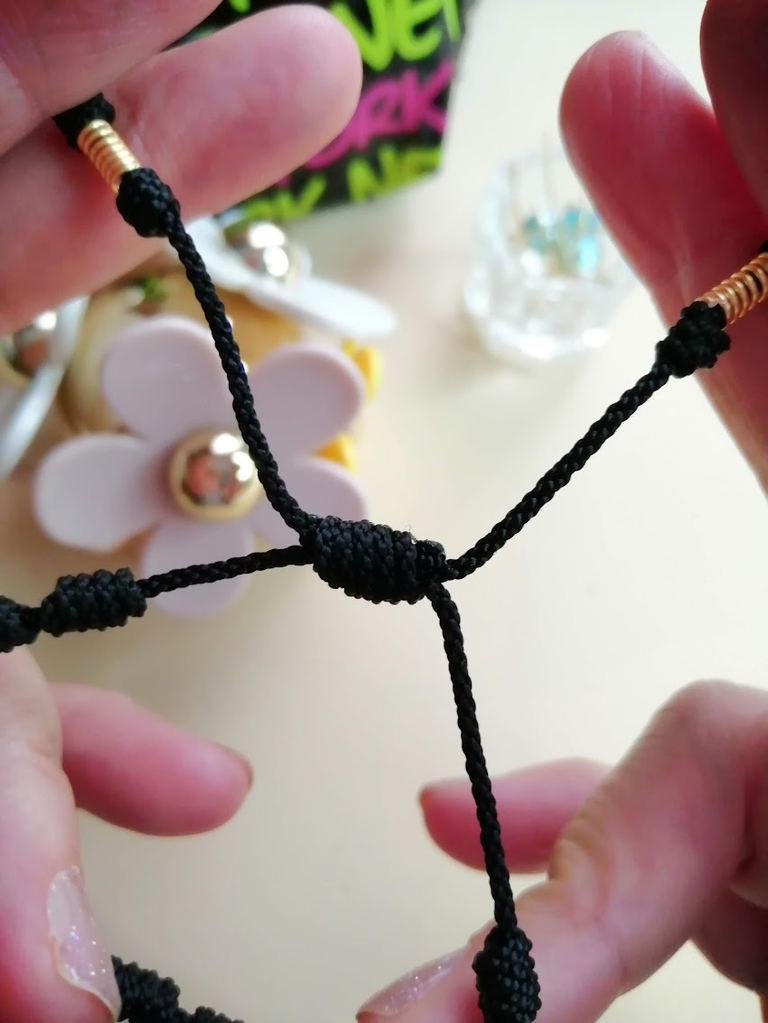 With the help of a lighter, we proceed to burn the ends, so that the cord does not fray. To finish this step, we cross the ends of our bracelet and tie a Franciscan knot; in this case, I used 7 turns, I tightened it very well and the ends of the cord were burnt.
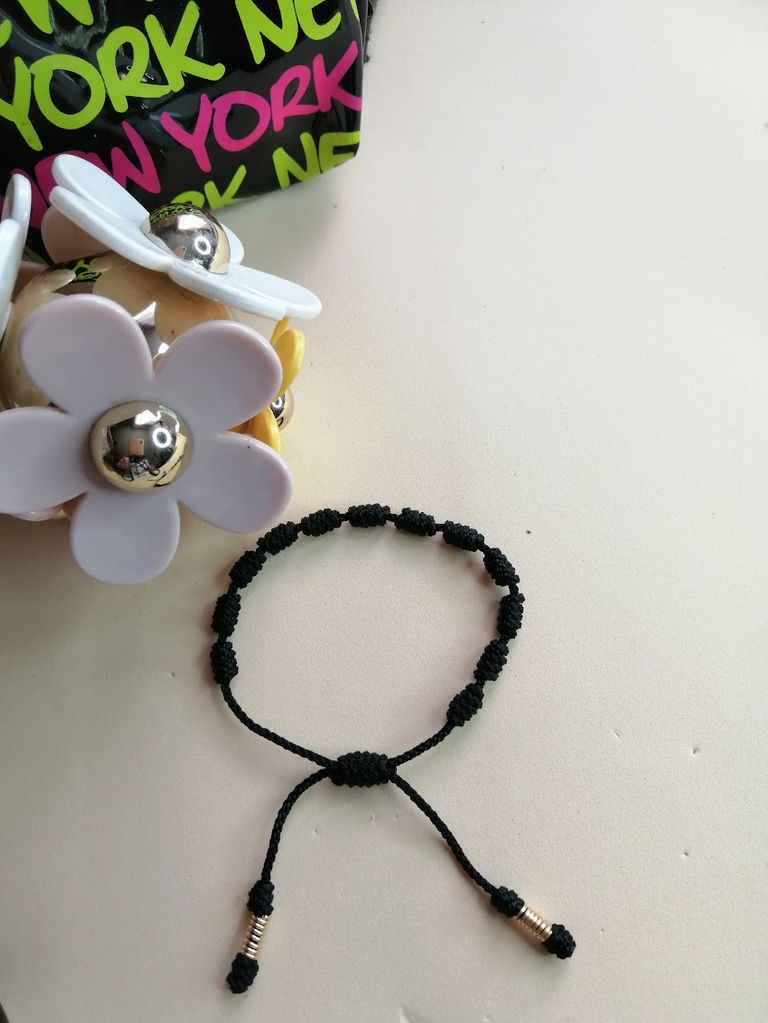
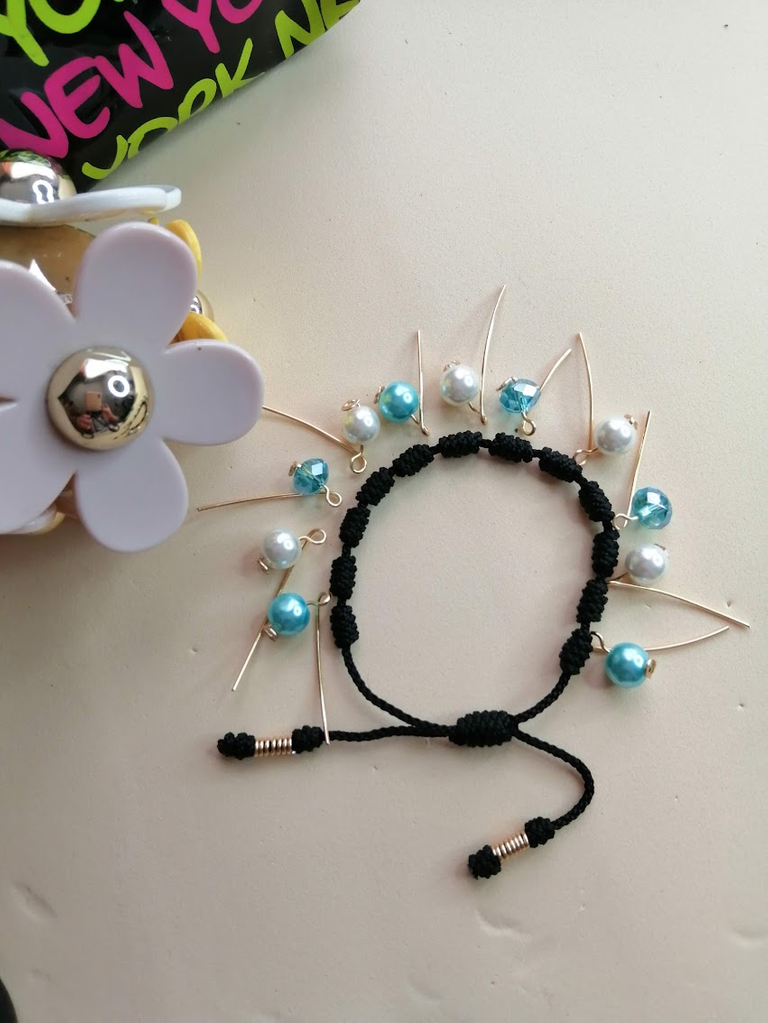 This way we are left with a bracelet of knots, I have placed (optionally) an ornament at the ends; now it is time to make the design of the pieces that will adorn our bracelet, as shown in the photos.
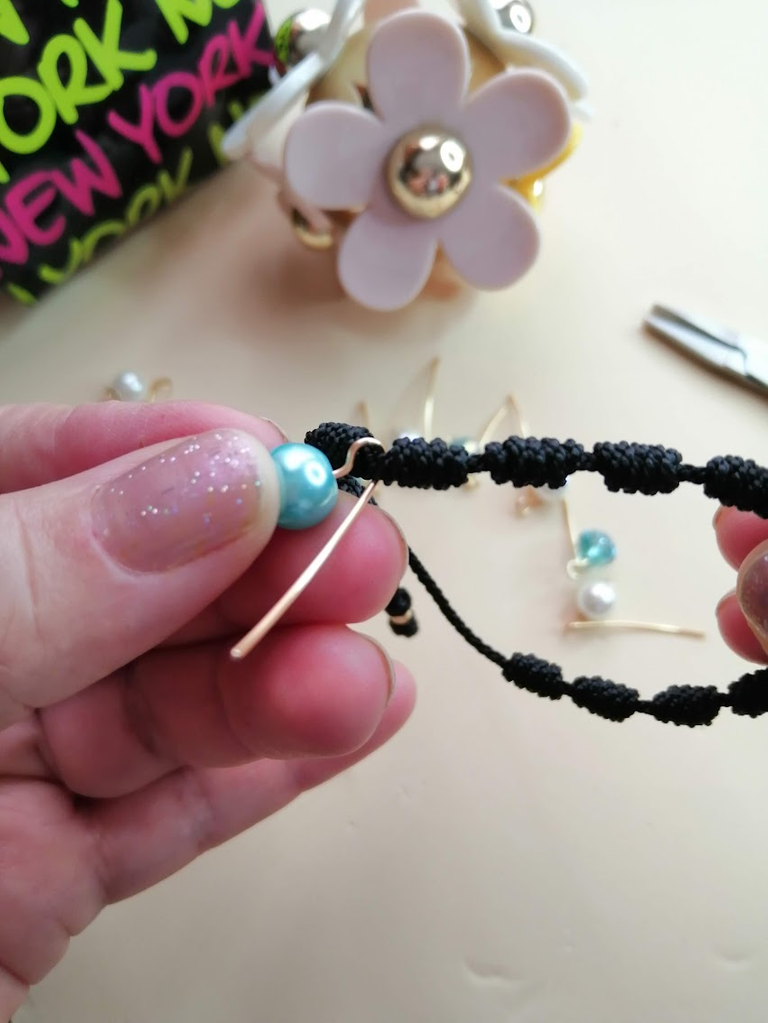
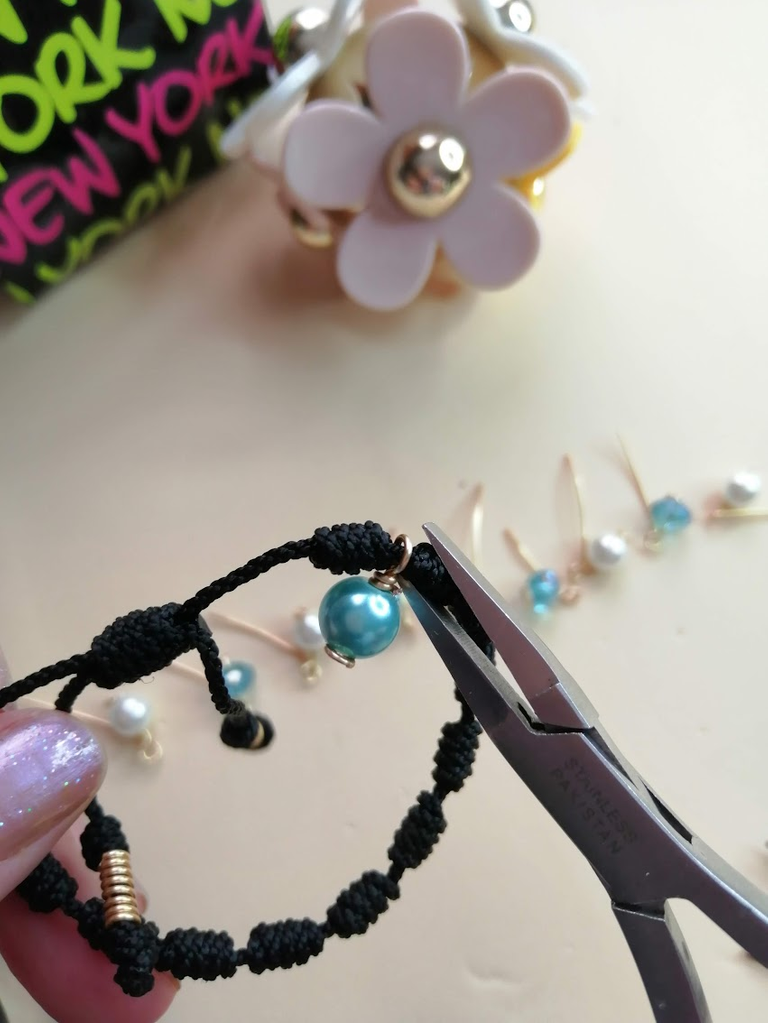
We take our pins and place them very carefully in each of the spaces we have left between the knots, with the help of the tweezers, we close them very well and give the necessary terminations to avoid causing damage to the skin.
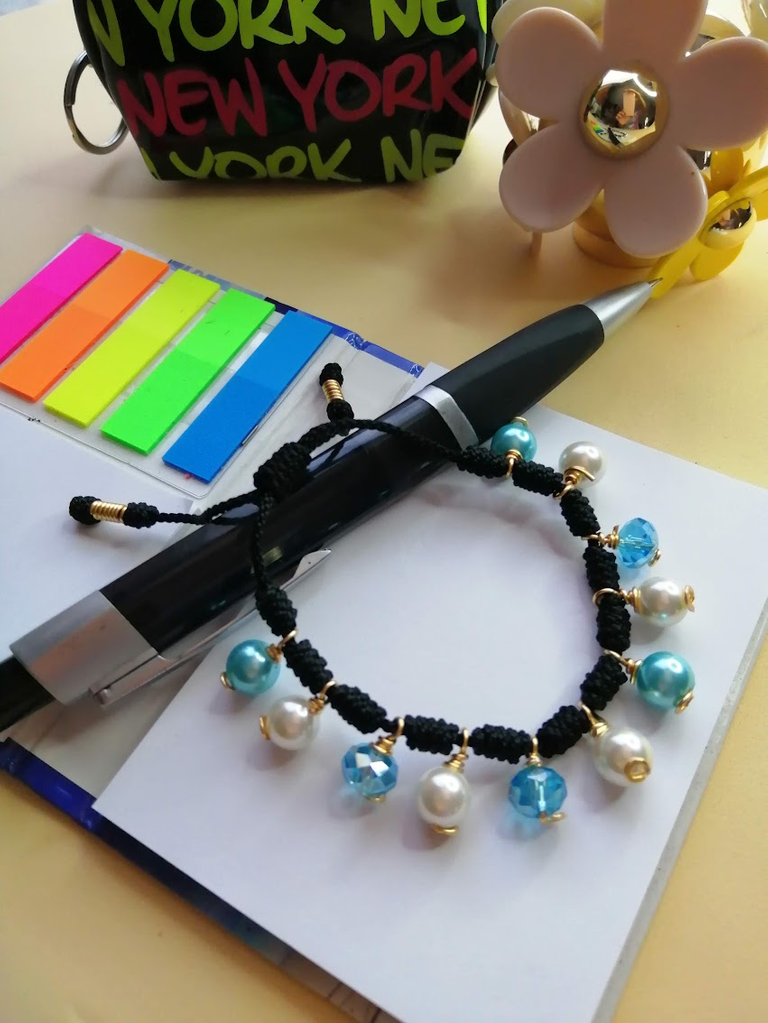
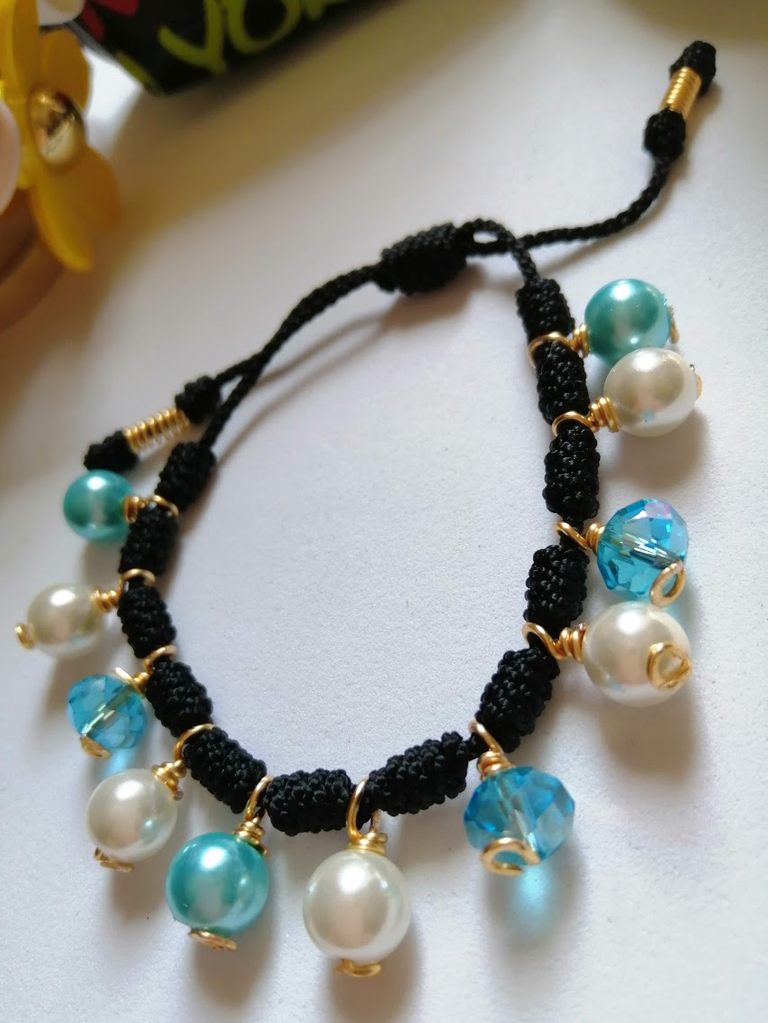
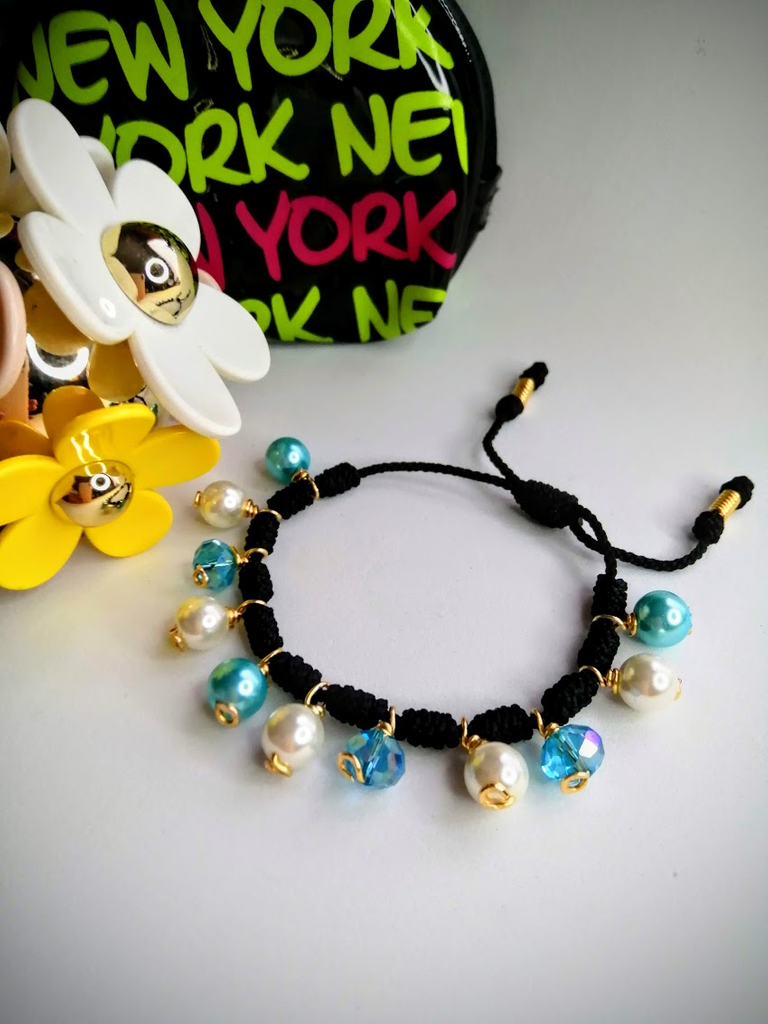
This way, we have concluded our beautiful student bracelet, you can change the colours, depending on the outfit you are going to wear and even mix several colours and elements to show off on the beach in the next carnival days. Remember to remove the excess and polish the ends neatly.
📷 HuaweiY9 -
🇺🇸 🇻🇪 Translated with Deepl
LEP003/2023
