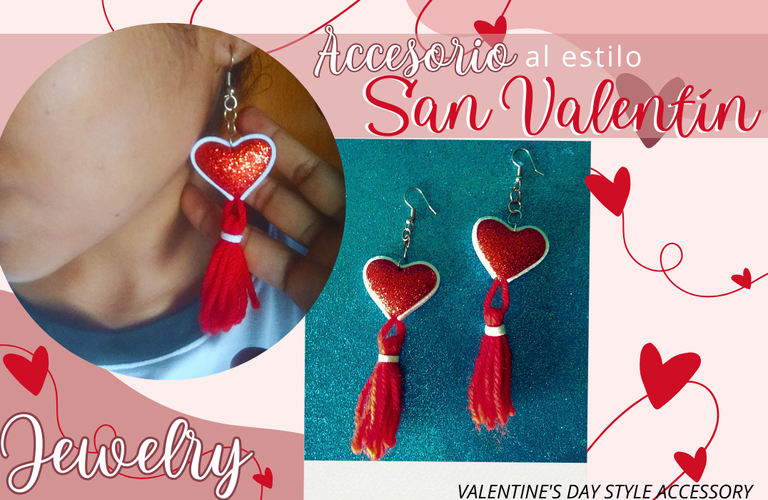
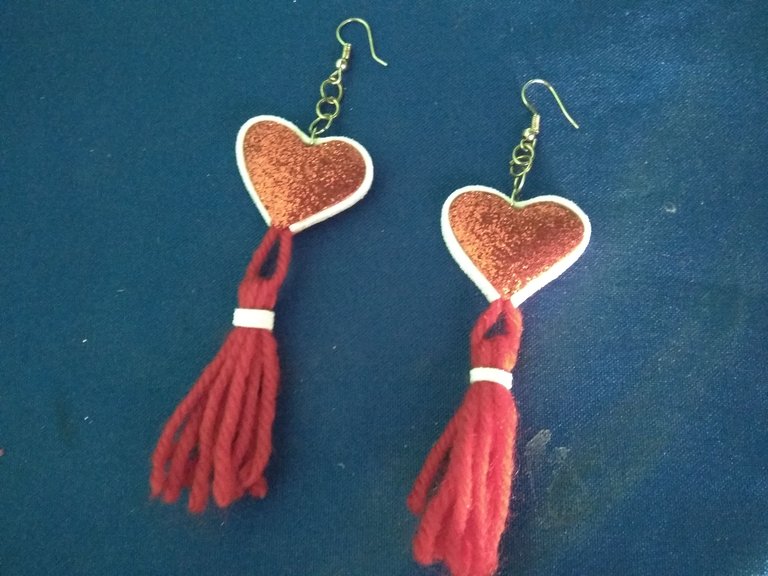
Estos accesorios los hice inspirada en el día del amor y la amistad, son lindos llenos de brillos, comunidad amante de los accesorios hoy les traigo un tutorial fácil de hacer usando foami, un material versátil a la hora de hacer artesanías, llénate de amor y luce esplendorosa el día de celebrar los sentimientos, la idea de usar accesorios tematizados es realmente tierna, muchas personas aman este tipo de cosas a ellos dirijo este contenido, recibe amor y expresa amor.
I made these accessories inspired by the day of love and friendship, they are cute full of glitter, community lover accessories today I bring you an easy tutorial using foami, a versatile material when it comes to making crafts, fill yourself with love and look splendorous on the day to celebrate feelings, the idea of using themed accessories is really cute, many people love this kind of thing to them I direct this content, get love and express love.

No creaba accesorios hace un tiempo, estar de regreso es un placer, entiendo que es una idea simple, pero no por ello deja de ser un accesorio poco hermoso, a pesar de ser de foami el acabado es limpio, además les brindaré ciertos tips para lograr el mejor resultado posible.
I have not created accessories for a while, being back is a pleasure, I understand that it is a simple idea, but it is still a beautiful little accessory, despite being made of foami the finish is clean, also I will give you some tips to achieve the best possible result.
¿Listos para el tutorial?
Ready for the tutorial?
¡EMPECEMOS!
LET'S GO


Materiales: || Materials:
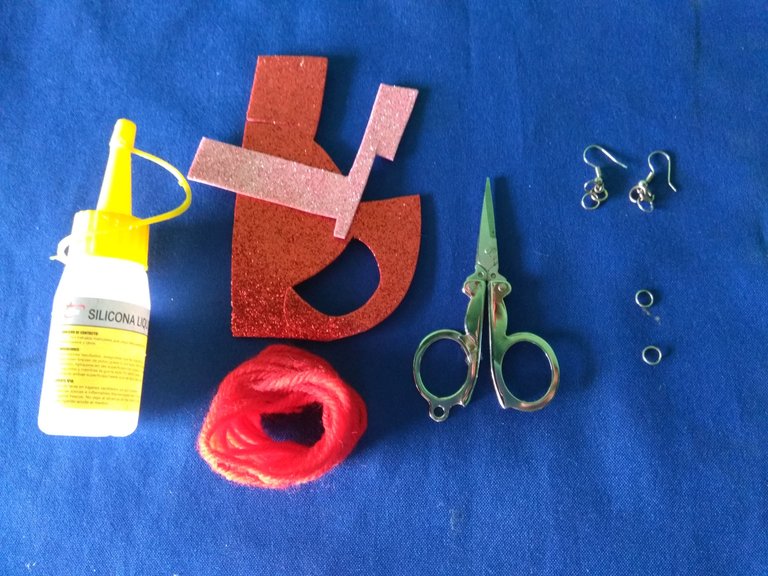
▪️ Par de anzuelos, foami rojo y blanco, estambre rojo, silicón líquido, tijeras, hoja de papel, lápiz.
▪️ Pair of hooks, red and white foami, red yarn, liquid silicone, scissors, sheet of paper, pencil.

Paso a paso: || Step by step:
Hacer un patrón con forma de corazón de papel, el corazón debe trazarse dentro de un cuadrado de 3 cm, recorten el patrón, tracen 4 veces el corazón en el foami rojo y recorten.
Make a heart-shaped pattern out of paper, the heart should be traced inside a 3 cm square, cut out the pattern, trace 4 times the heart on the red foami and cut out.
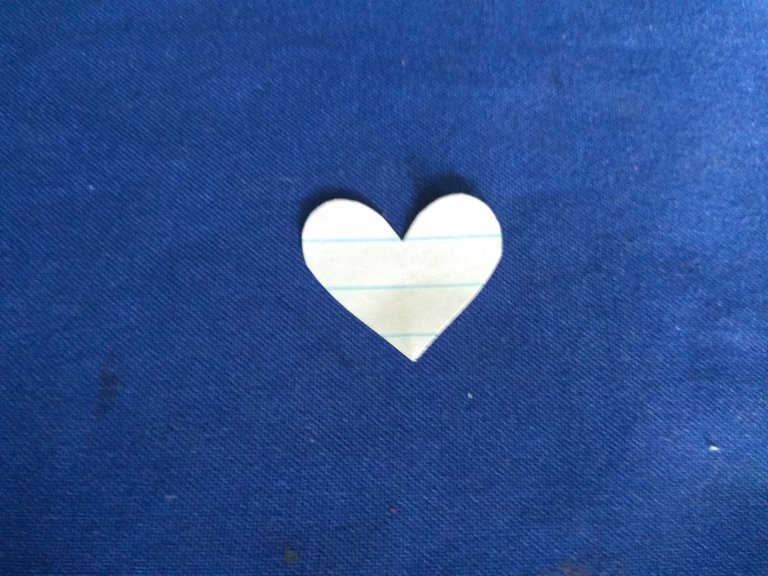
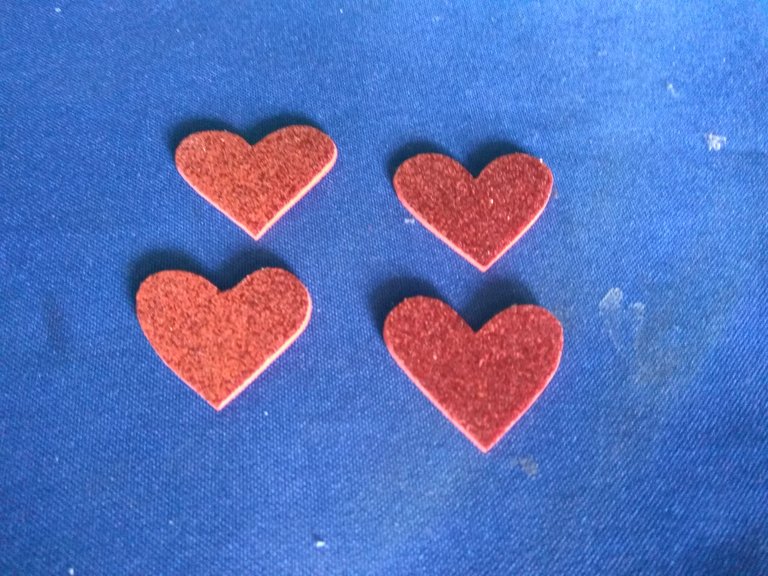
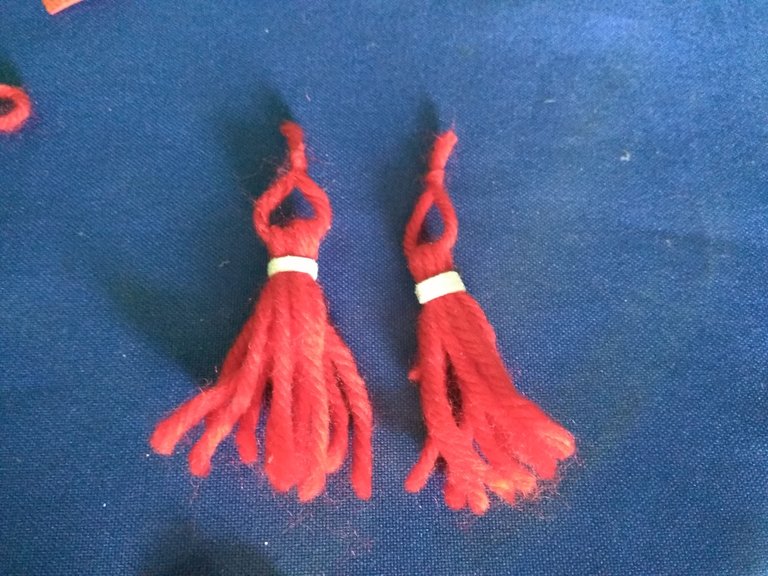
Pasar los corazones de foami por una plancha caliente, sólo debe estar unos segundos, lo que conseguirán con esto es inflar las piezas, les da un mejor acabado a los aretes, luego de ello hagan 2 piezas atadas con estambre, en las fotos muestro 4, pero usé sólo 2 de ellas.
Pass the foami hearts through a hot iron, it should only be a few seconds, what you will get with this is to inflate the pieces, it gives a better finish to the earrings, after that make 2 pieces tied with stamen, in the pictures I show 4, but I used only 2 of them.
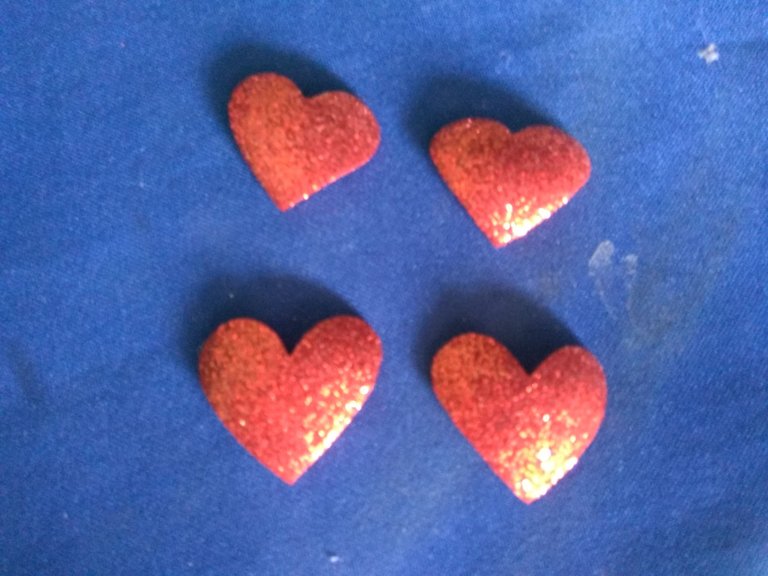
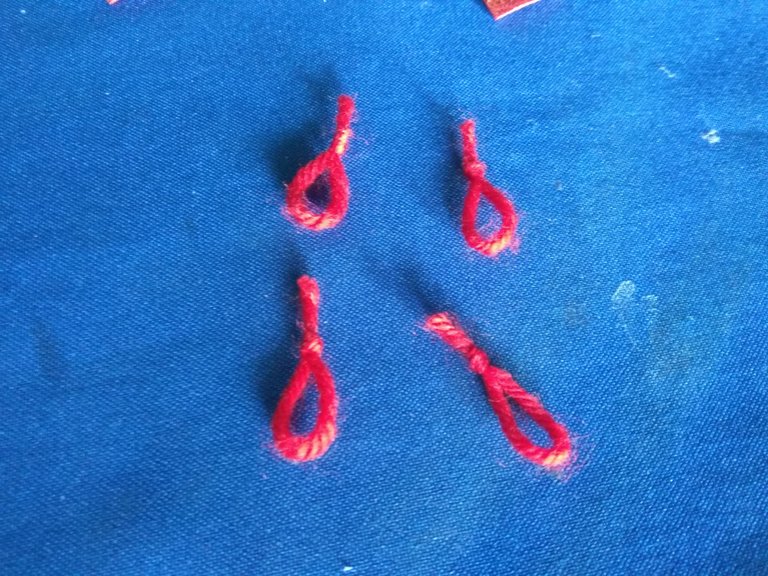
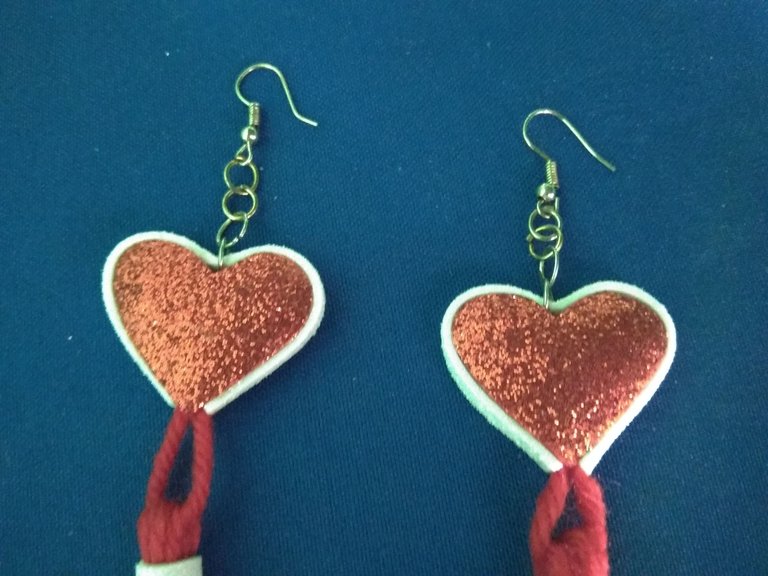
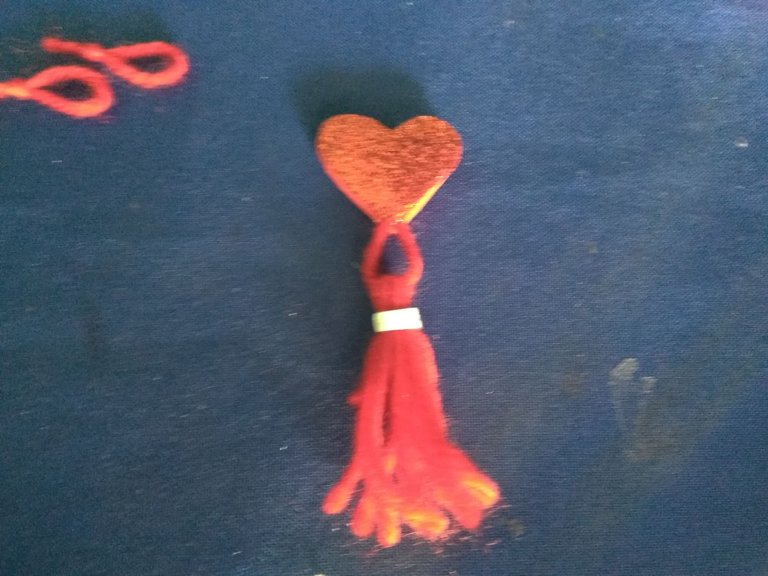
Usé estambre para hacer colgante a los aretes, esta será la decoración de los accesorios, peguen los colgantes en uno de los corazones y sobre el coloquen el otro corazón, al estar inflados los corazones los aretes tienen una mejor apariencia.
I used yarn to make pendants to the earrings, this will be the decoration of the accessories, glue the pendants on one of the hearts and place the other heart on it, as the hearts are inflated the earrings have a better appearance.
Alrededor de los corazones pegué una tira blanca de foami, incrustando dentro de ella los anzuelos, asegúrense de que queden en la parte superior de los aretes y estarán listos los accesorios.
Around the hearts I glued a white strip of foami, embedding the hooks inside it, make sure they are at the top of the earrings and the accessories will be ready.
 Accesorio al estilo san valentin || Valentine's Day style accessory

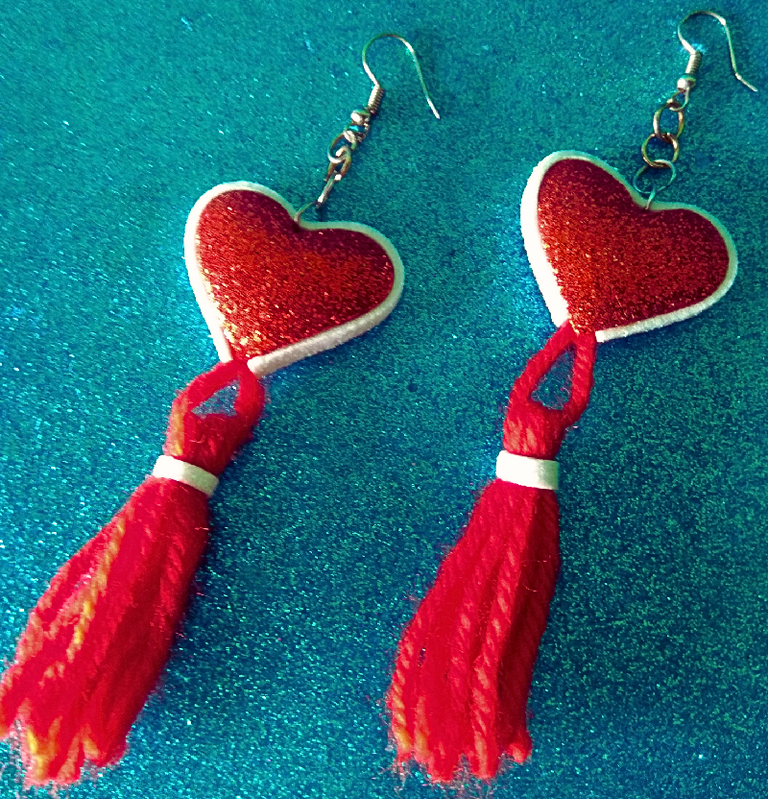

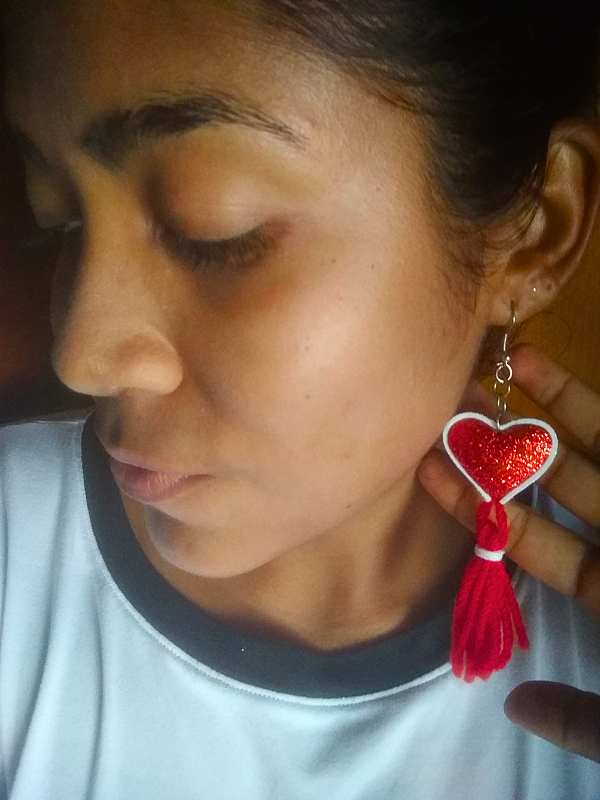


Ya se percibe amor en el ambiente con lo próximo que esta San Valentín, no sólo des amor ese día, también luce amor, este tutorial demuestra lo fácil que hacer este par de aretes, sin mencionar que son accesorios económicos un incentivo extra para animarse a crear, dime en los comentarios que piensas de este paso a paso, gracias por llegar hasta aquí.
Love is already in the air with Valentine's Day coming up, don't just give love that day, also look love, this tutorial shows how easy it is to make this pair of earrings, not to mention that they are inexpensive accessories an extra incentive to encourage you to create, tell me in the comments what you think of this step by step, thanks for making it this far.



Imágenes tomadas desde mi Xiaomi Redmi Note 4. || Images taken from my Xiaomi Redmi Note 4.
Separadores hechos en Canva. || Dividers made in Canva.
Ediciones hechas en Canva. || Editions made in Canva.
Vídeos convertidos en gif || Videos converted to gif IMG2GO
Translator Deepl.
