Hello dear hive community! 😉
¡Hola querida comunidad de hive! 😉
Primero que todo quiero desearles un feliz año nuevo 2024, que este año venga cargado de infinitas cosas buenas para todos ustedes y que Dios los cuide y acompañe en todo momento; deseo que este año que recién comienza sea muy productivo para esta plataforma y para todas las personas que hacen vida activa en ella. Hoy es mi primera publicación en este nuevo año, me fuese gustado hacerla antes, pero surgieron algunos inconvenientes técnicos que me lo impidieron, sin embargo, en esta ocasión me dispuse a realizar un modelo nuevo de pulsera, es algo sencillo pero la verdad es muy linda.
First of all I want to wish you a happy new year 2024, may this year be full of infinite good things for all of you and may God take care of you and accompany you at all times; I wish that this year that has just begun will be very productive for this platform and for all the people who make active life in it. Today is my first publication in this new year, I would have liked to do it before, but there were some technical problems that prevented me, however, this time I decided to make a new model of bracelet, it is something simple but the truth is very nice.
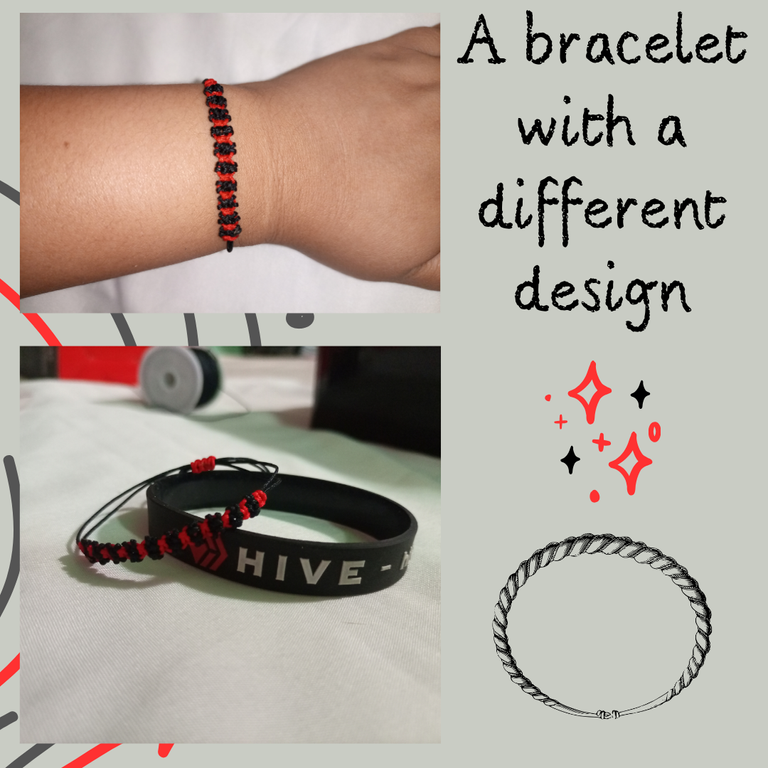
Imagen realizada con la página web de diseño gráfico y composición de imágenes Canva // Image made with the graphic design and image composition website Canva.


- Hilo Chino (Dos colores de tu preferencia, yo utilice rojo y negro)
- Dos rombos
- Tijera
- Cinta métrica
- Encendedor
- Chinese Thread (Two colors of your choice, I used red and black)
- Two rhombuses
- Scissors
- Tape measure
- Lighter


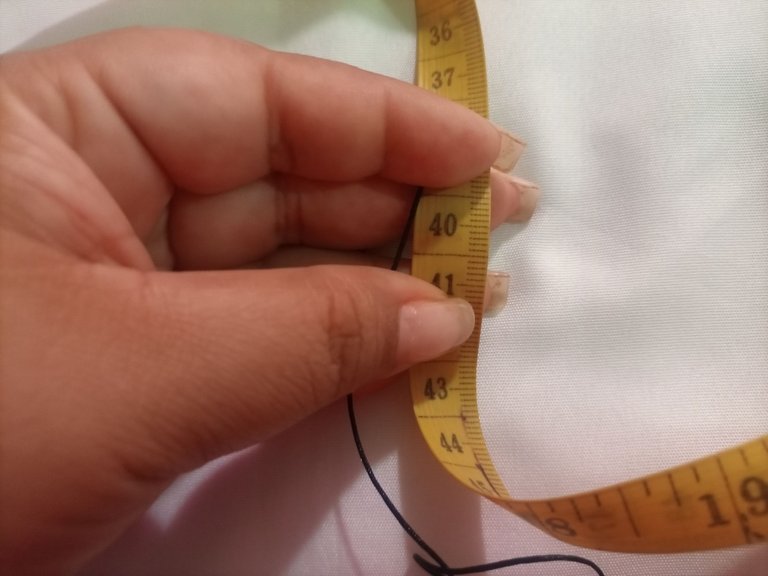
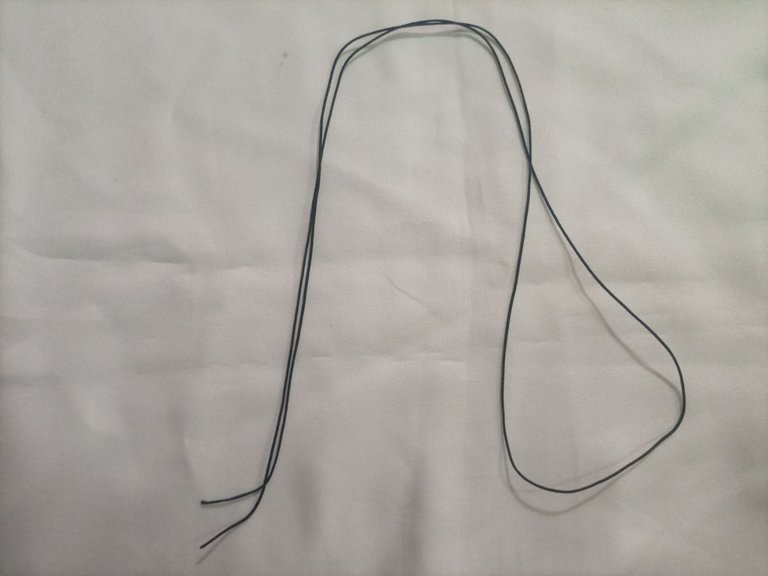
Bueno es el momento de comenzar con la construcción de nuestra pulsera del día de hoy y para ello tomaremos unos de los hilos, con ayuda de la cinta métrica procedemos a medir 40 centímetros de largo y cortamos, sabiendo que este hilo es doble.
Well it is time to start with the construction of our bracelet today and for this we will take one of the threads, with the help of the tape measure we proceed to measure 40 centimeters long and cut, knowing that this thread is double.
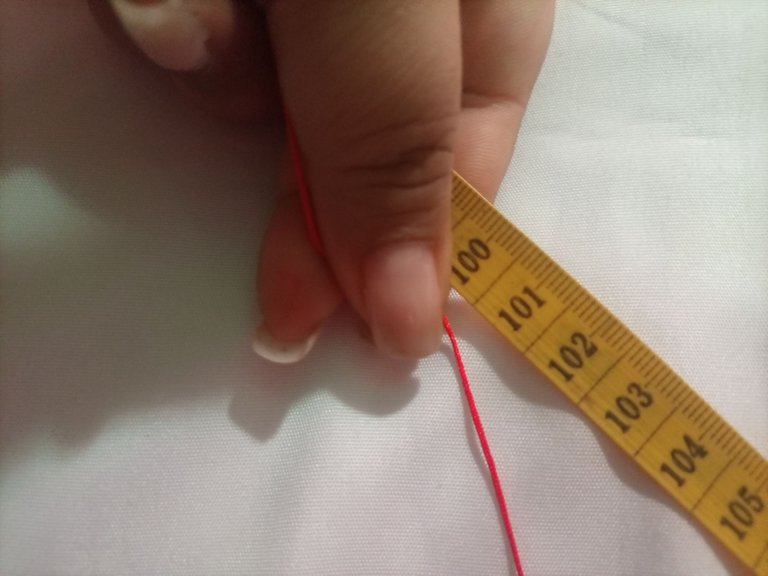
Después de tener nuestro hilo base listo, tomaremos ahora el otro hilo (en mi caso el de color rojo) y procedemos a medir 100 centímetros y cortamos.
After having our base yarn ready, we will now take the other yarn (in my case the red one) and proceed to measure 100 centimeters and cut it.
Ahora bien, comenzaremos a tejer nuestra pulsera para ello nos apoyaremos en una tabla de bisutería o en mi caso con una caja de zapatos con una pinza sujetamos lo que es el hilo base tratando de que ambos lados del hilo que cortamos queden bien prensados.
Now, we will begin to weave our bracelet for it we will lean on a jewelry board or in my case with a shoe box with a clamp we hold what is the base thread trying that both sides of the thread that we cut are well pressed.
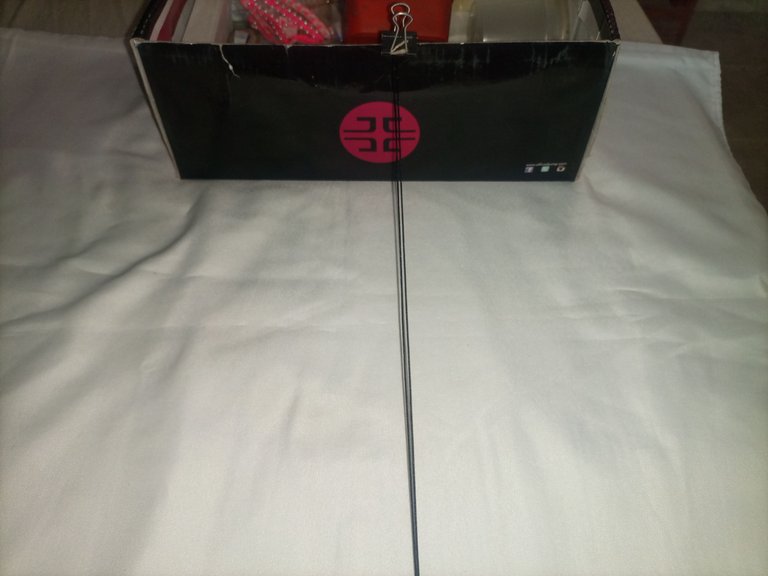
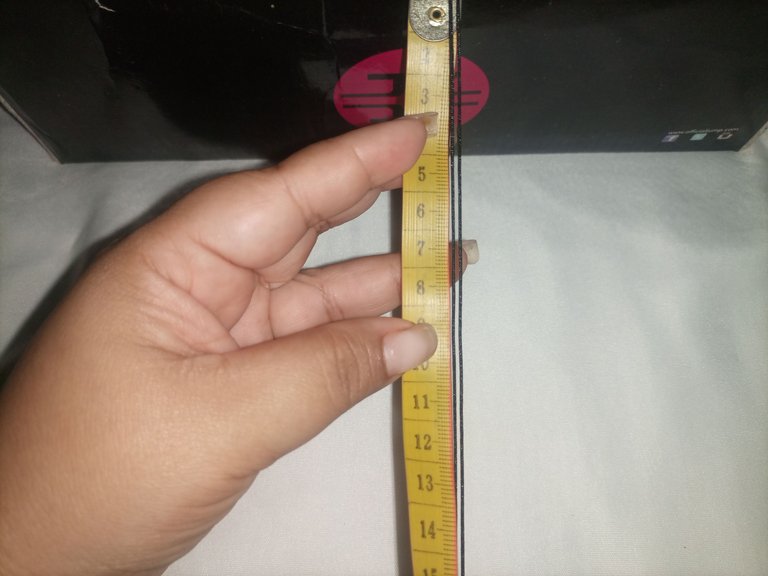
Nuevamente utilizando la cinta métrica, mediremos 8 centímetros aproximadamente desde la punta del hilo hacia el centro, justo allí comenzaremos el trenzado.
Again using the tape measure, we will measure approximately 8 centimeters from the tip of the thread towards the center, right there we will start the braiding.
Ahora tomaremos el hilo rojo (o del color que hayan elegido) y tratando de que me quede en la mitad haremos un nudo básico en el hilo base.
Now we will take the red thread (or the color you have chosen) and trying to keep it in the middle we will make a basic knot in the base thread.
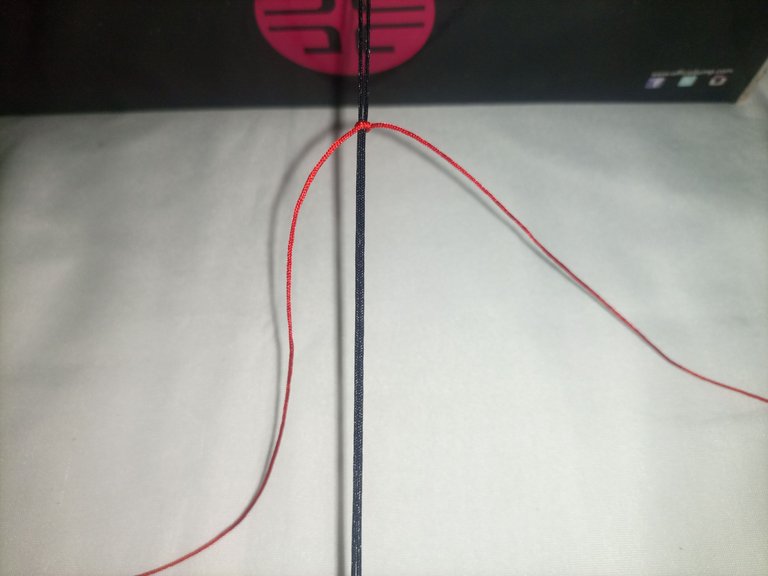
Después de hacer el nudo comenzamos a tejer un macramé completo, es decir una sola vuelta de lado y lado.
After tying the knot, we begin to weave a complete macramé, that is to say, a single loop from side to side.
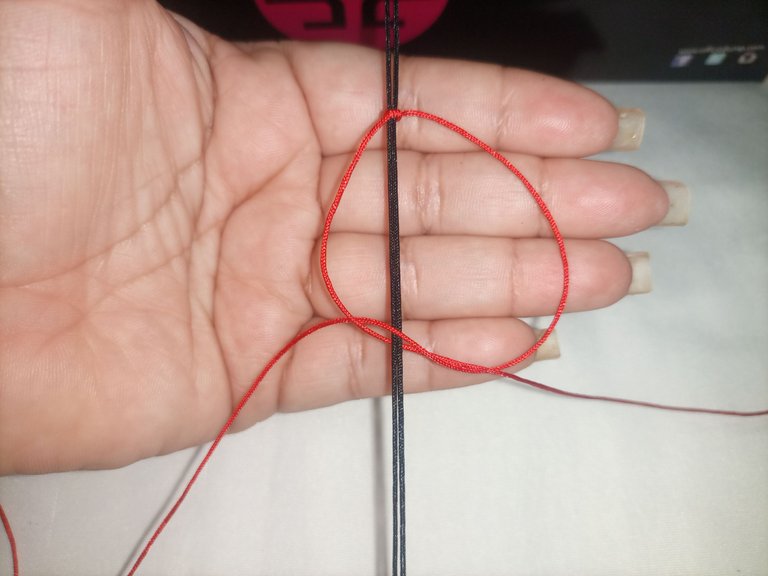
Después de hacer el macramé vamos a tomar la punta del lado derecho, pero del hilo negro o hilo base y bordearemos el hilo rojo. Tal como se muestra en la imagen a continuación, este procedimiento lo hacemos dos veces y apretamos bien los nudos que se realizan.
After making the macramé we are going to take the tip of the right side, but of the black thread or base thread and we will border the red thread. As shown in the picture below, we do this procedure twice and tighten the knots well.
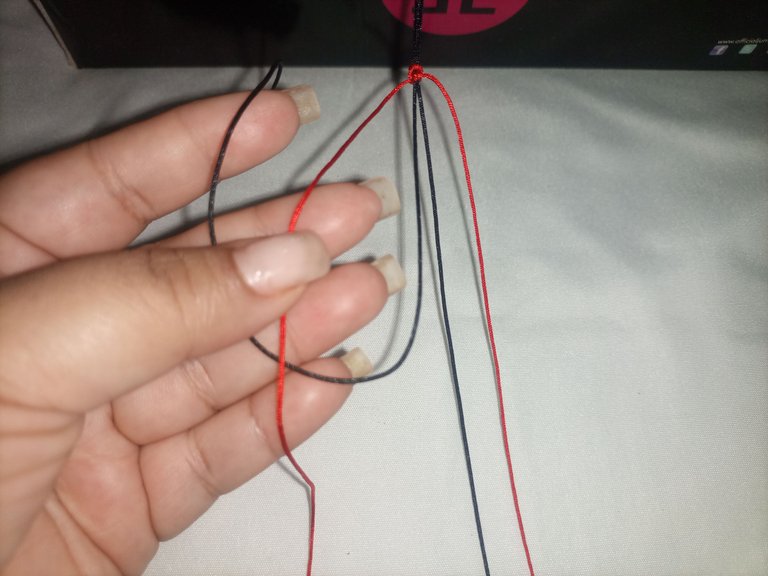
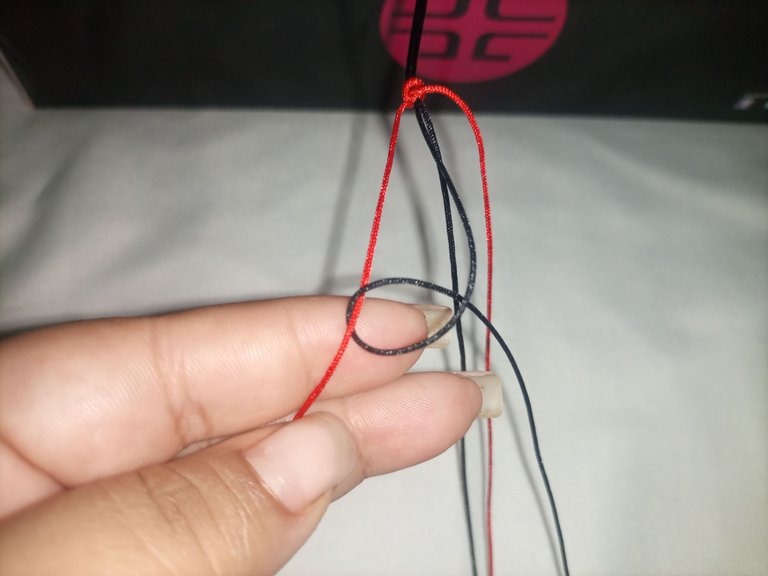
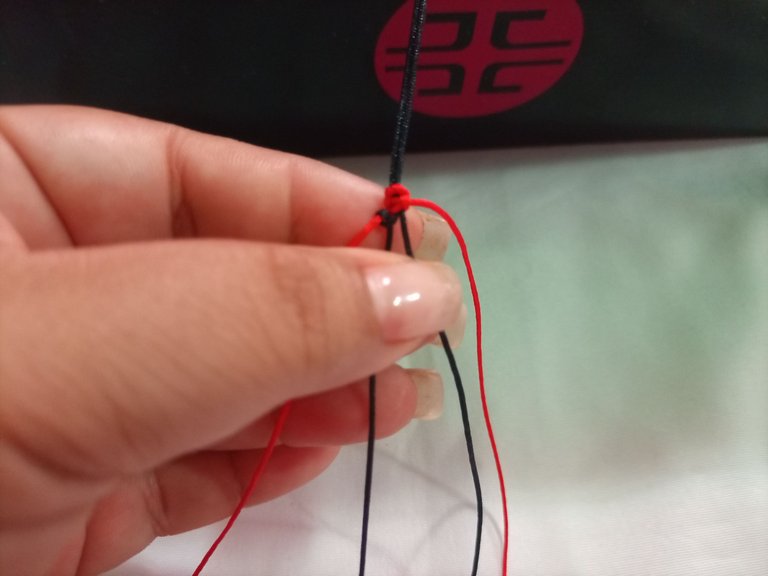
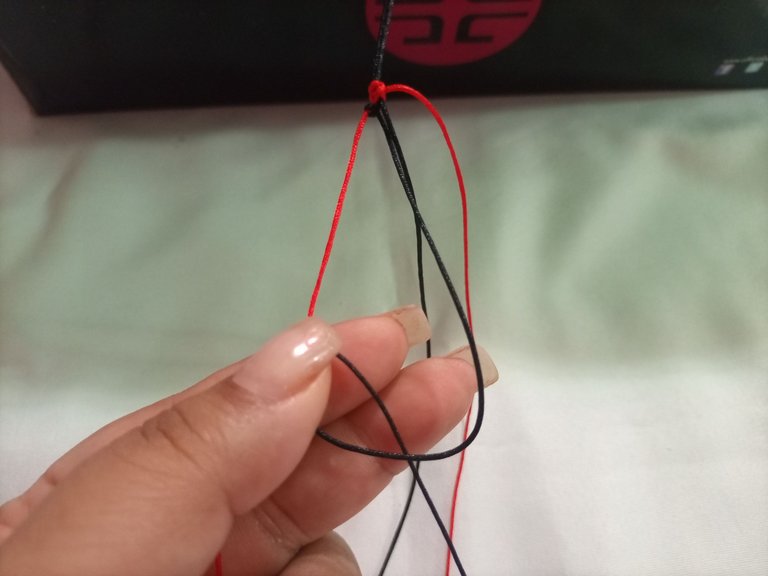
Ahora vamos a repetir este procedimiento del otro lado. Tomamos el hilo negro que está en la izquierda y rodearemos el hilo rojo que justo quedó en la parte izquierda, de igual forma apretamos bien los nudos.
Now we are going to repeat this procedure on the other side. We take the black thread that is on the left and go around the red thread that was just left on the left side, in the same way we tighten the knots well.
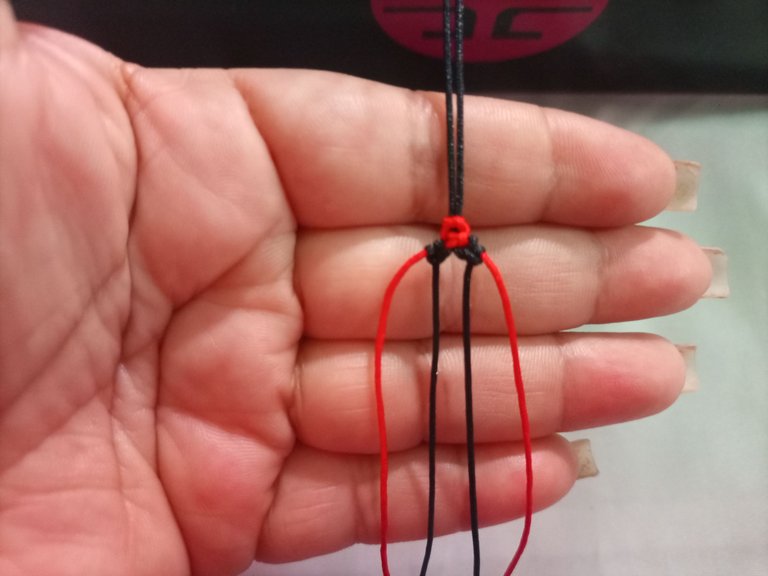
Cuando ya tengamos este paso listo, entonces tomamos el hilo rojo y hacemos un macramé completo.
When we have this step ready, we then take the red thread and make a complete macramé.
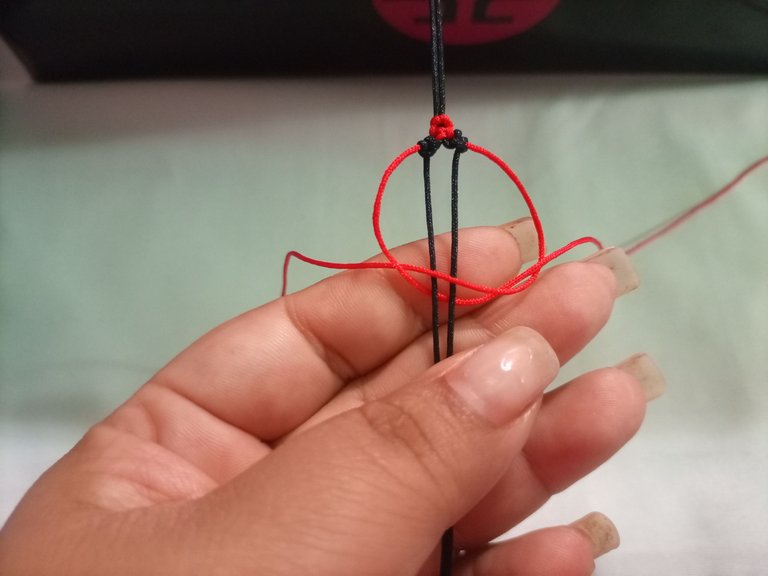
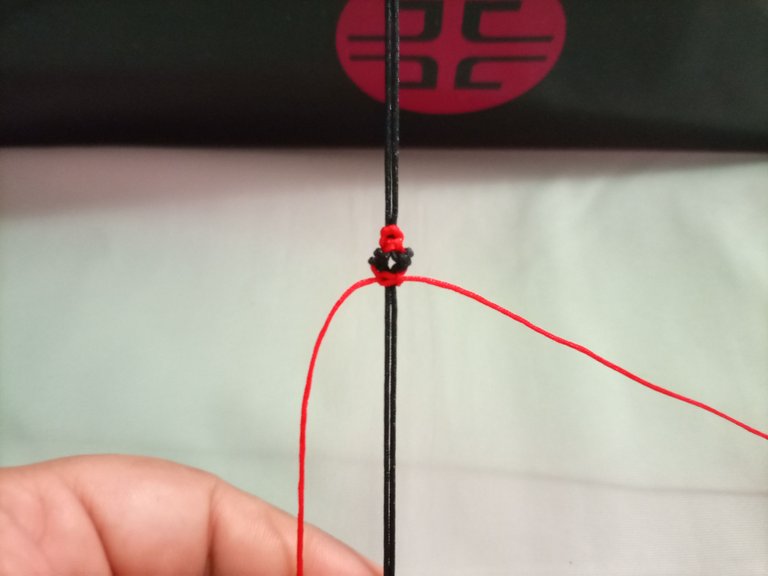
Este procedimiento lo vamos a repetir tantas veces como sea necesario. Todo depende del tamaño que deseamos quede nuestra pulsera. Es importante saber que la pulsera debe culminar con un tejido macramé, tal como empezó.
We will repeat this procedure as many times as necessary. It all depends on the size we want our bracelet to be. It is important to know that the bracelet should end with a macramé weave, just as it started.
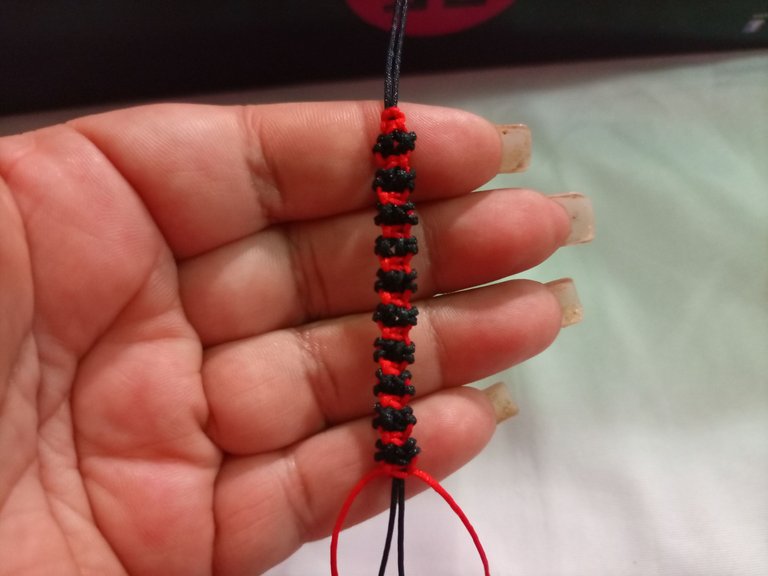
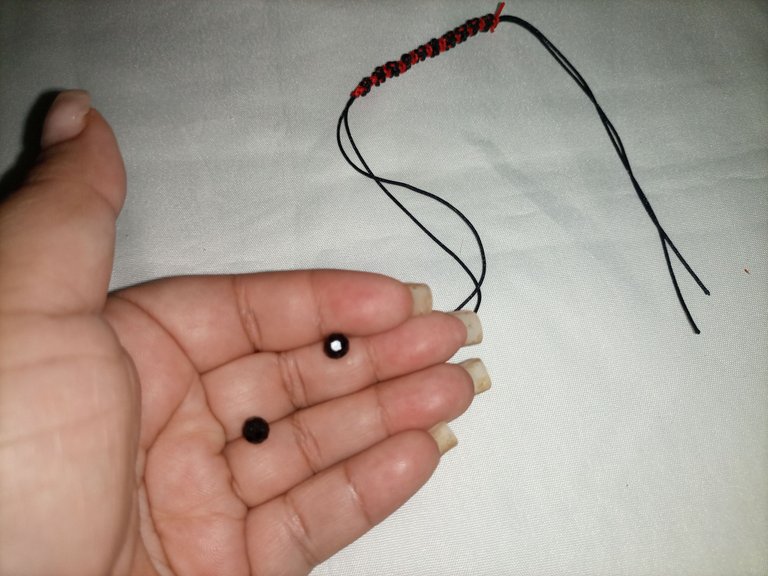
Prácticamente la pulsera está terminada, ahora le podemos colocar en cada extremo unos balines, perlitas o cristales. En este caso yo le coloque cristales rombo en color negro.
Practically the bracelet is finished, now we can place at each end some pellets, beads or crystals. In this case I placed black rhombus crystals.
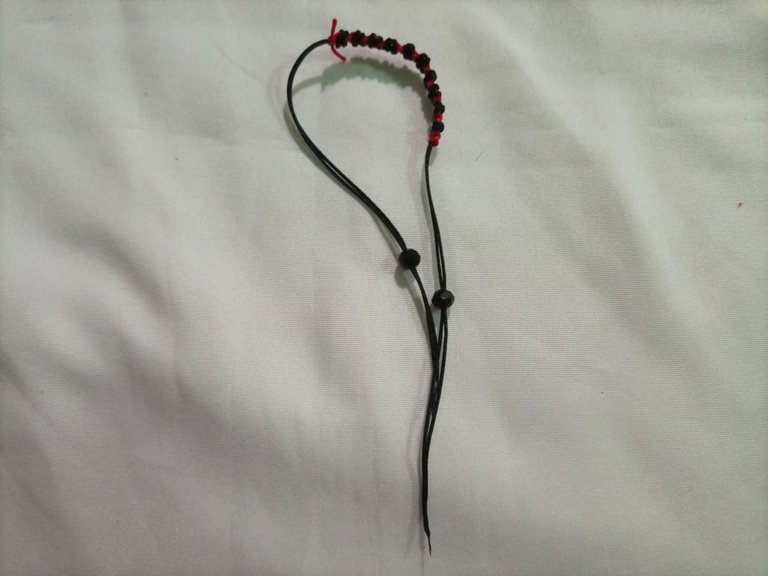
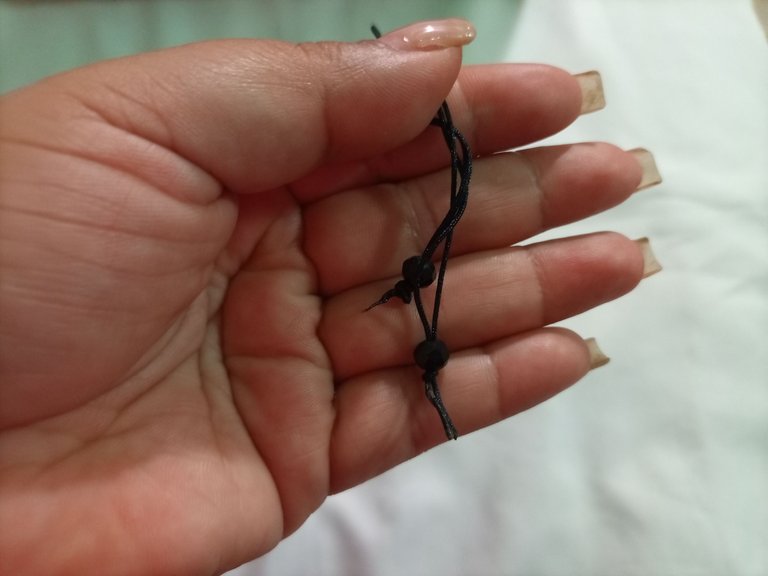
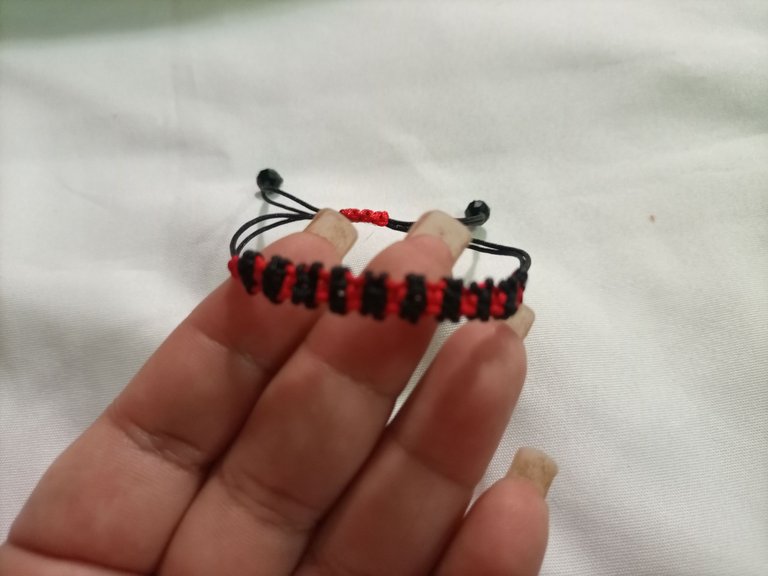
Ahora procedemos a cerrar nuestra pulsera, procedemos a cortar un trozo de hilo unimos los extremos de la pieza y realizamos un tejido macramé como de 6 nudos mas o menos. Muy importante es no olvidar cortar los excedentes y quemar las puntas de la pulsera para que no se dañen.
Now we proceed to close our bracelet, we proceed to cut a piece of thread we join the ends of the piece and make a macramé weave as 6 knots or so. It is very important not to forget to cut the excess and burn the ends of the bracelet so that they are not damaged.
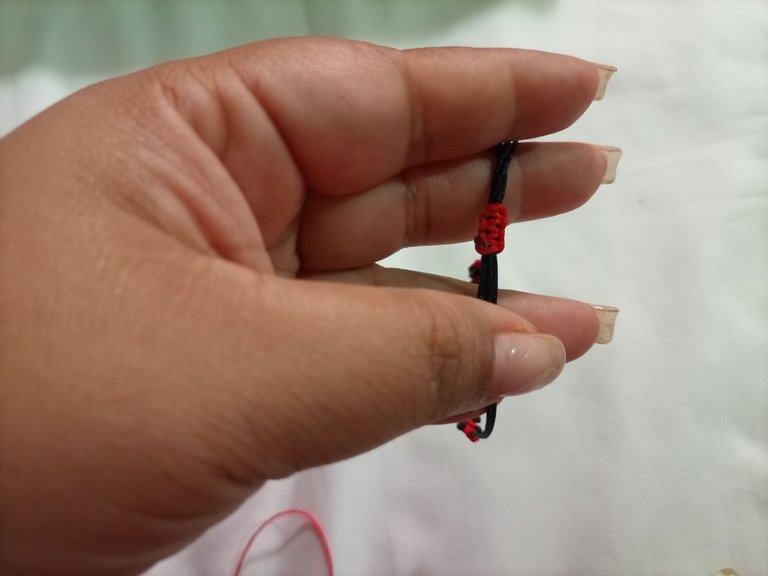
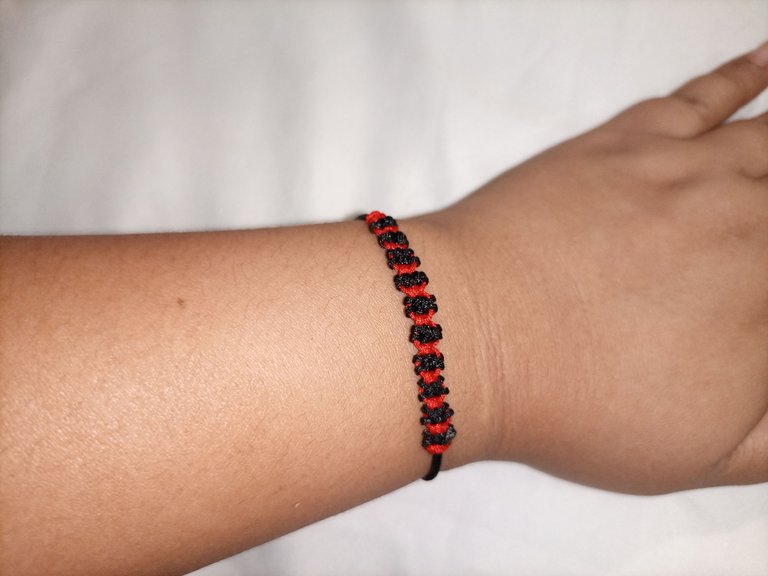
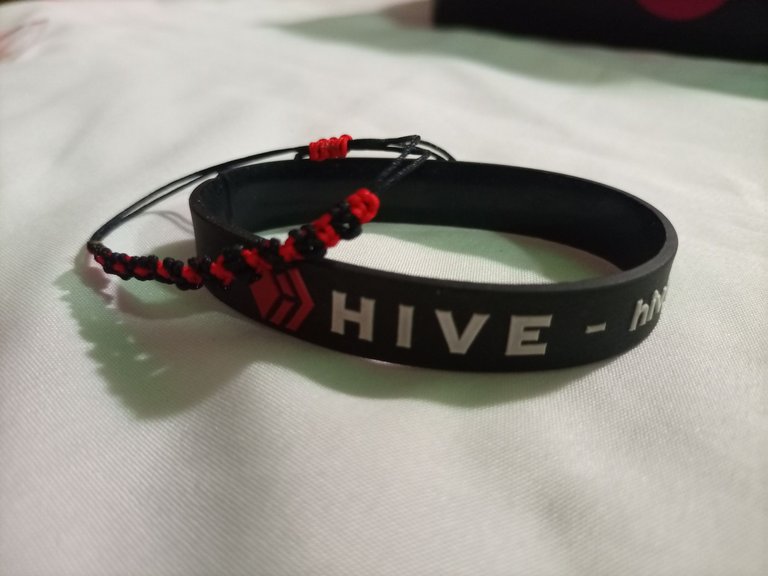
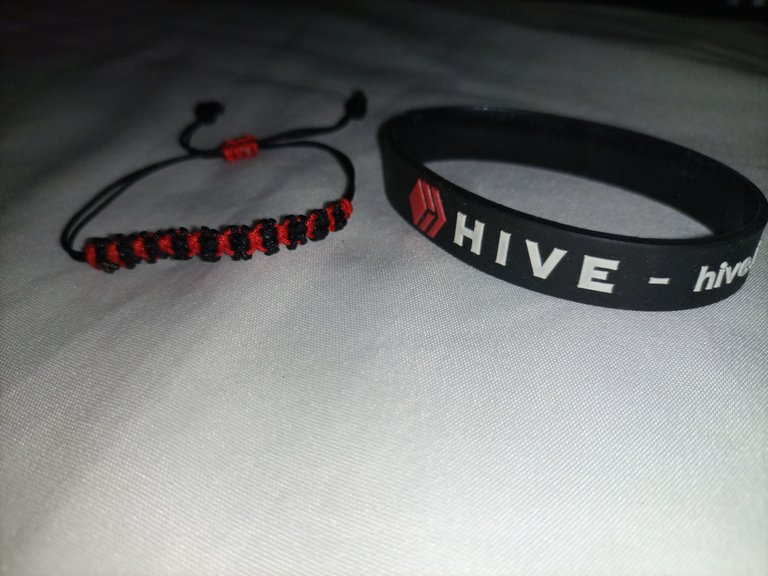
Listo… Ya tenemos una hermosa pieza que podemos lucir con nuestros atuendos, e incluso para un pequeño obsequio.
Ready... Now we have a beautiful piece that we can wear with our outfits, or even as a small gift.


Translator Deepl


