Greetings 😊Jewelry lovers, I am here to update my earrings gifting project. I have been super busy behind the scenes; a few more earrings have been made ready to be shared among my favorite family members this season, and here is my latest design.
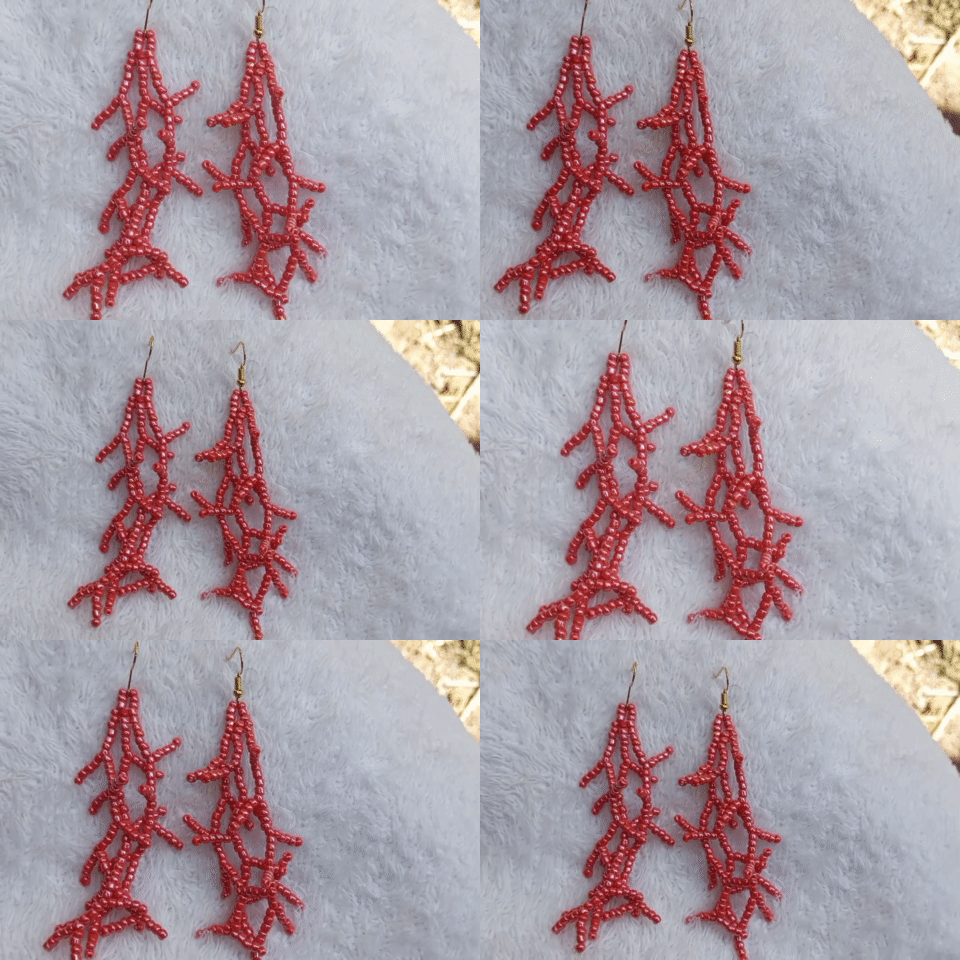
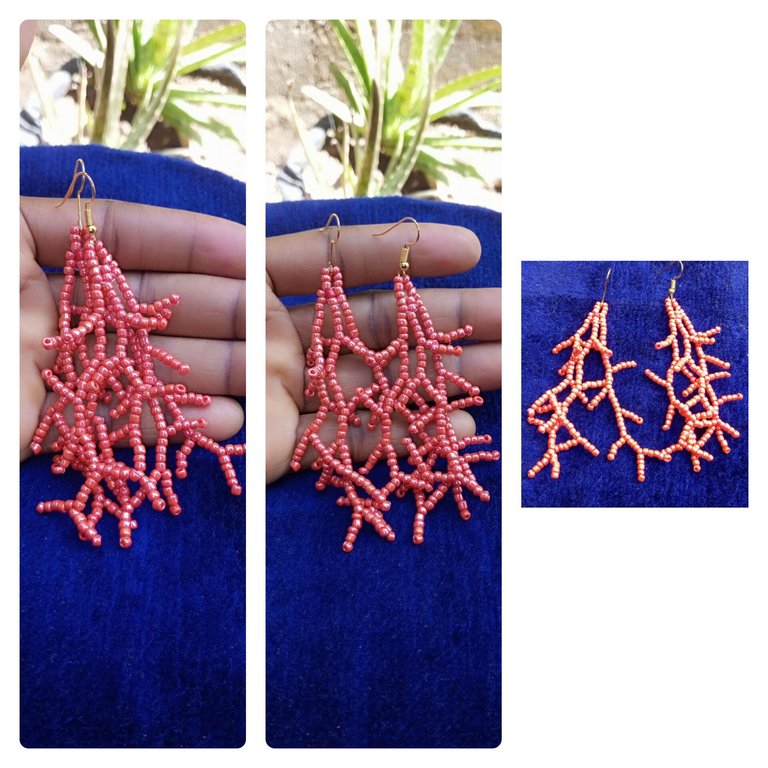
Last week, I sent some earring samples to my aunt and asked her to pick her favorite since I wanted to make an earring she would love, and she chose this fringe earring. So, I decided to make it for her yesterday. Please come along while I walk you through the process. It's very simple and straightforward, in case you like it and want to make one for yourself or someone as a gift.
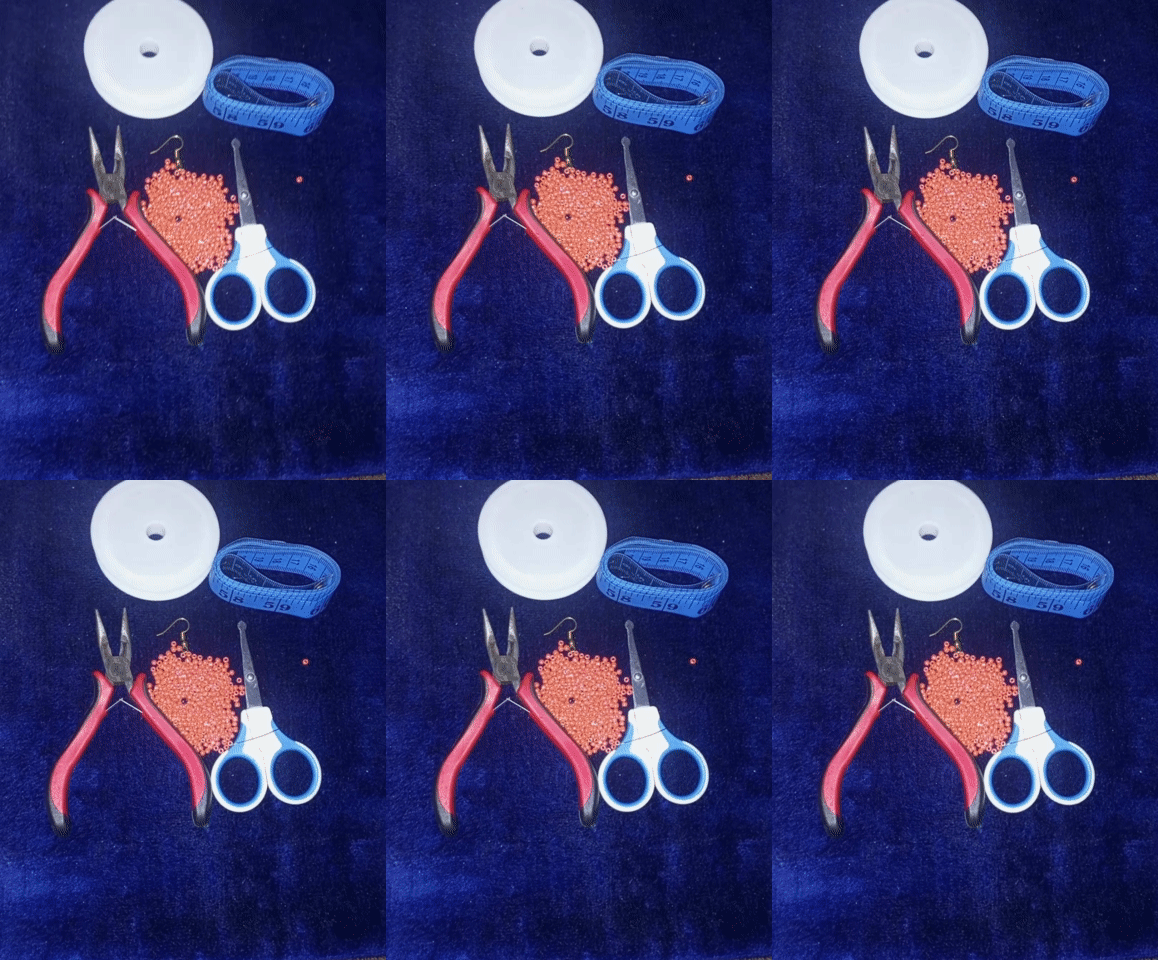
For me to do this, I used the following materials:
0.2mm fishline, earrings hooks, beading needle, red seed beads, scissors, and pliers.
Step 1:
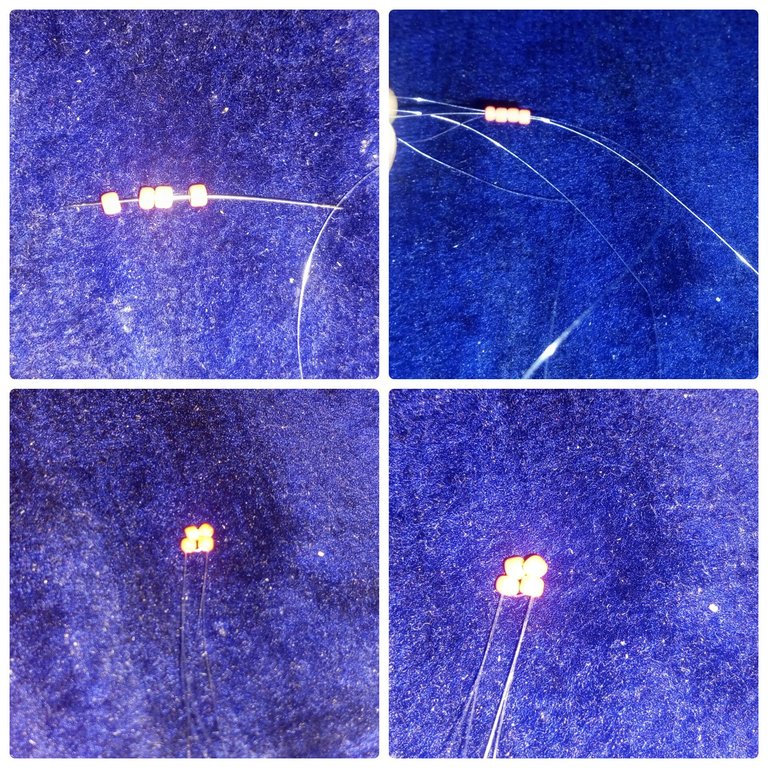
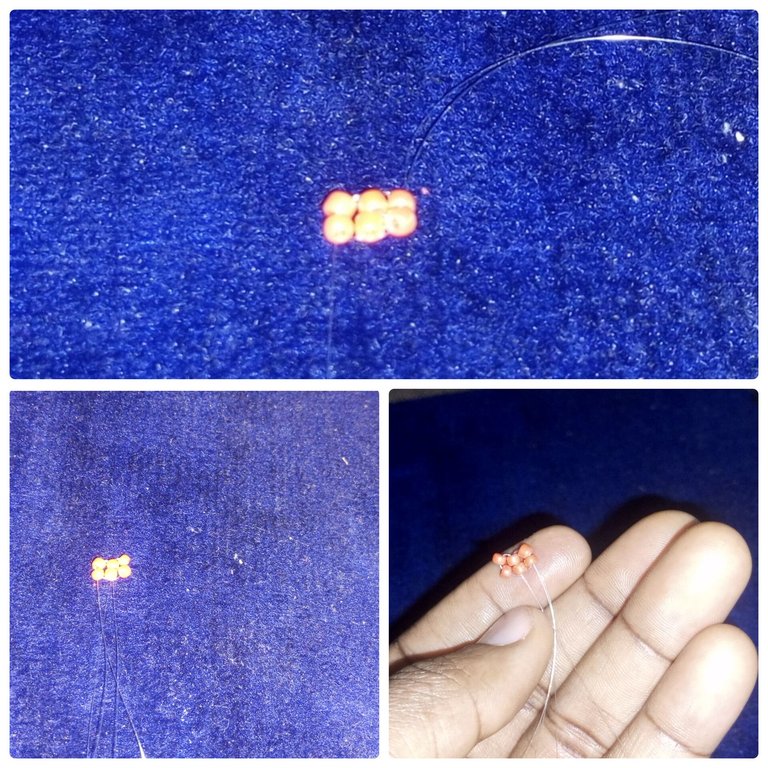
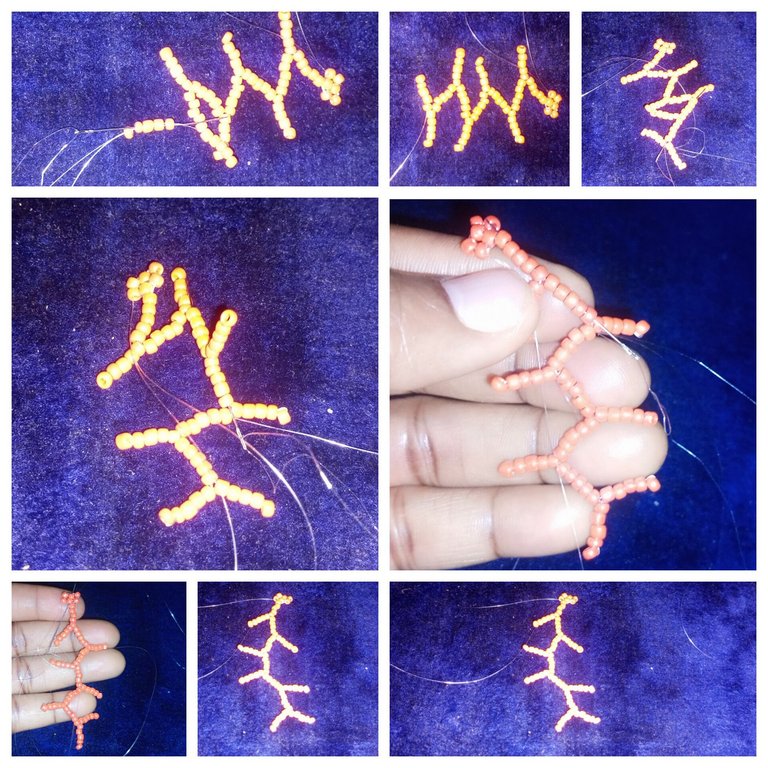
The first thing I did was to thread a 150 cm fishline on my needle. Then to make the brick stitch at the top of the earrings, I put four beads on my beading needle, pulled the beads downward, and left 5 cm as the tale. I ran my needle through the four beads once again to reinforce the beads.
Step 2:
I put two beads on my needle and inserted them on the first bead threads from up, and then passed my fishline again through the last bead holes. Now I have three lines of beads.
Step 3:
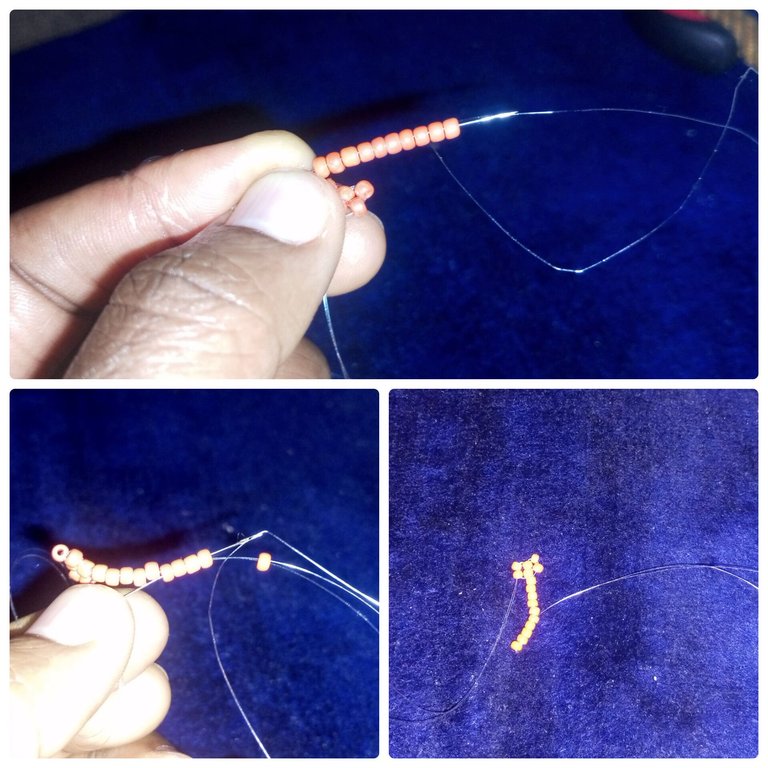
I proceed to start making the fringes by putting ten beads on my fishline, ignoring the first bead and inserting my needle on the fifth bead, then pulling my fishline and making it firm.
Step 4:
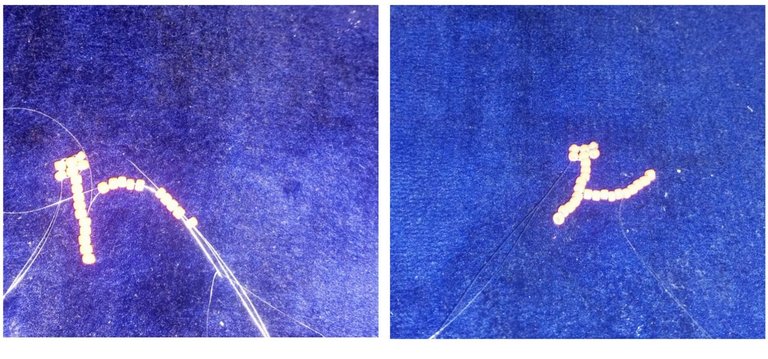
I simply repeat step 3 above.
Step 5:
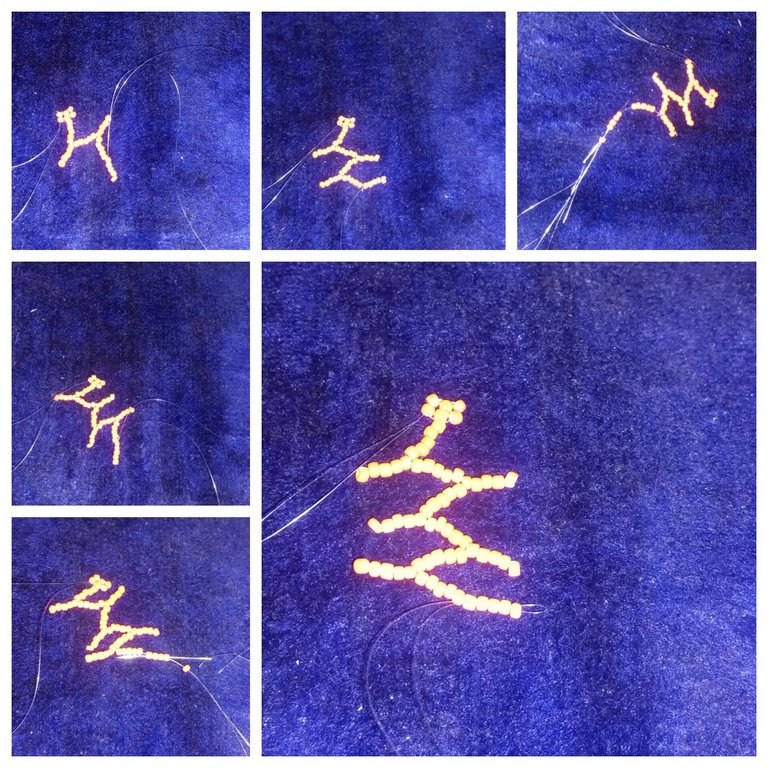
I continued to add beads until I made six fringes; on the seventh one, I put five beads on my fishline, ignored the first bead, and passed my fishline through the next five beads; this marked the end of the fringe.
Step 6:
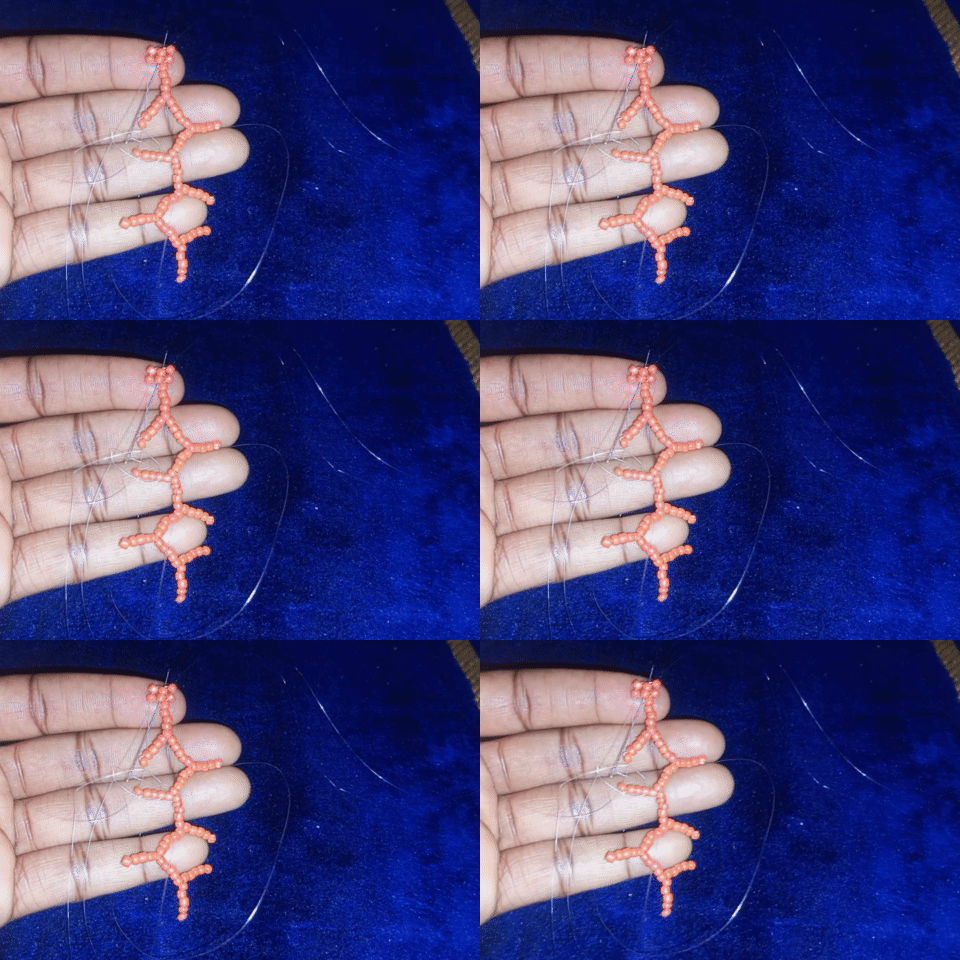
To reinforce the beads, I carefully passed my fishline down to the beginning of the line.
 A closer look at it
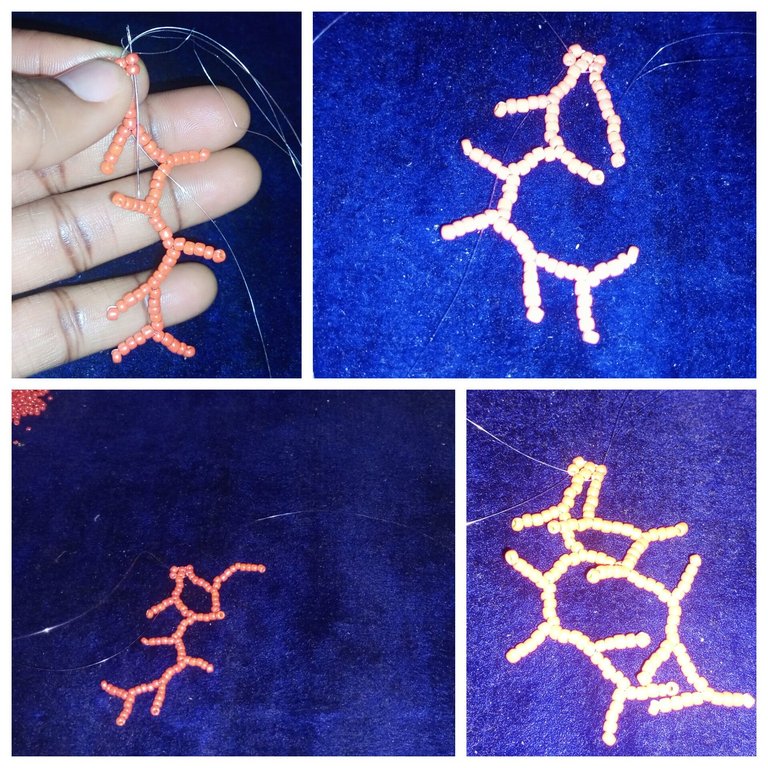
Step 7:
I brought my fishline to the second brick and, from there, bead another line.
Step 8:
I carefully passed my fishline to the top and allowed it to come out of the bead line of the third brick where I started to build the last fringe. By repeating step 3 above.
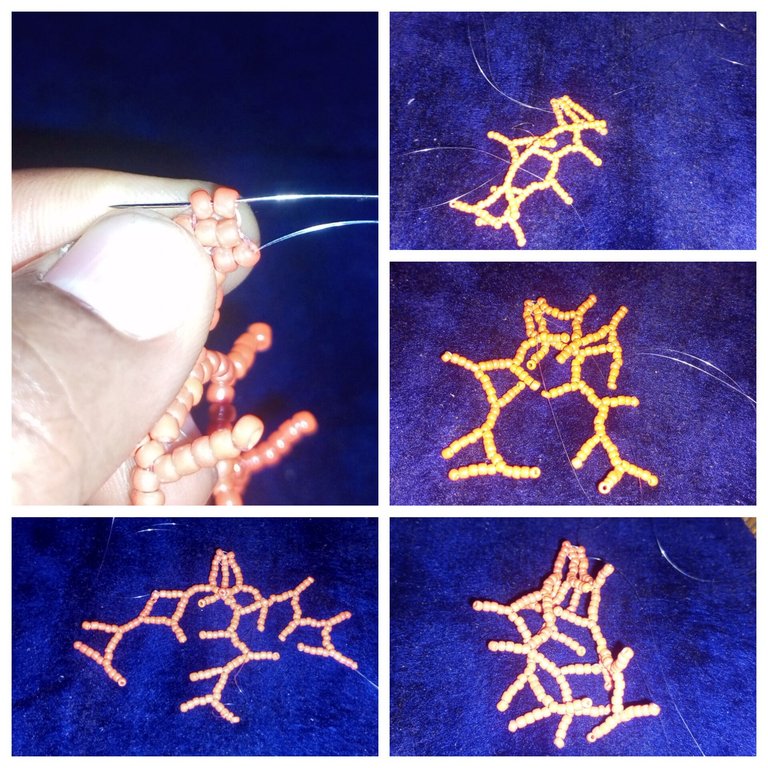
Step 9:
Here, I simply passed my fishline around, tied knots along the line, and proceeded to put the earring hook at the top.
I made a place for the earring hook by putting six beads on my fishline and passing it to the last bead thread by the left. Then use my pliers to fix the earring hook into it.
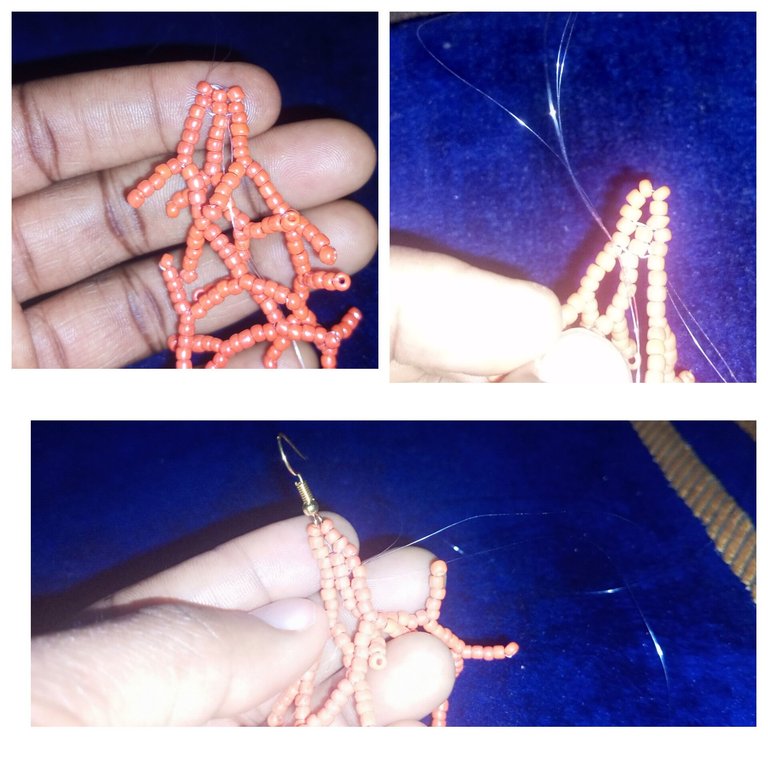
I simply repeat steps 1 to 9 above, and the two earrings are ready to be rocked when they get to my aunt in December.

The color red stood out for me, and I love the simplicity of the whole earring.
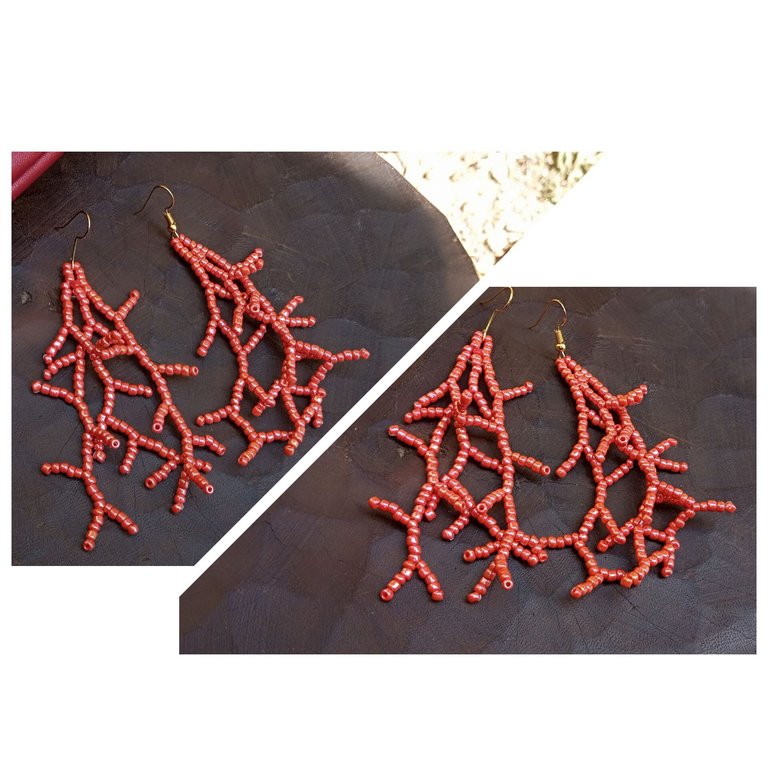
What do you think you do like it? As always, it was fun making this and sharing it with you.
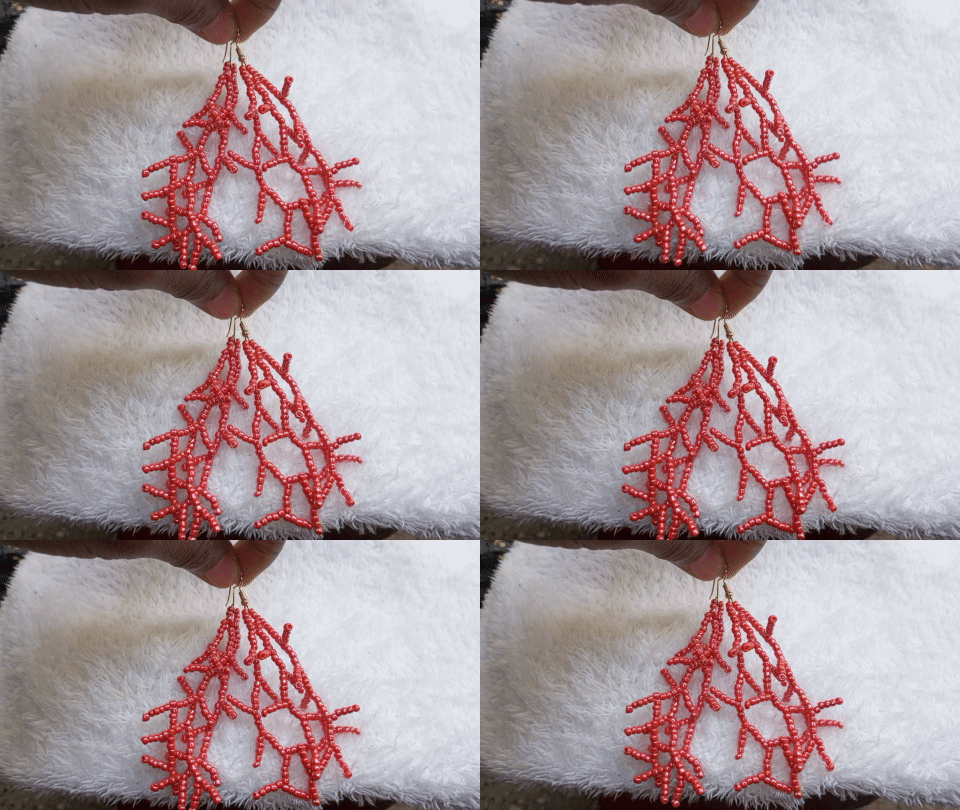
Thank you so much for your time and support; please stay tuned for more projects to come. Stay blessed and share good vibes, Bye❣️
All images are mine, gift images made with the GIPHY App, and photo collages made with the InShot App.
@funshee❣️🙏✍️
